Hi
I'm Bong
I'm just a girl who likes to DIY anything and everything. More than that, I love teaching people - especially women - how to pick up power tools and create the home of their dreams. Stop waiting for someone else and starting Doing It Yourself. I'll show you how!
diy projects
diy school
life hacks
categories
must have products
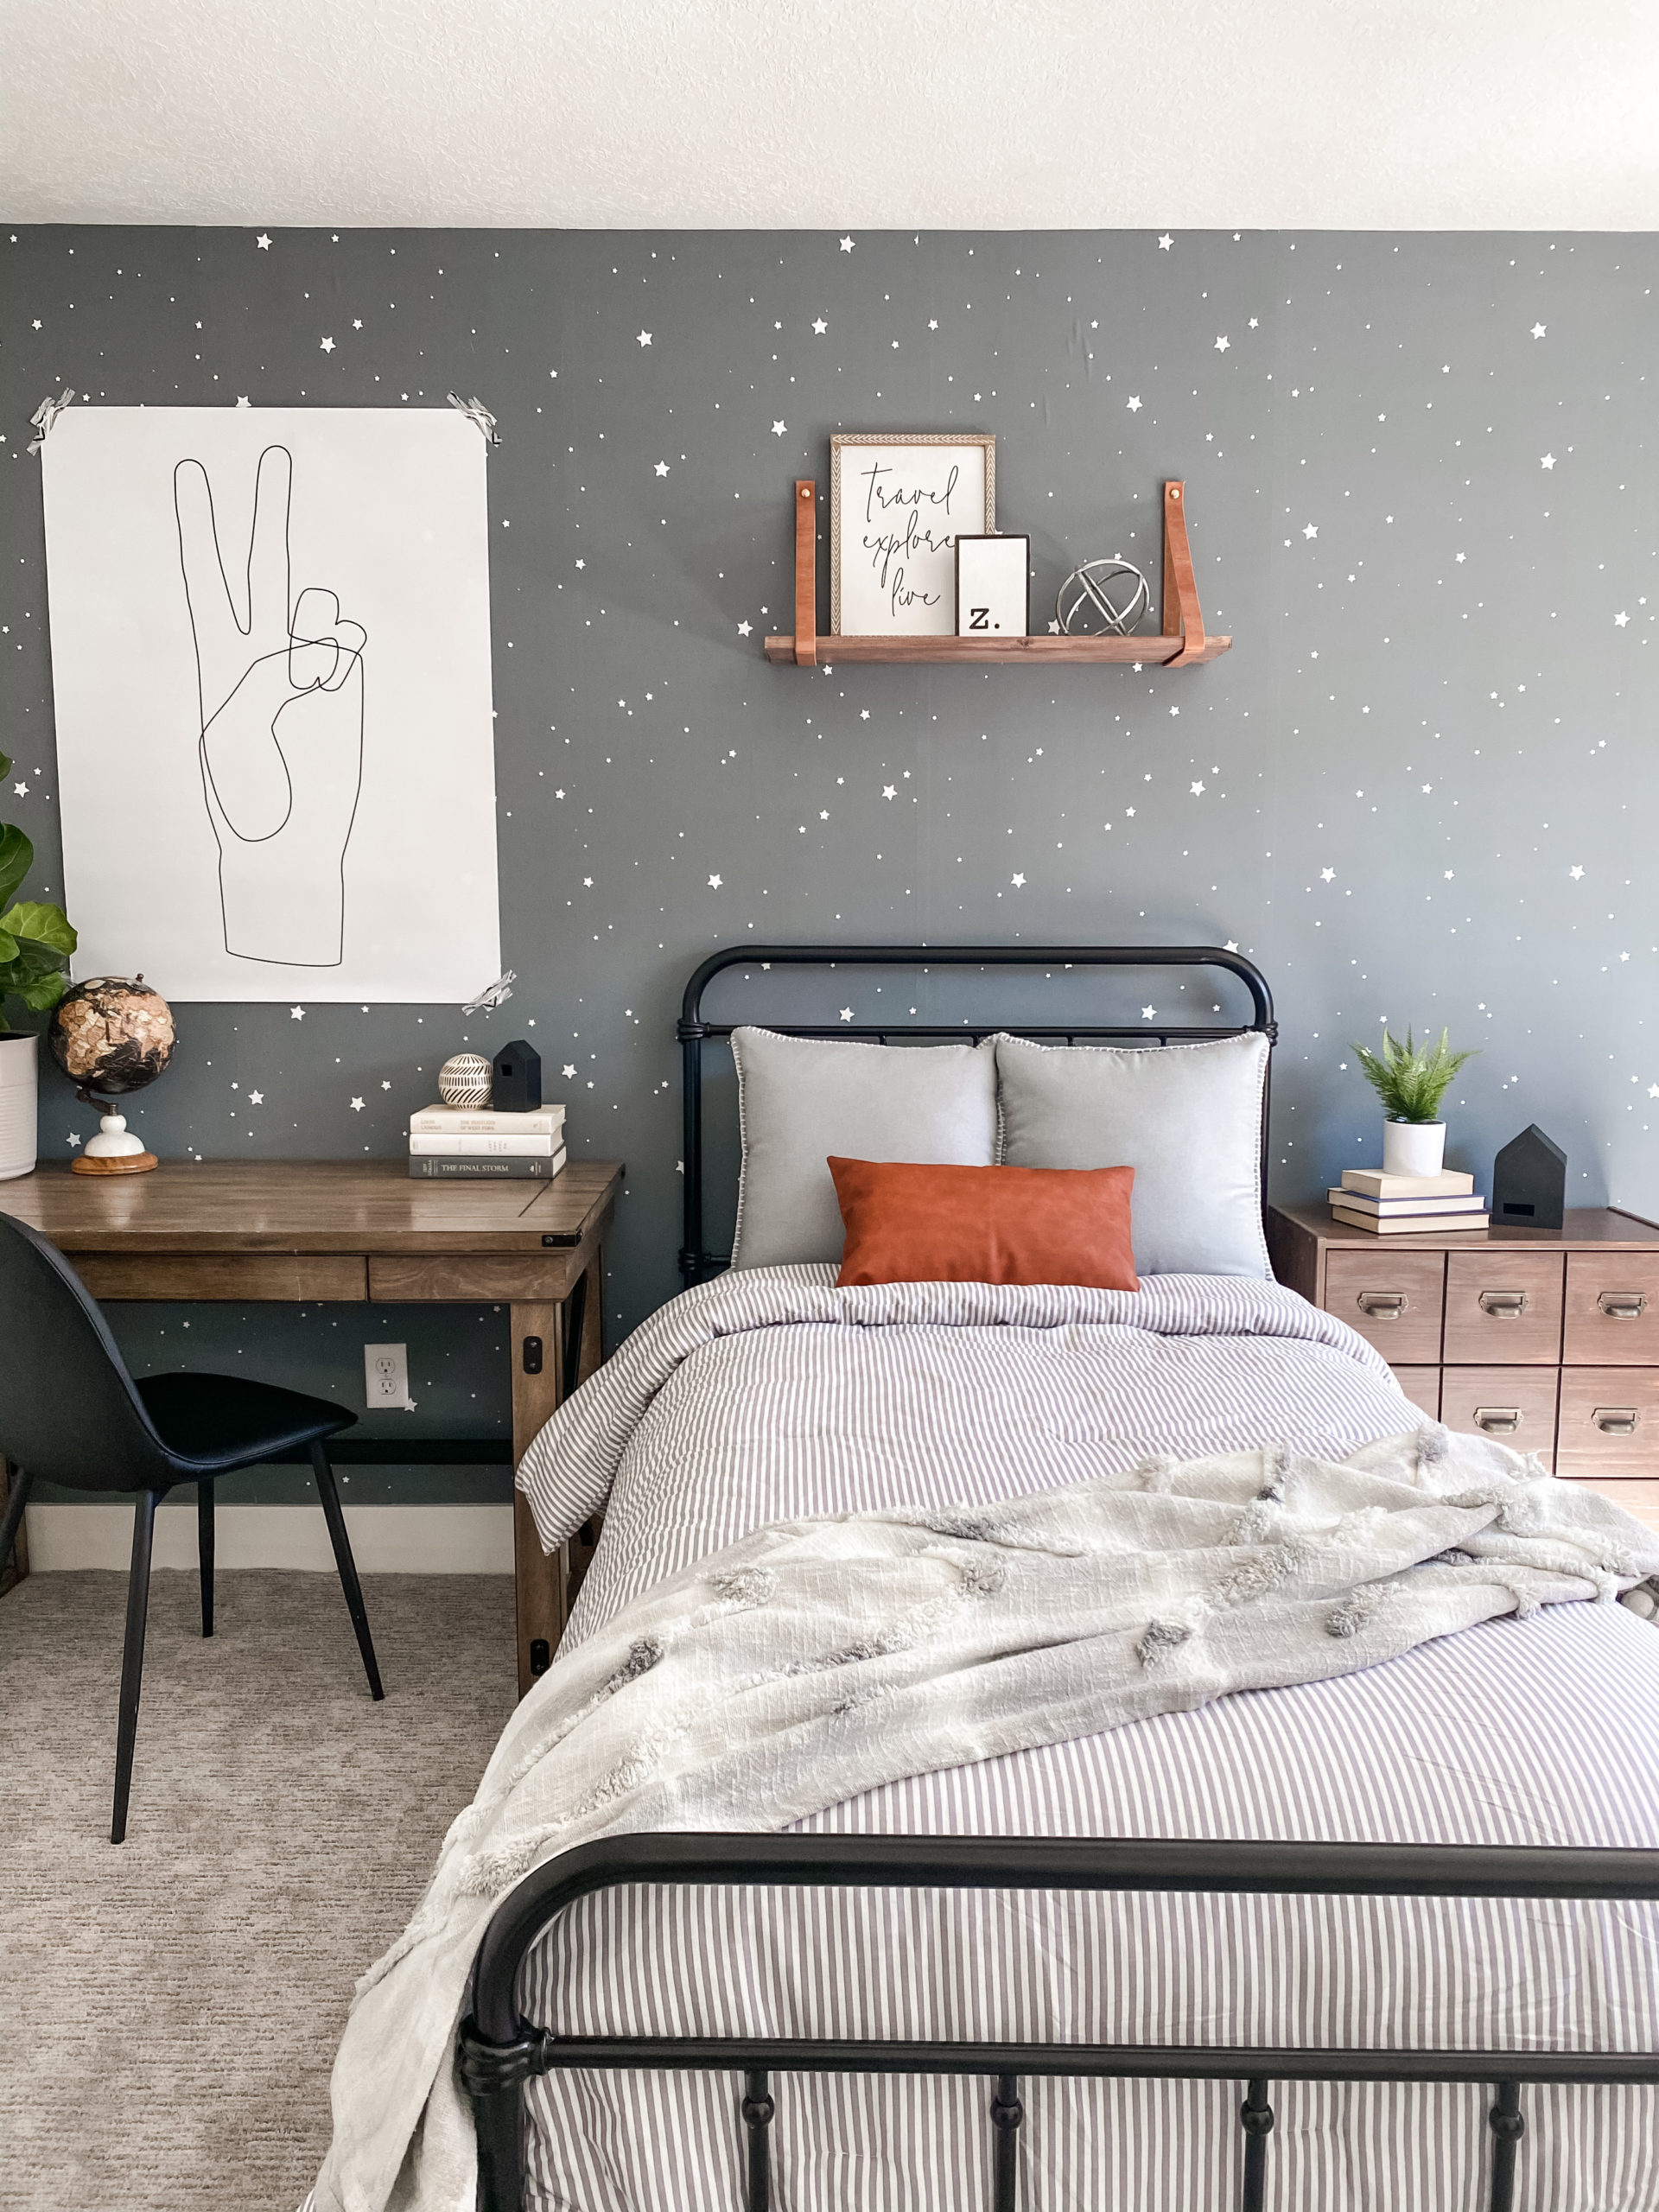
If you have been following me, you know this is my very first time installing wallpaper. But that’s the whole point of this! I do these things so that you guys can do these things! Follow me along as a do this wallpaper installation.
The first thing we are going to do is to measure from the corner of the wall, 24 inches. I will hold up this level and I am going to mark a straight line. You do not want to base it off of a corner because a lot of walls are not actually level. So, let’s get started!
I want to explain that your wallpaper is going to be a little bit wider than these 24 inches, that is okay, that is actually the way it is supposed to be. You want to line up the right edge of your wallpaper with the pencil line that you have drawn. There will be excess on the left side and that is the way it is supposed to be. You’ll want to push the wallpaper into the corner and then you will slice off the excess, that way if it is crooked on the left side you will never know, but the right side will be level.
So now what I am going to do is hold this wallpaper up a few inches above the wall. I taped along the sides and then held down and smoothed over.
The first panel you put up will be the hardest because you are dealing with excess on the left side so it is not going to want to stay as nicely. But once you get the first one up and spend a lot of time getting it straight, every other piece will be pretty seamless and easy.
So at this point I have cut my top layer off, I took about 6-8in off of the backing. I stuck the wallpaper on and used my scraping tool to get all of the air bubbles out and move everything towards the corners. I have removed my side tape because I don’t need that anymore. So now I will just work down about a foot at a time. I have already removed the backing of the wallpaper. This is kind of the harder part, to take the sticker off of the back while working down because it is hard to see.
The first panel is complete! It is the one that will take the longest and it only took me 28 minutes. So, if I can do it you can do it. This was my very first time and it was really easy and awesome.
The Love vs Design wallpaper fabric consist of a really thick quality weave of a canvas. I love it because you know it is high quality and really easy to use my scraping tool to get out any air bubbles. Also, there were a few times I had to lift it up and then re-lay it down and then scrape the air bubbles out.
I want to show you guys the excess on the edge. What I want to do is just make sure I really scrape it into the corners. I really slide the scraper up and down to make sure it is nice and tight. Then, I am just going to get the razor that came with my kit that has all the other tools. I will just put it into the corner and push pretty hard, you want to make sure it gets through all of the wallpaper. Then I will just pull it off.
Now that I’ve taken everything off of the edge, I’m going to take the excess flap off of the bottom. Again, you just want to make sure you scrape all the air bubbles out. To really make sure it is nice and smooth and everything is in place. Take your razor blade or Exacto knife and simply slide it across. Because this is a little bit thicker, definitely push a little harder and take your time. I rushed earlier and messed up something earlier.
The biggest takeaway is to take your time. I want to make sure I am not cutting this too high up on accident. So what I am doing? I am taking my scraper and I am holding it against the wall, and taking my Exacto and cutting along the scraper. That way I have a guide and don’t accidentally cut up too high and have it go crooked.
Okay! Now it is time for the second panel and on these panels, they will overlap just a tiny bit. On the left side I will take off six inches of the backing on the new panel. Then I will line it up and that will make sure it is straight and leveled with the first panel. By lining these up, you will know that it’s leveled and then I can peel off the rest of the backing. I repeated these steps with the rest of the panels until I had the entire wall covered.
I love the way this has turned out! If you are looking for wallpaper that’s customizable to your room, you have to check them out. They are so awesome and easy to apply. Everyone that has come over and seen this in real life has LOVED IT! So if you are looking for wallpaper, you have to support Love vs Design, and they are a small business and we know we have got to support our small businesses.


