Hi
I'm Bong
I'm just a girl who likes to DIY anything and everything. More than that, I love teaching people - especially women - how to pick up power tools and create the home of their dreams. Stop waiting for someone else and starting Doing It Yourself. I'll show you how!
diy projects
diy school
life hacks
categories
must have products
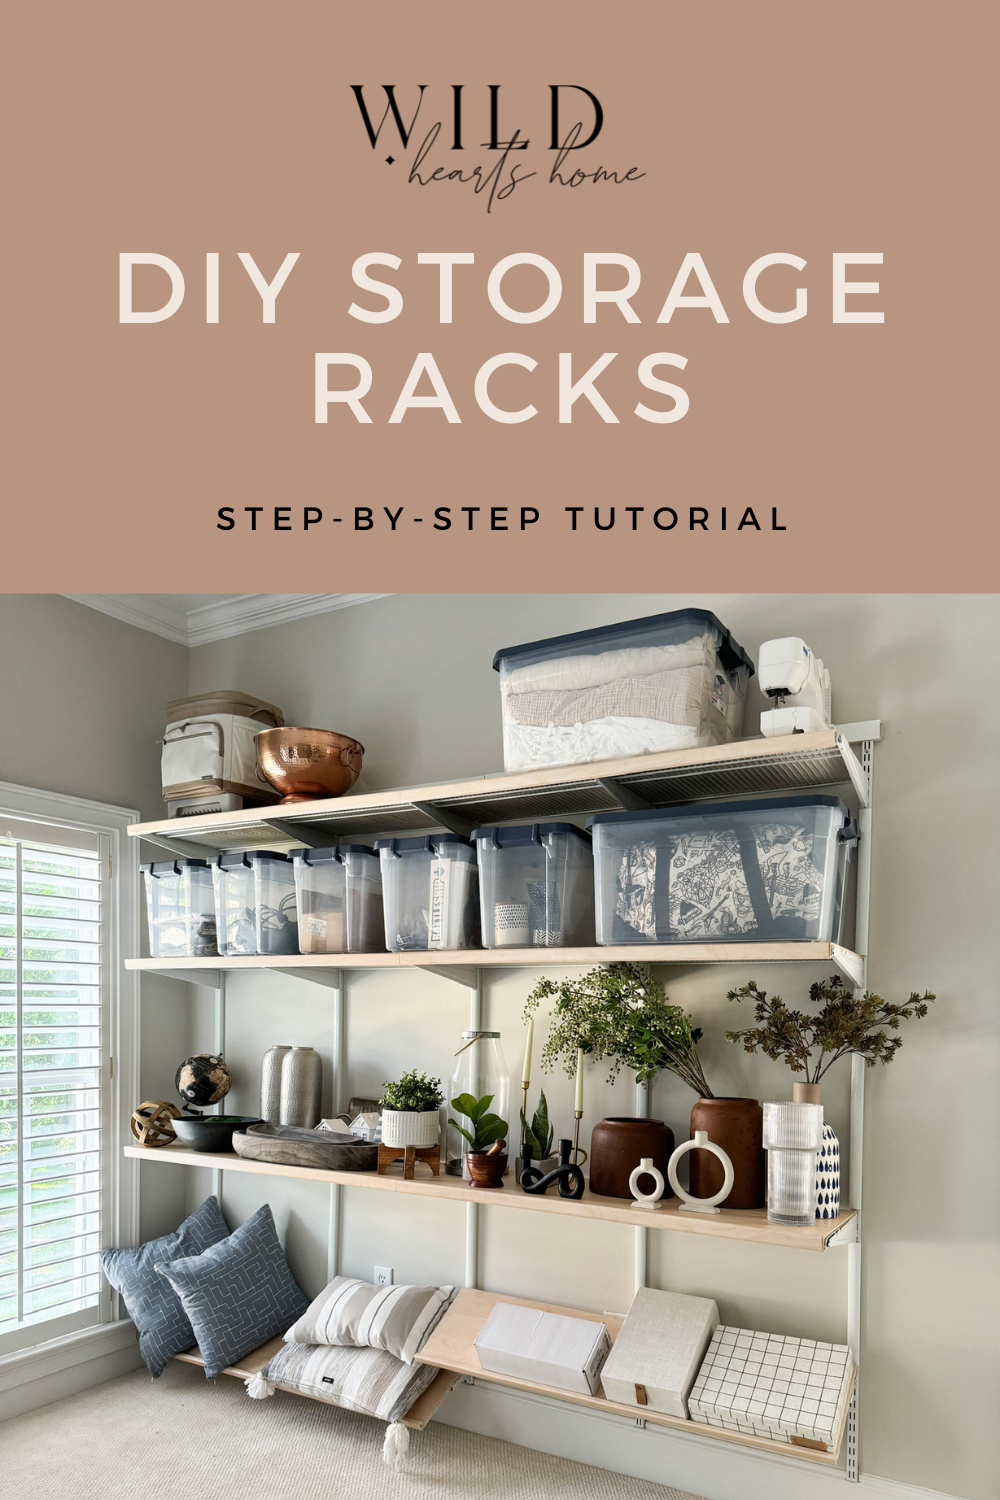
Time to fix up the scariest room in my house…It’s the only “storage” room we have in the house and it’s a mess. Let’s organize it with some DIY storage racks!

We throw literally everything in here and it’s horrendous. There’s home decor, luggage, pillows, a mattress on the floor? I was sick of it feeling like this and was ready for a change.

So, we decided to use Everbilt storage! Their systems are super customizable and work for practically any size space. I couldn’t wait to get moving!
Hang Tracks
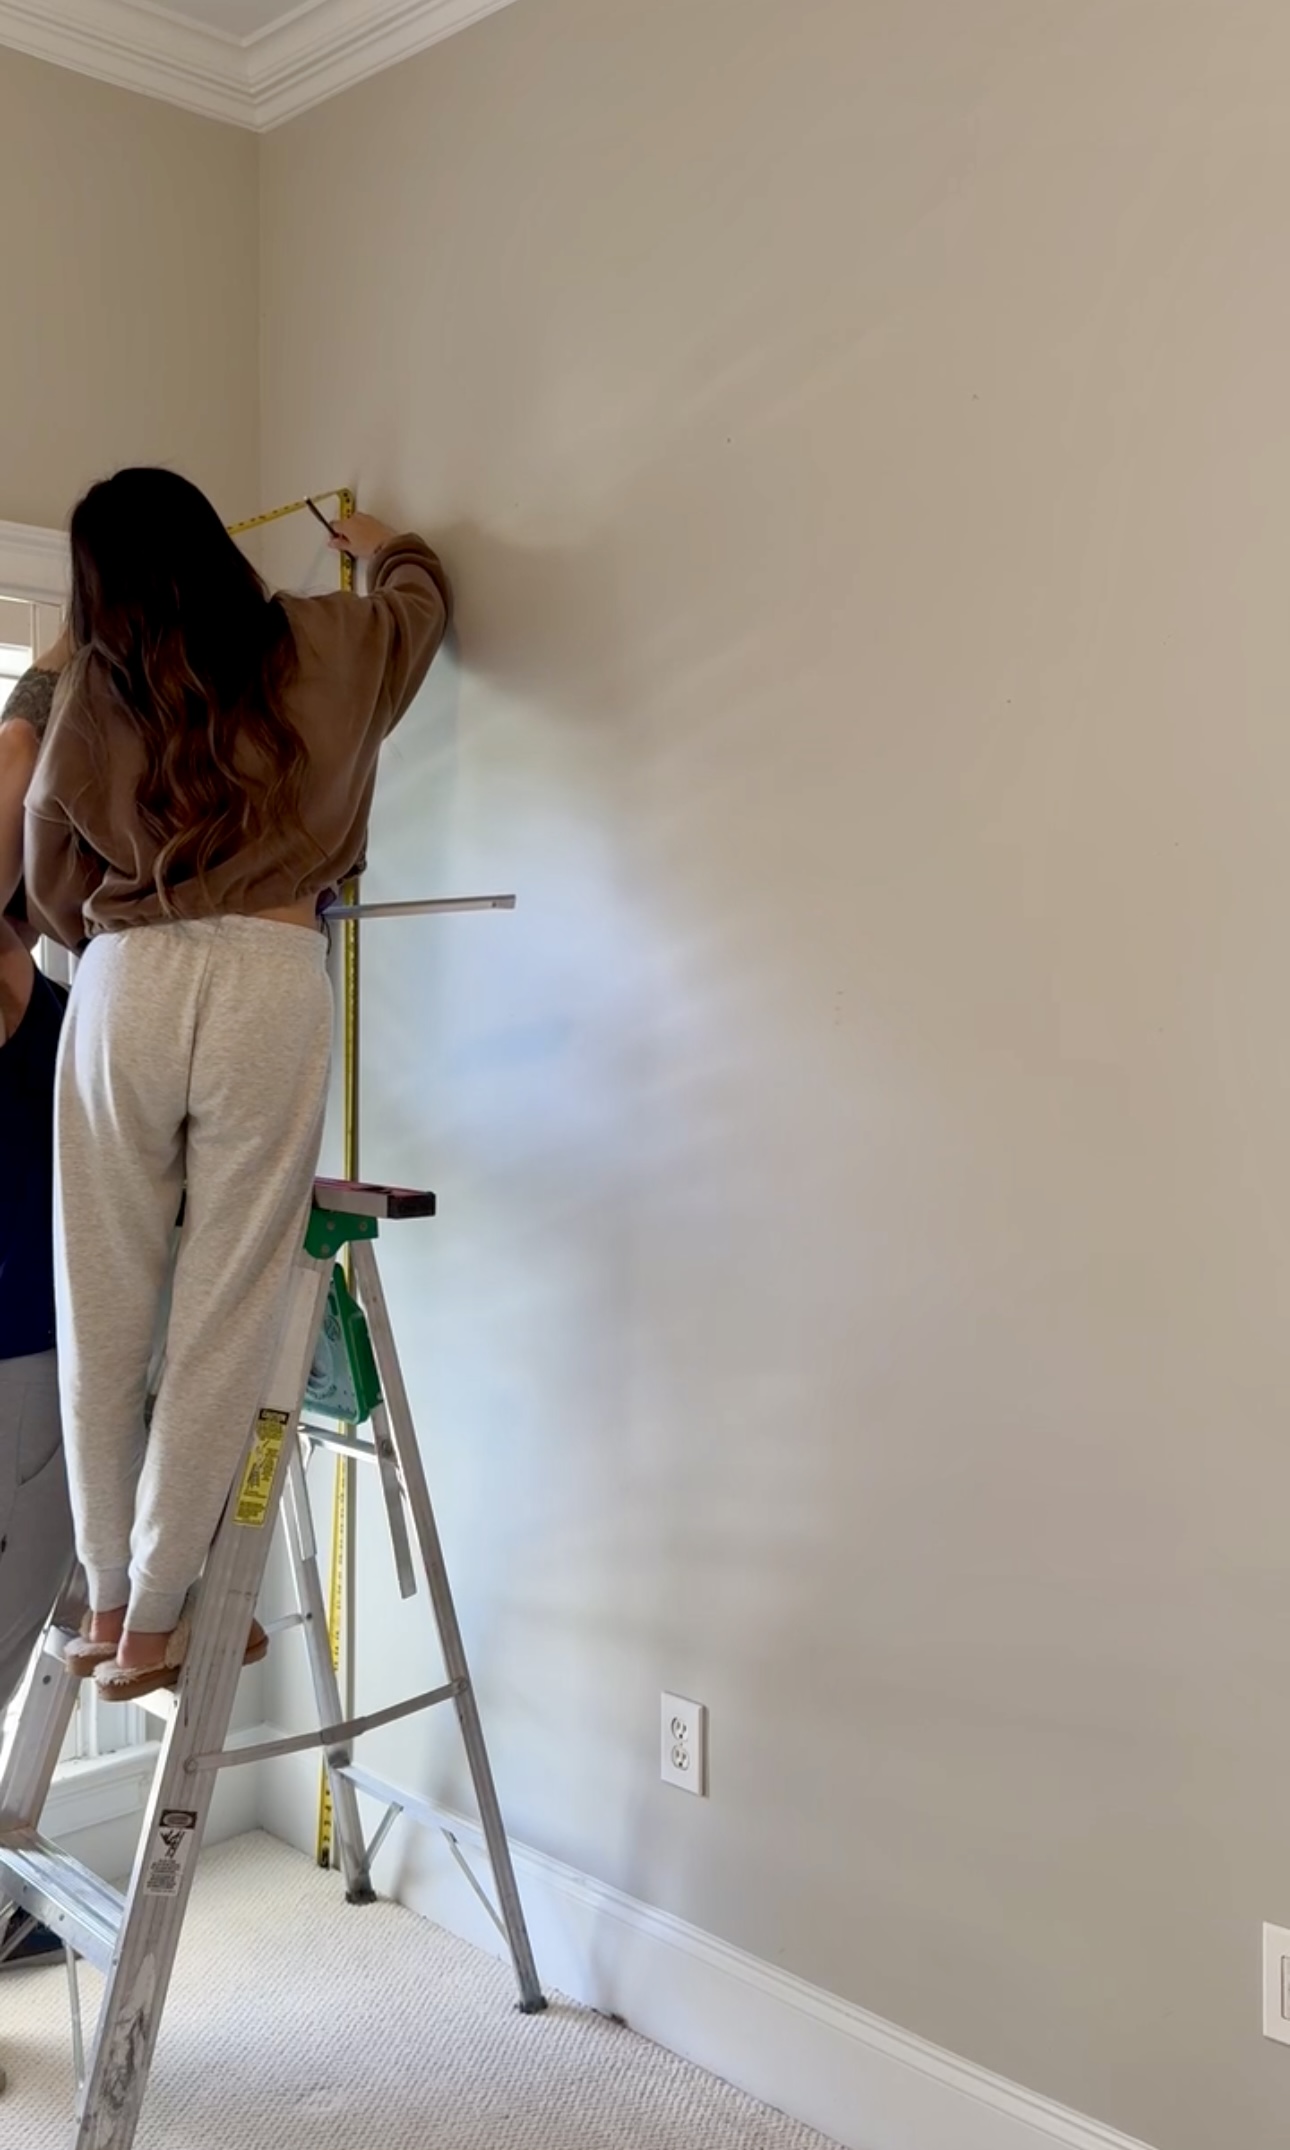
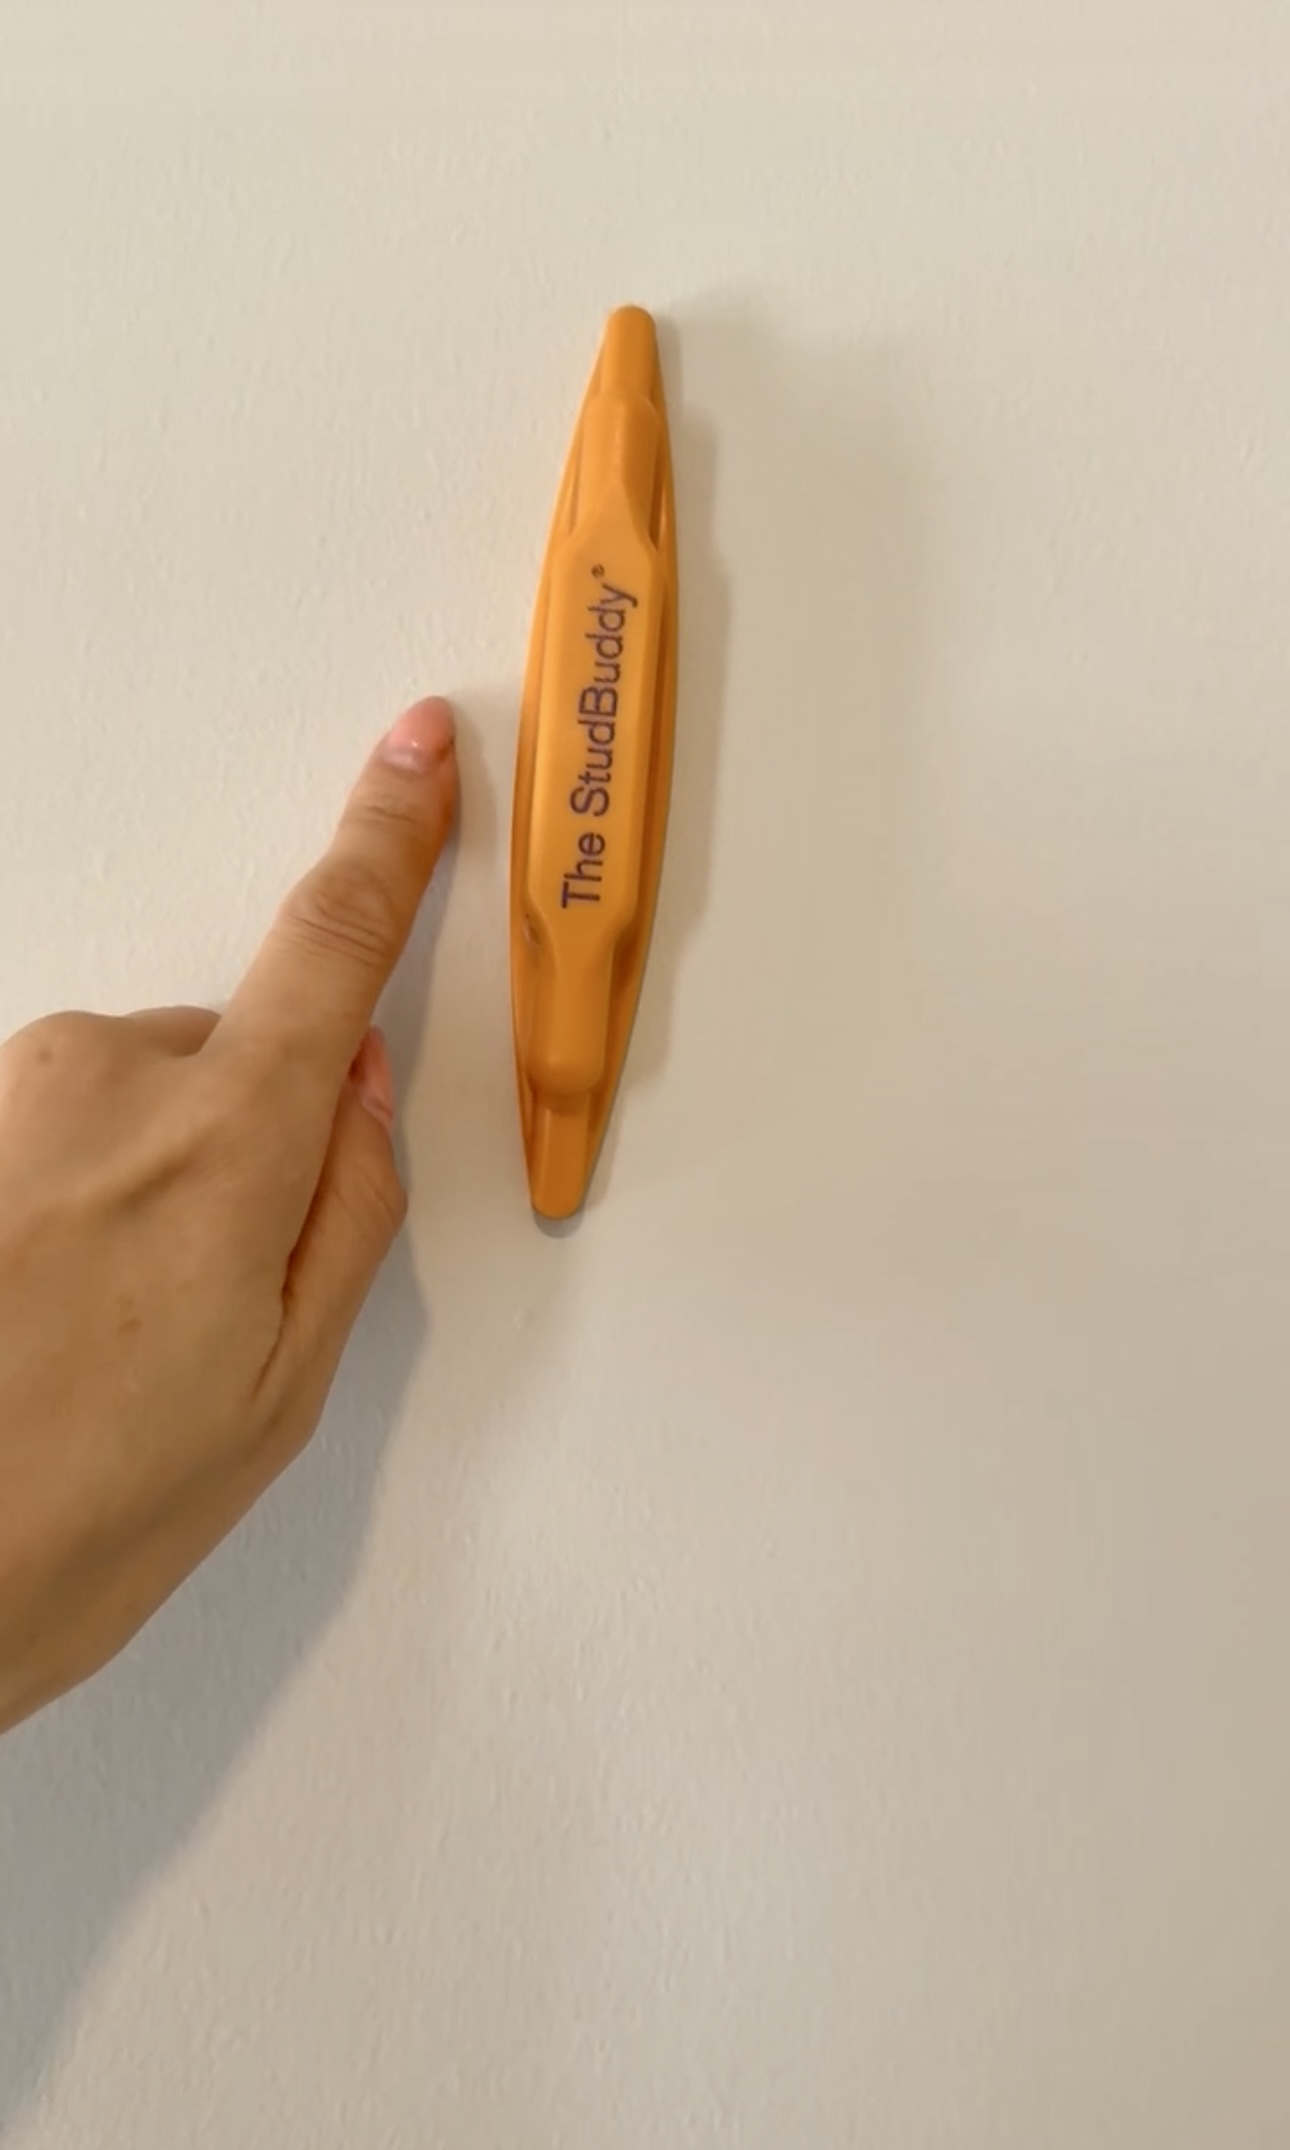
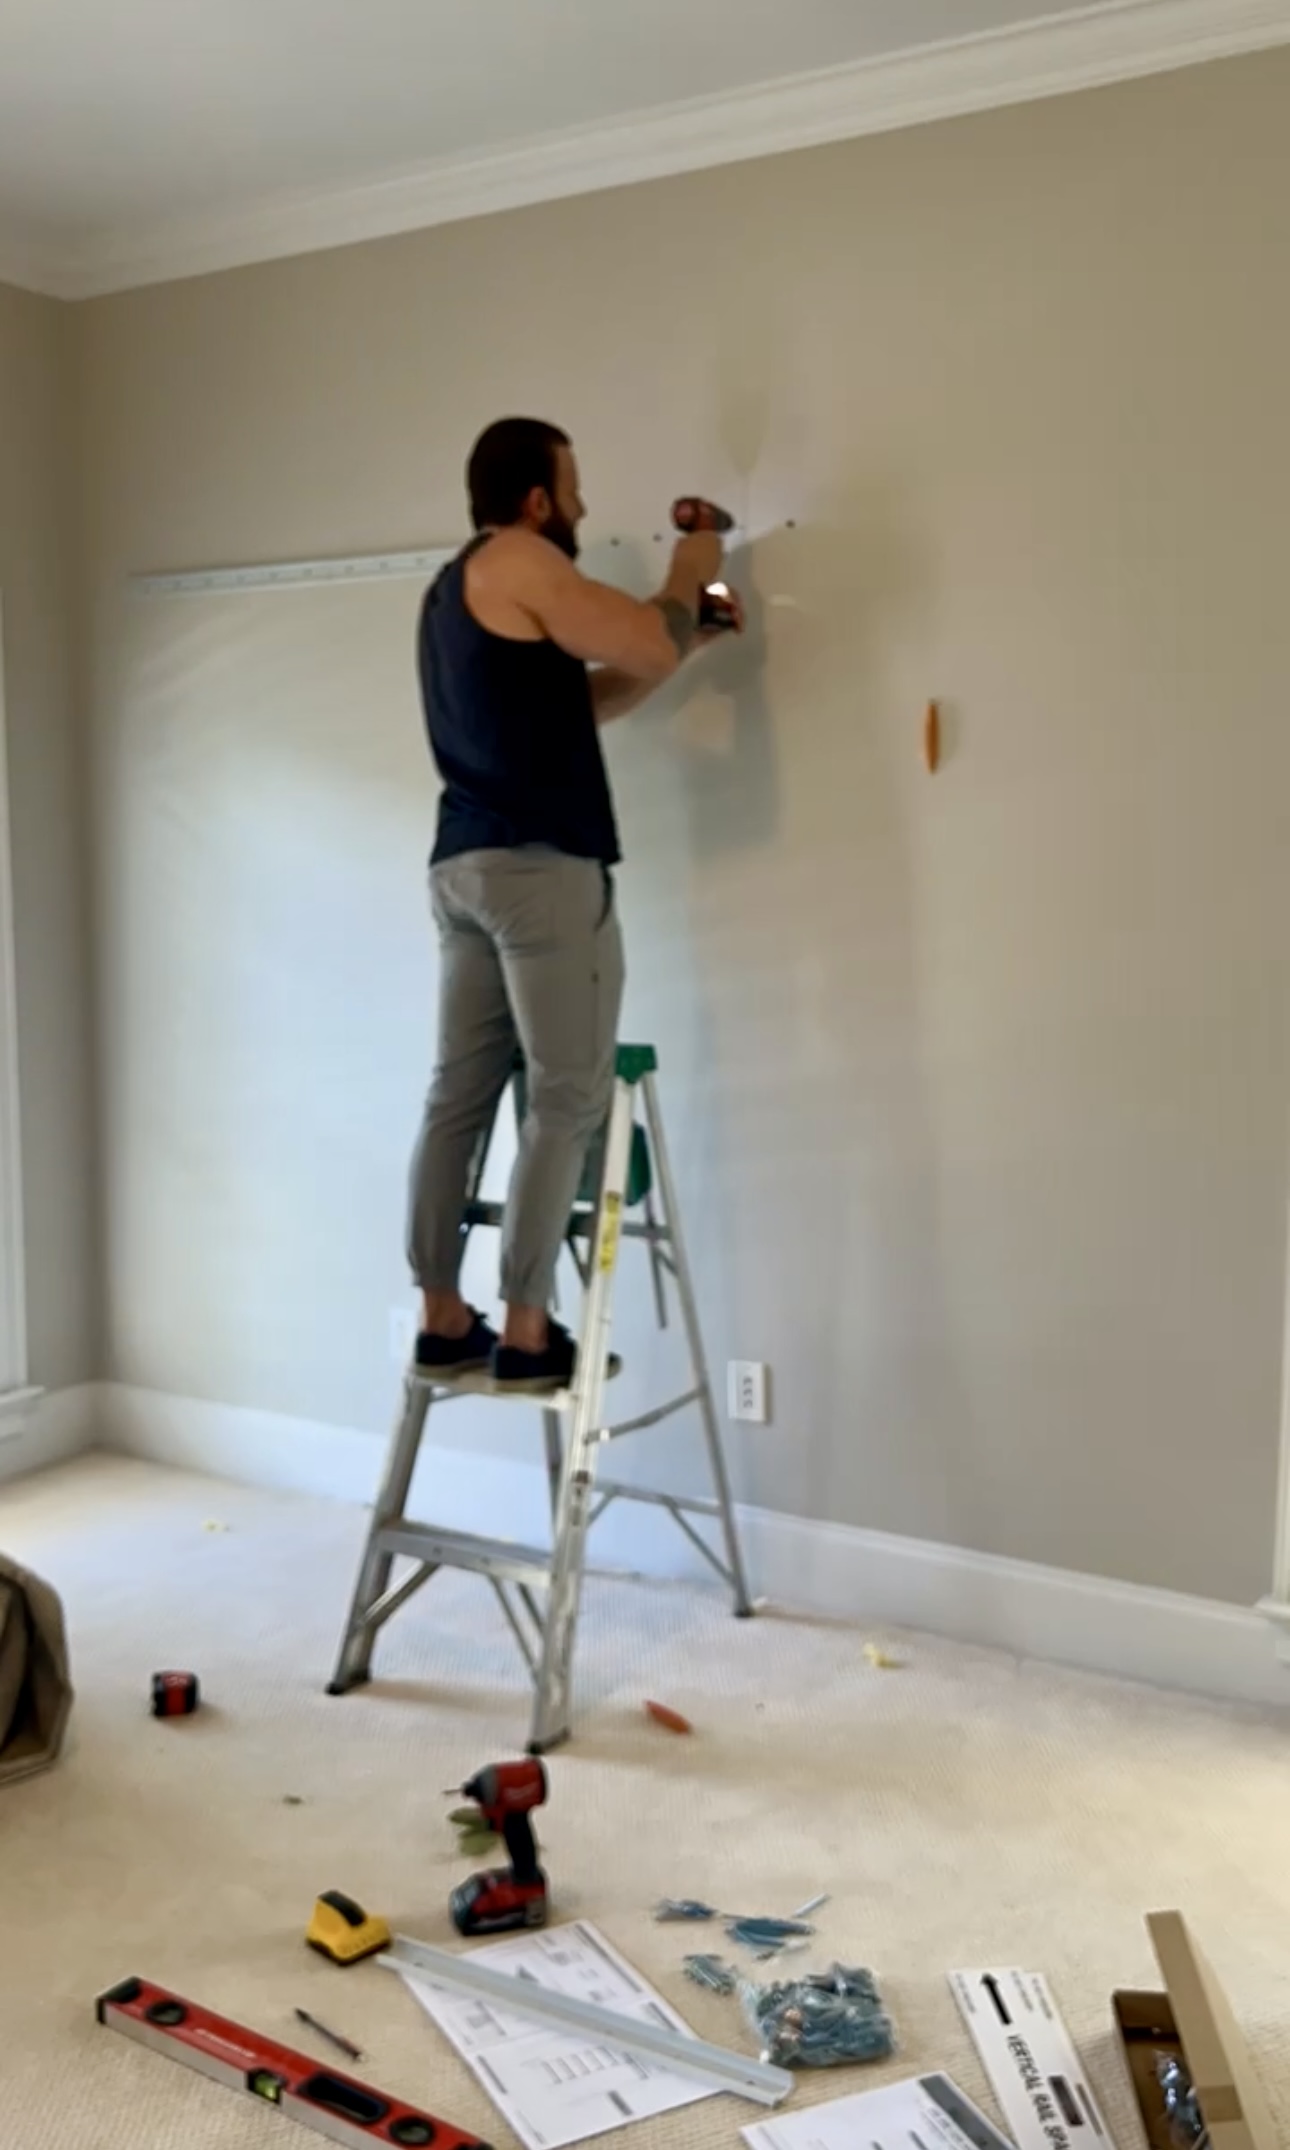
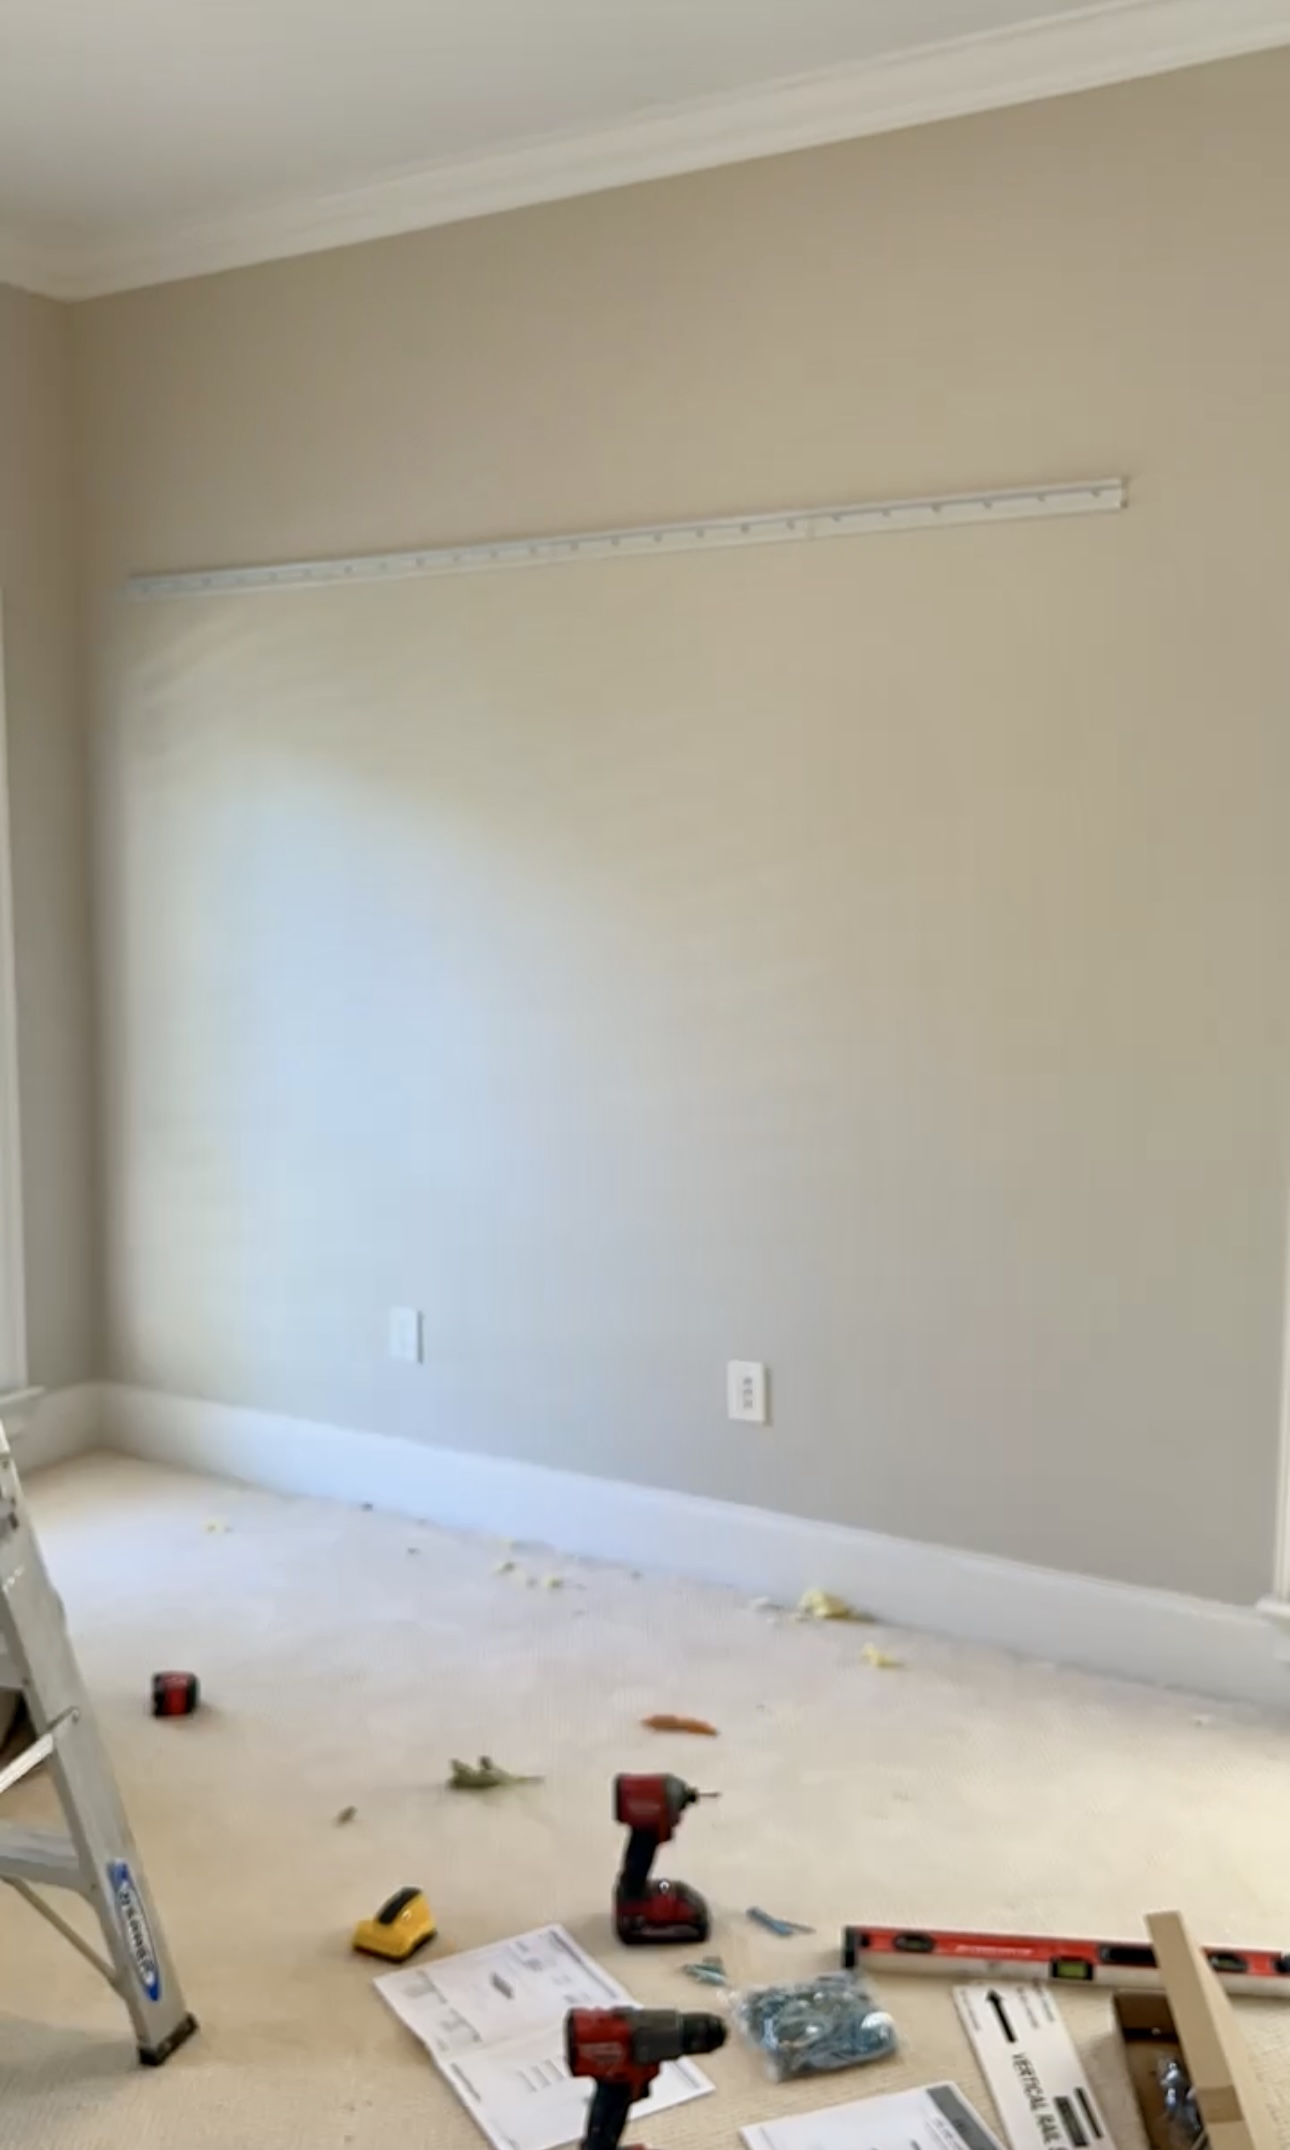
To start, you want to hang the longest track first. I marked where I wanted all the tracks to be placed and then TJ went in and found the studs with our Stud Buddy!
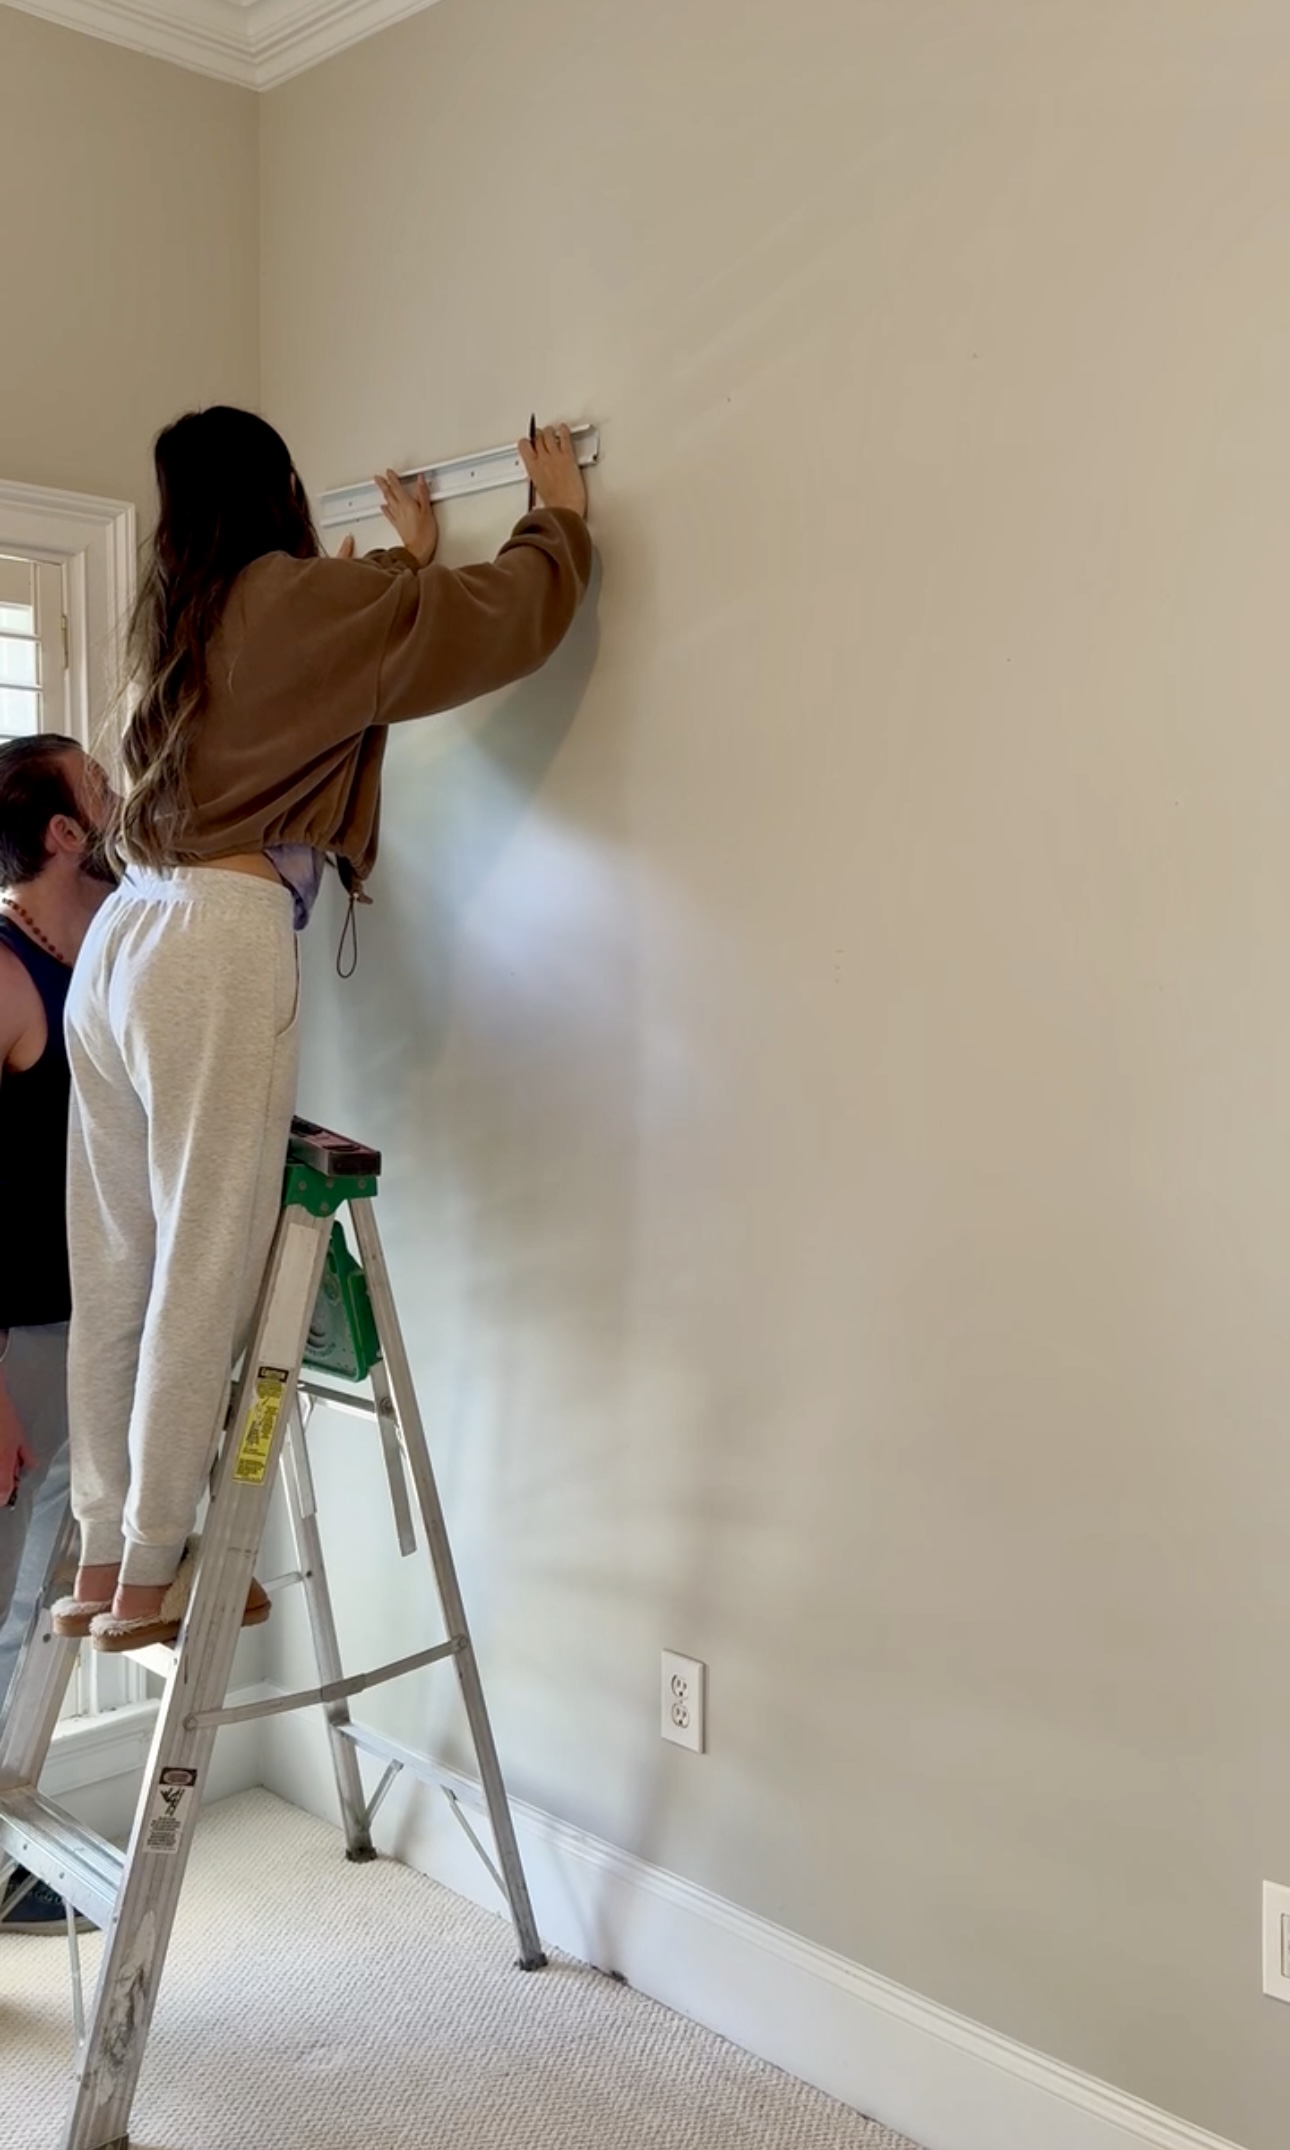
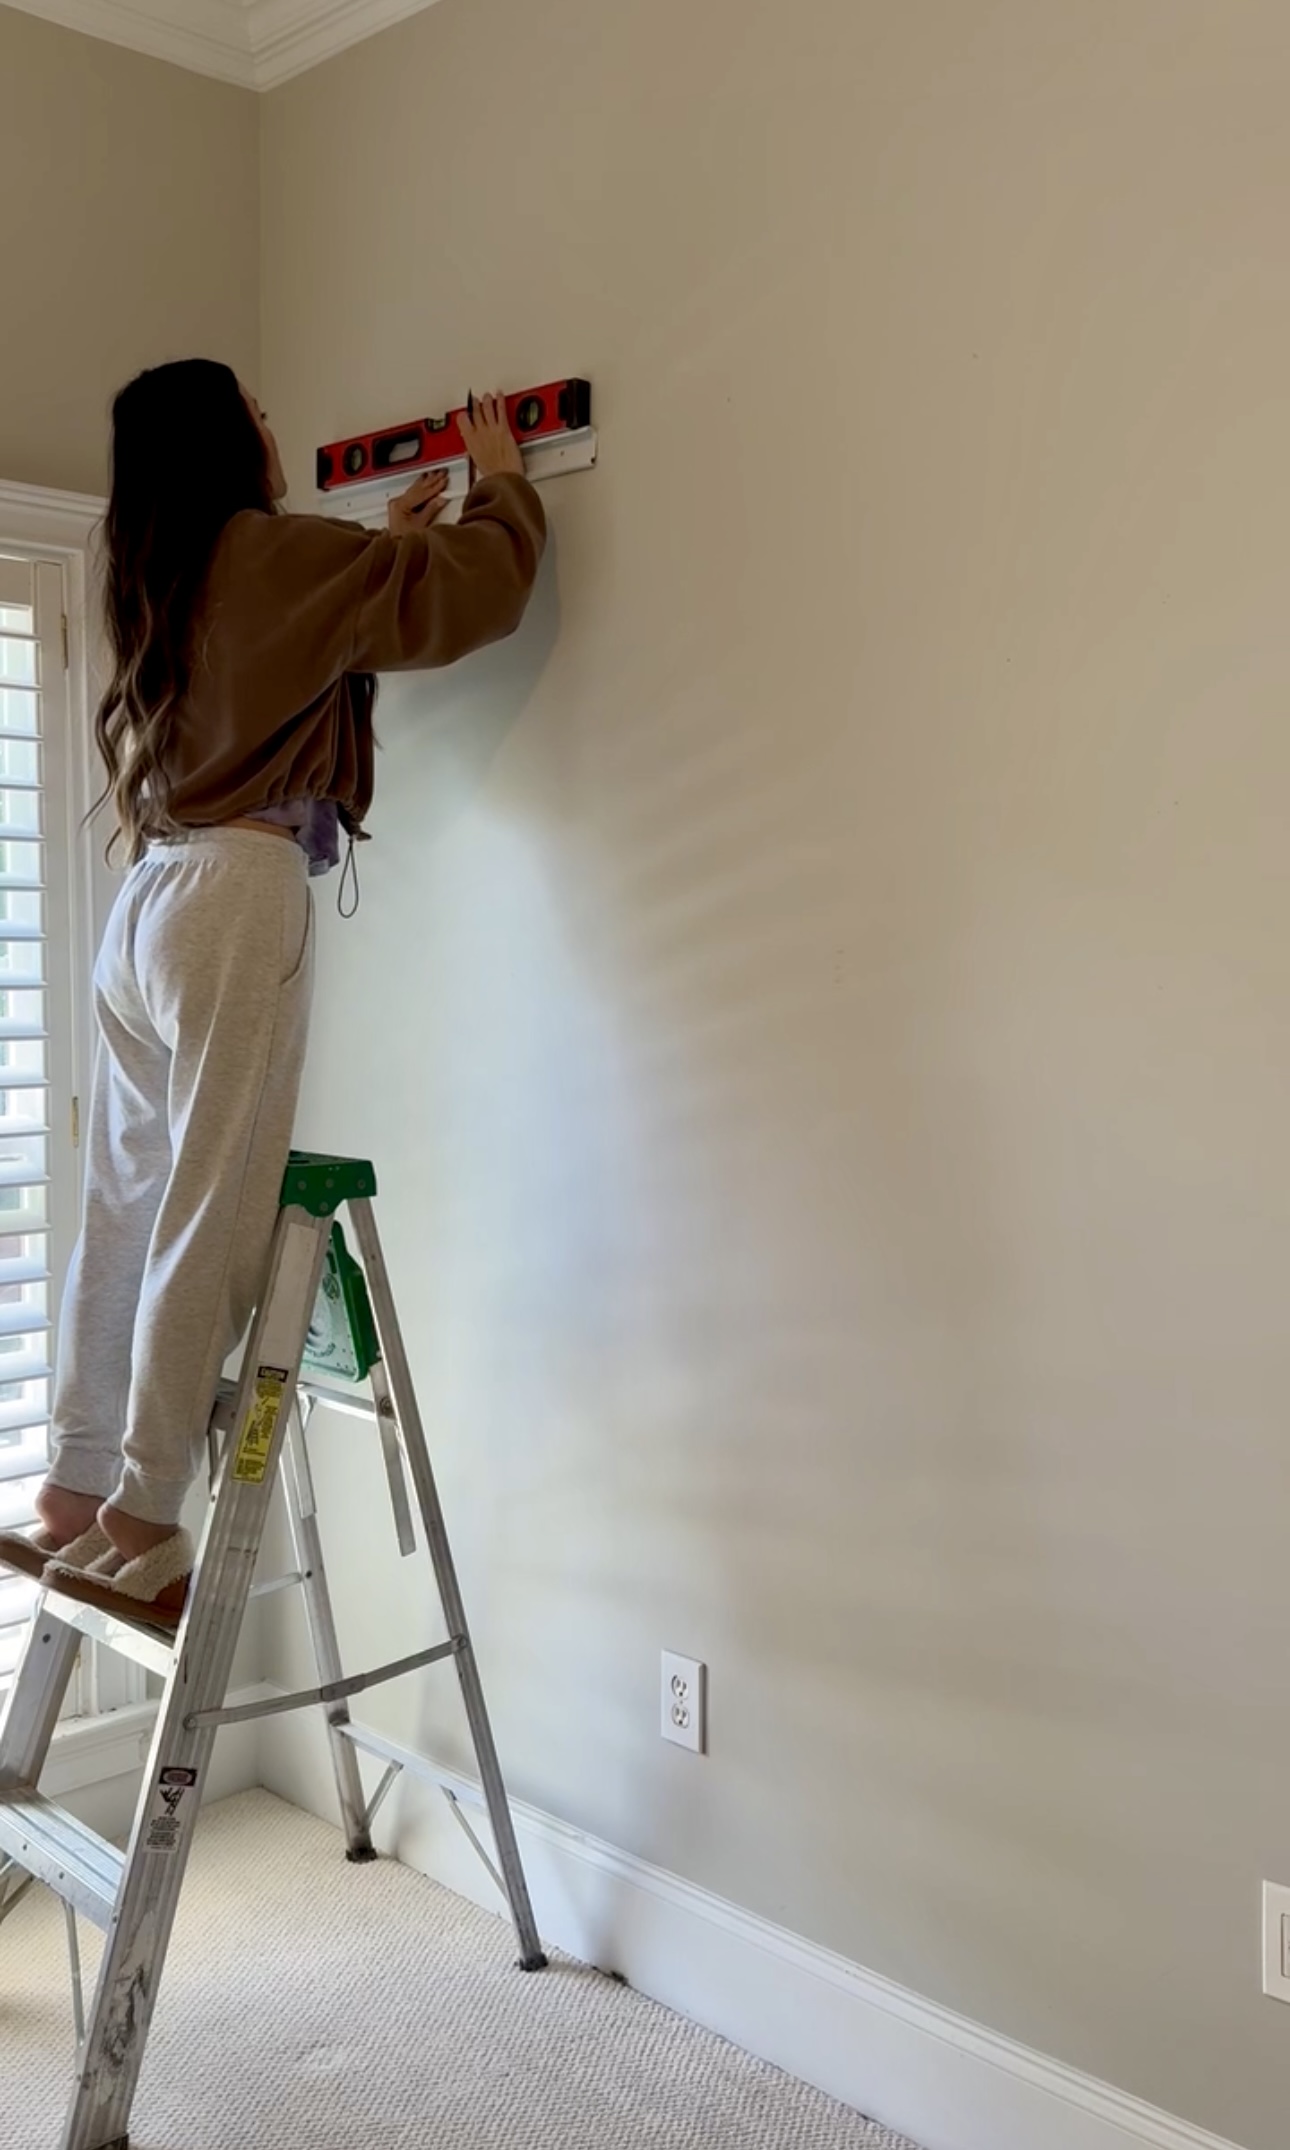
The Stud Buddy is amazing! It’s basically just a really strong magnet. You slide it along the wall and it attaches magnetically to the screws in the drywall. Where we didn’t have studs but needed screws, we used drywall toggle anchors.

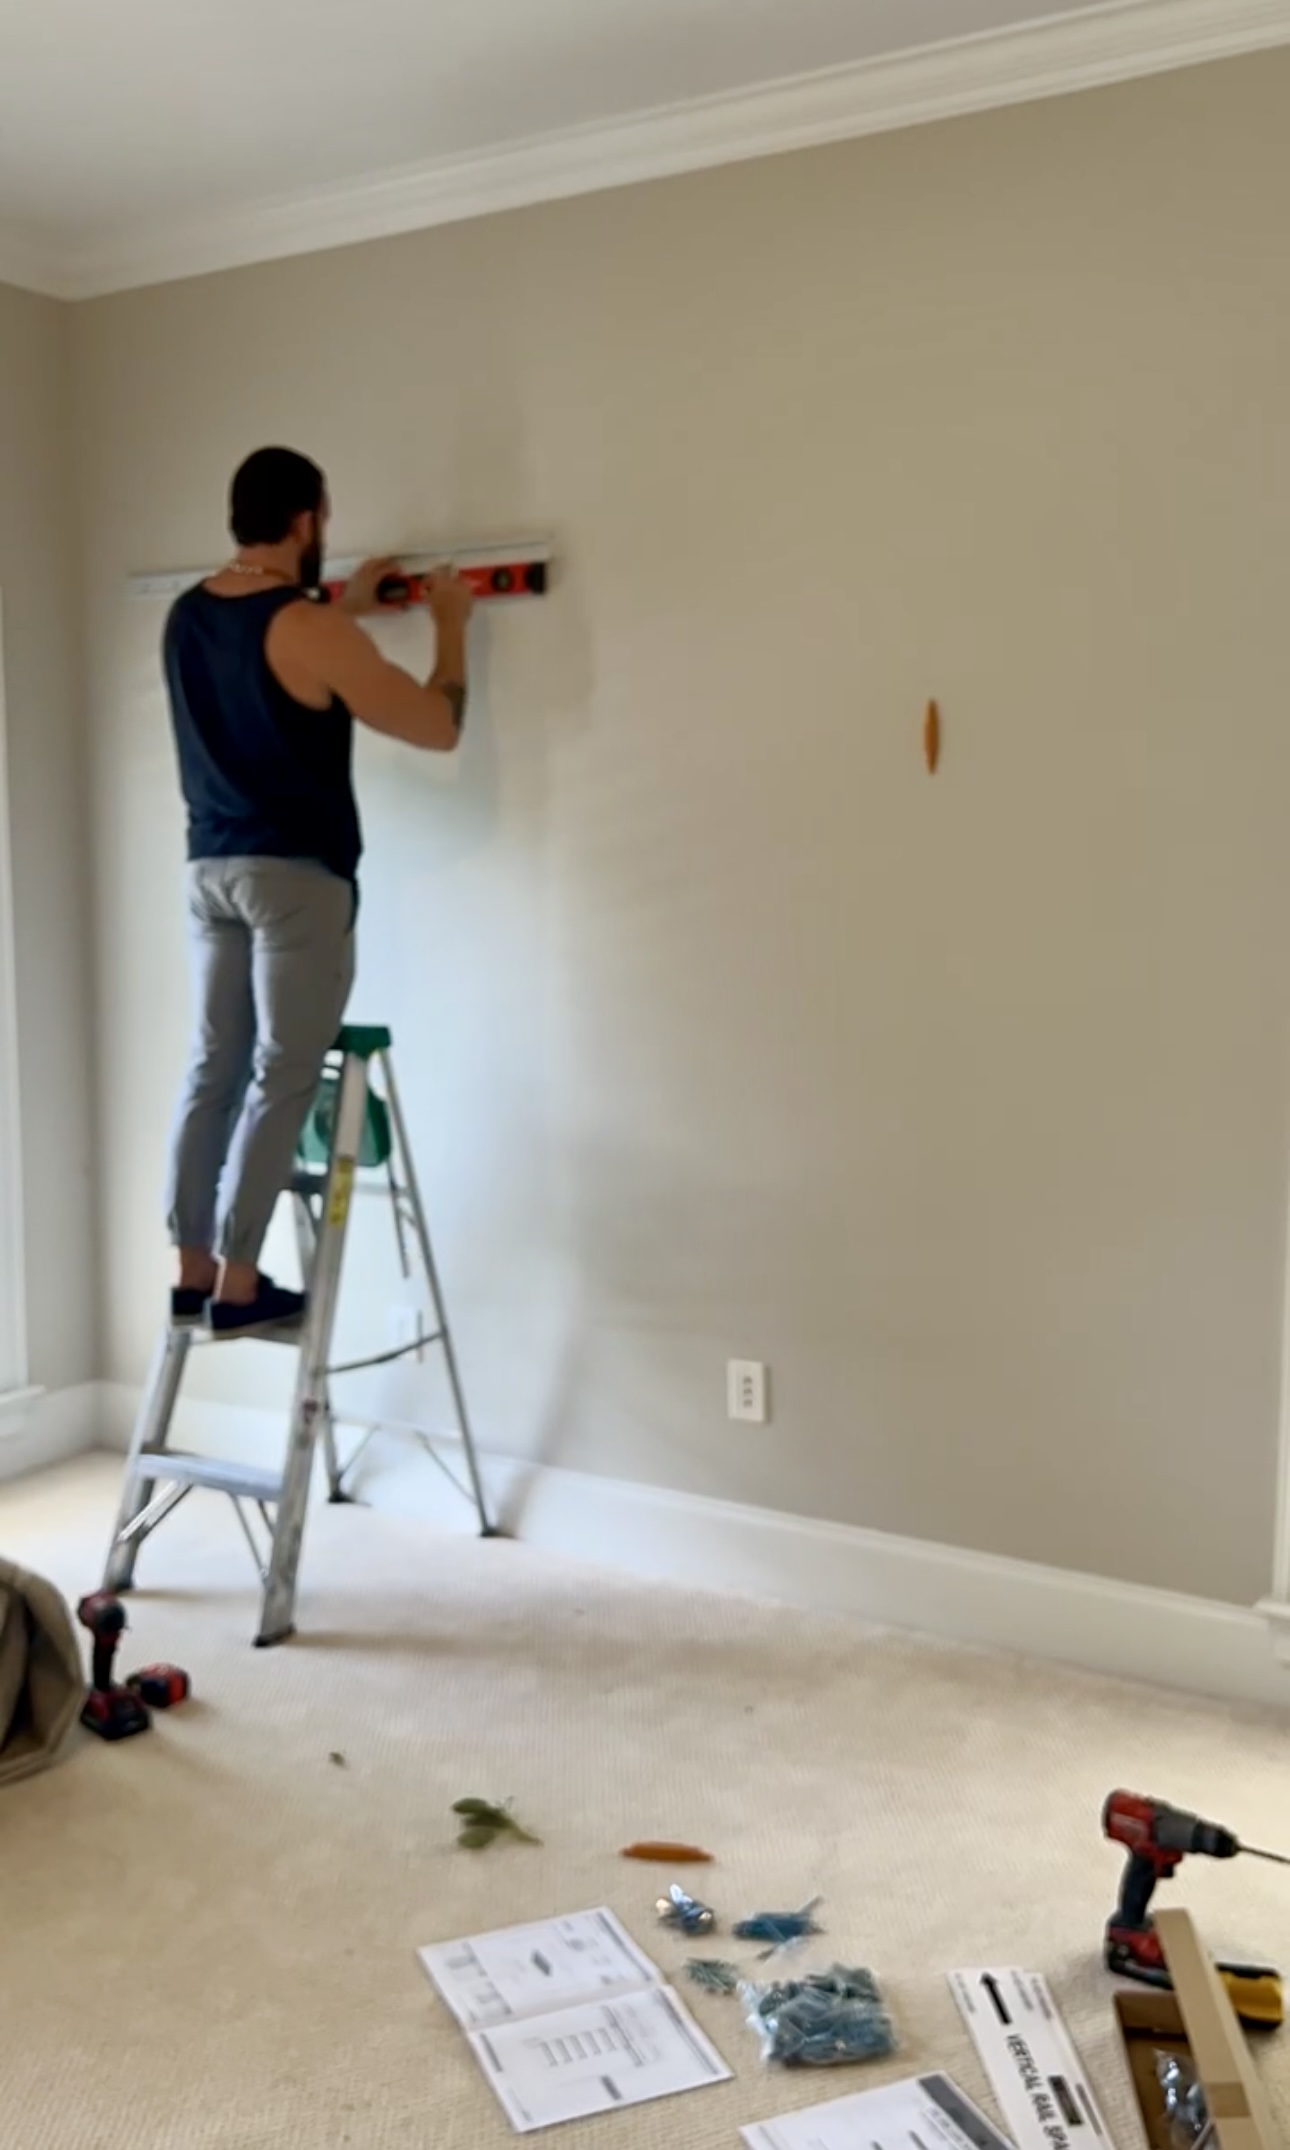
This Everbilt Kit comes with all the screws, bolts, and anchors you’d need. They also provide screws and bolts for concrete or cement!
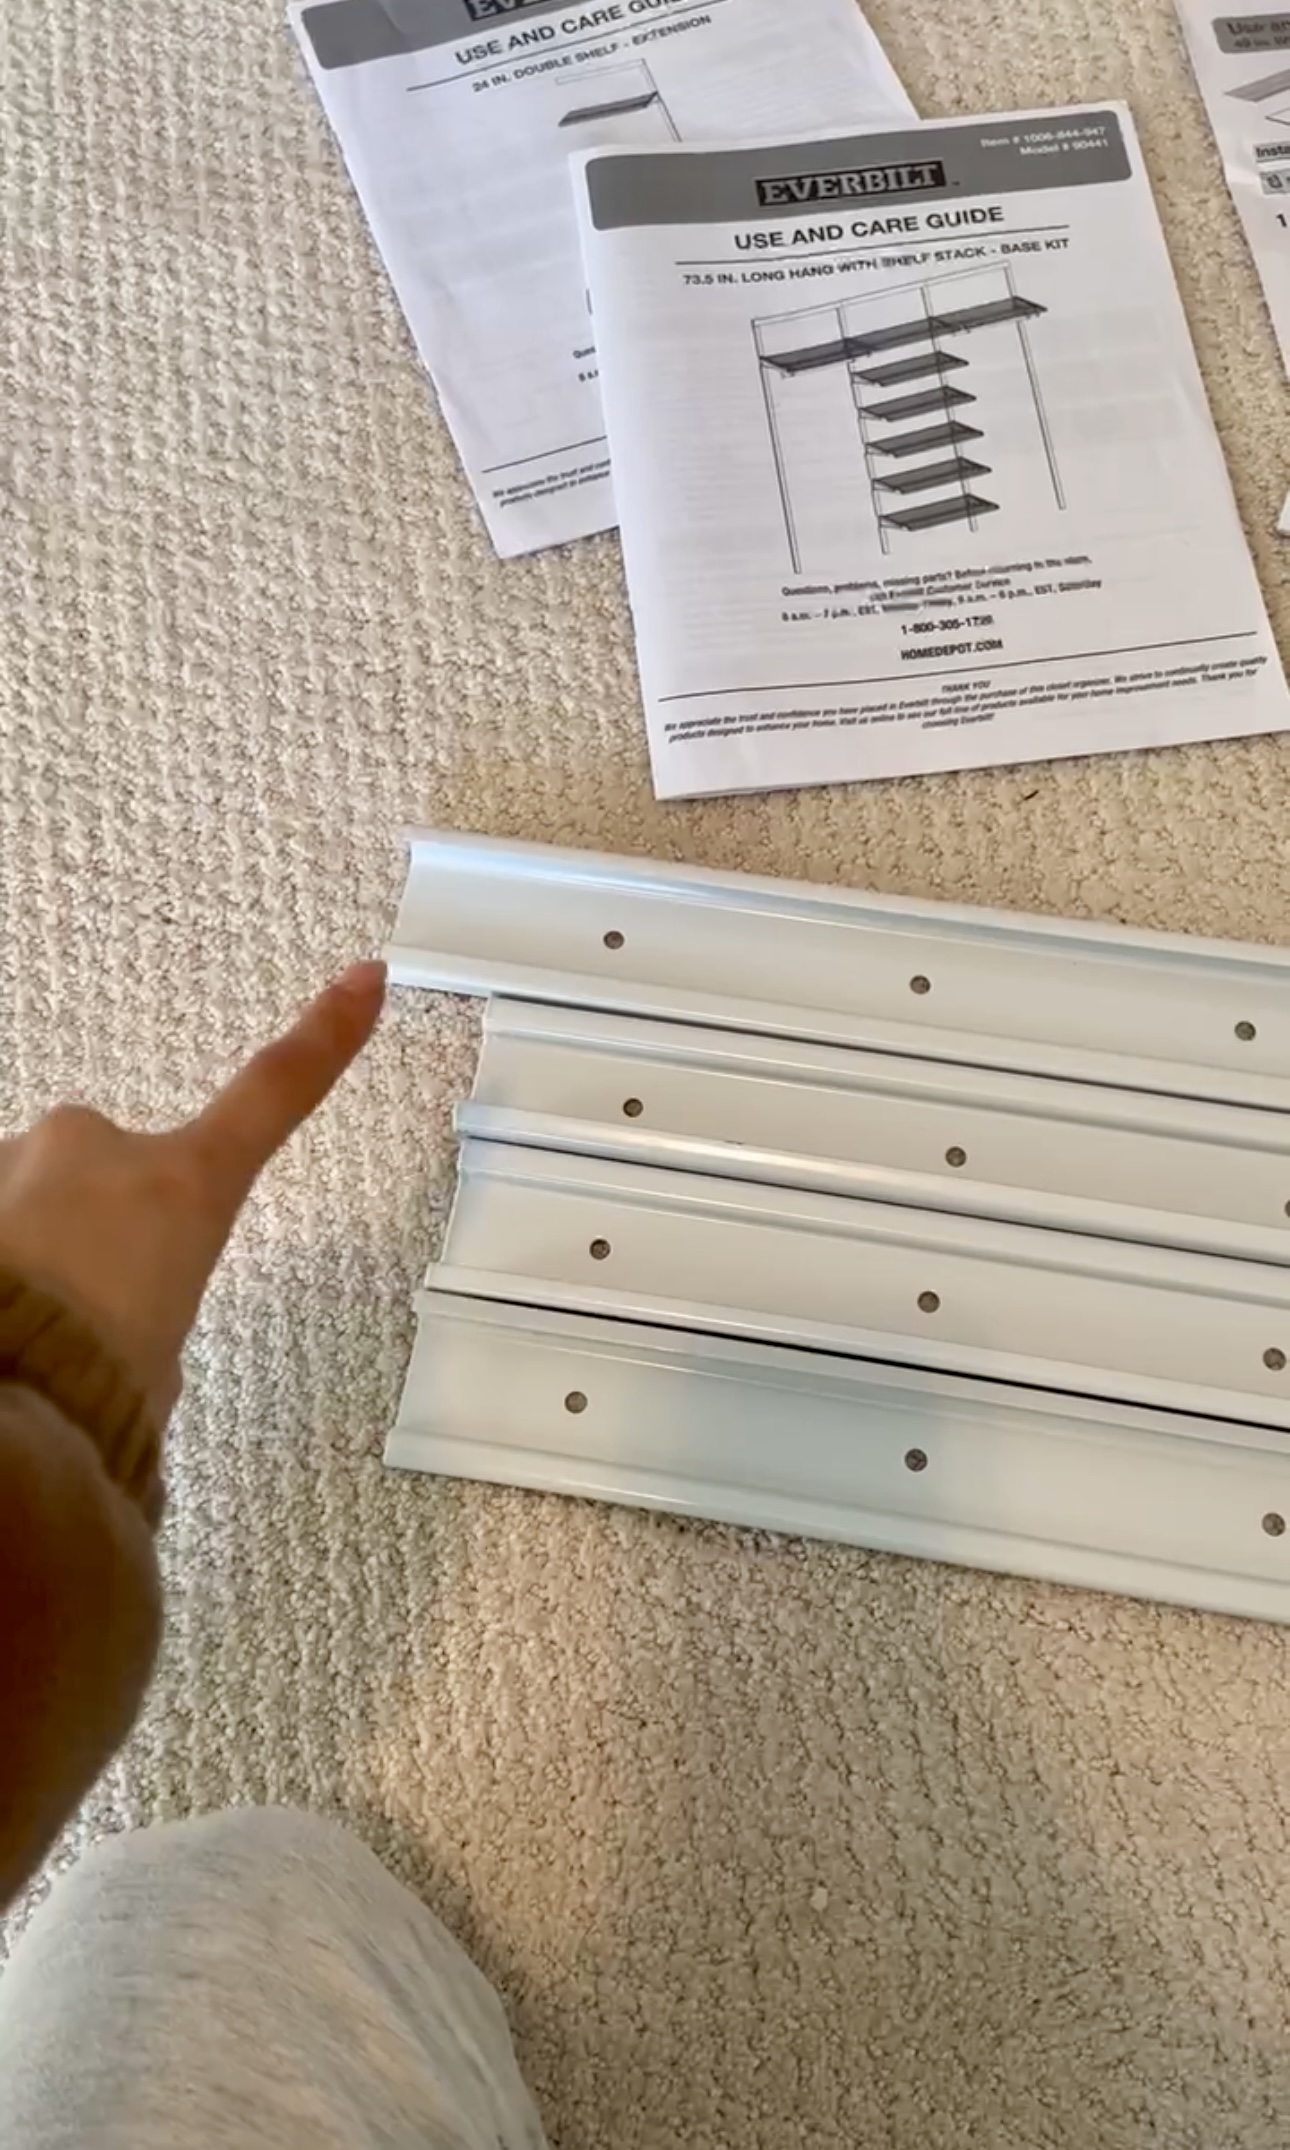
*A quick note
If you’re using this kit, make sure to hang that slightly longer one first and all the way to the left with the thicker side on the top. If you don’t hang the longer one all the way on the left, it’ll mess up the whole configuration…trust me!
Vertical Rails
After installing the hang track, we put on the vertical rails. They come pretty short but you attach the provided connectors to your desired length. We used the same anchor method here as when we hung the hang track – toggle anchors where there weren’t studs. We made sure the rails were plumb with a level, marked the holes, and installed the anchors.
The kit comes with a vertical rail spacer! We still used a level to make sure everything was level up and down the entire rail. You can never be too sure that your lines are straight!
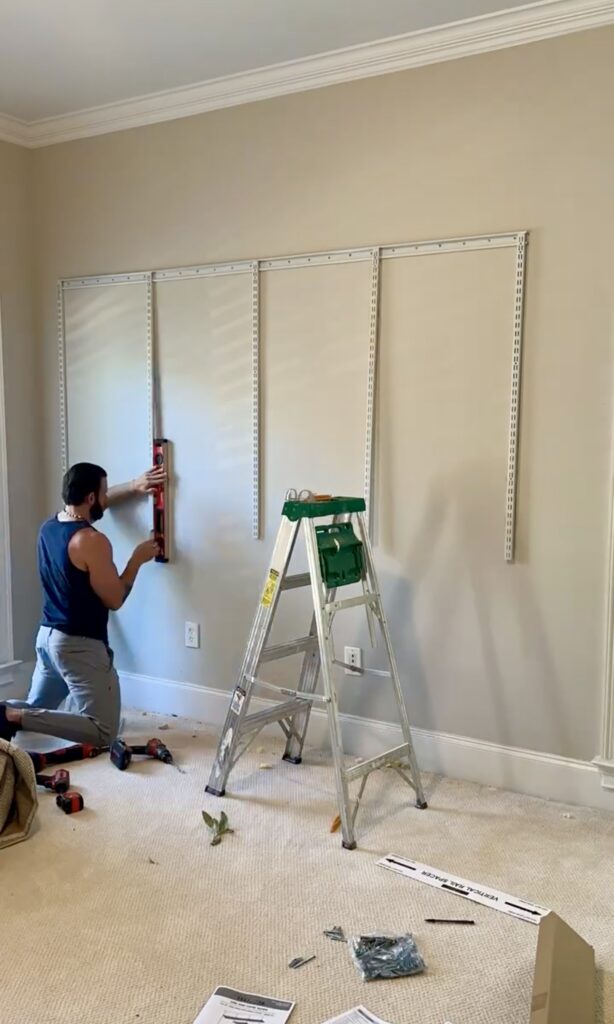
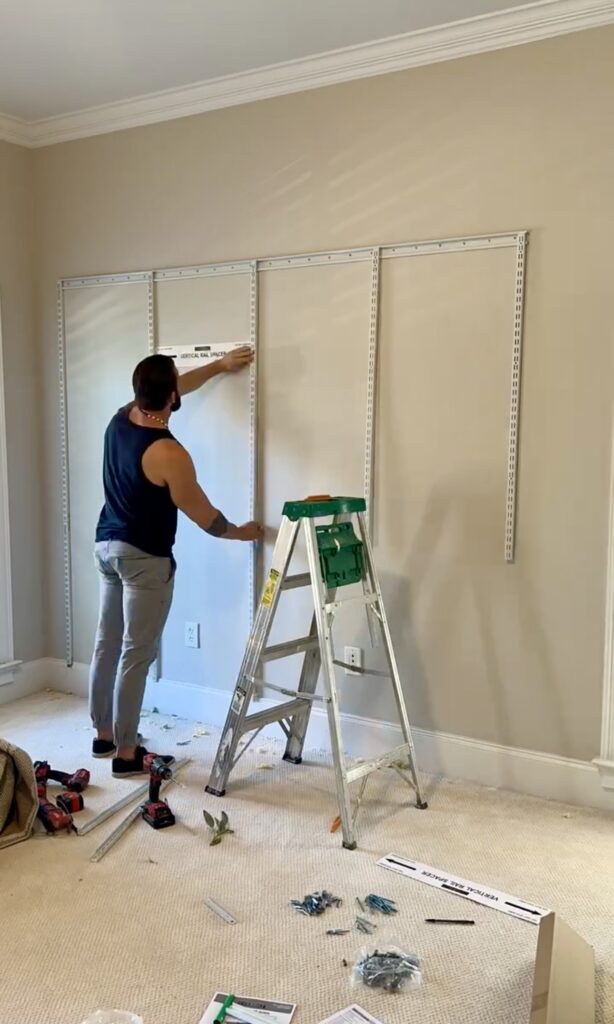
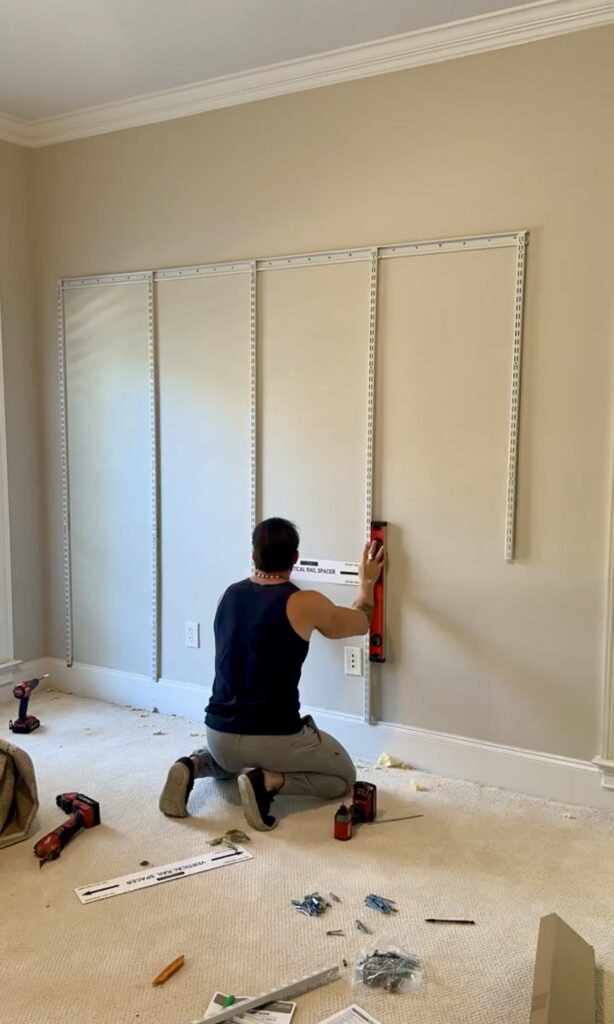
We made sure to measure 84 inches up from the floor like the instructions said. BUT our baseboards are super tall so we had to just notch out baseboards.
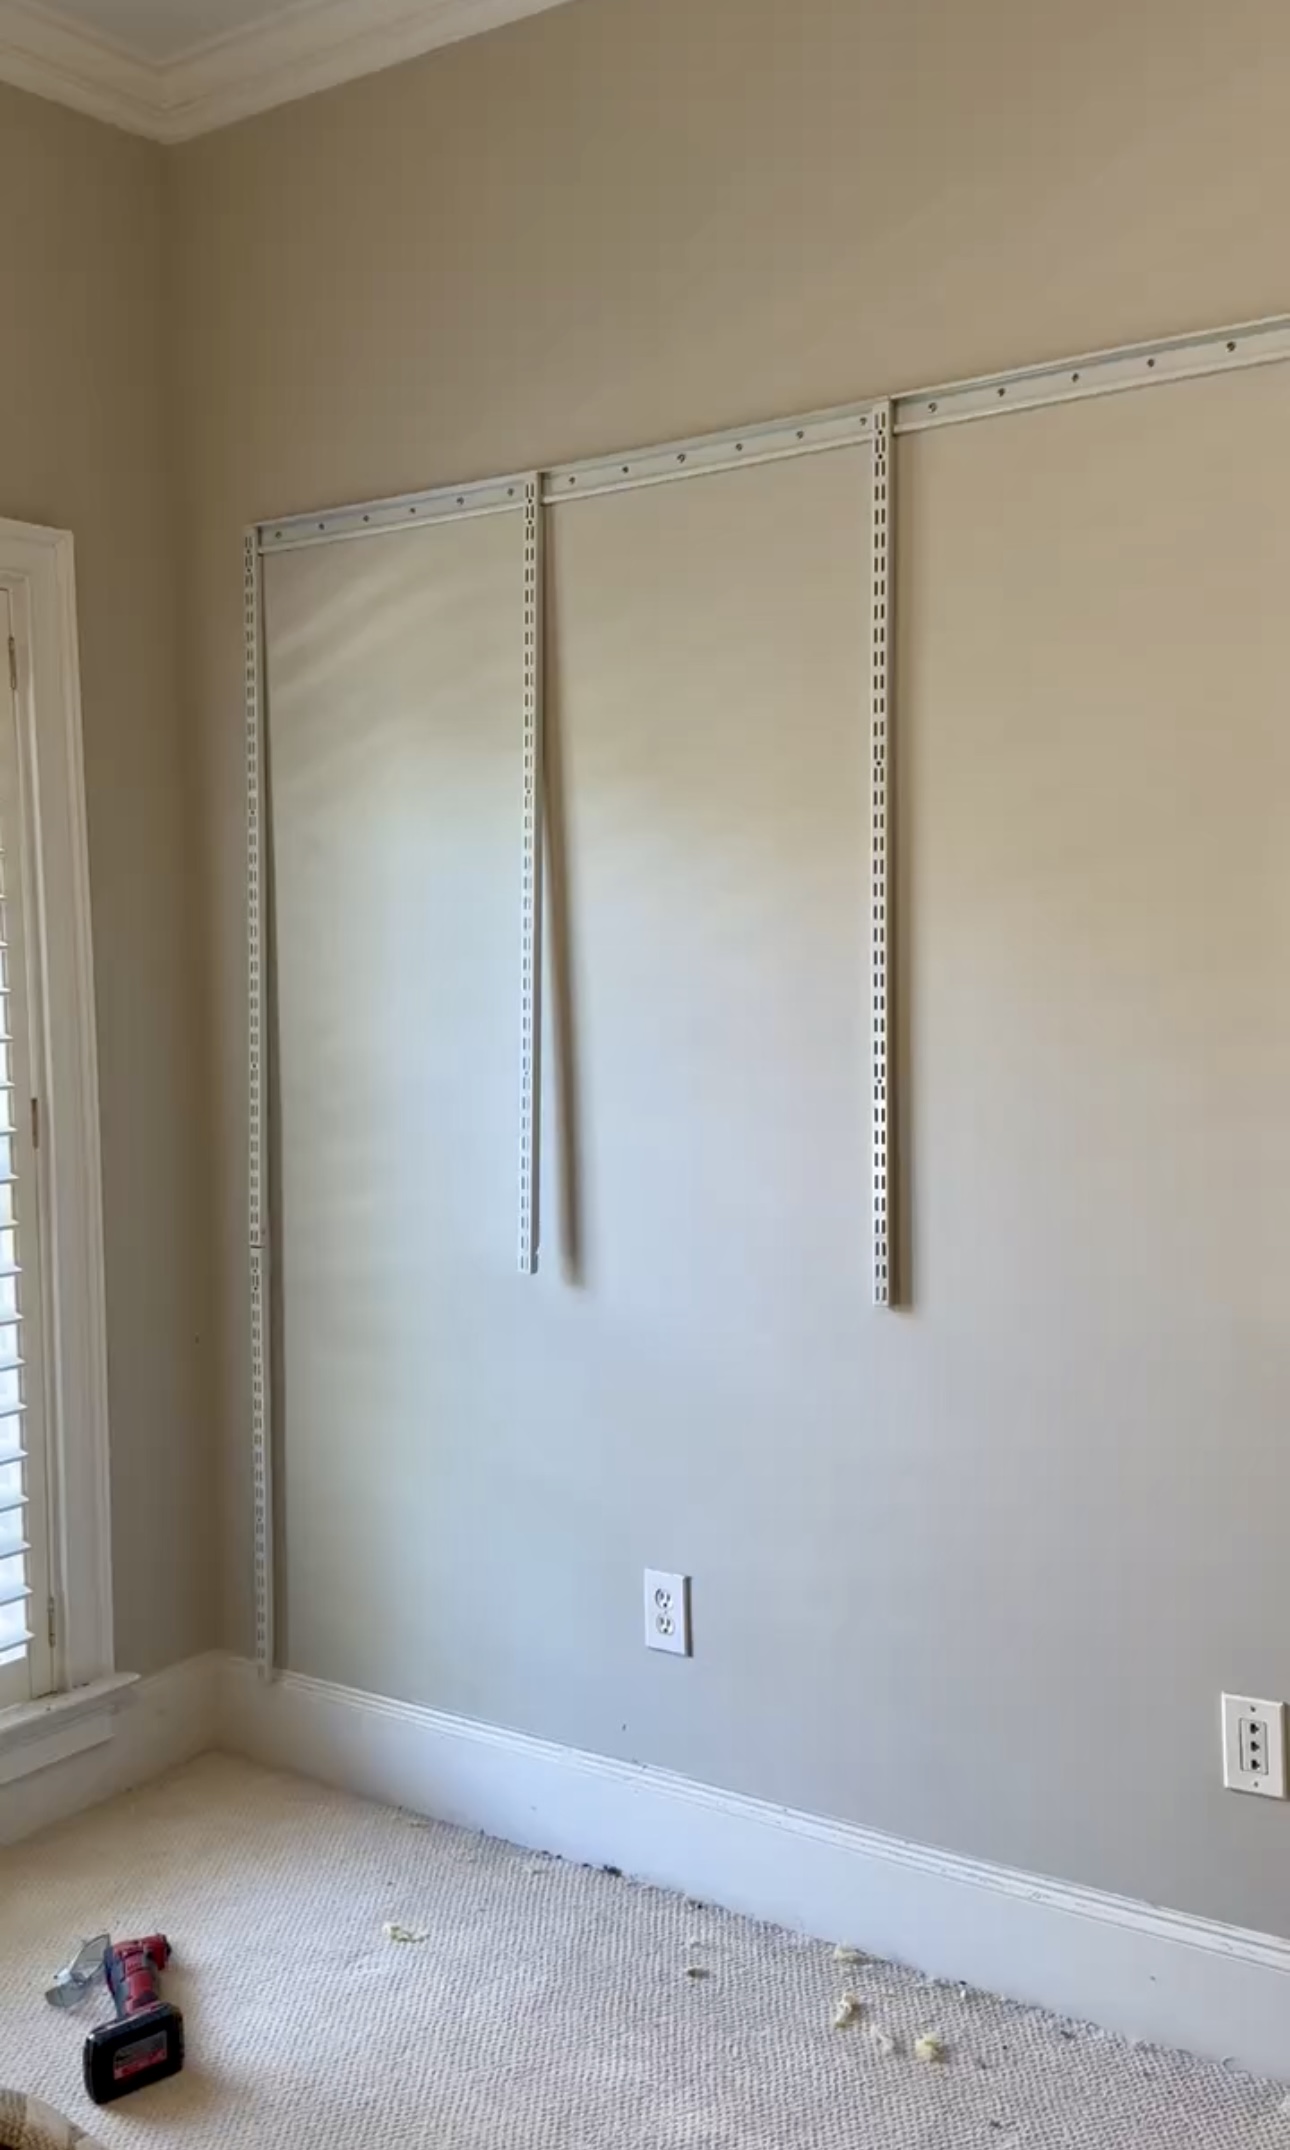
Let’s customize it!
This system comes with a guide for all the different configurations you can use based on the different size spaces you’re working with.
We hung up all the shelves based on the configuration we chose. It also comes with covers to make the system look polished.
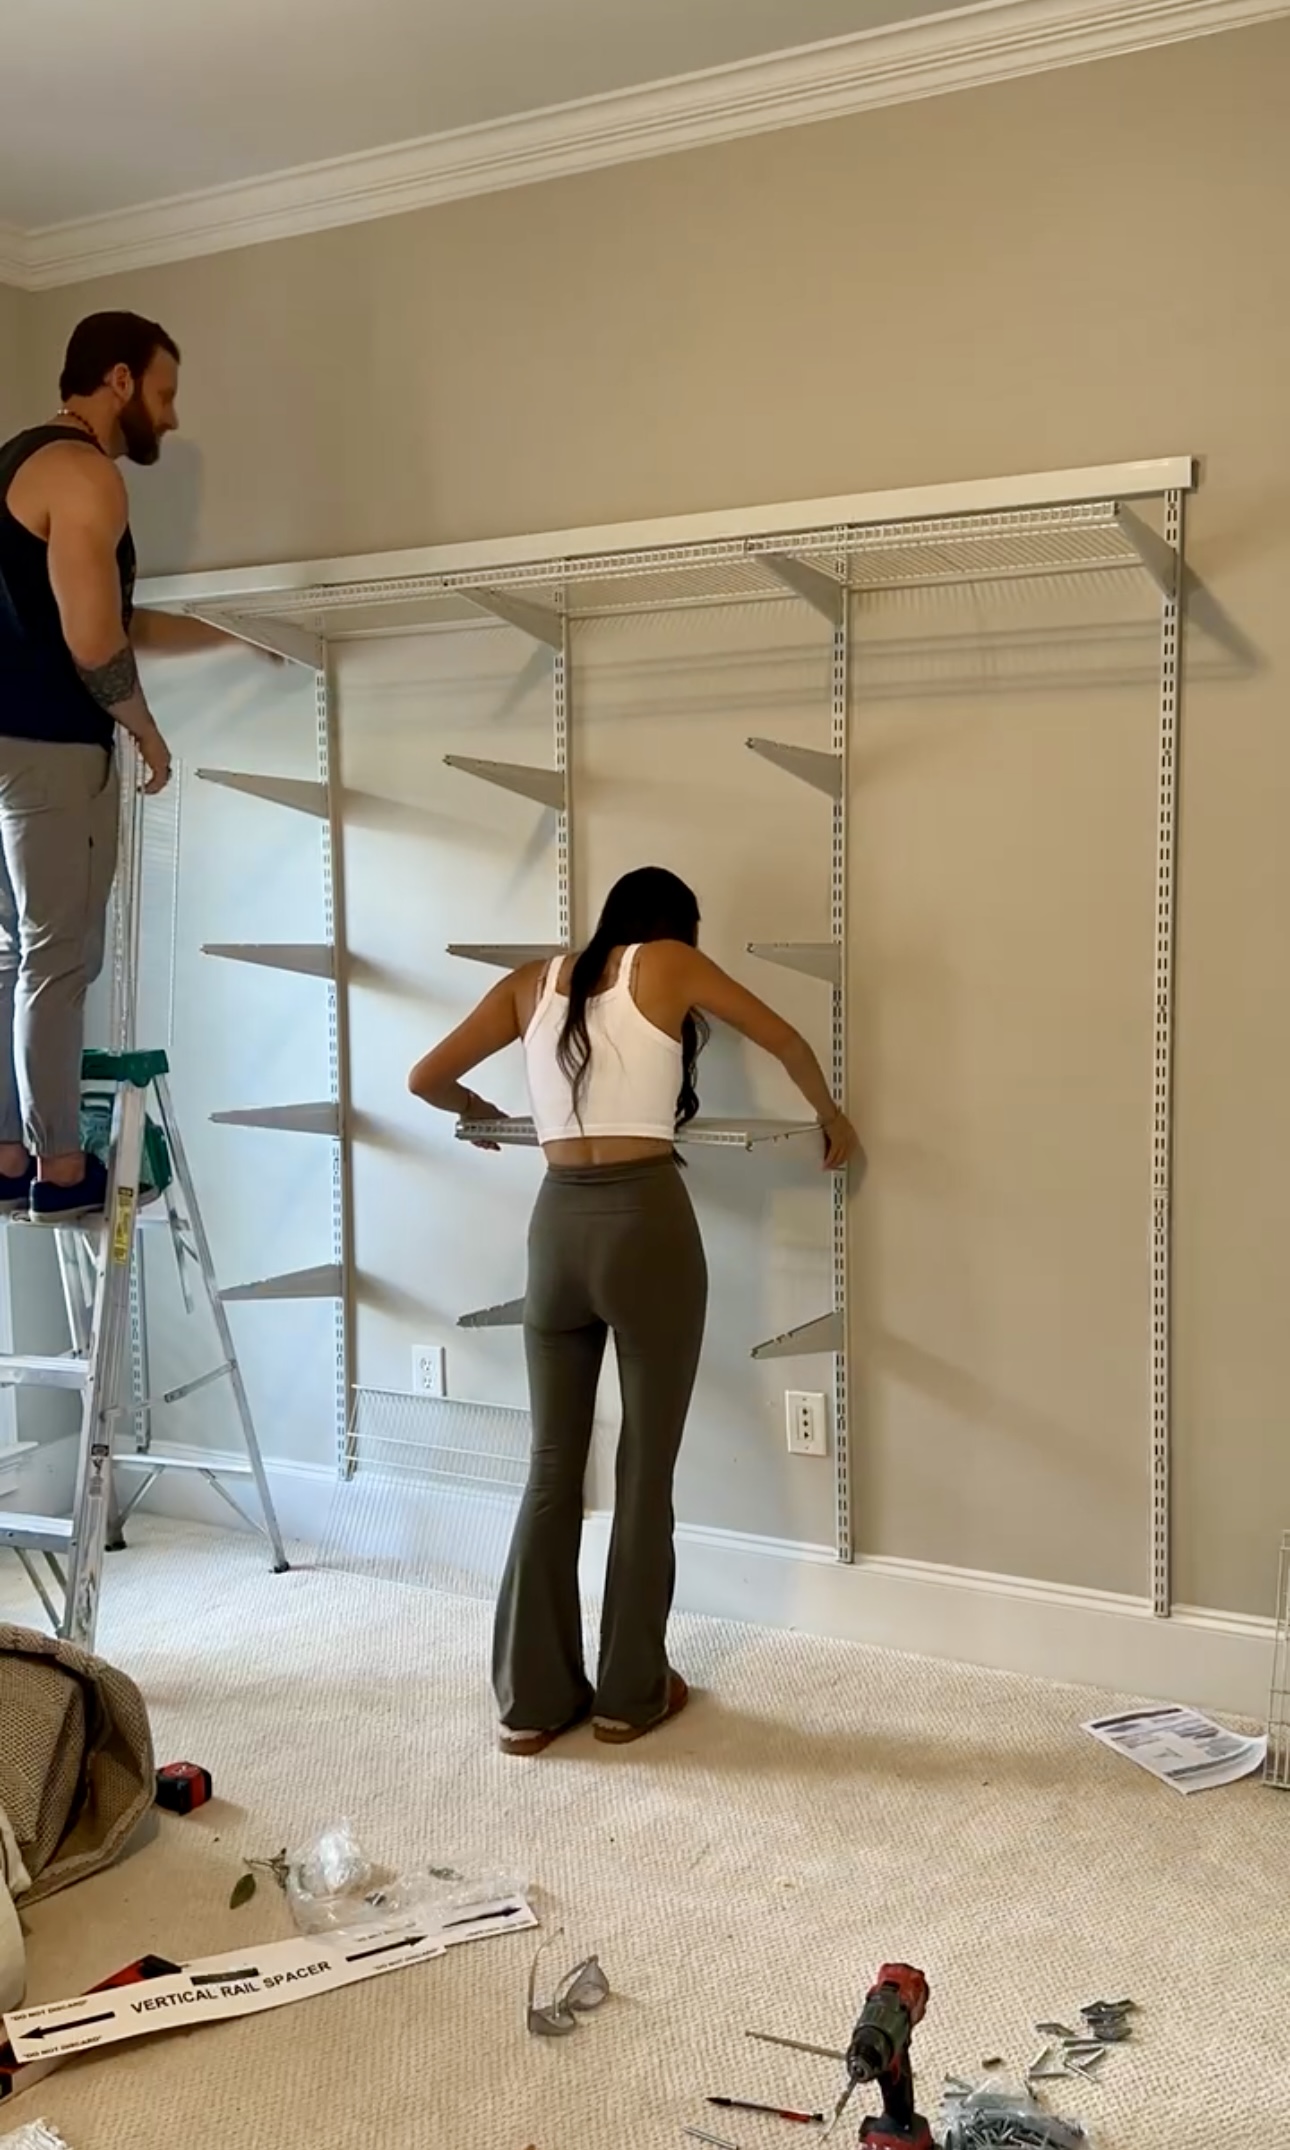
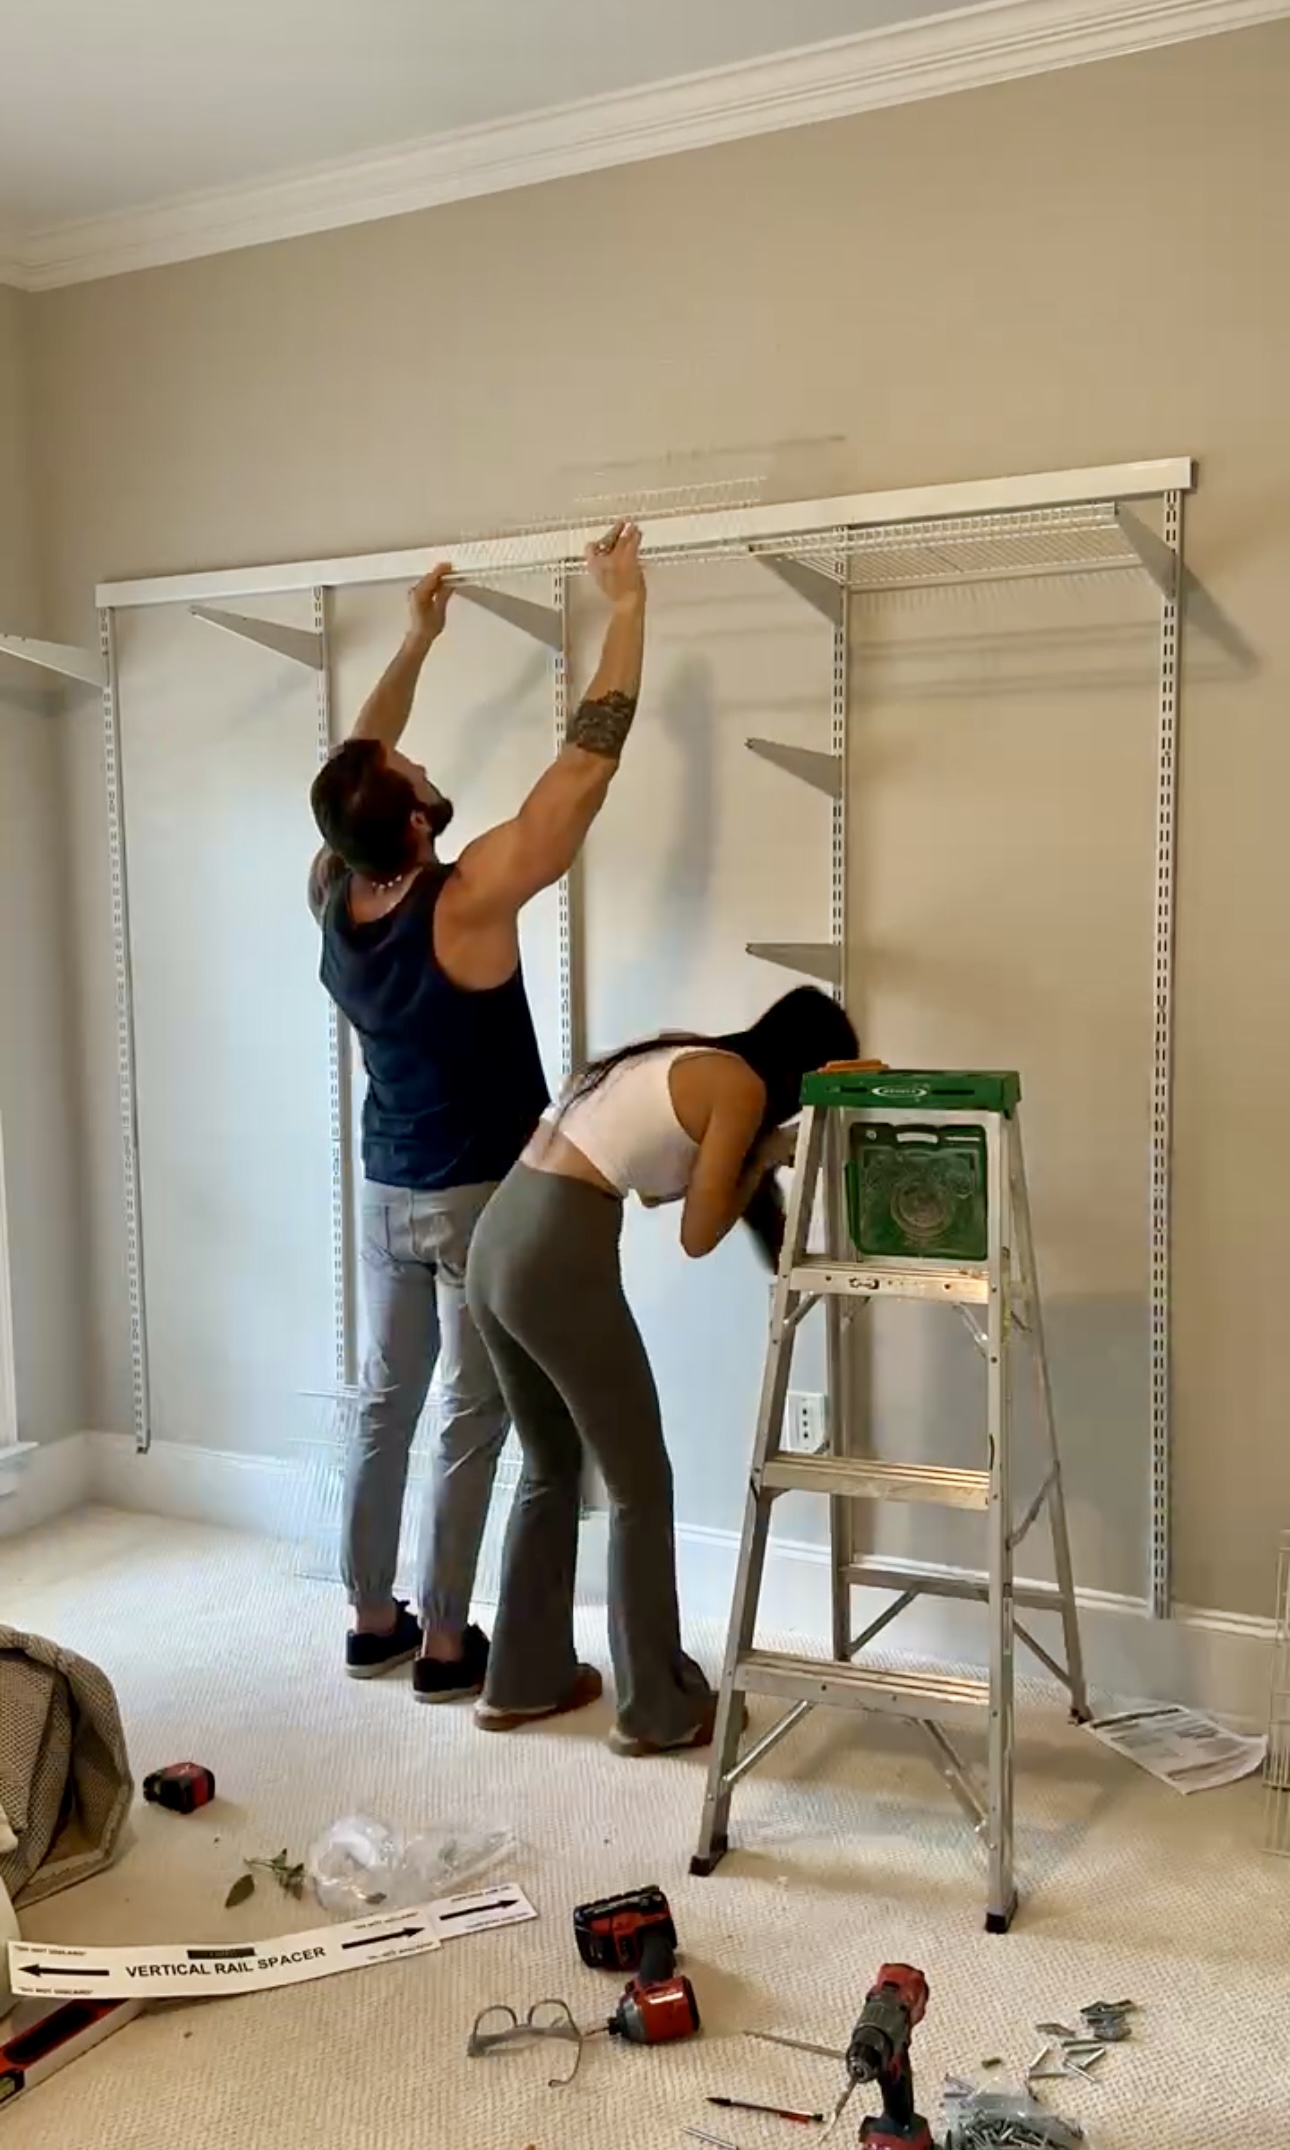
After we set it up, I didn’t love the configuration. But it was SO easy to change! This system is so dang customizable! I rearranged it to fit my storage needs and this is what we ended up with.

Organize
Time for the fun part – organizing! Look how much better this looks!!! Finally, a storage room I can be proud of.
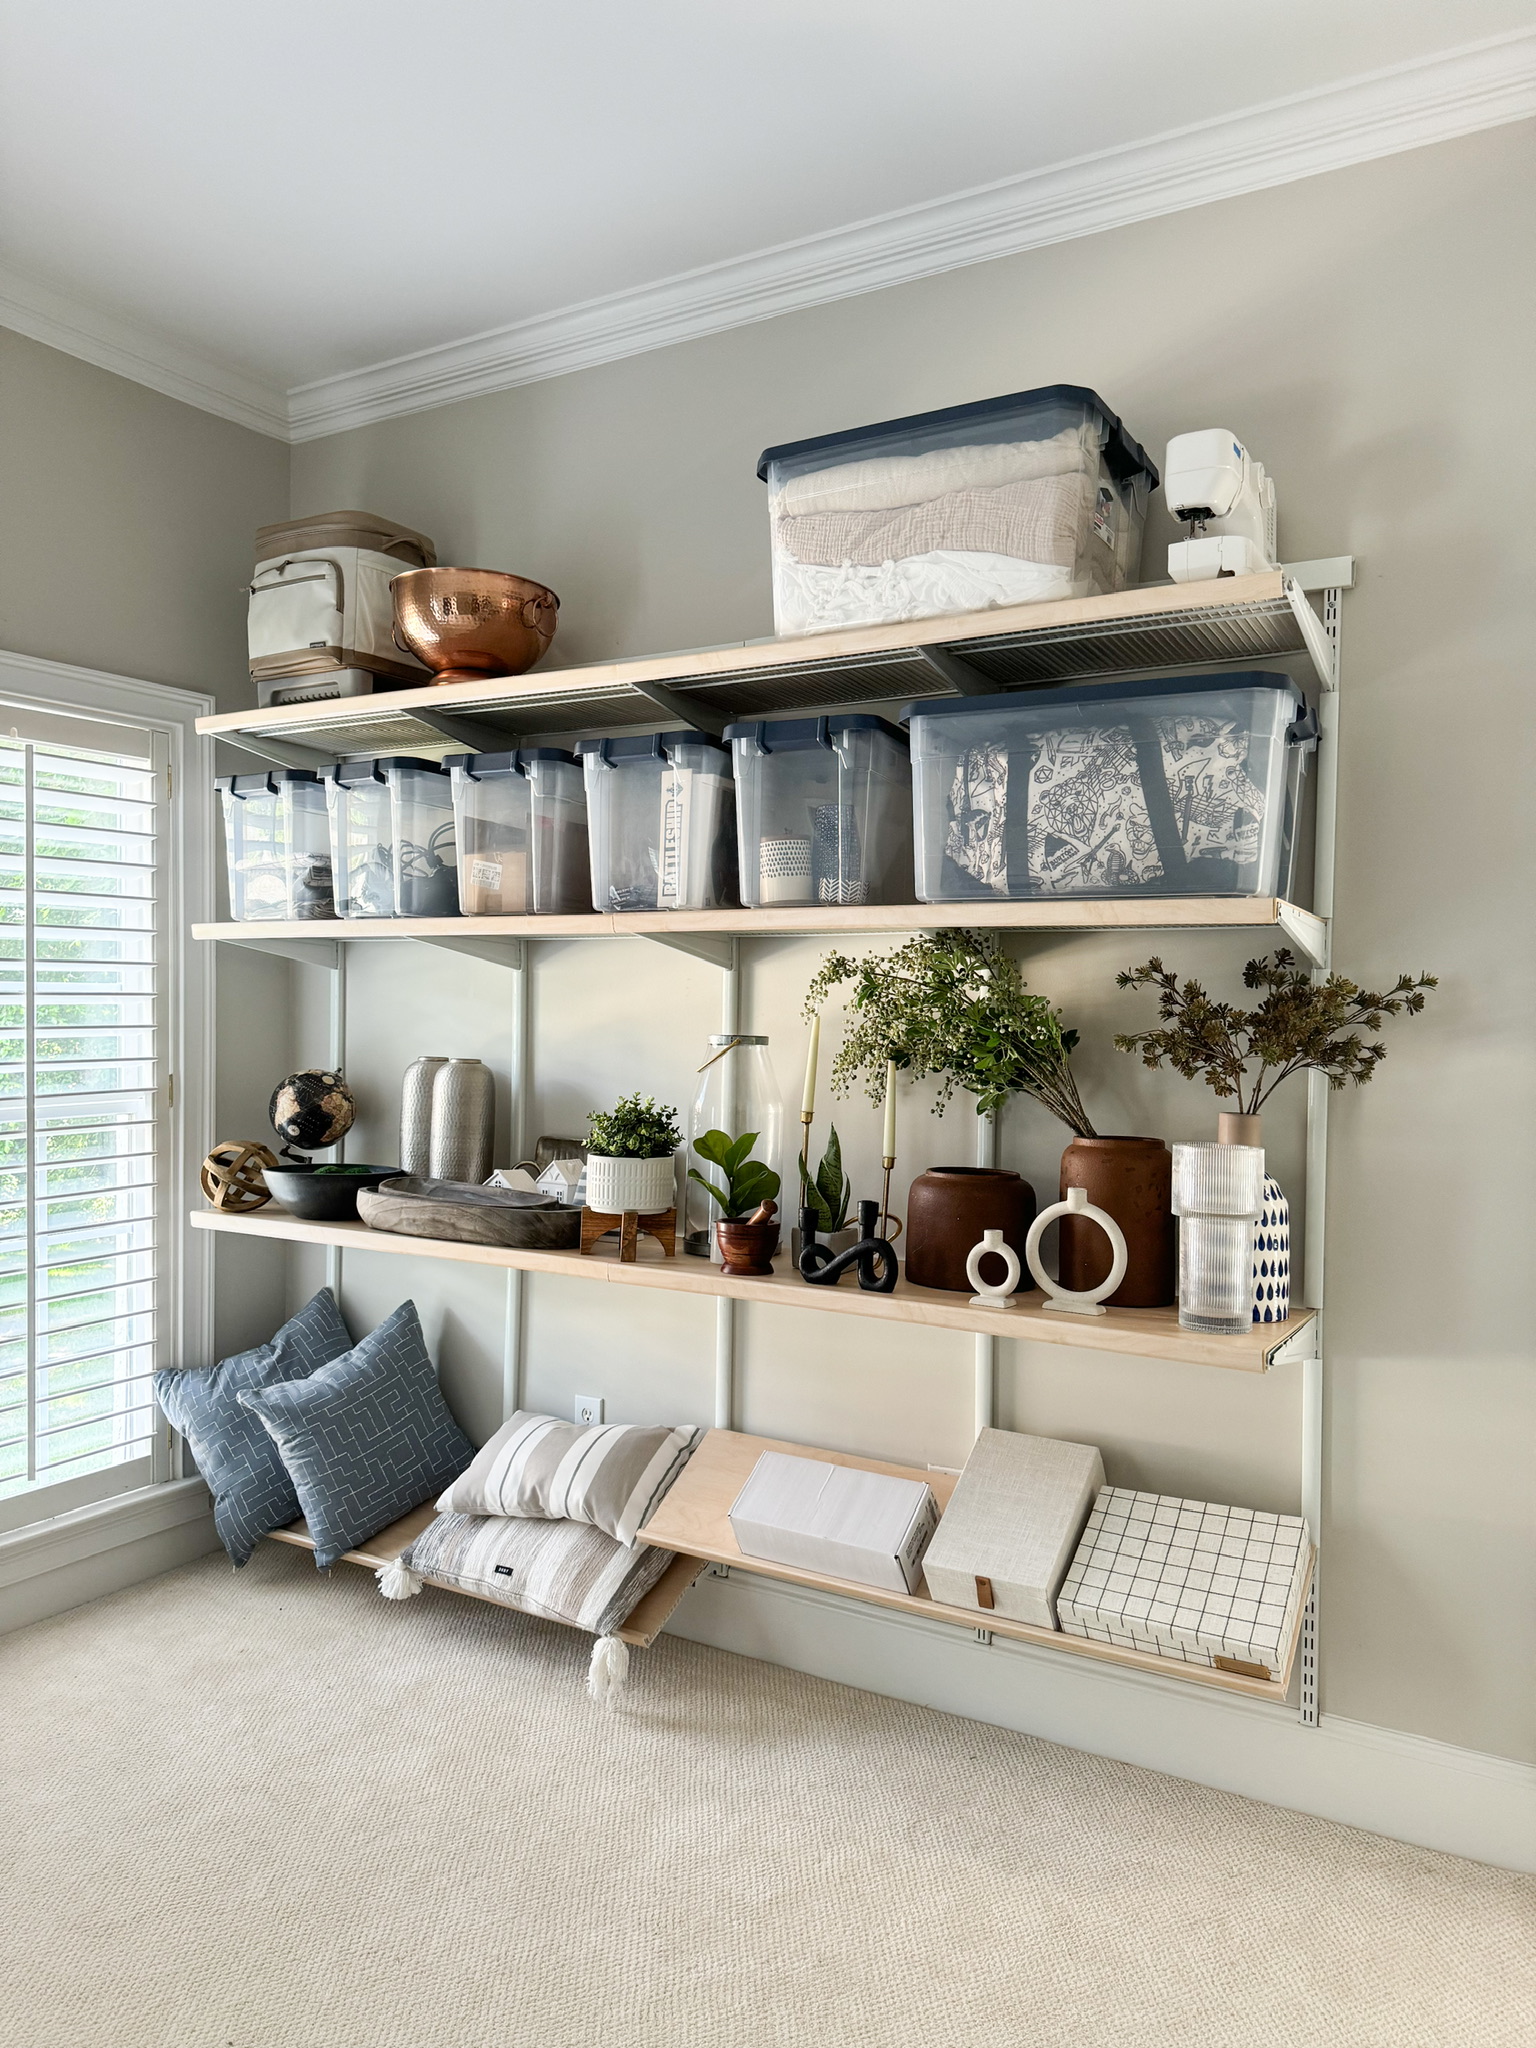
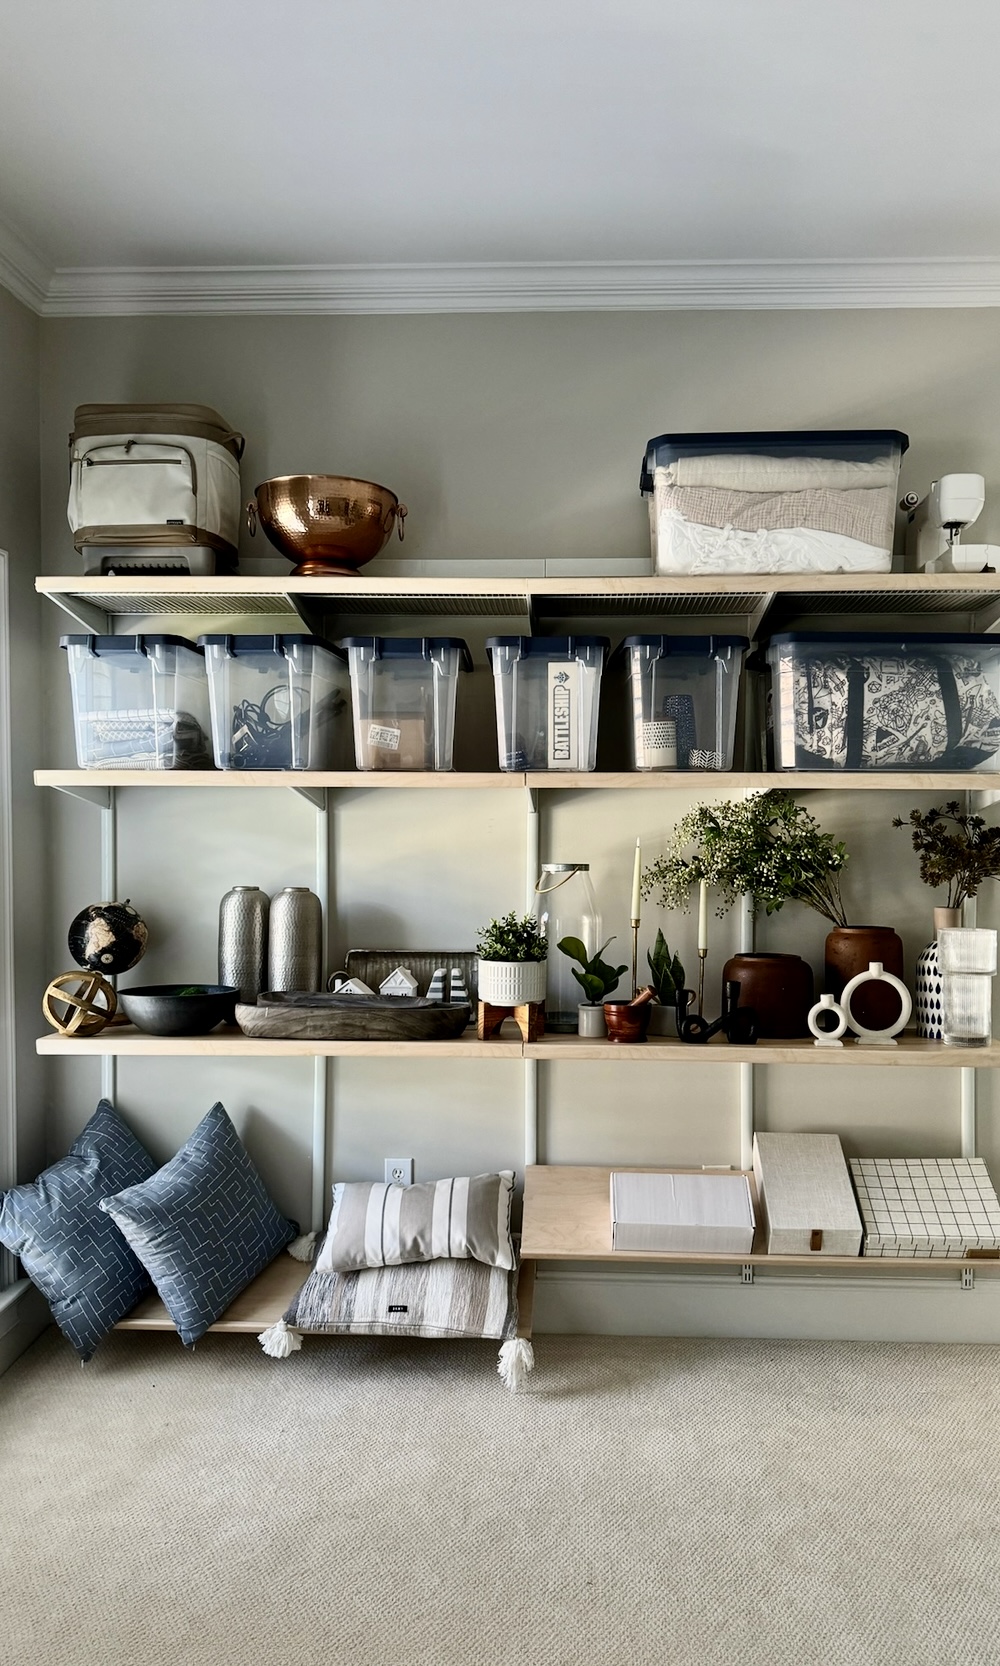
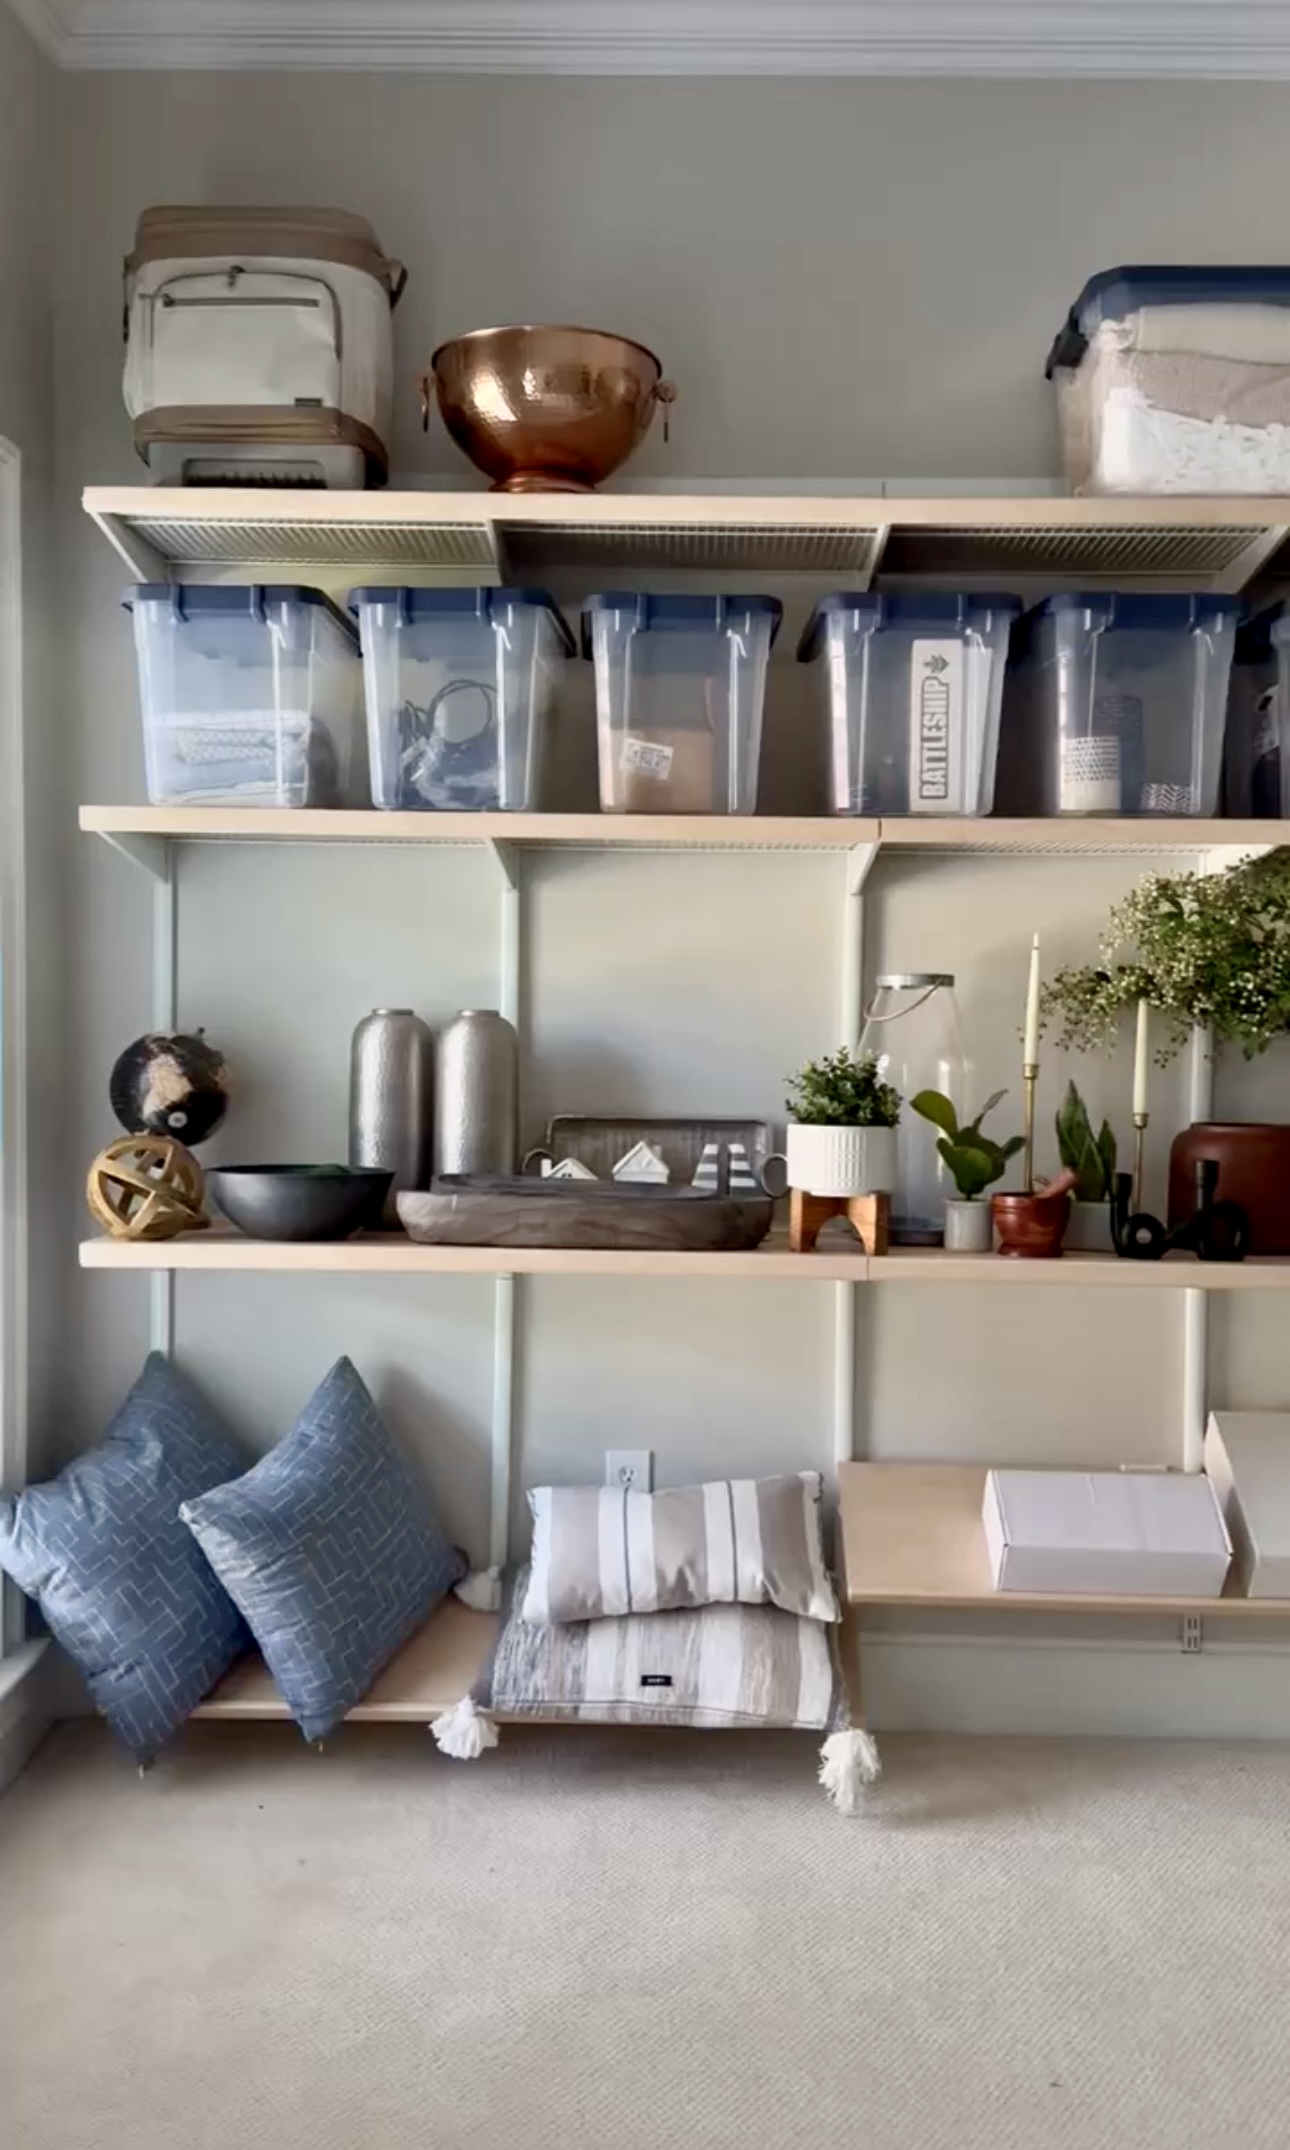
Here’s everything I used for these DIY Storage Racks:


