Hi
I'm Bong
I'm just a girl who likes to DIY anything and everything. More than that, I love teaching people - especially women - how to pick up power tools and create the home of their dreams. Stop waiting for someone else and starting Doing It Yourself. I'll show you how!
diy projects
diy school
life hacks
categories
must have products
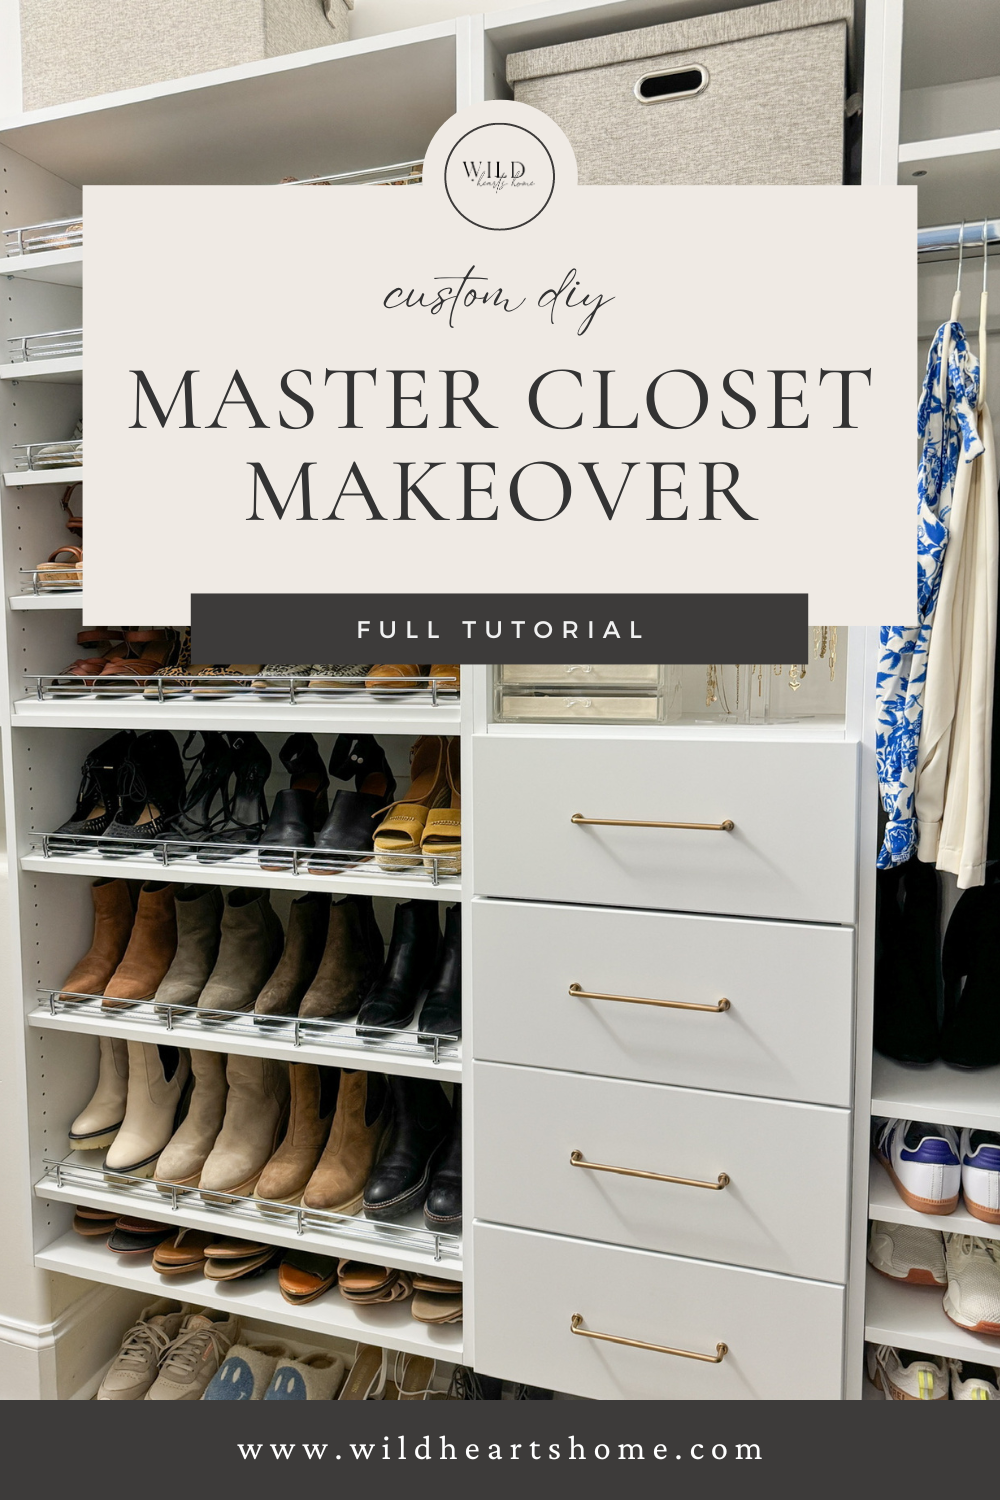
Finally doing a master closet makeover on my ugly, outdated closet! I designed my dream closet with Modular Closets. It’s custom designed for my space and my needs and I’m so excited!
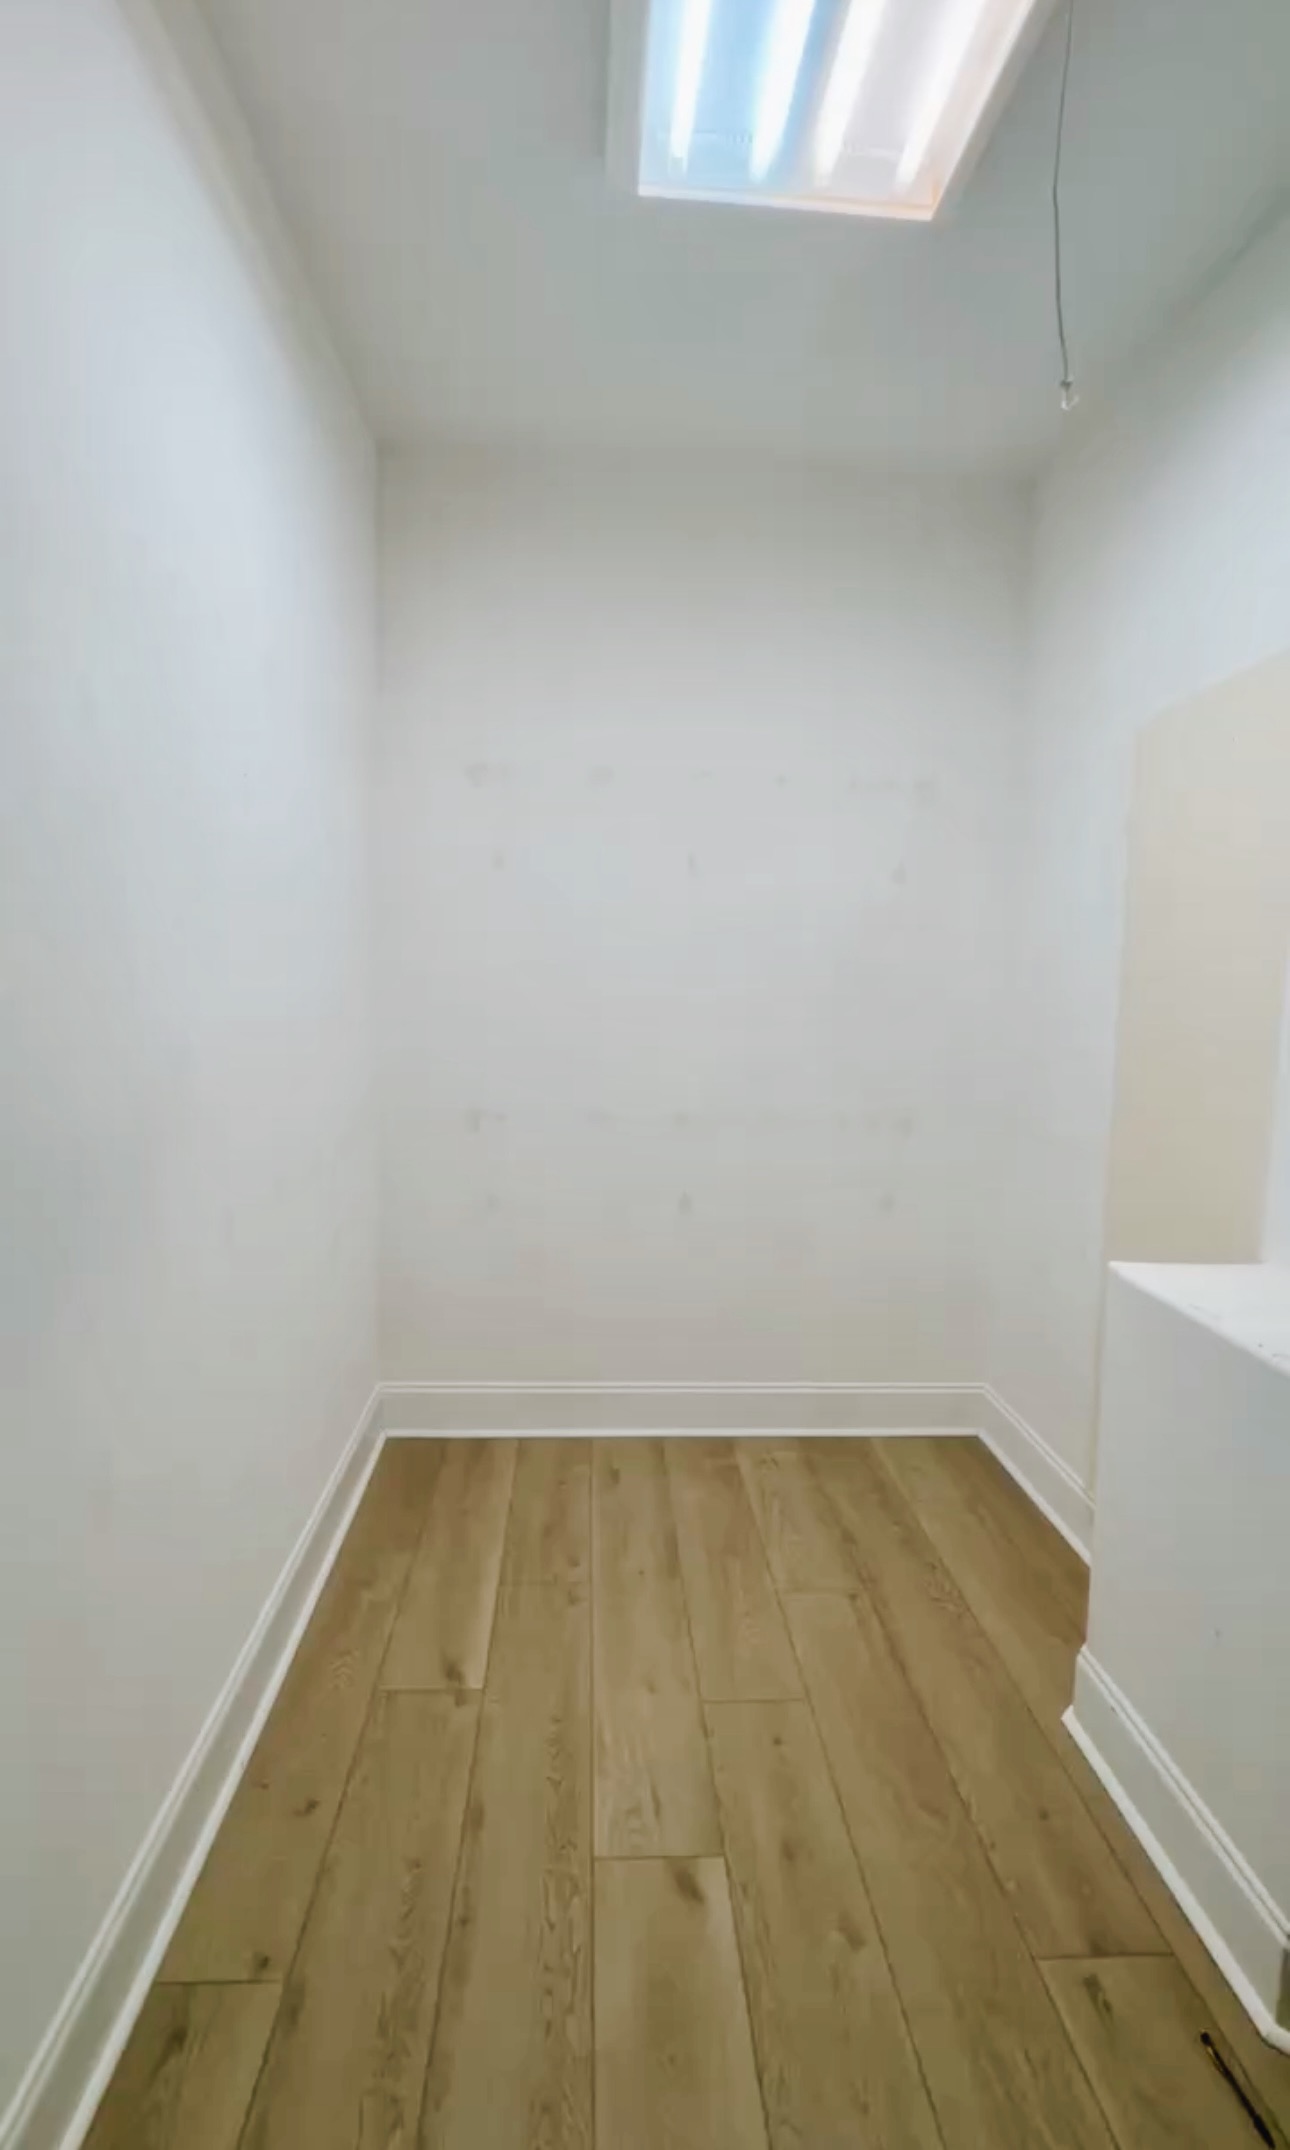
Here’s what my closet looked like when we started…tell me I’m not alone with my closet looking like this.

Designing Our Closet
Modular Closets helped us custom design our closet to fit our space and needs. It’s literally the best! Here are the plans they helped us come up with.


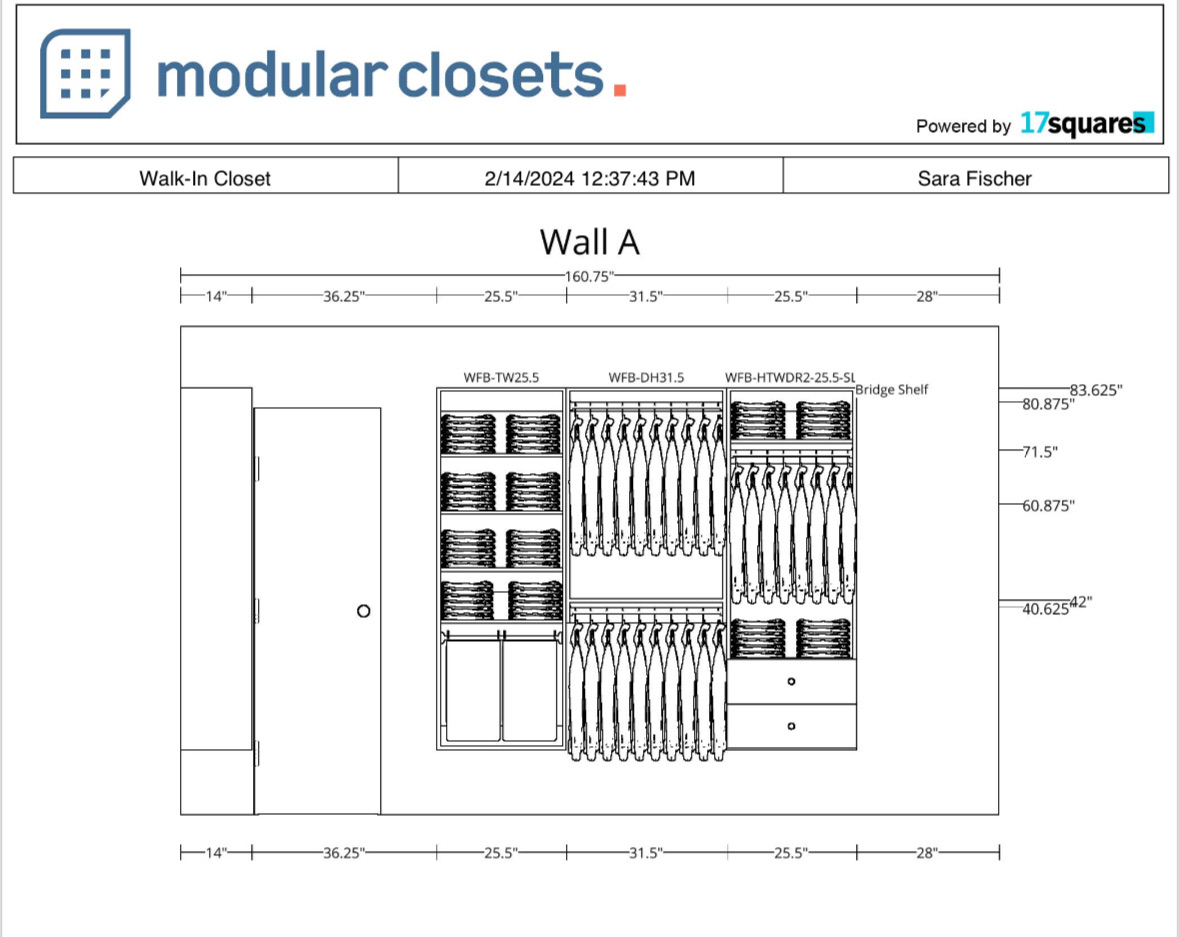
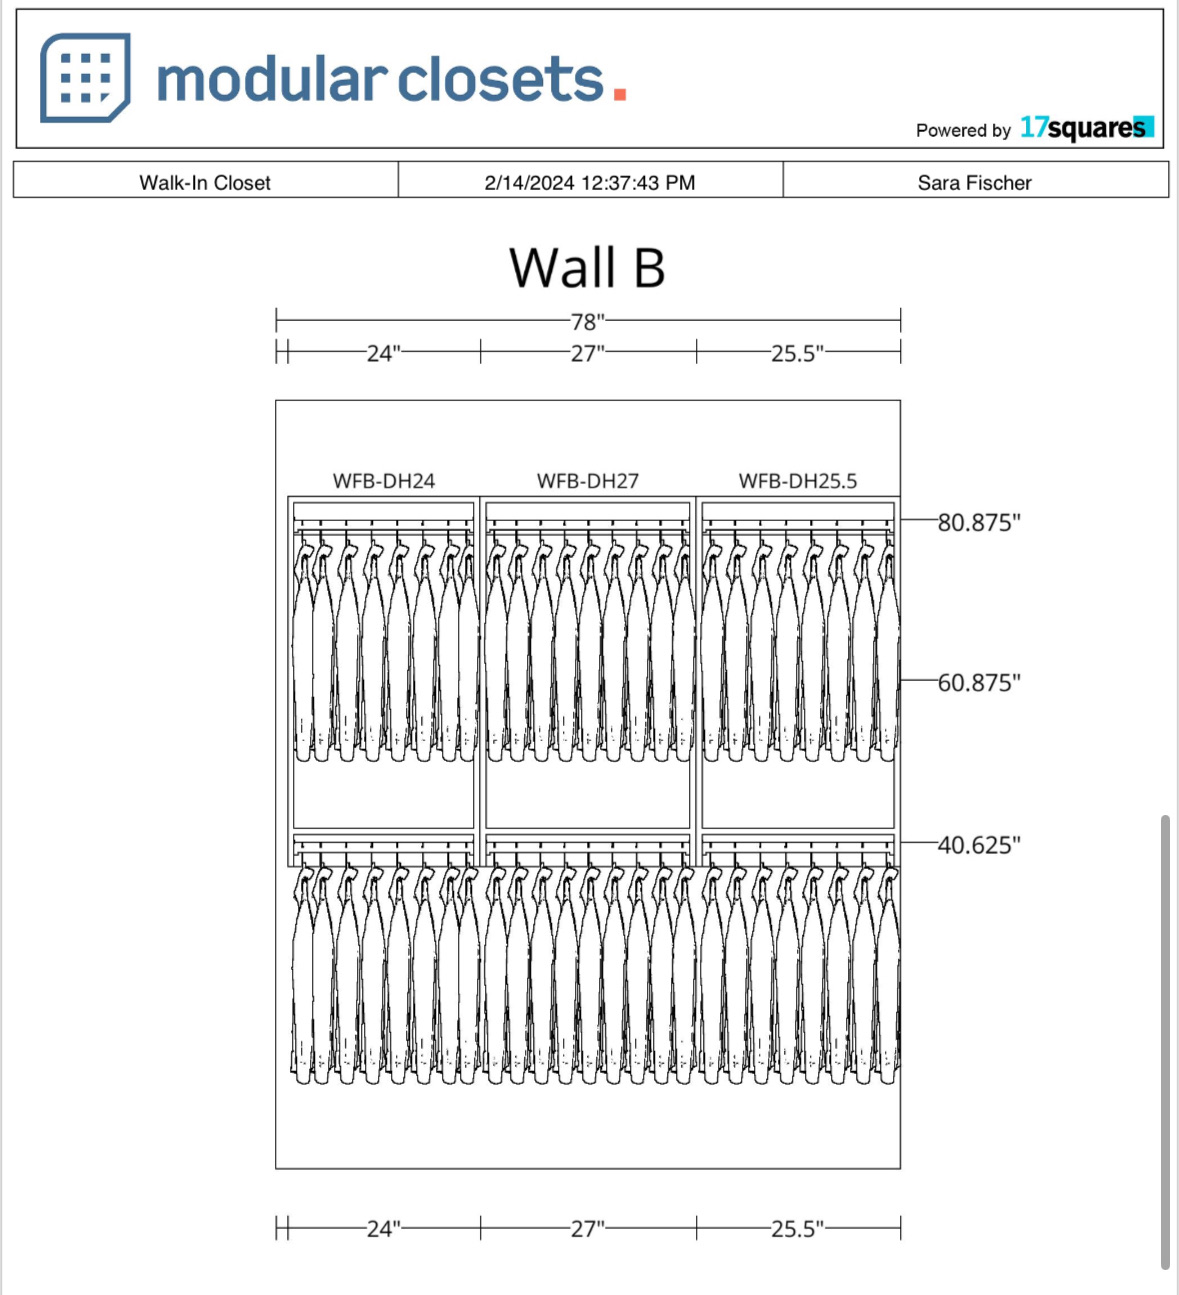

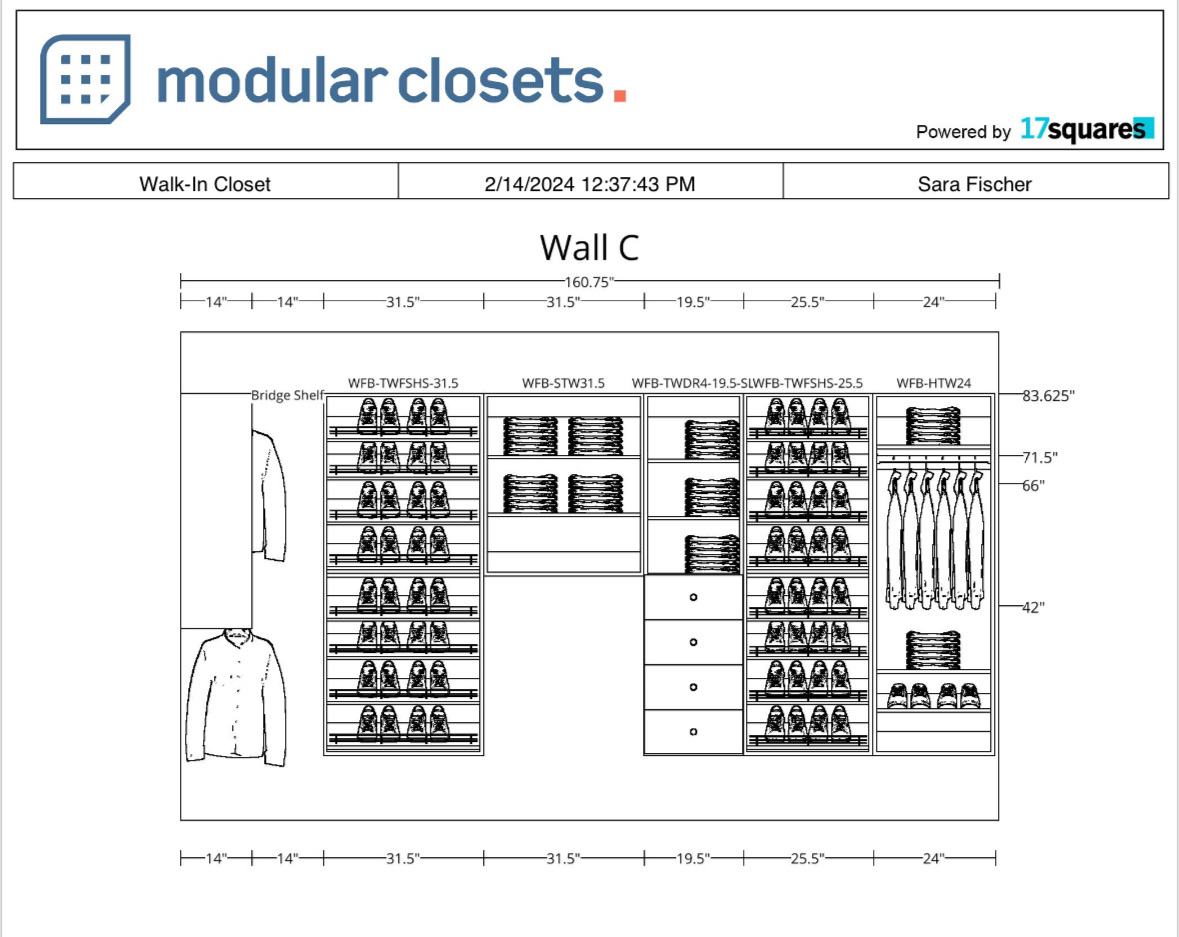
How cool is that?!
Breaking Down the Racking
To start, we took everything out of the closet. It was chaos but calm was on the horizon. I didn’t realize how much stuff could fit in one closet!
These racks were so poorly installed. It was interesting to remove all of this. I can’t tell you how many times I said out loud, “They did such a bad job installing these!”
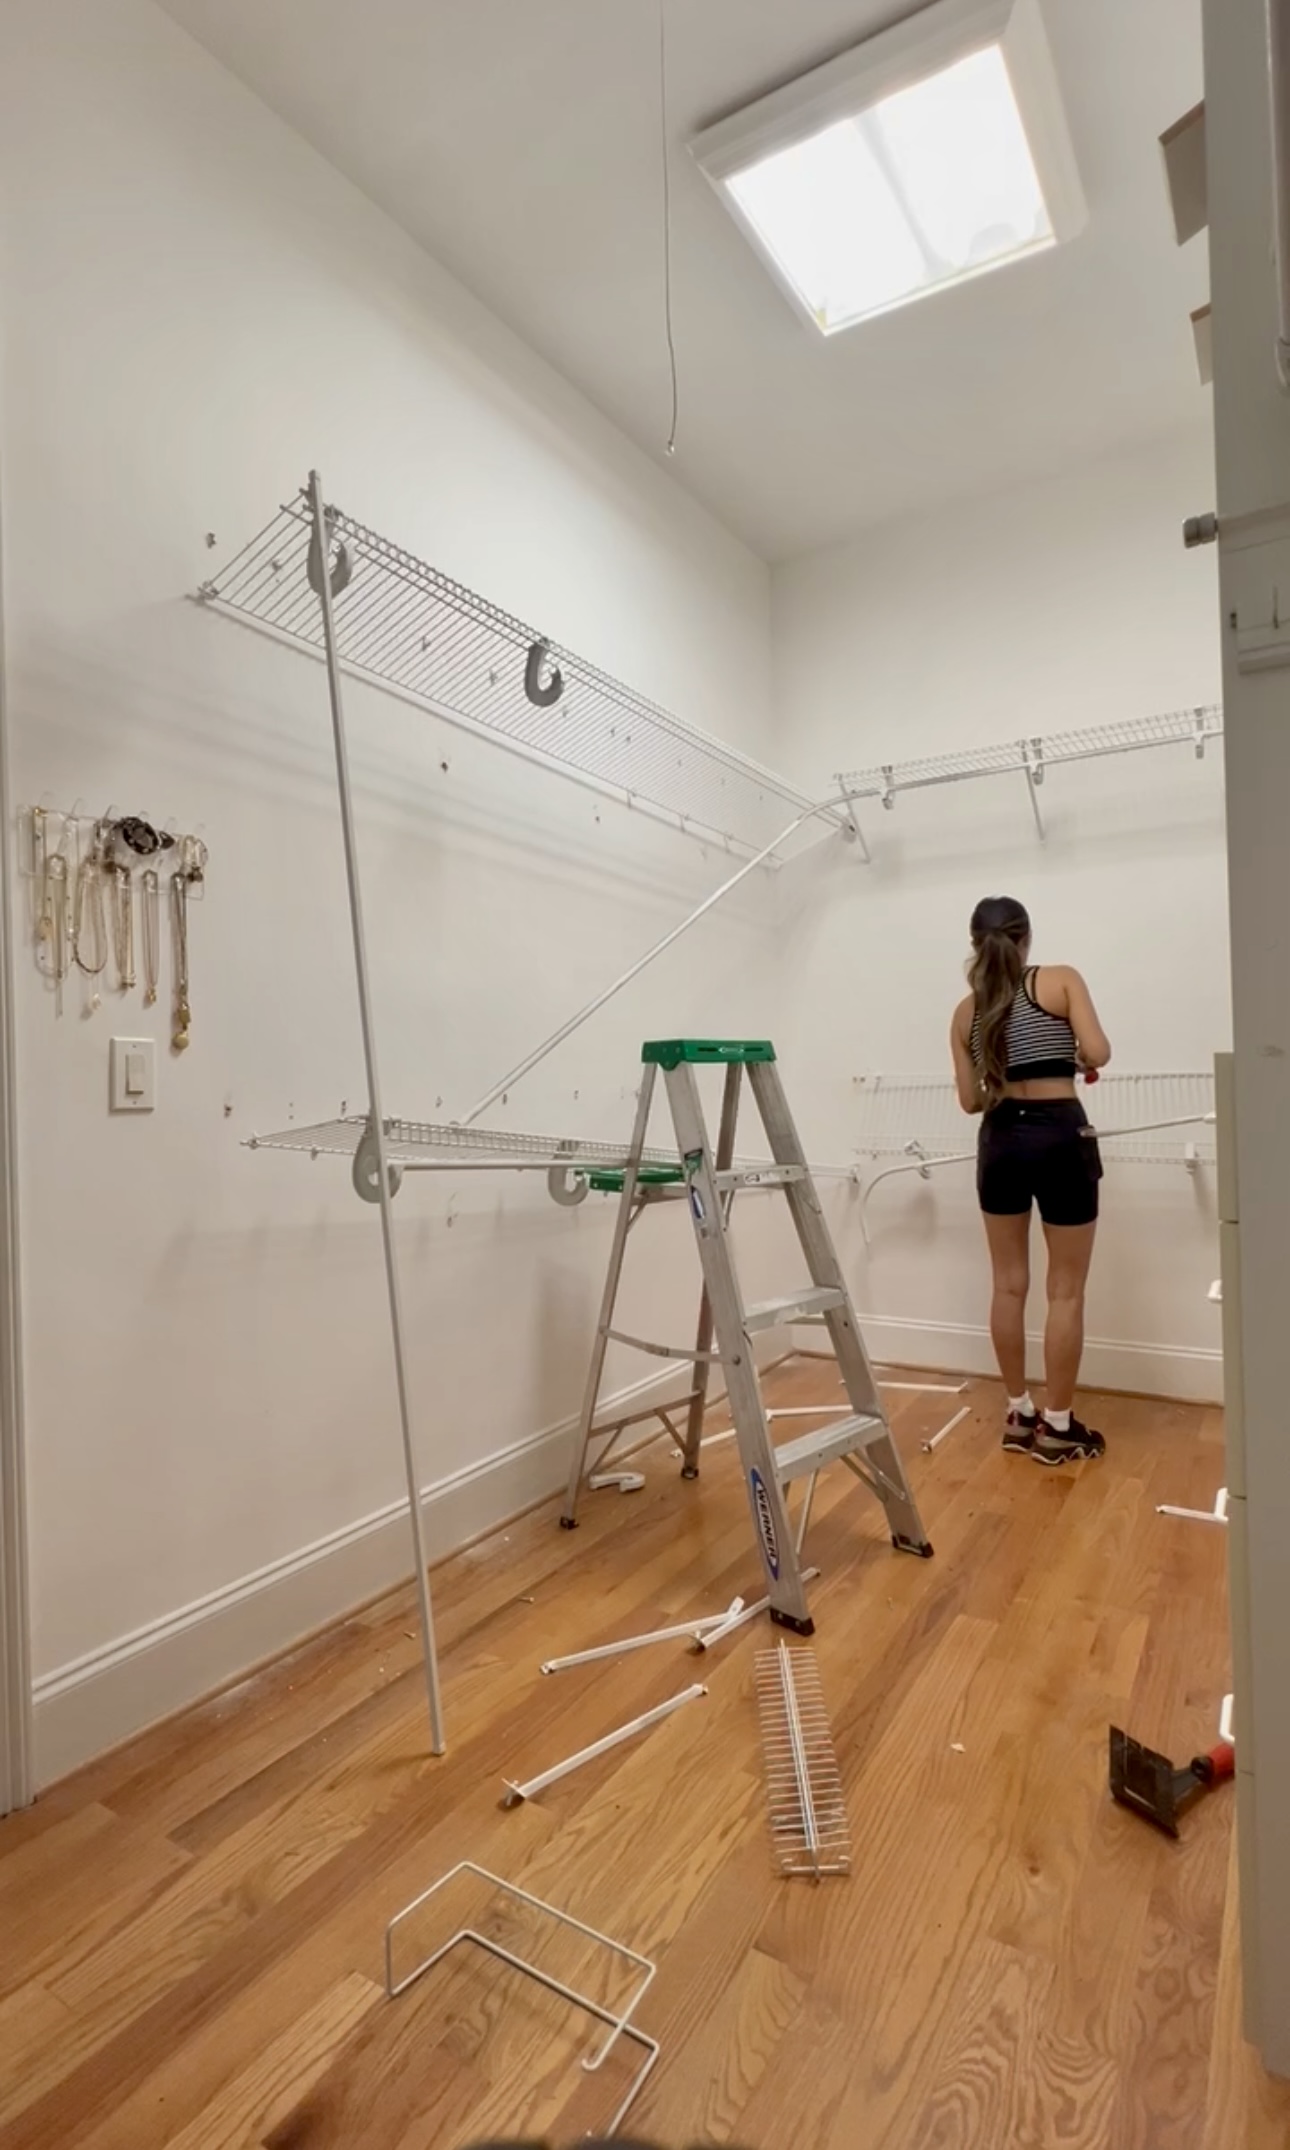
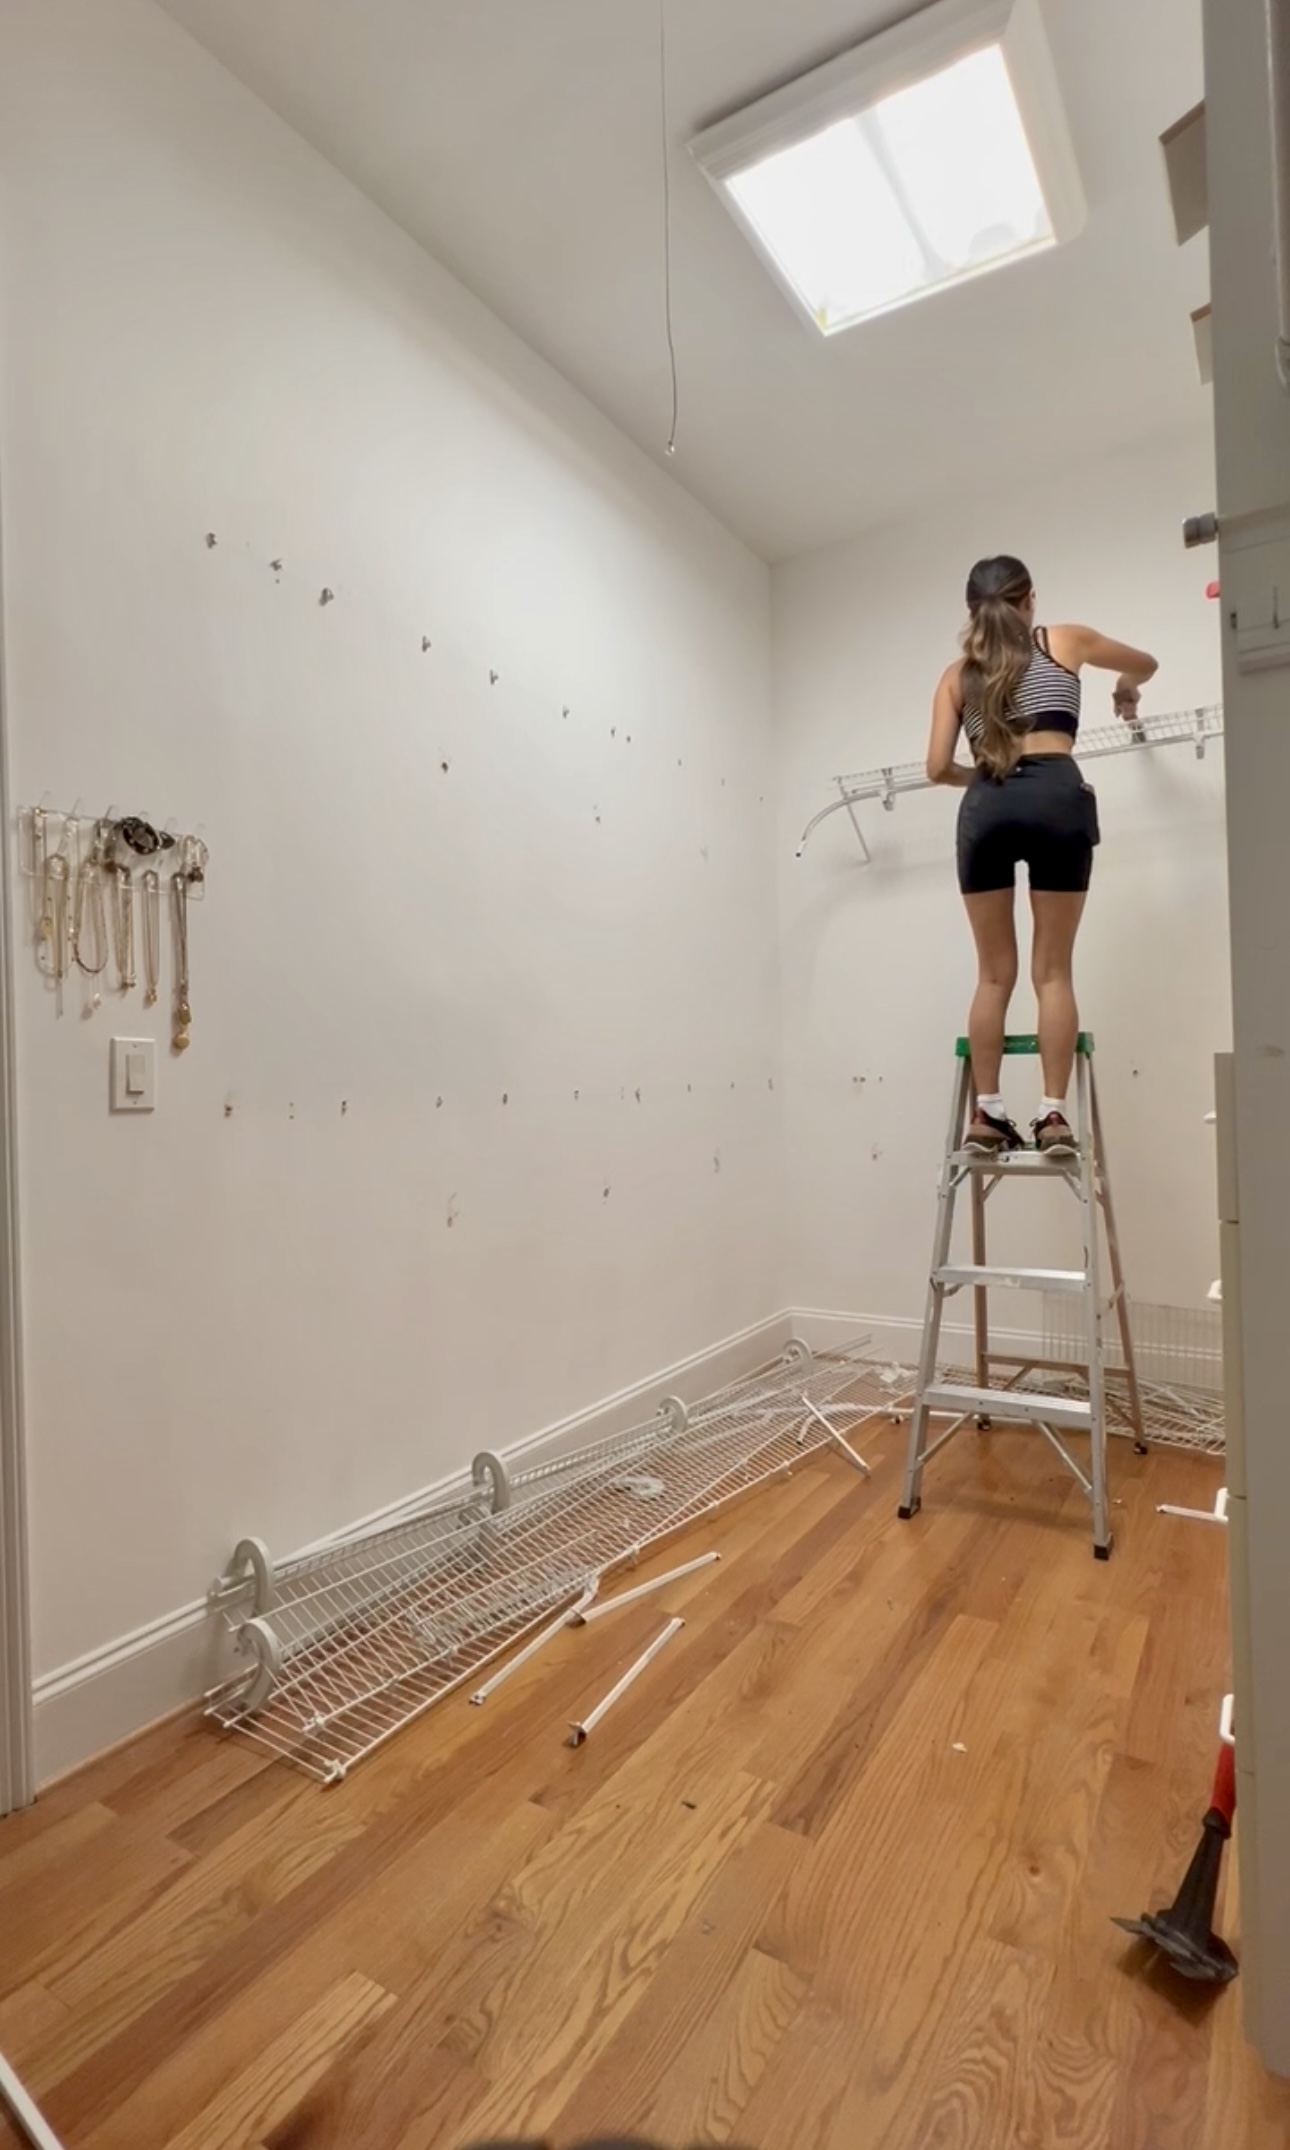
We used these construction jacks to help us remove the wall storage we had here. They’re so helpful!
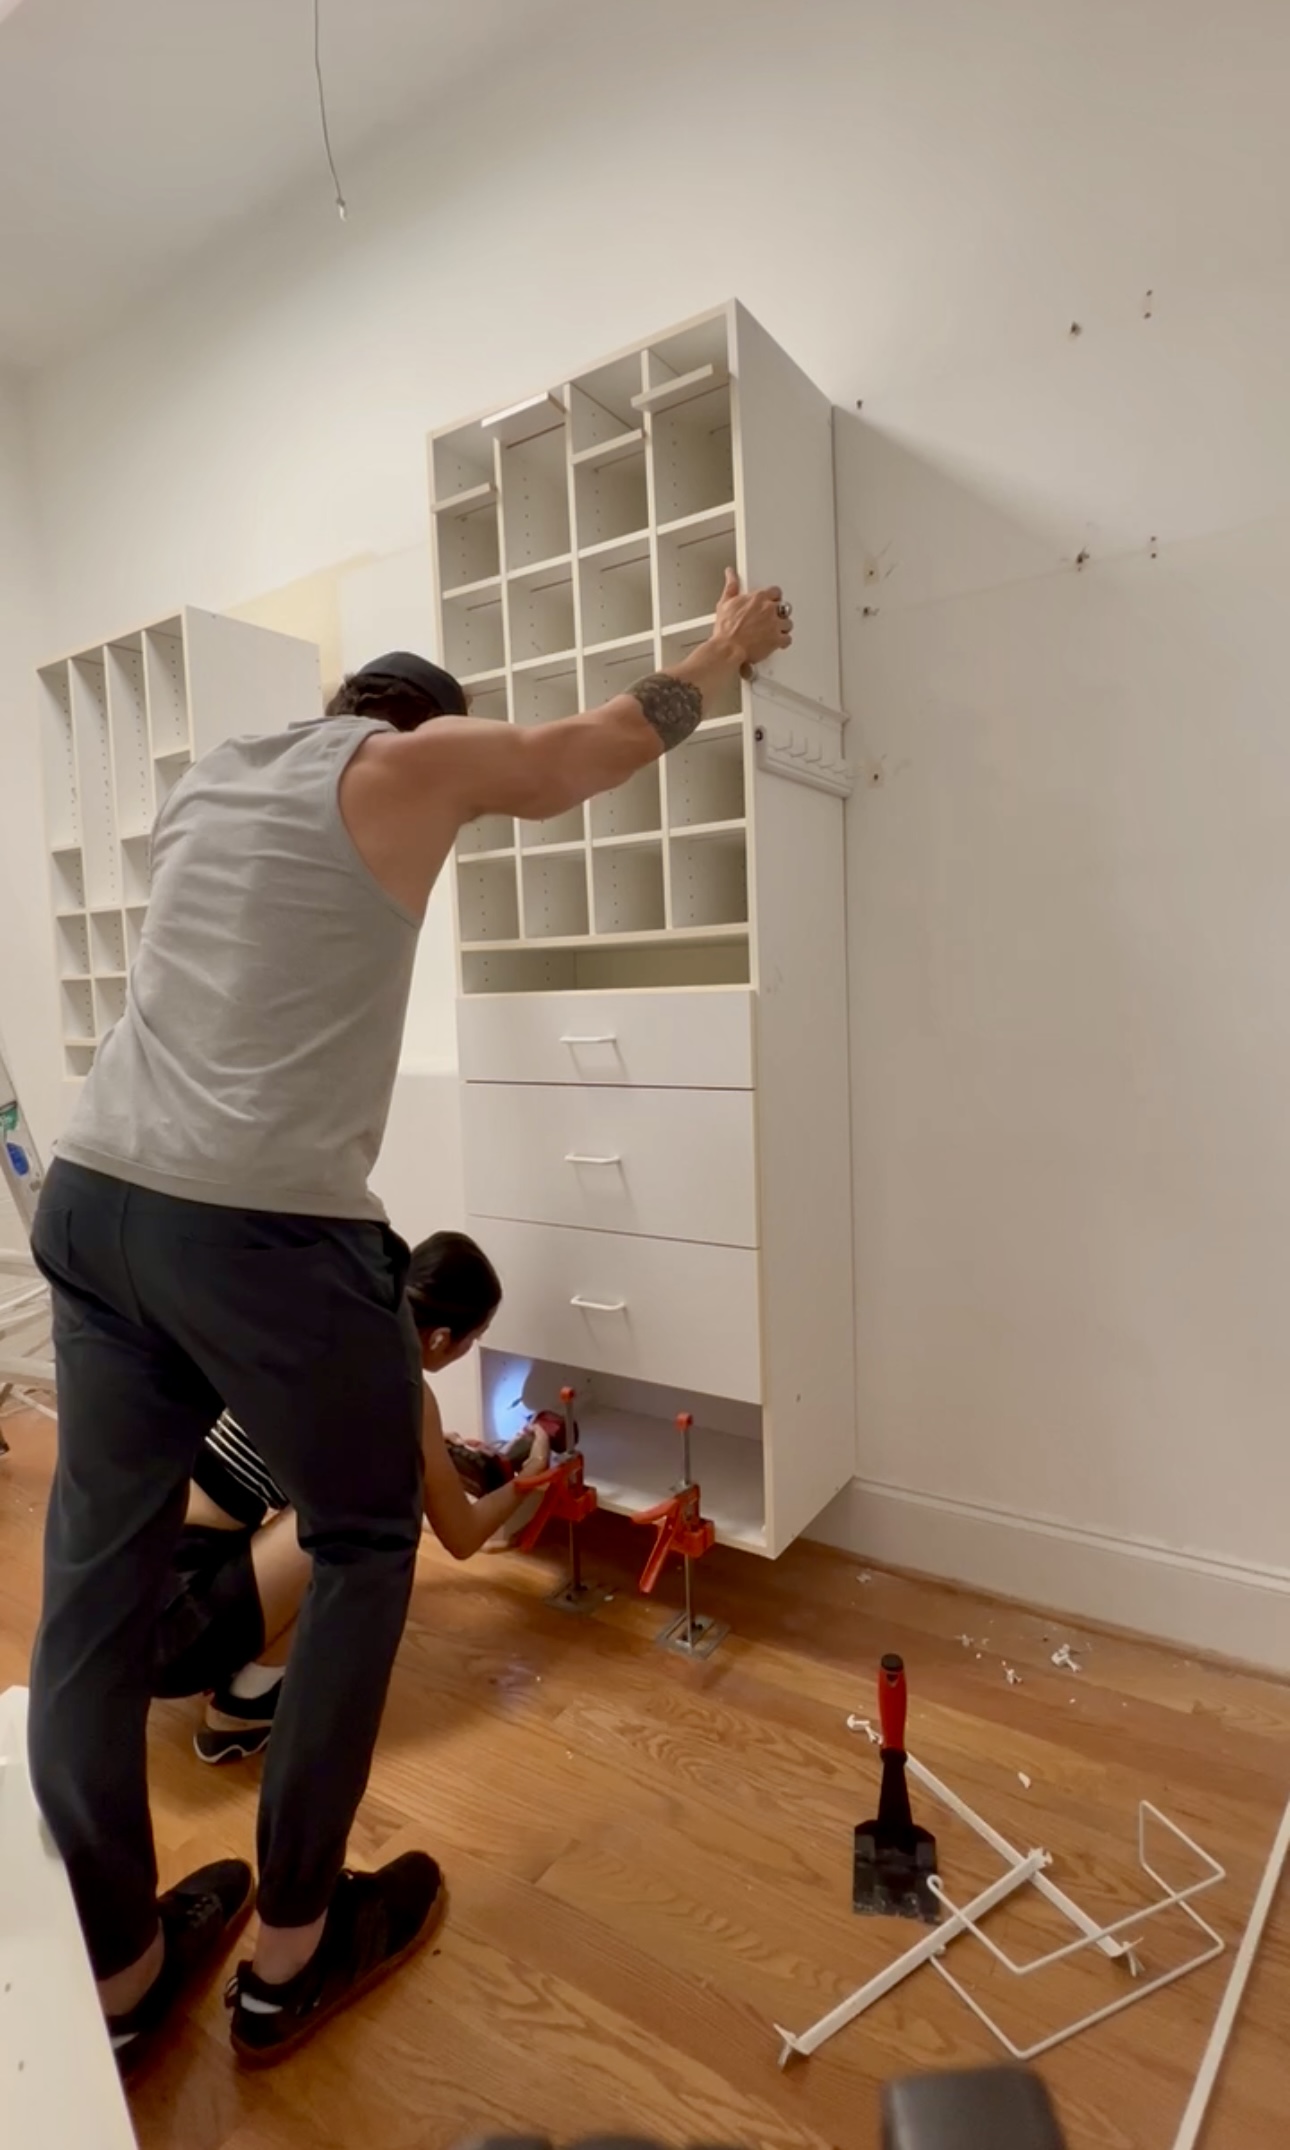
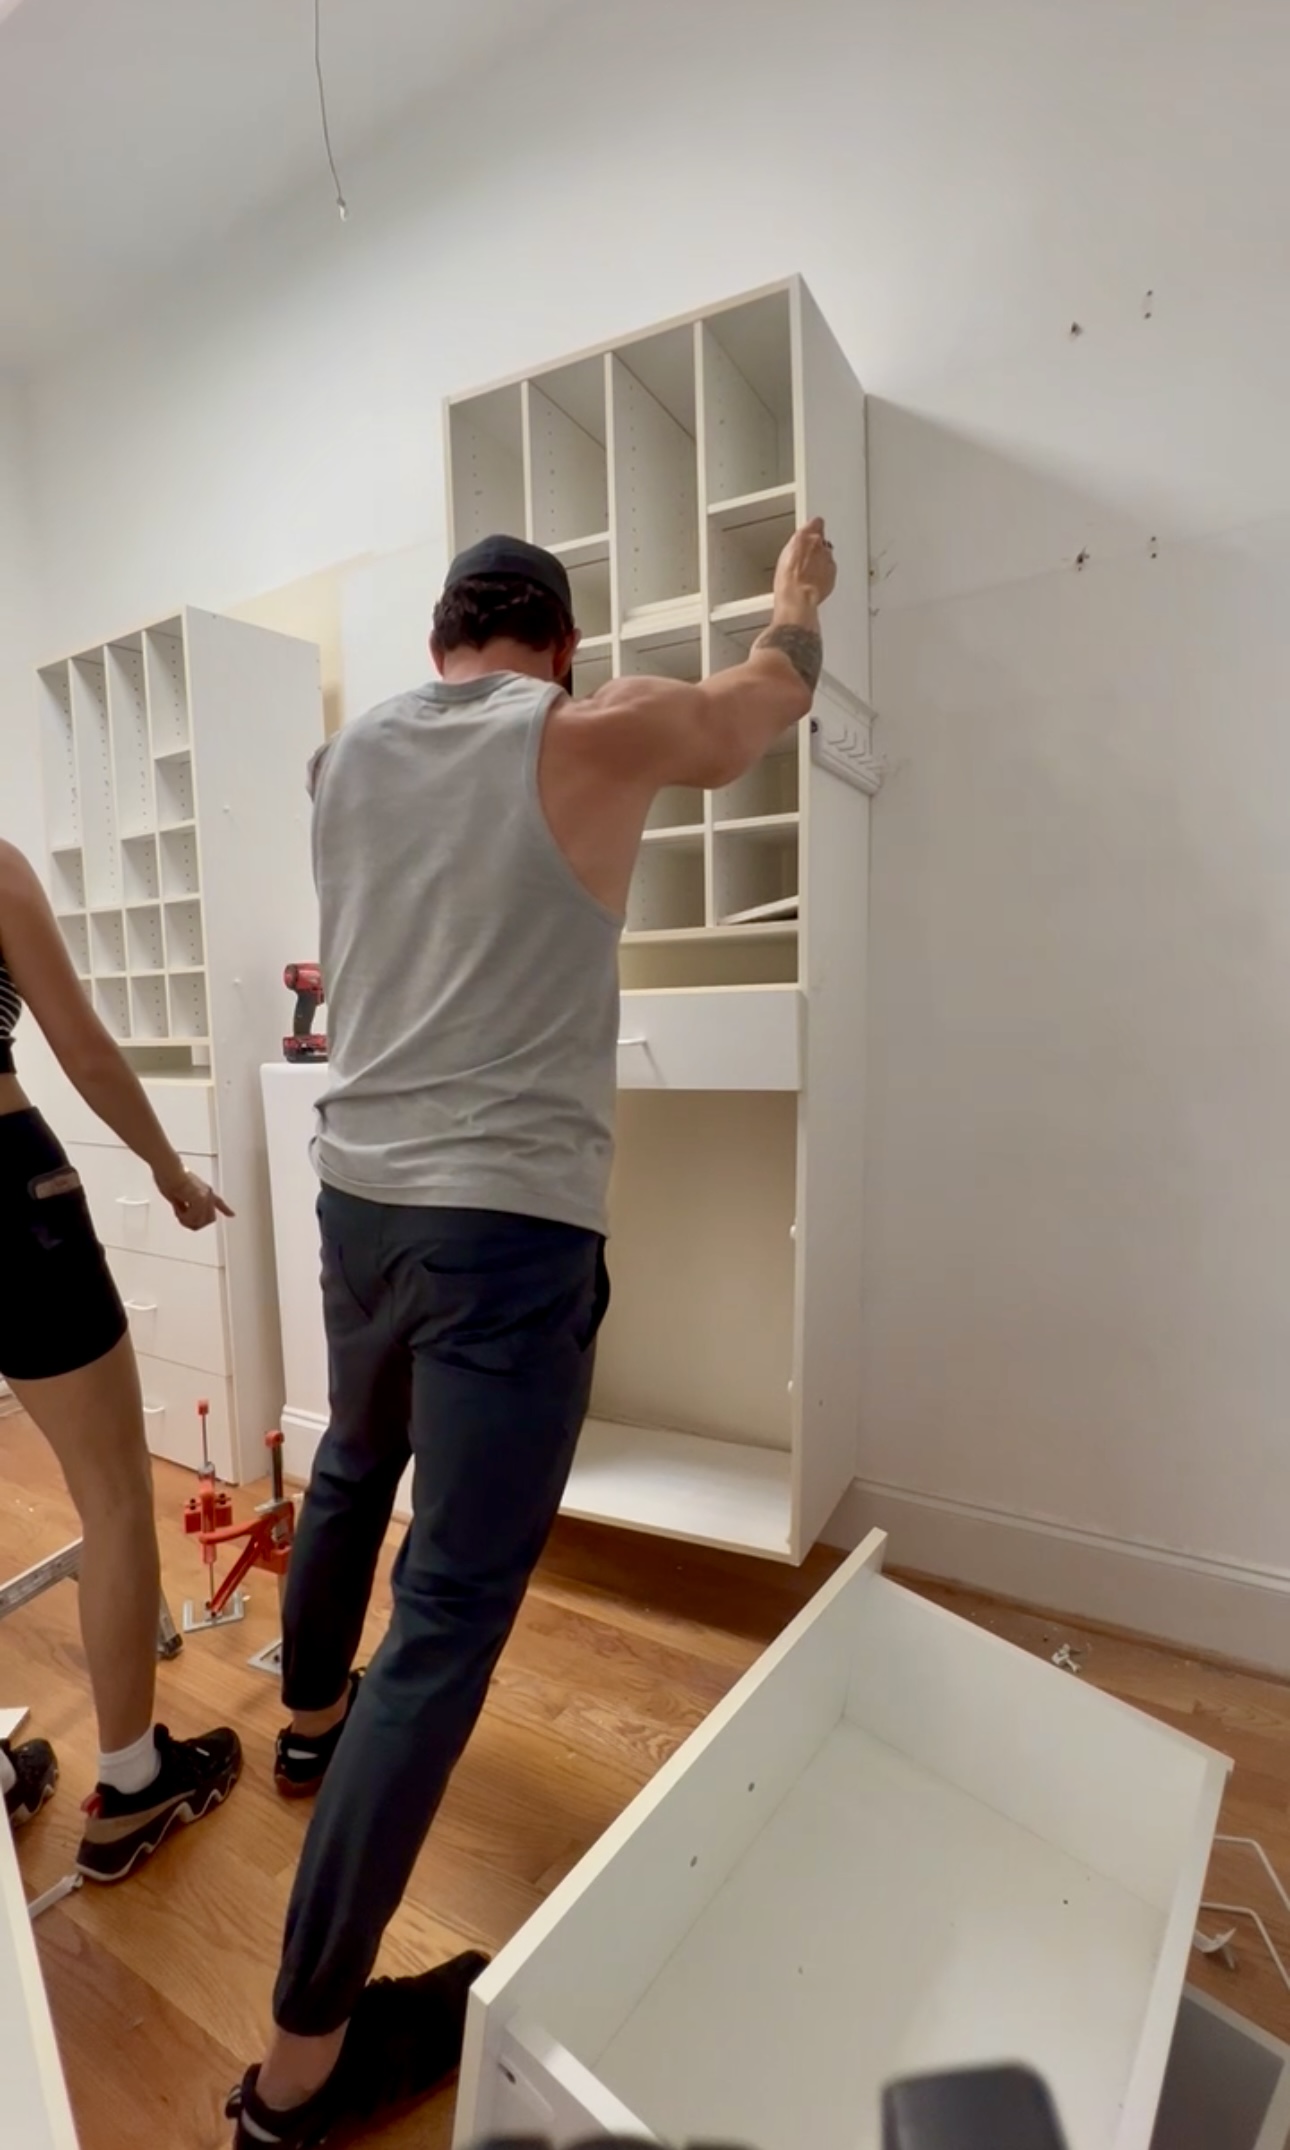
Assembly
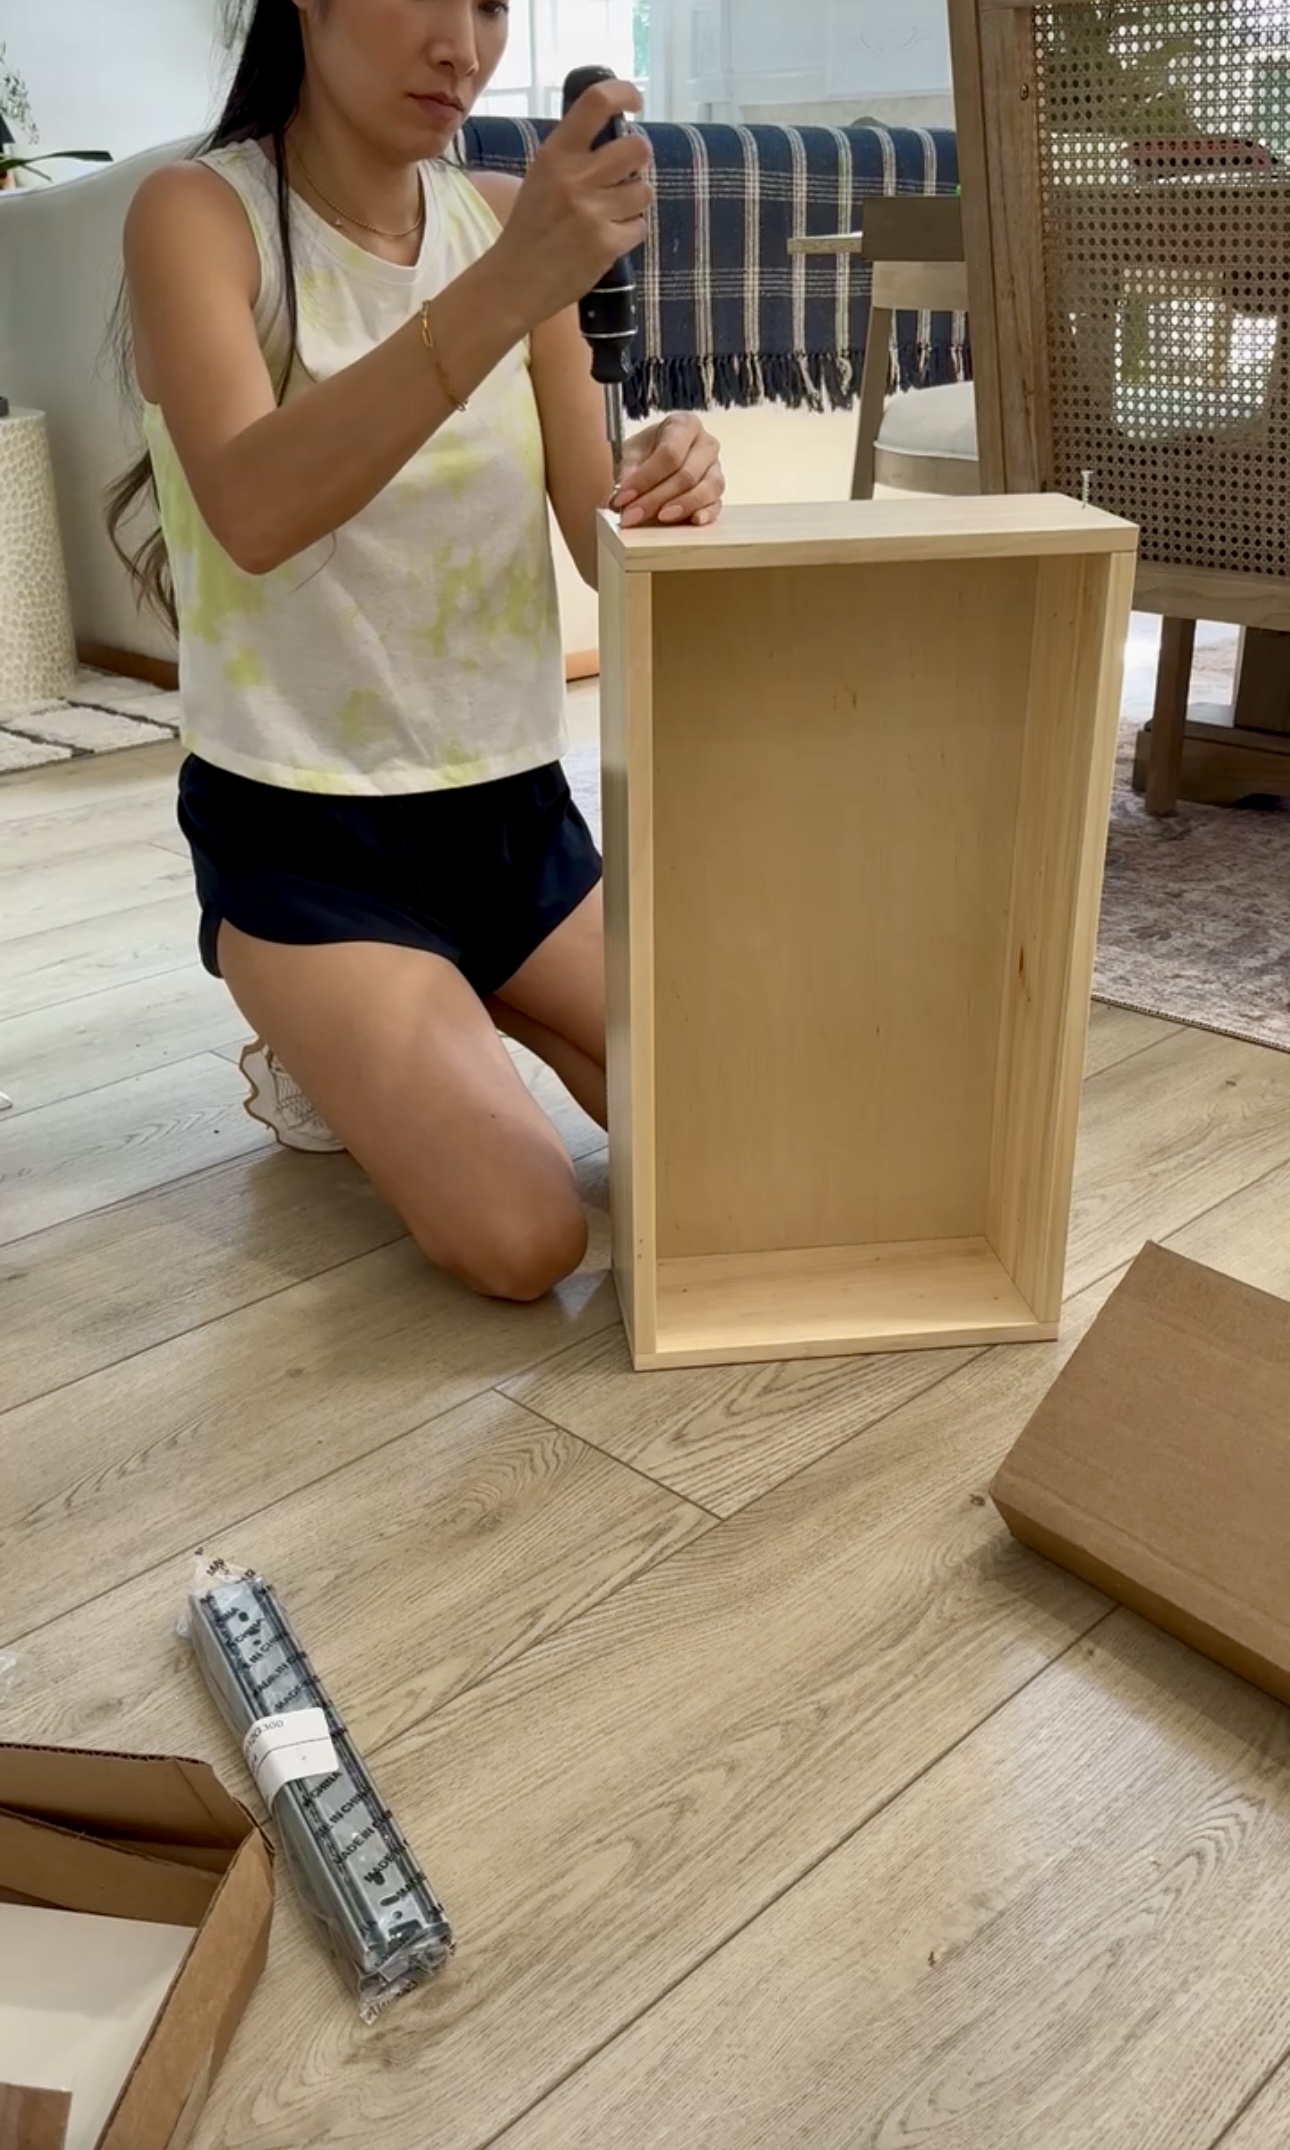
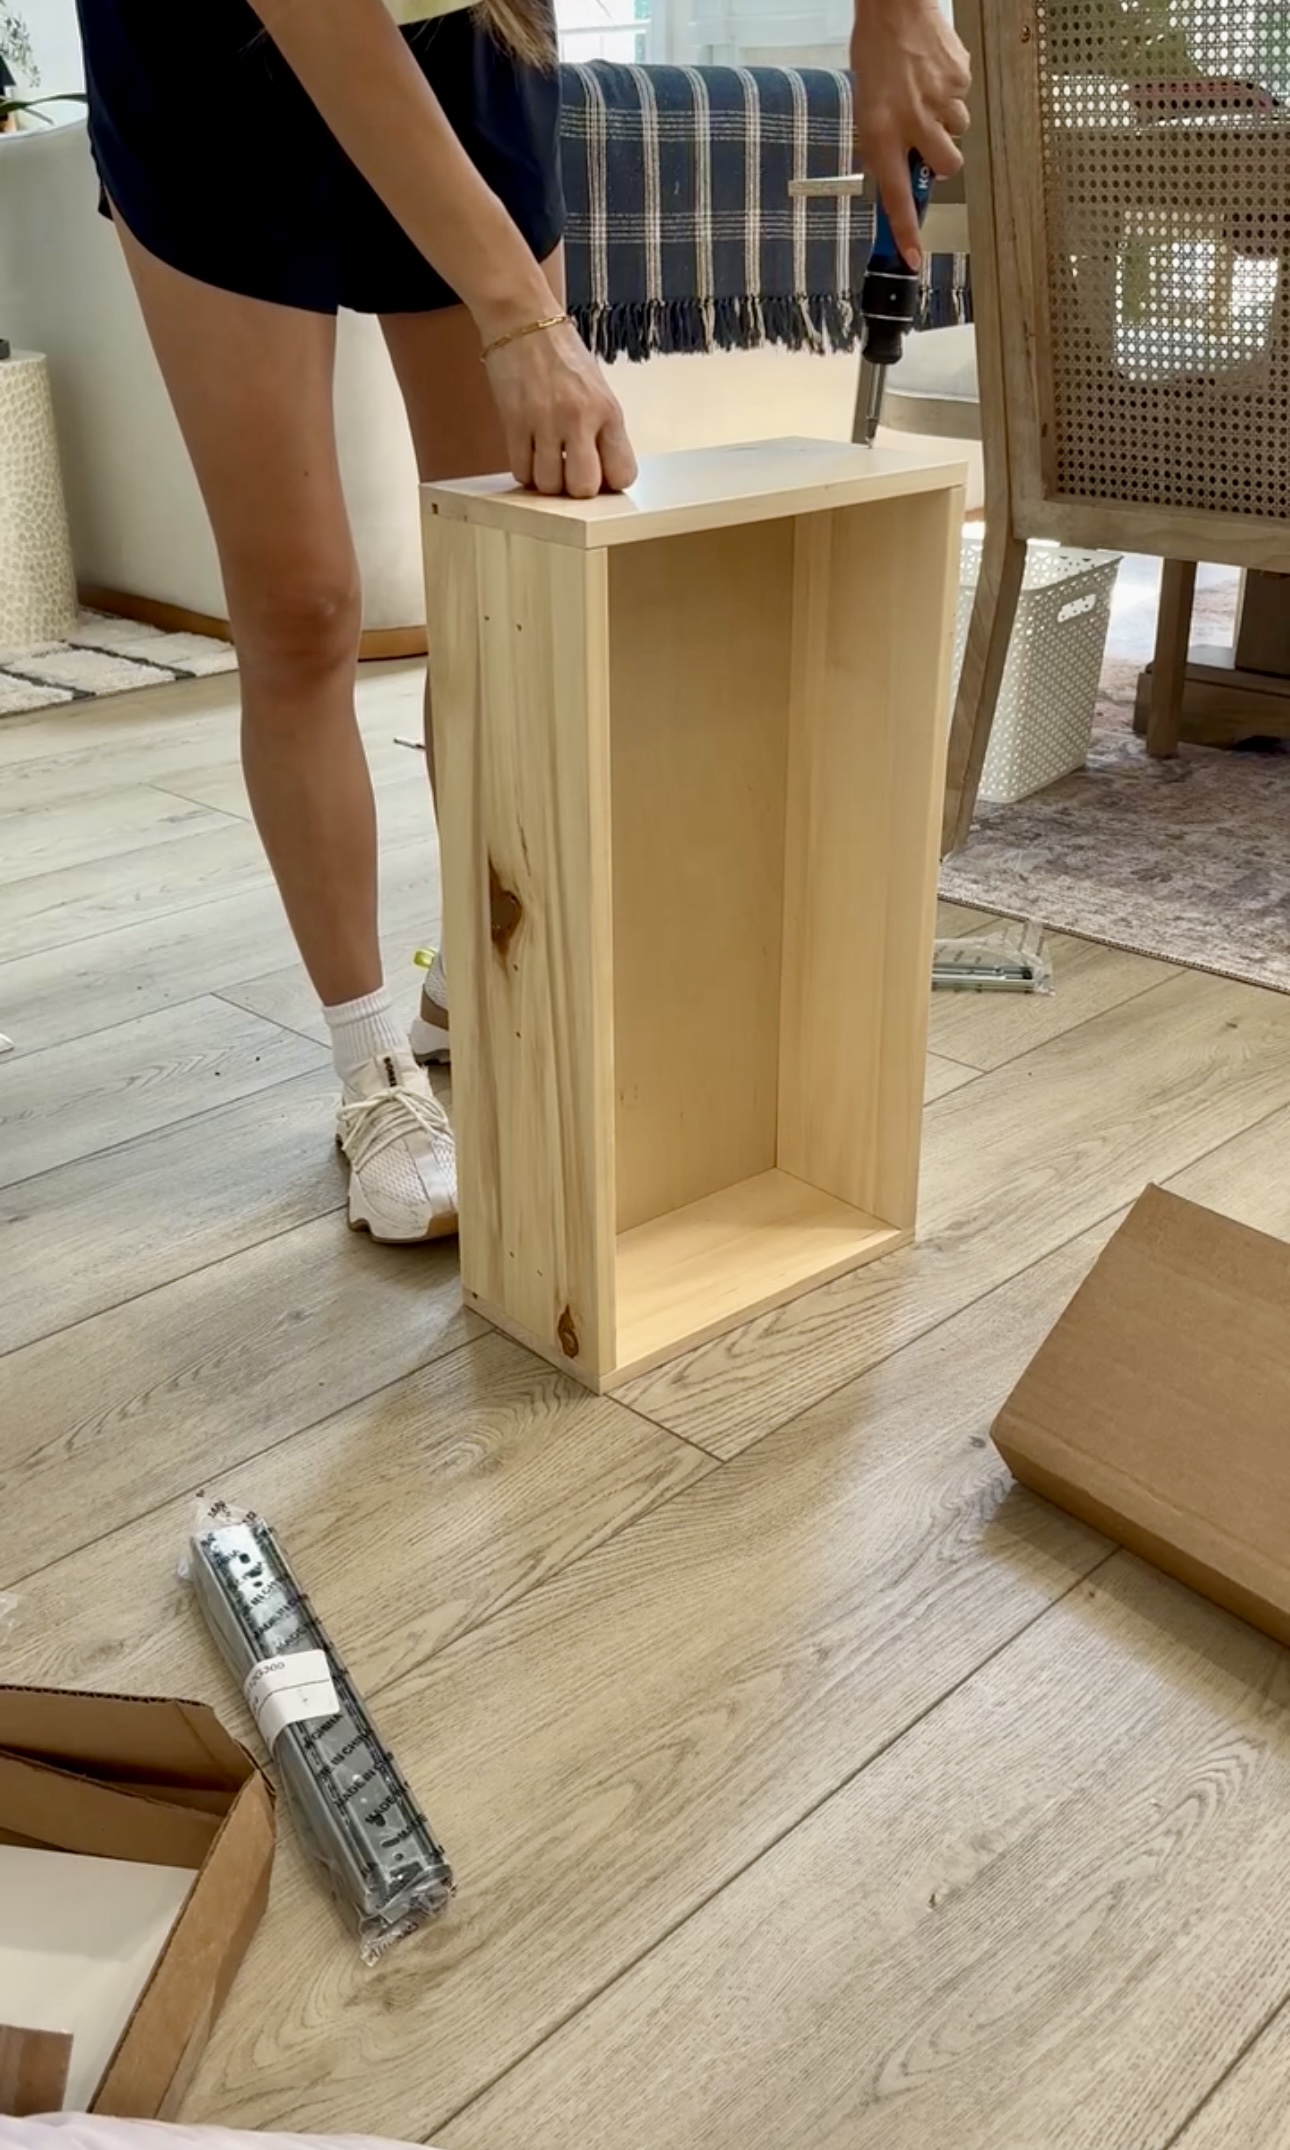
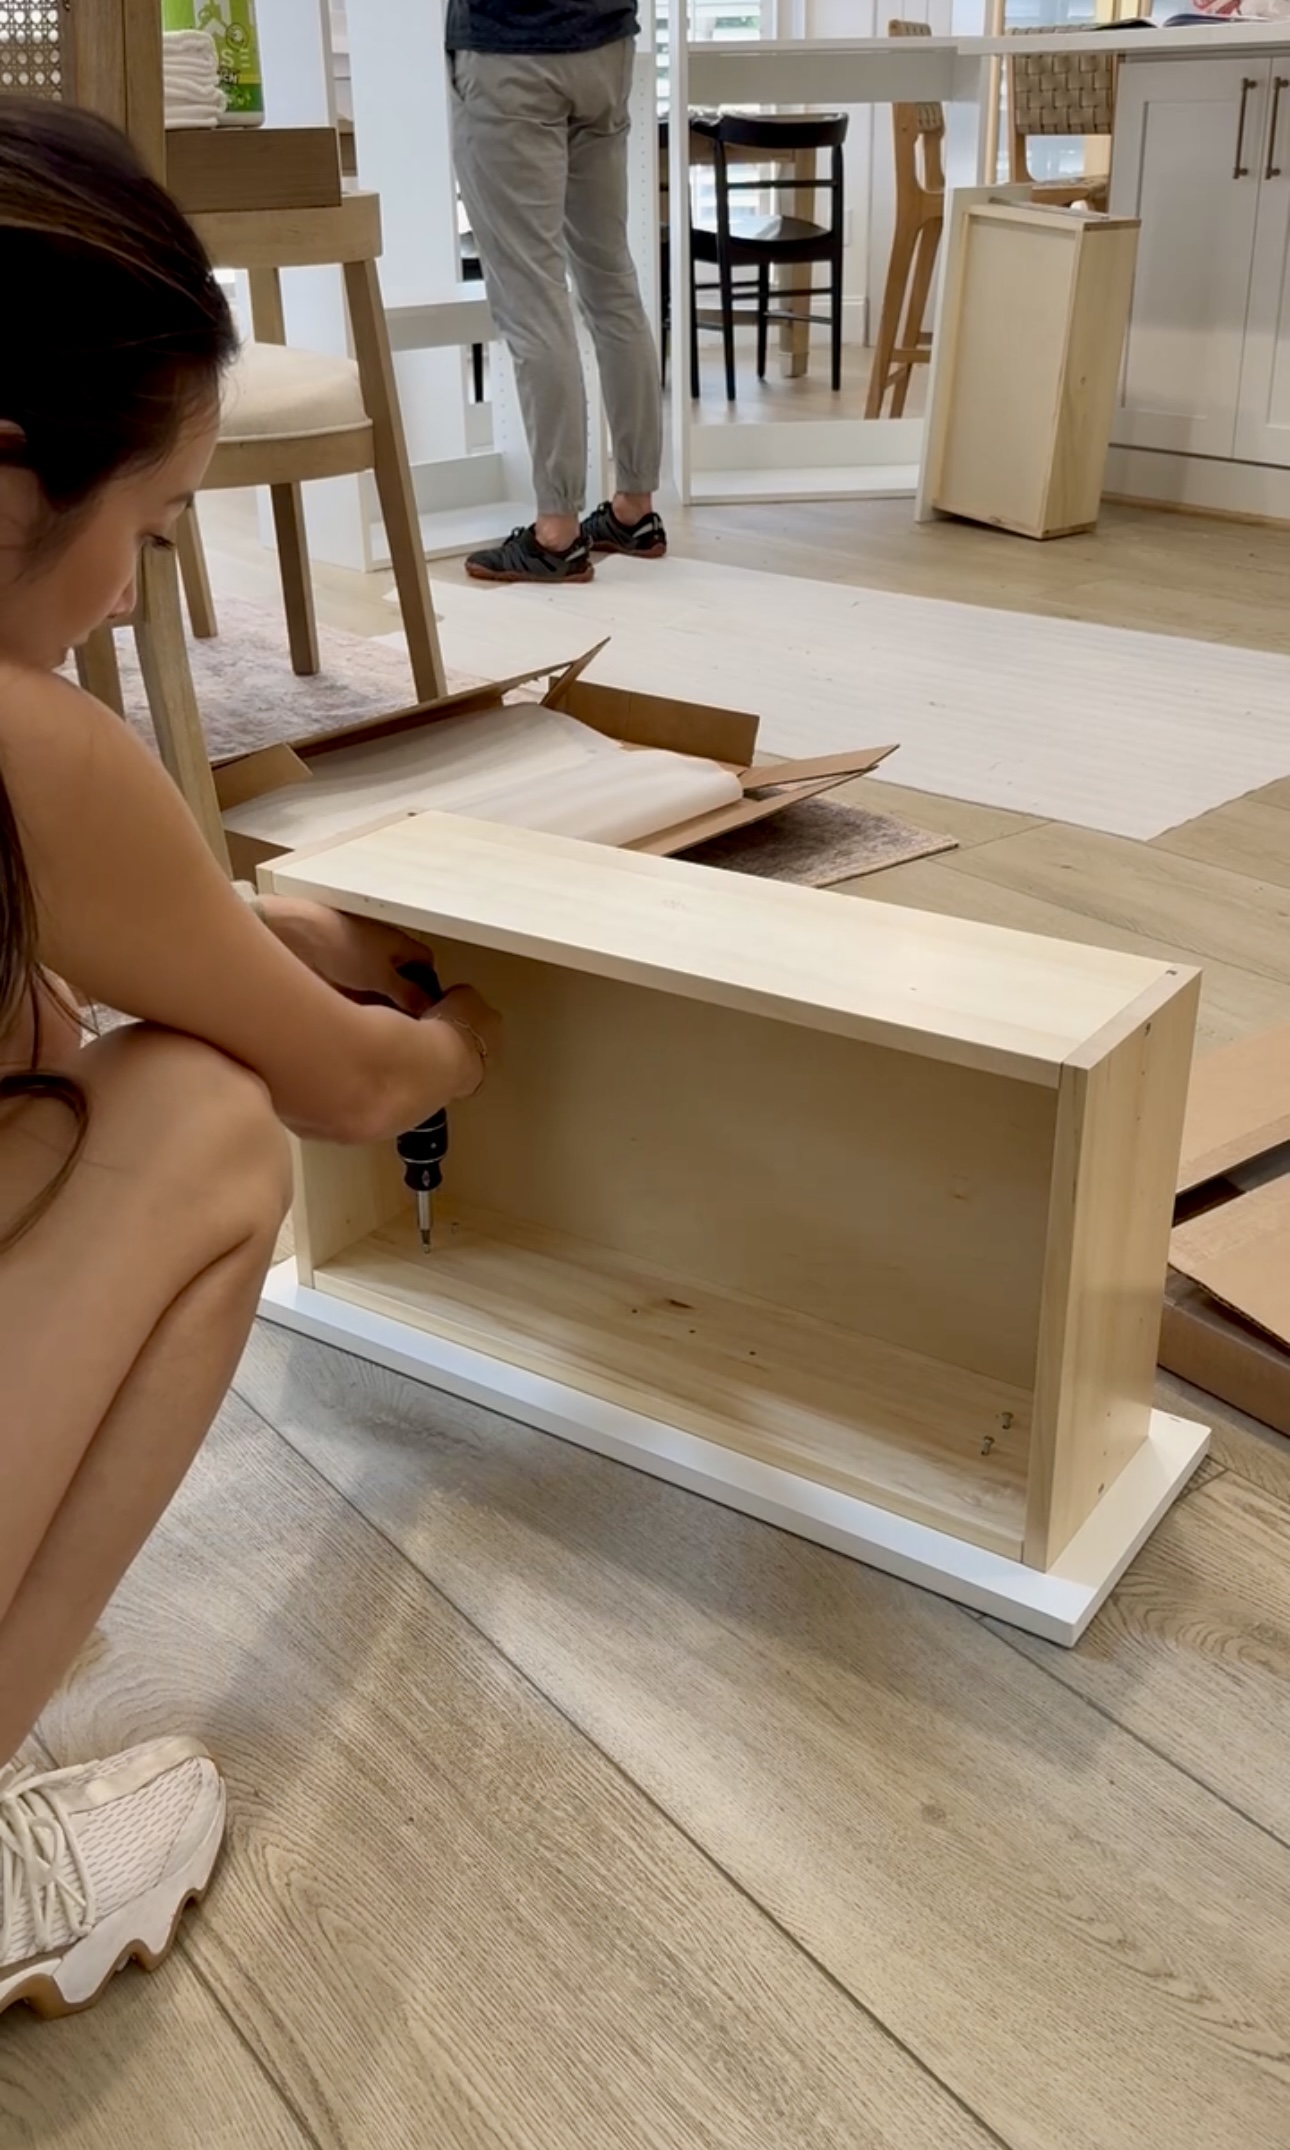
Modular Closets is amazing. They ship you all the pieces you need for your custom closet system and detailed instructions to put your cabinets together. We used this ratcheting screwdriver to assemble everything. It’s so great – it comes with a bunch of different sizes and in a zipper pouch to keep it all organized.
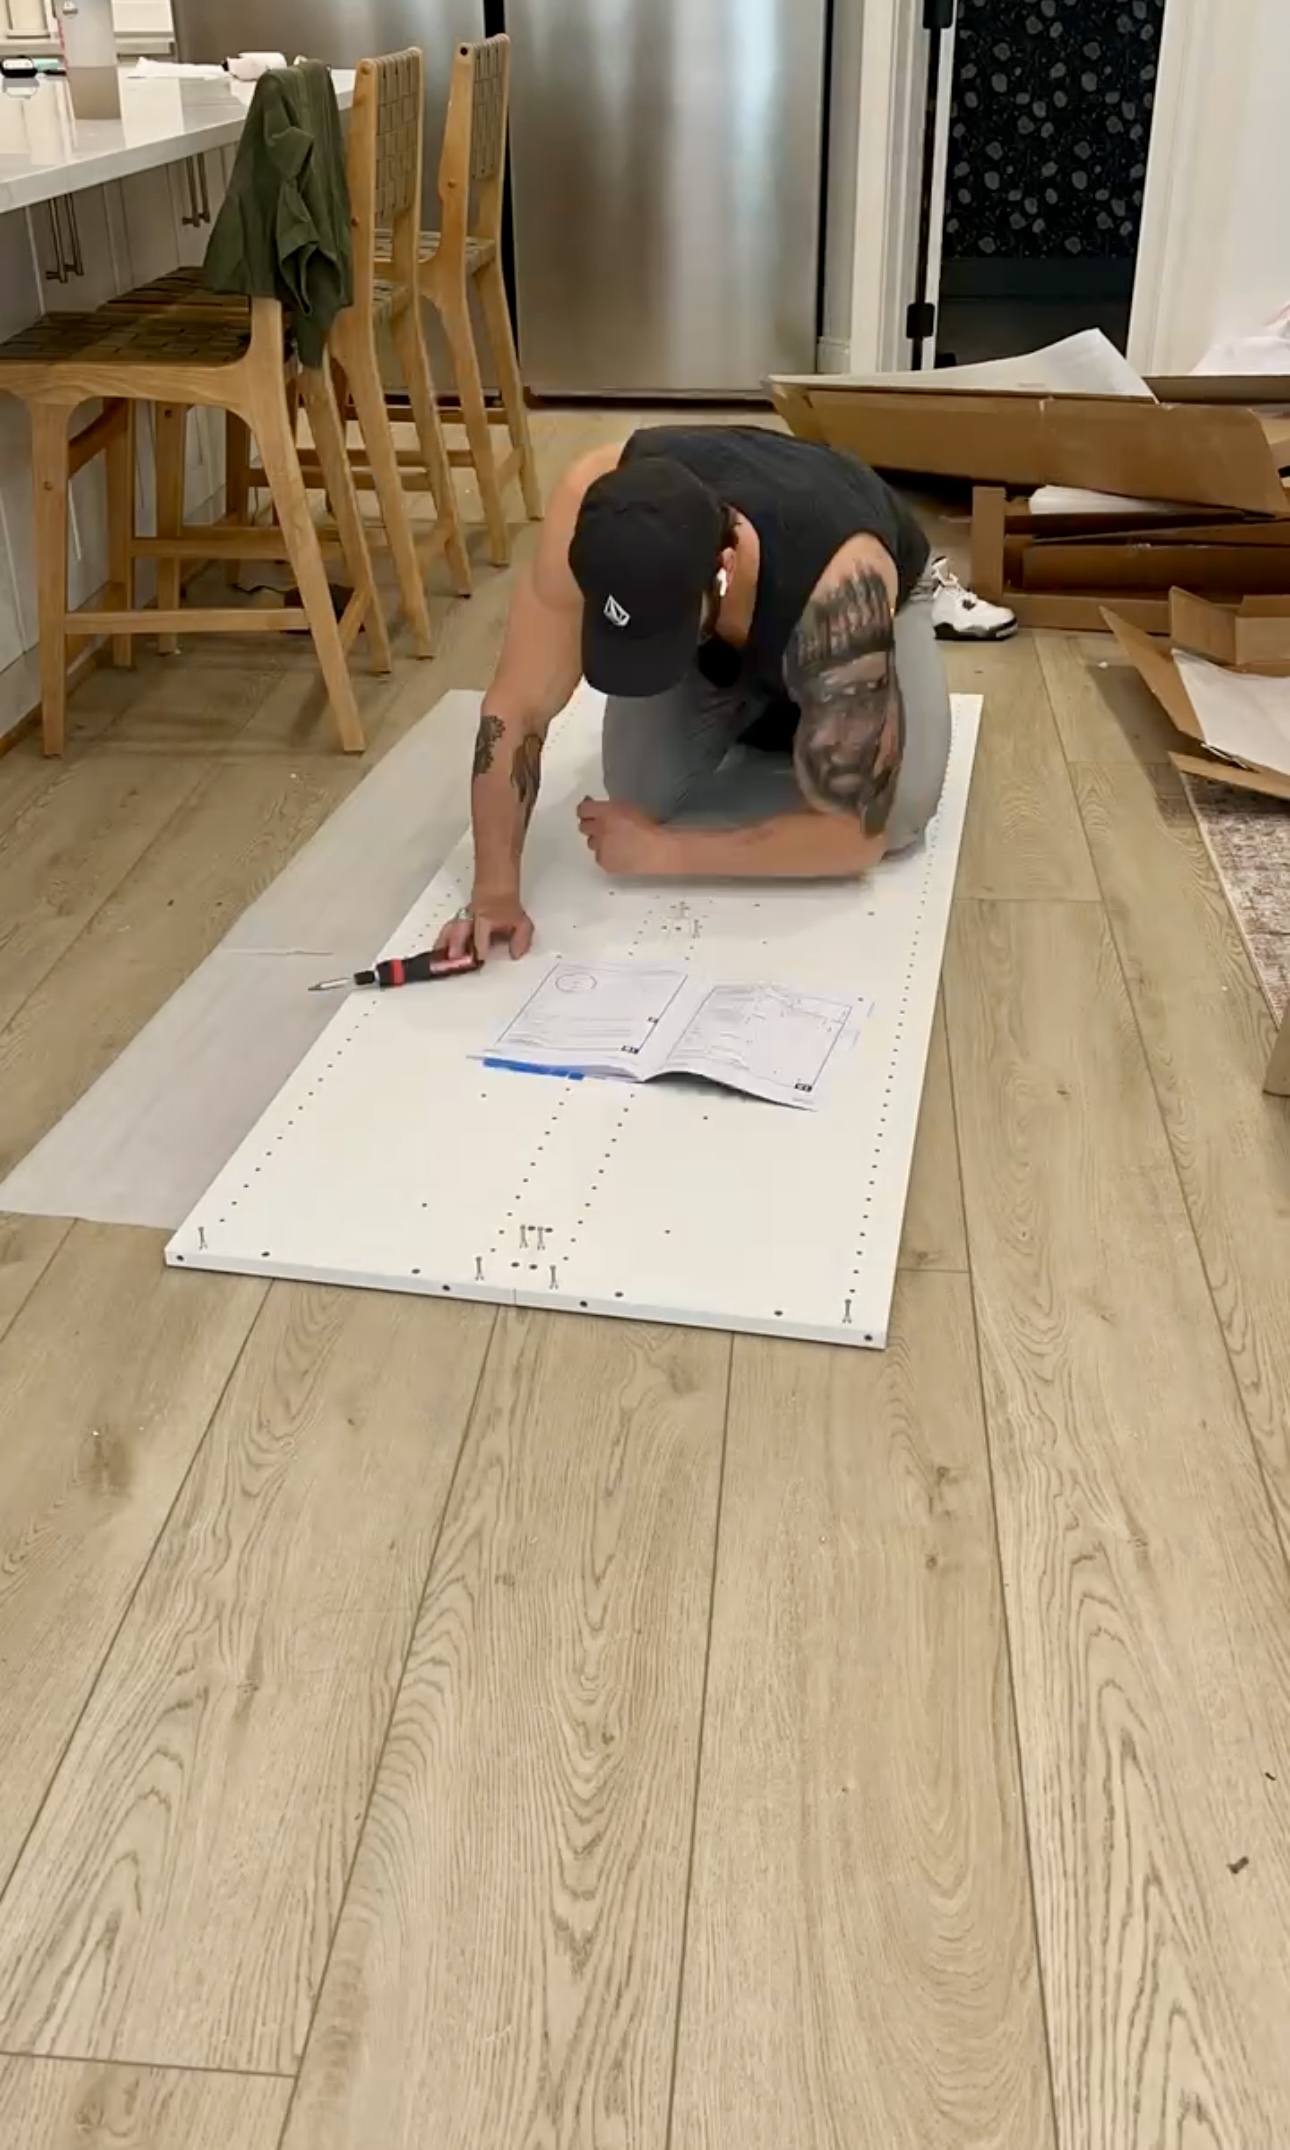
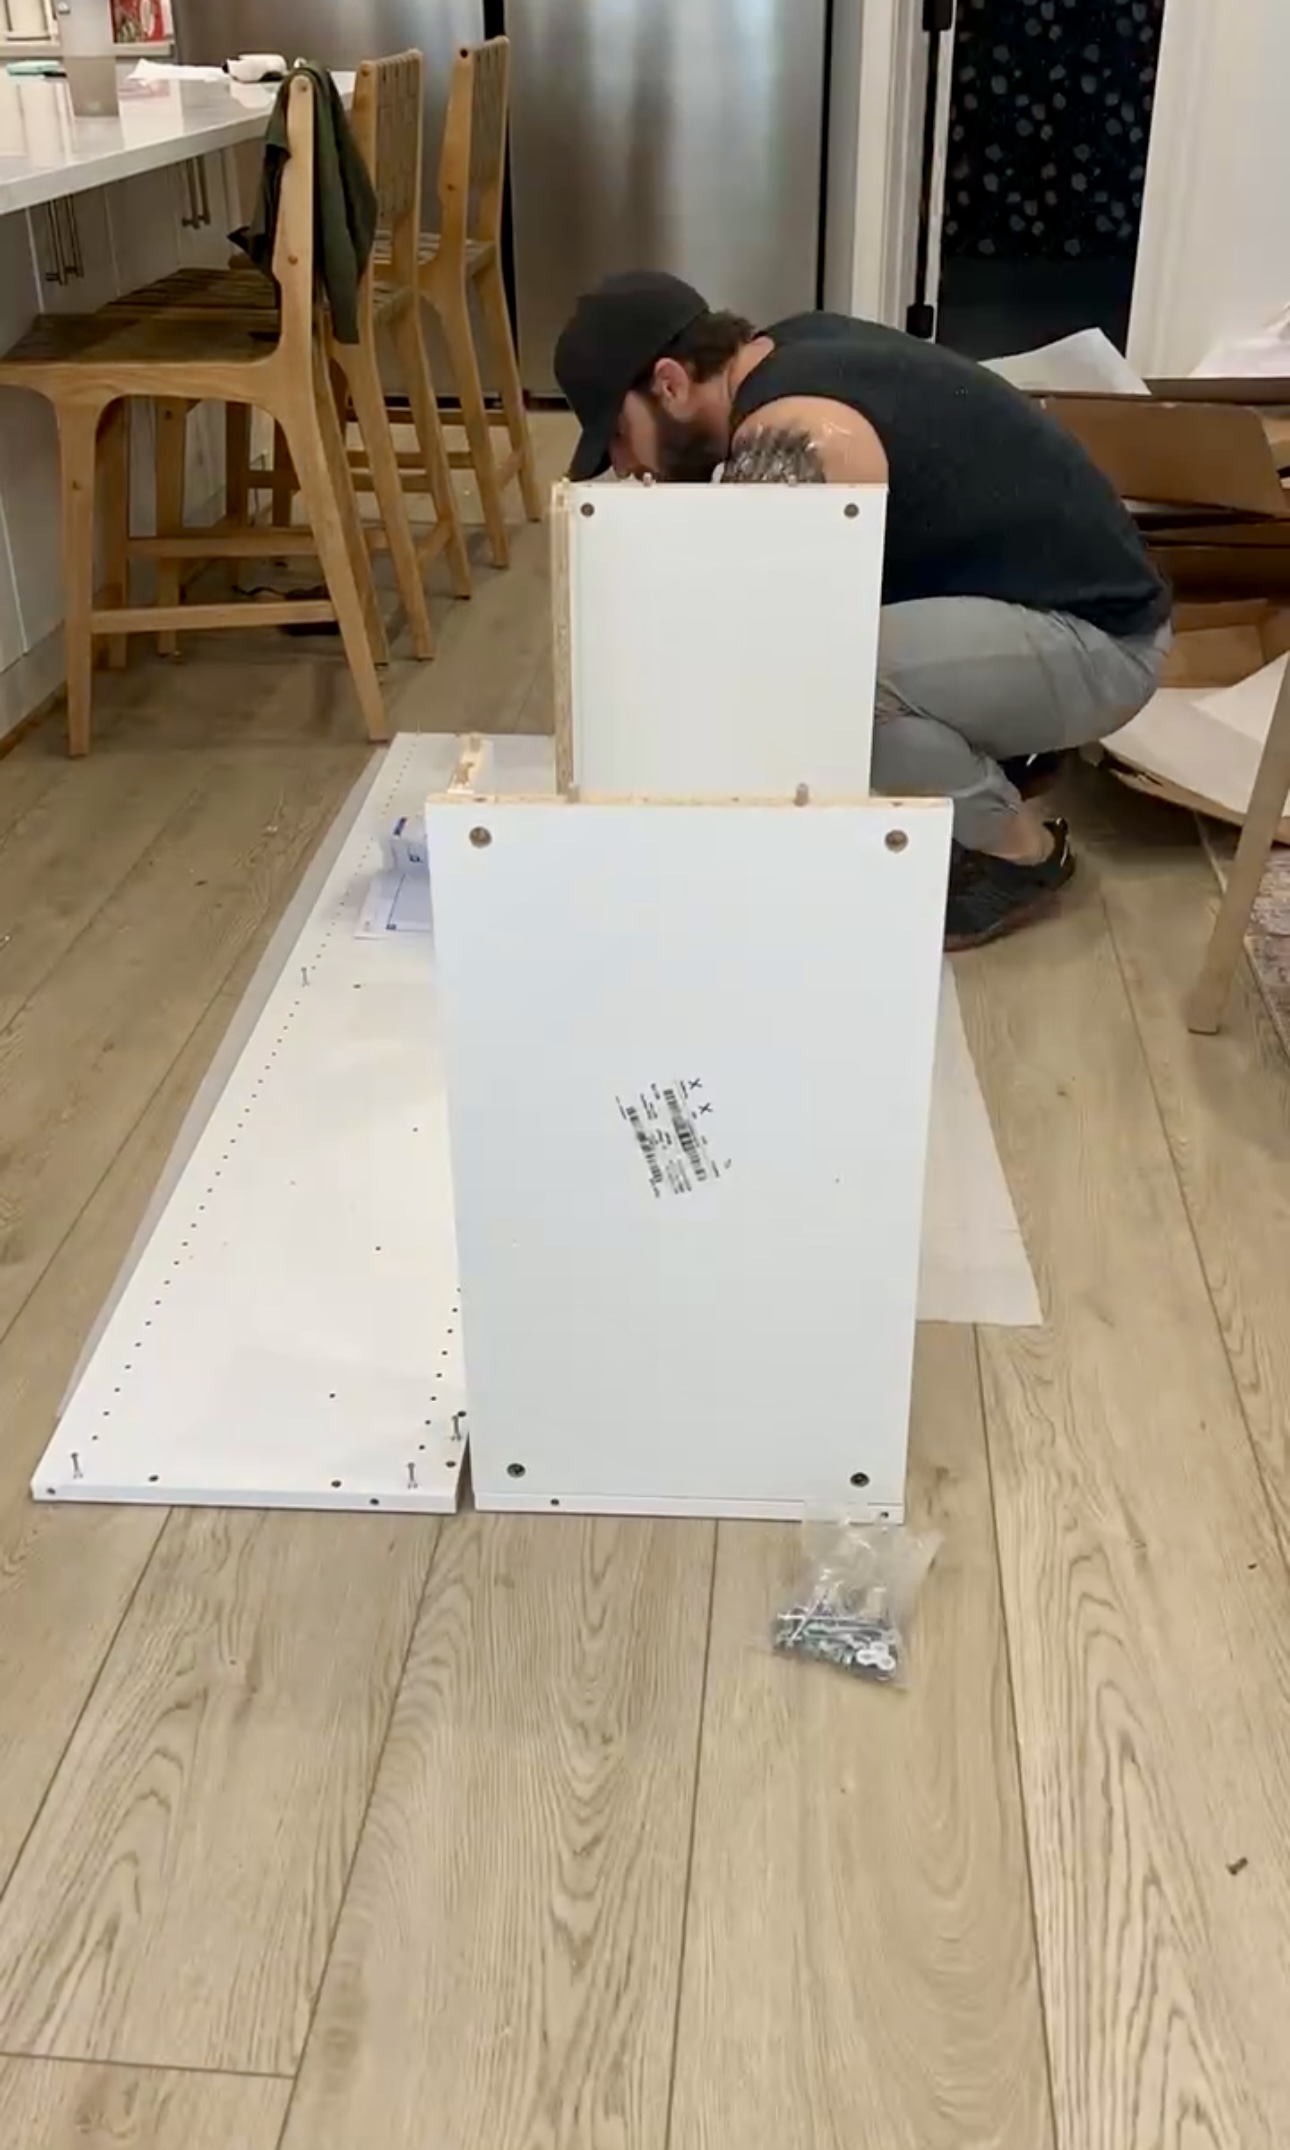
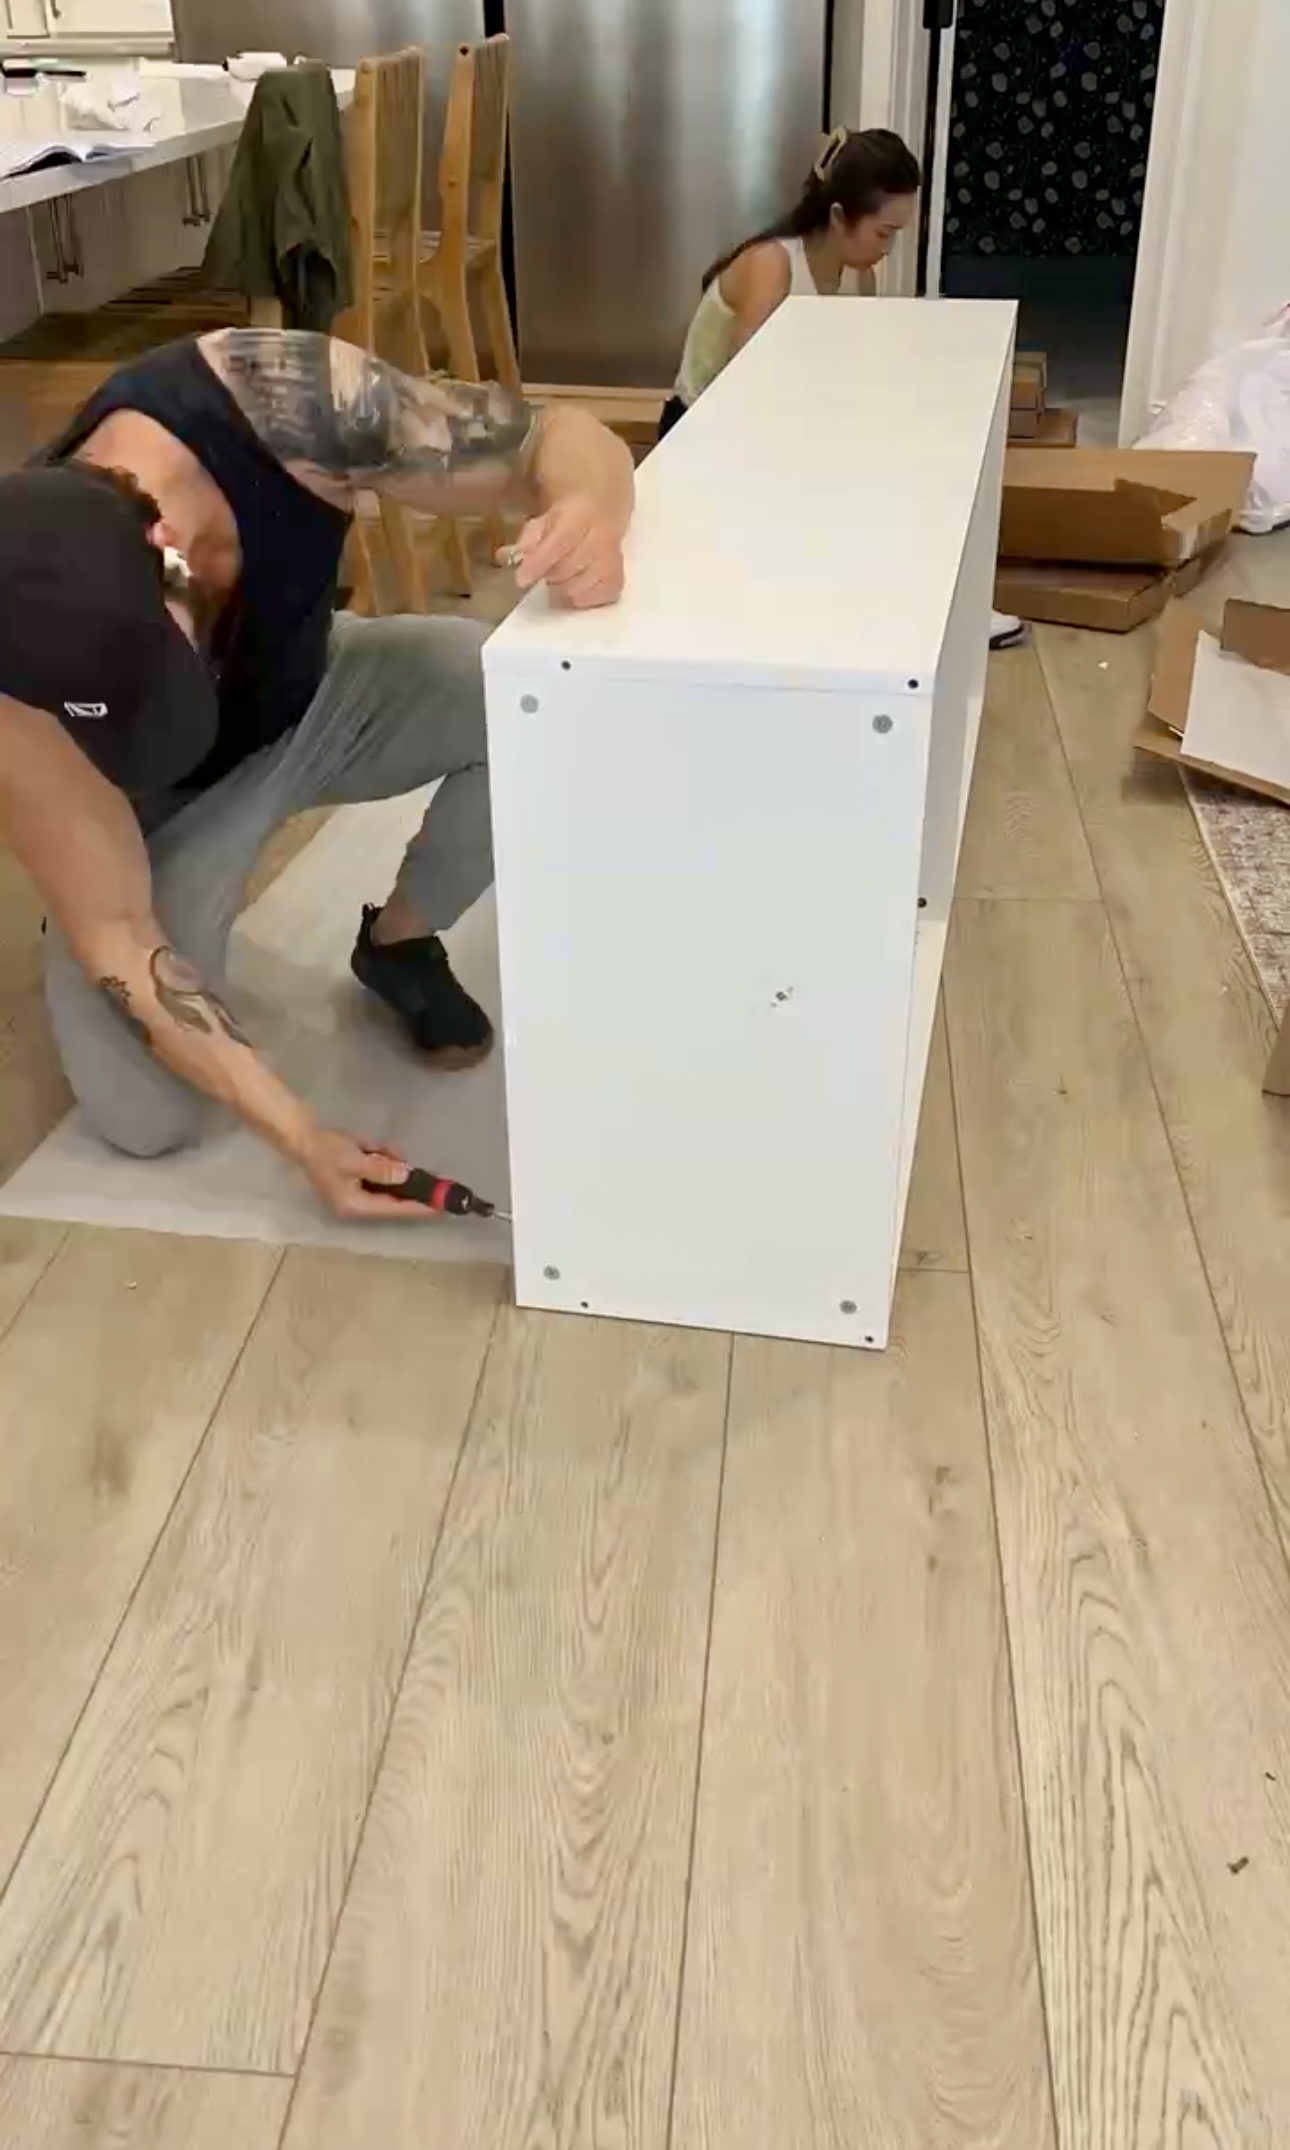
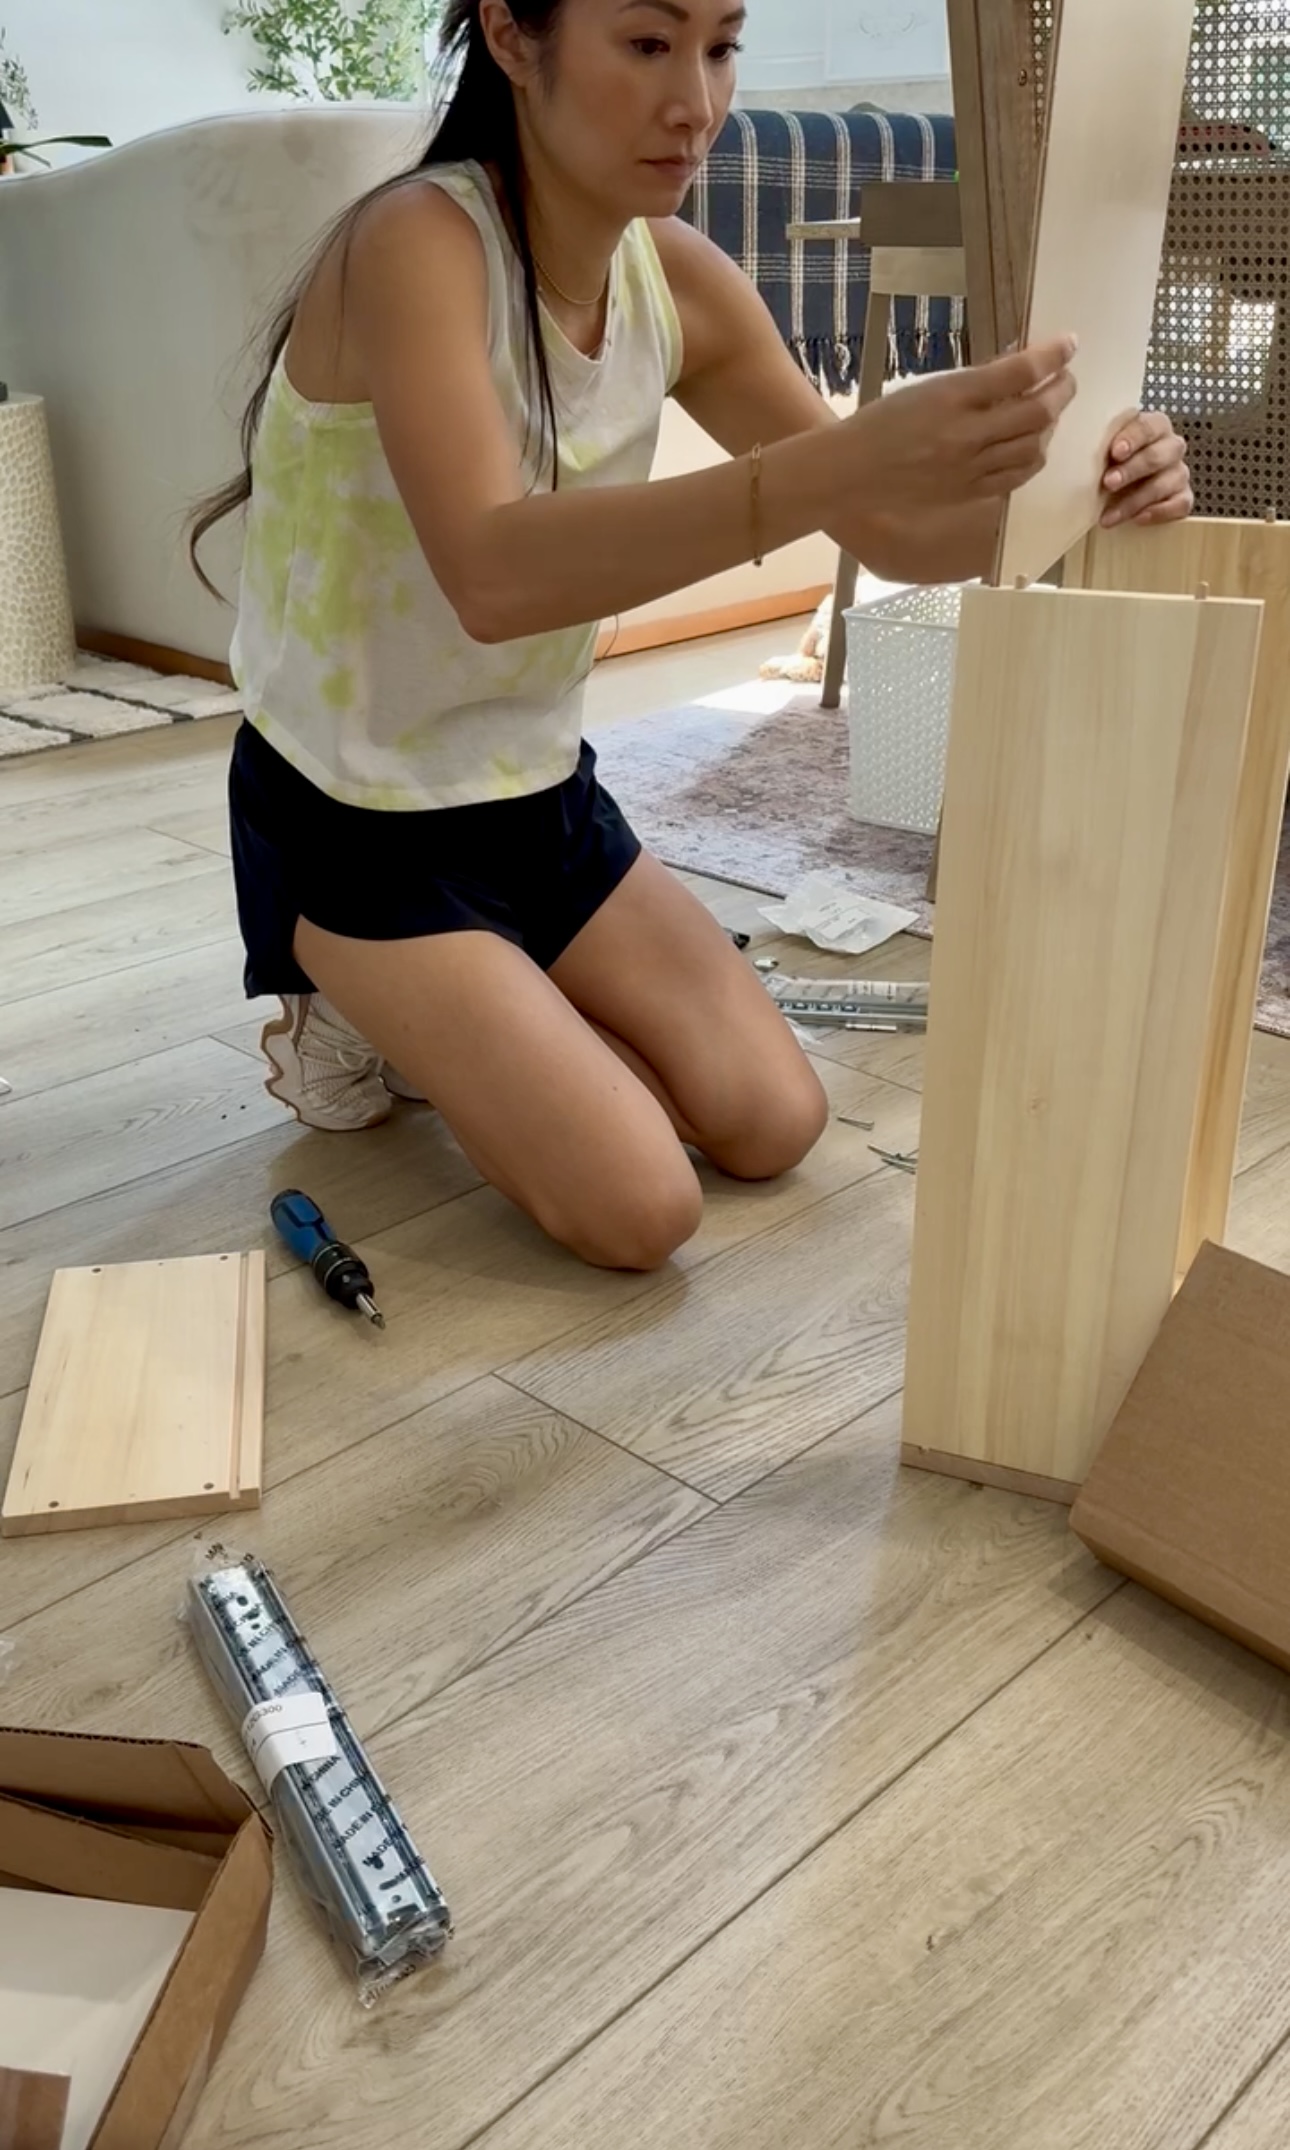
Each drawer took me only 6 minutes to put together, which is way faster than building drawers. To be honest, building drawers is a total headache so it’s nice not to have to deal with that..haha.
LVP Flooring
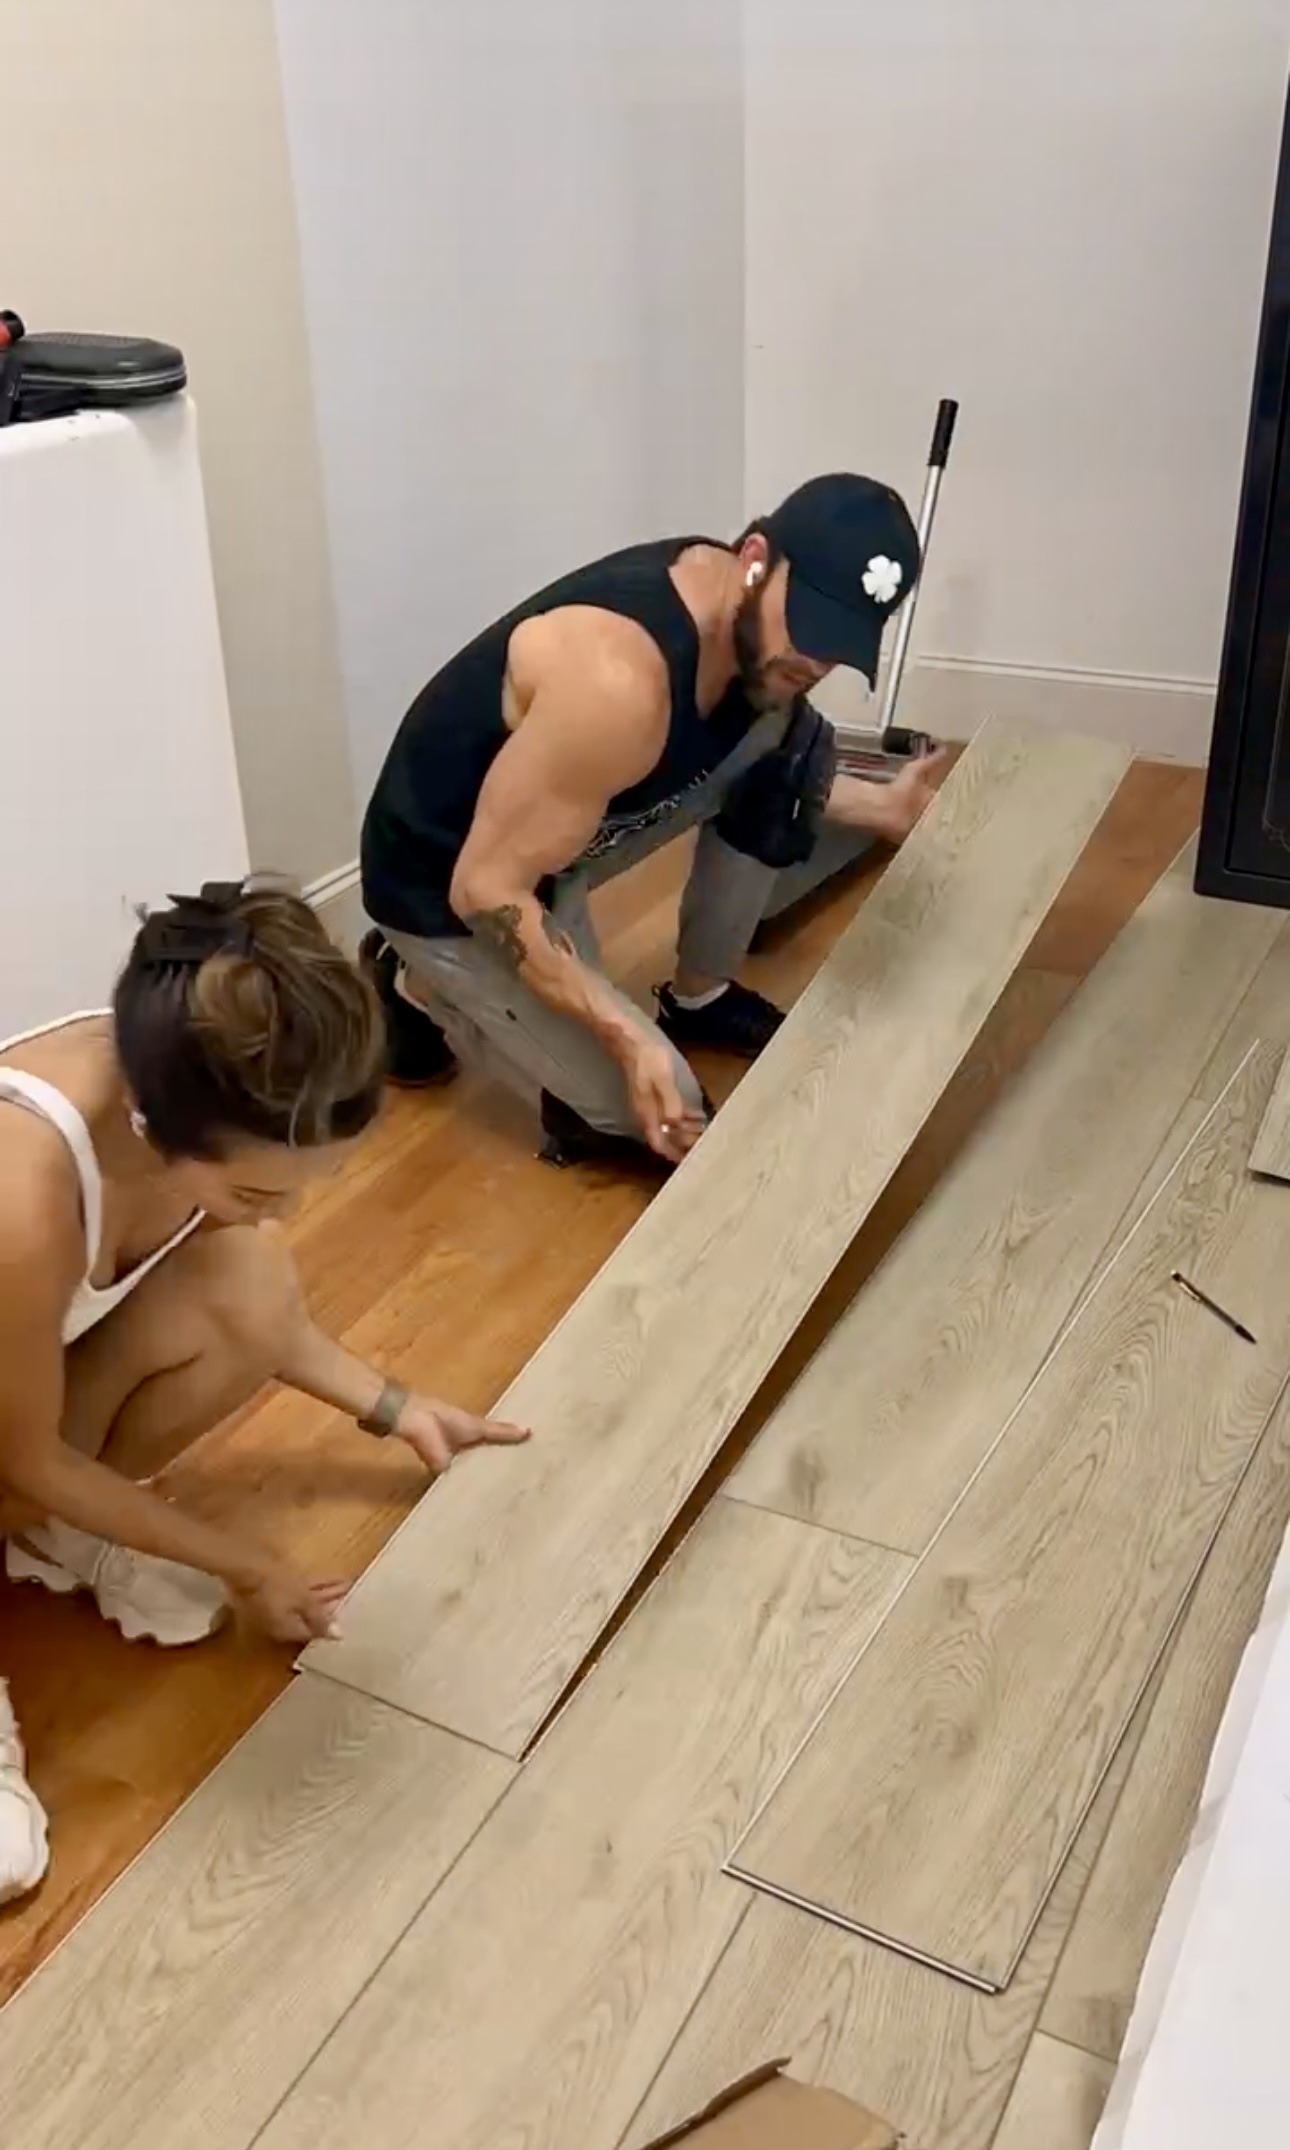
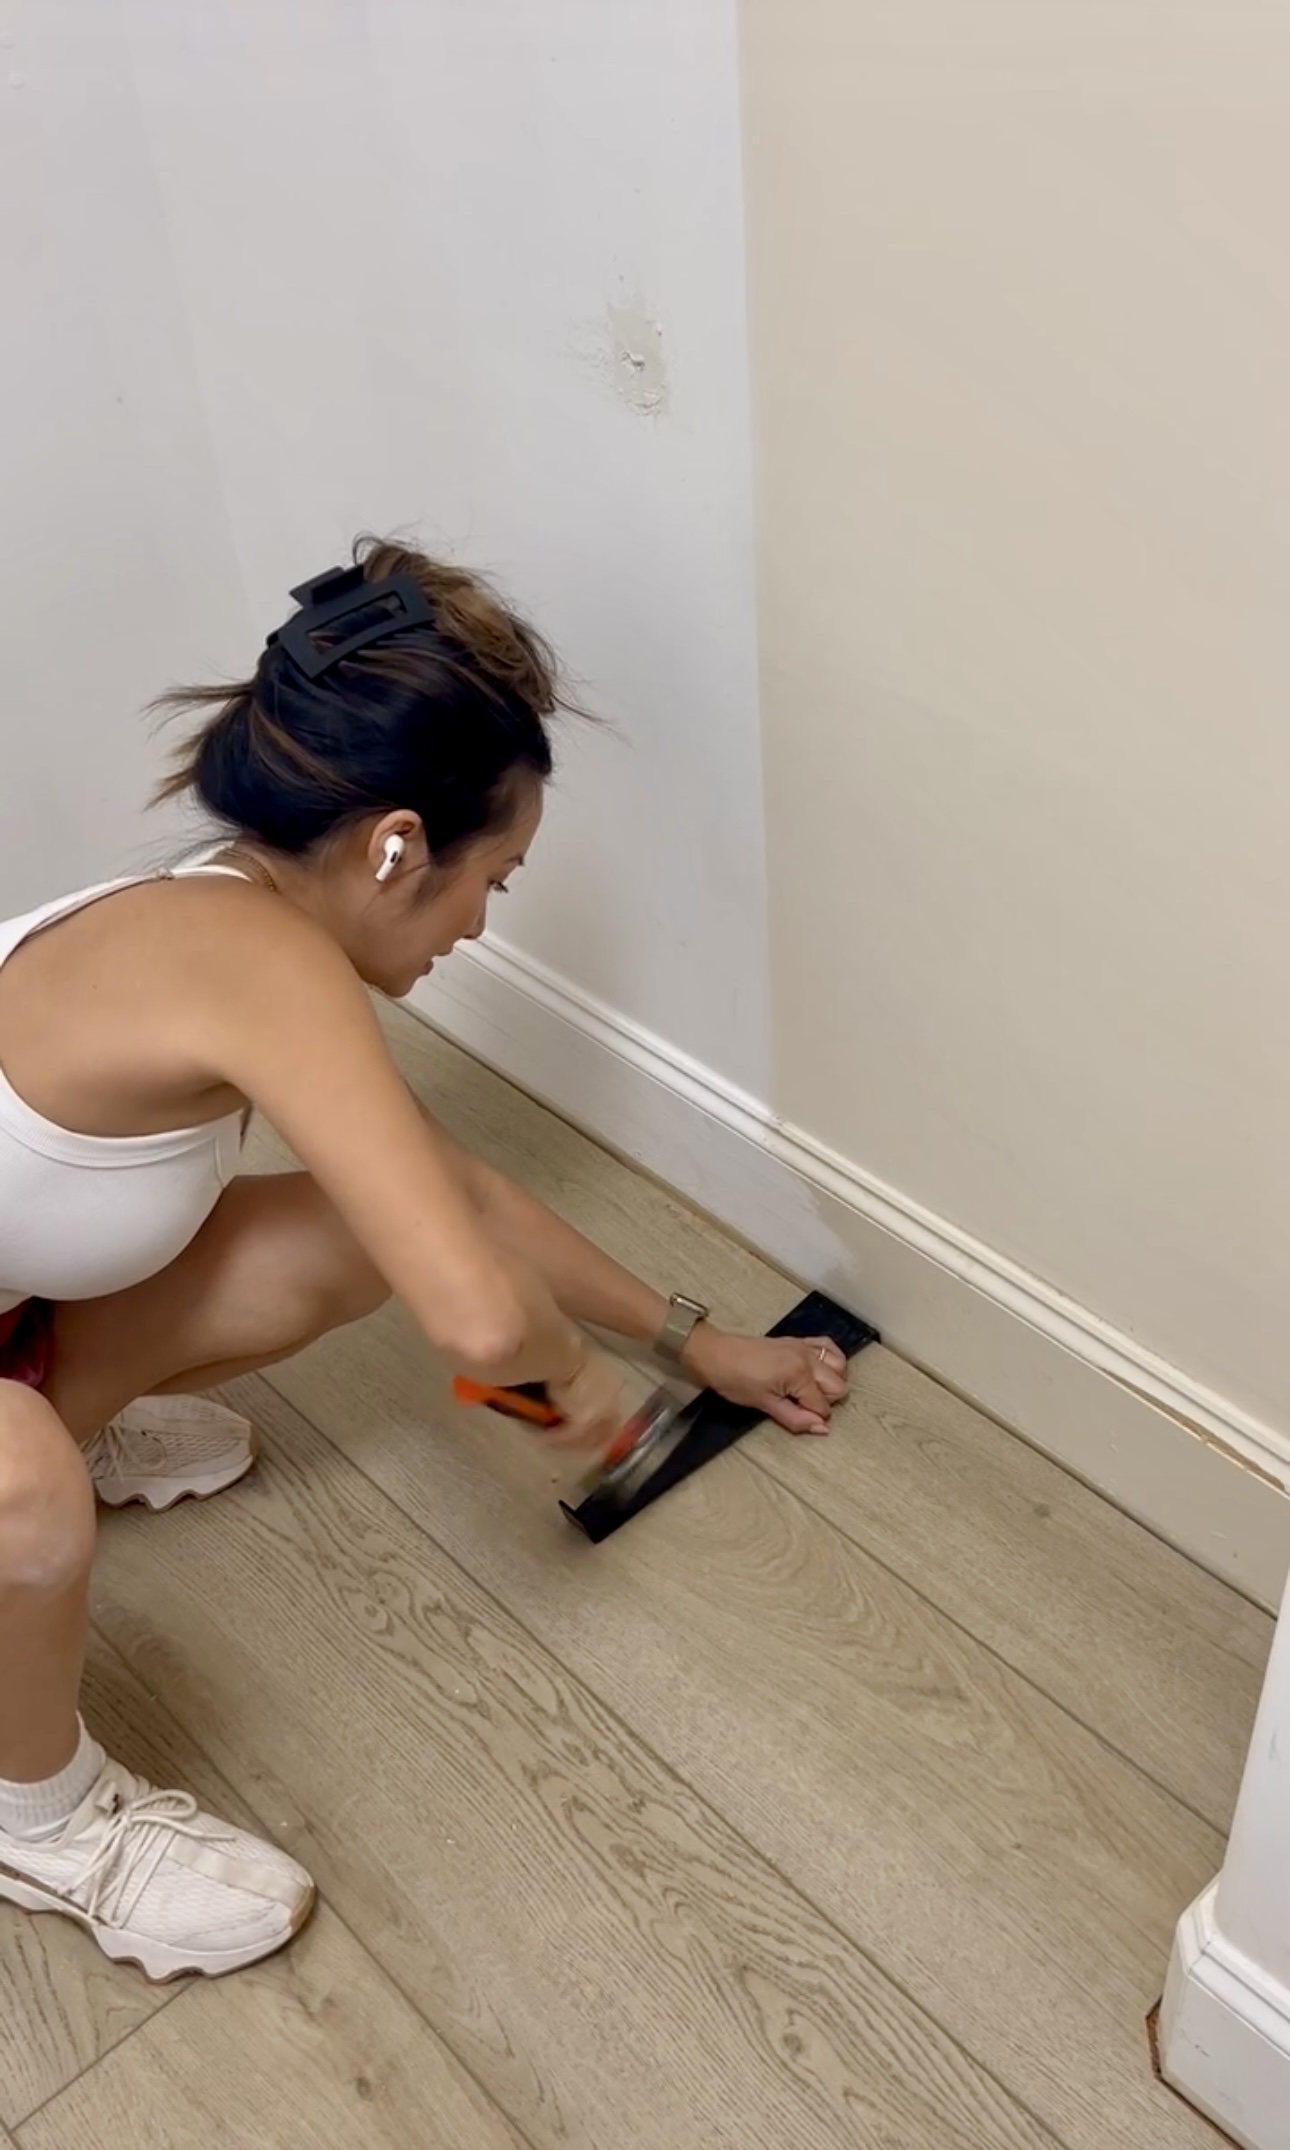
We decided to install LVP flooring in here to match the rest of our house. You can see that entire process on this blog post!
Cabinet Installation
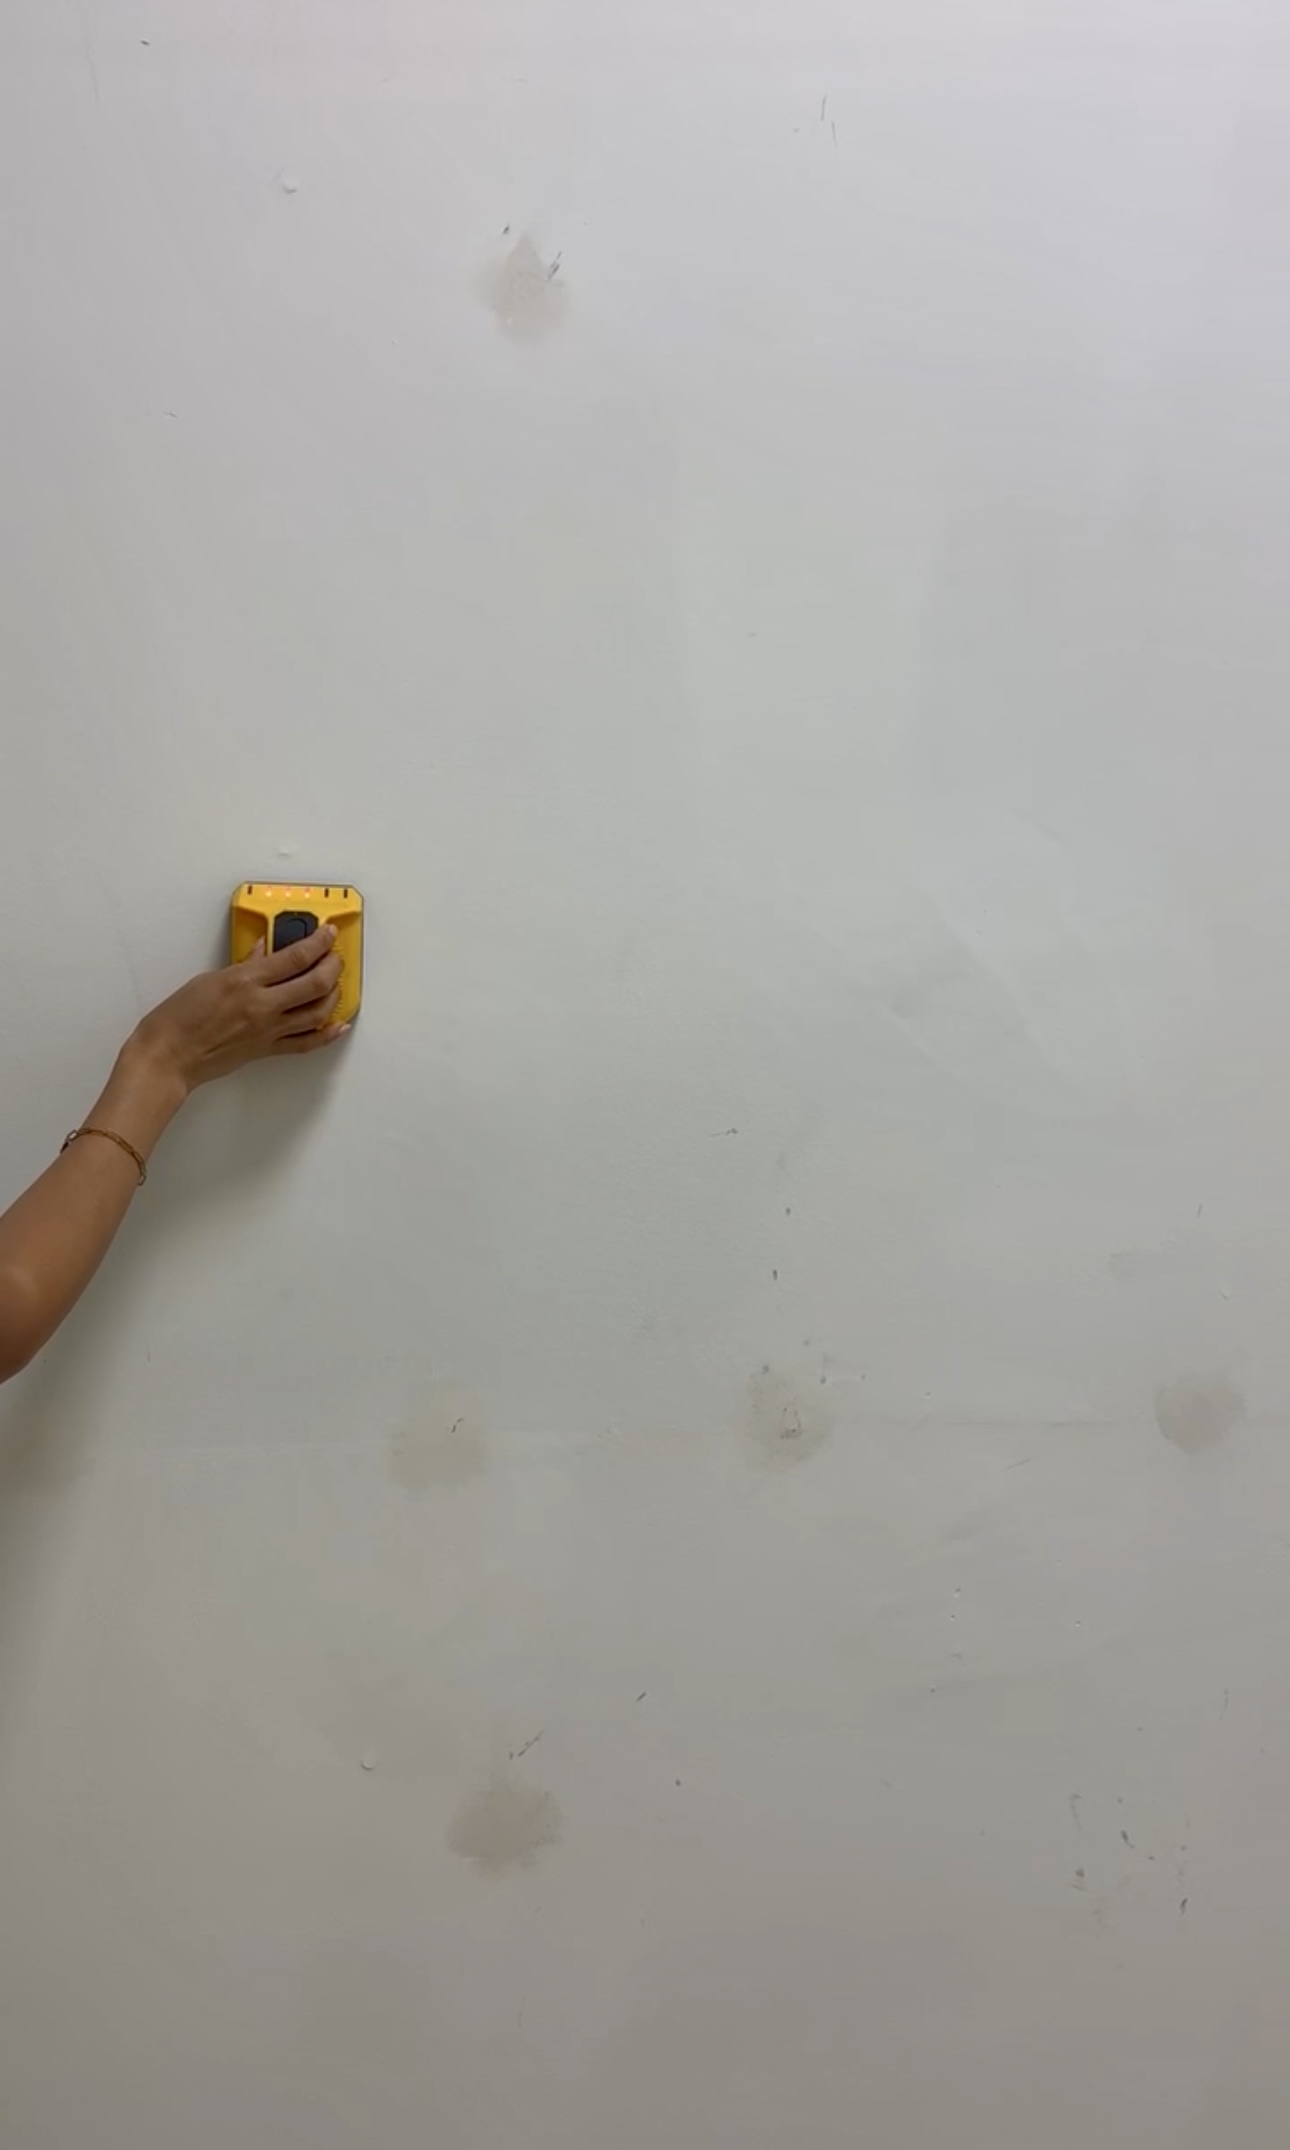
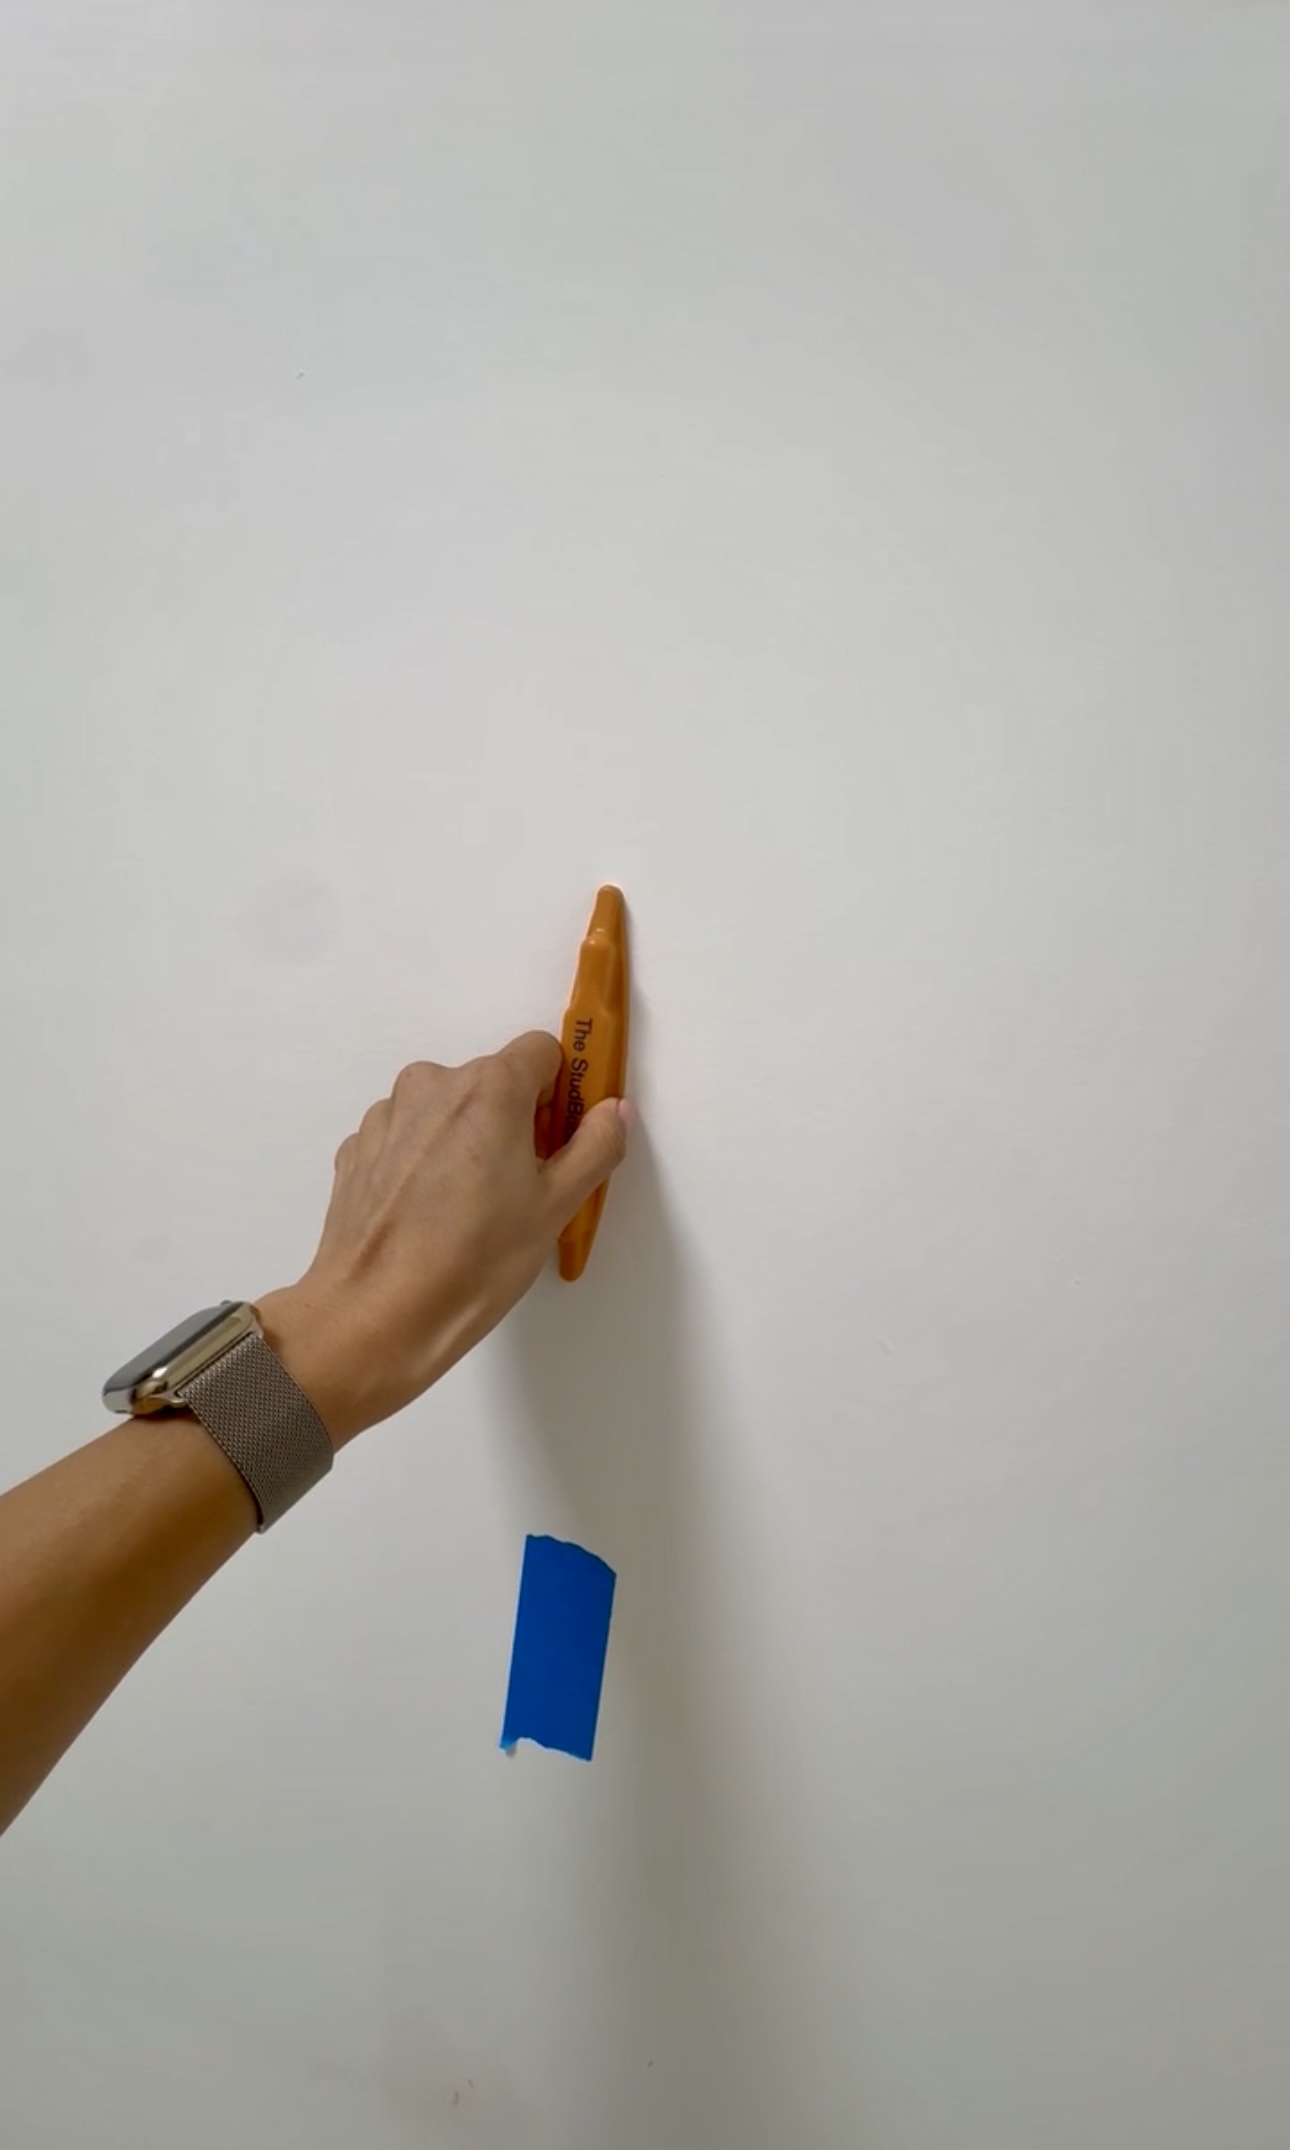
To install the cabinets, I found all the studs in the room with my yellow stud finder. Then, I confirmed them with my stud buddy – I wanted to make sure I wouldn’t drill into any pipes.
We built spacers to help us with installation. We made 2 different sizes since different boxes will sit at different heights. This made it so we wouldn’t have to hold boxes off the ground for minutes at a time. We held them up and had to make sure they were plumb using a hand held level, as well as, our laser level. Then, we both drilled at the same time so it would go faster! I put 6 screws per box.
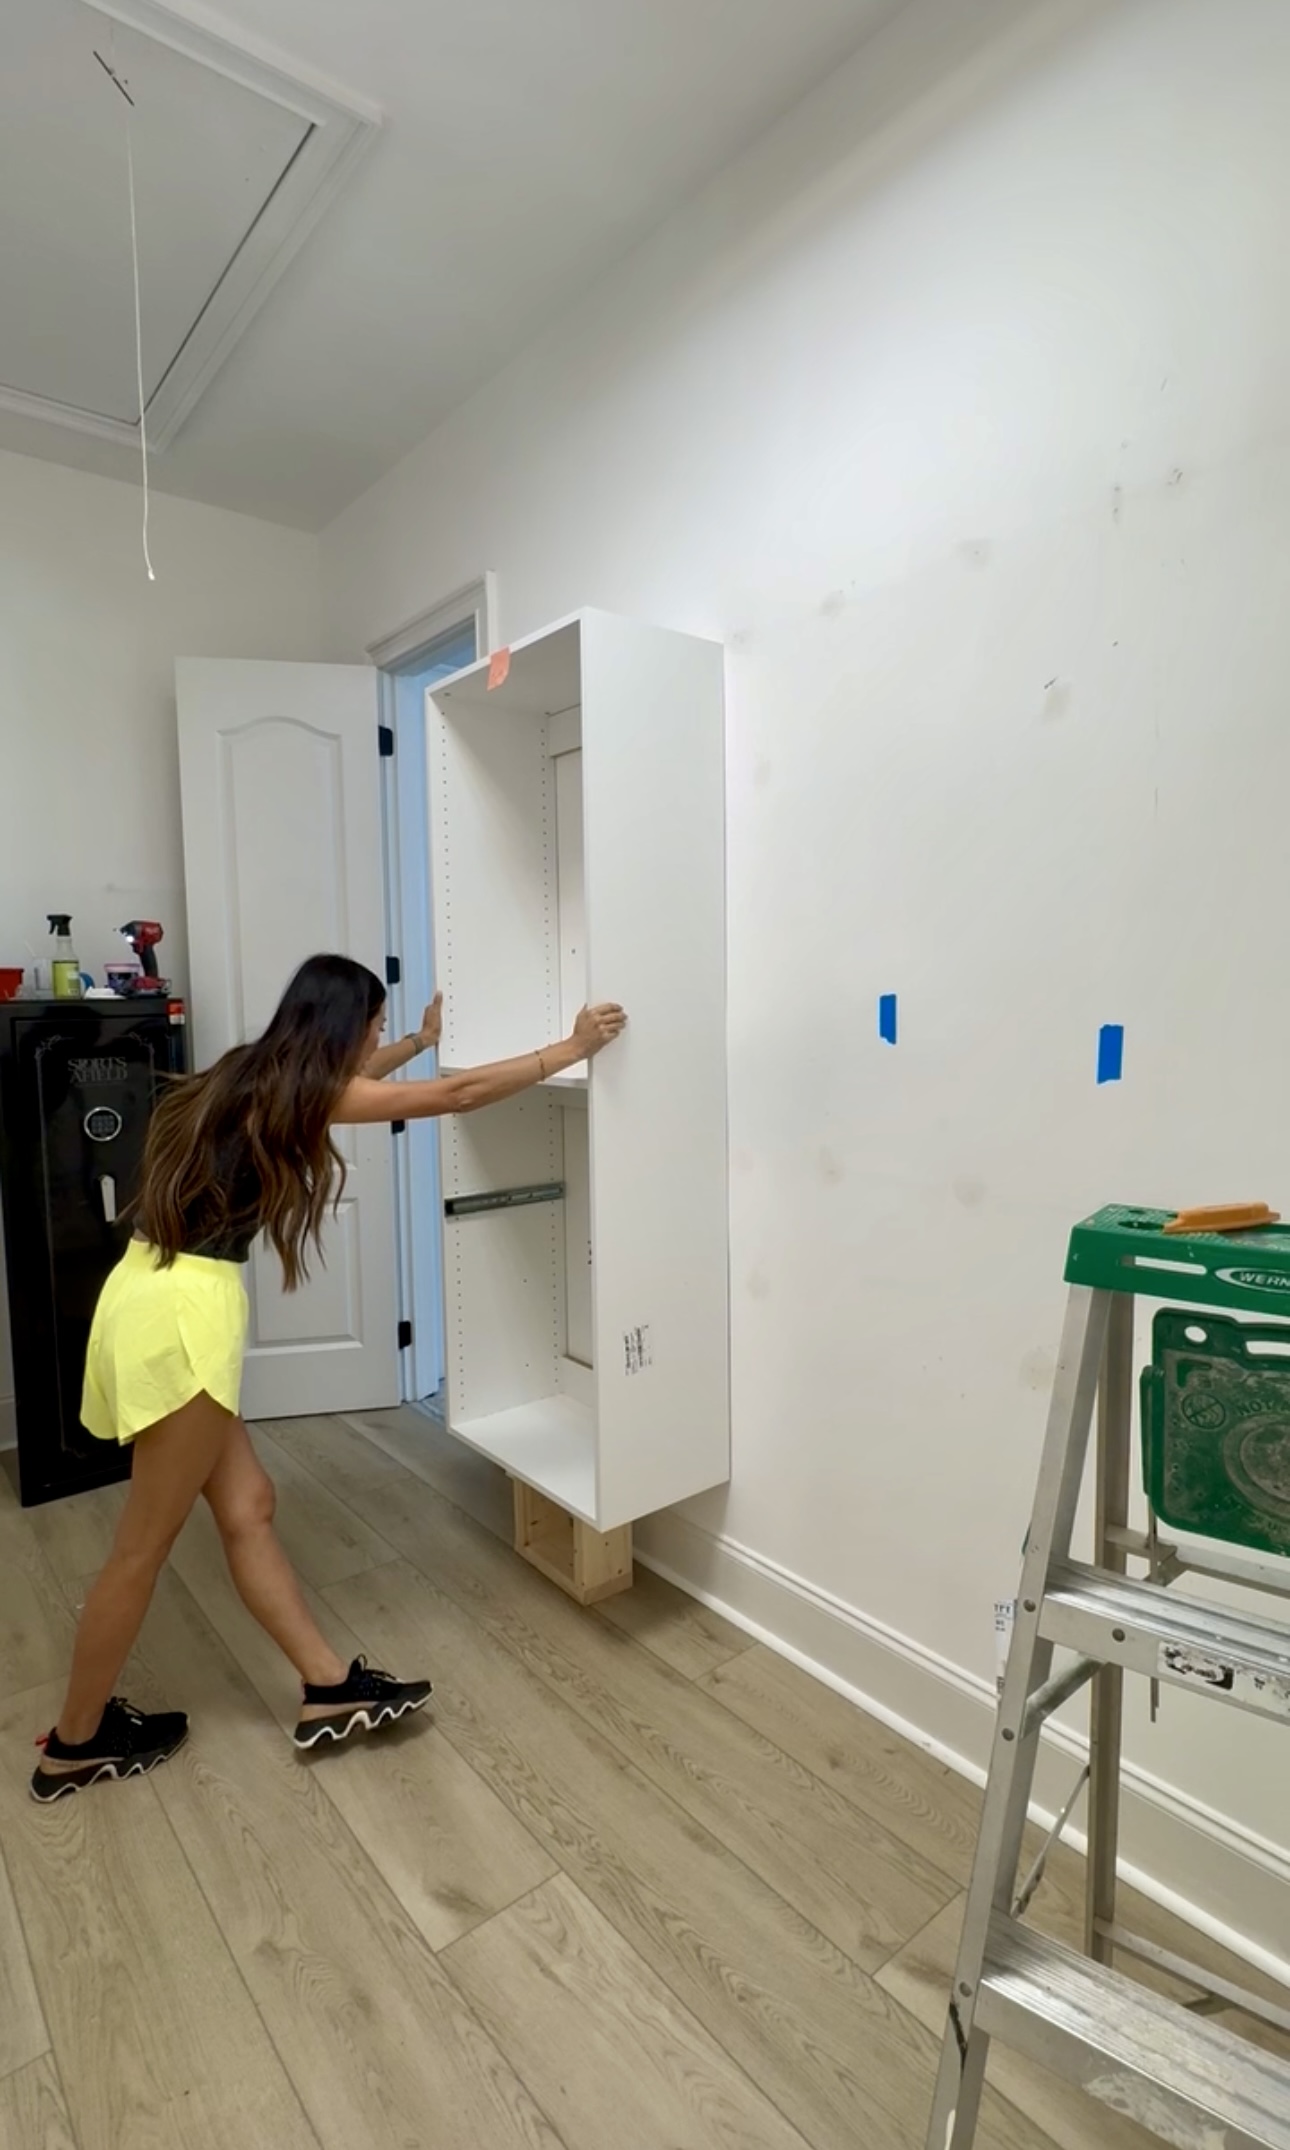
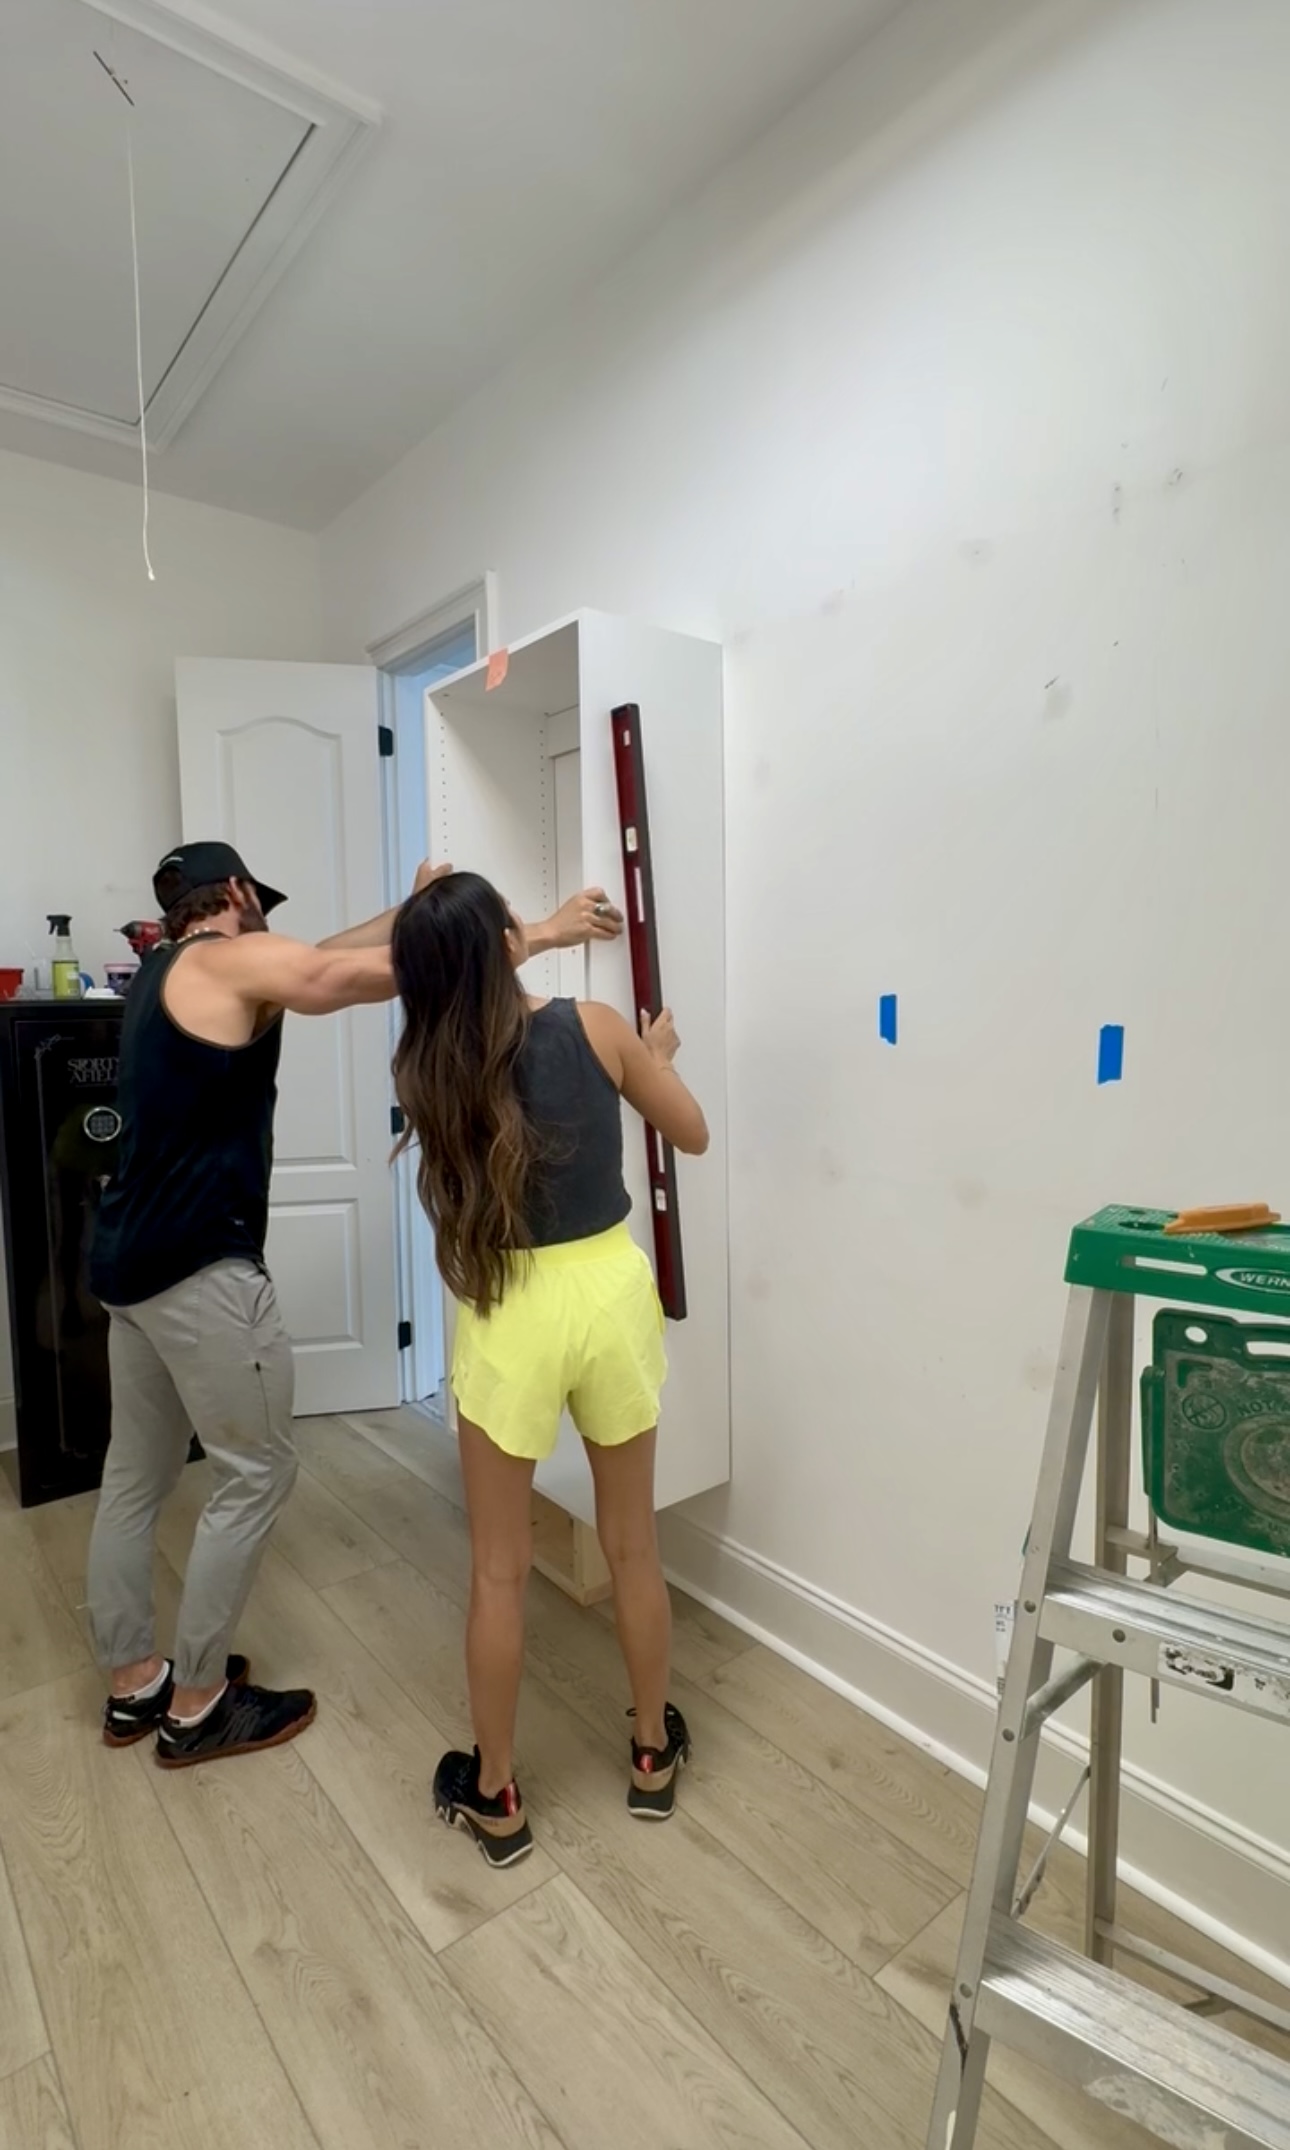
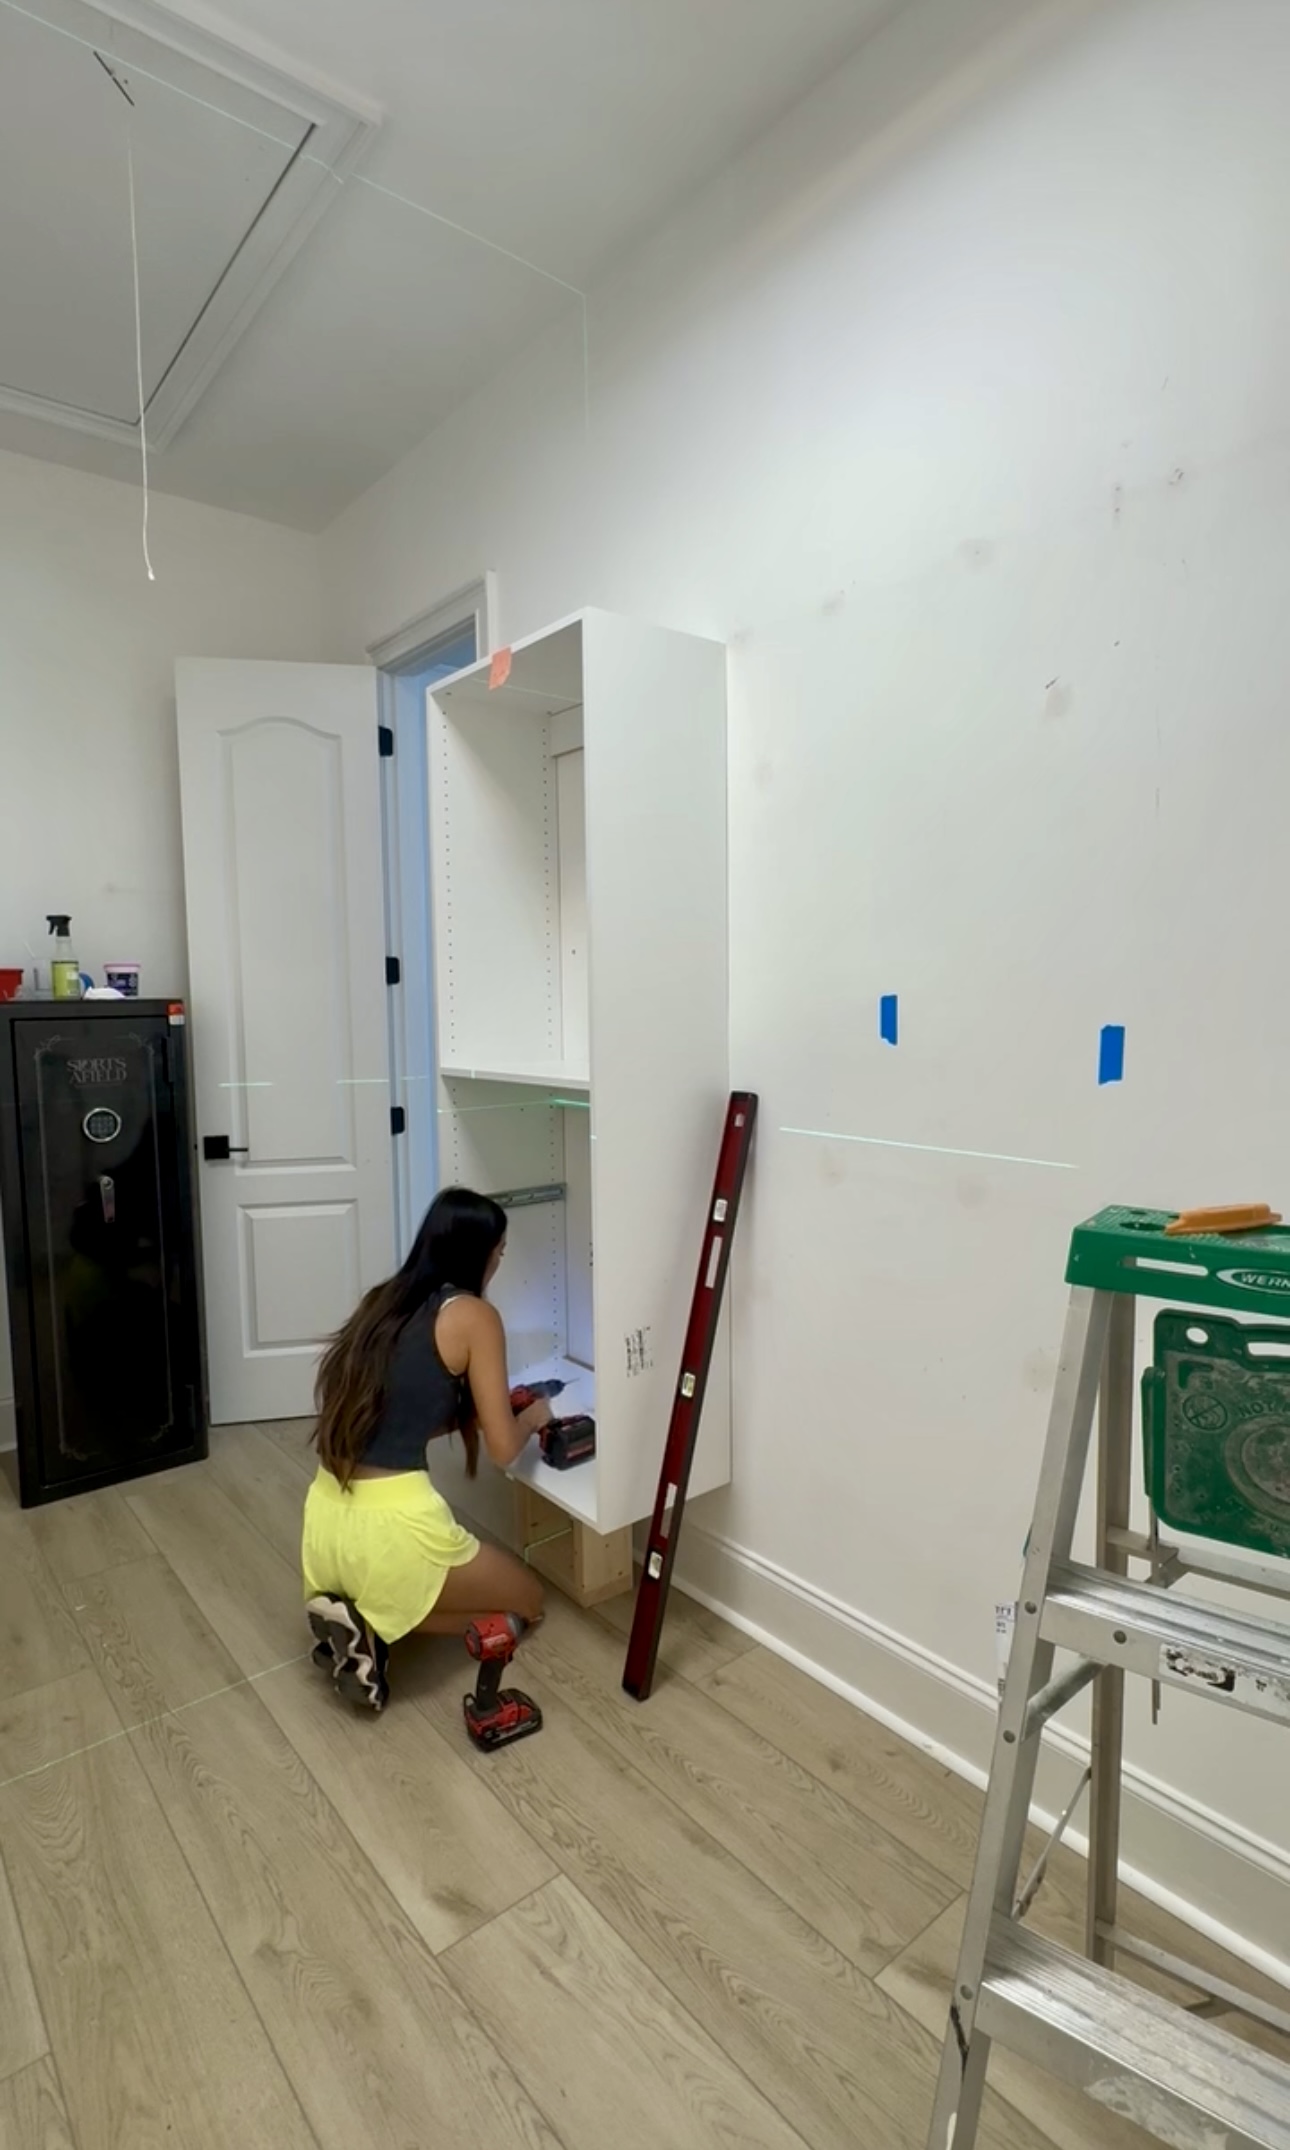
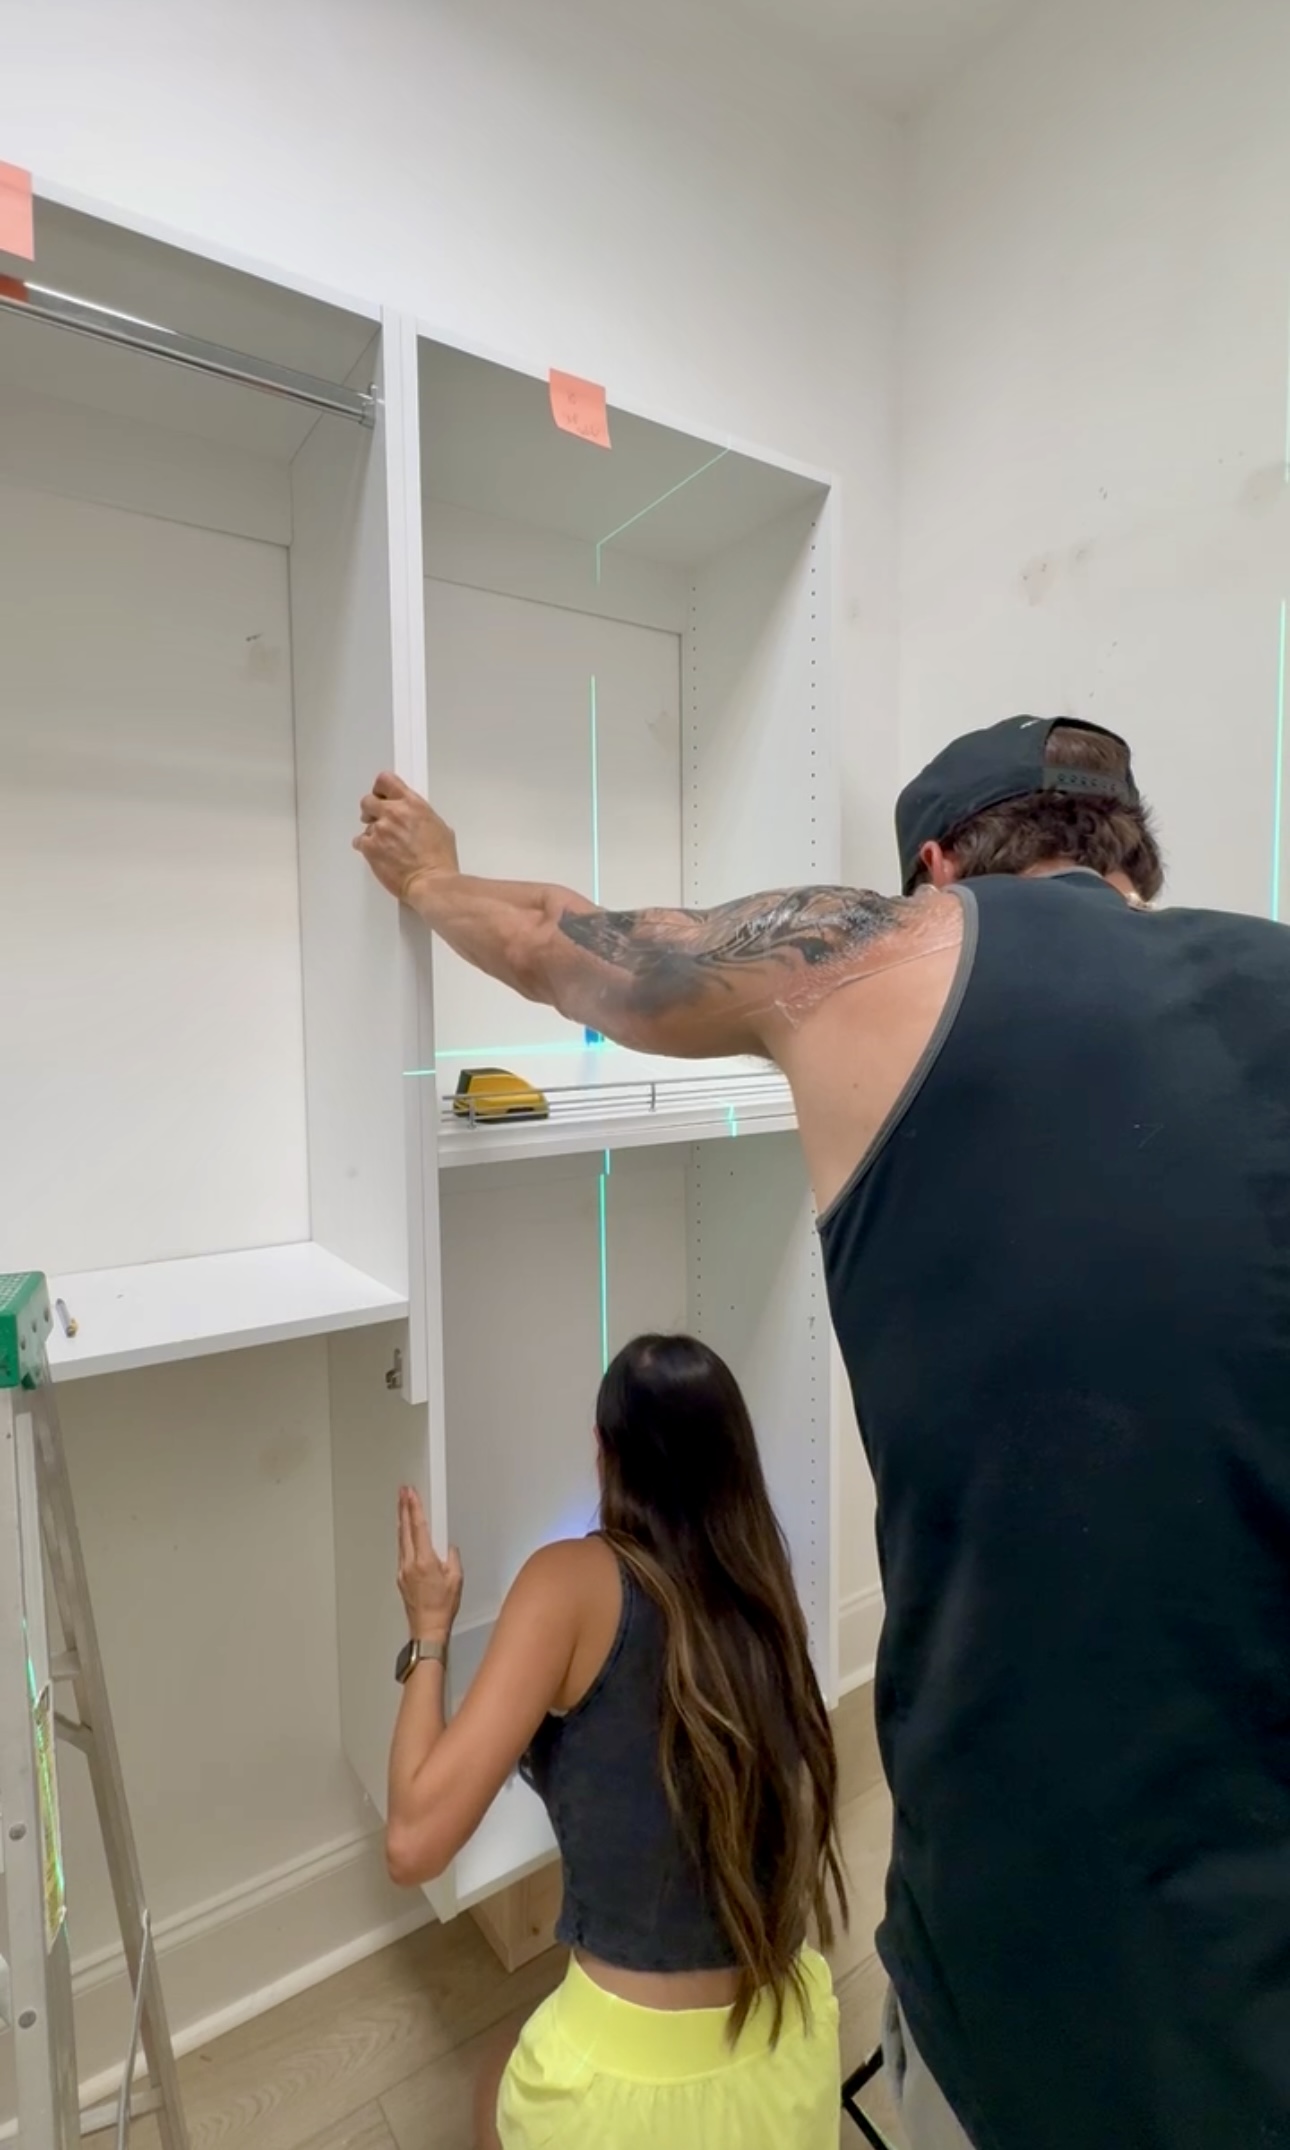
This wasn’t part of the instructions, but I put a screw between all of the cabinets to make sure they were all secured together. When choosing a screw for this, you want a screw that’s a little bit shorter than both pieces of material but it has to be able to go all the way through the first cabinet and about halfway into the next.
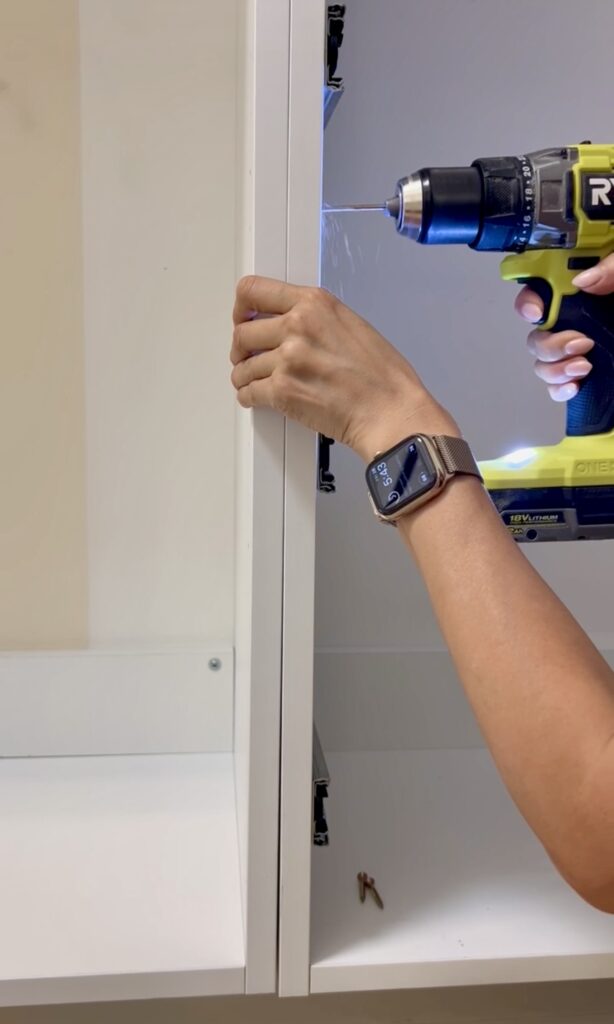
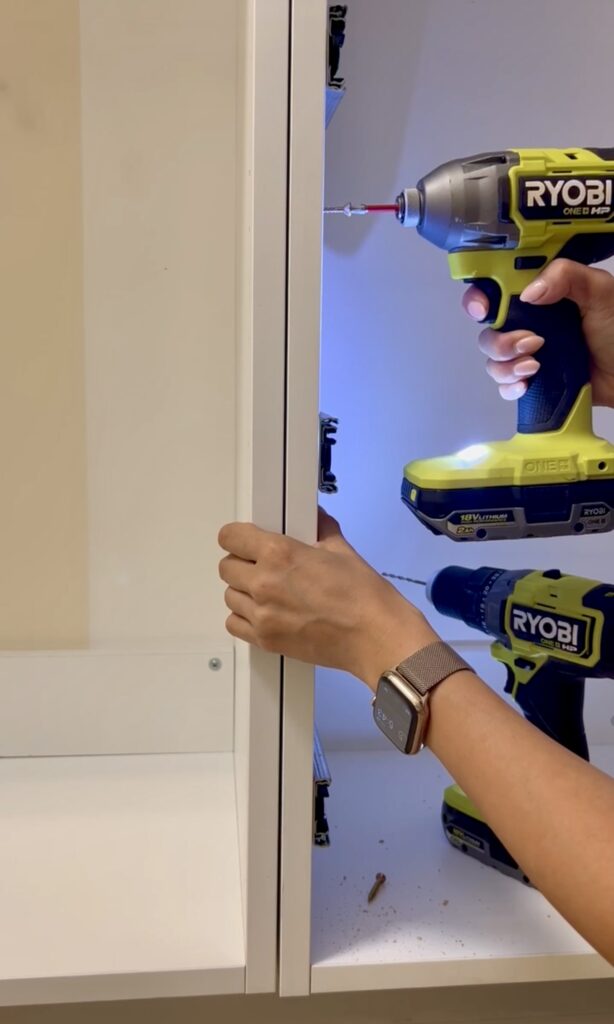
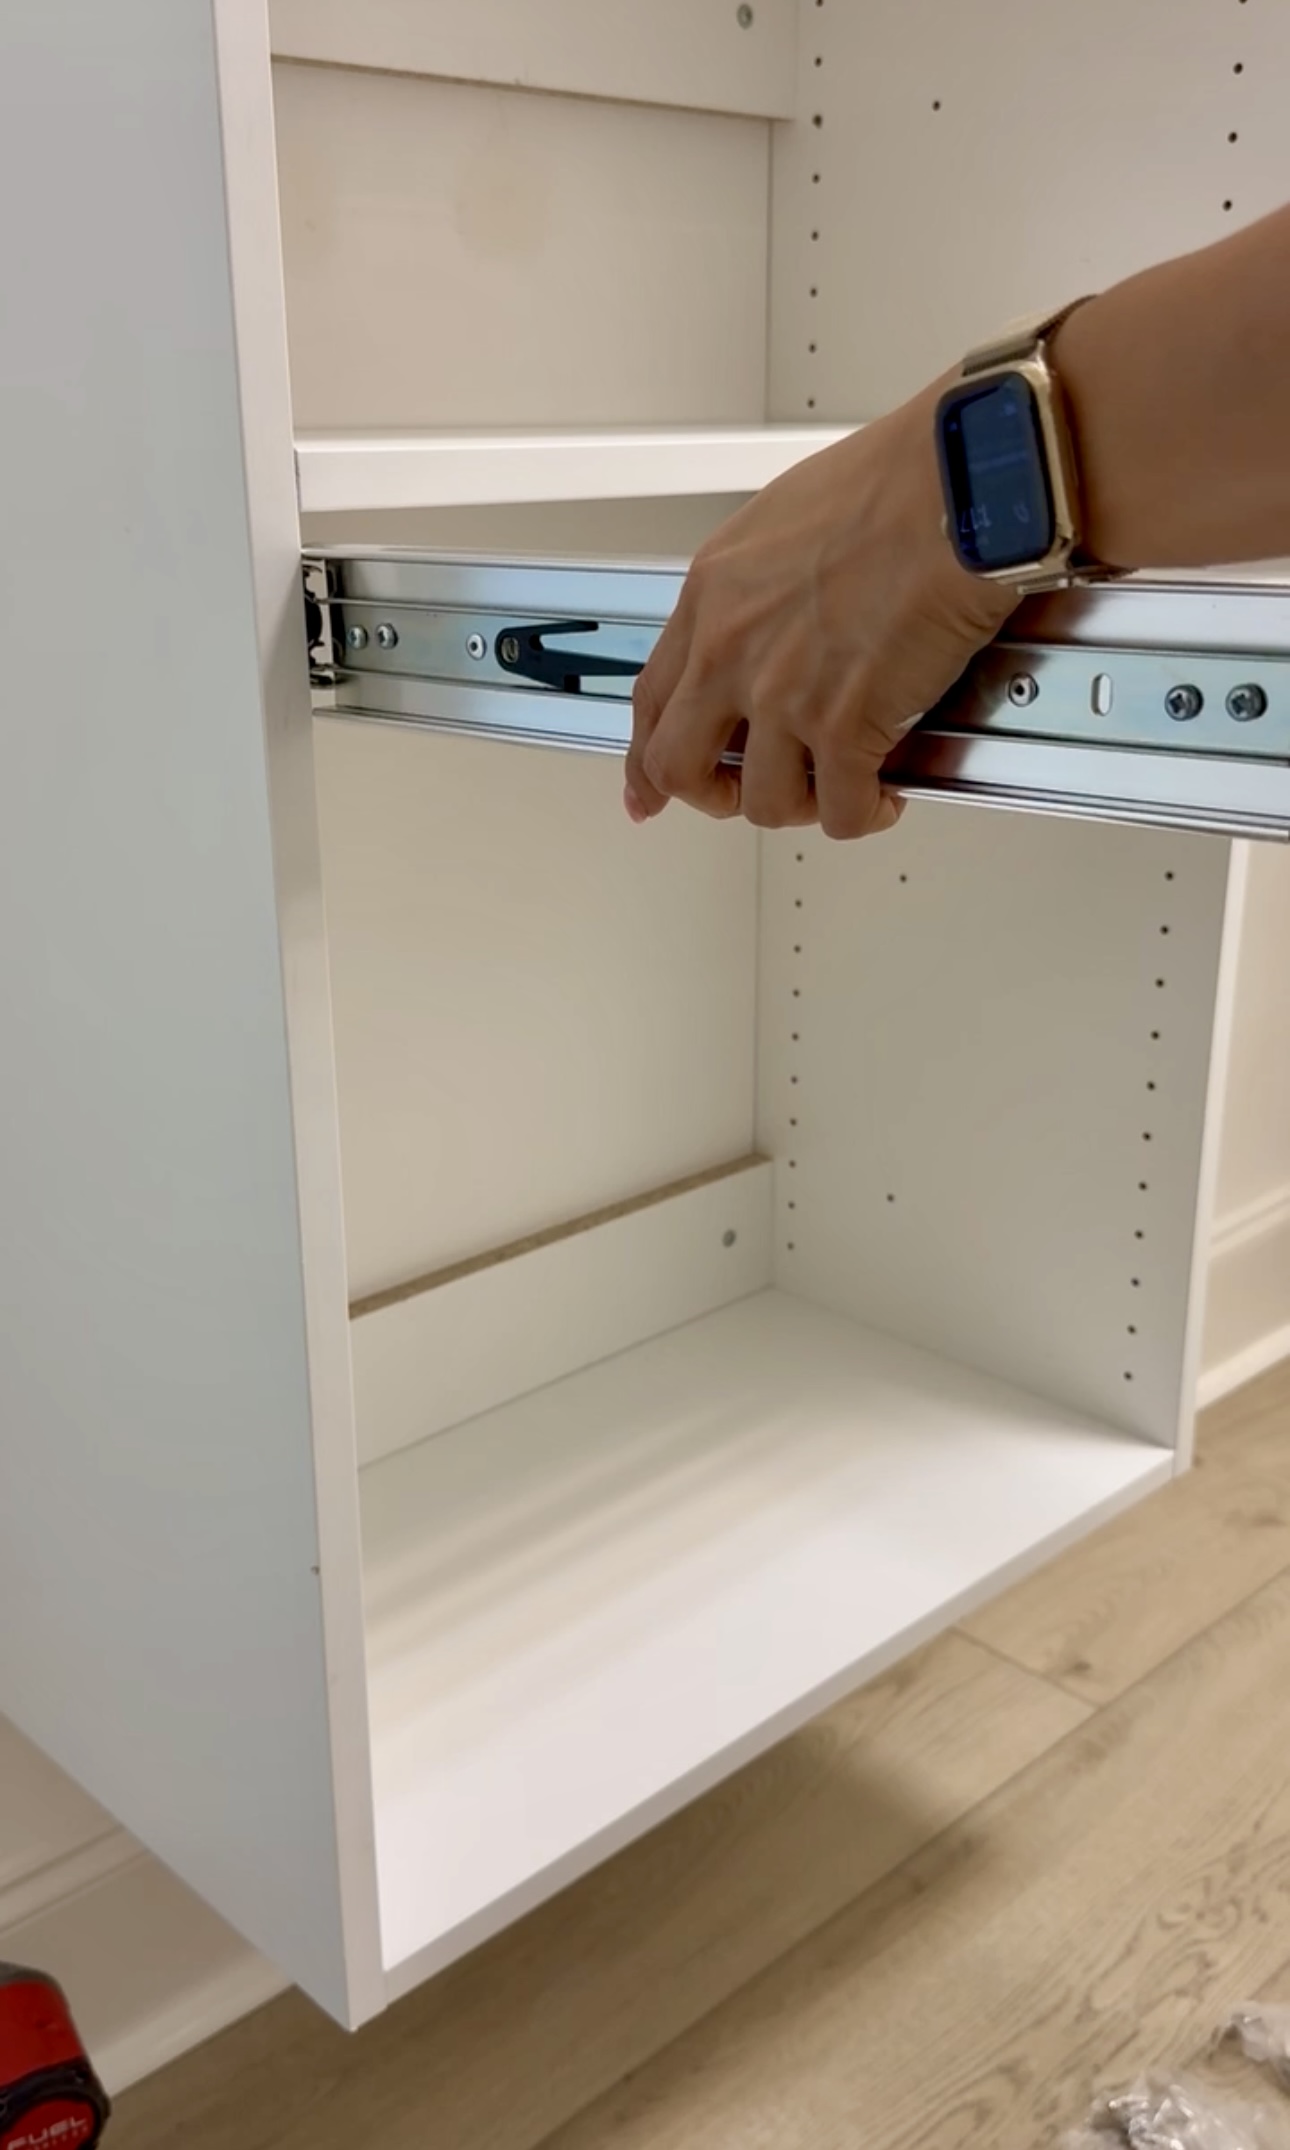
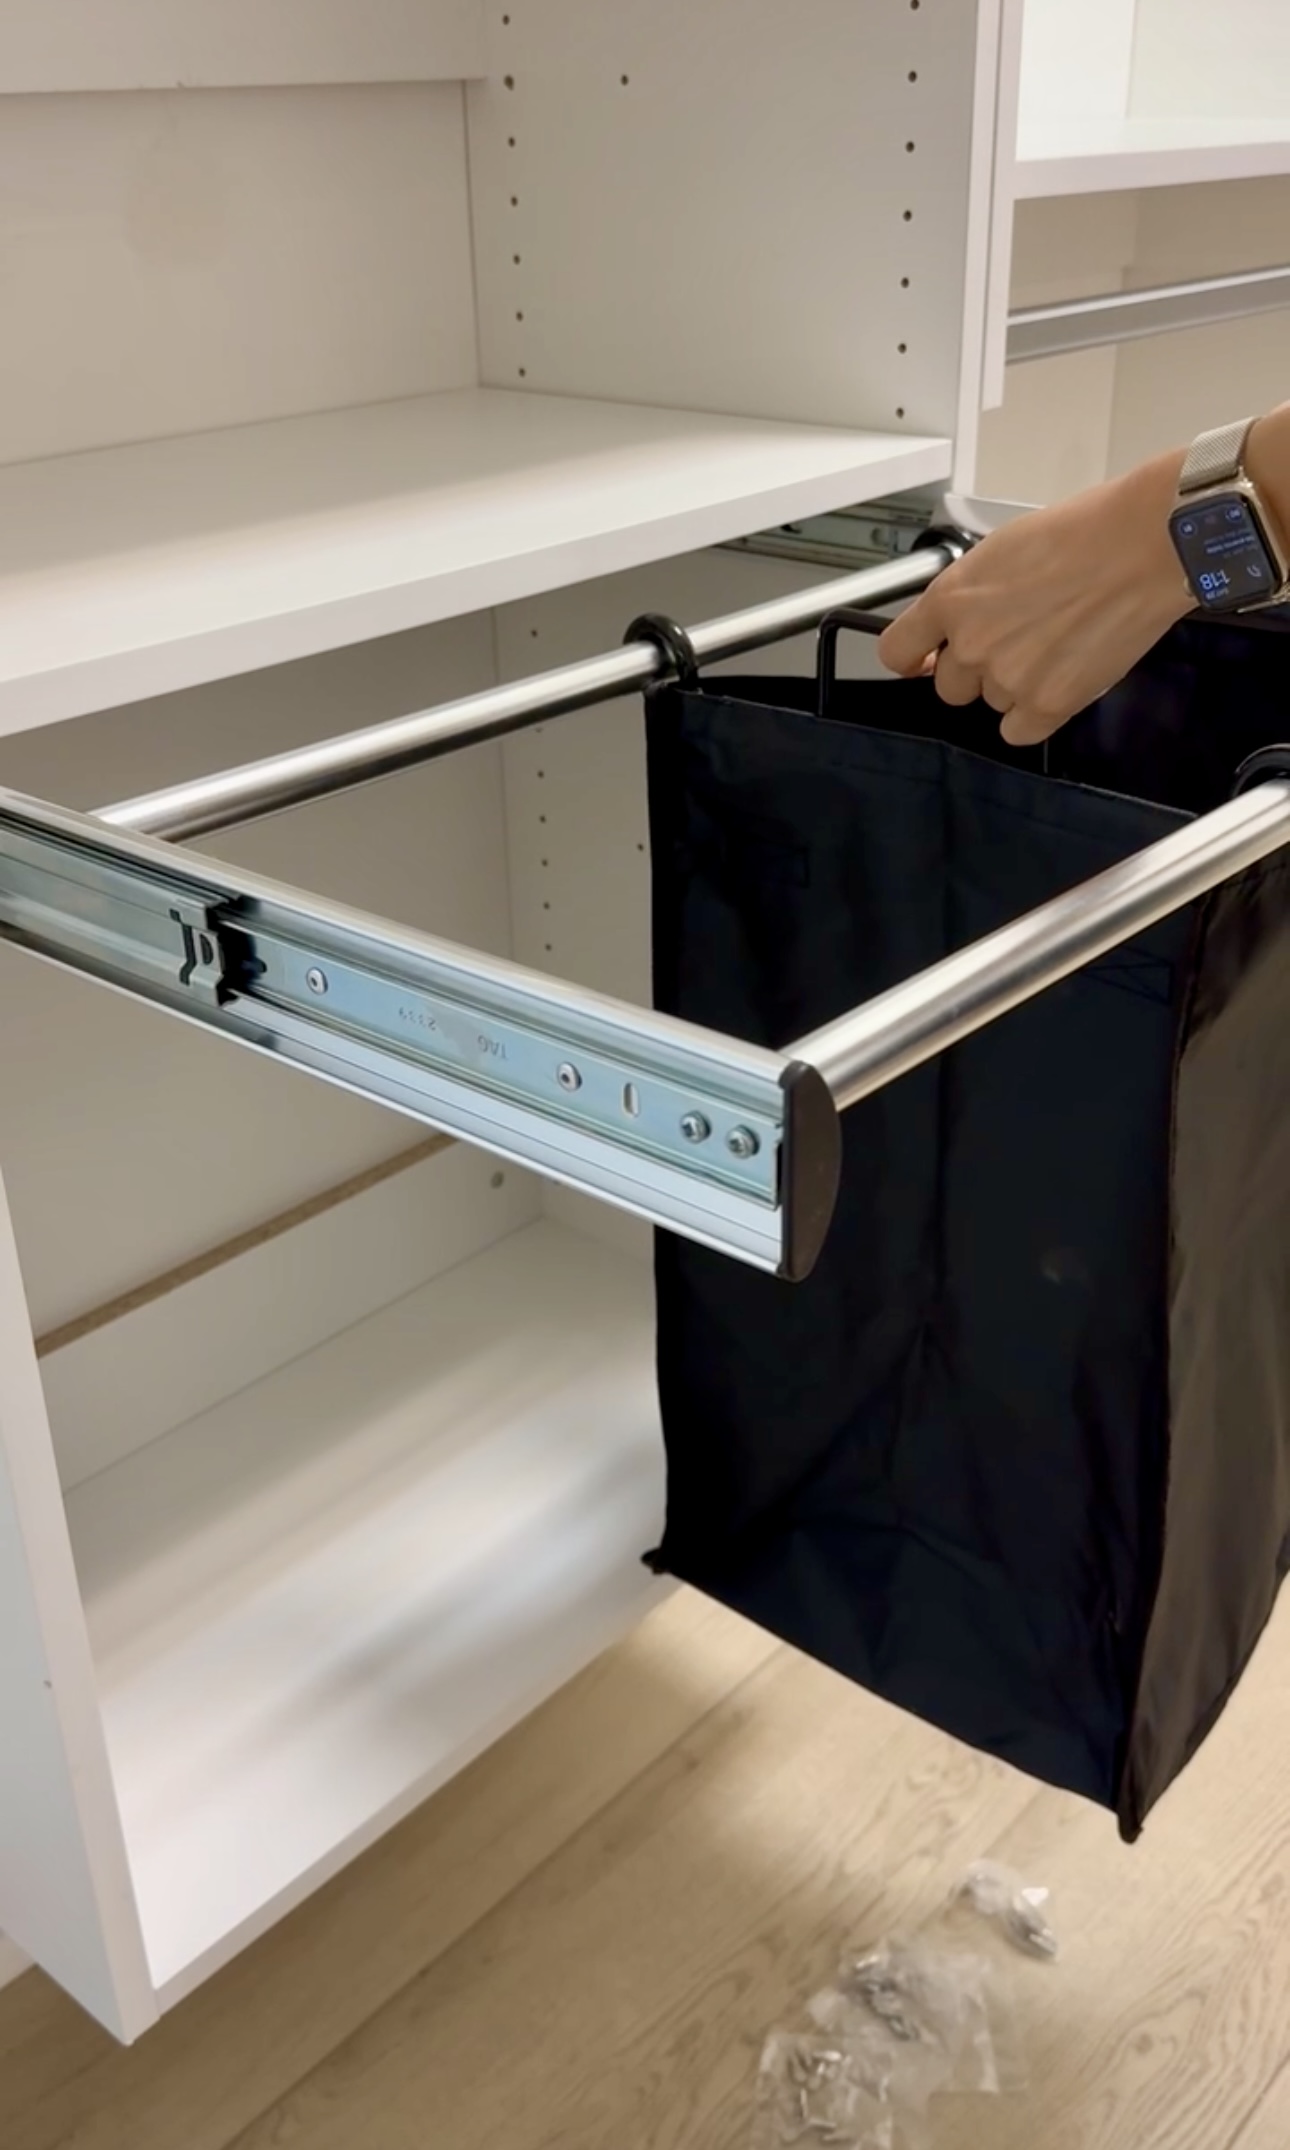
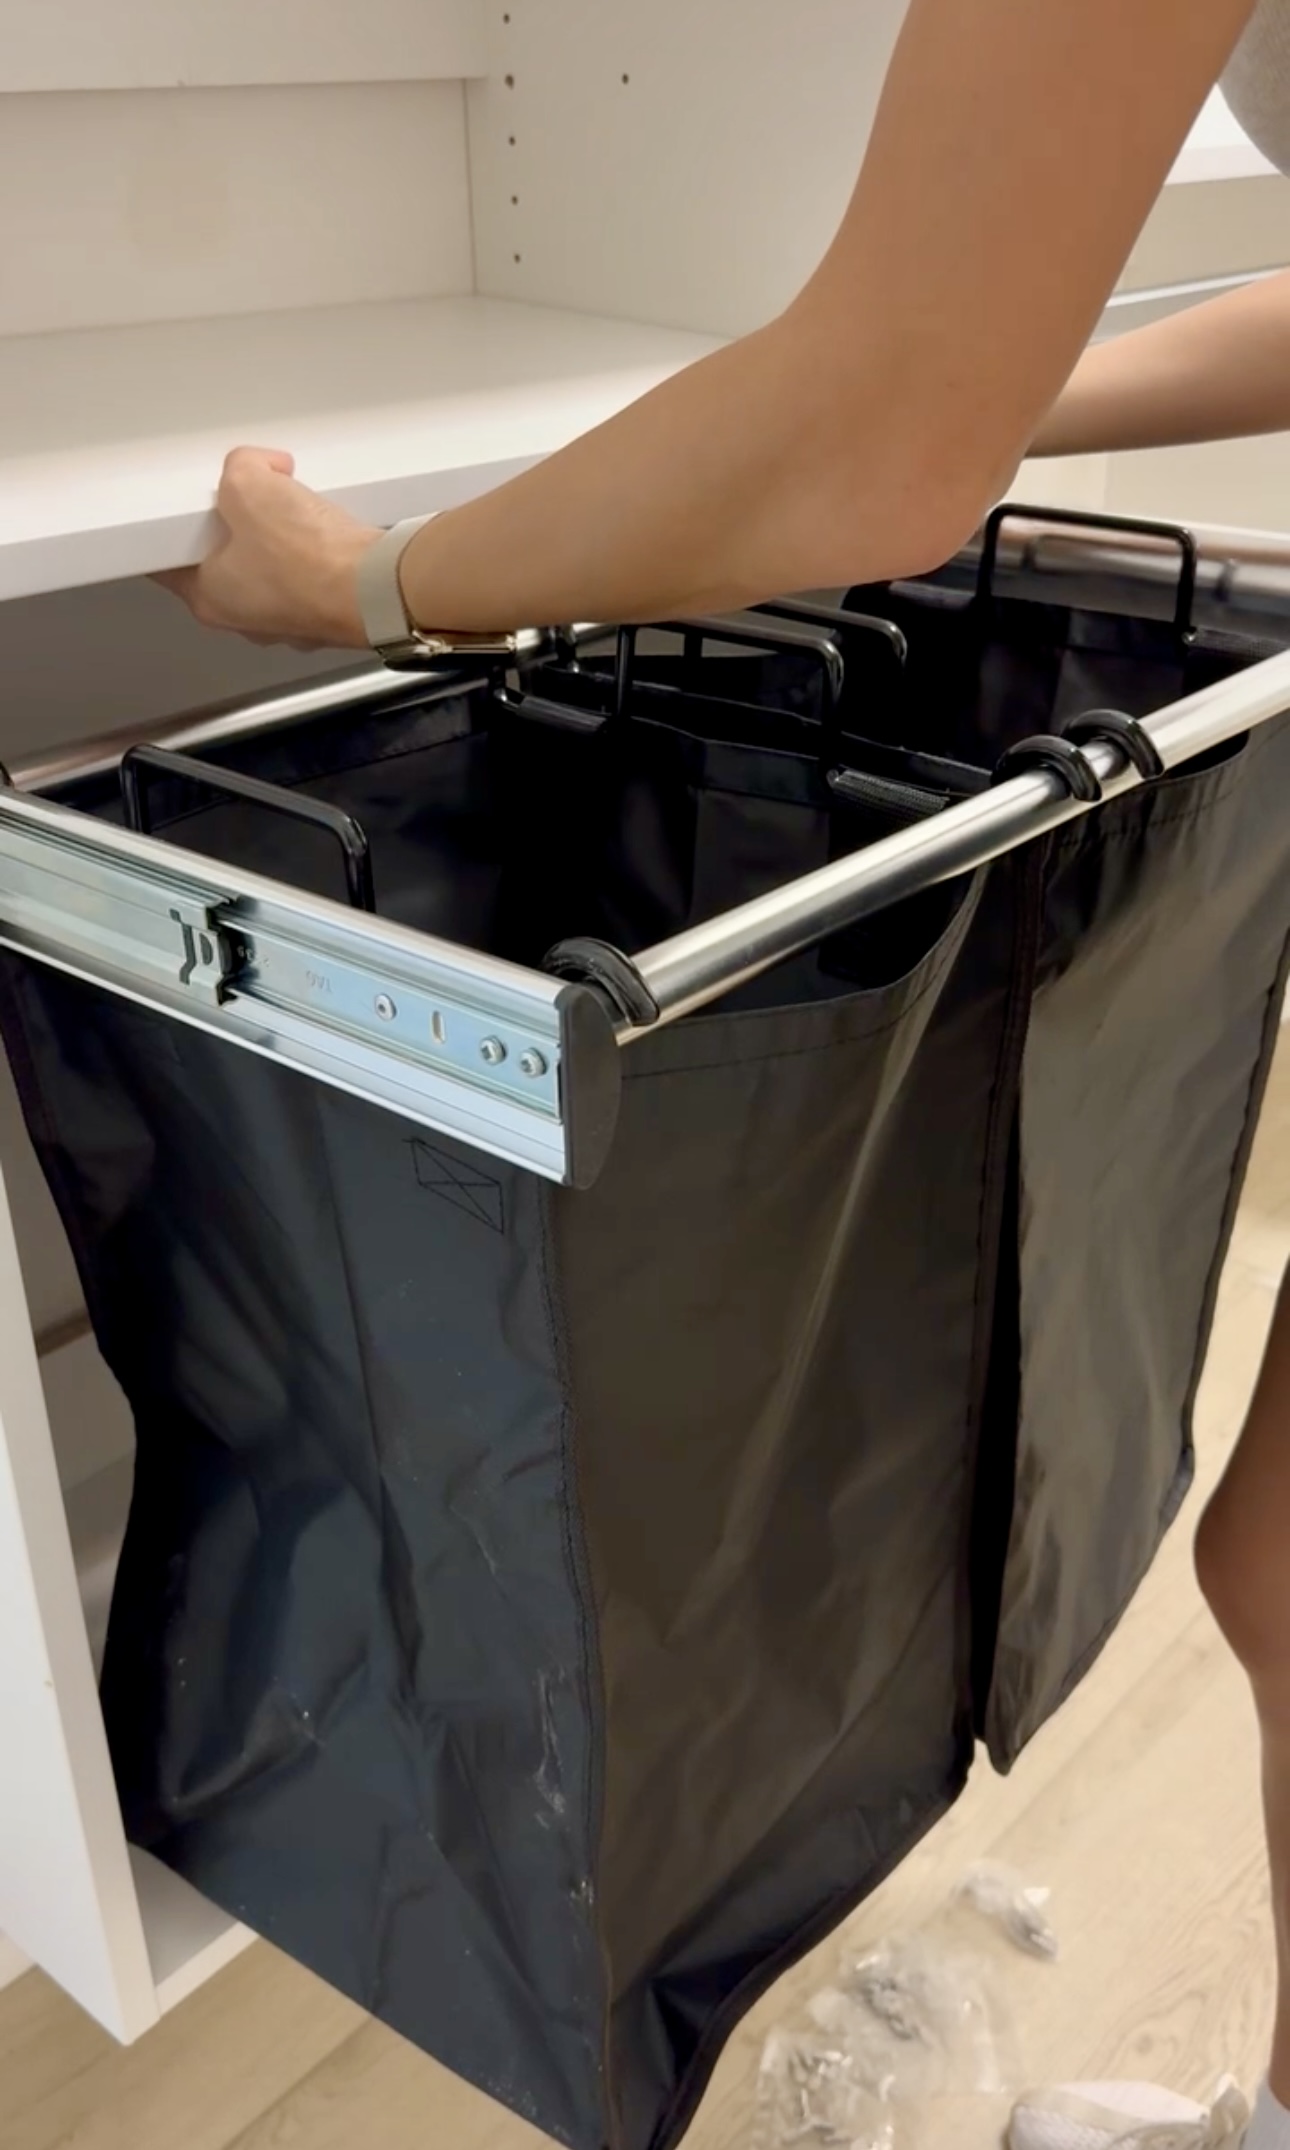
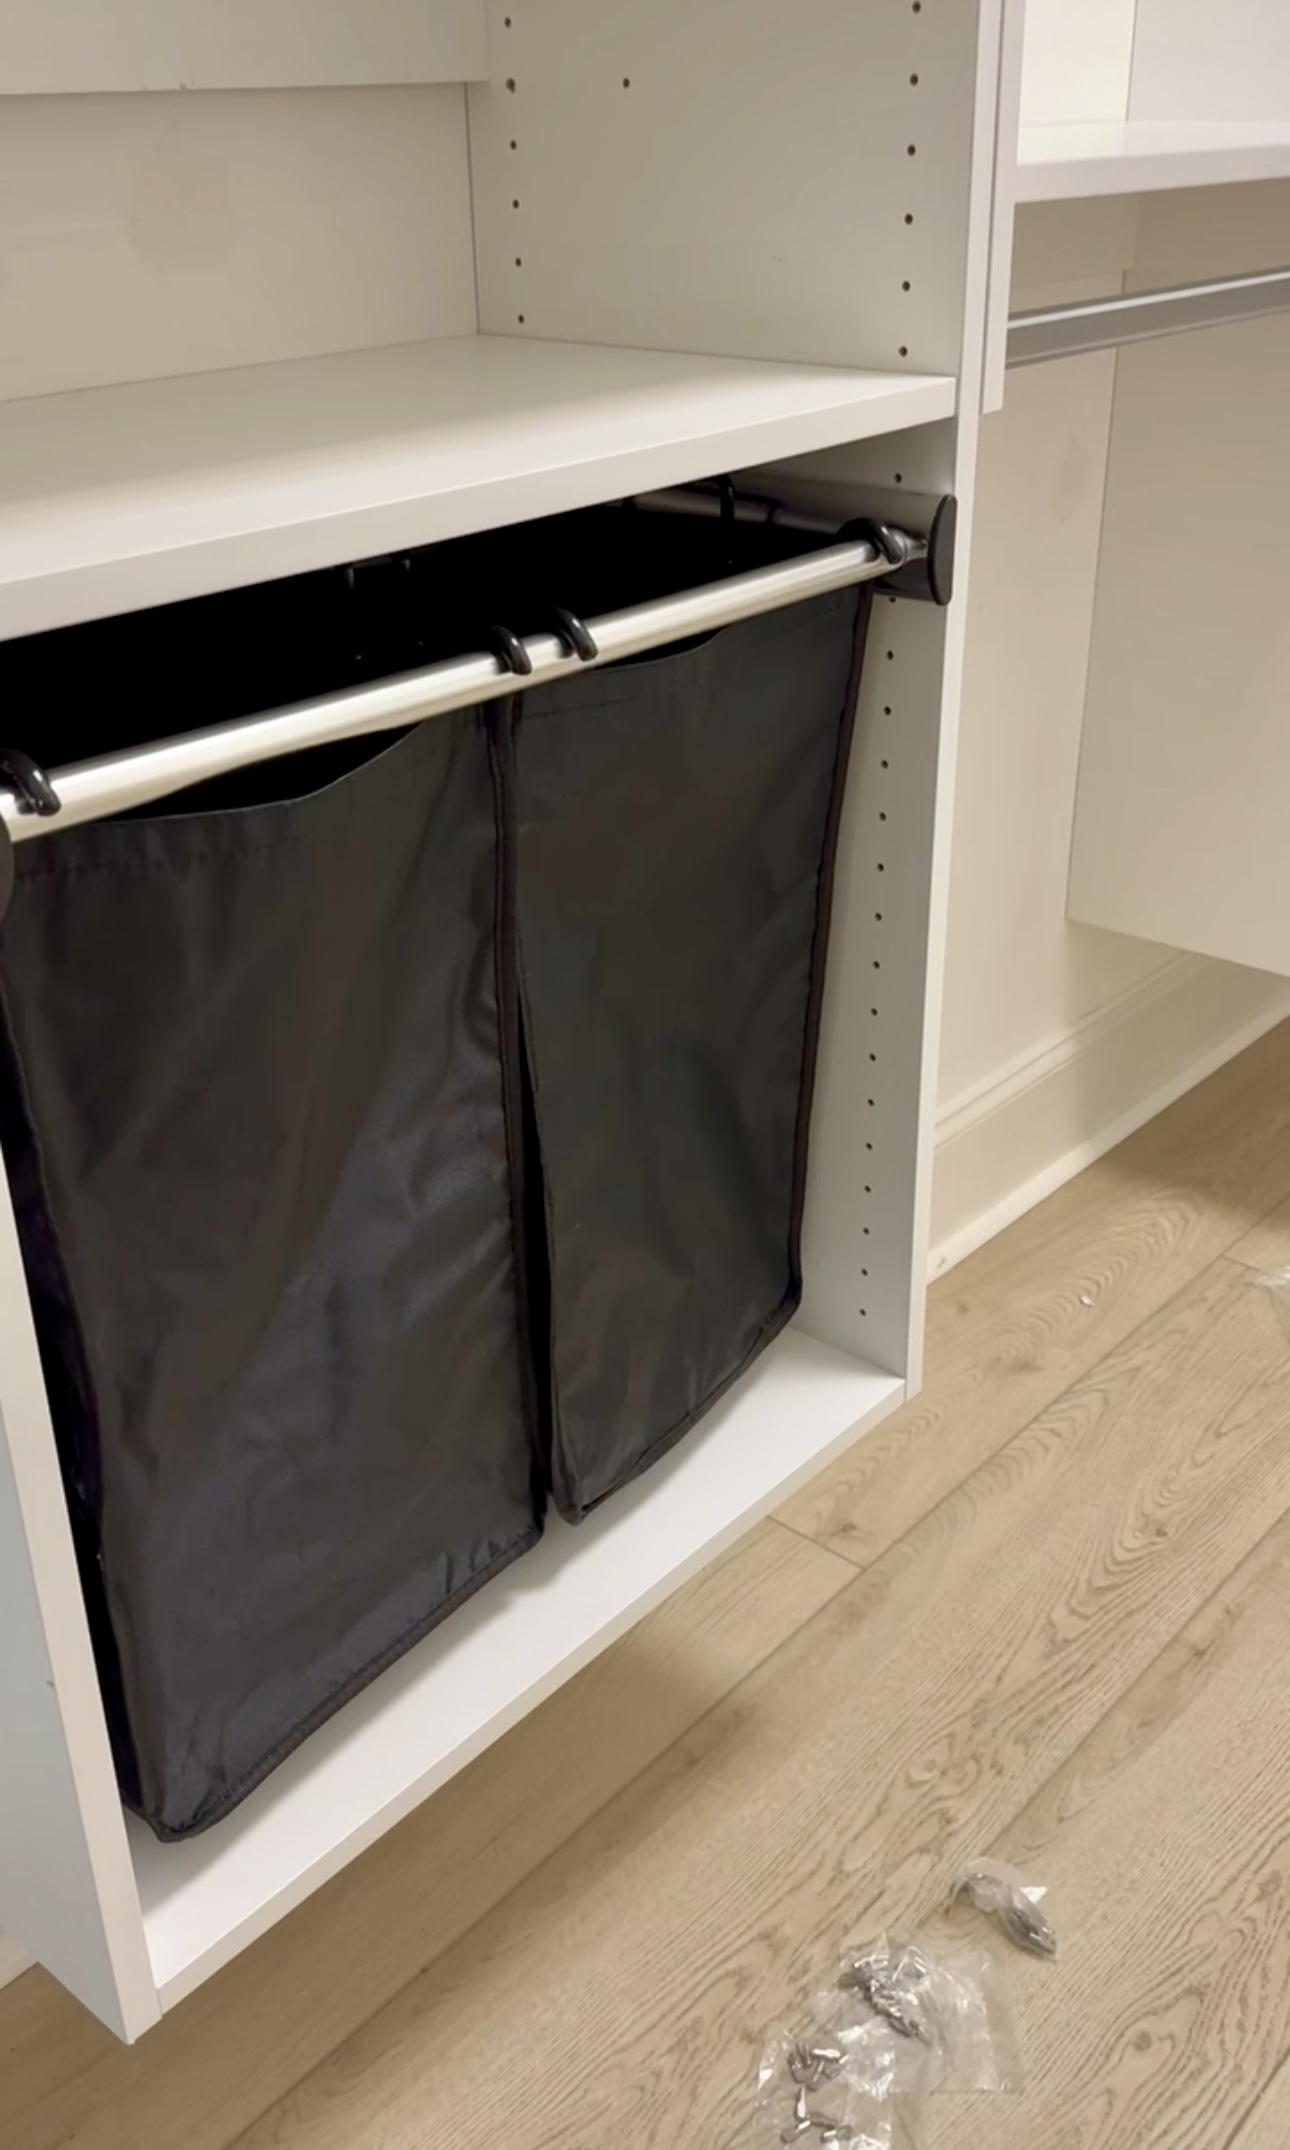
Then, I installed all the provided drawer slides, drawers, and shelves. There’s even a super cool laundry hamper installation too.
Paint
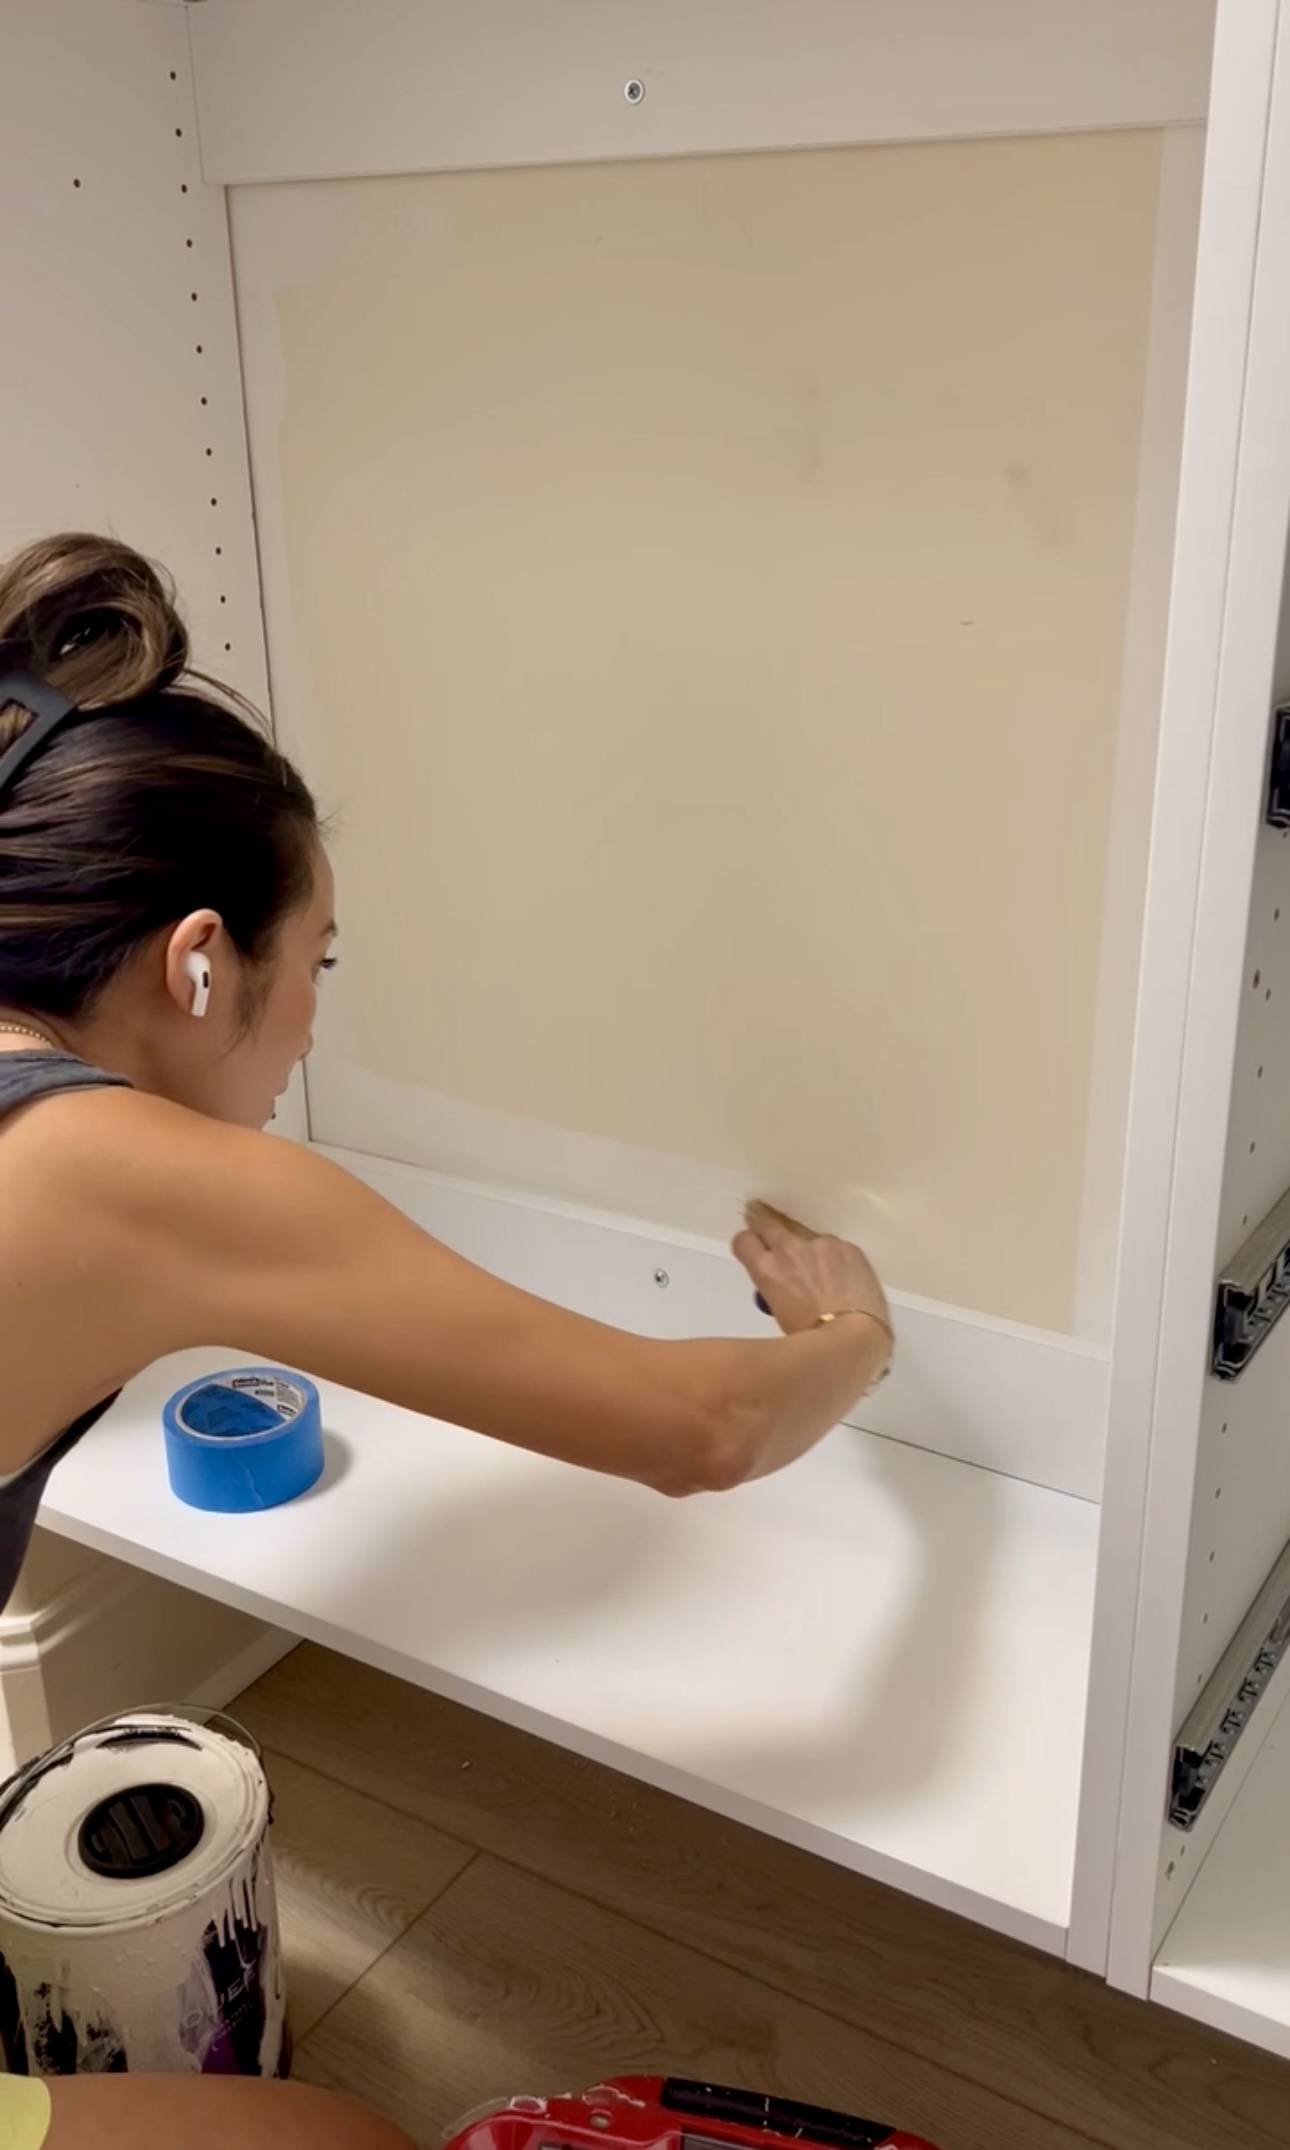
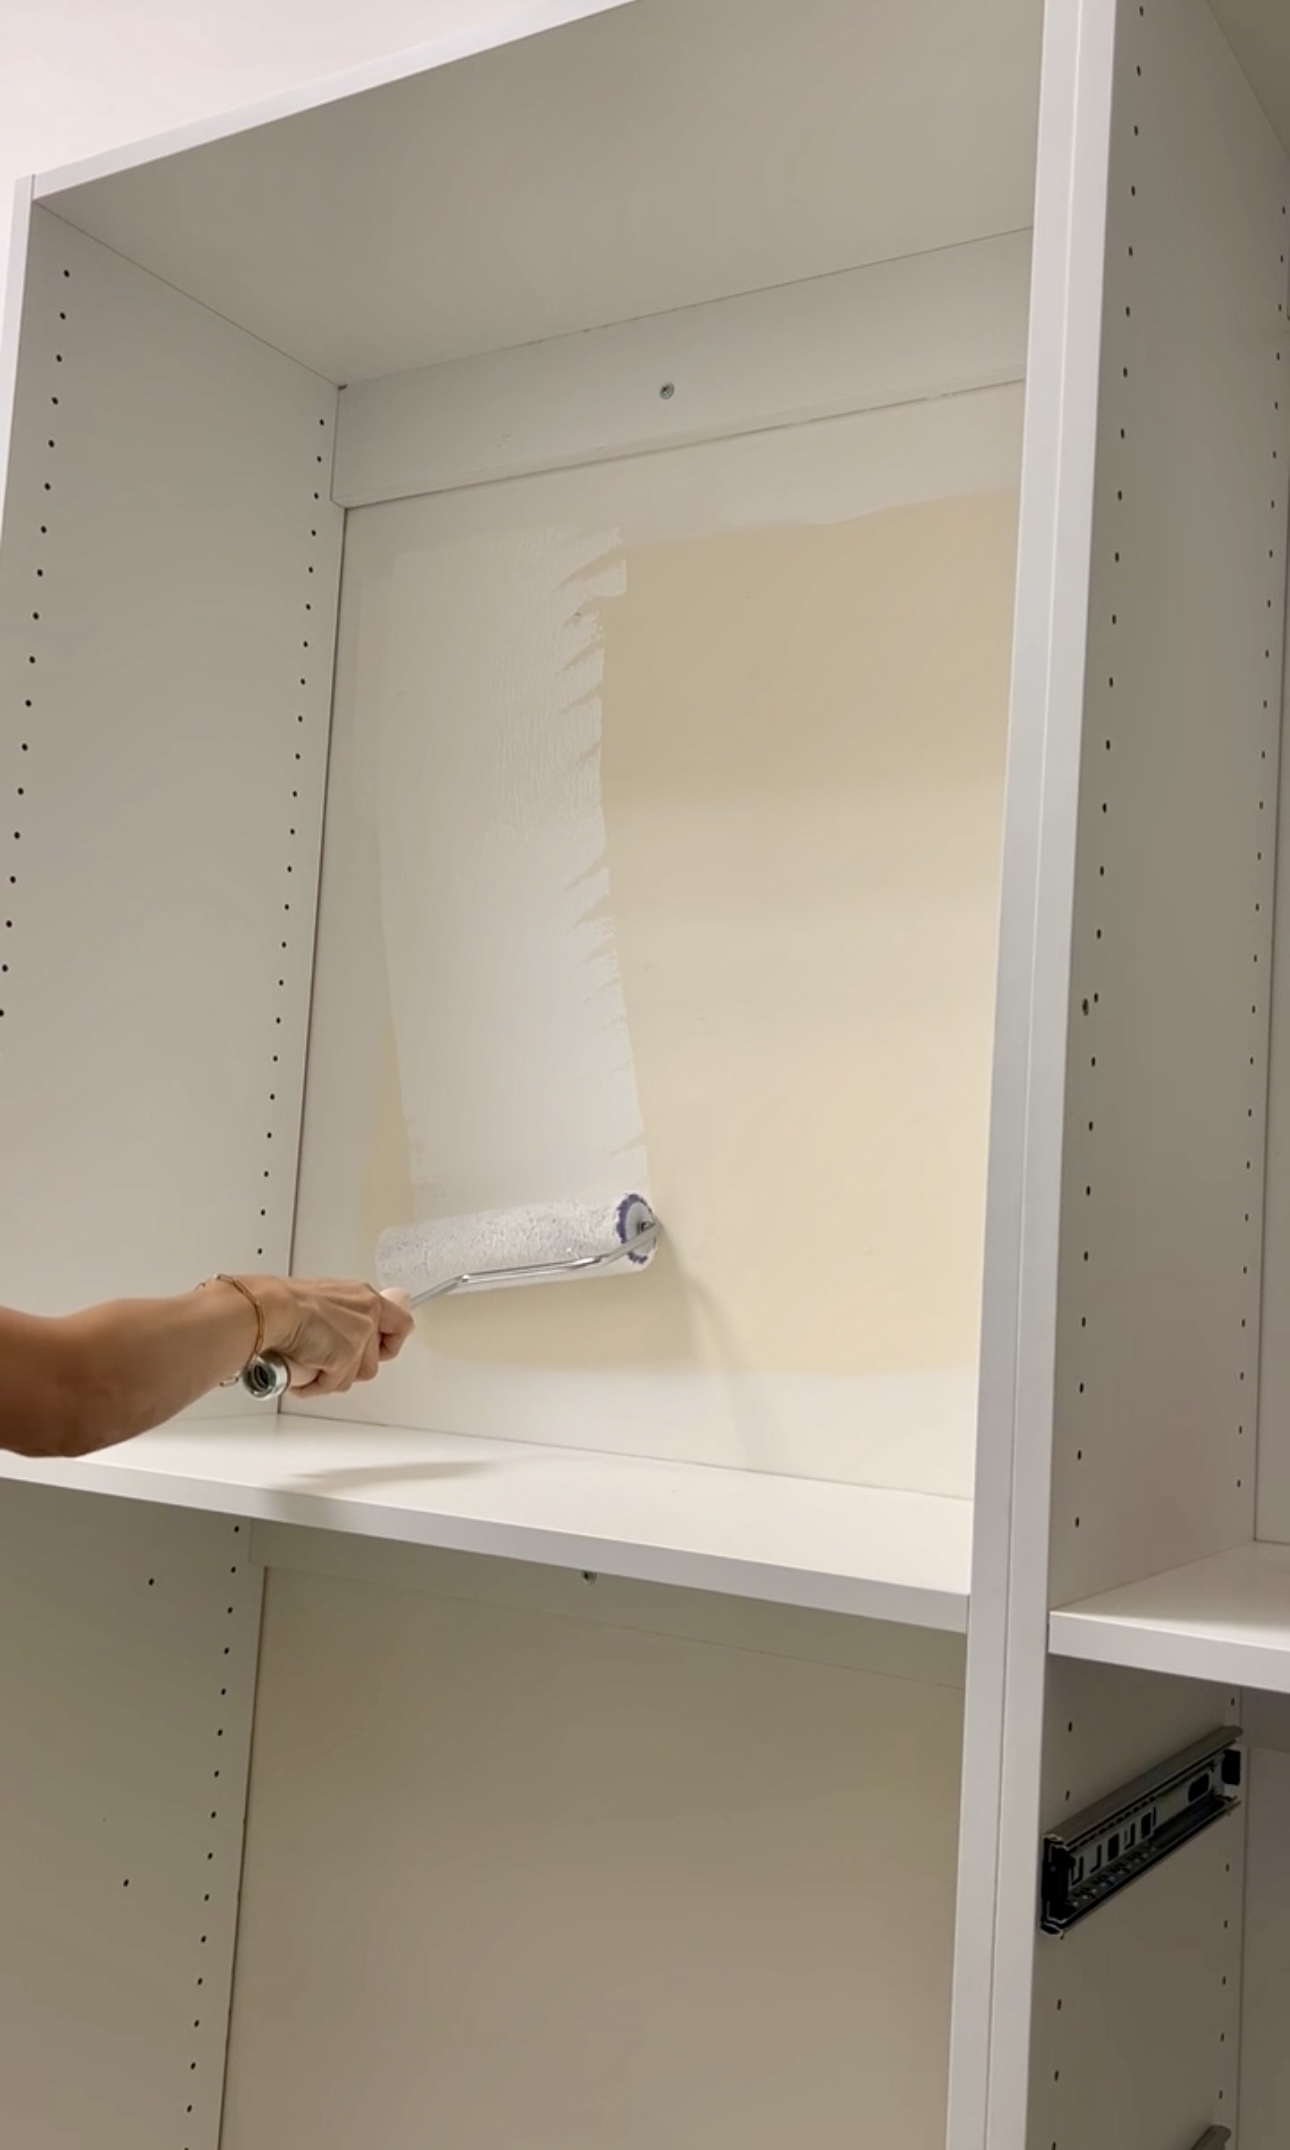
The original paint was 20 years old, beige, and just plain ugly. So I painted the wall behind these the same color as the rest of our closet. I definitely should have done this before installing the boxes – but I didn’t so here we are. Here’s a list of my favorite paint tools!
Organizing
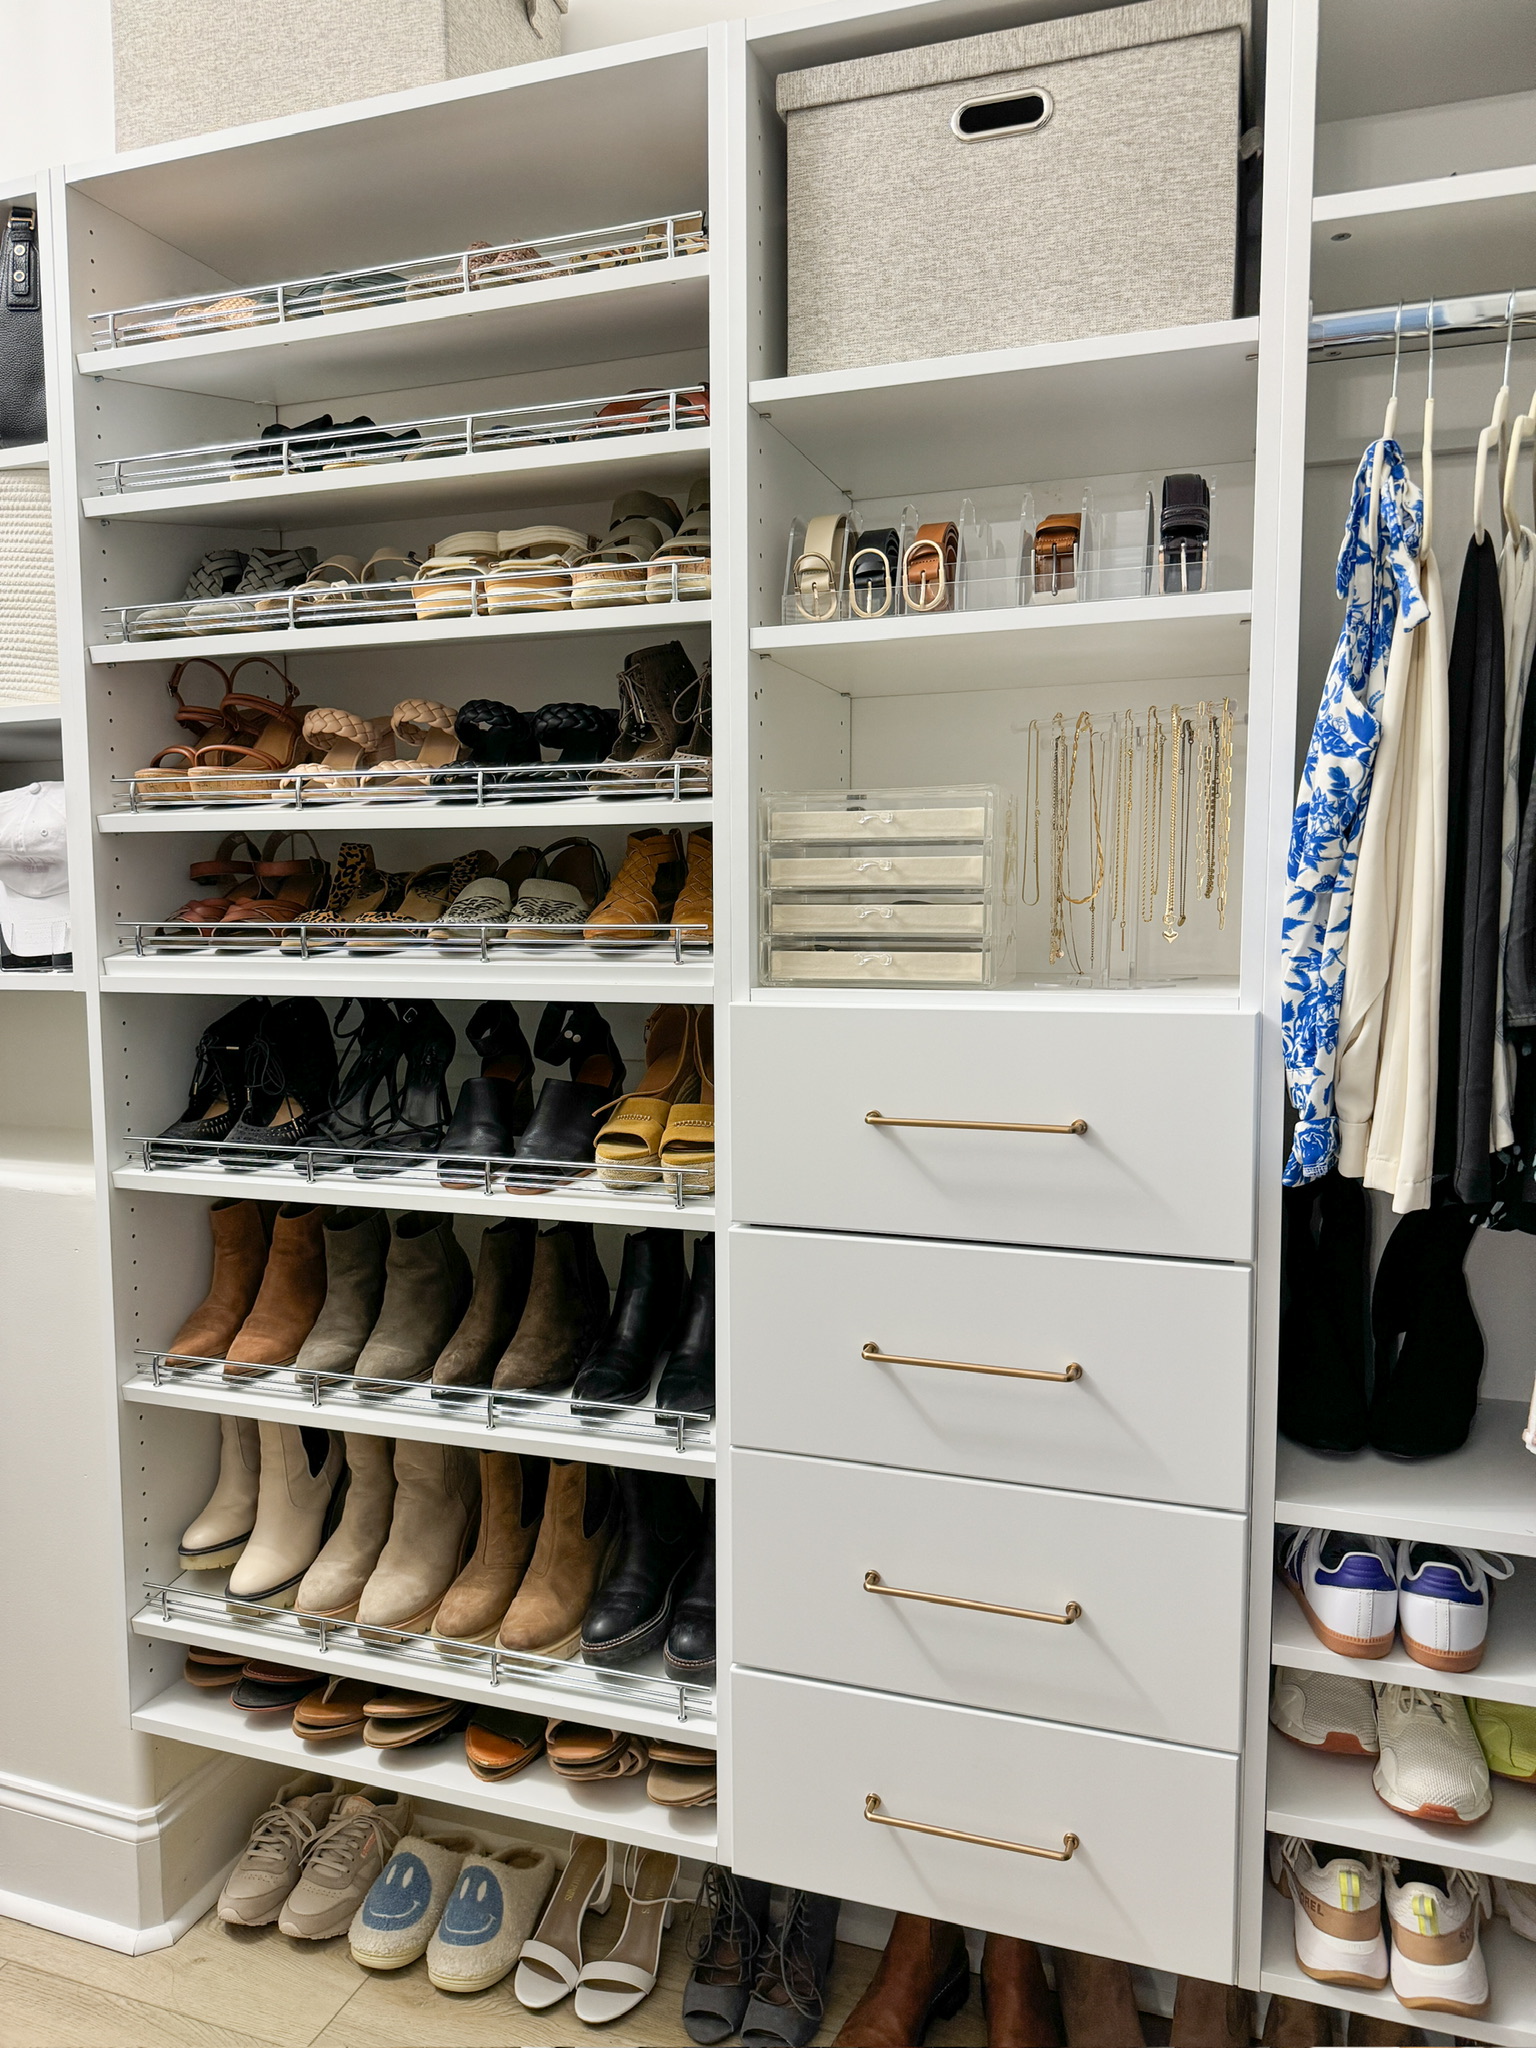
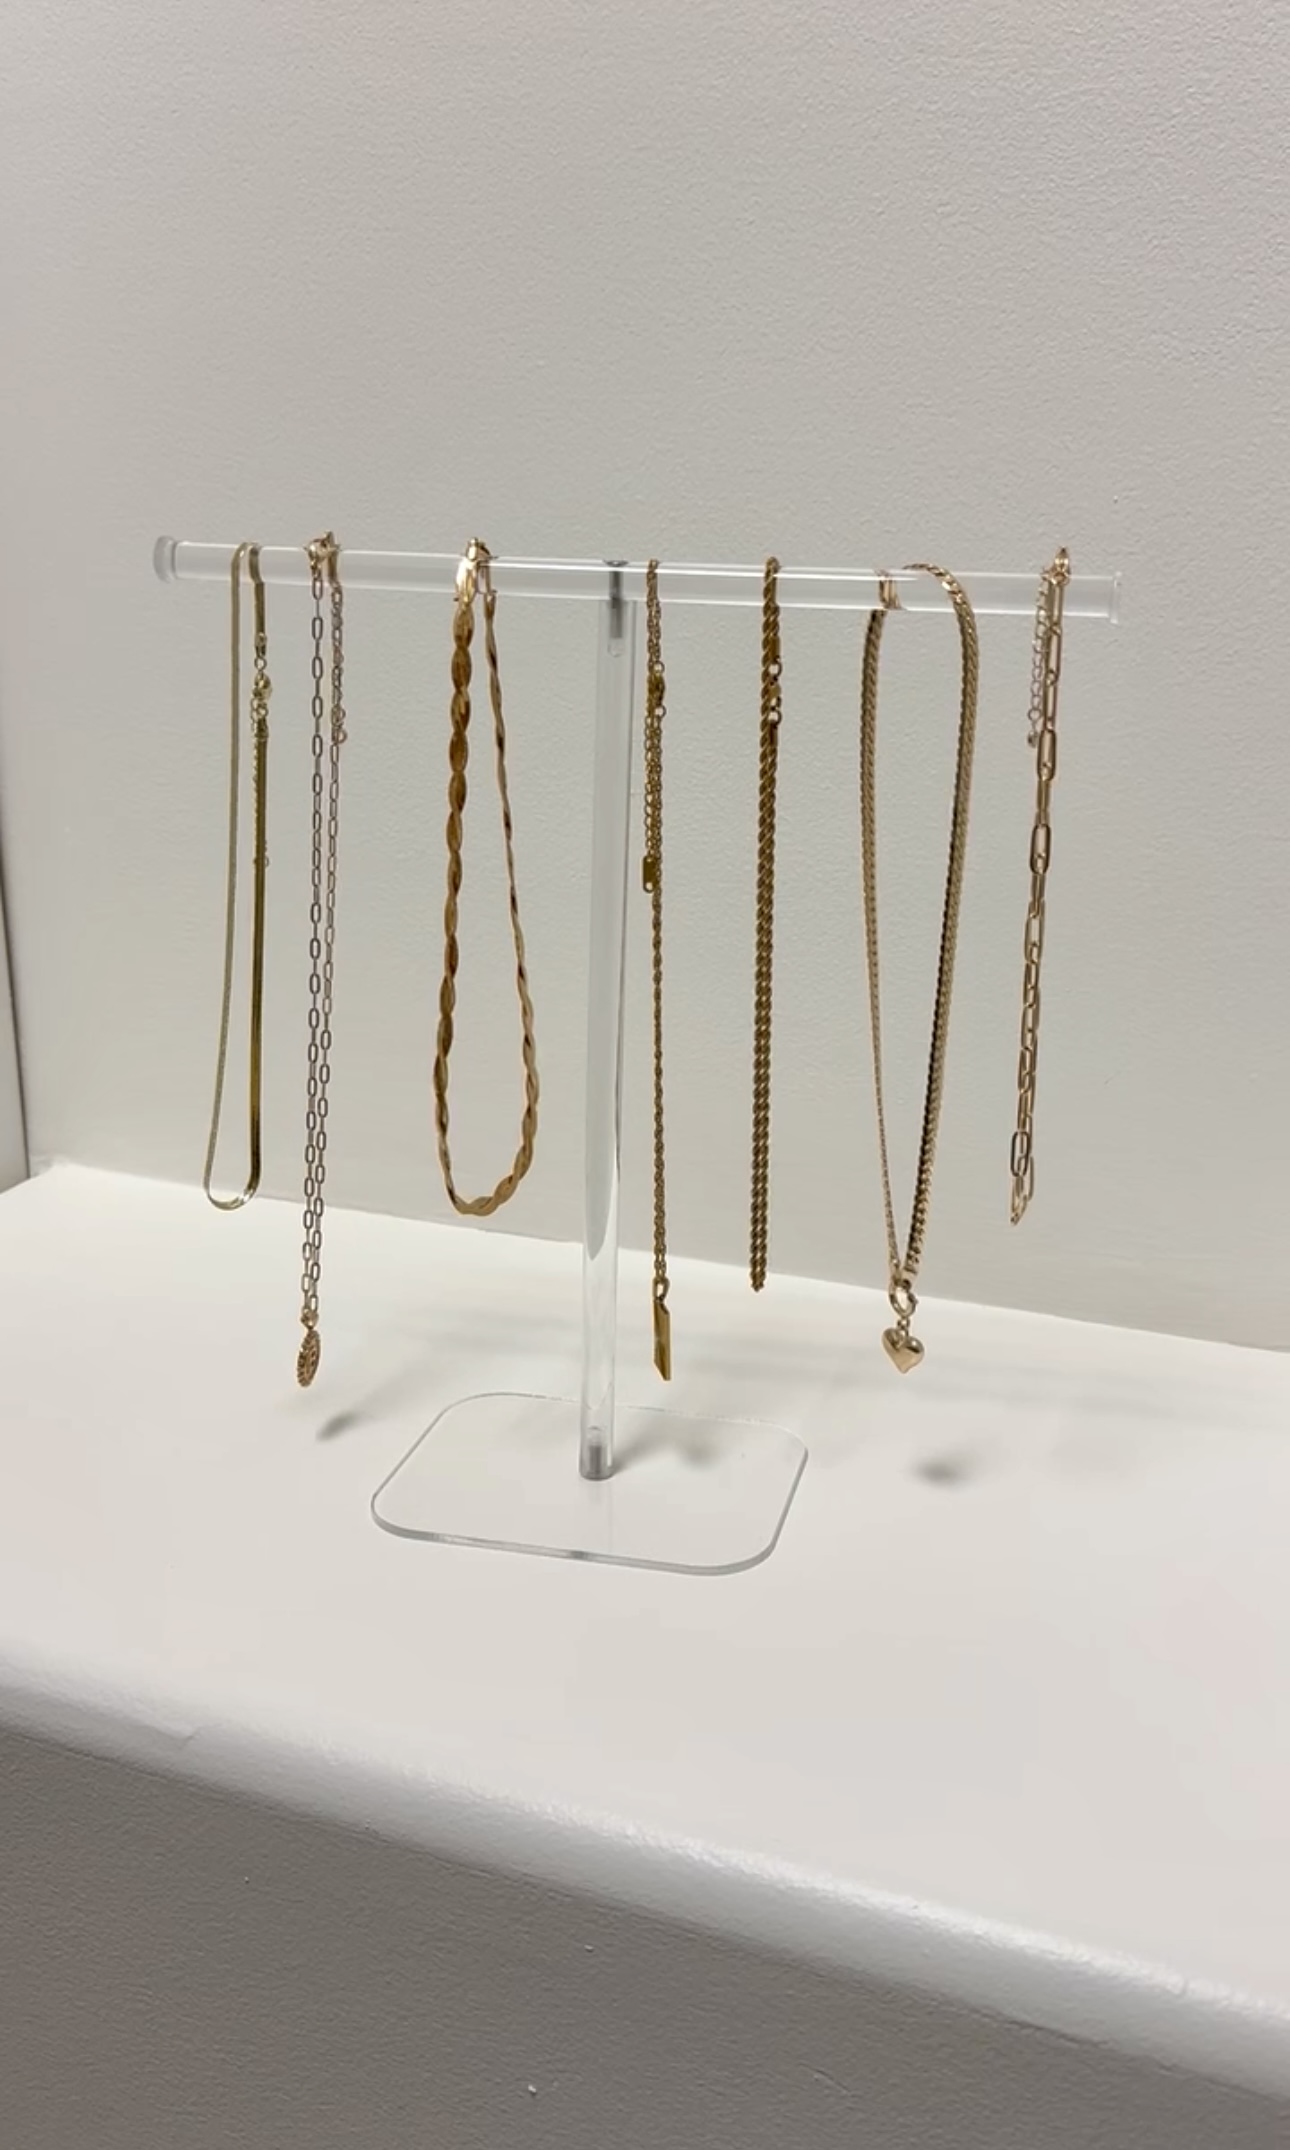
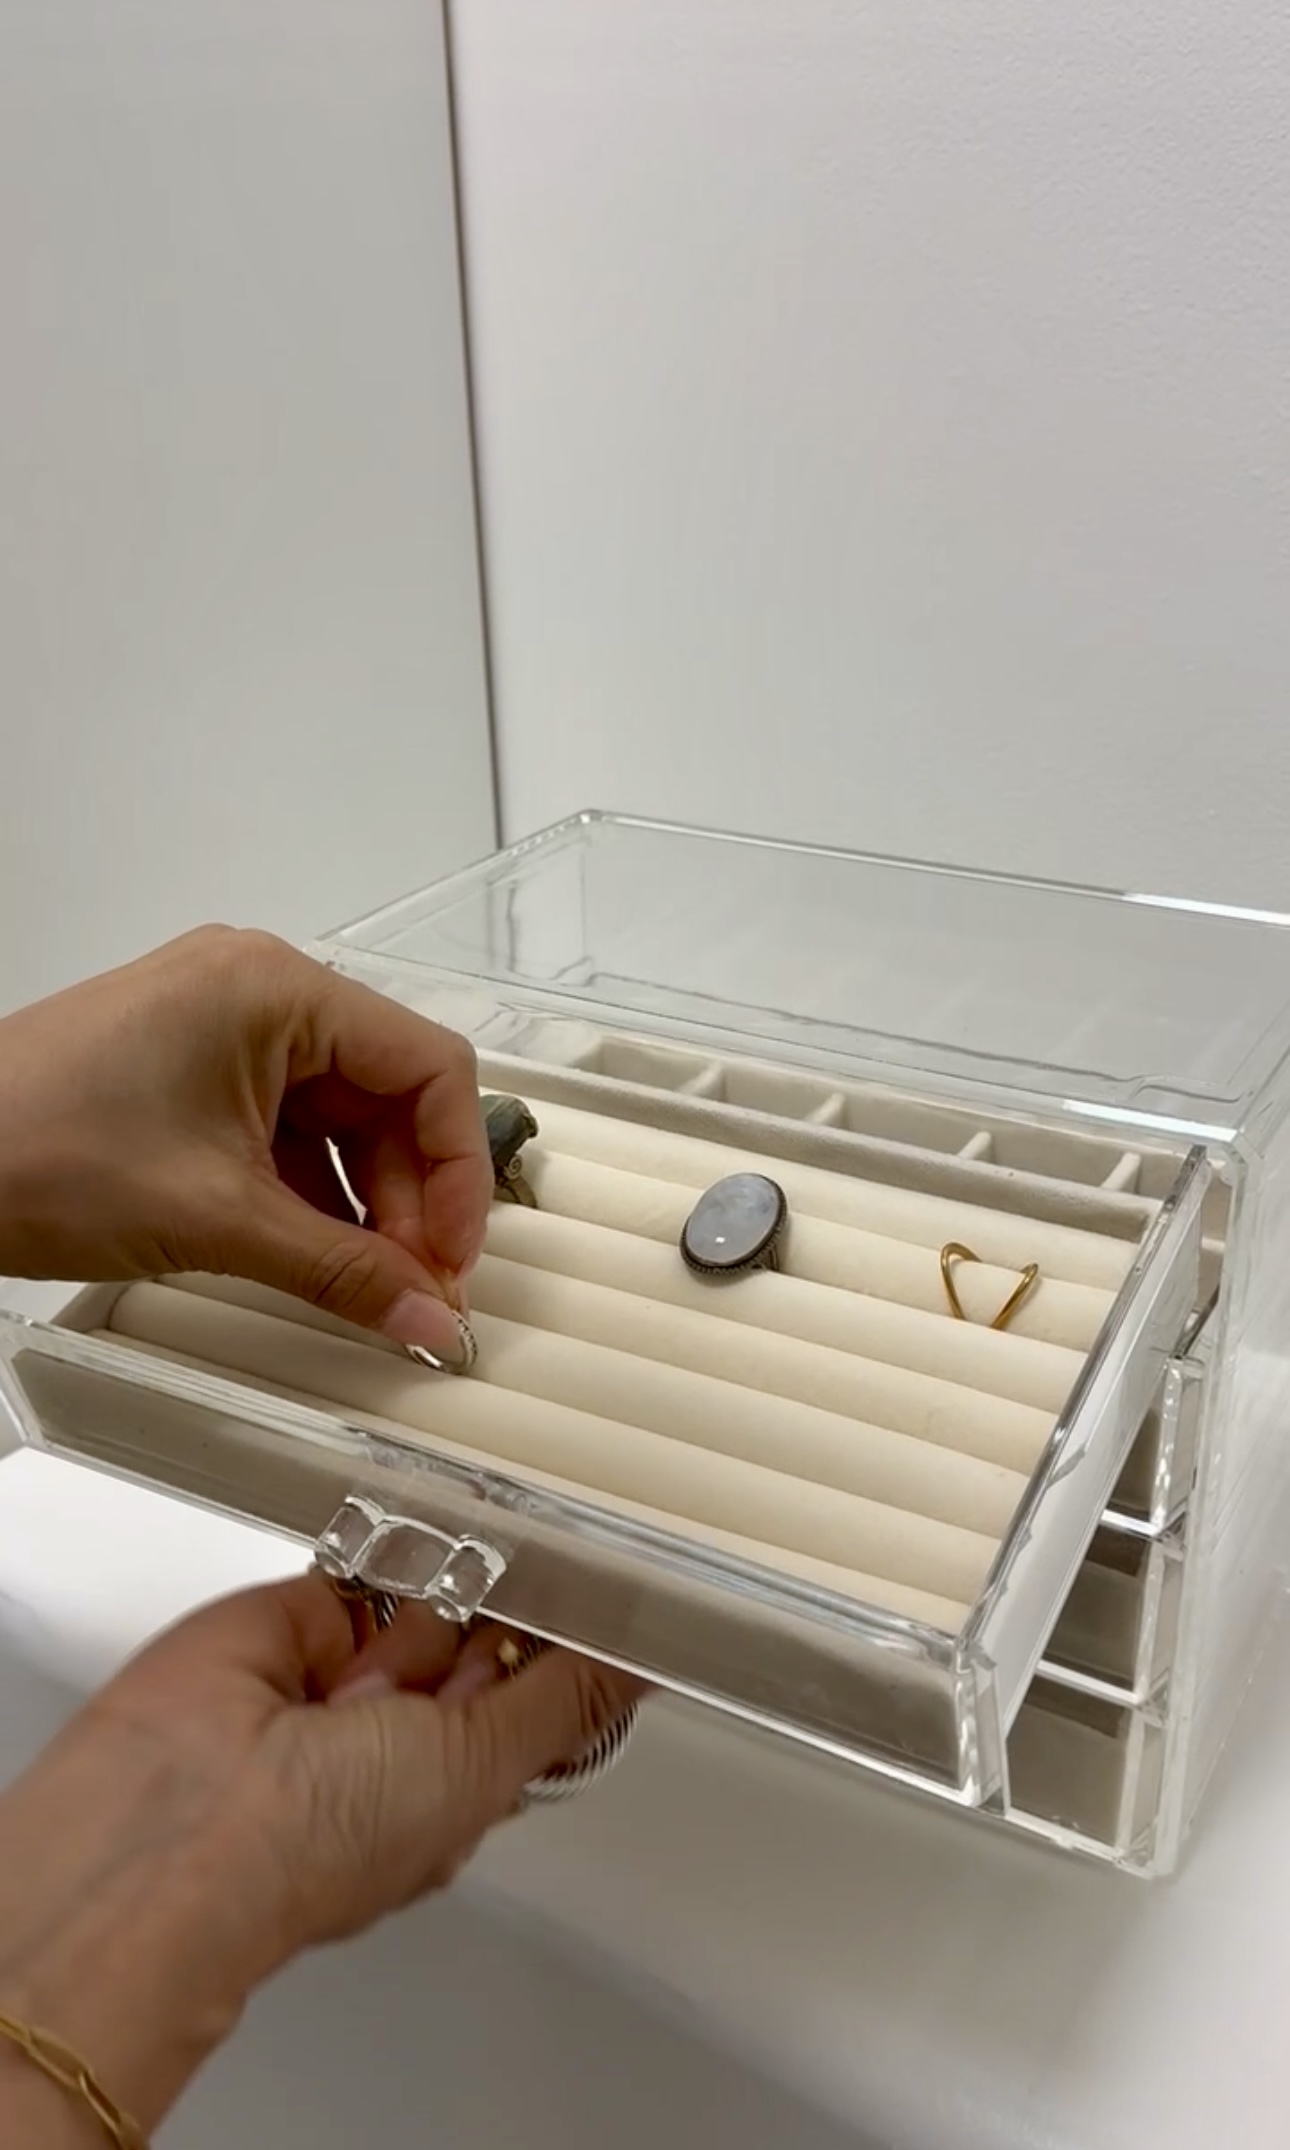
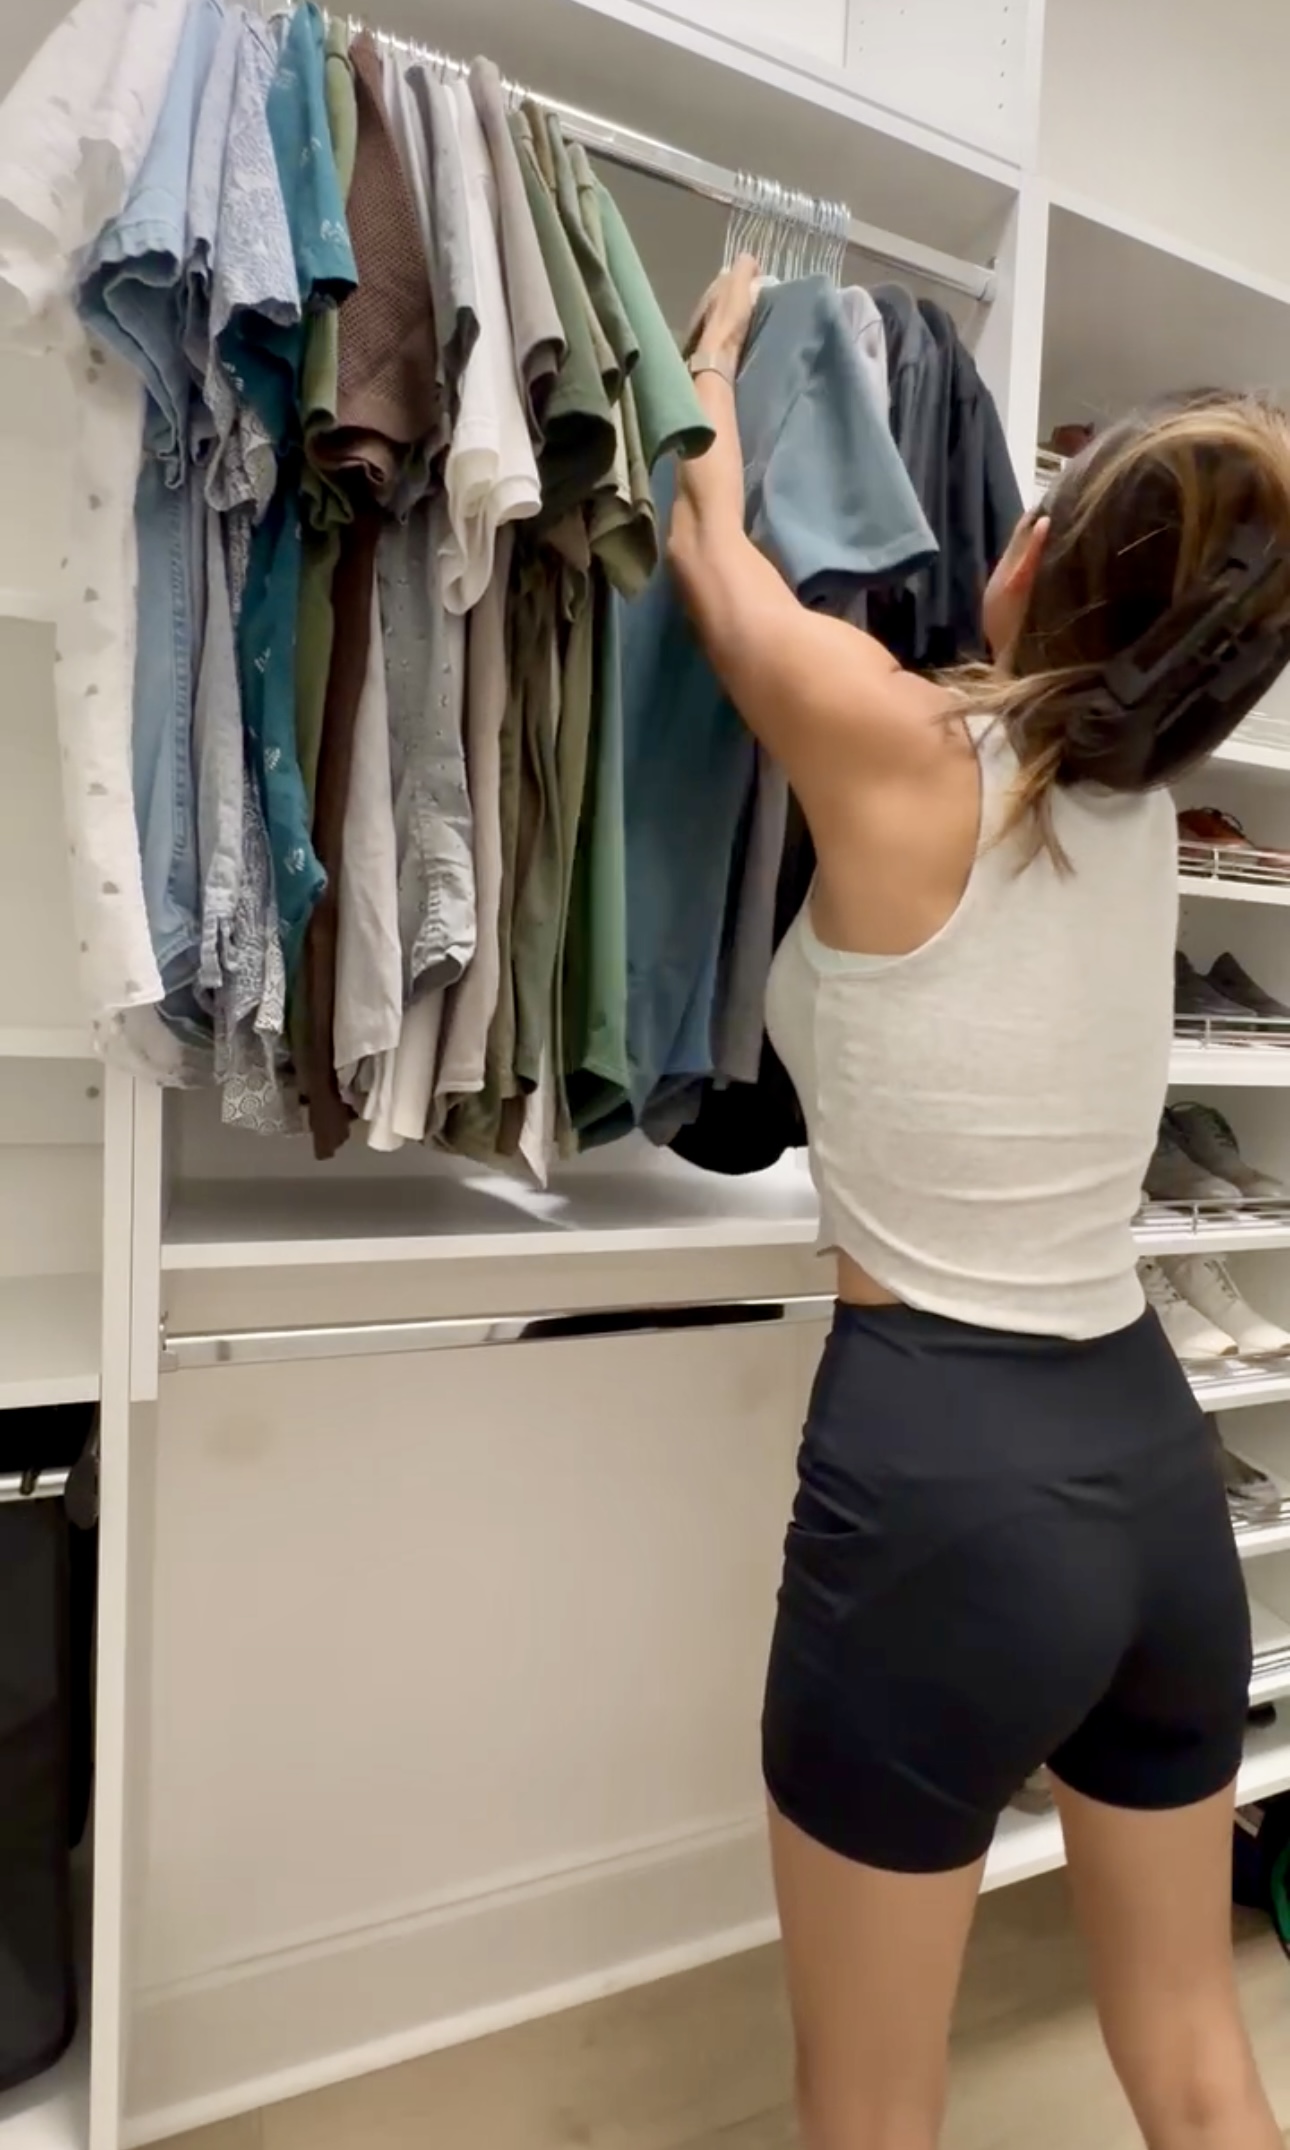
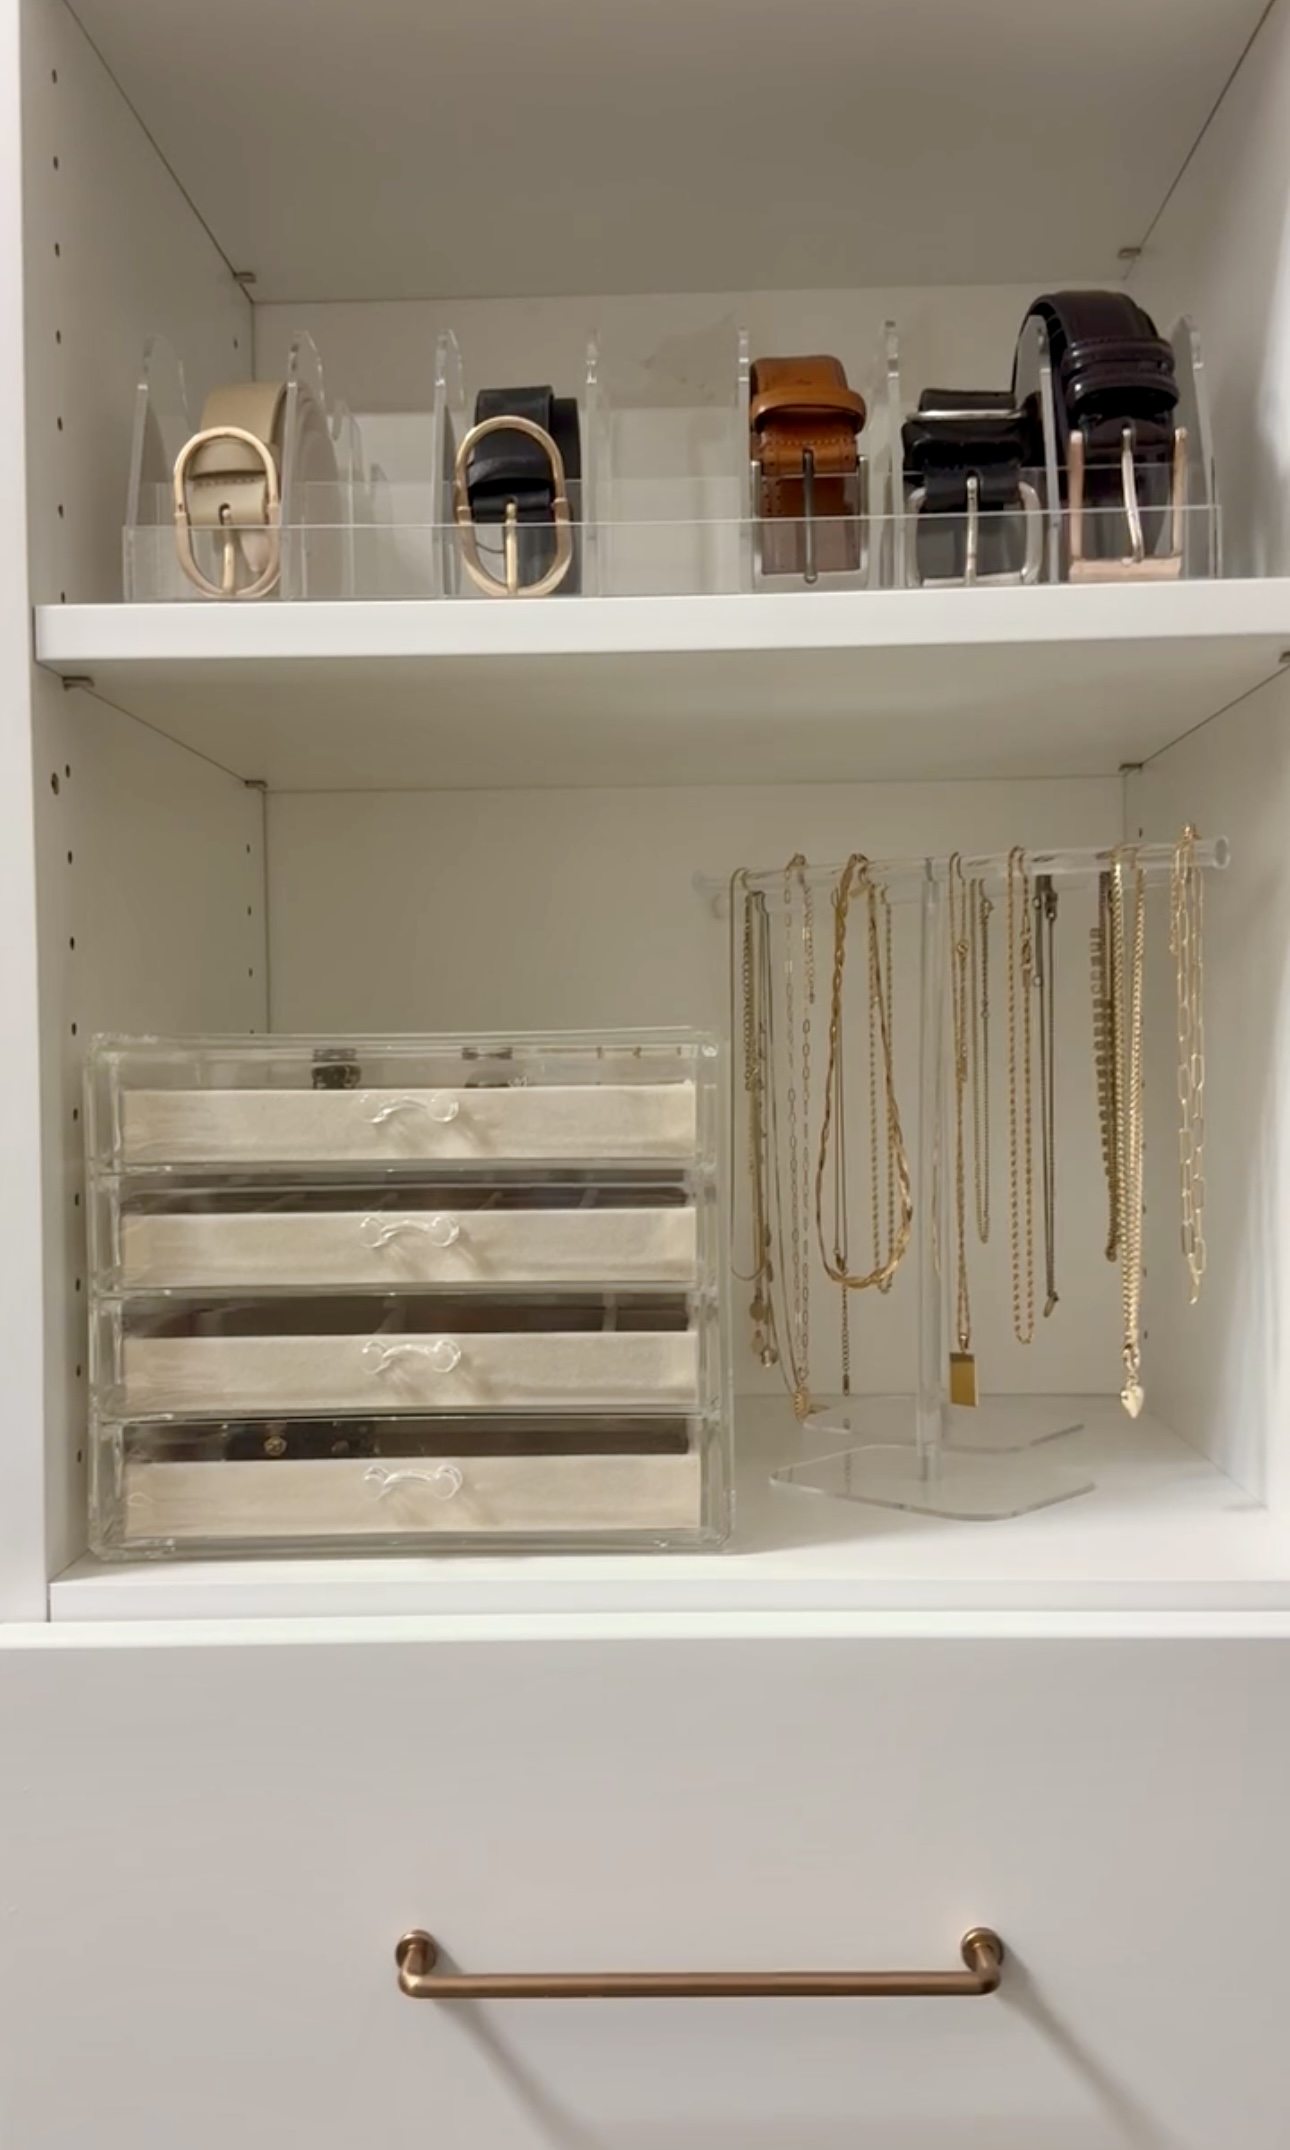
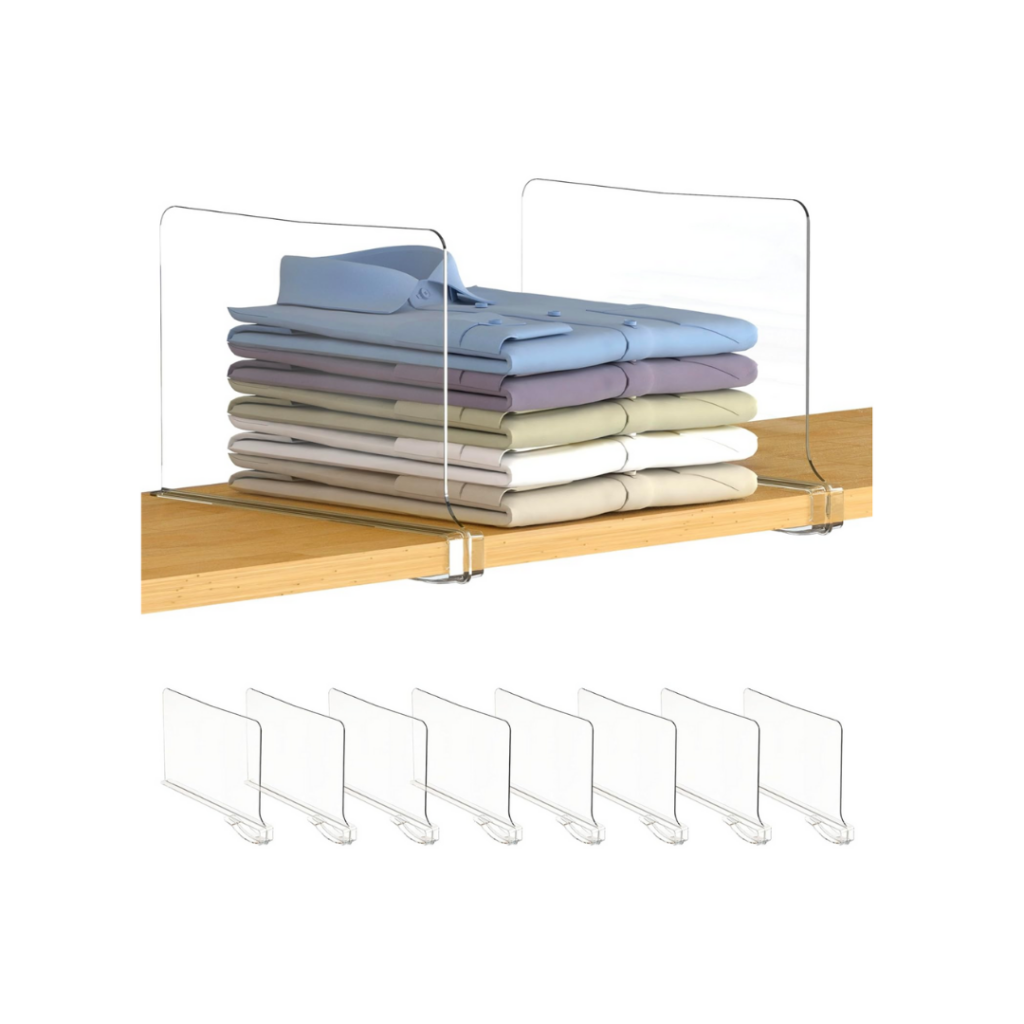
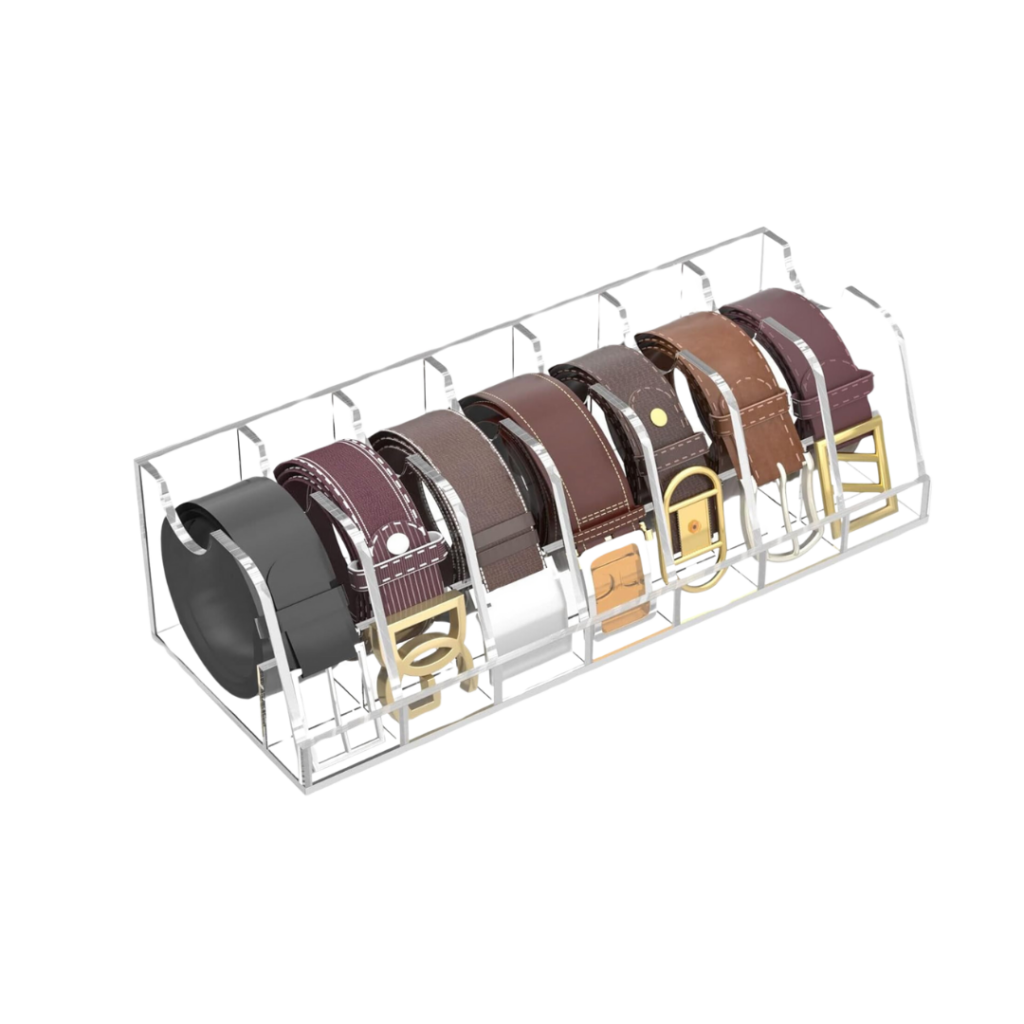
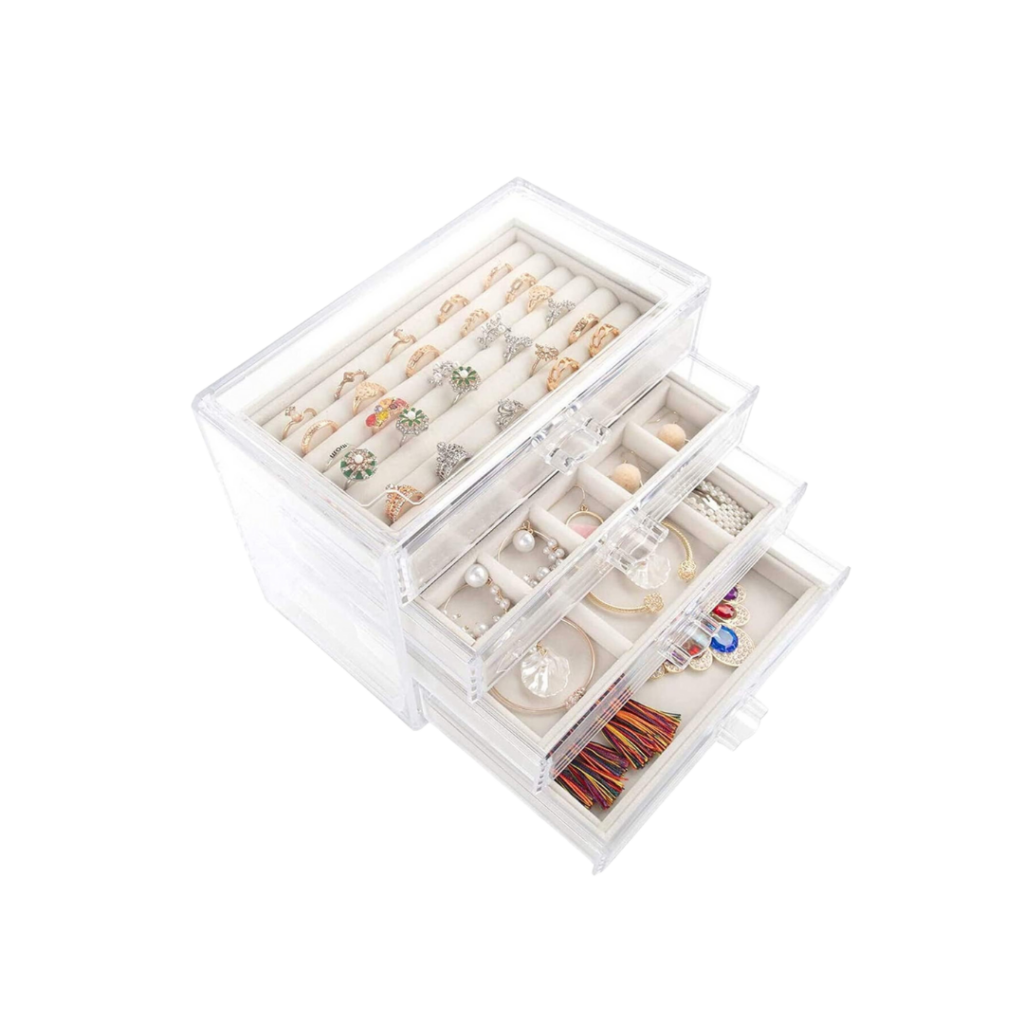
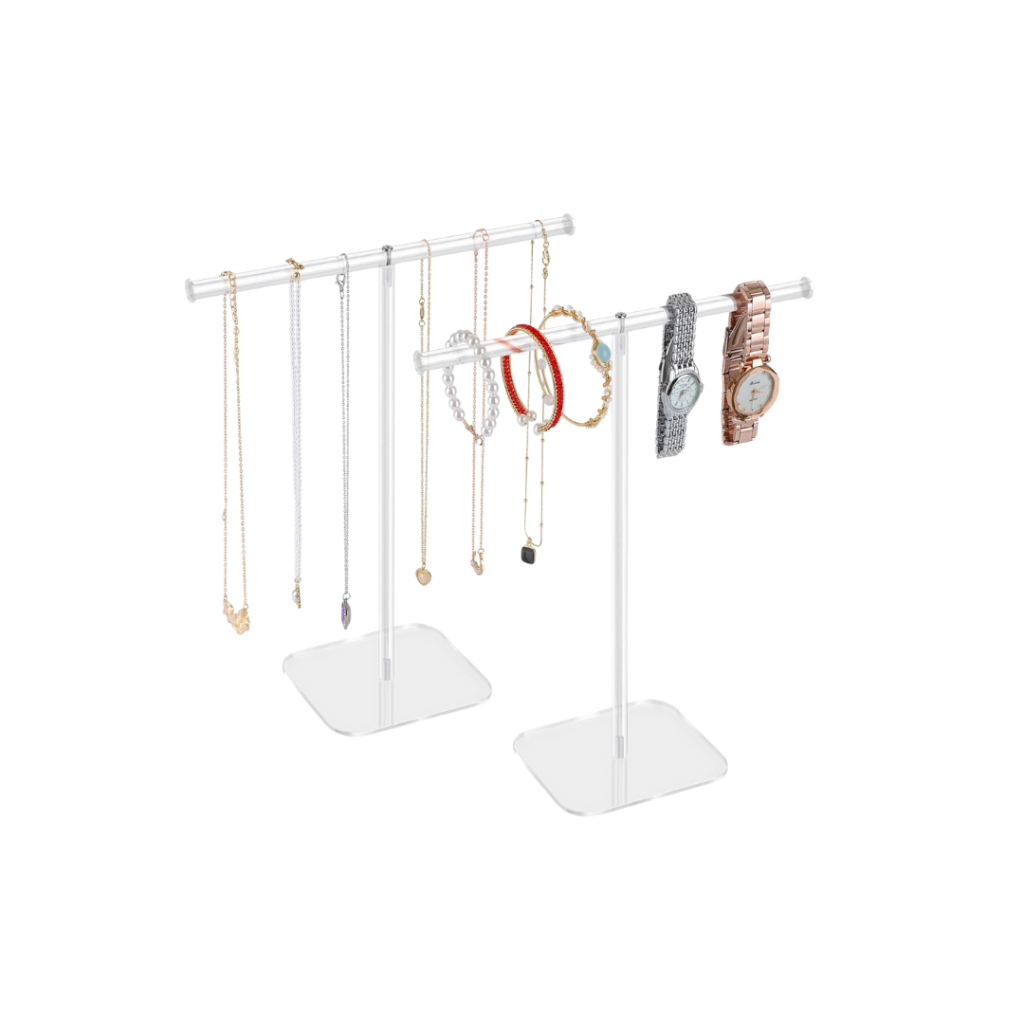
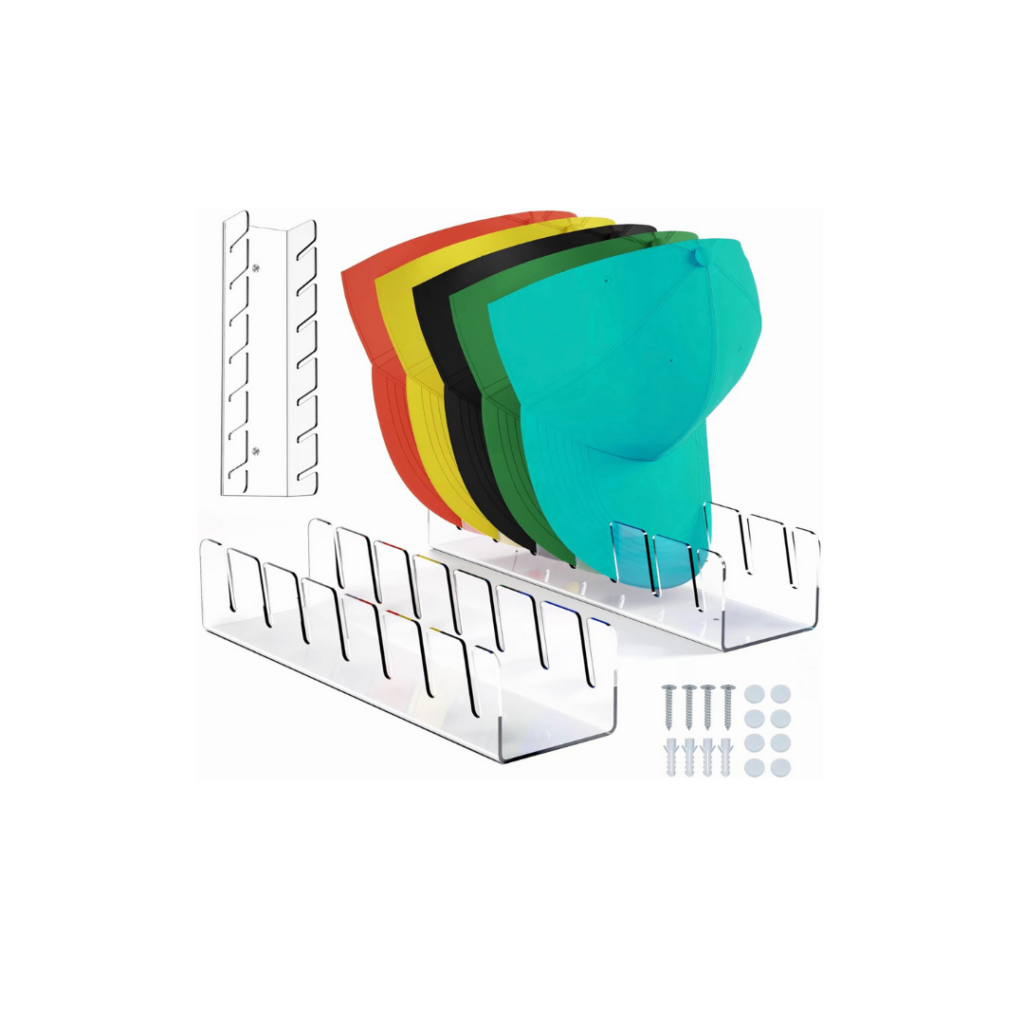
Now time for the fun part – organizing! I got all of these clear acrylic pieces on Amazon to organize everything. Here’s a link to everything I used! Then I put all our clothes and shoes in their new homes.
Hardware
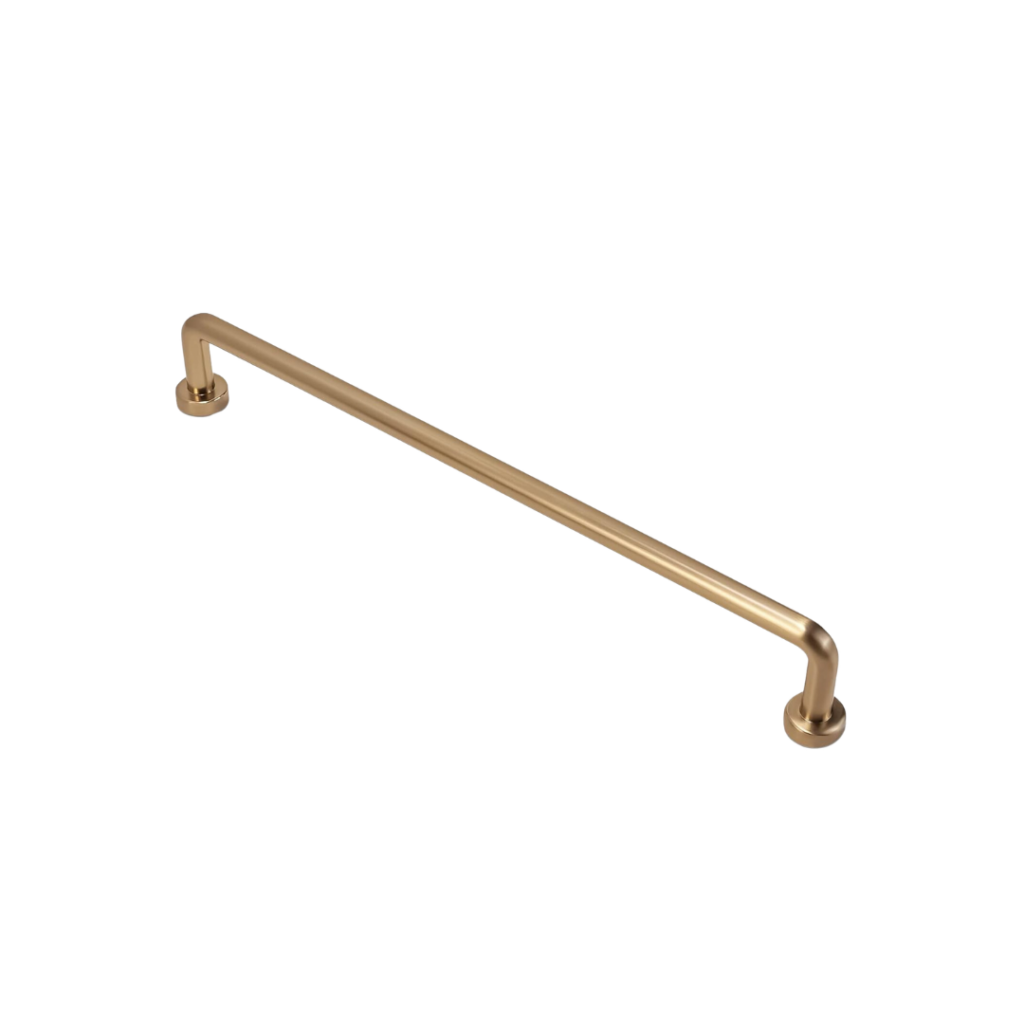
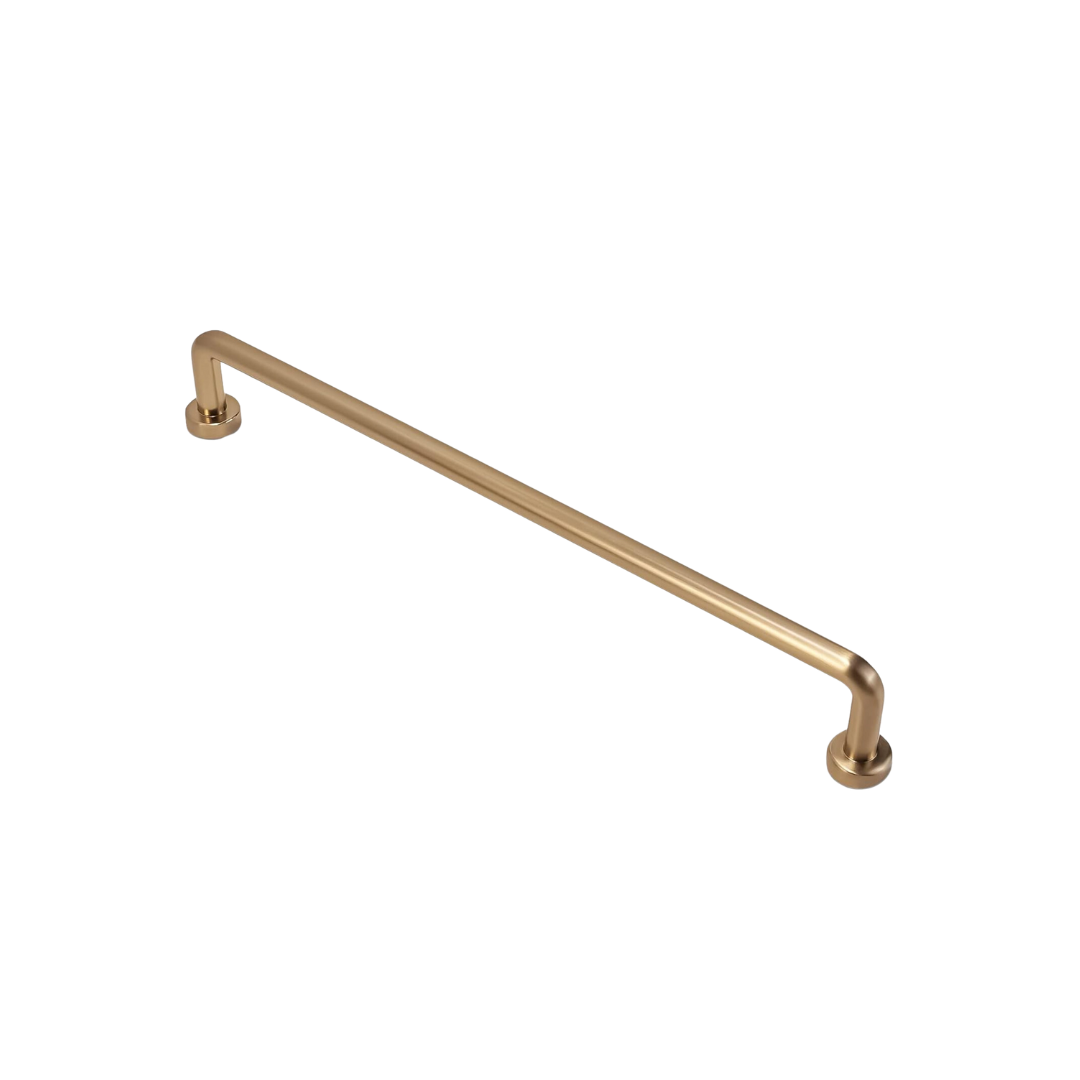
To finish things off, I installed the hardware with this hardware jig. I got these gold drawer pulls on Amazon as well!
And done! I feel so at peace when I walk into my closet now. Thanks to Modular Closets I now have a dream closet I *think* I can keep clean 🤭
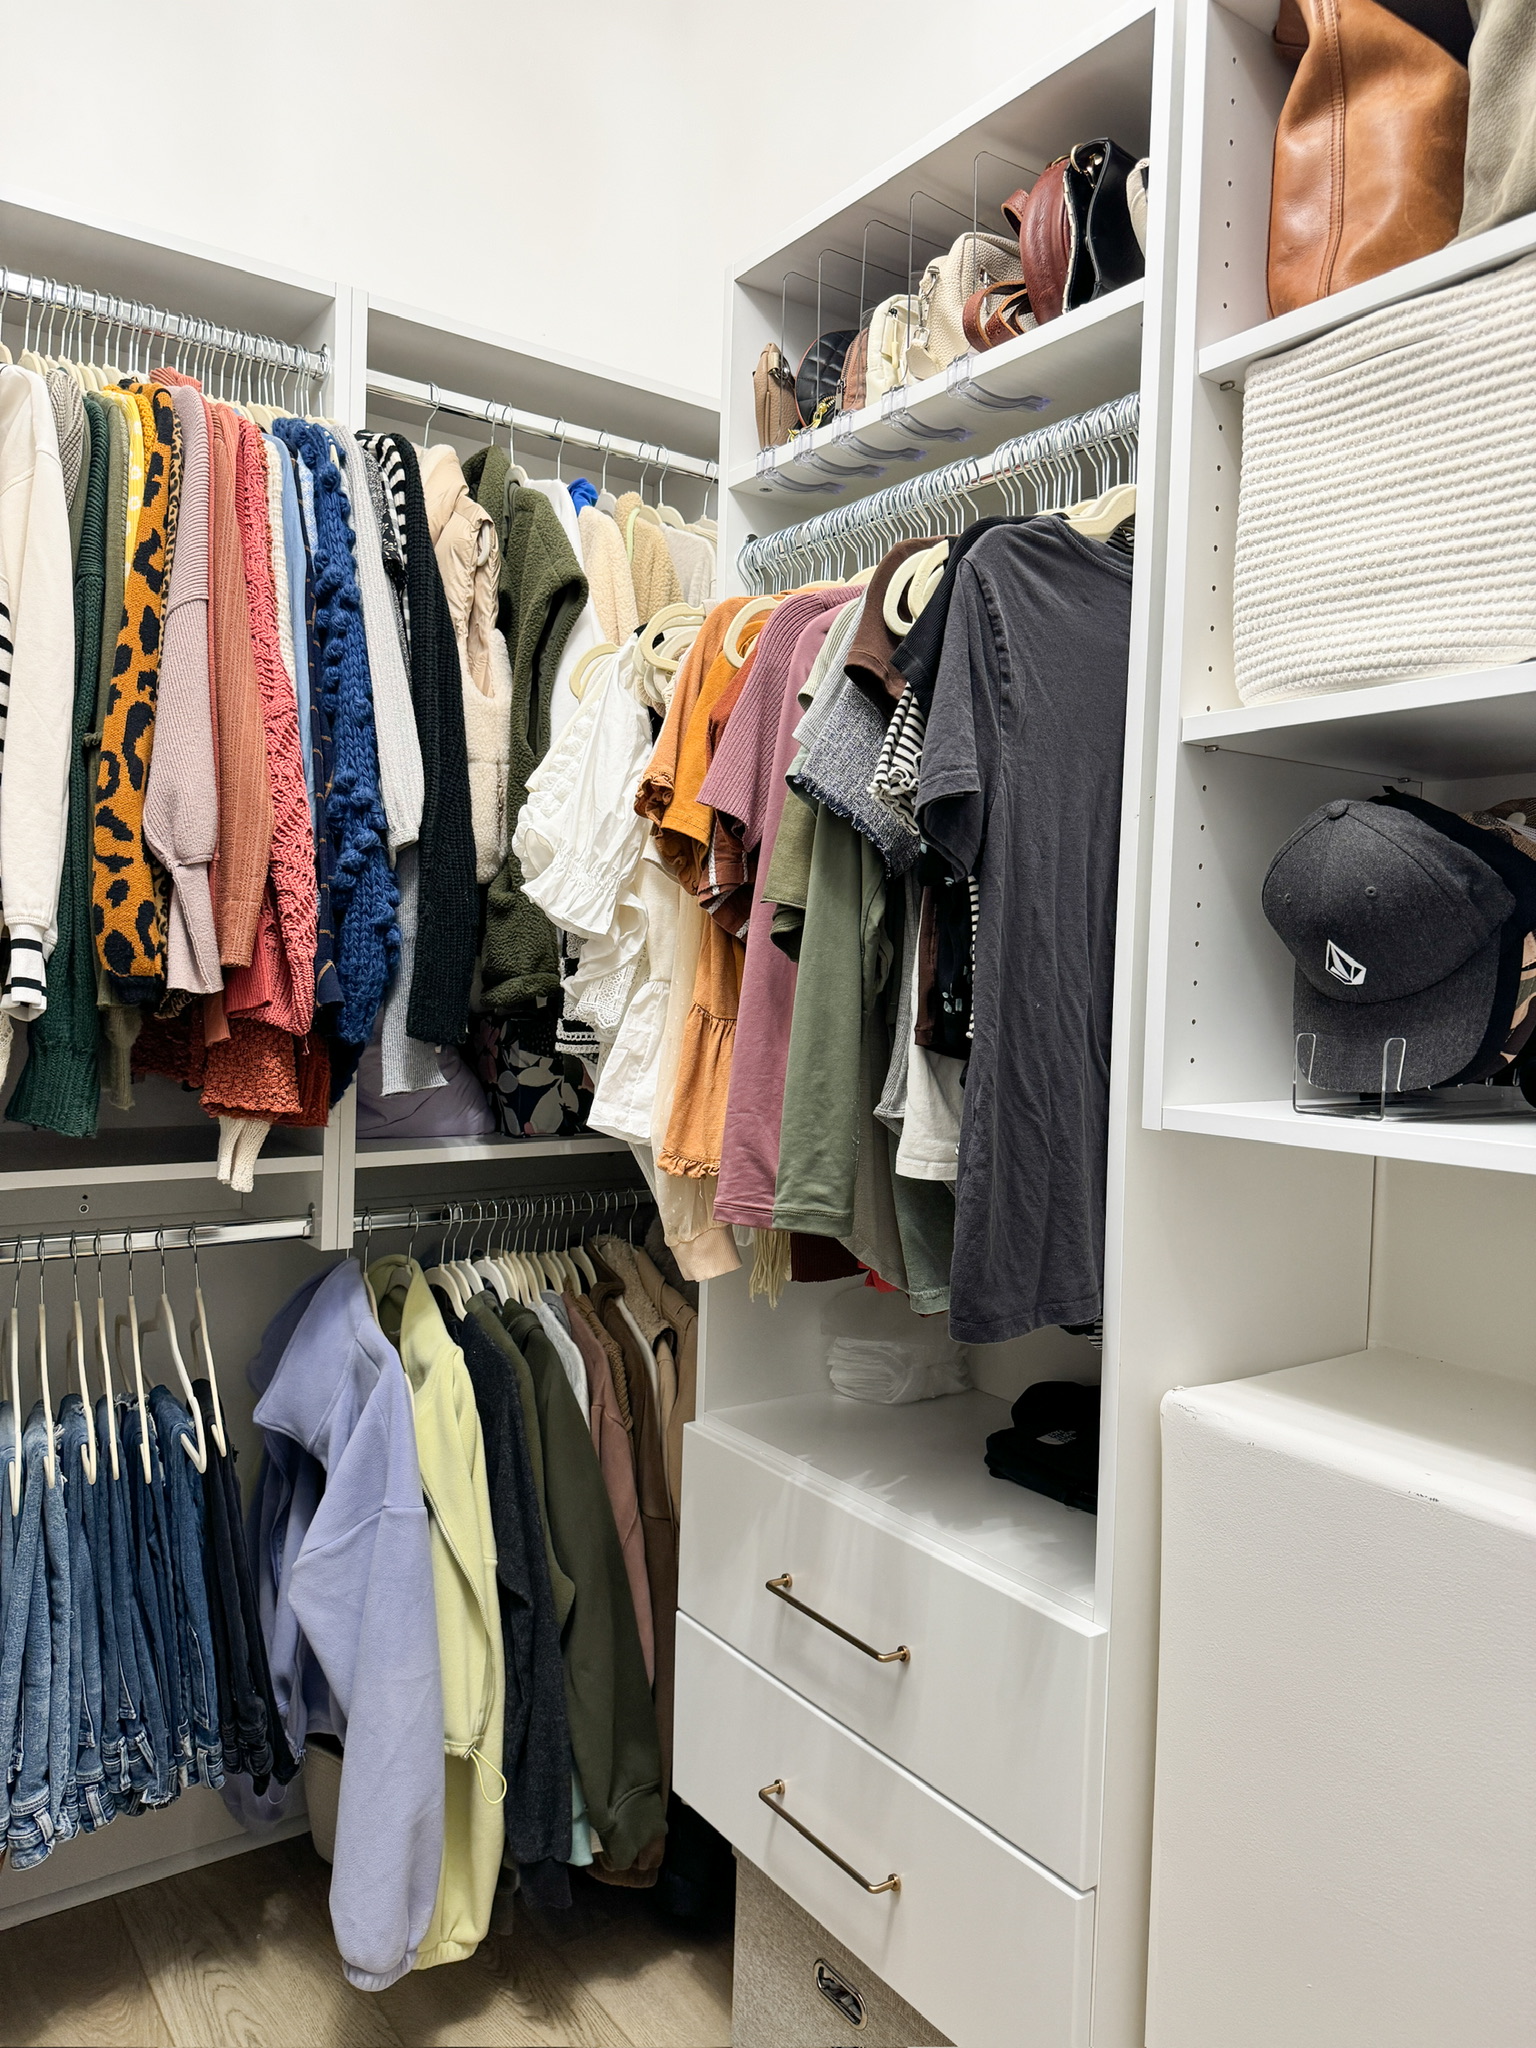

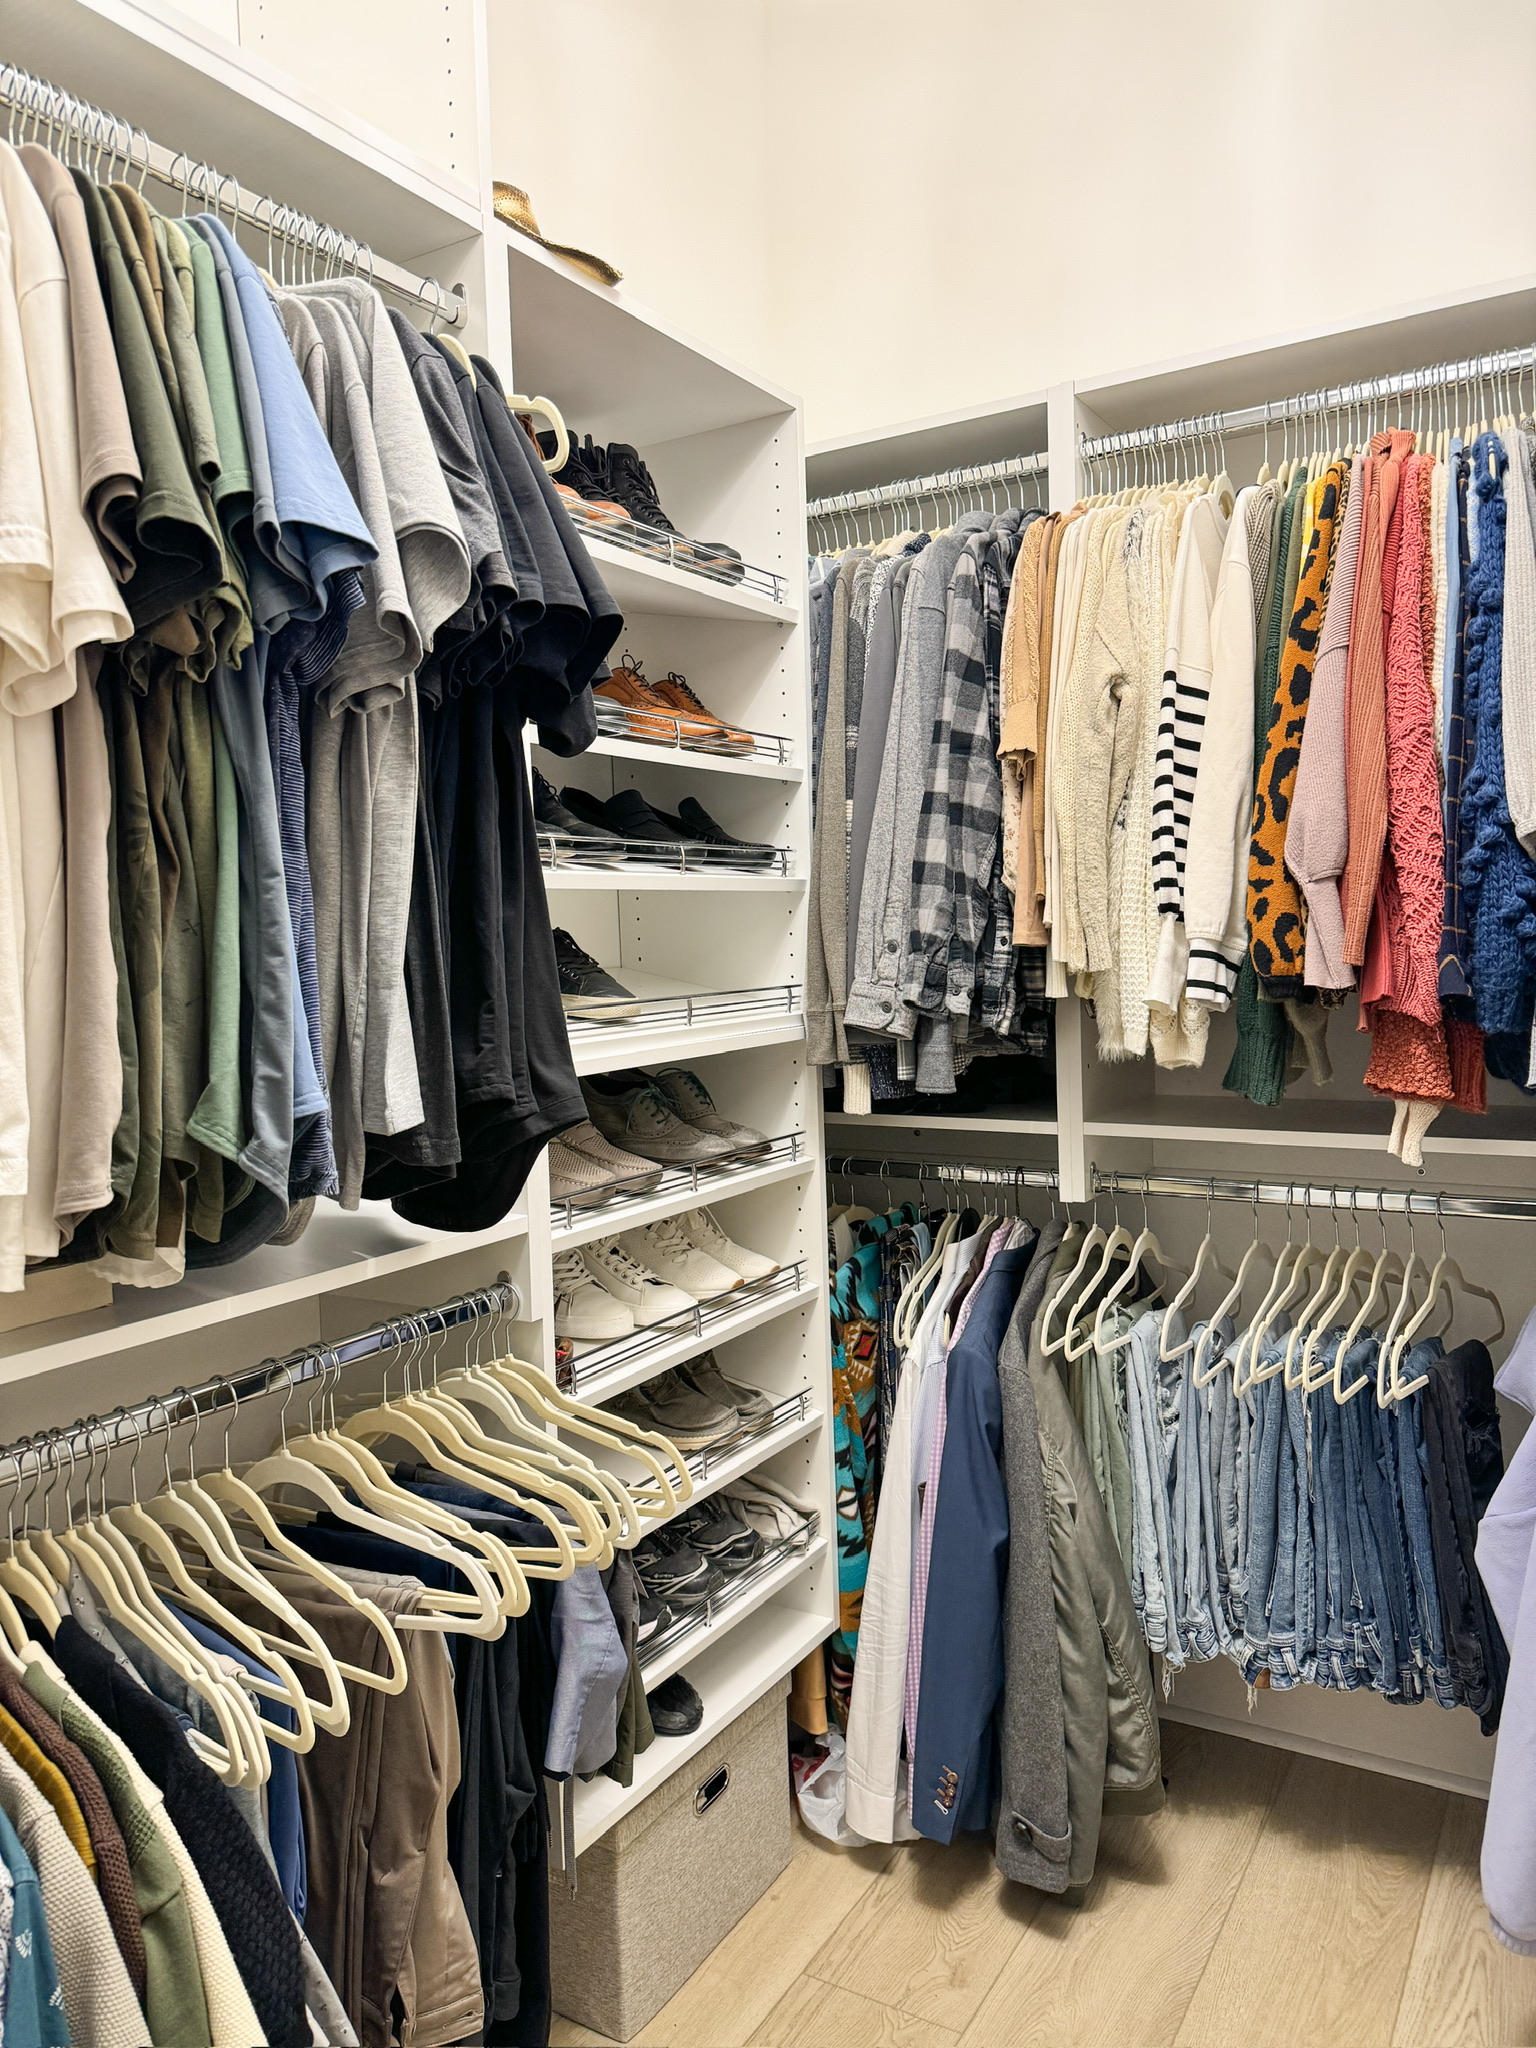
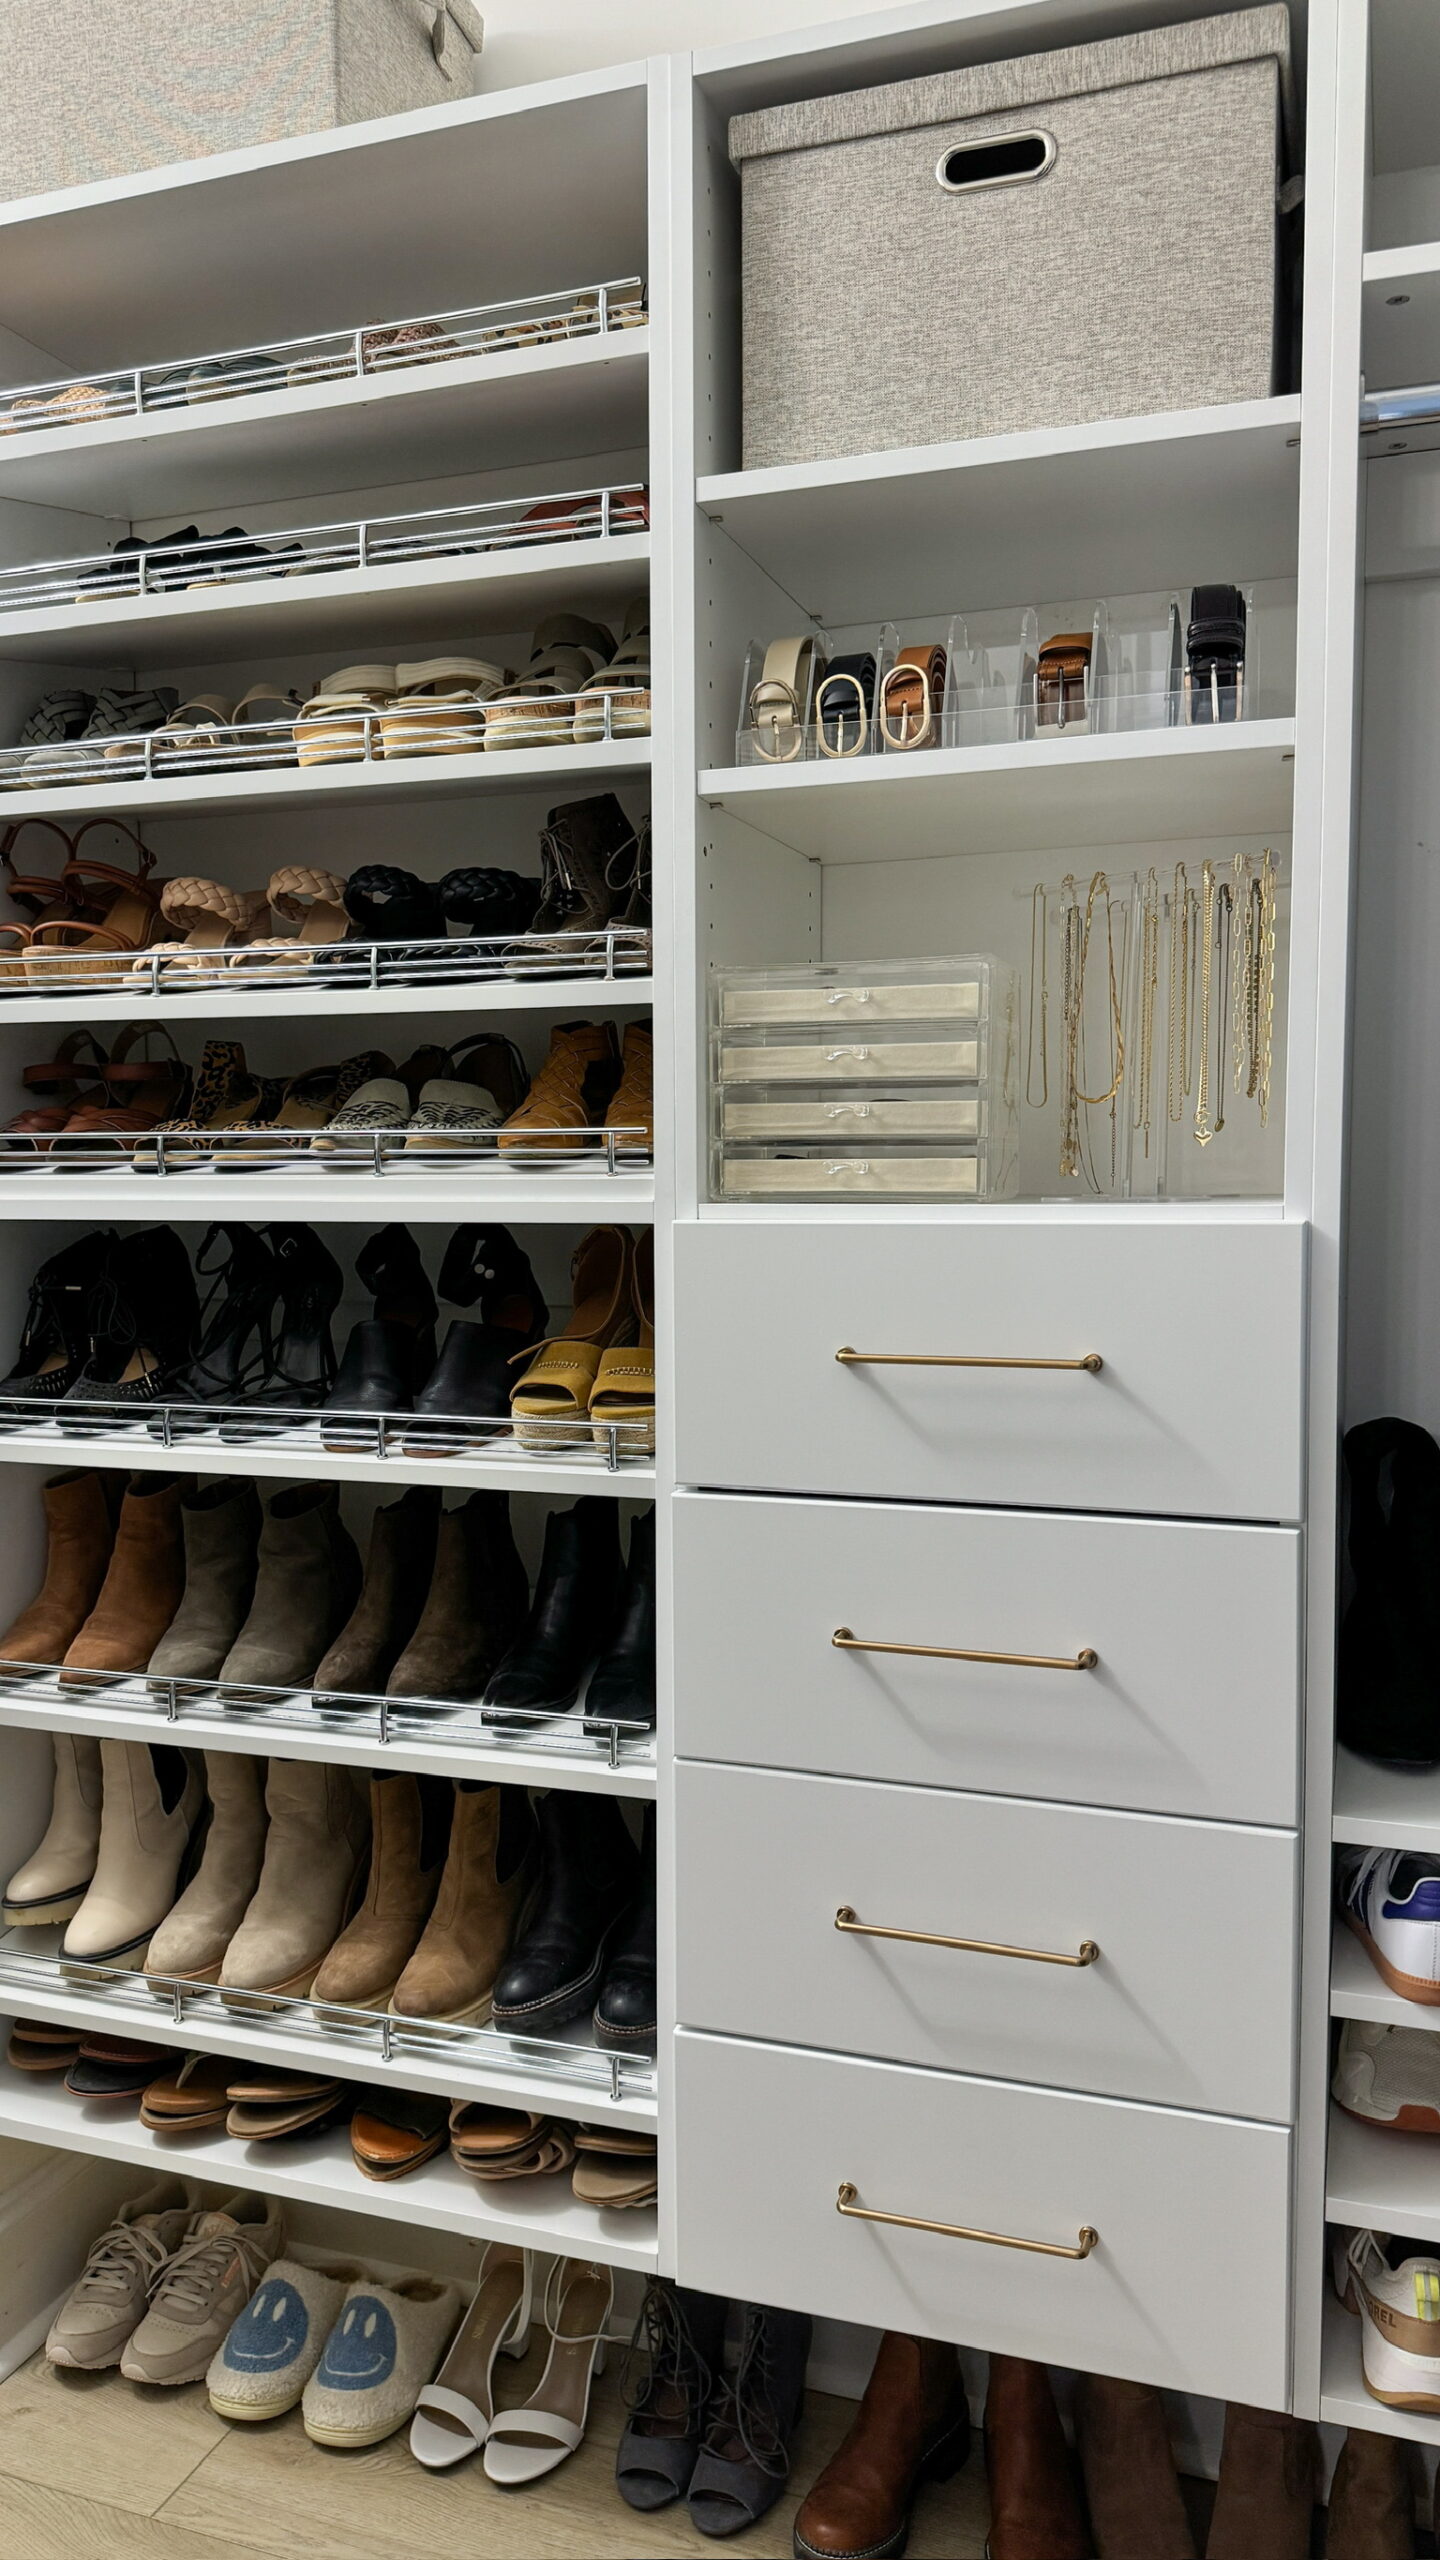
Sarah from the Modular team helped me design this closet to my custom size and my needs too! I actually changed my mind a couple of times and she was so patient with me. AND I know these will last me for years. The quality is so so good!
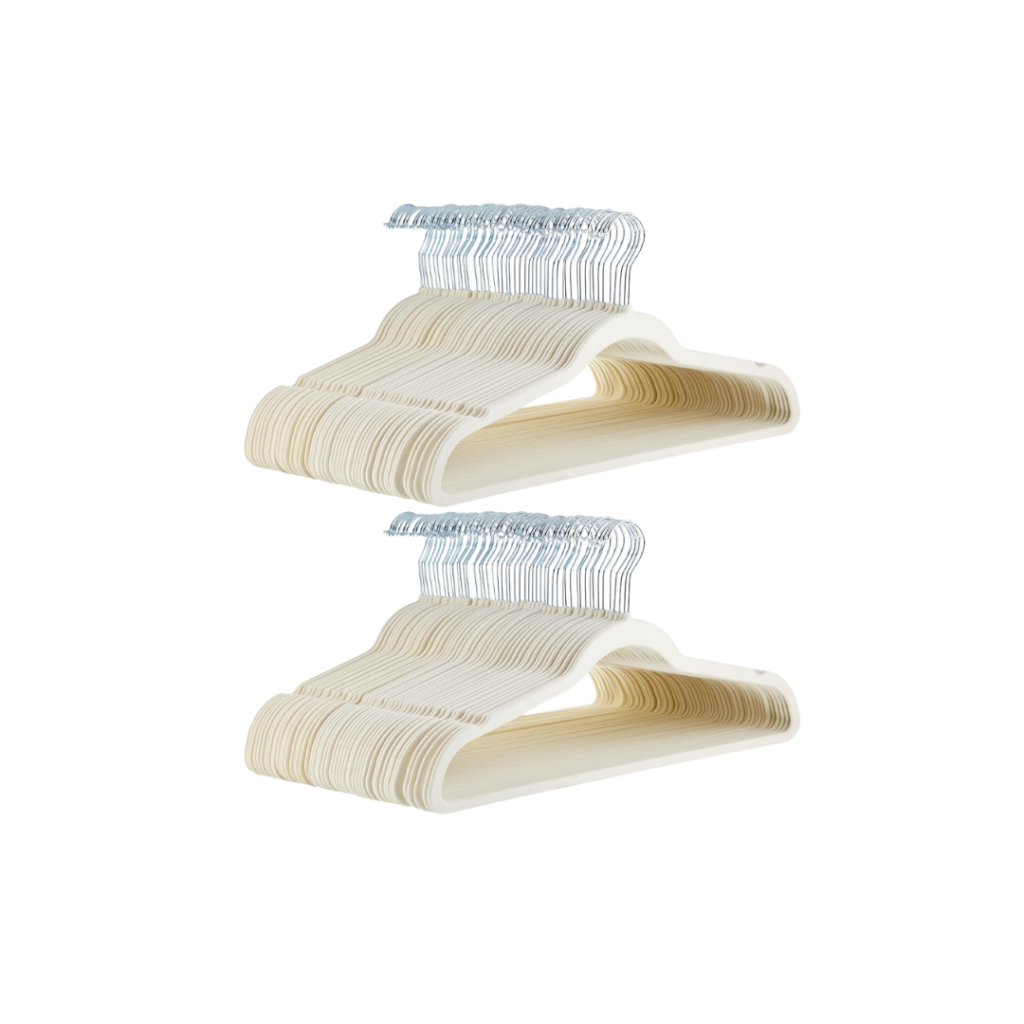
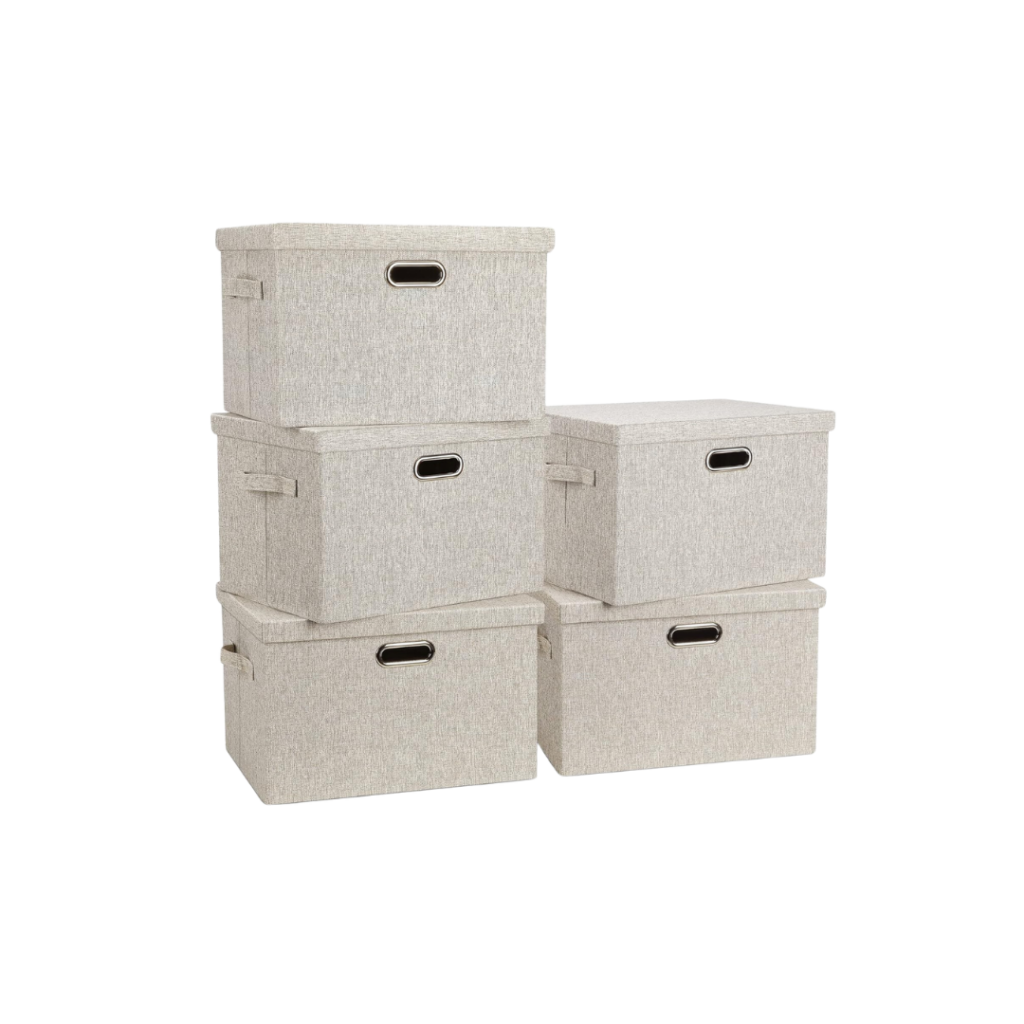
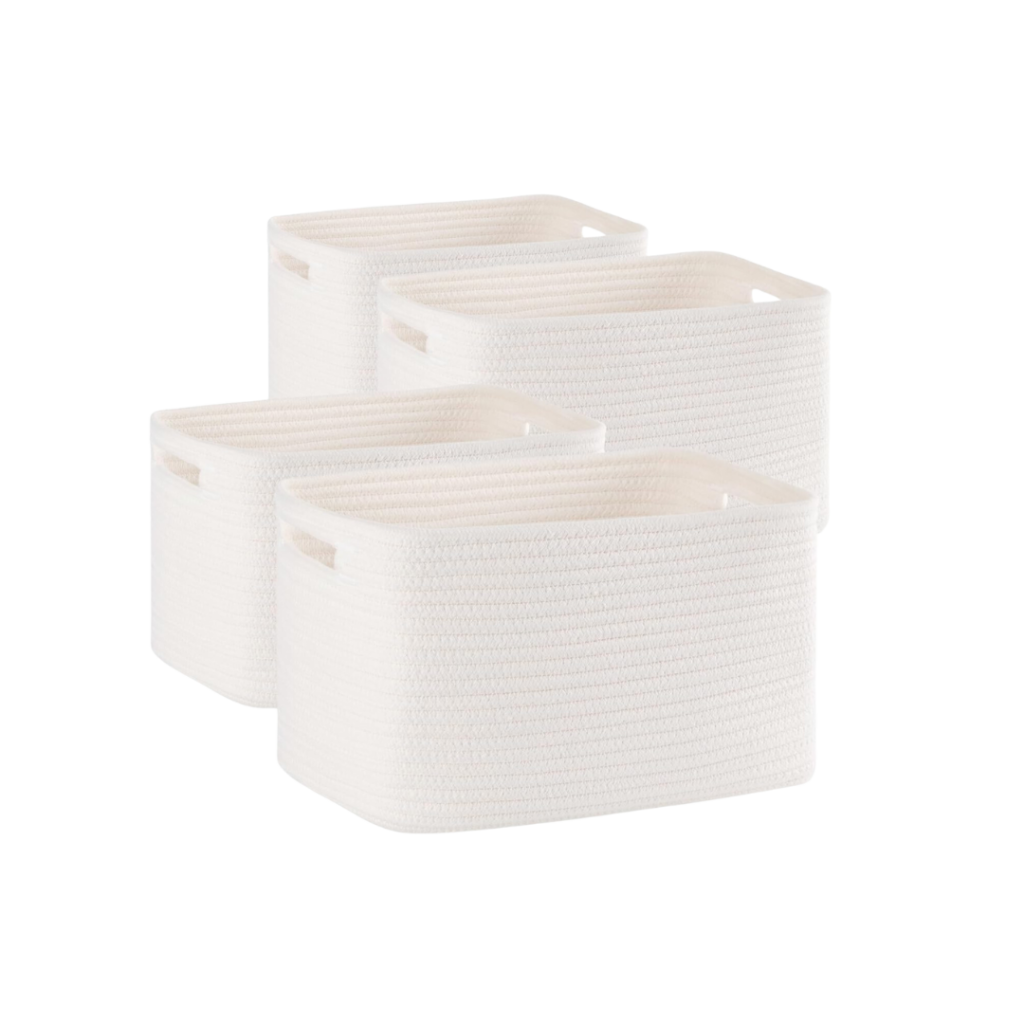
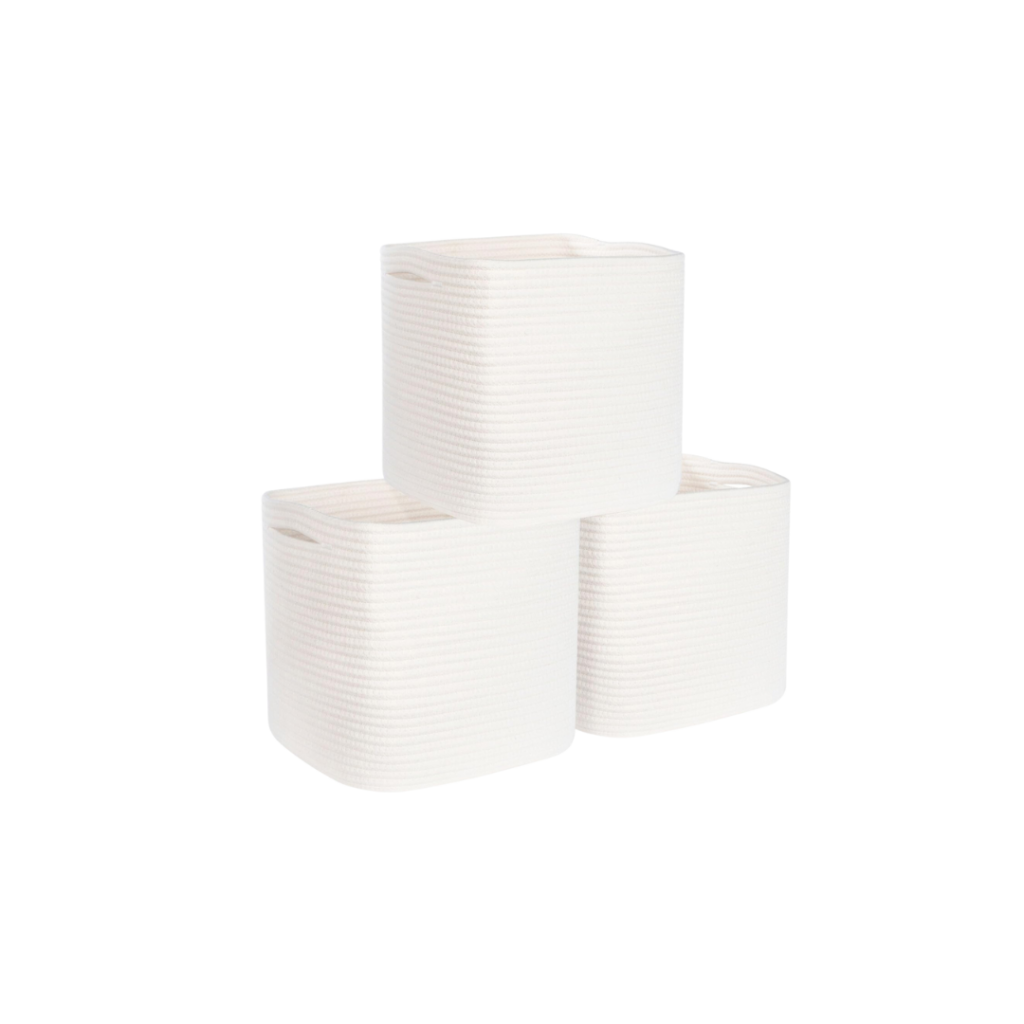
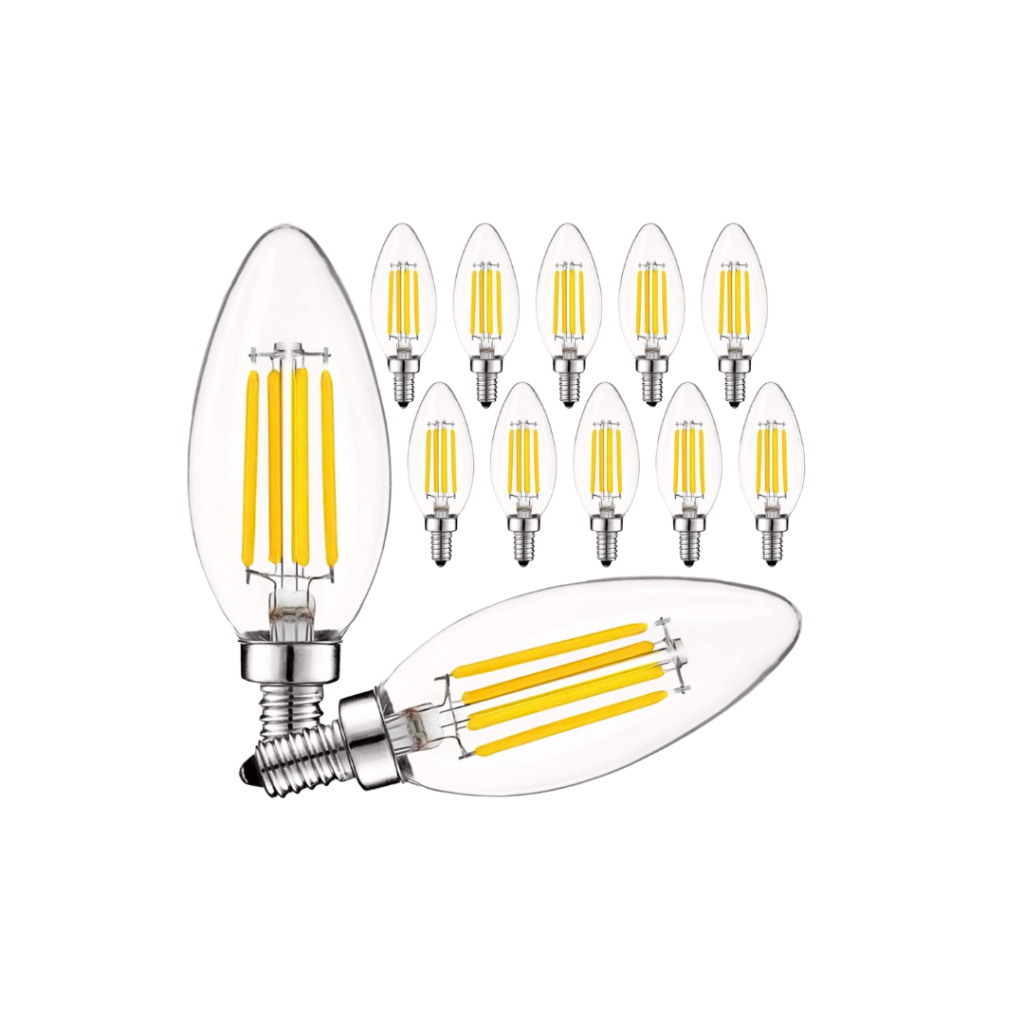
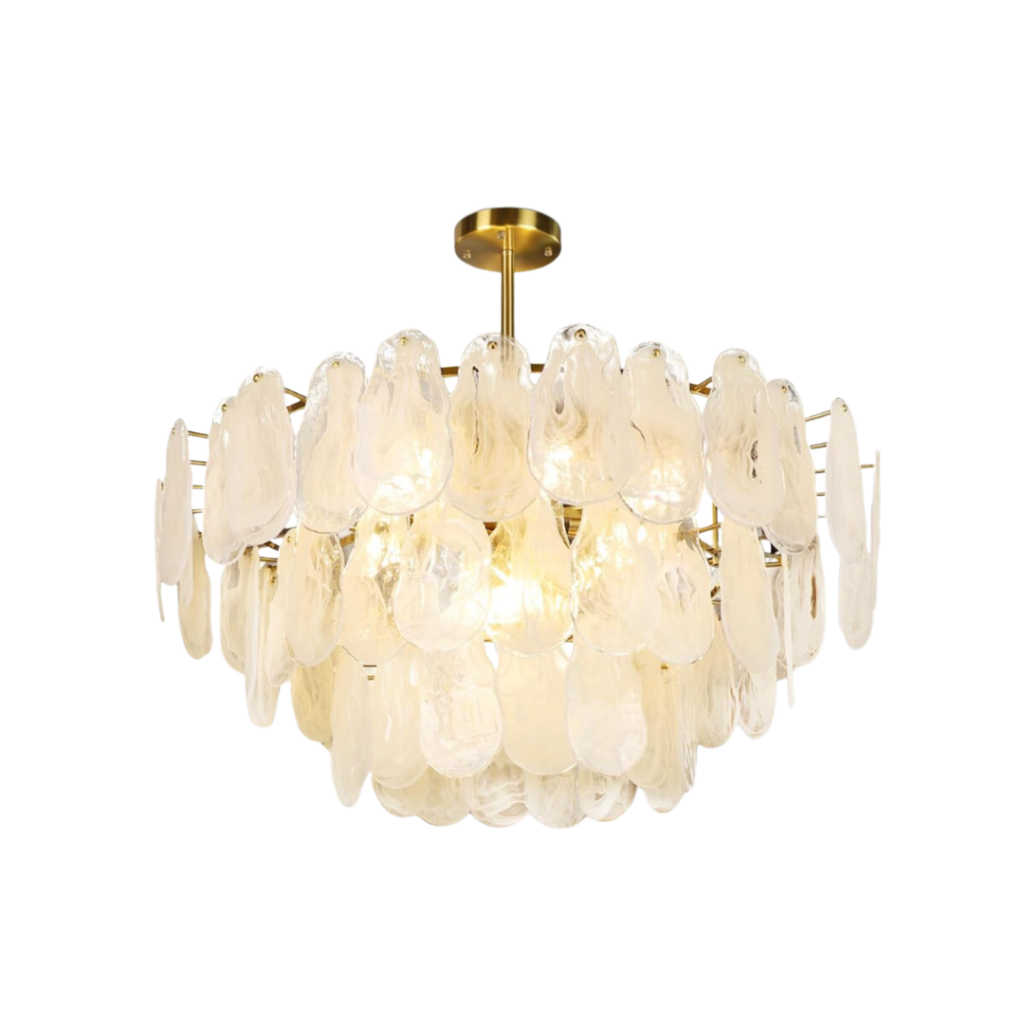
Here’s everything we used in our closet!


Excellent idea and it is duly