Hi
I'm Bong
I'm just a girl who likes to DIY anything and everything. More than that, I love teaching people - especially women - how to pick up power tools and create the home of their dreams. Stop waiting for someone else and starting Doing It Yourself. I'll show you how!
diy projects
diy school
life hacks
categories
must have products
I am turning my outdated and way-too-small laundry room into a mudroom with lockers for all of my kids’ things. Last time we left off with the demo and sheet rock repair. You can see that process here. Now it’s time to build!
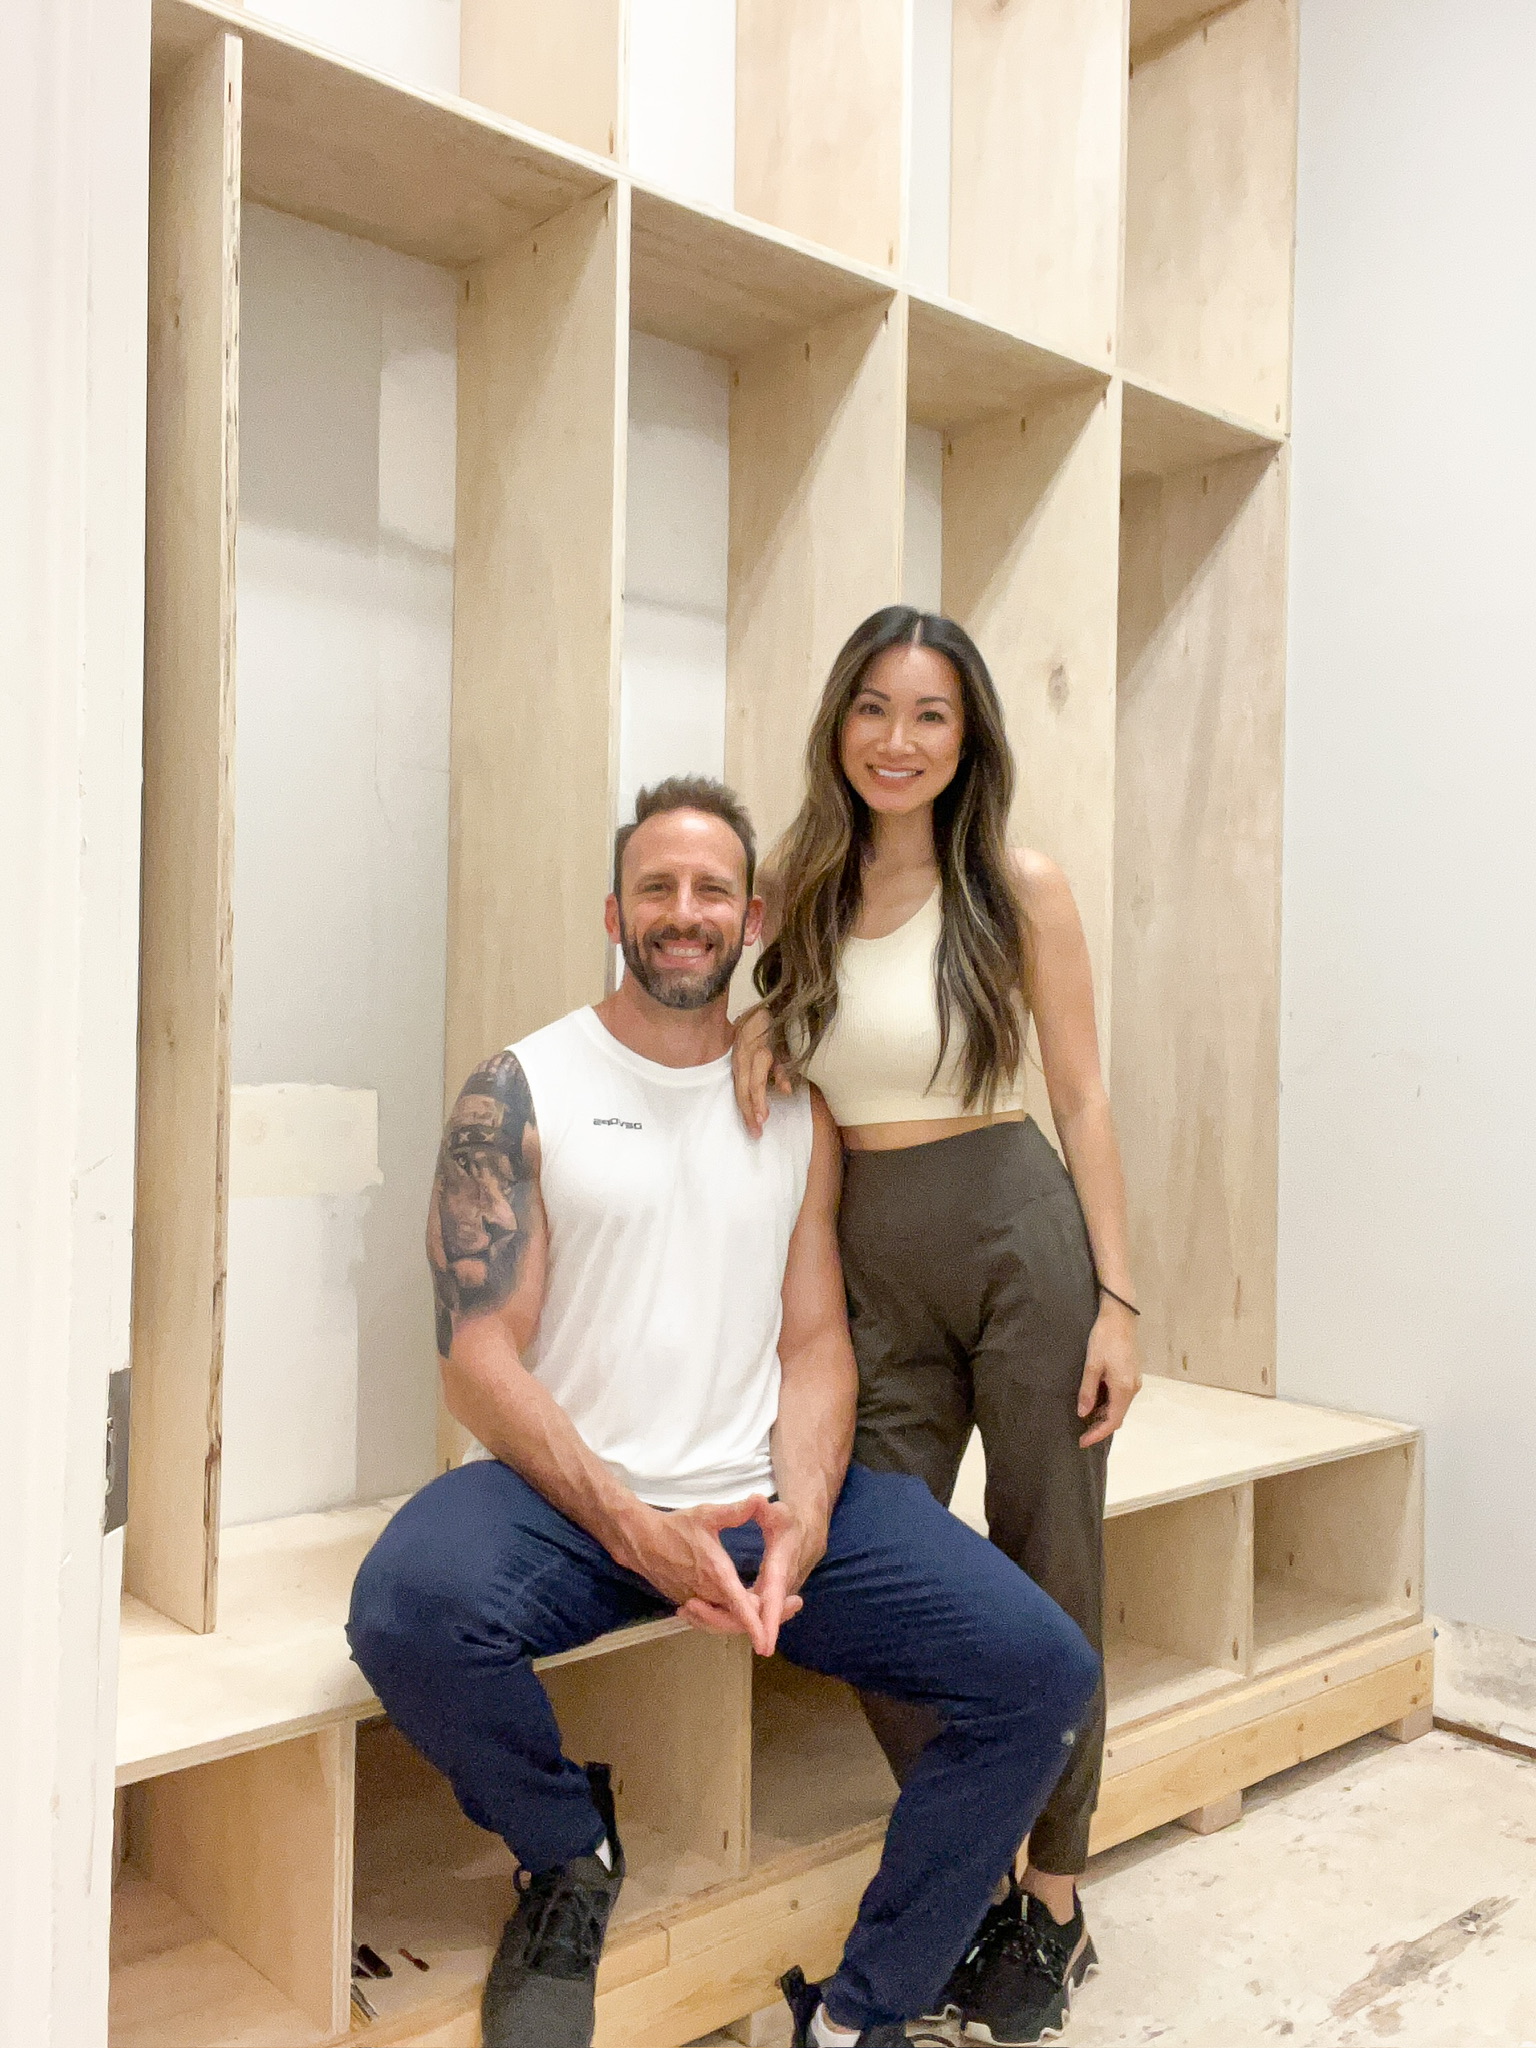
Here a reminder of what it looked like before we started:
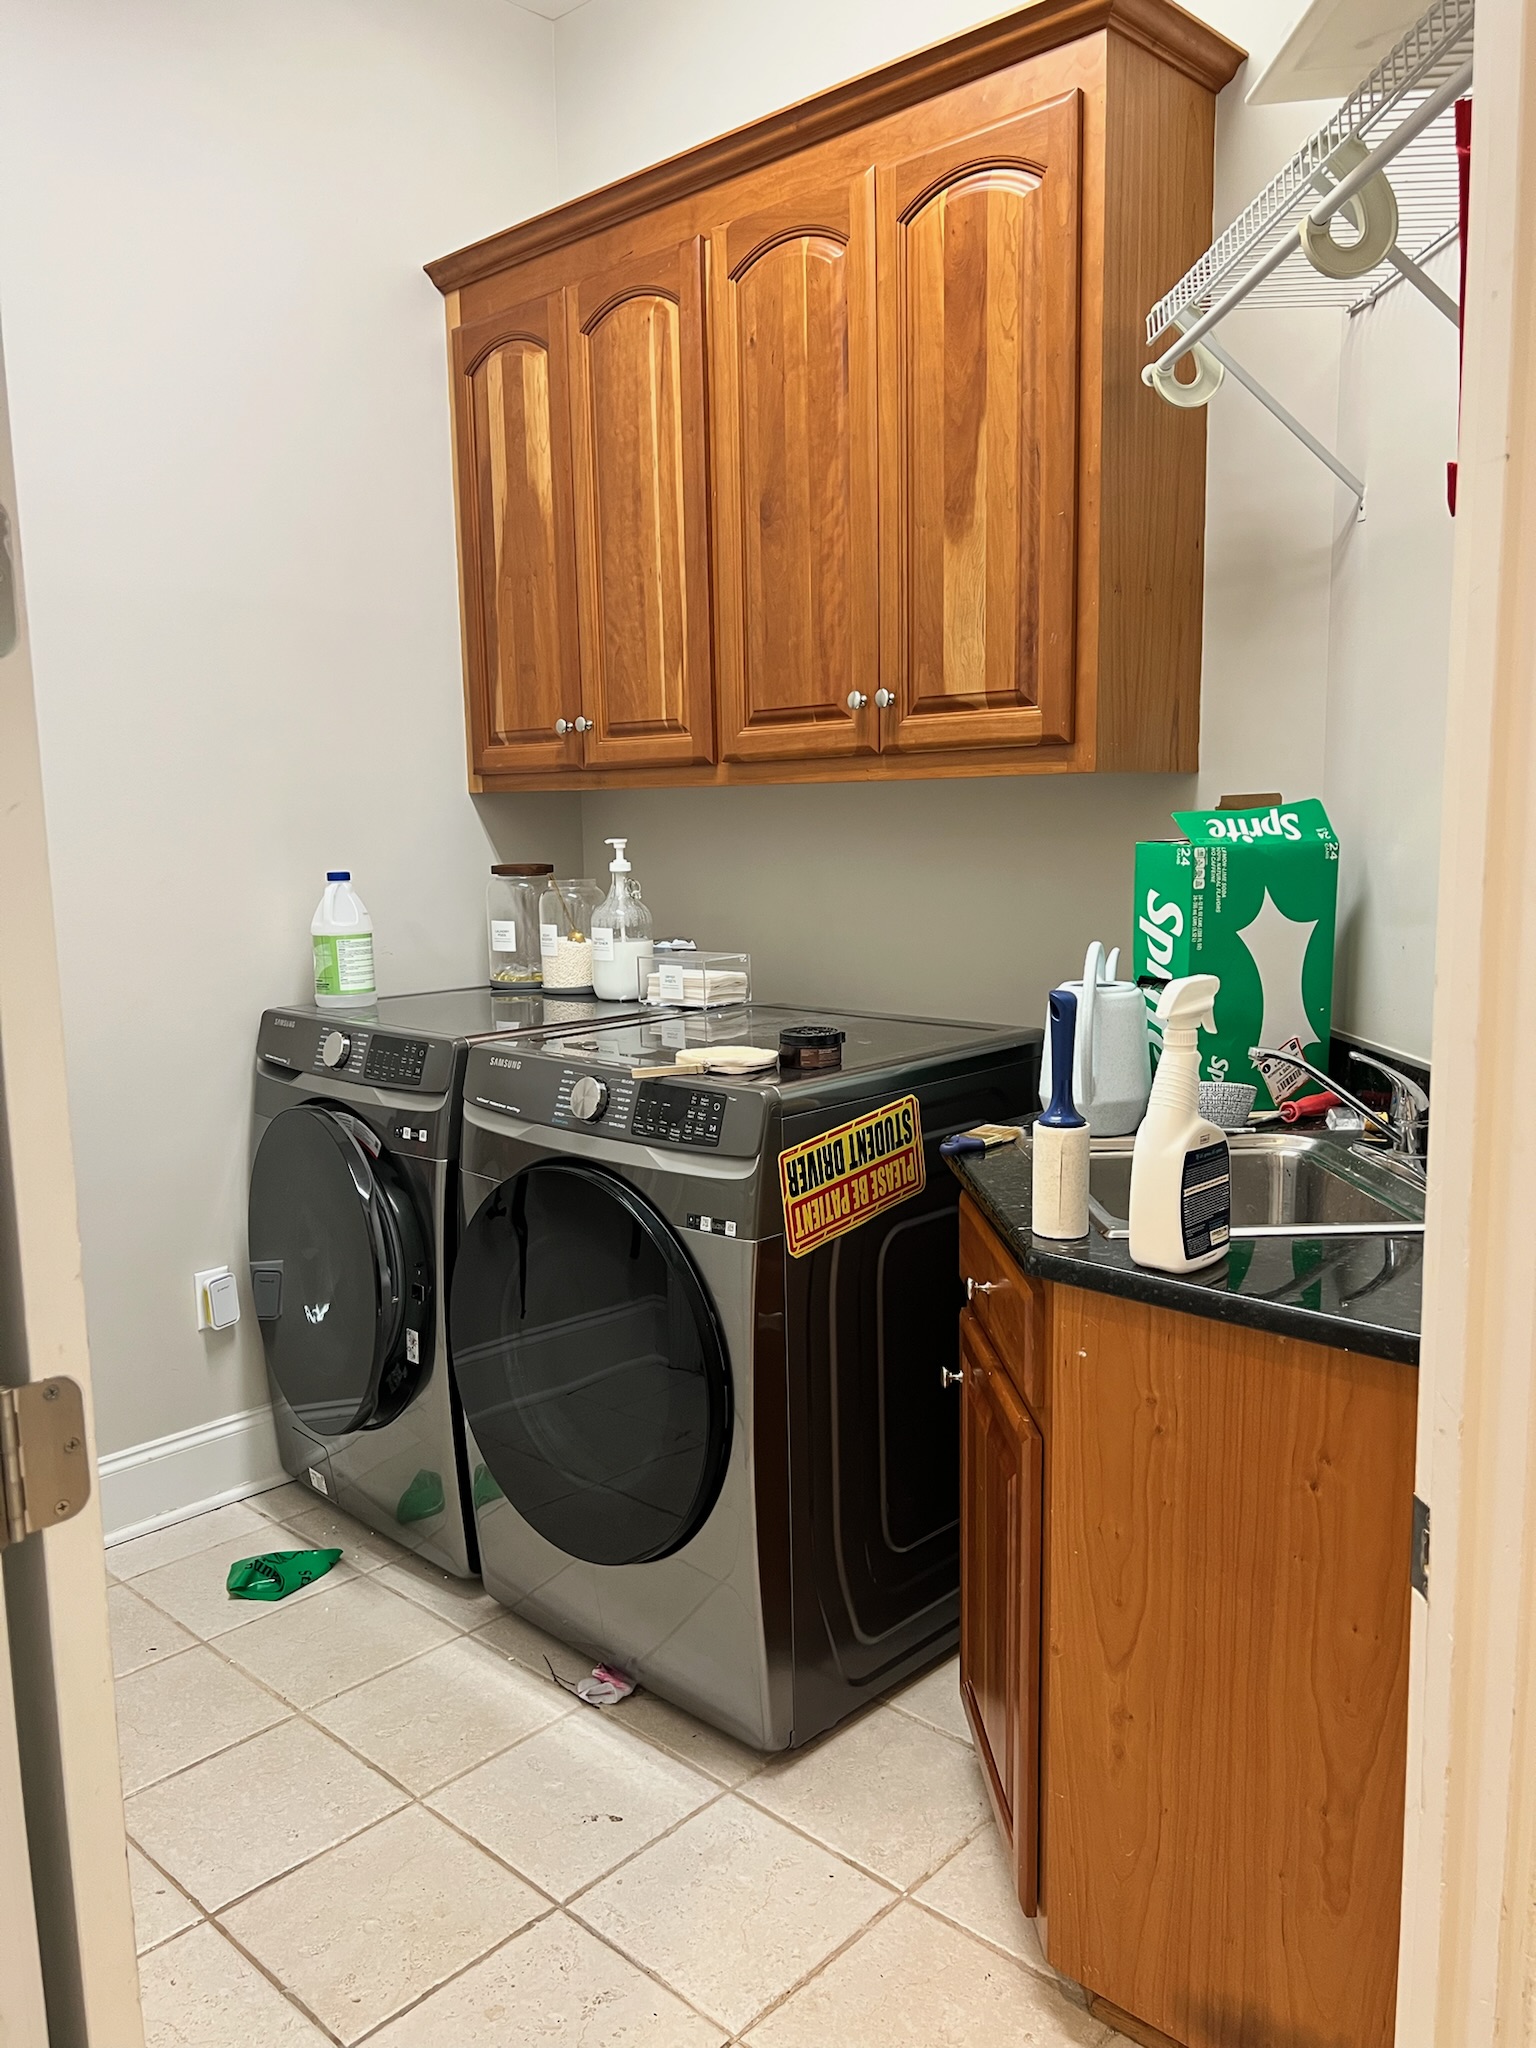
Visualizing
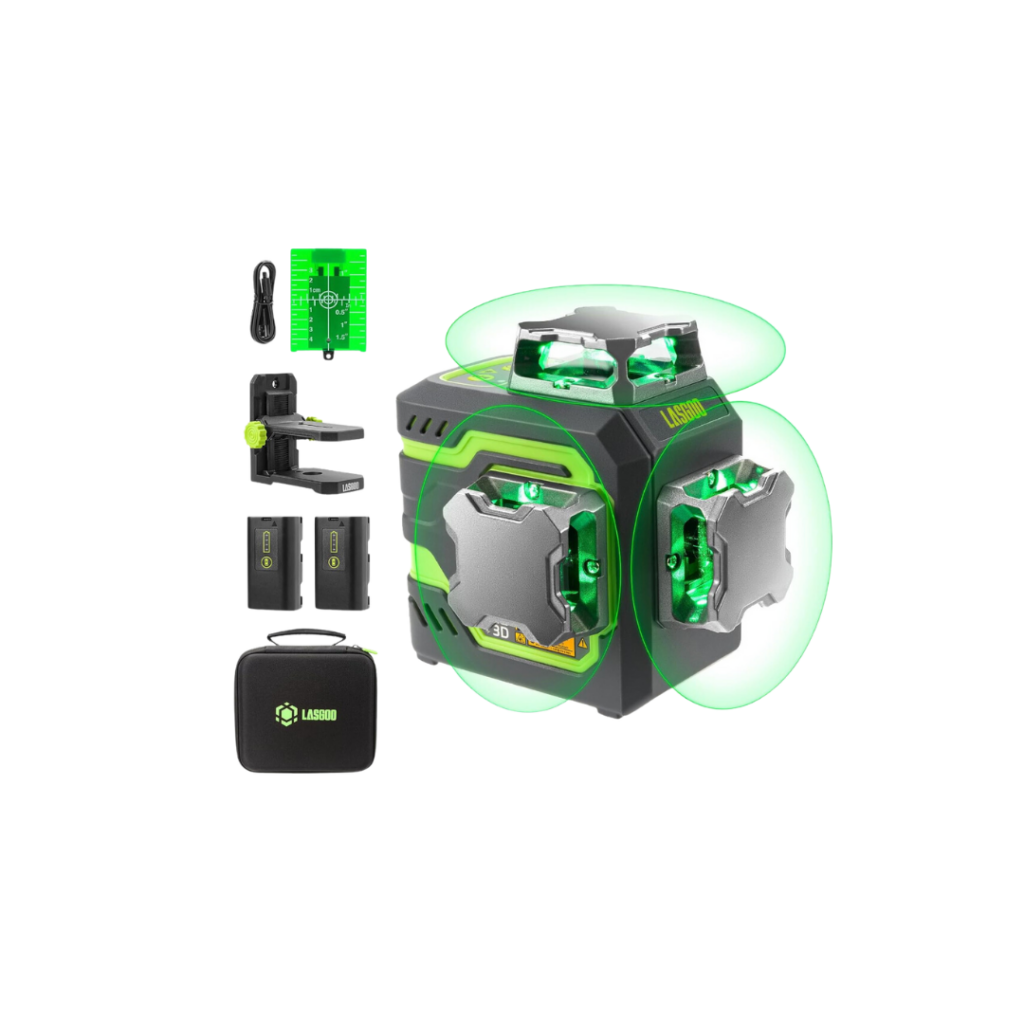
Now it is time to build the lockers from scratch! I used some blue paint tape to just visualize the space and where I think I want my lockers to sit. There are two different lasers I have used, one is for beginners and the other is for a little more advanced projects because it goes 360 degrees.
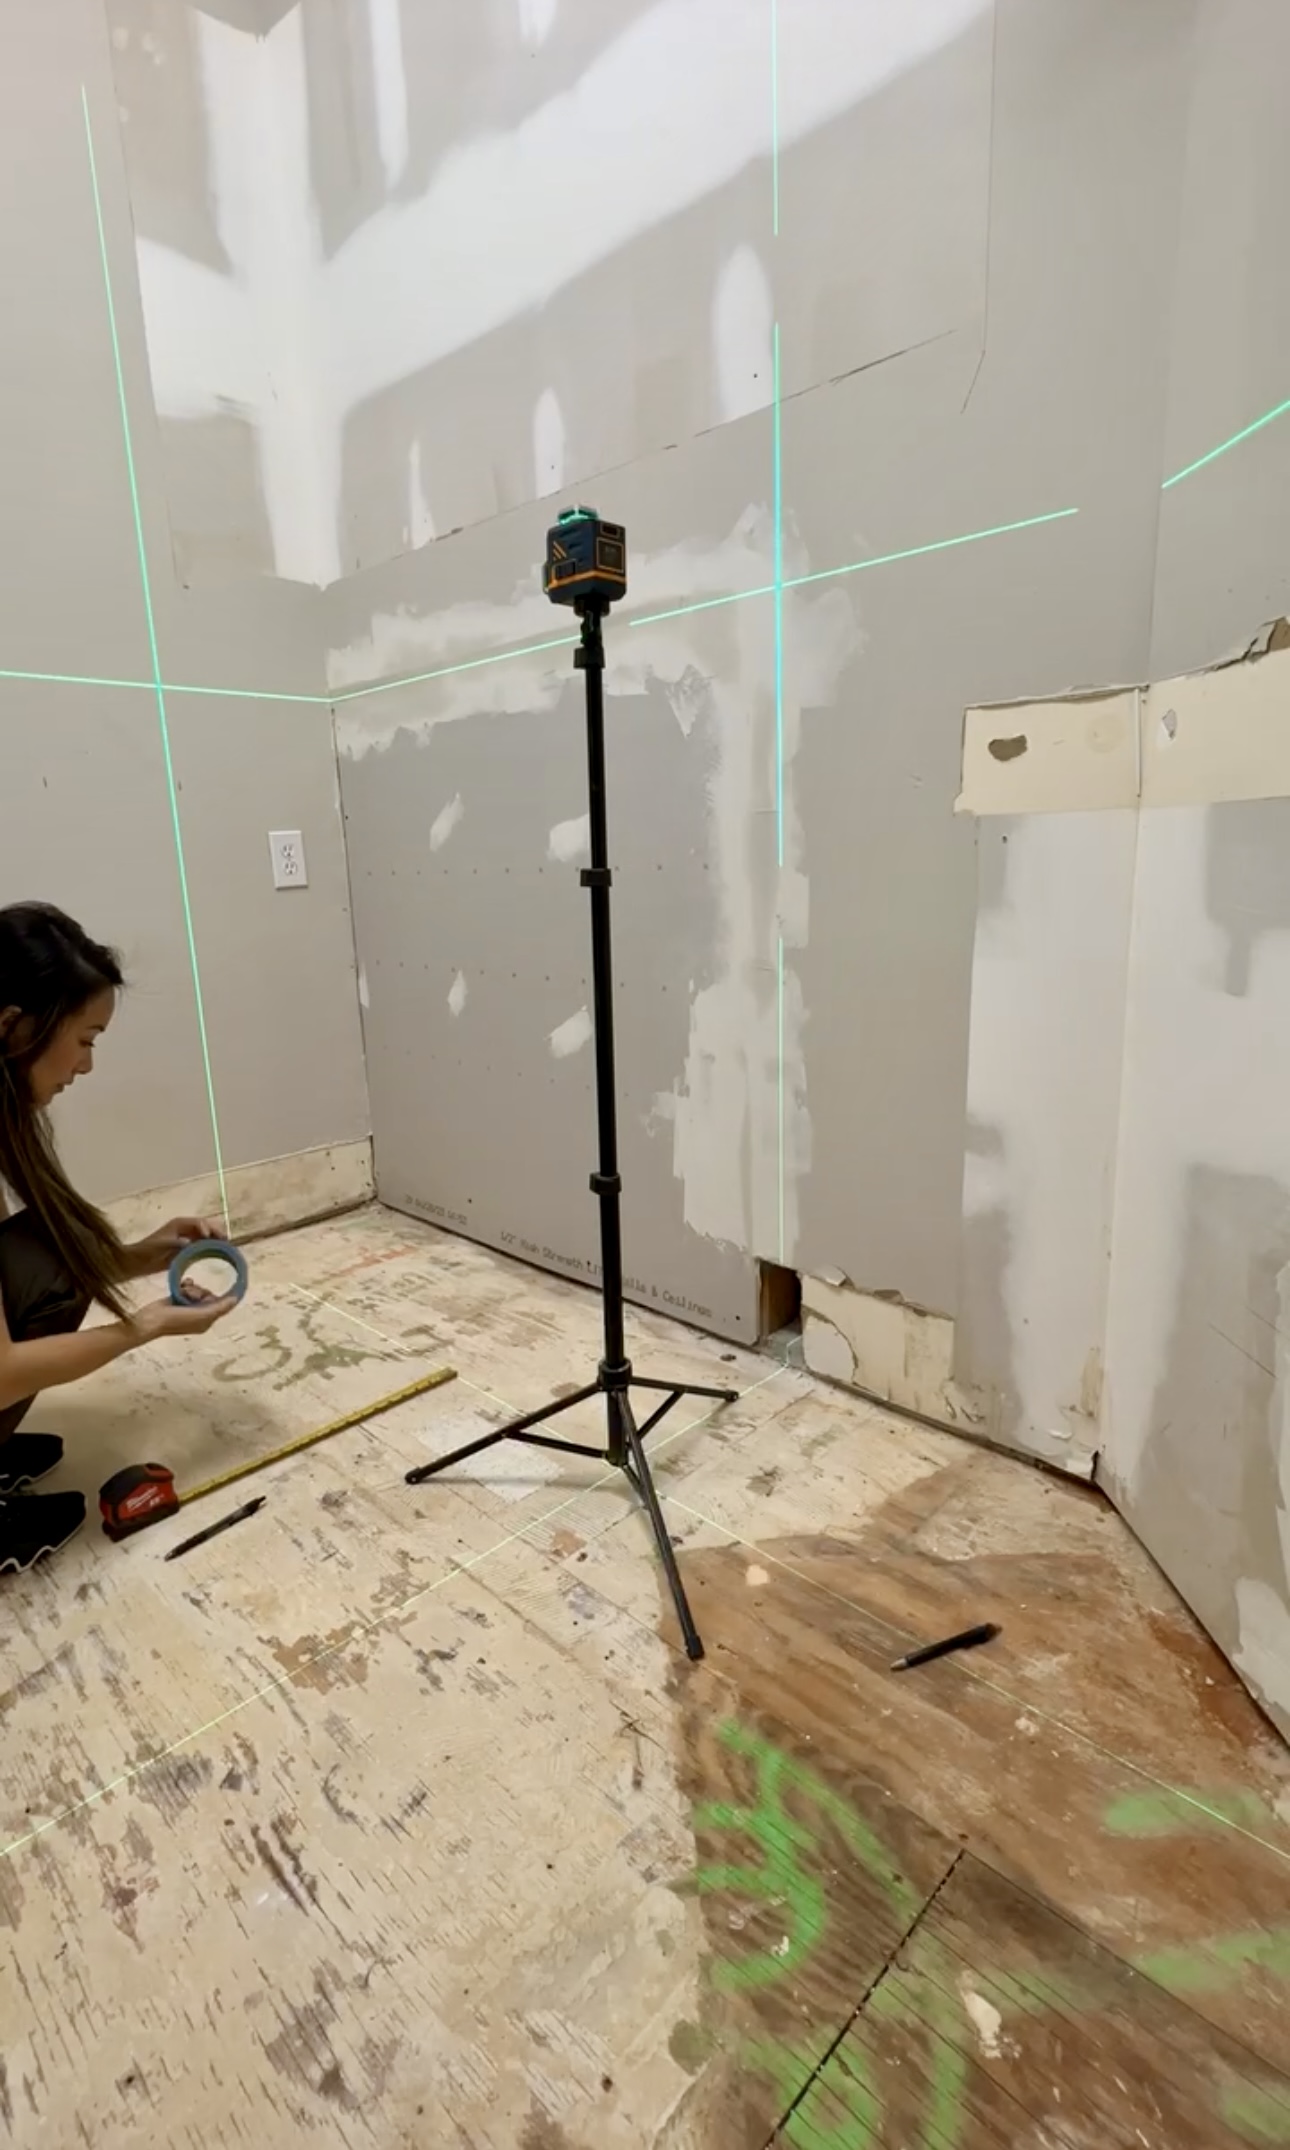
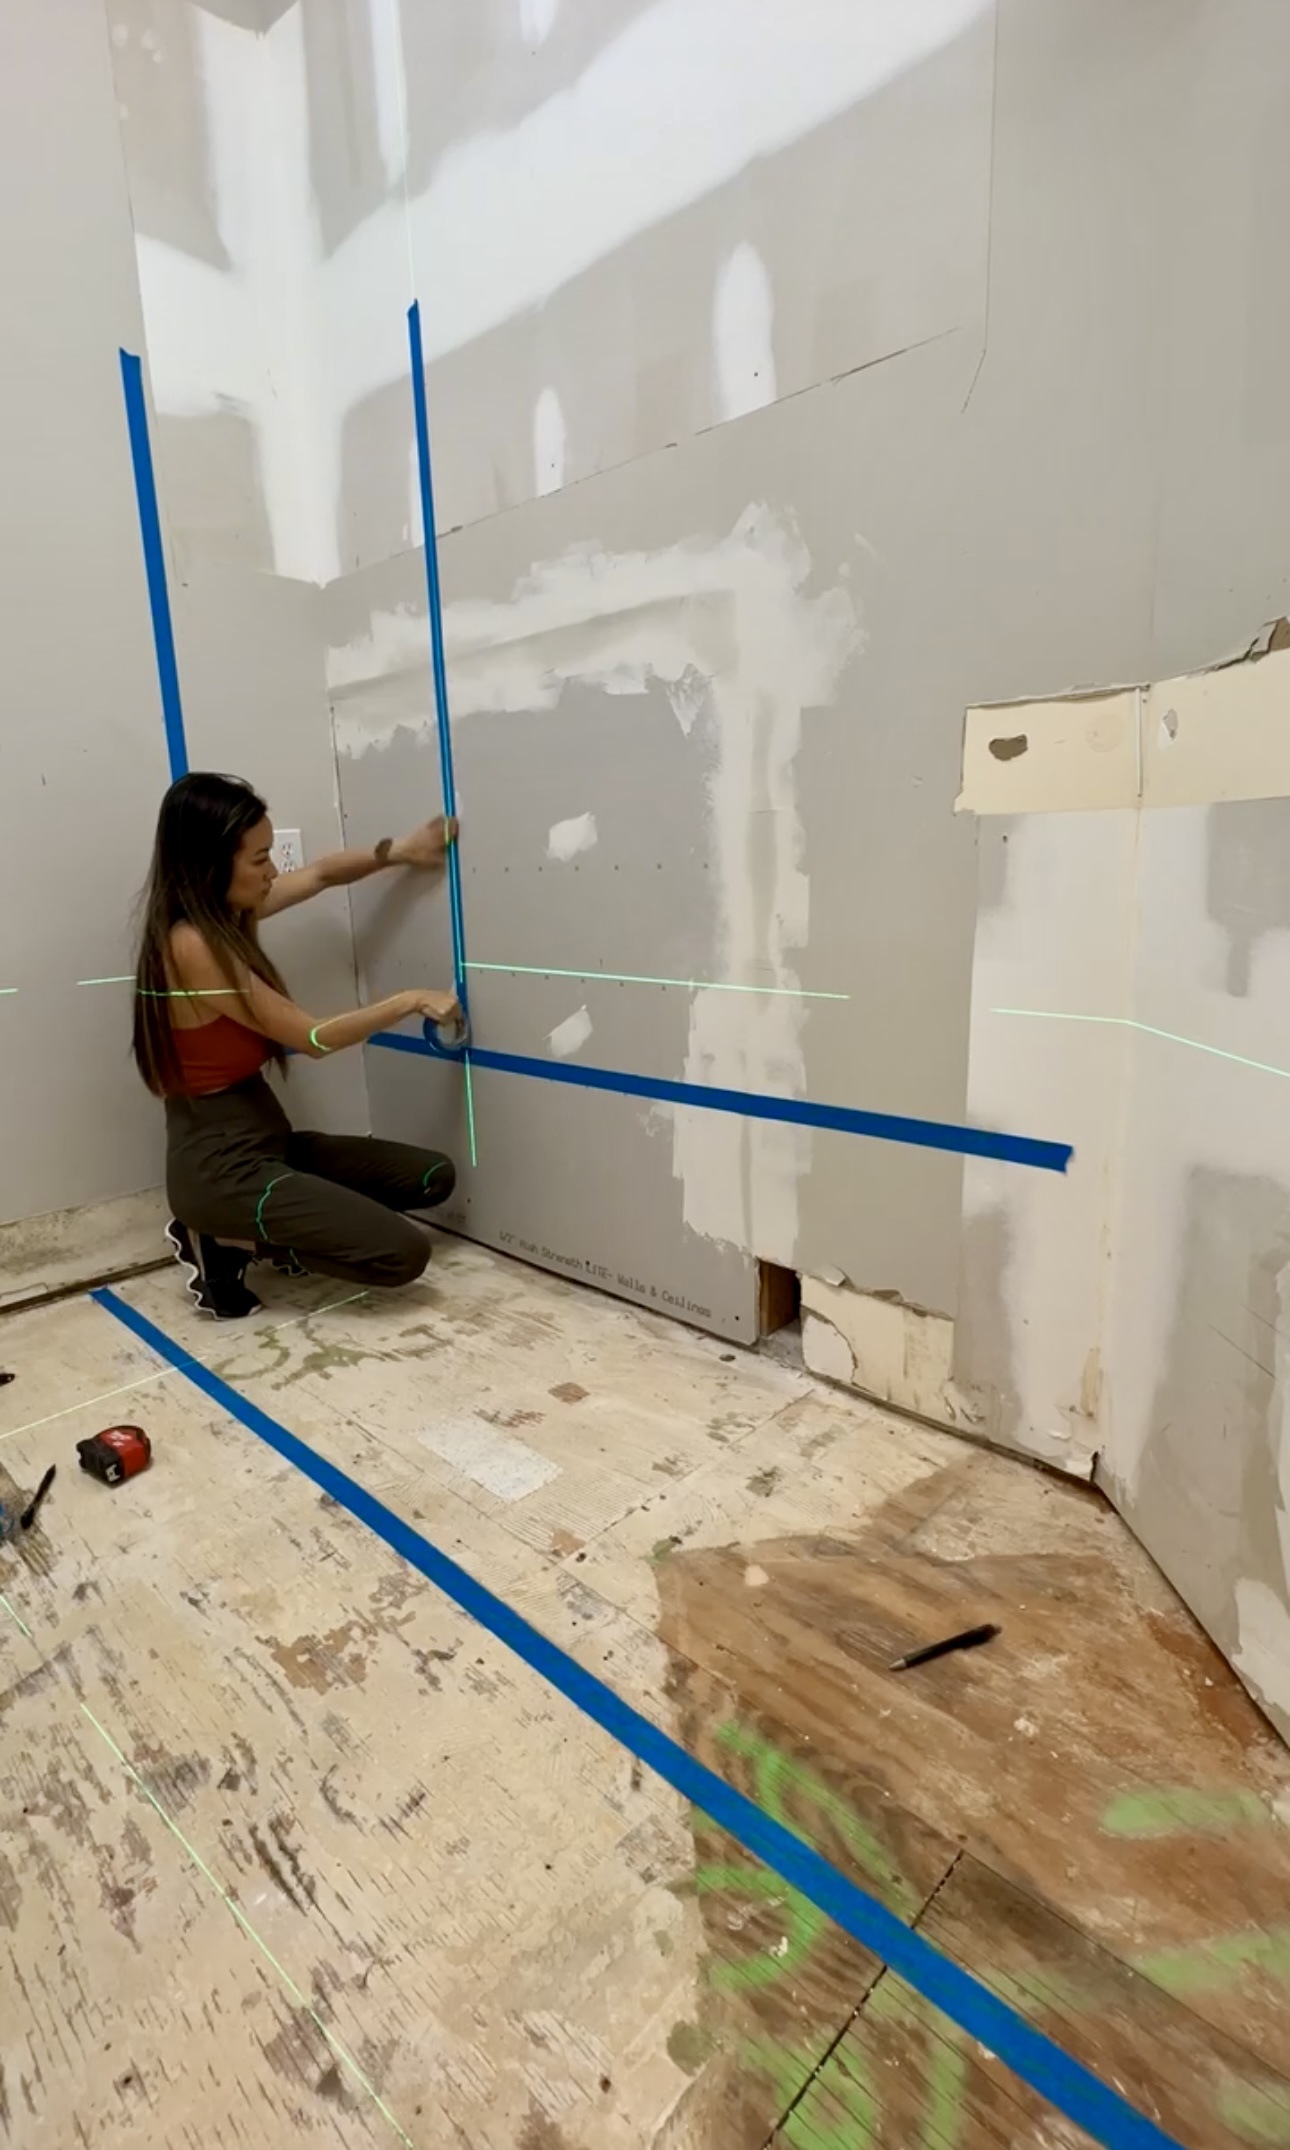
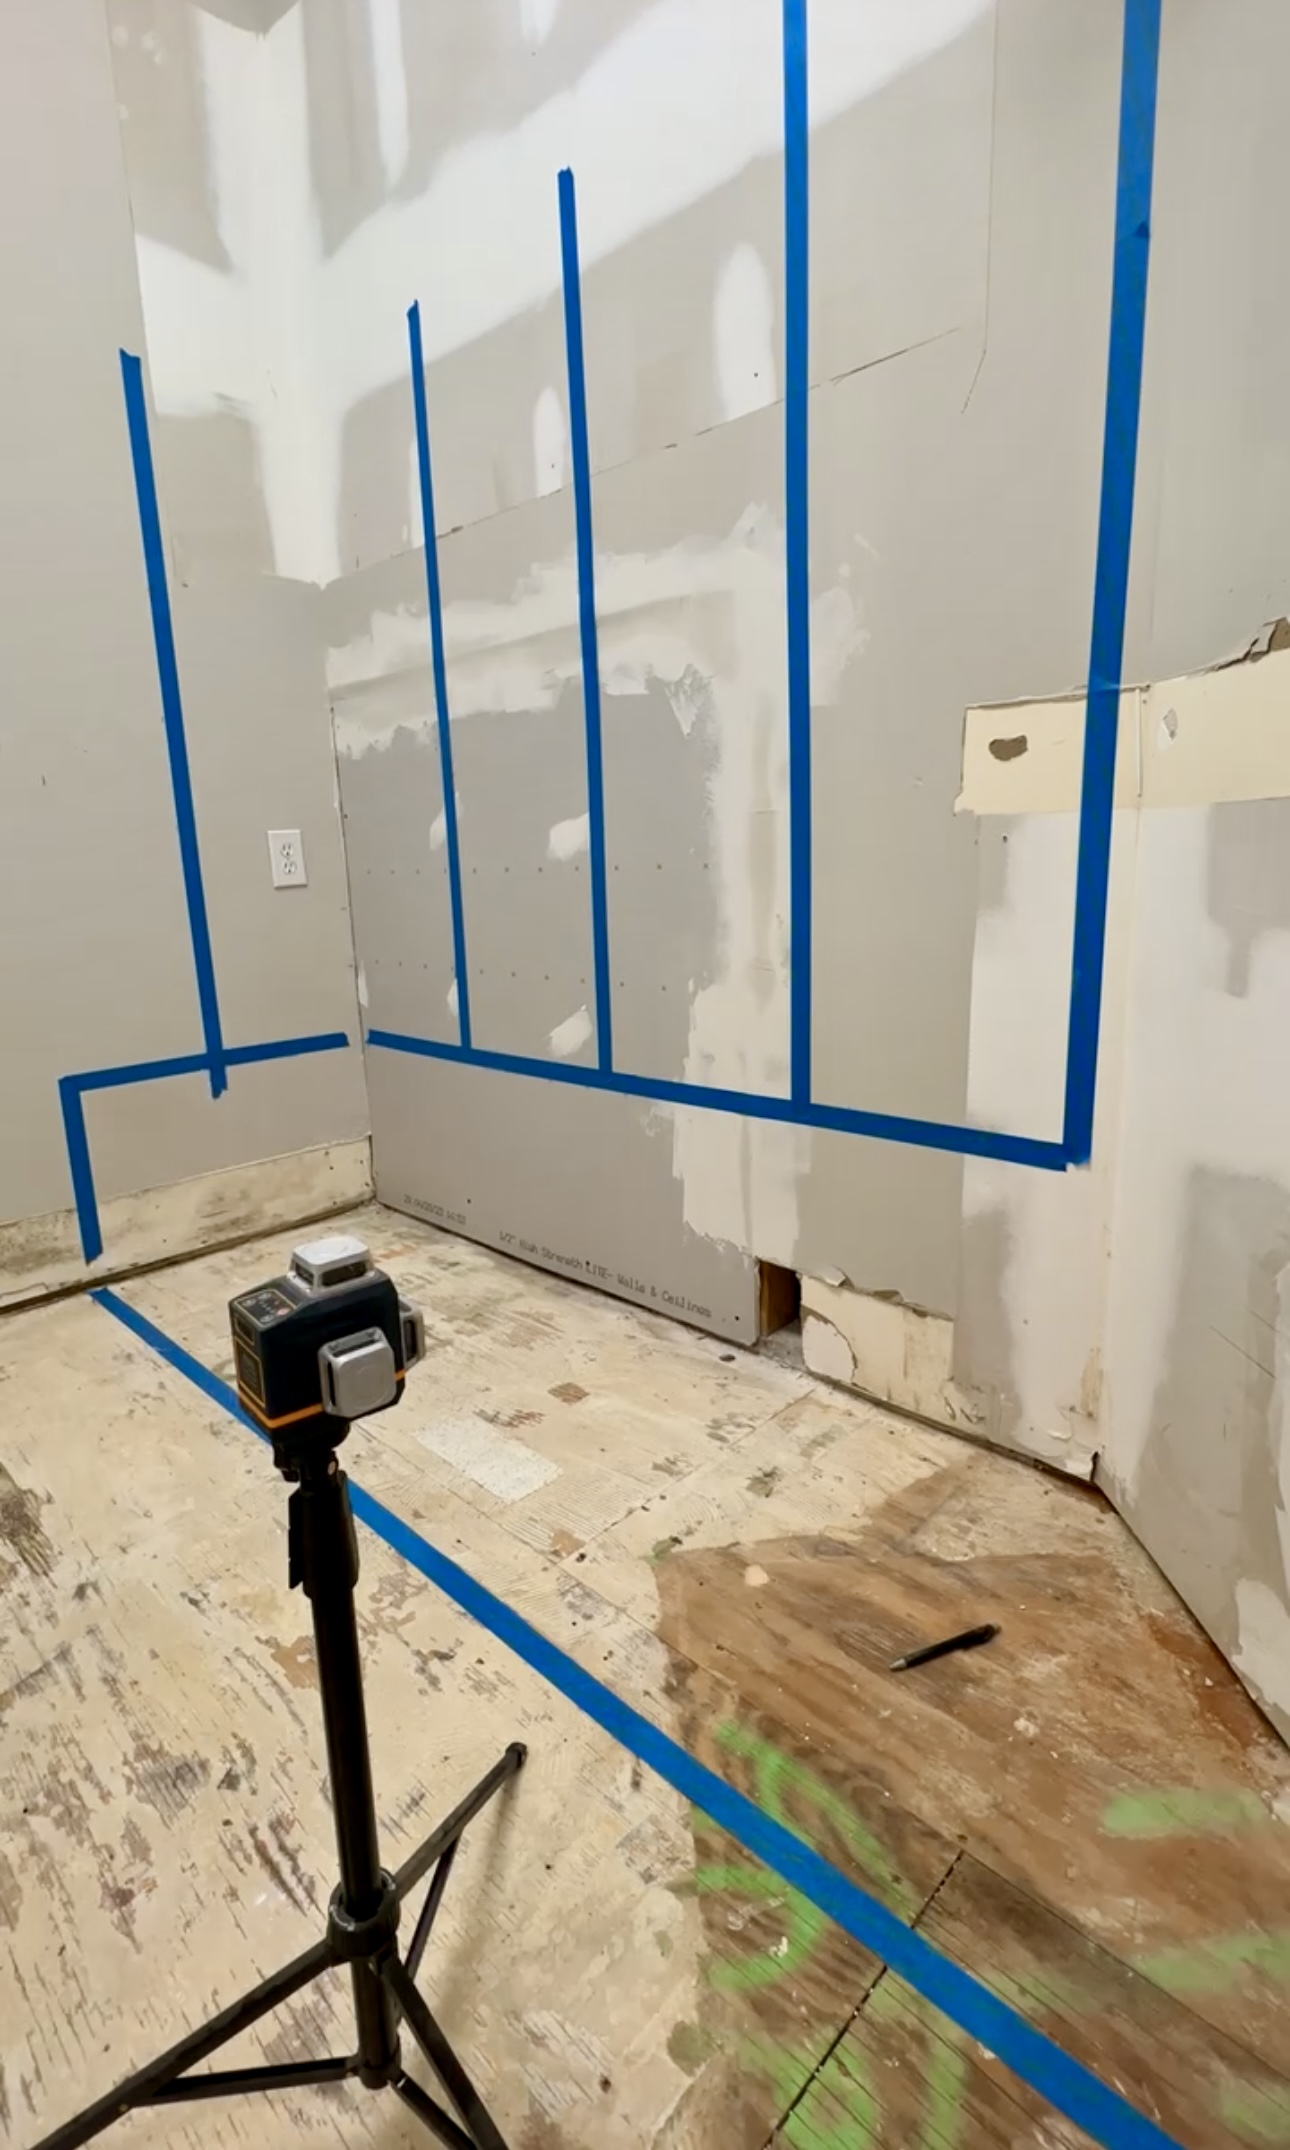
Cutting My Wood
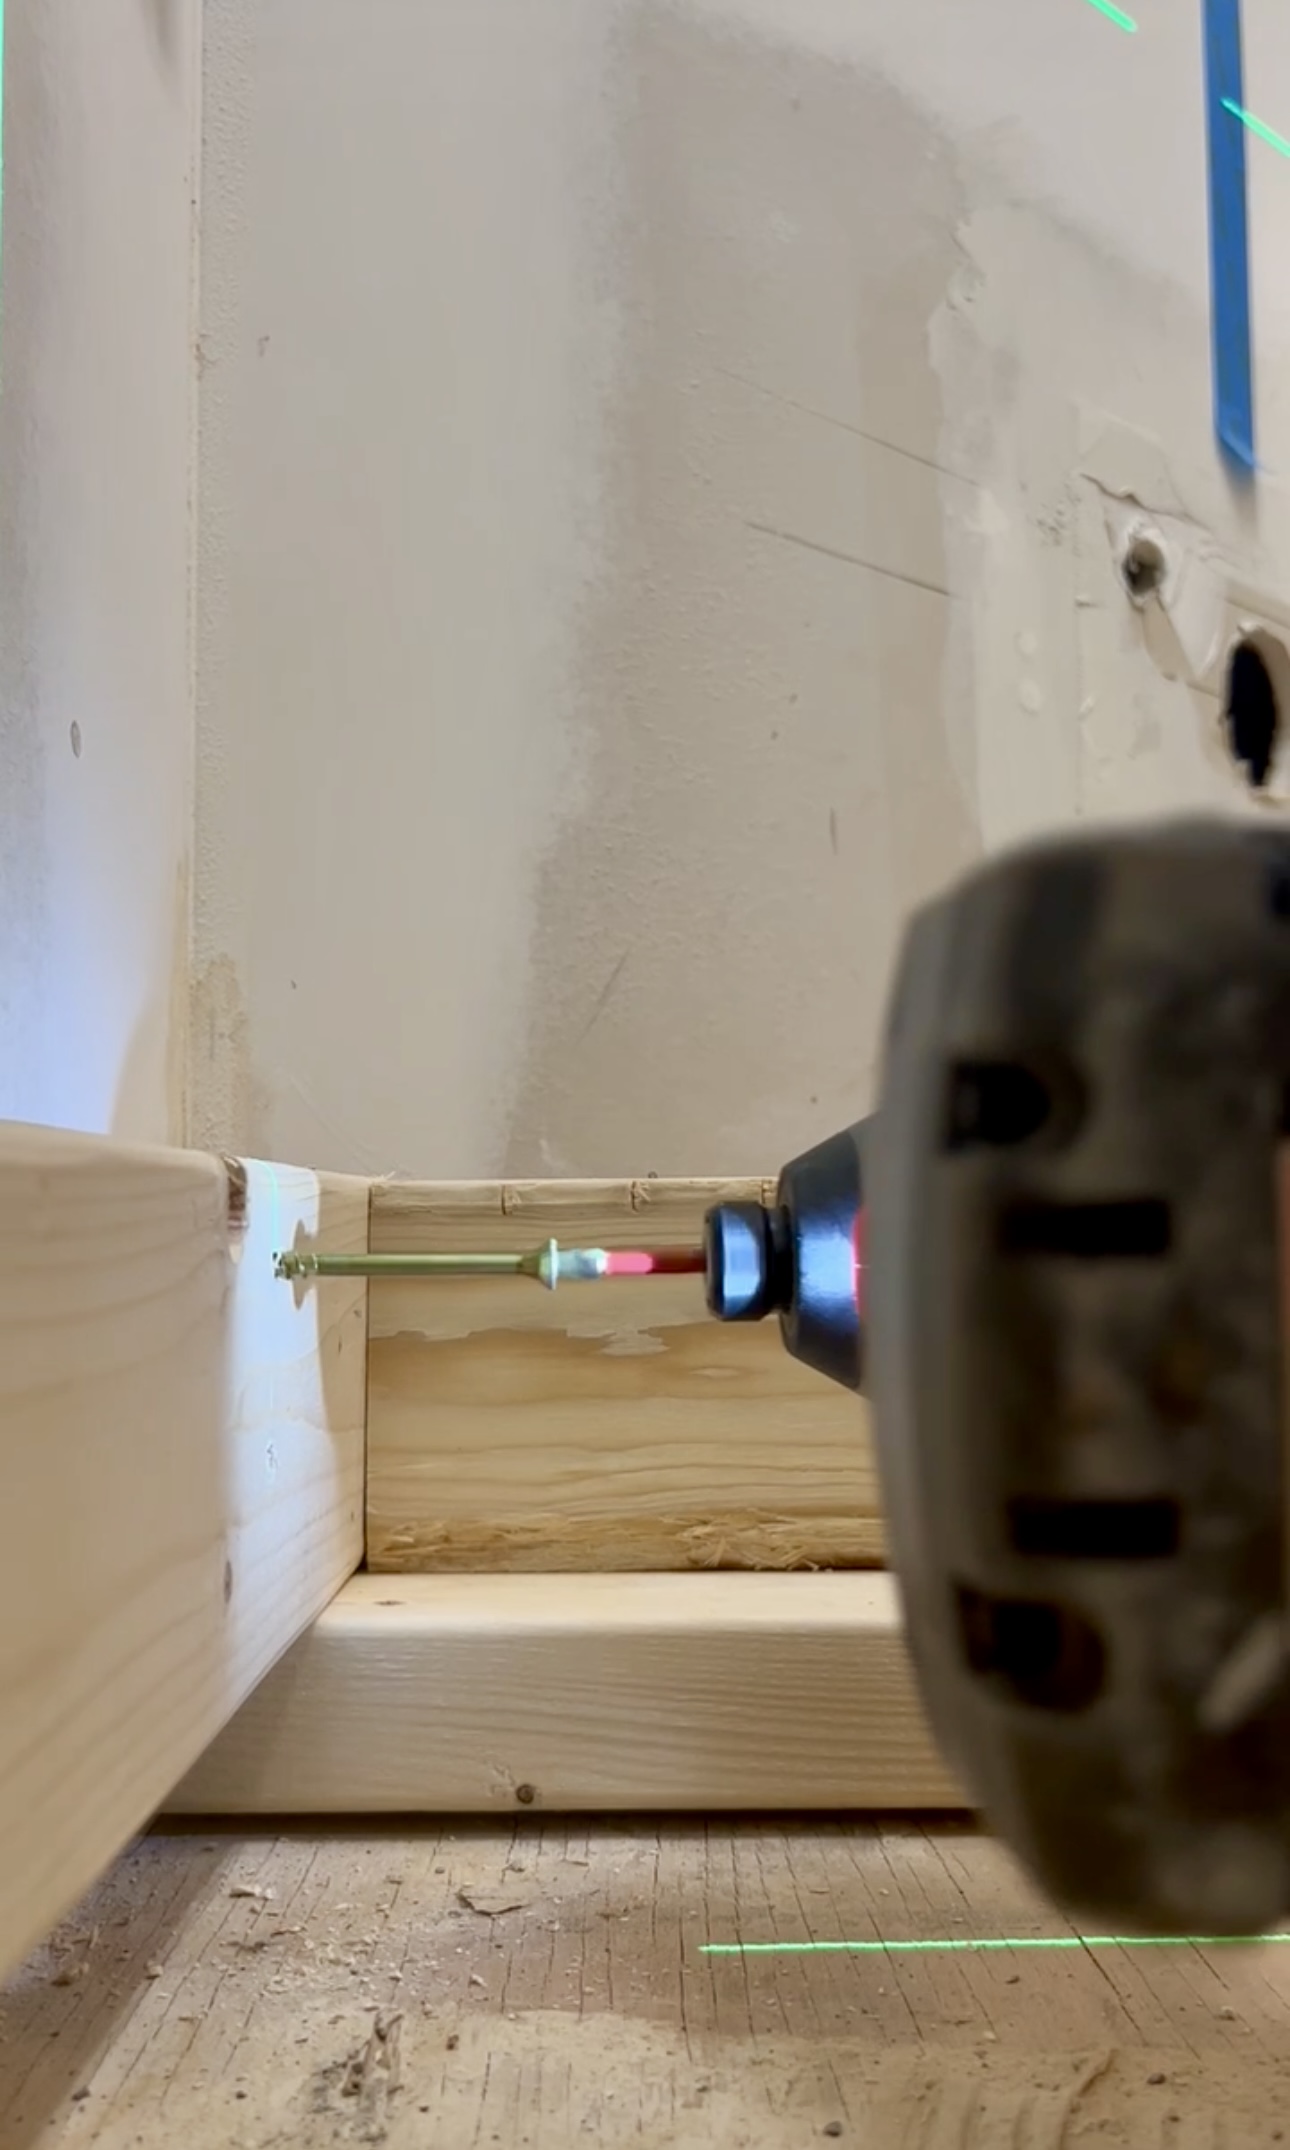
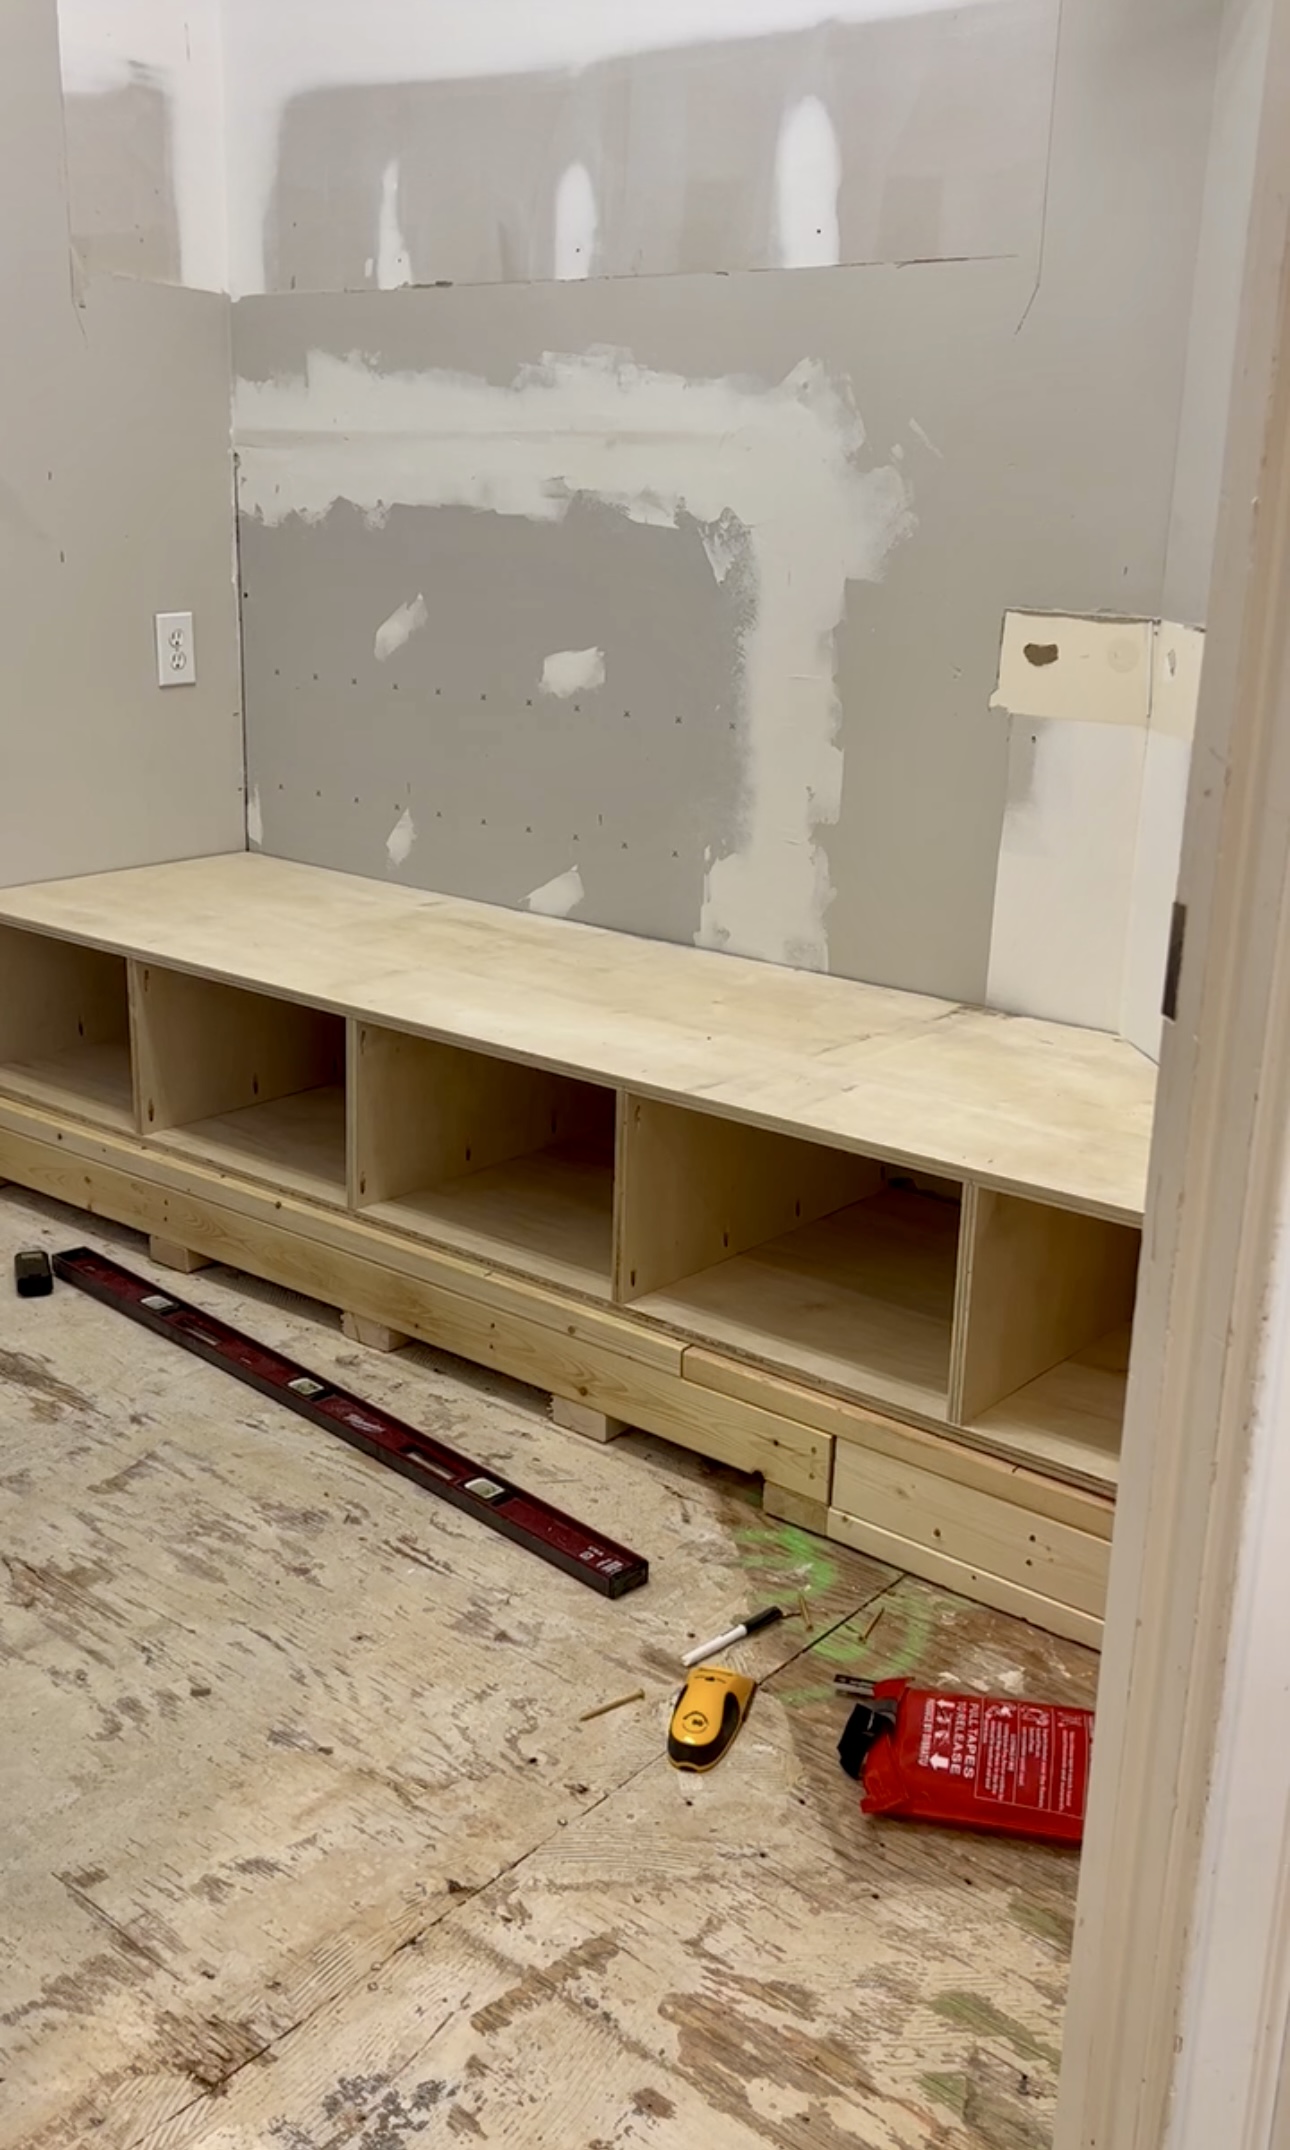
First, I went to town cutting some 2x4s to help me see whether or not I like the way my measurements look. So now that I’ve decided that I want the base to be 25” total I will cut the middle pieces at 22” to fit nicely in between. I borrowed my sister’s framing nailer and it was so much faster to put the base of these lockers together. Next, I used my stud finder to find the studs in the wall so I can screw in the base frame. I used 3” construction screws and I pre-drilled them into the 2×4 and the stud.
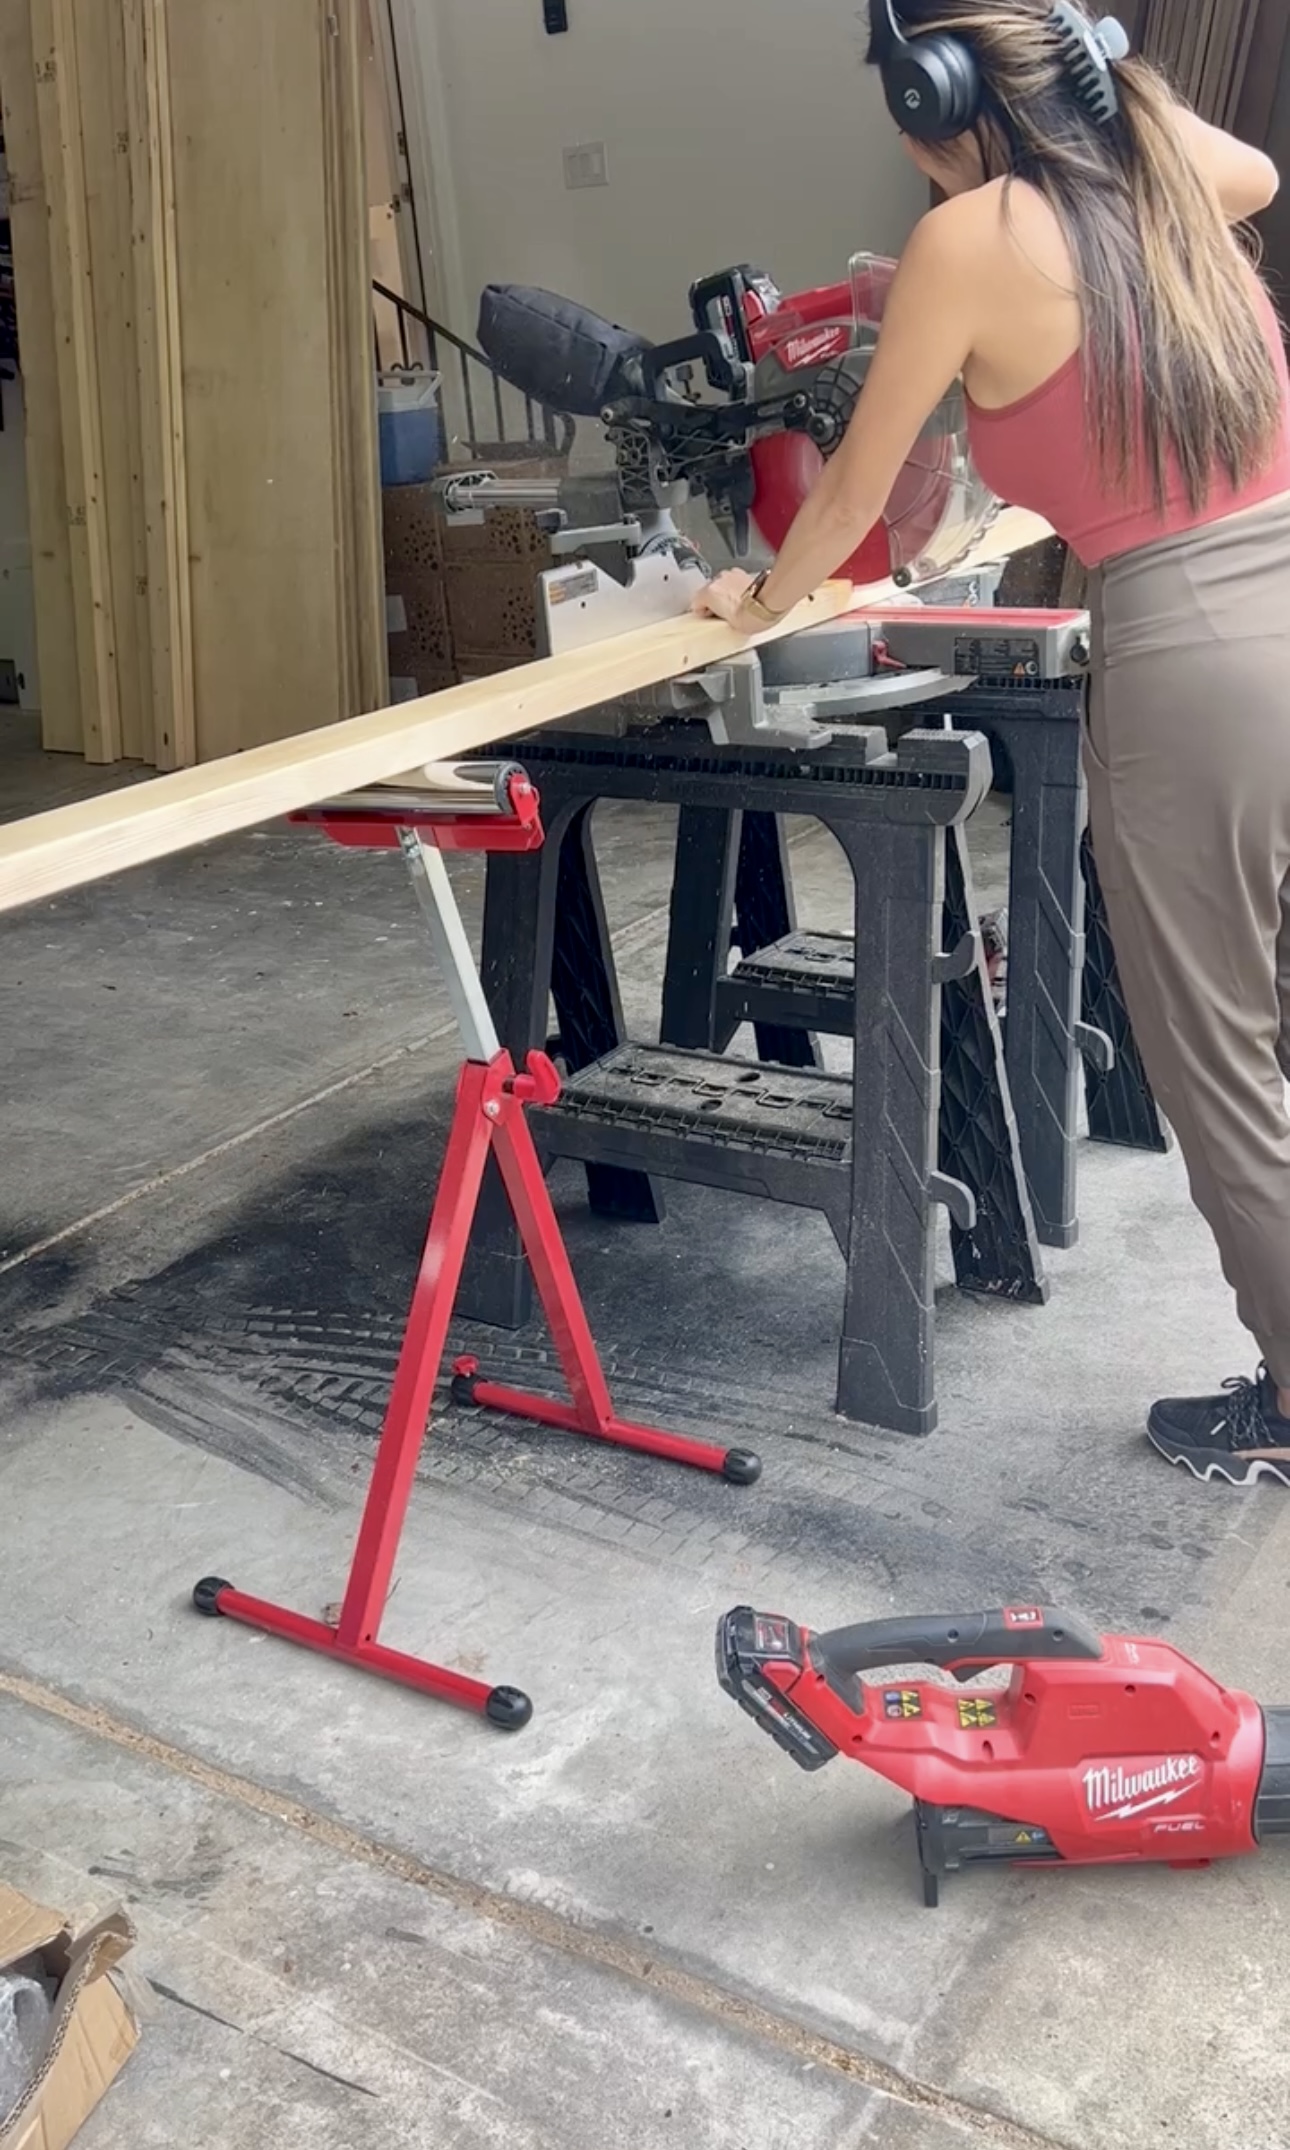
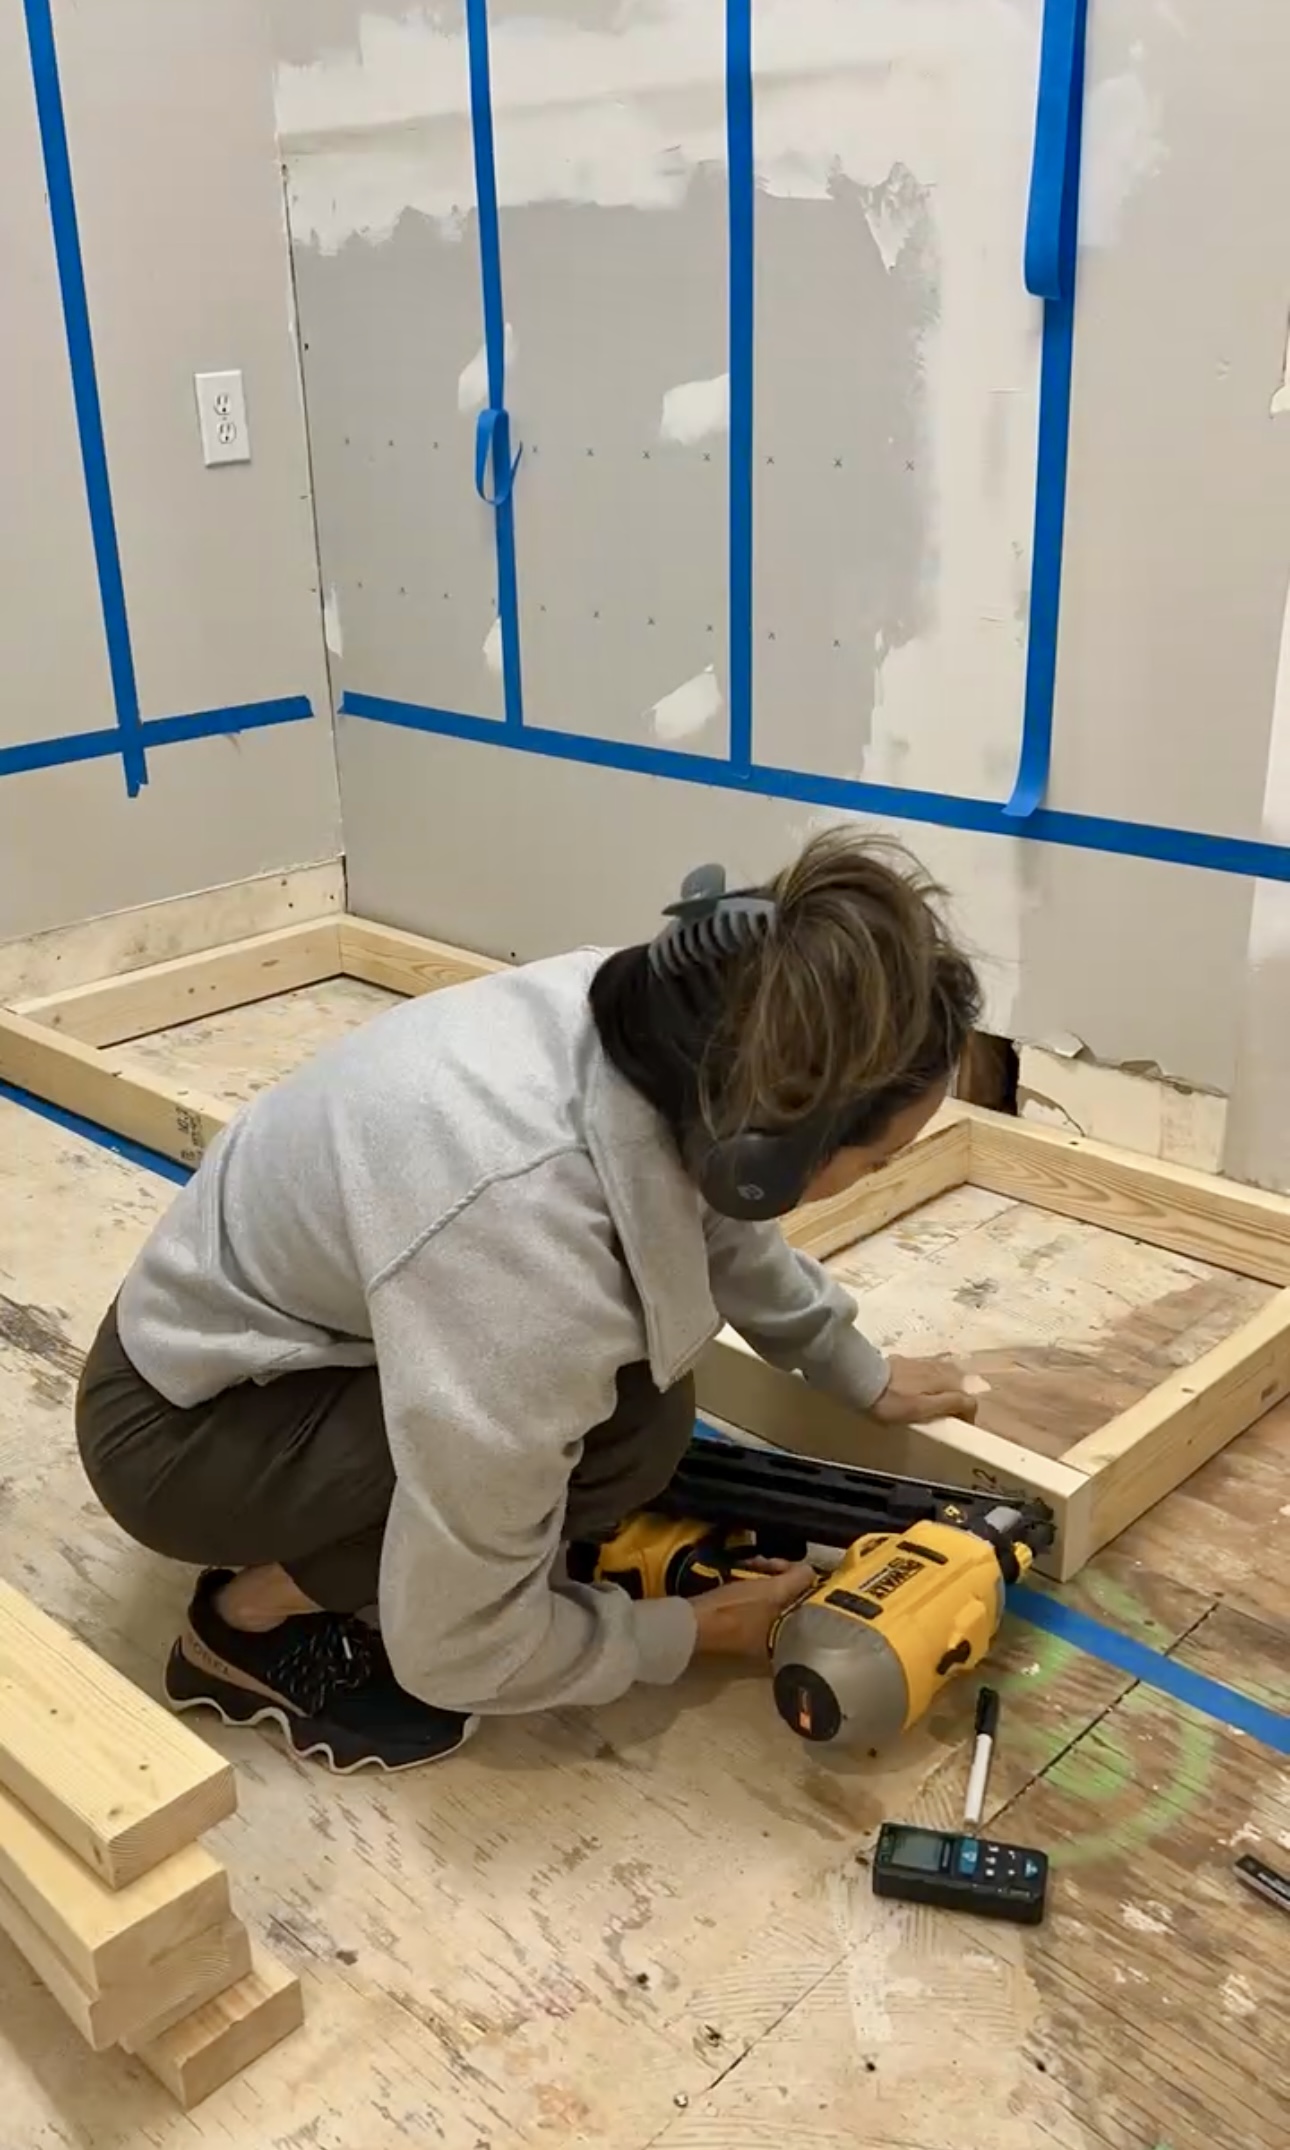
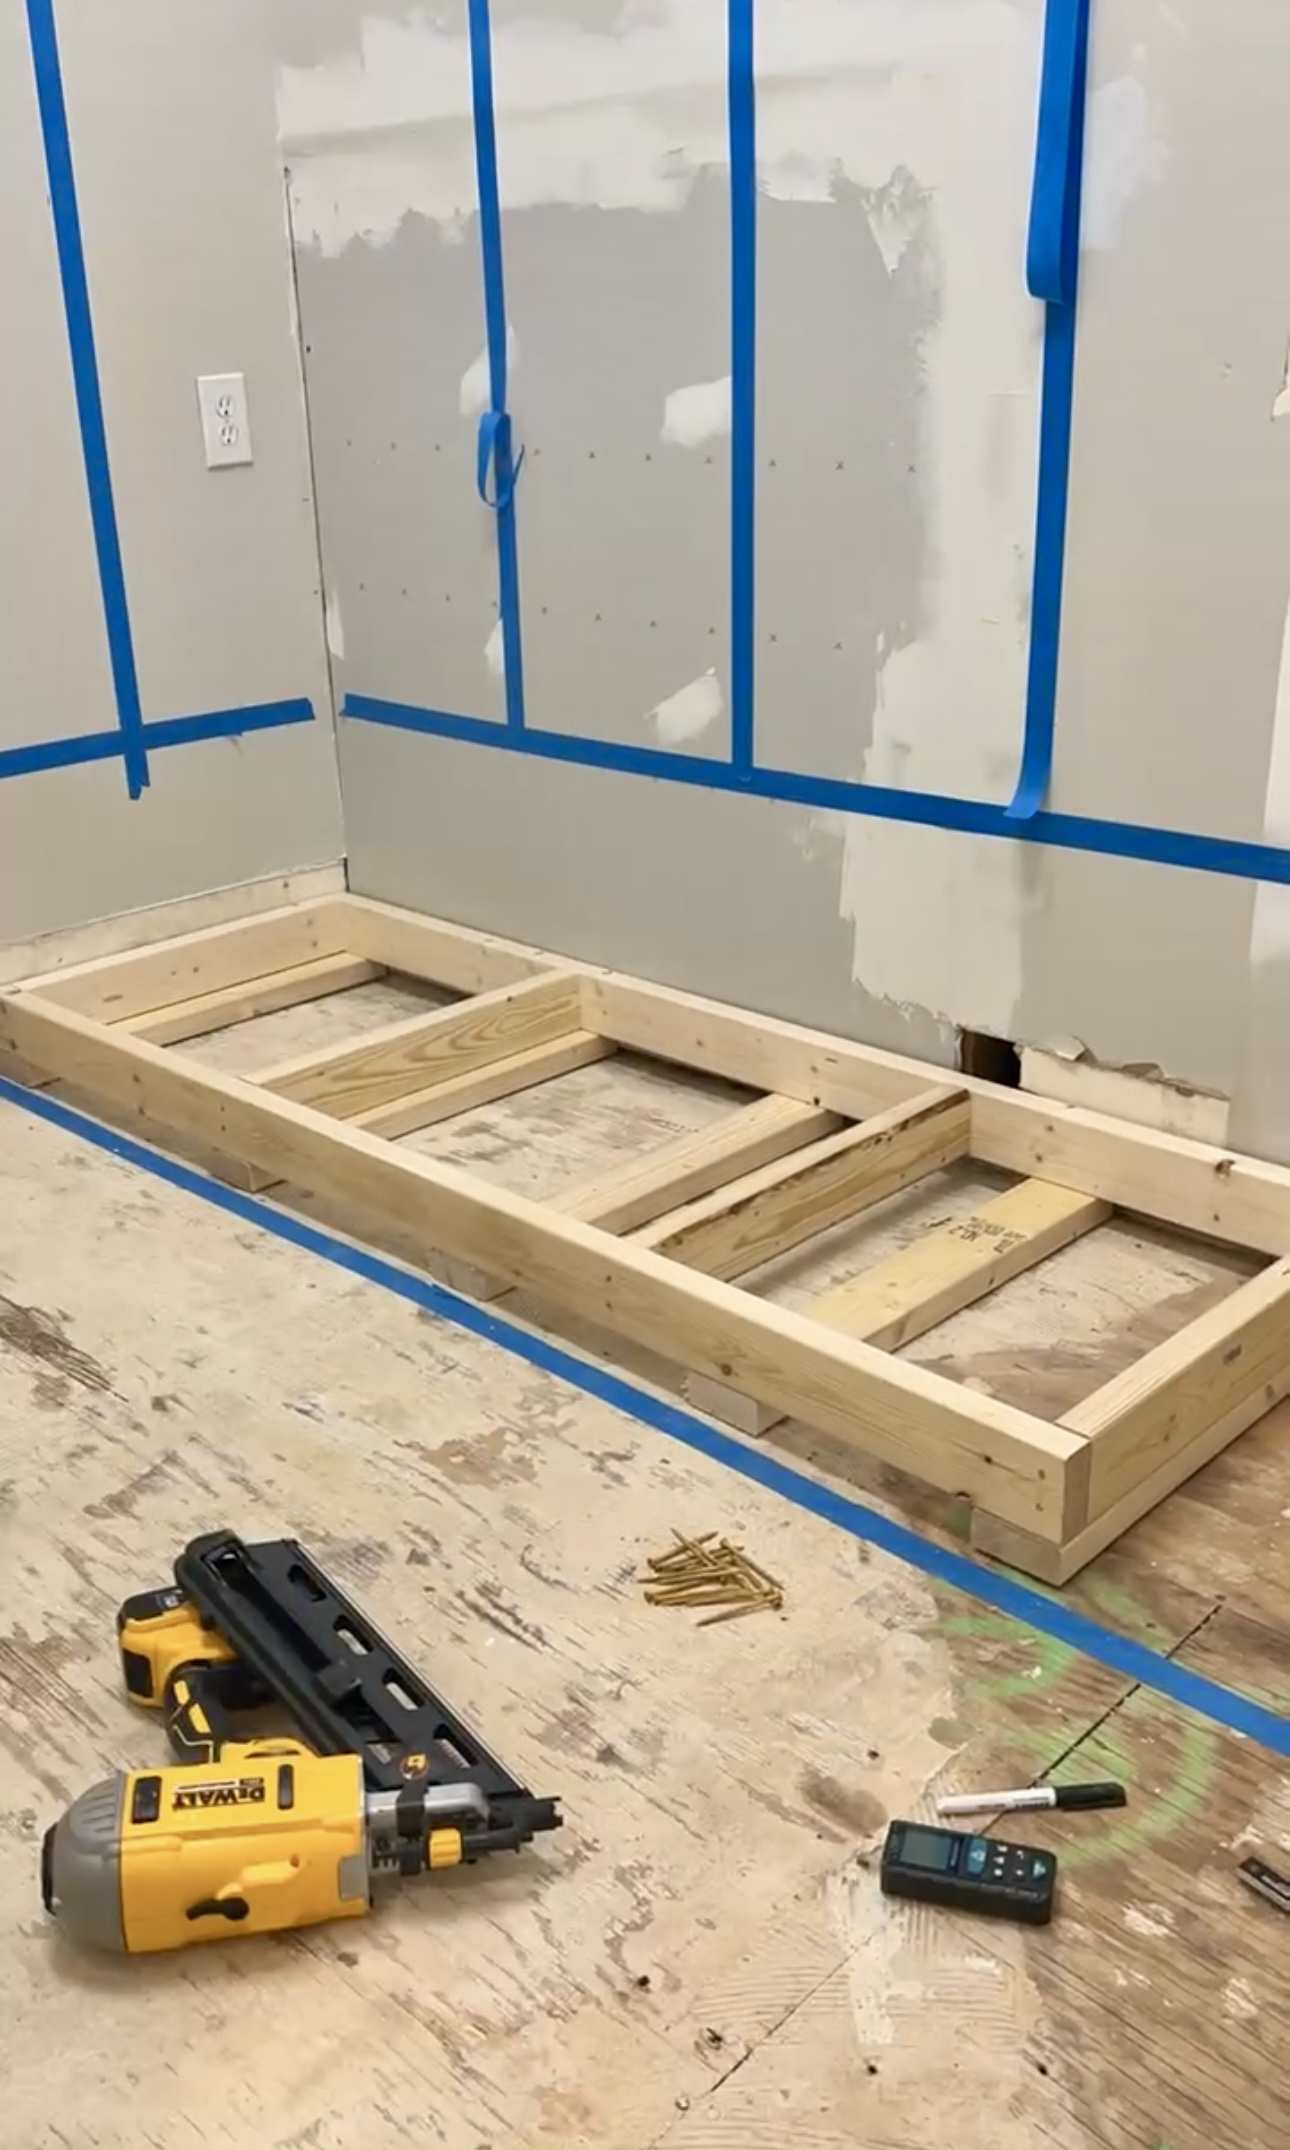
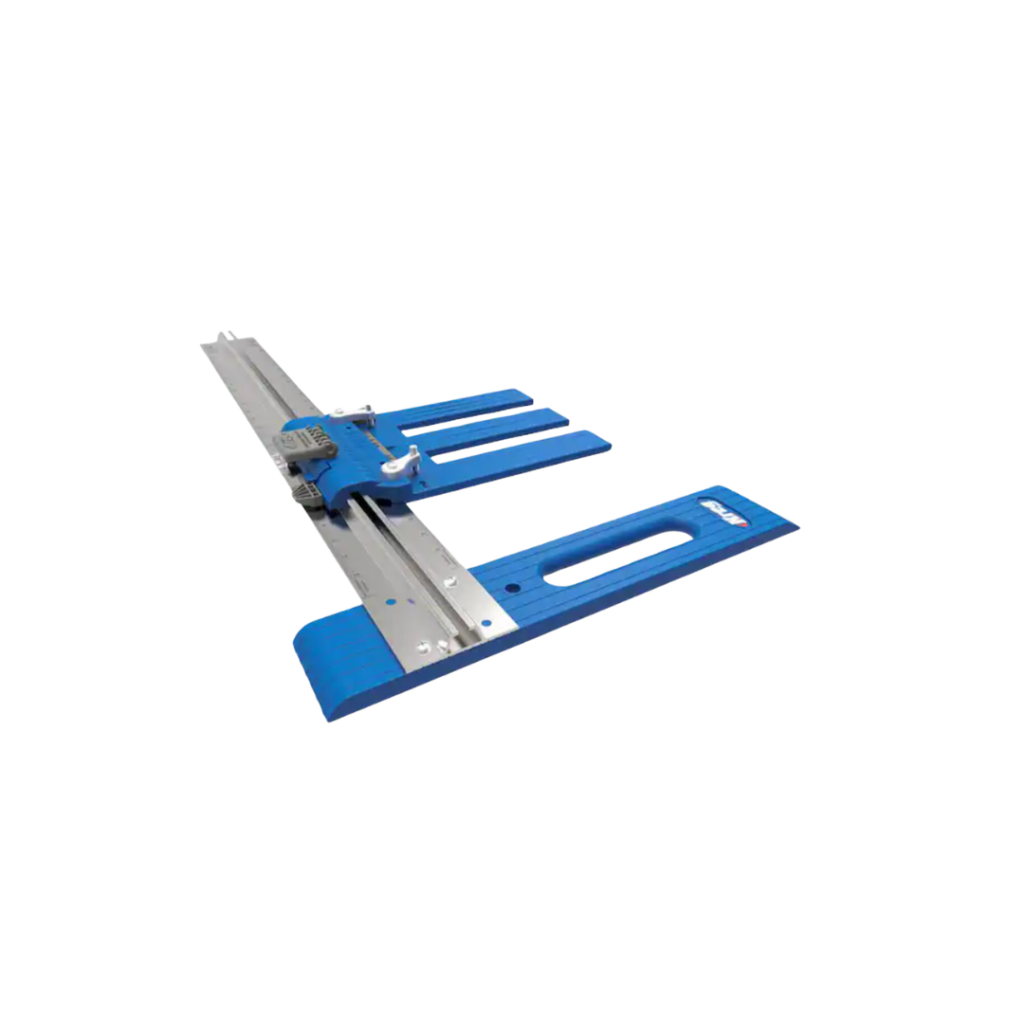
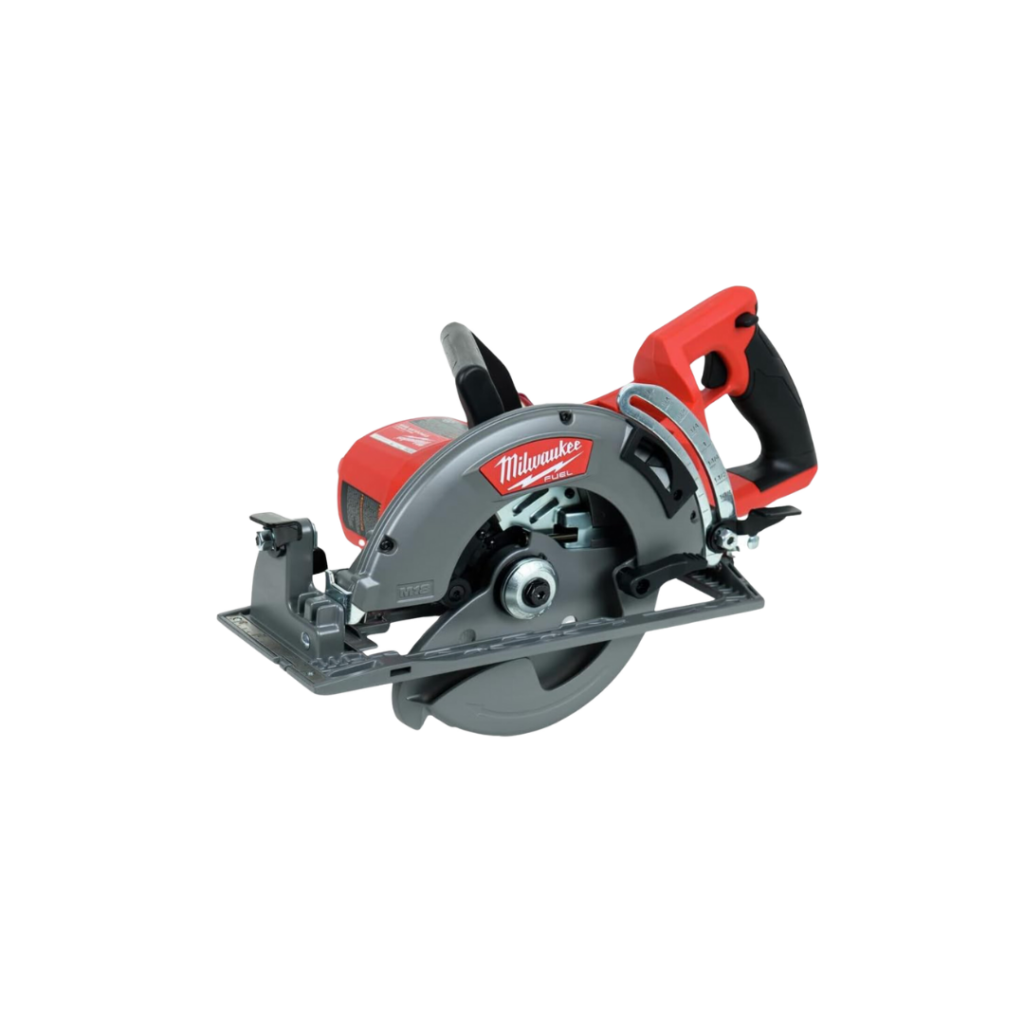
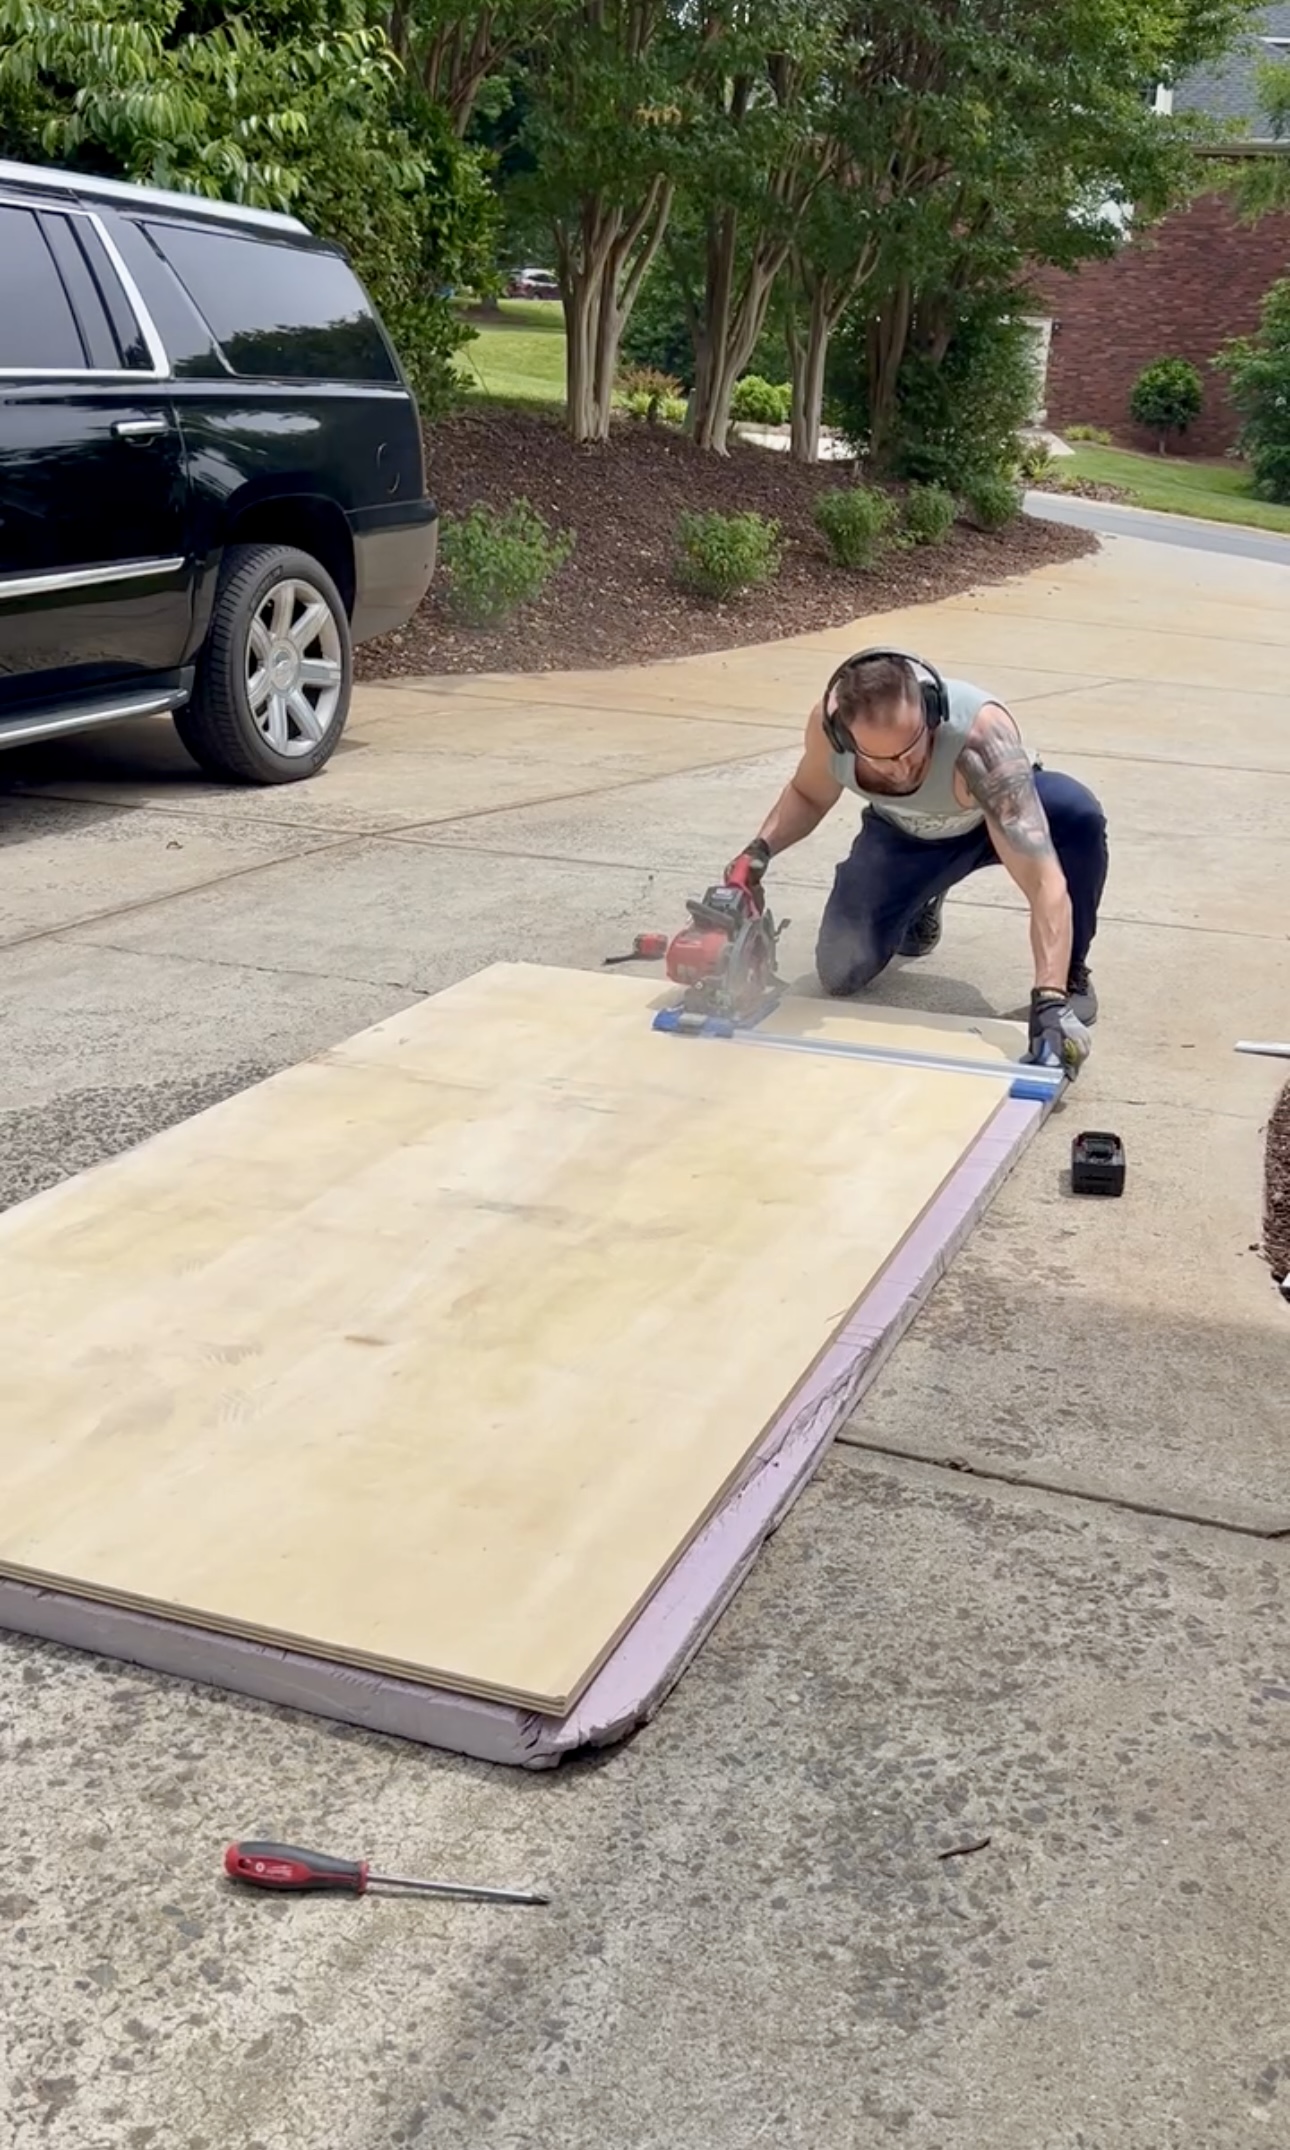
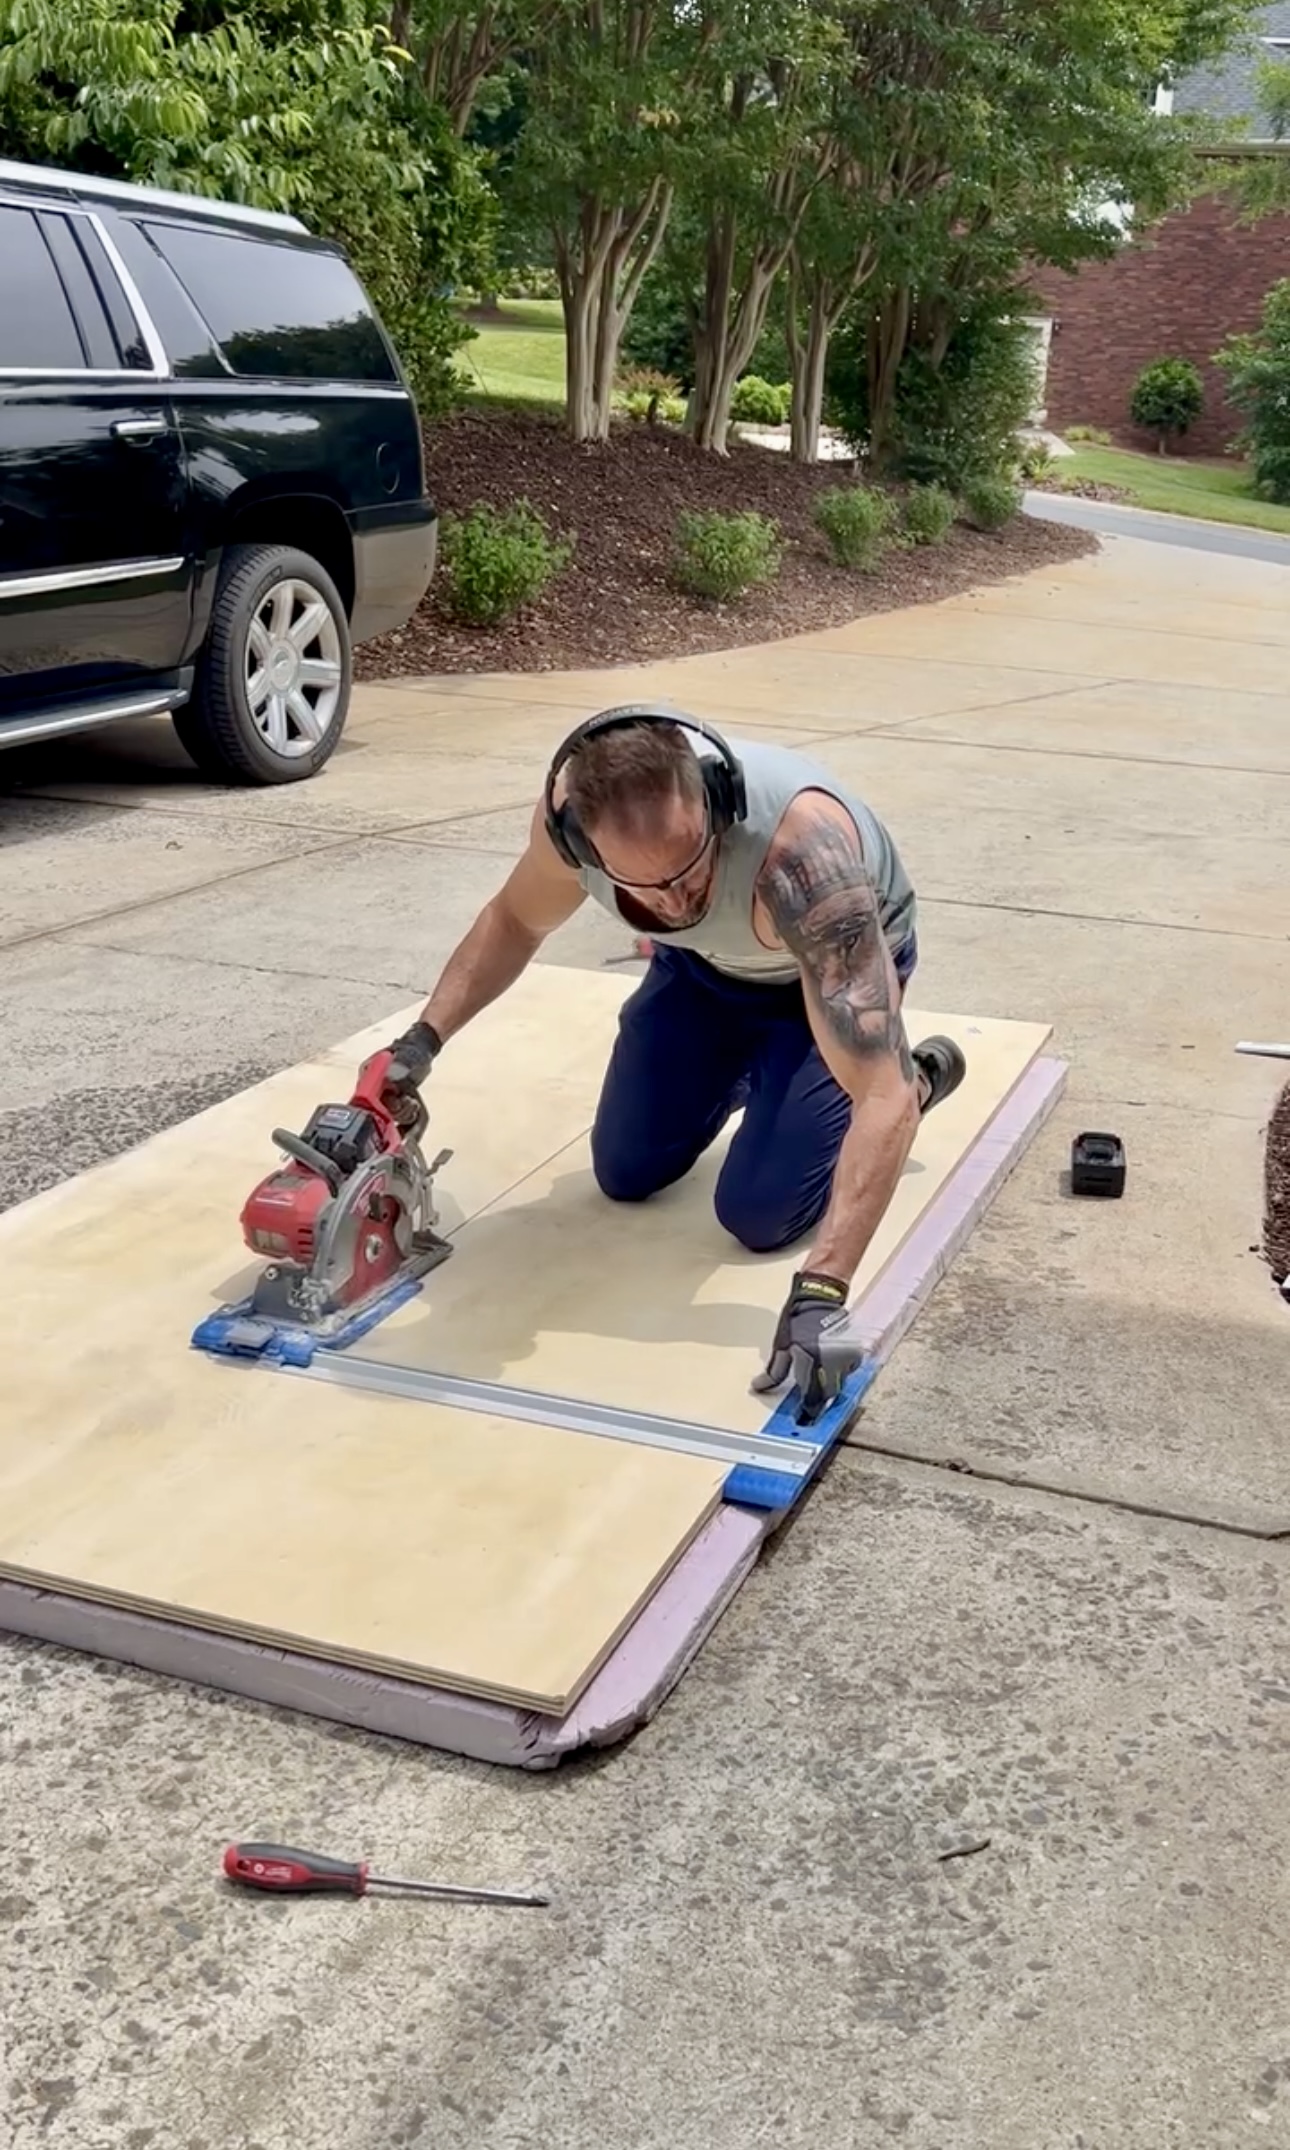
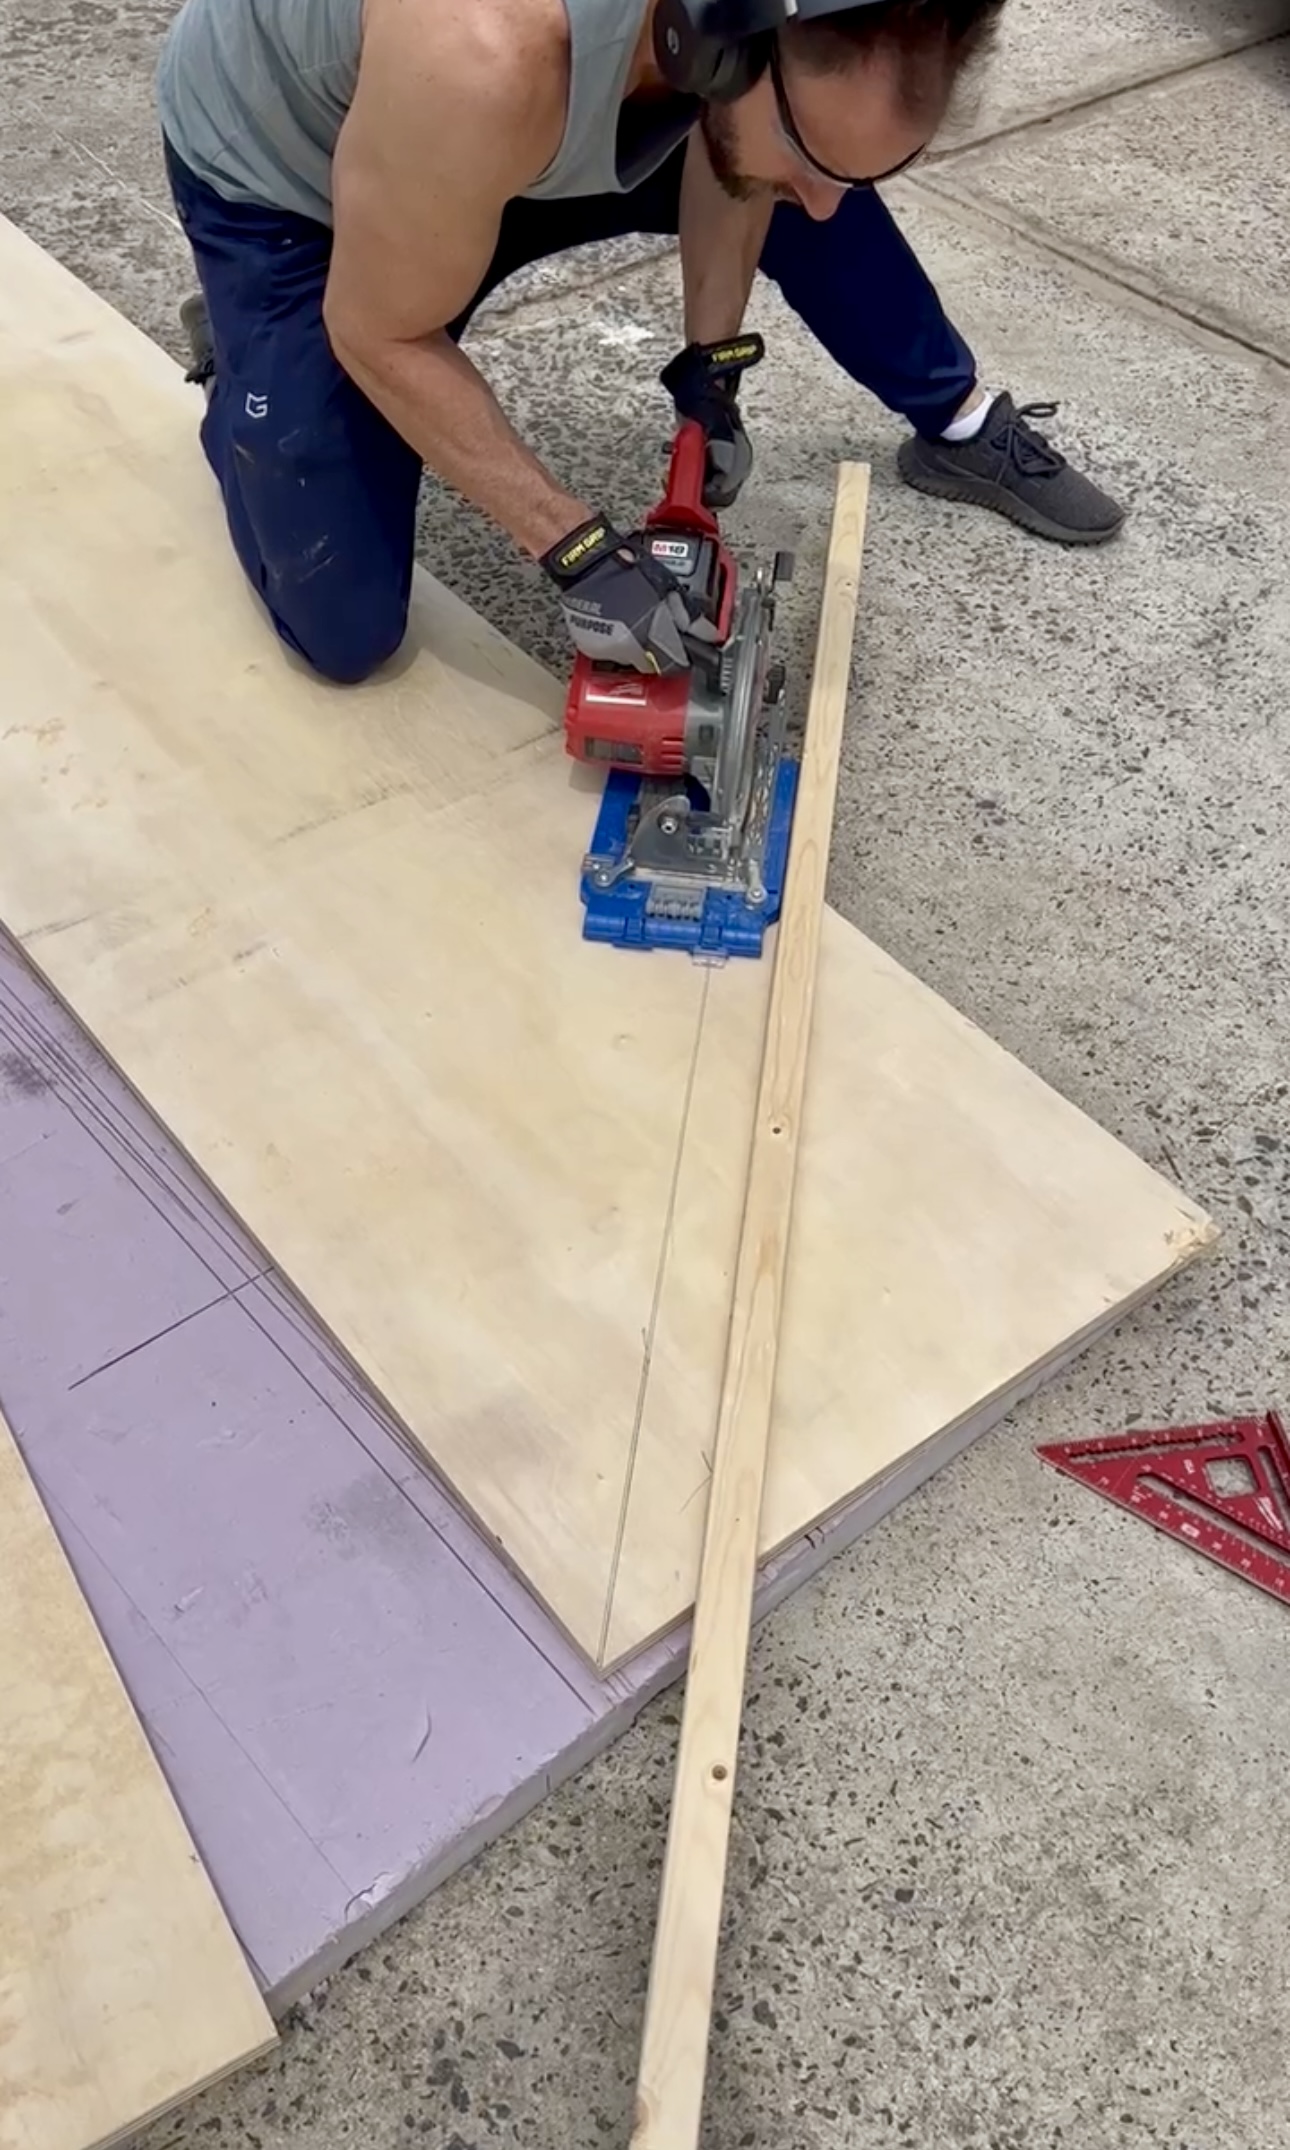
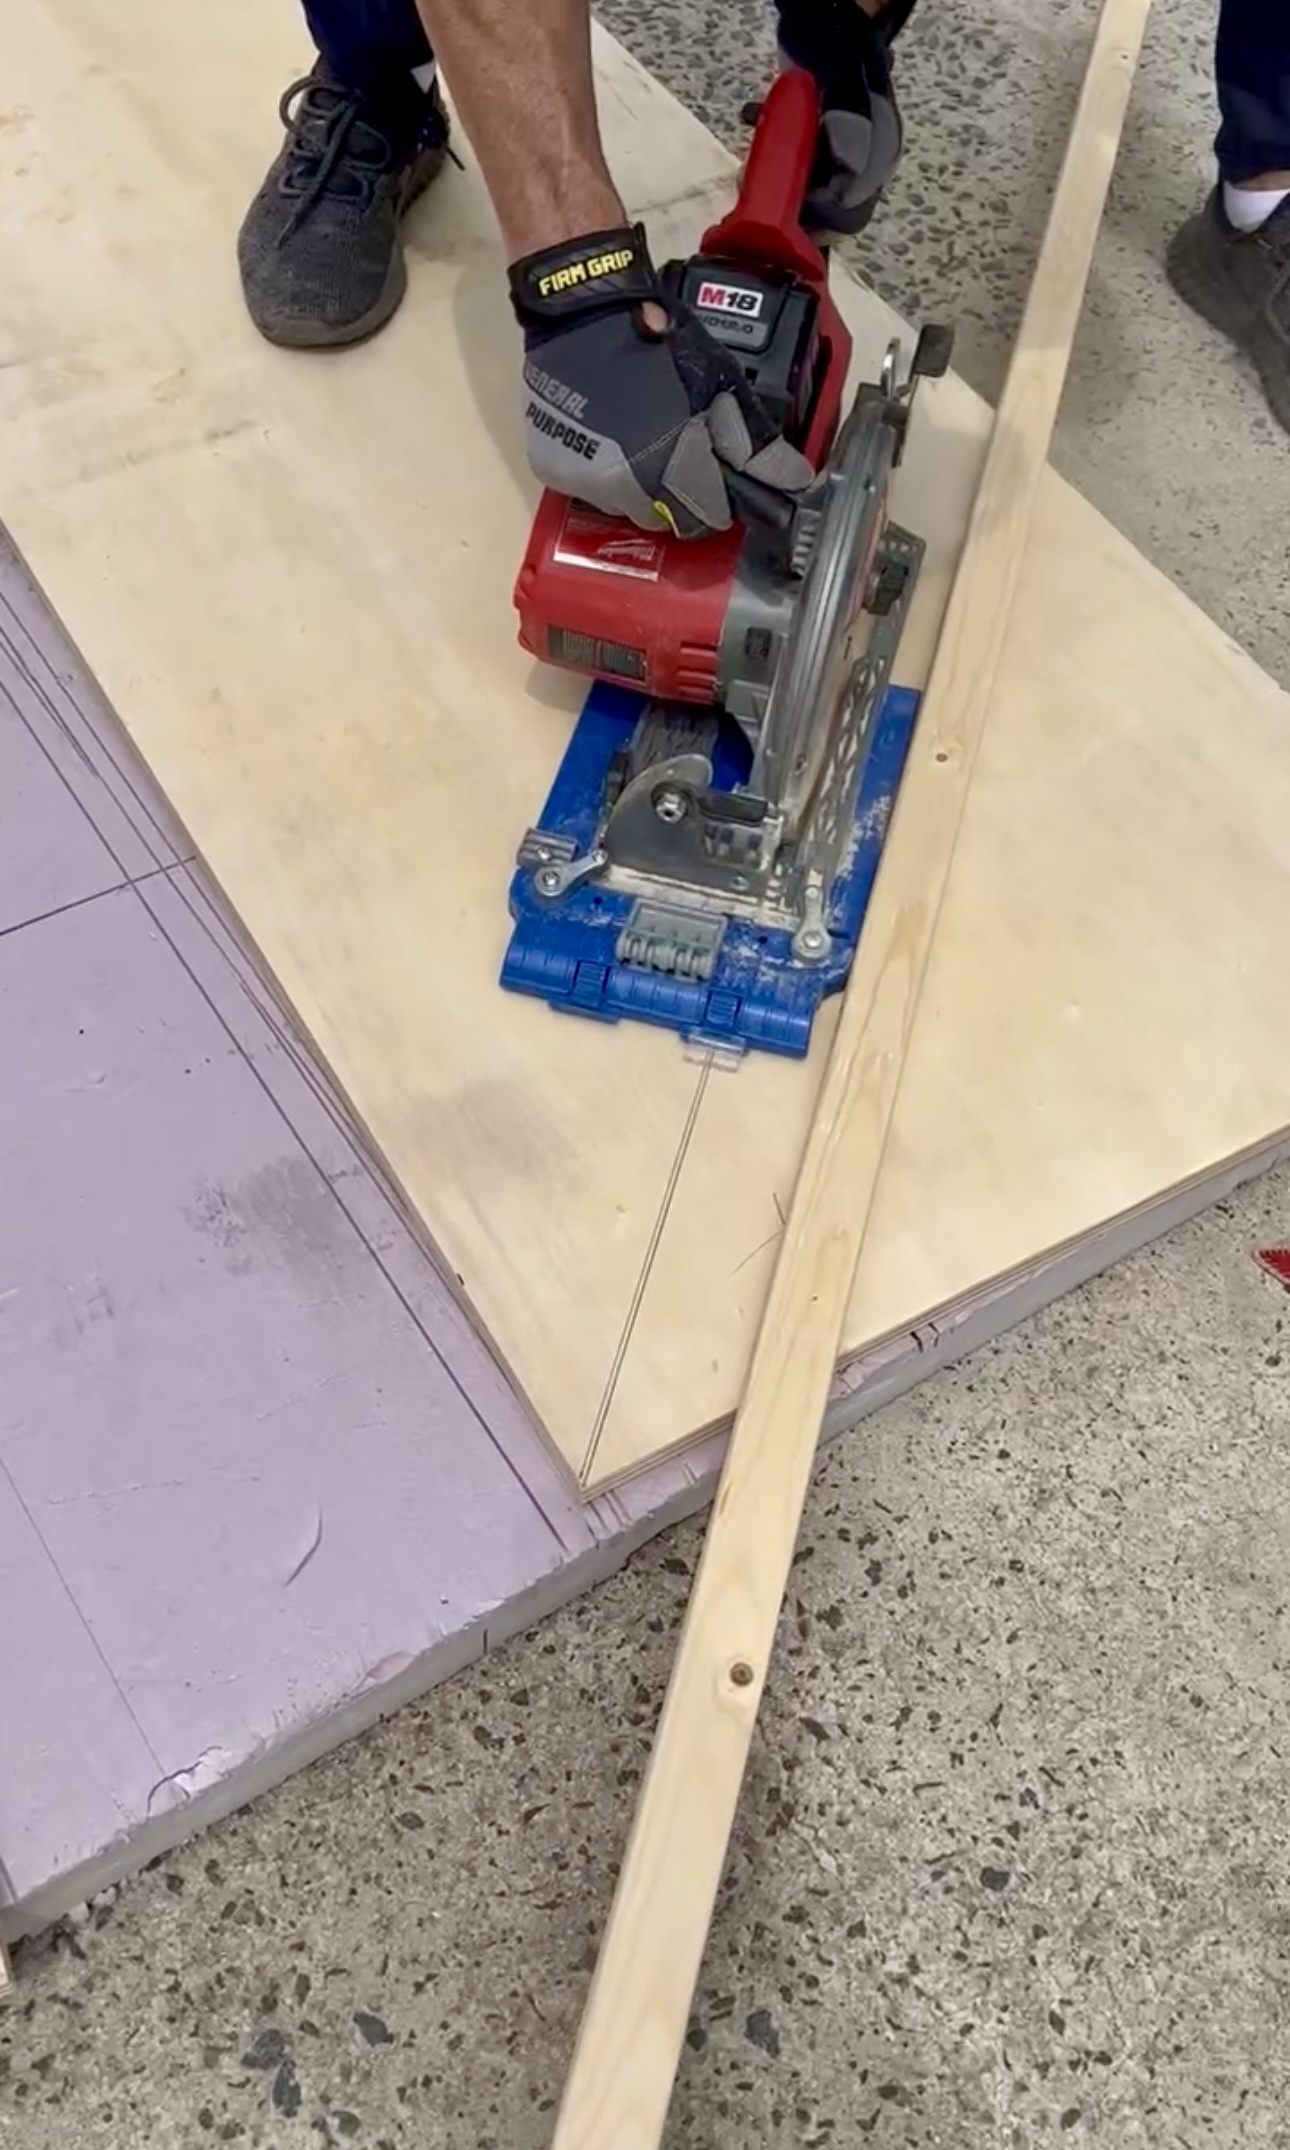
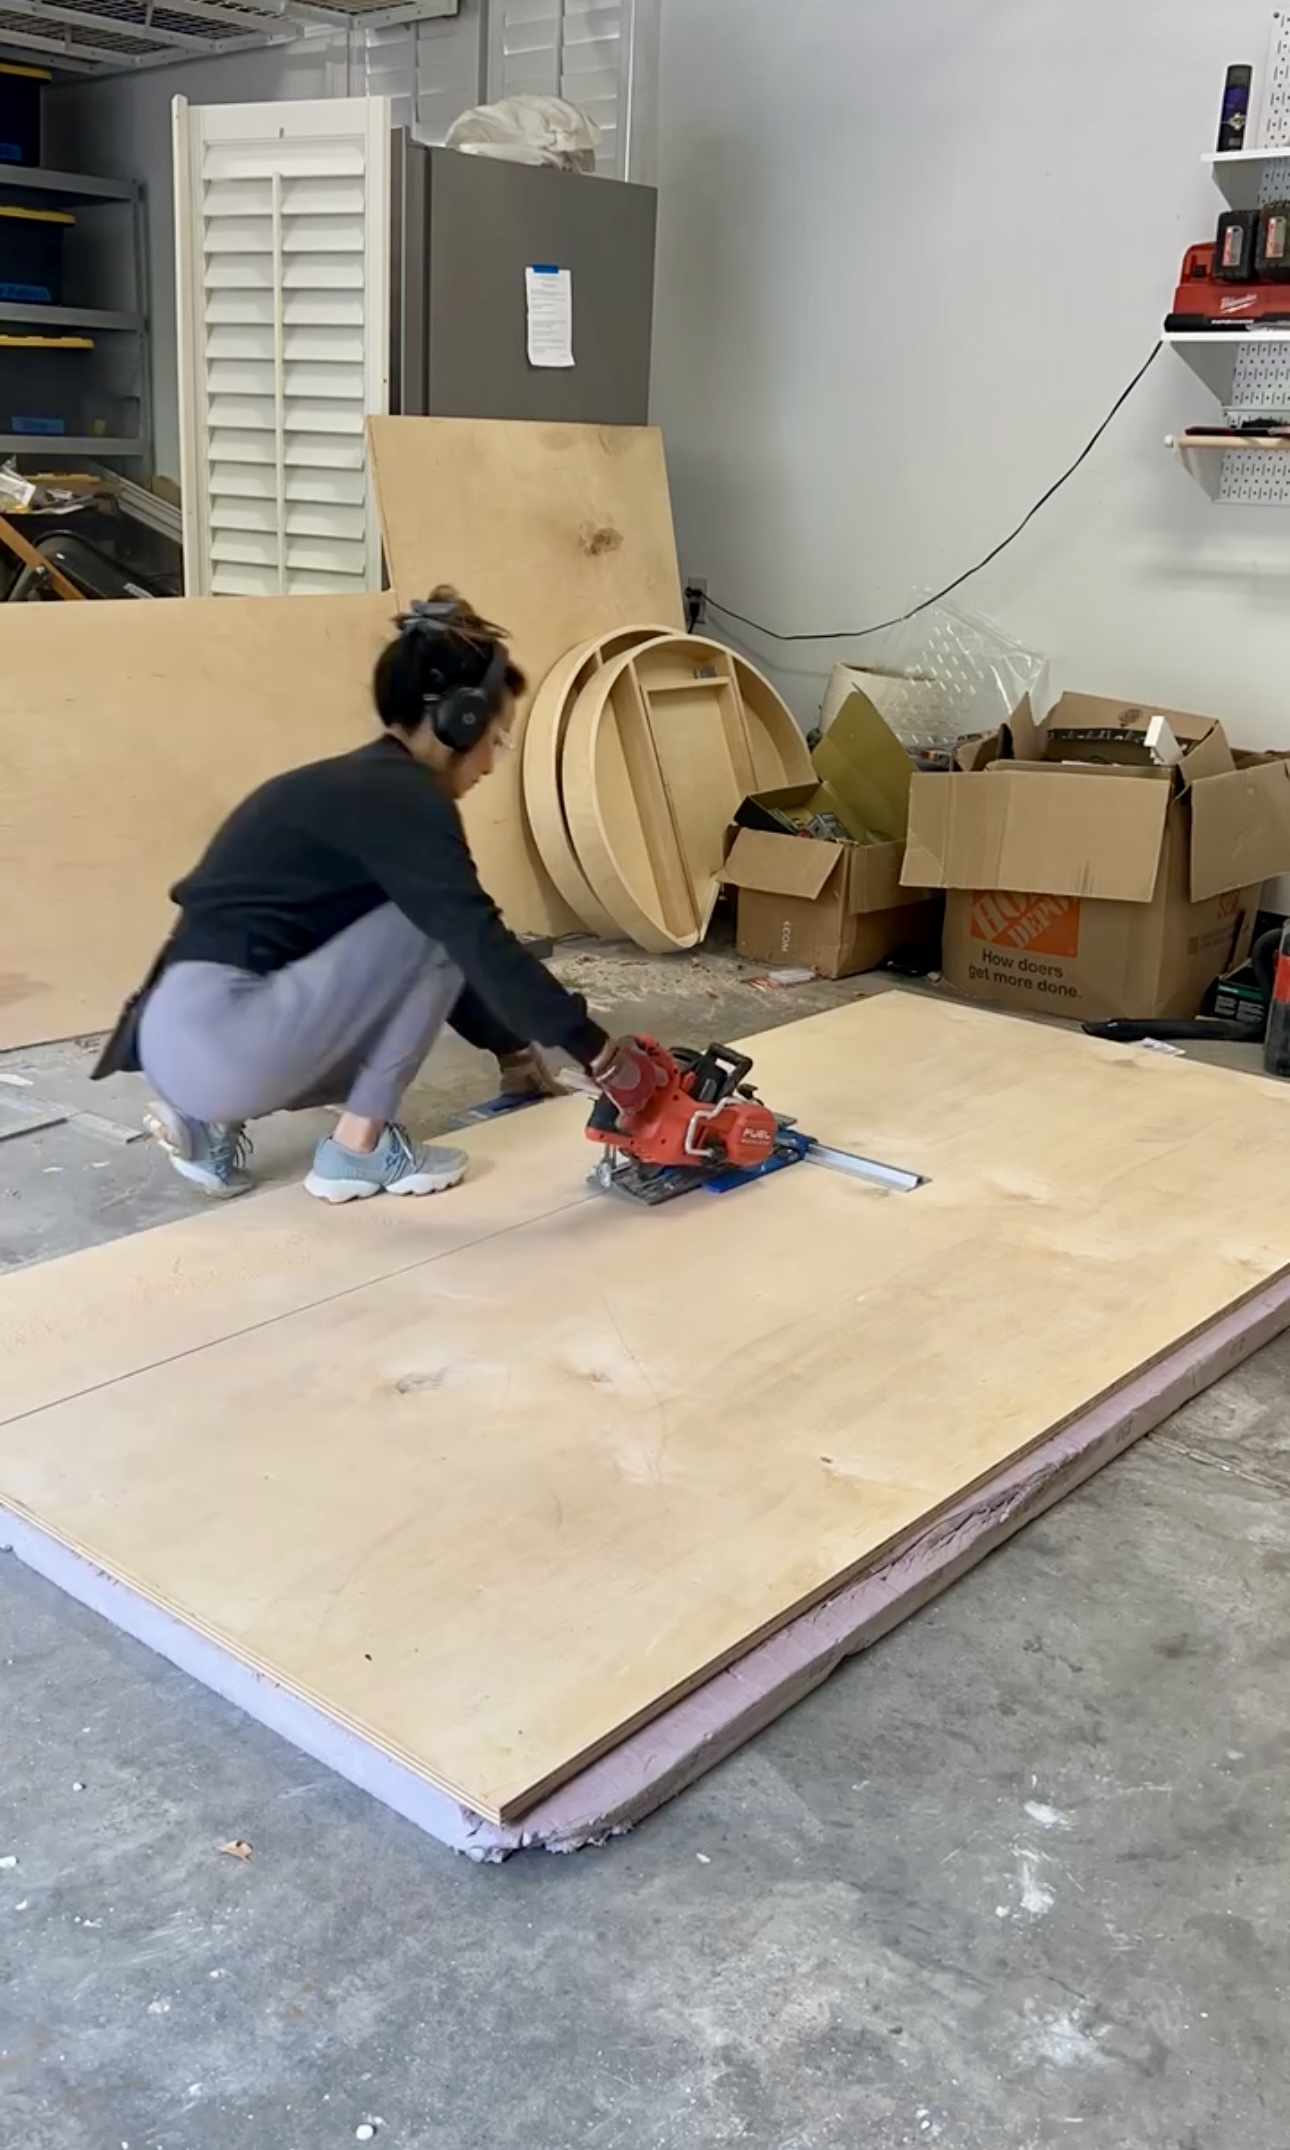
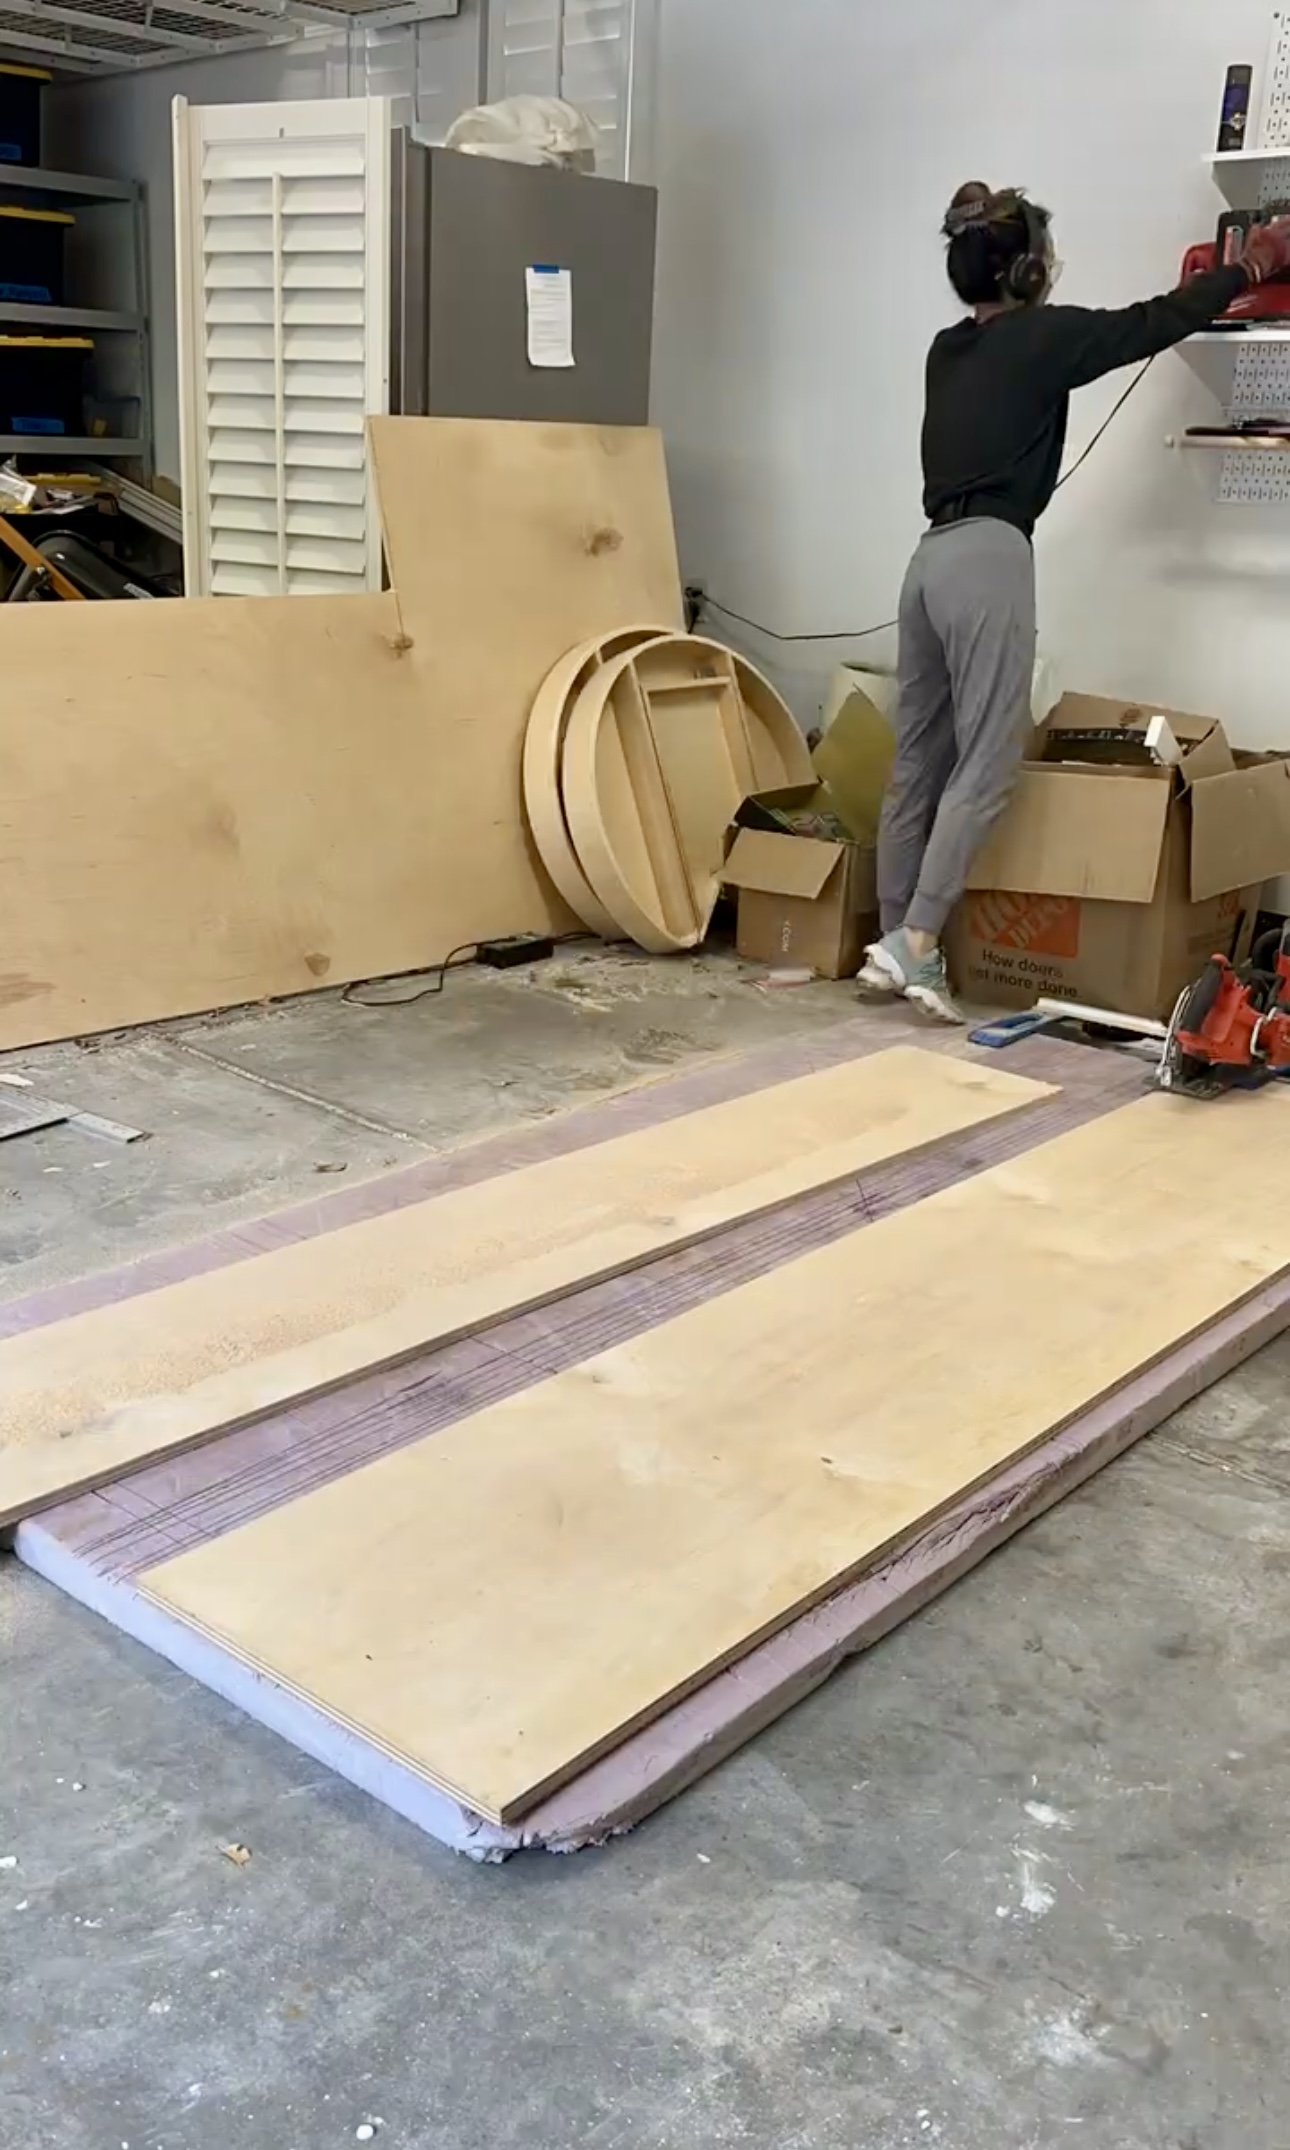
After the frame, it is time to cut the first layer of the bench seat. Using a rip cutter is the best way to cut a large piece of plywood, especially if you’re doing it alone because you can’t just hold it on a table saw. When you push the circular saw forward, you are also pushing the rip cutter against the board’s edge so you stay straight. We are doing it on top of a 3” foam board just to give it a base.
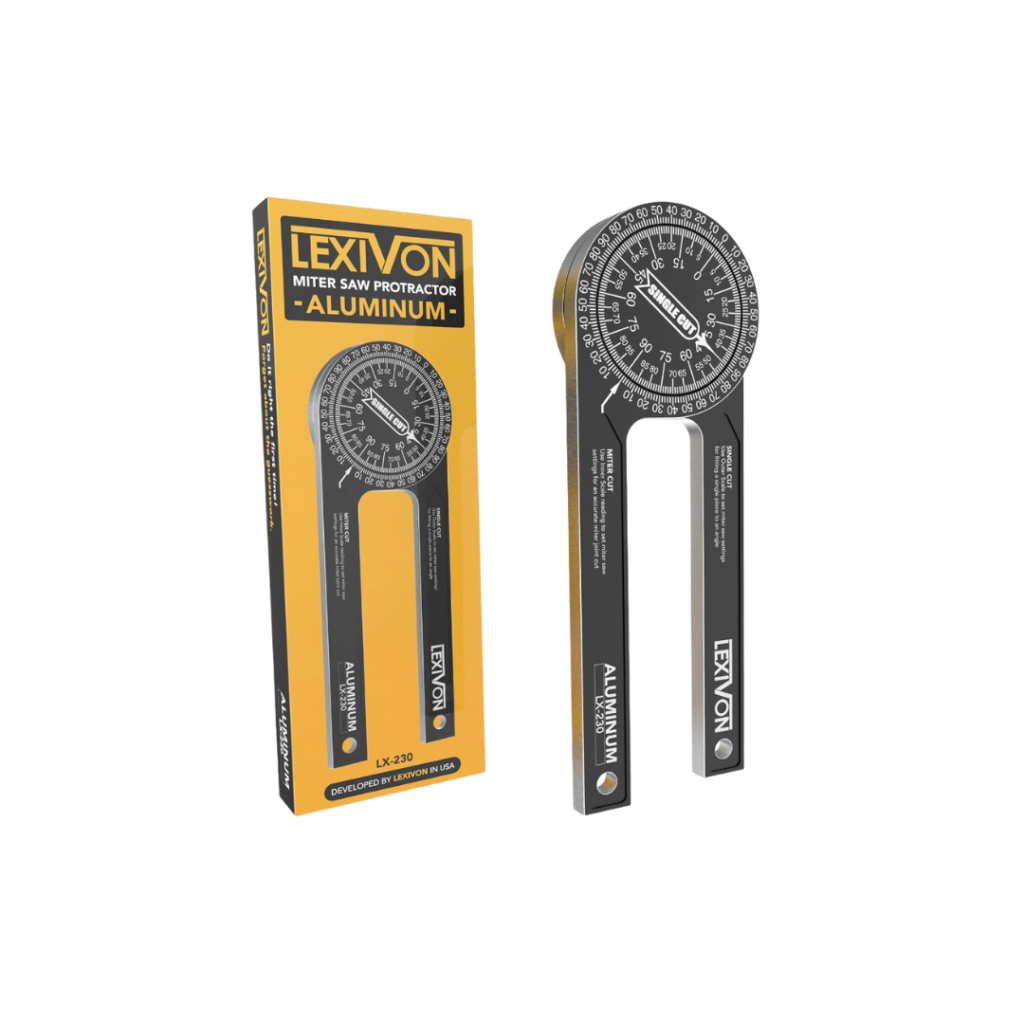
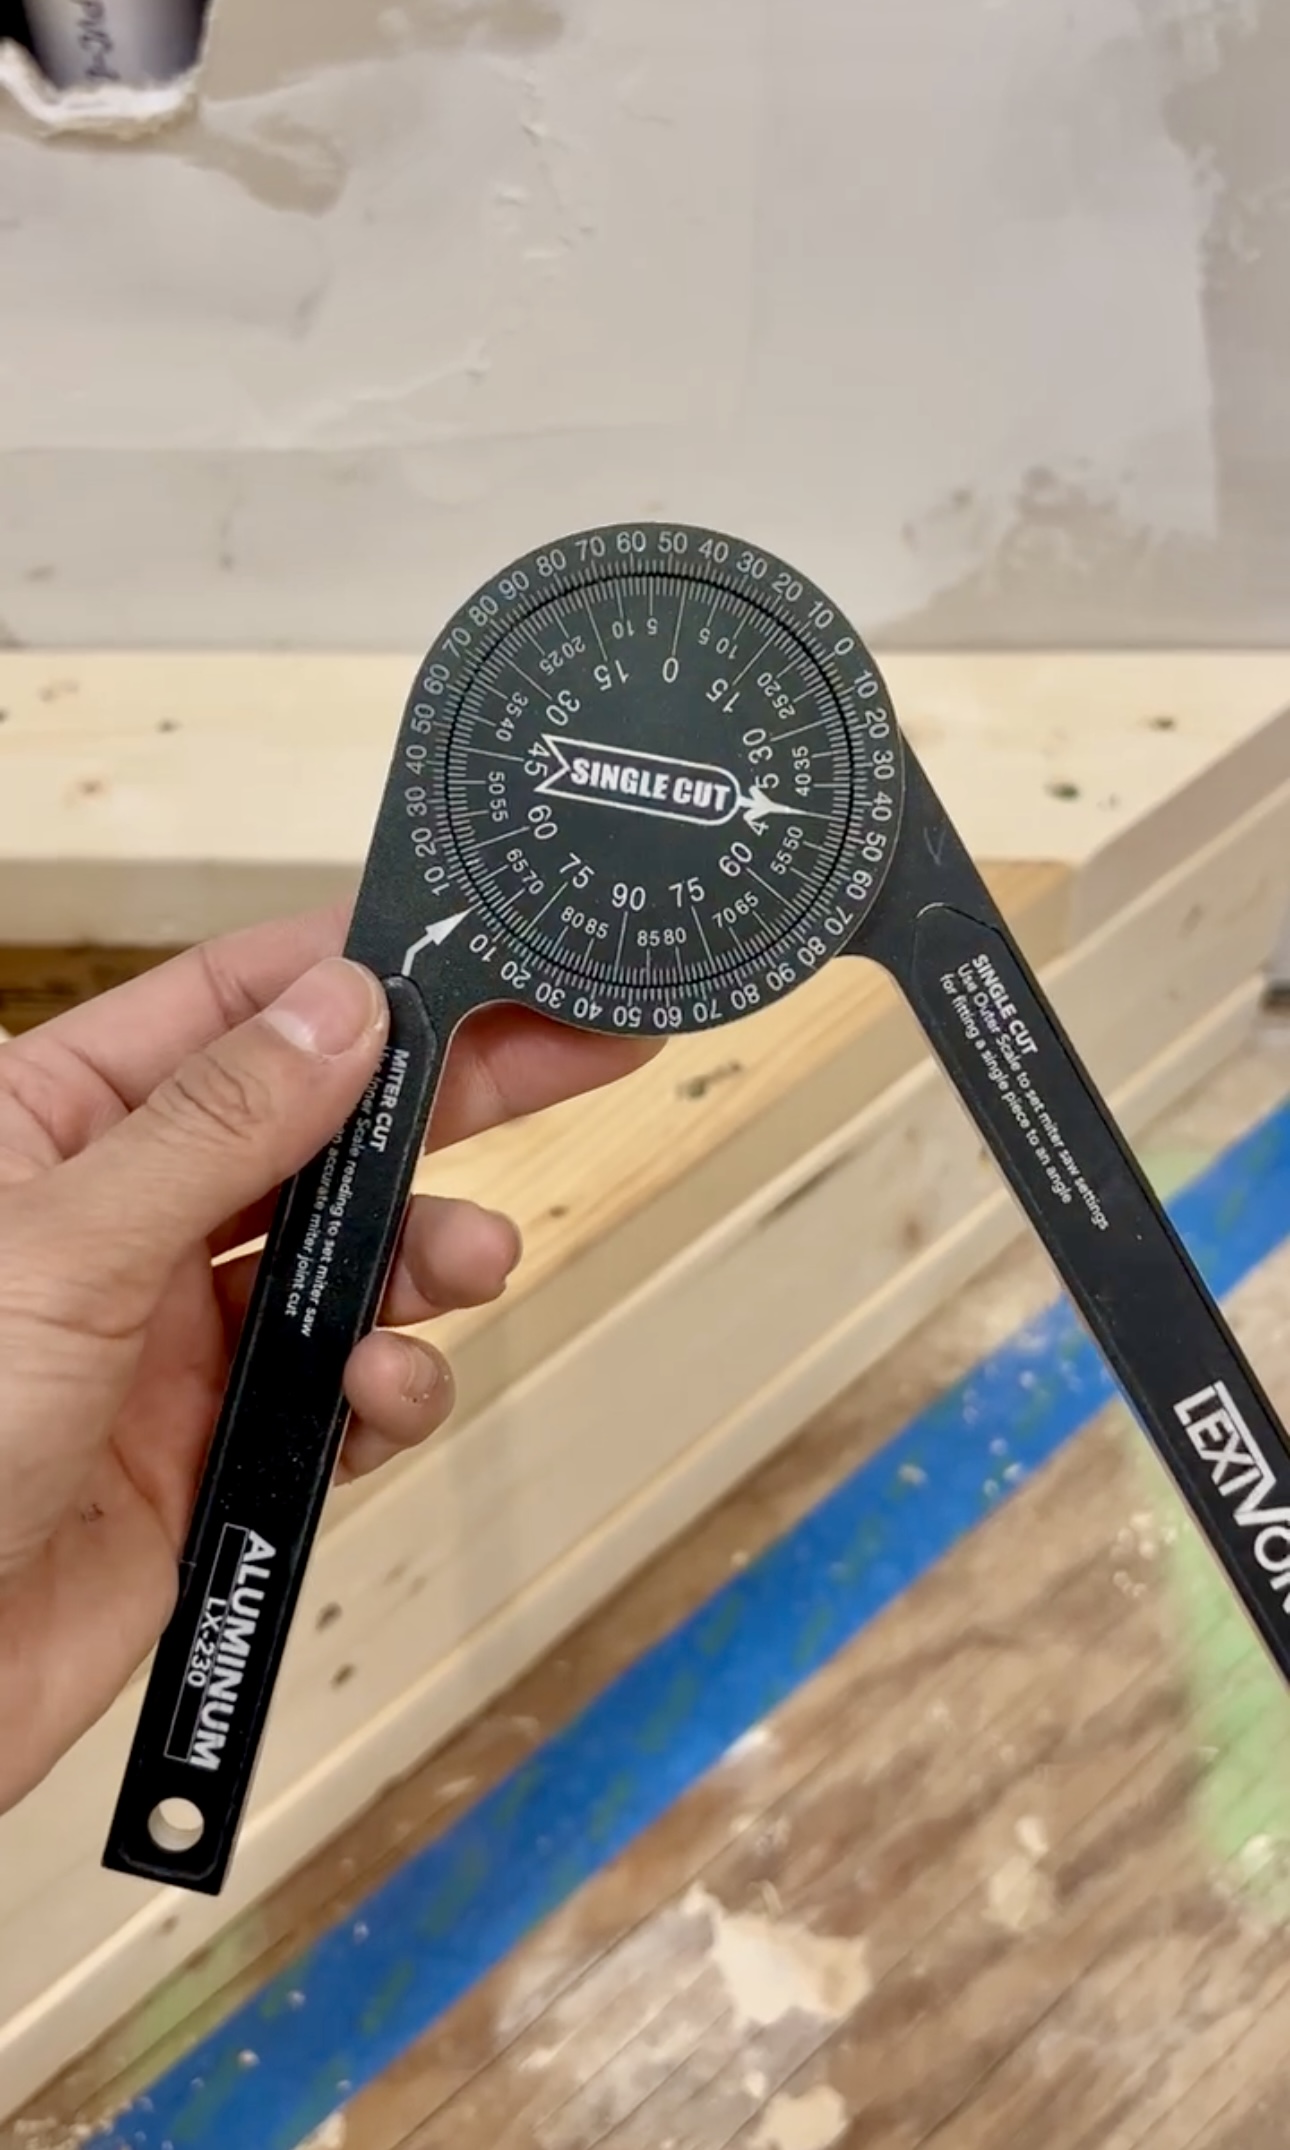
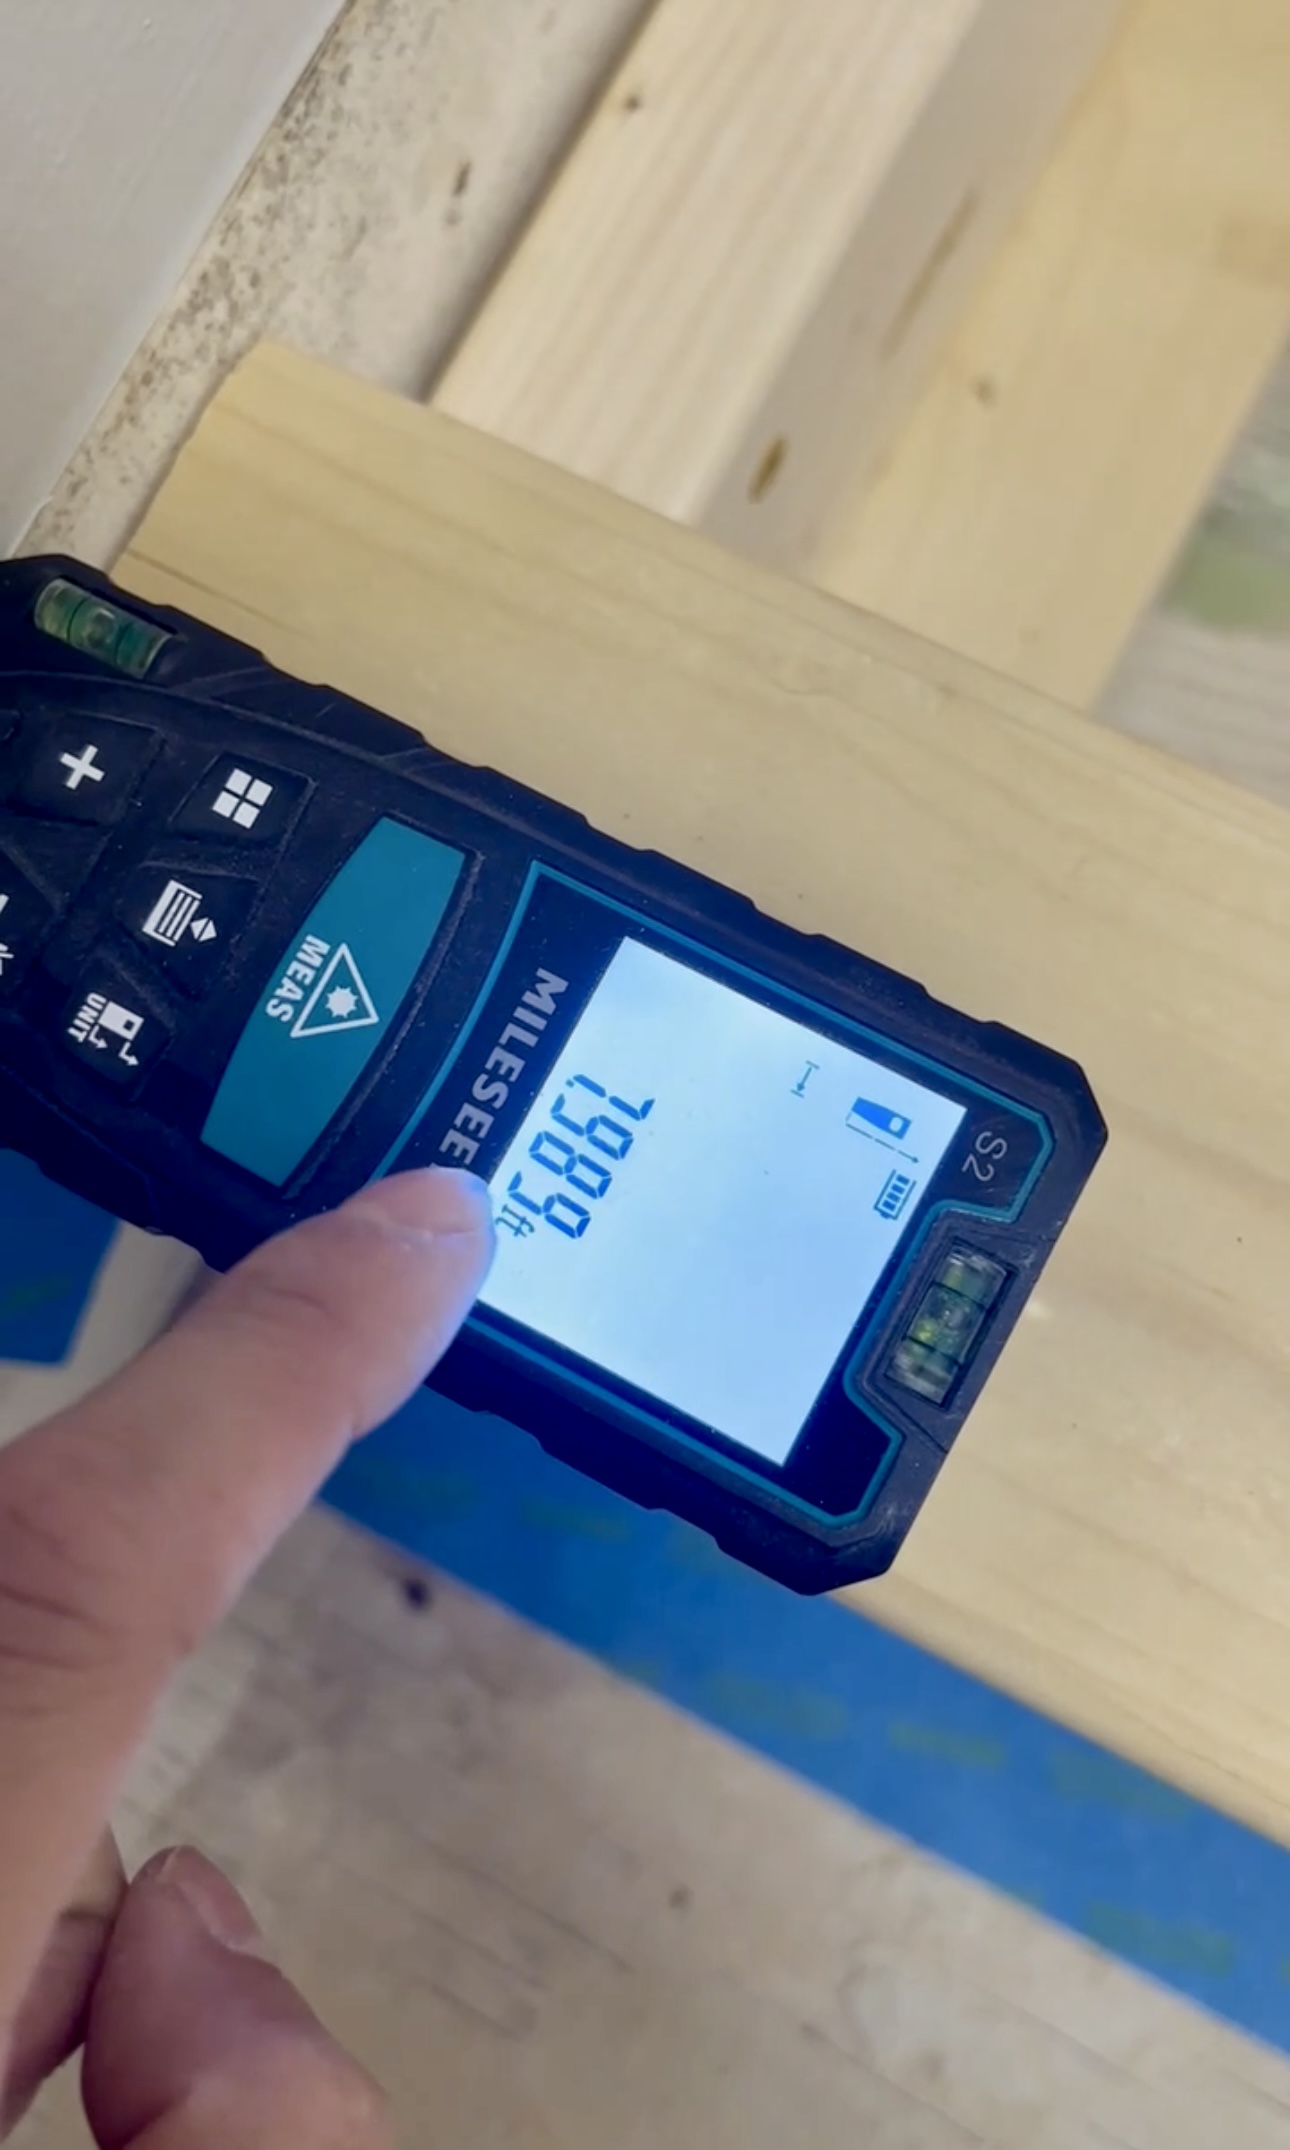
The corner of my lockers is at an angle and this tool (left) is amazing for helping you make accurate angle cuts. I have also been loving this tape measure (right) that uses a laser, it’s super easy to use, accurate, and best of all, saves you from fighting and losing against a tape measure all day. After we got our angles, we cut these with our rip cutter.
Pocket Holes
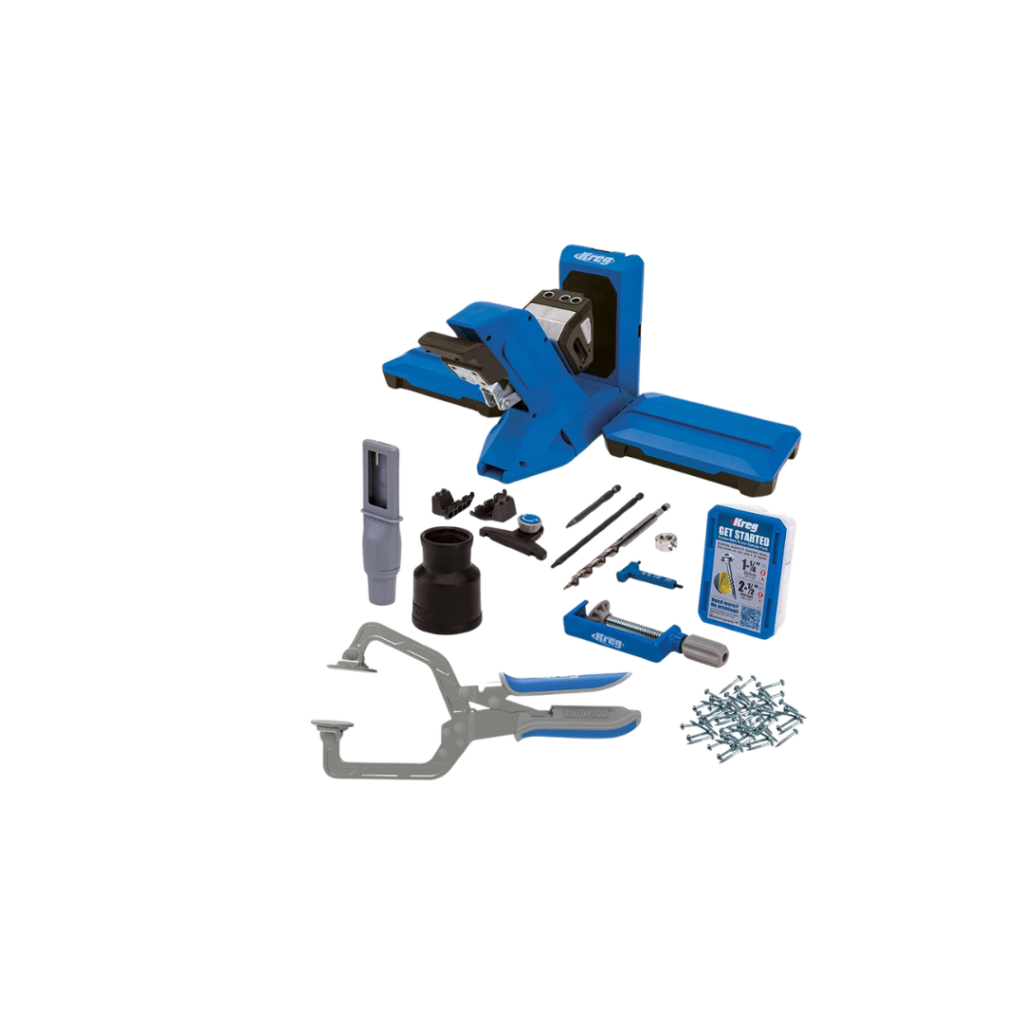
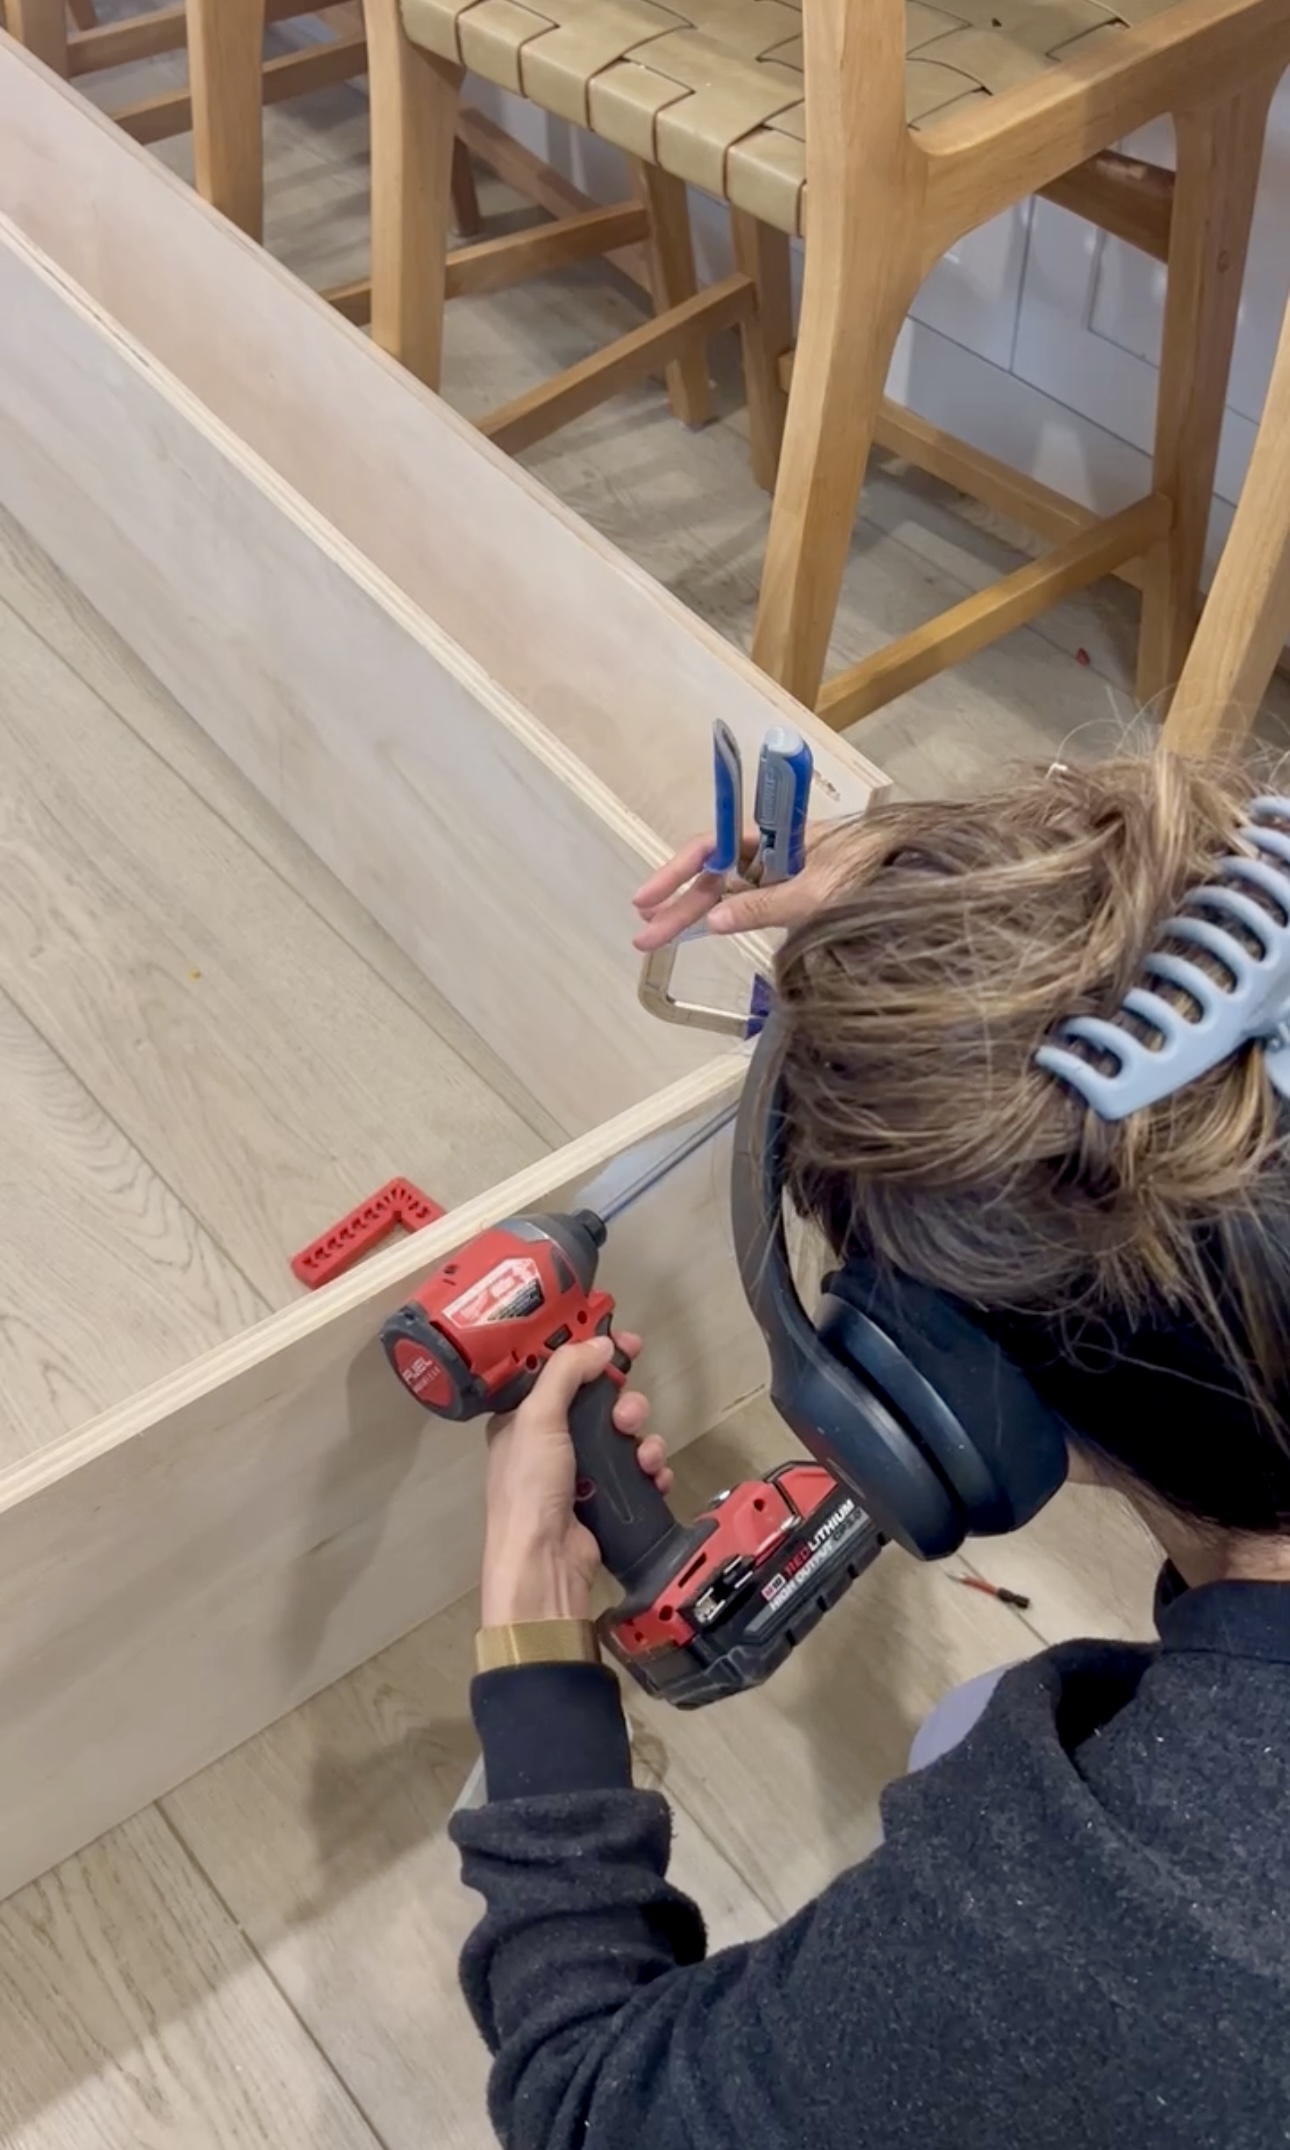
Now it is time to make some pocket holes for boards that will go in between the seat bottom and top to create the drawer space. I use a Kreg Jig that’s the 720, and it works great. For the drill, you need to use a bit that is made for drilling holes. I am working with ¾” plywood but the collar can be adjusted to different heights for the plywood. The collar is great because it catches on the Kreg Jig to make sure you are getting even holes every time. My husband and I both LOVE using the Kreg Jig!
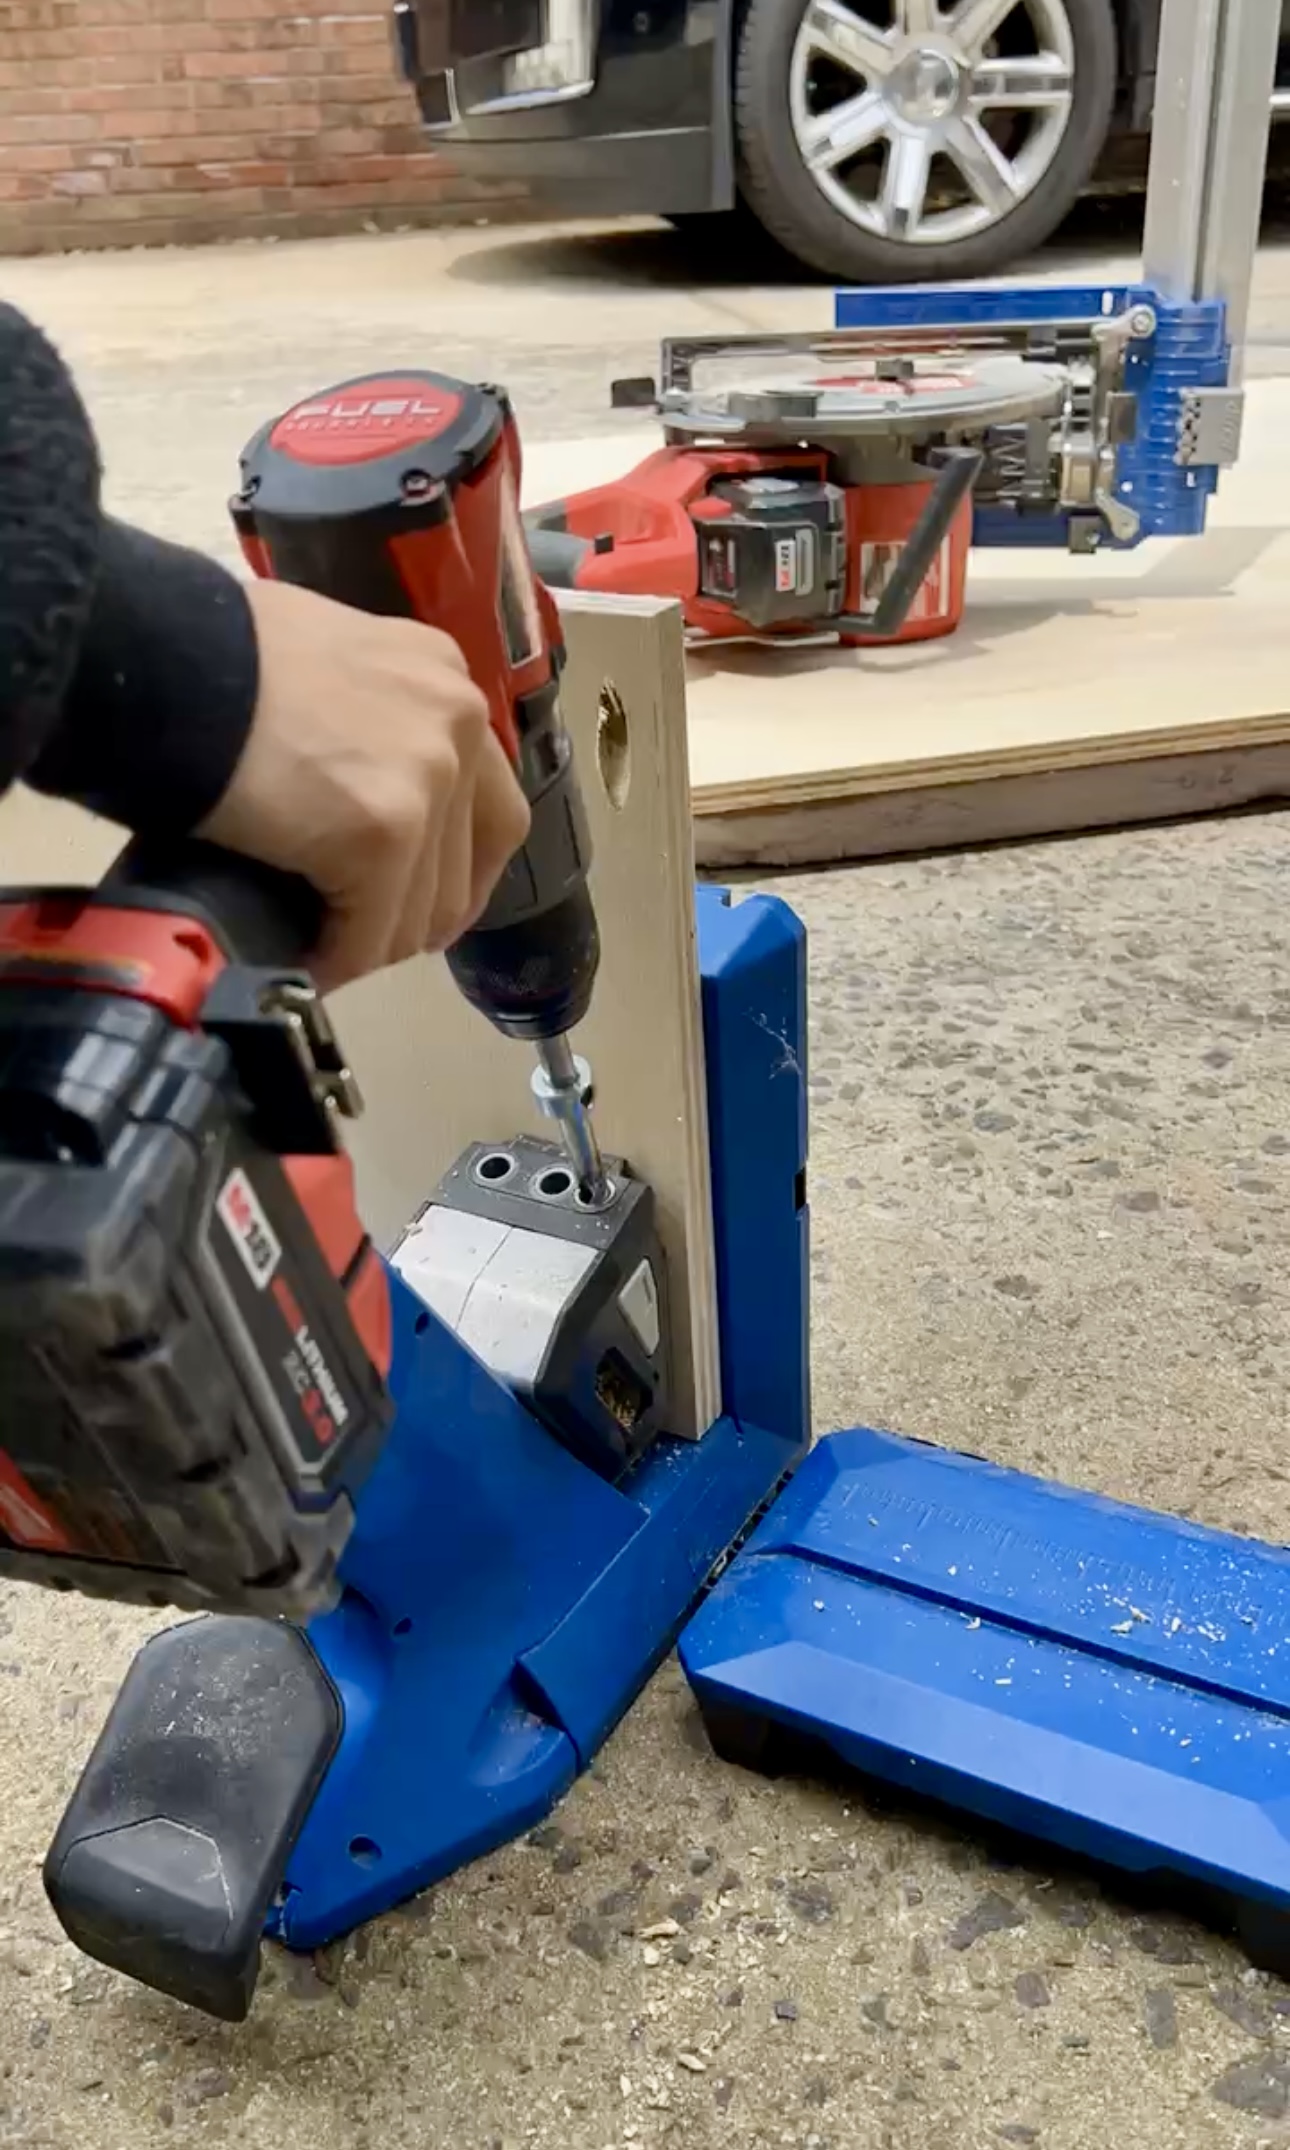
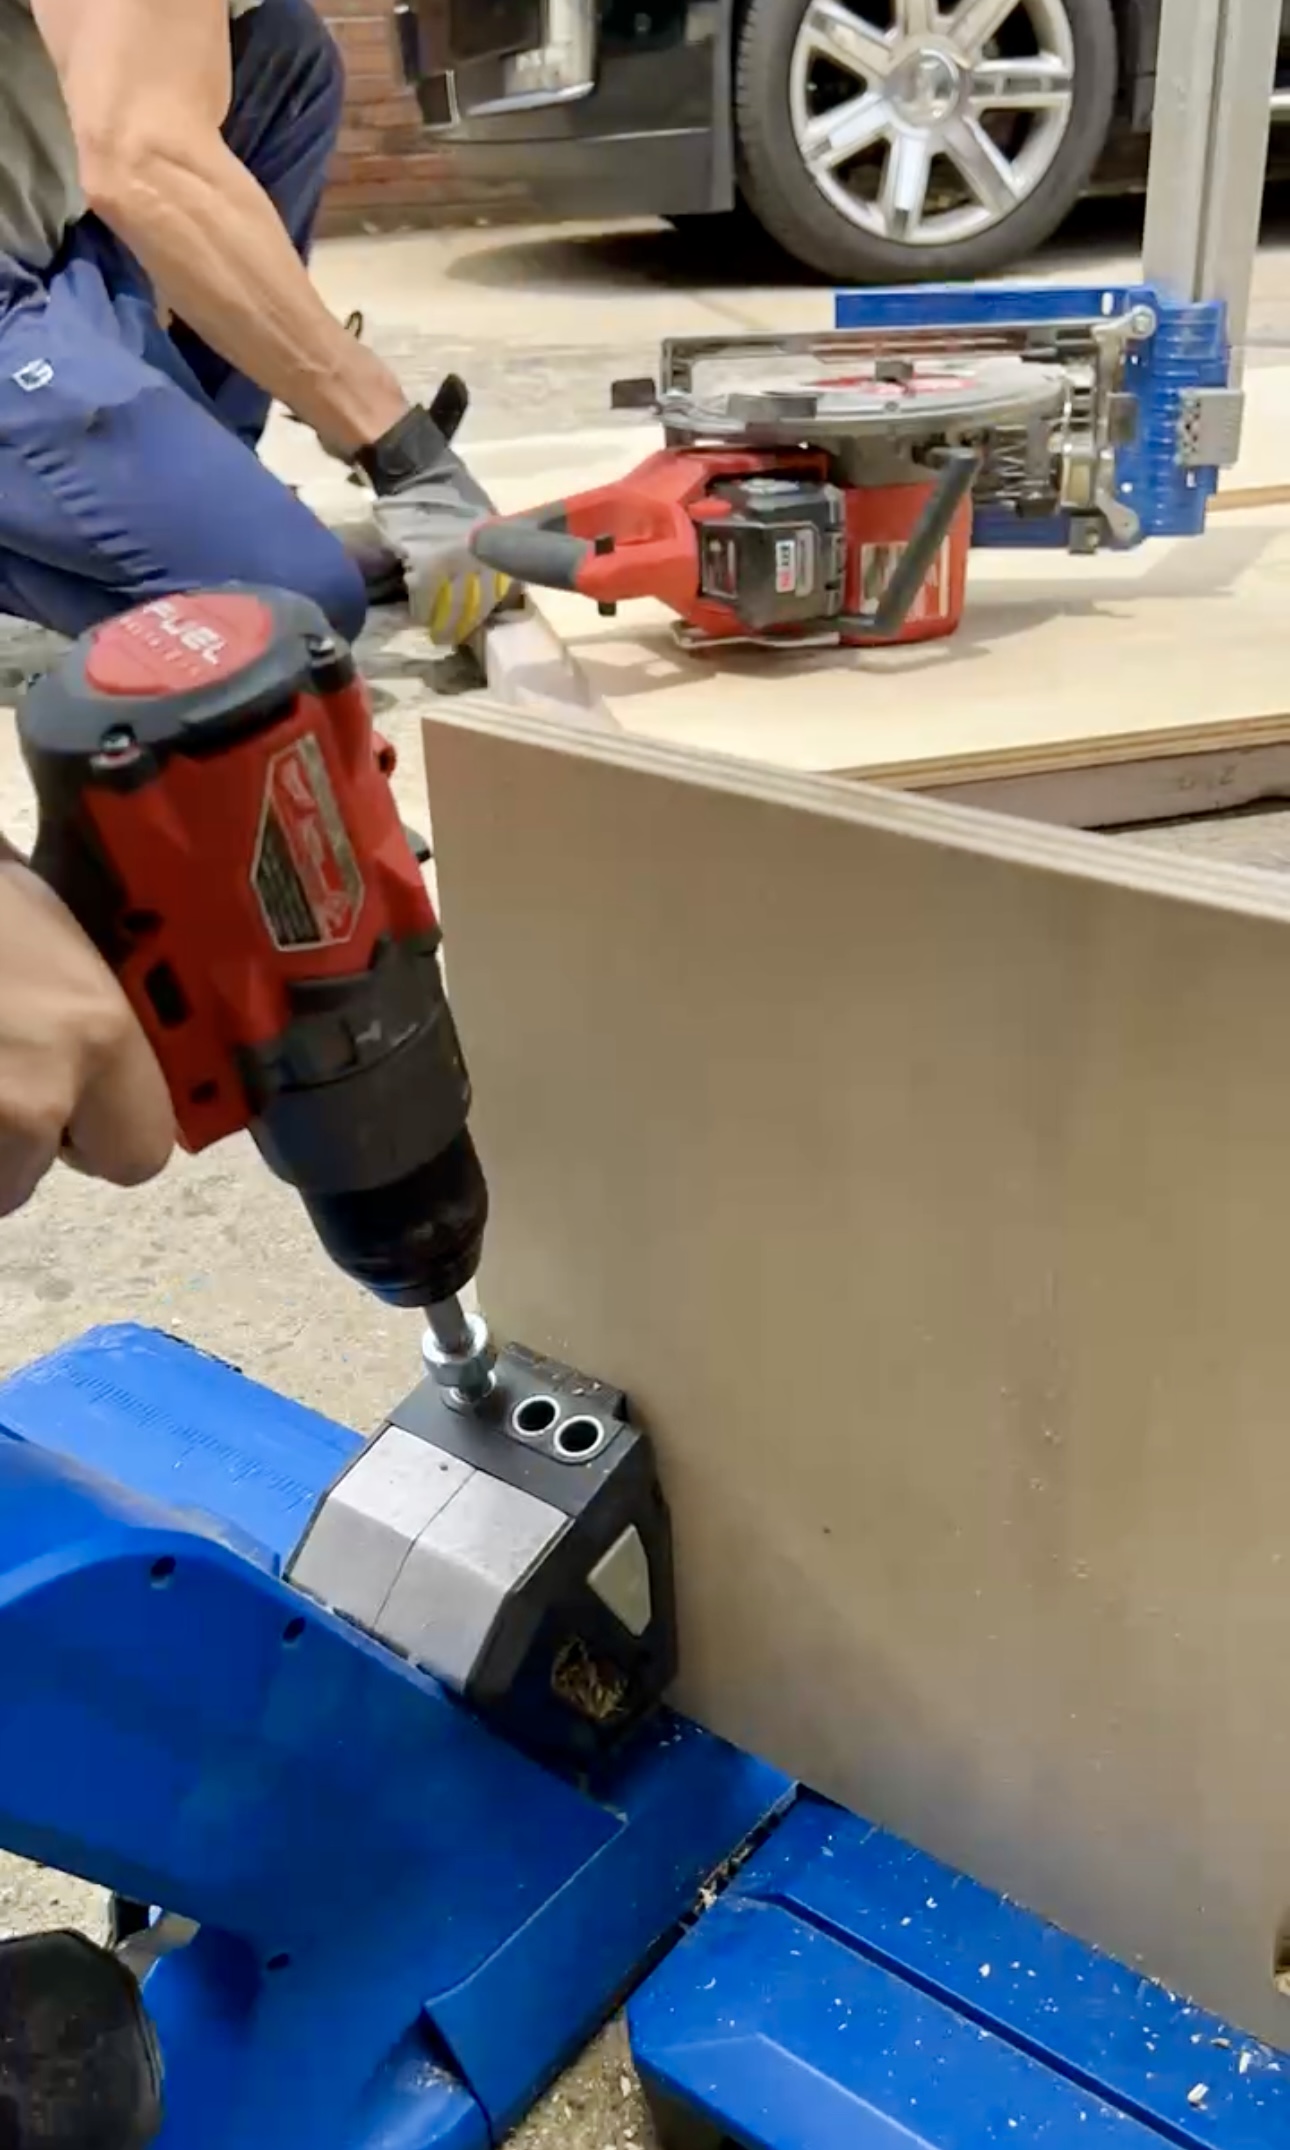
Depending on the thickness of your wood, you’ll use different screws. For ¾” wood, I am using 1 ¼” screws. Now that I have my end piece screwed on I will divide the long bench board into 5, for each of my shelves, and screw in a board at each section. Next, we attached the bottom portion with glue and screwed in the rest of the pocket holes. We now have the base and shelf portion done! I am securing the base into the 2×4” underneath. I also left a gap at the front so that when I add a trim on the outside at the end it is flush with the baseboards on the bottom.
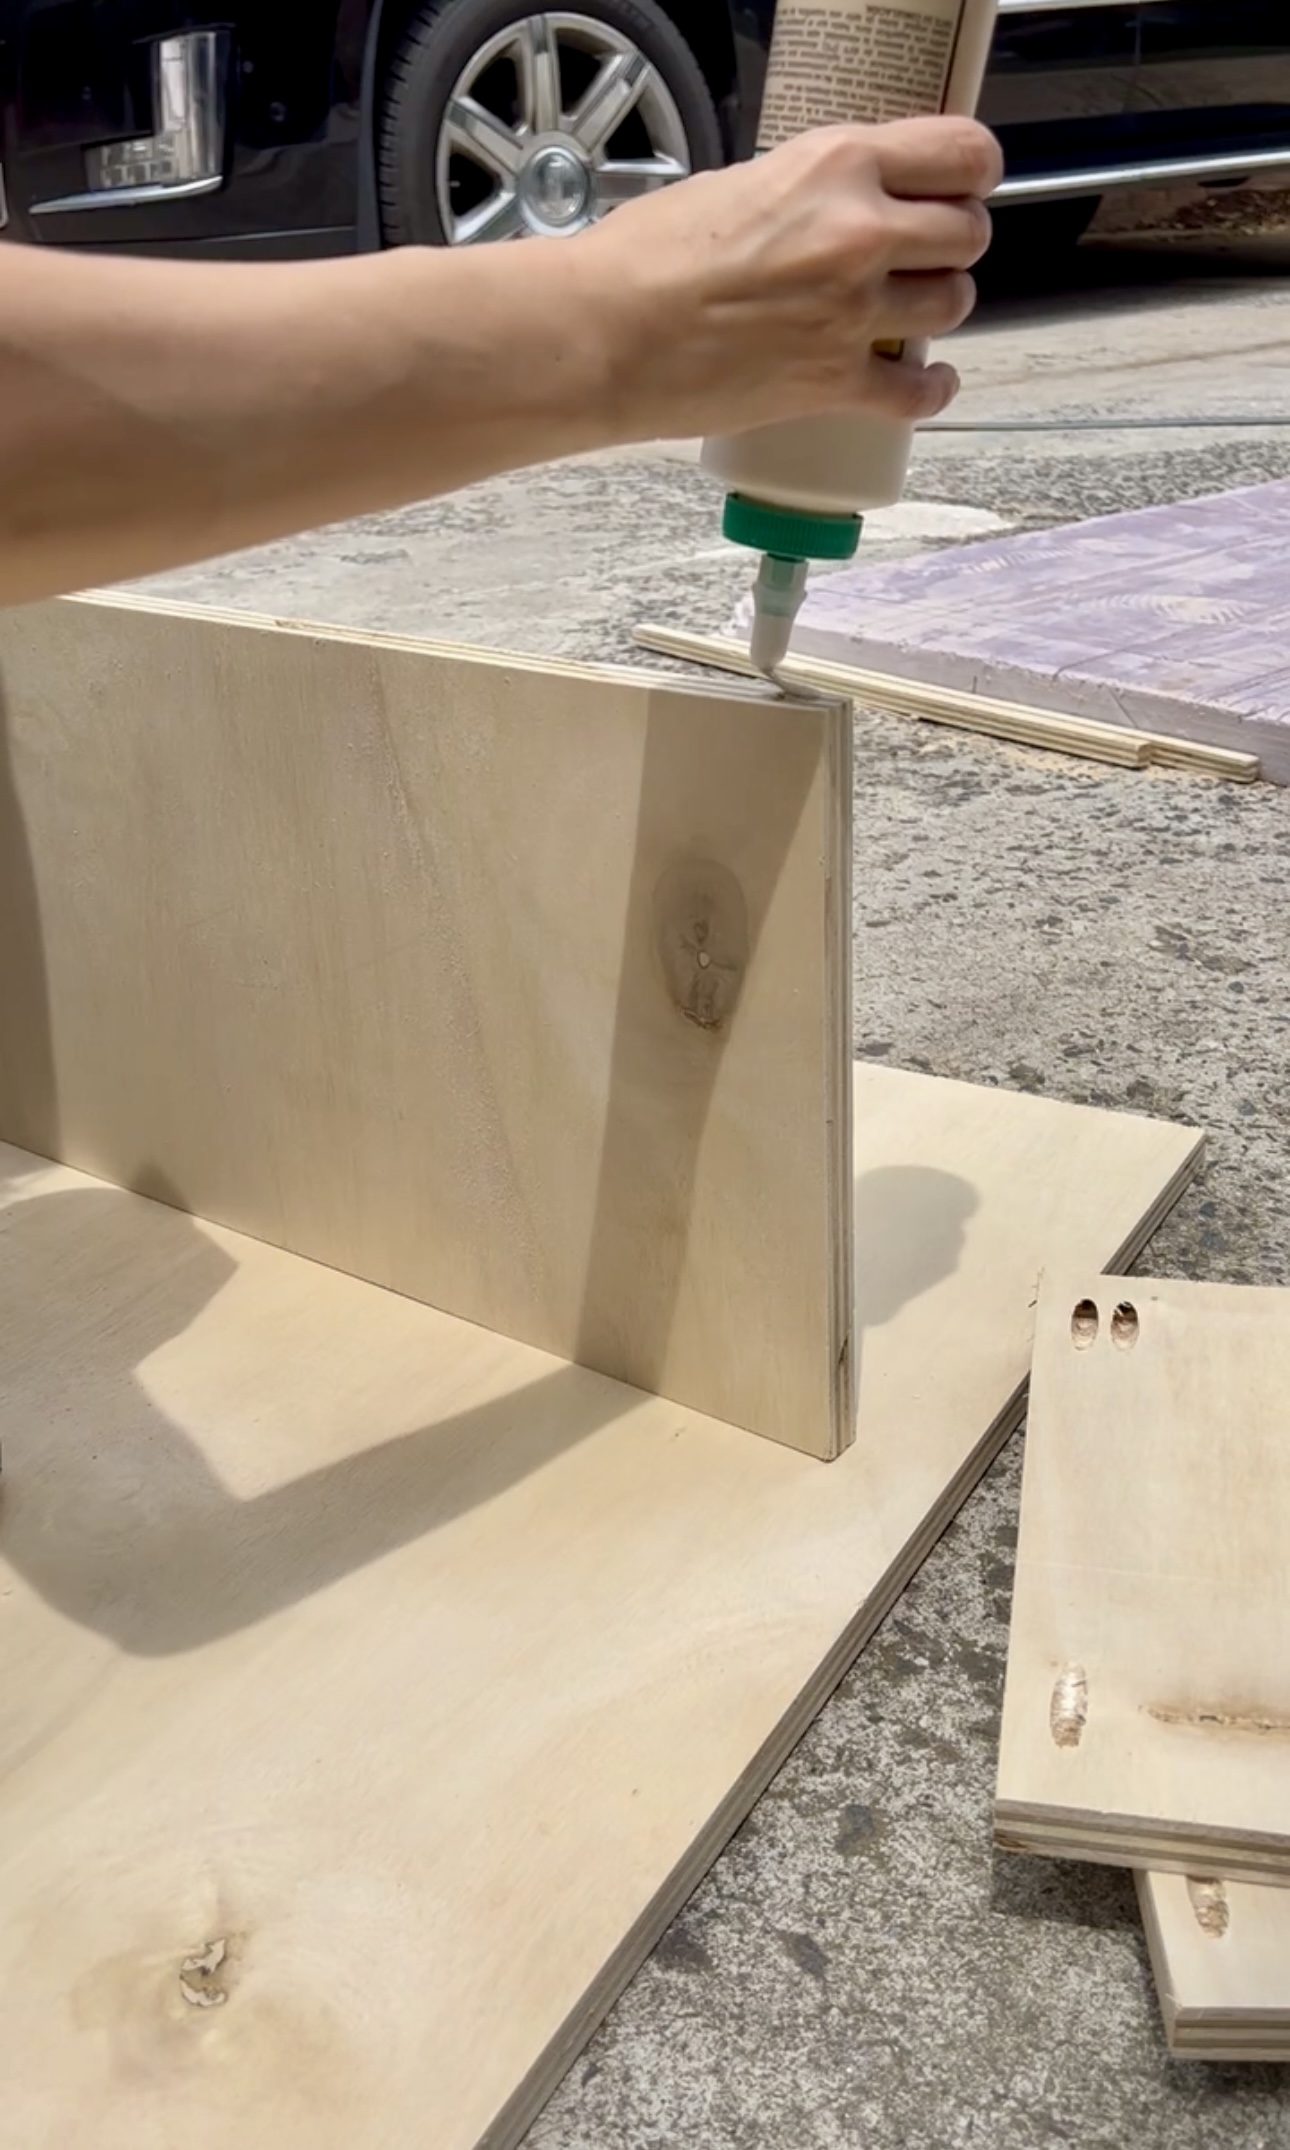
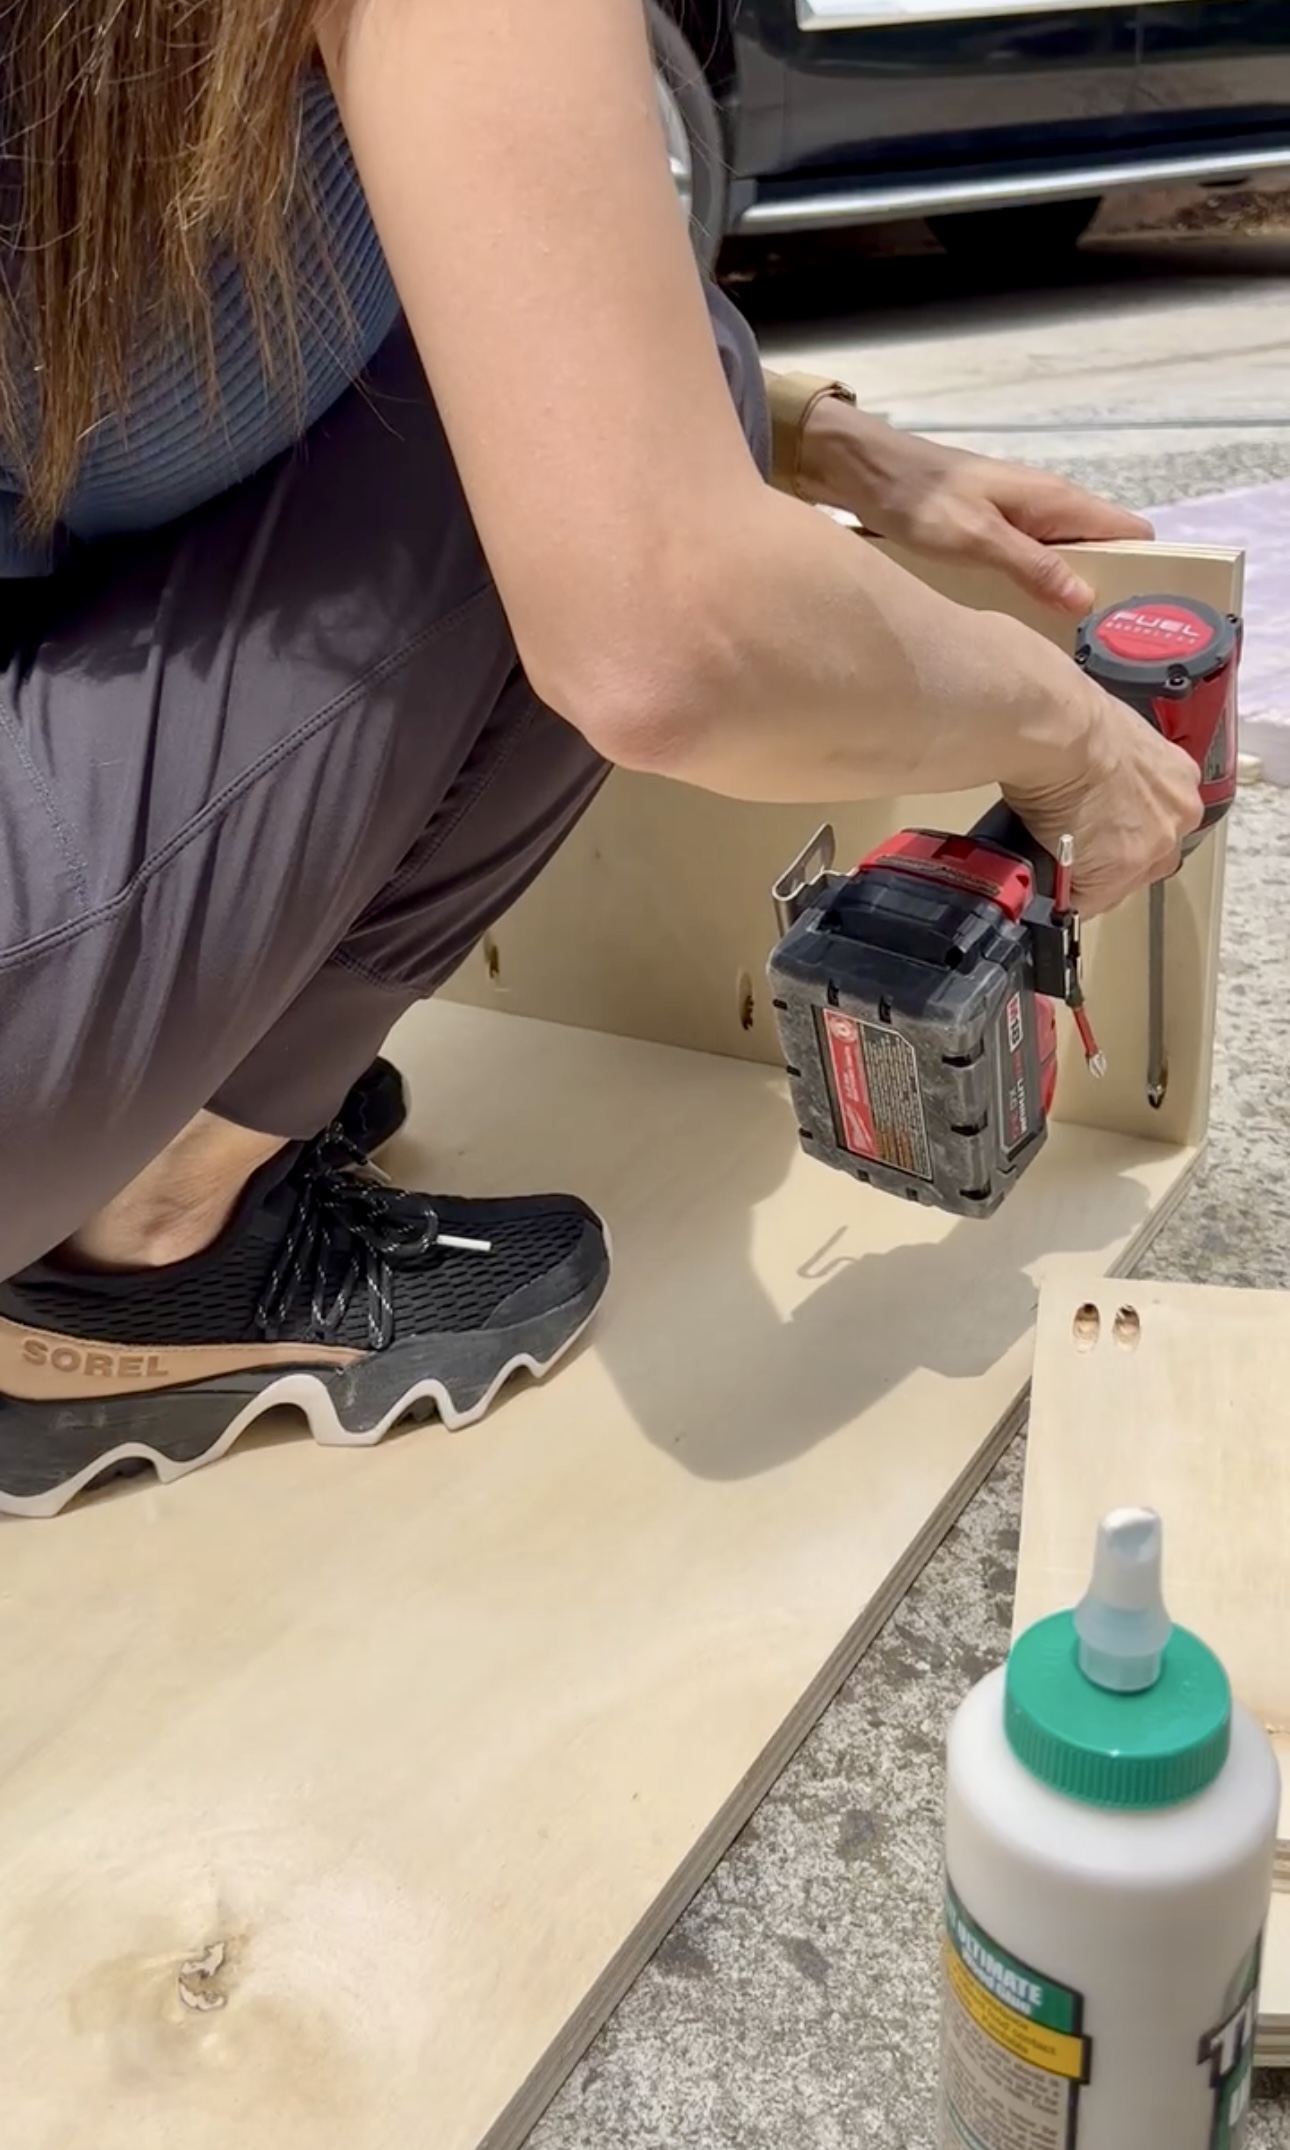
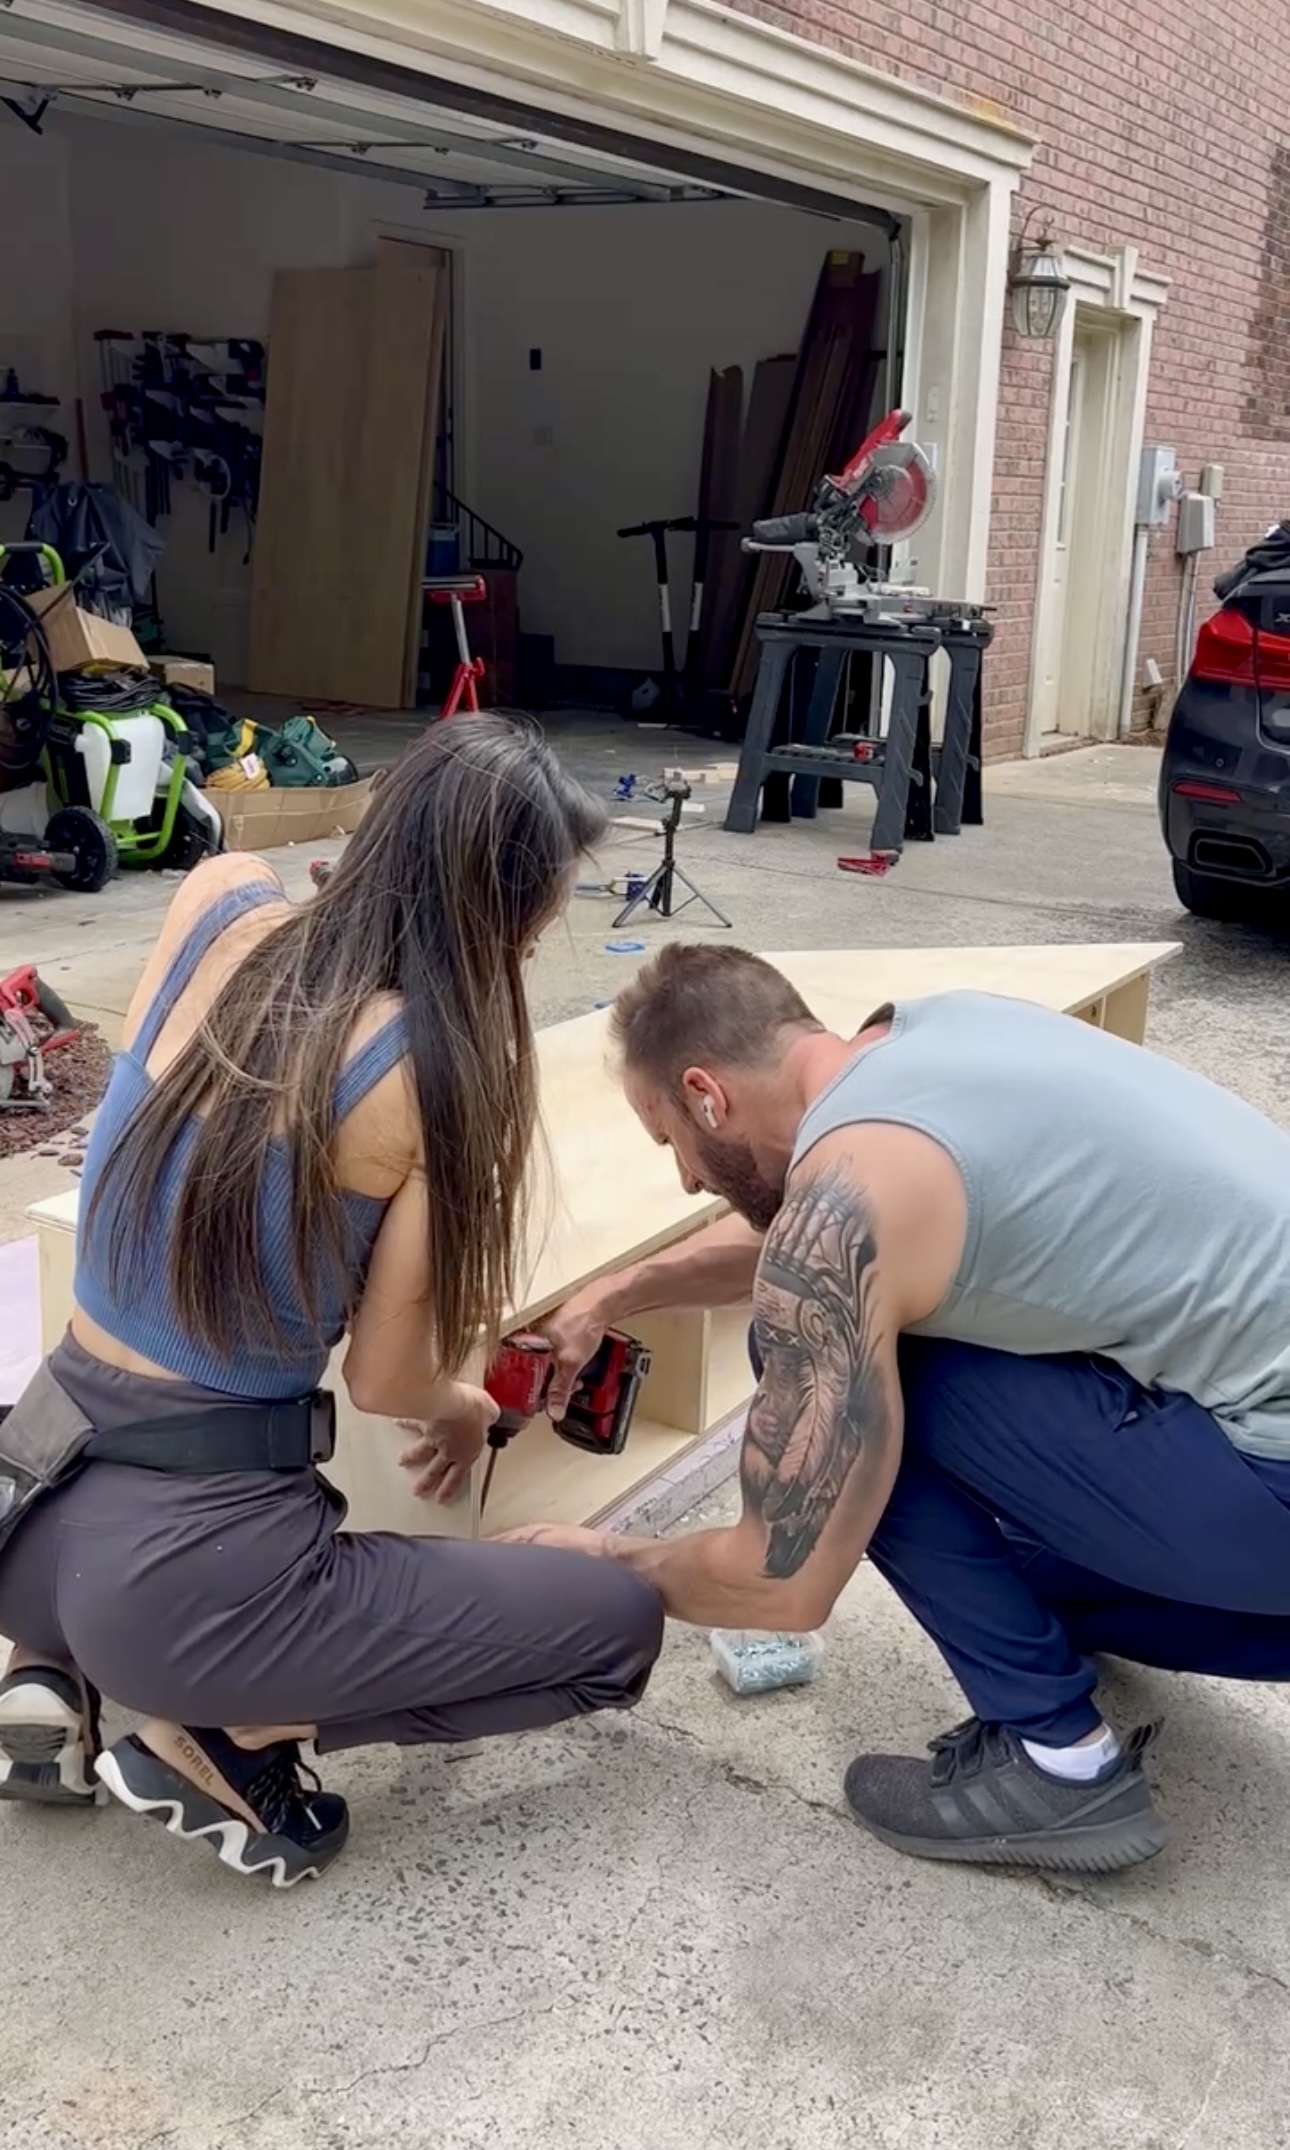
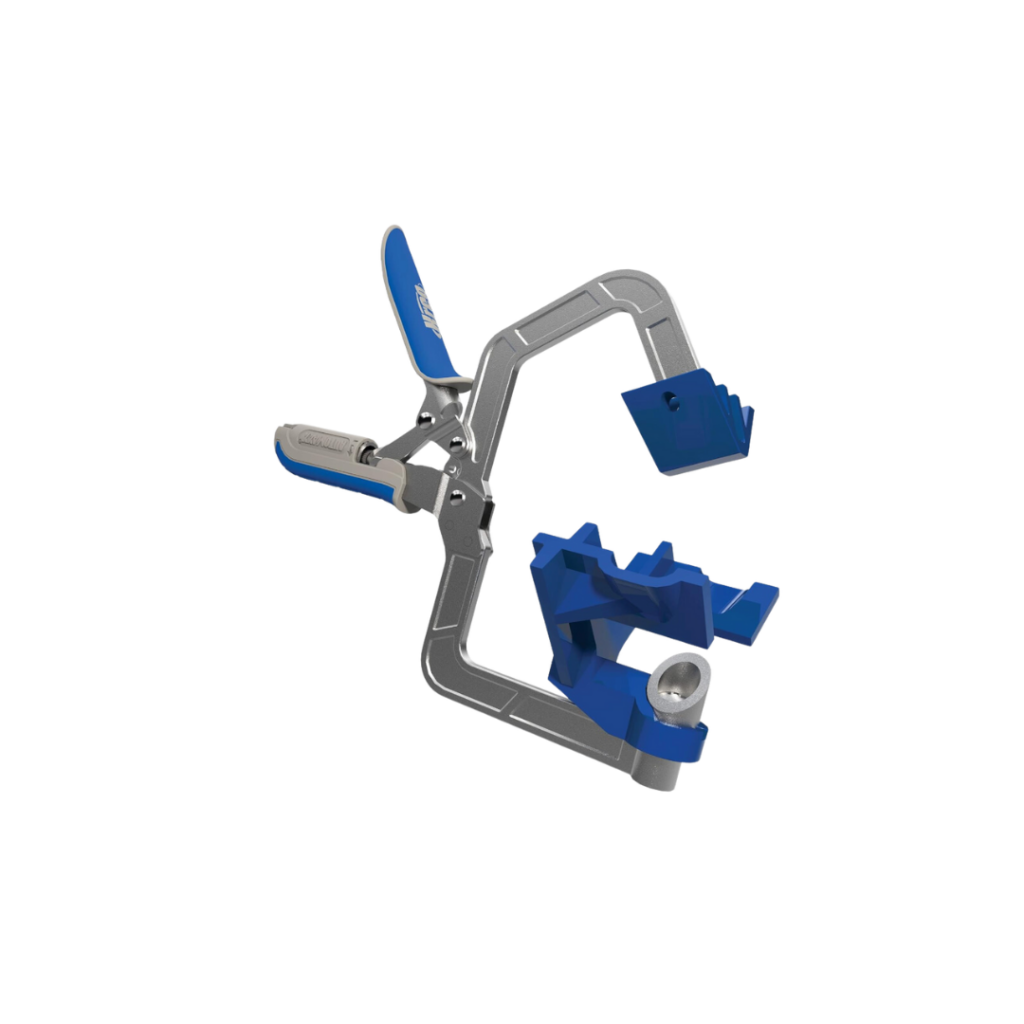
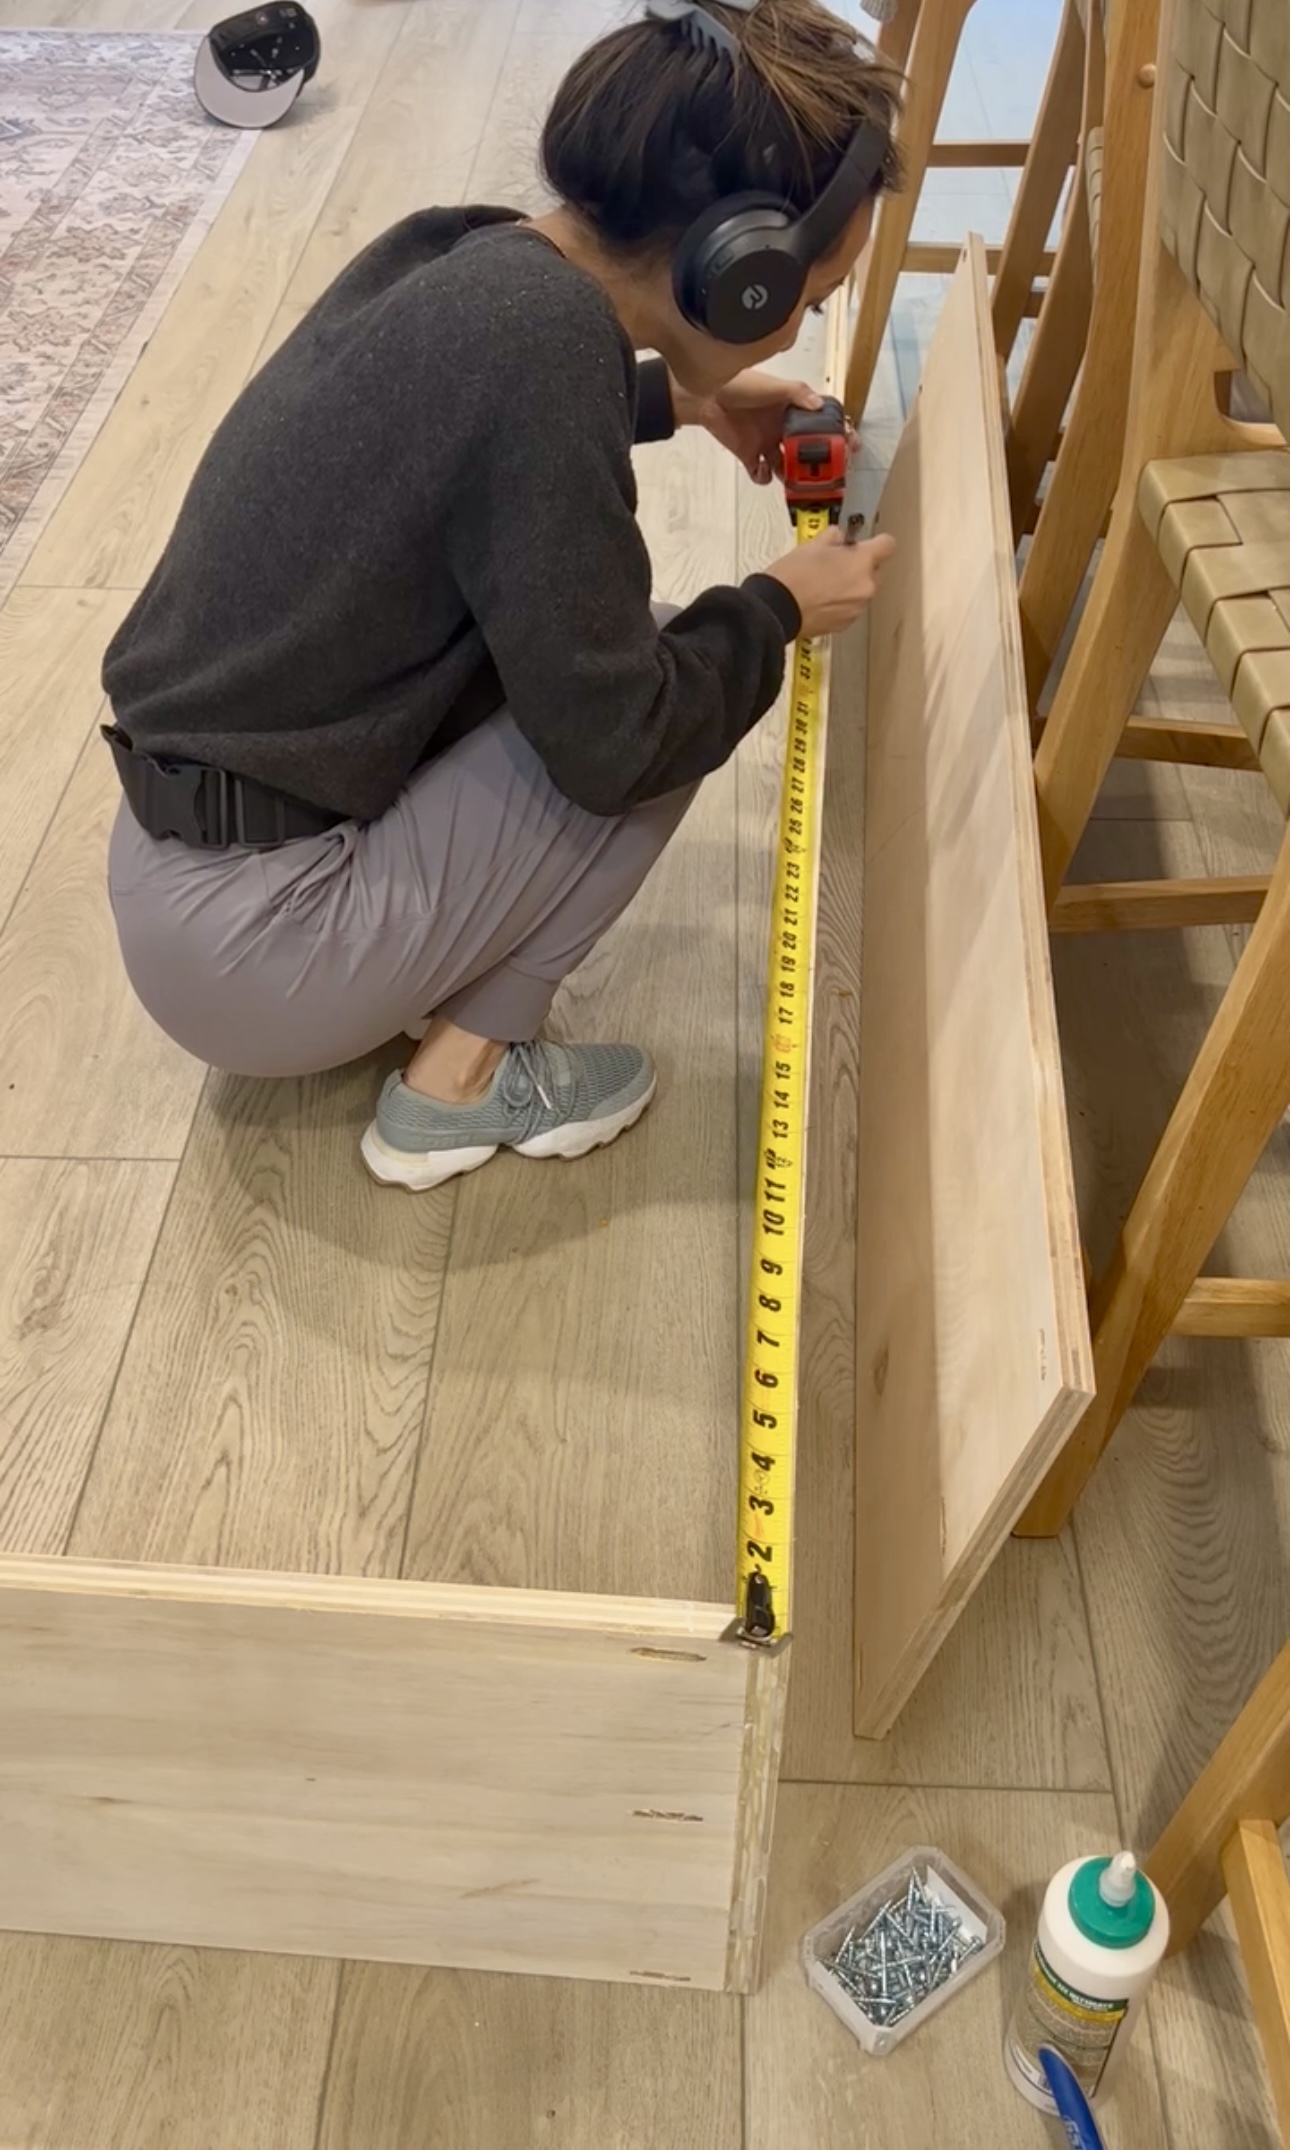
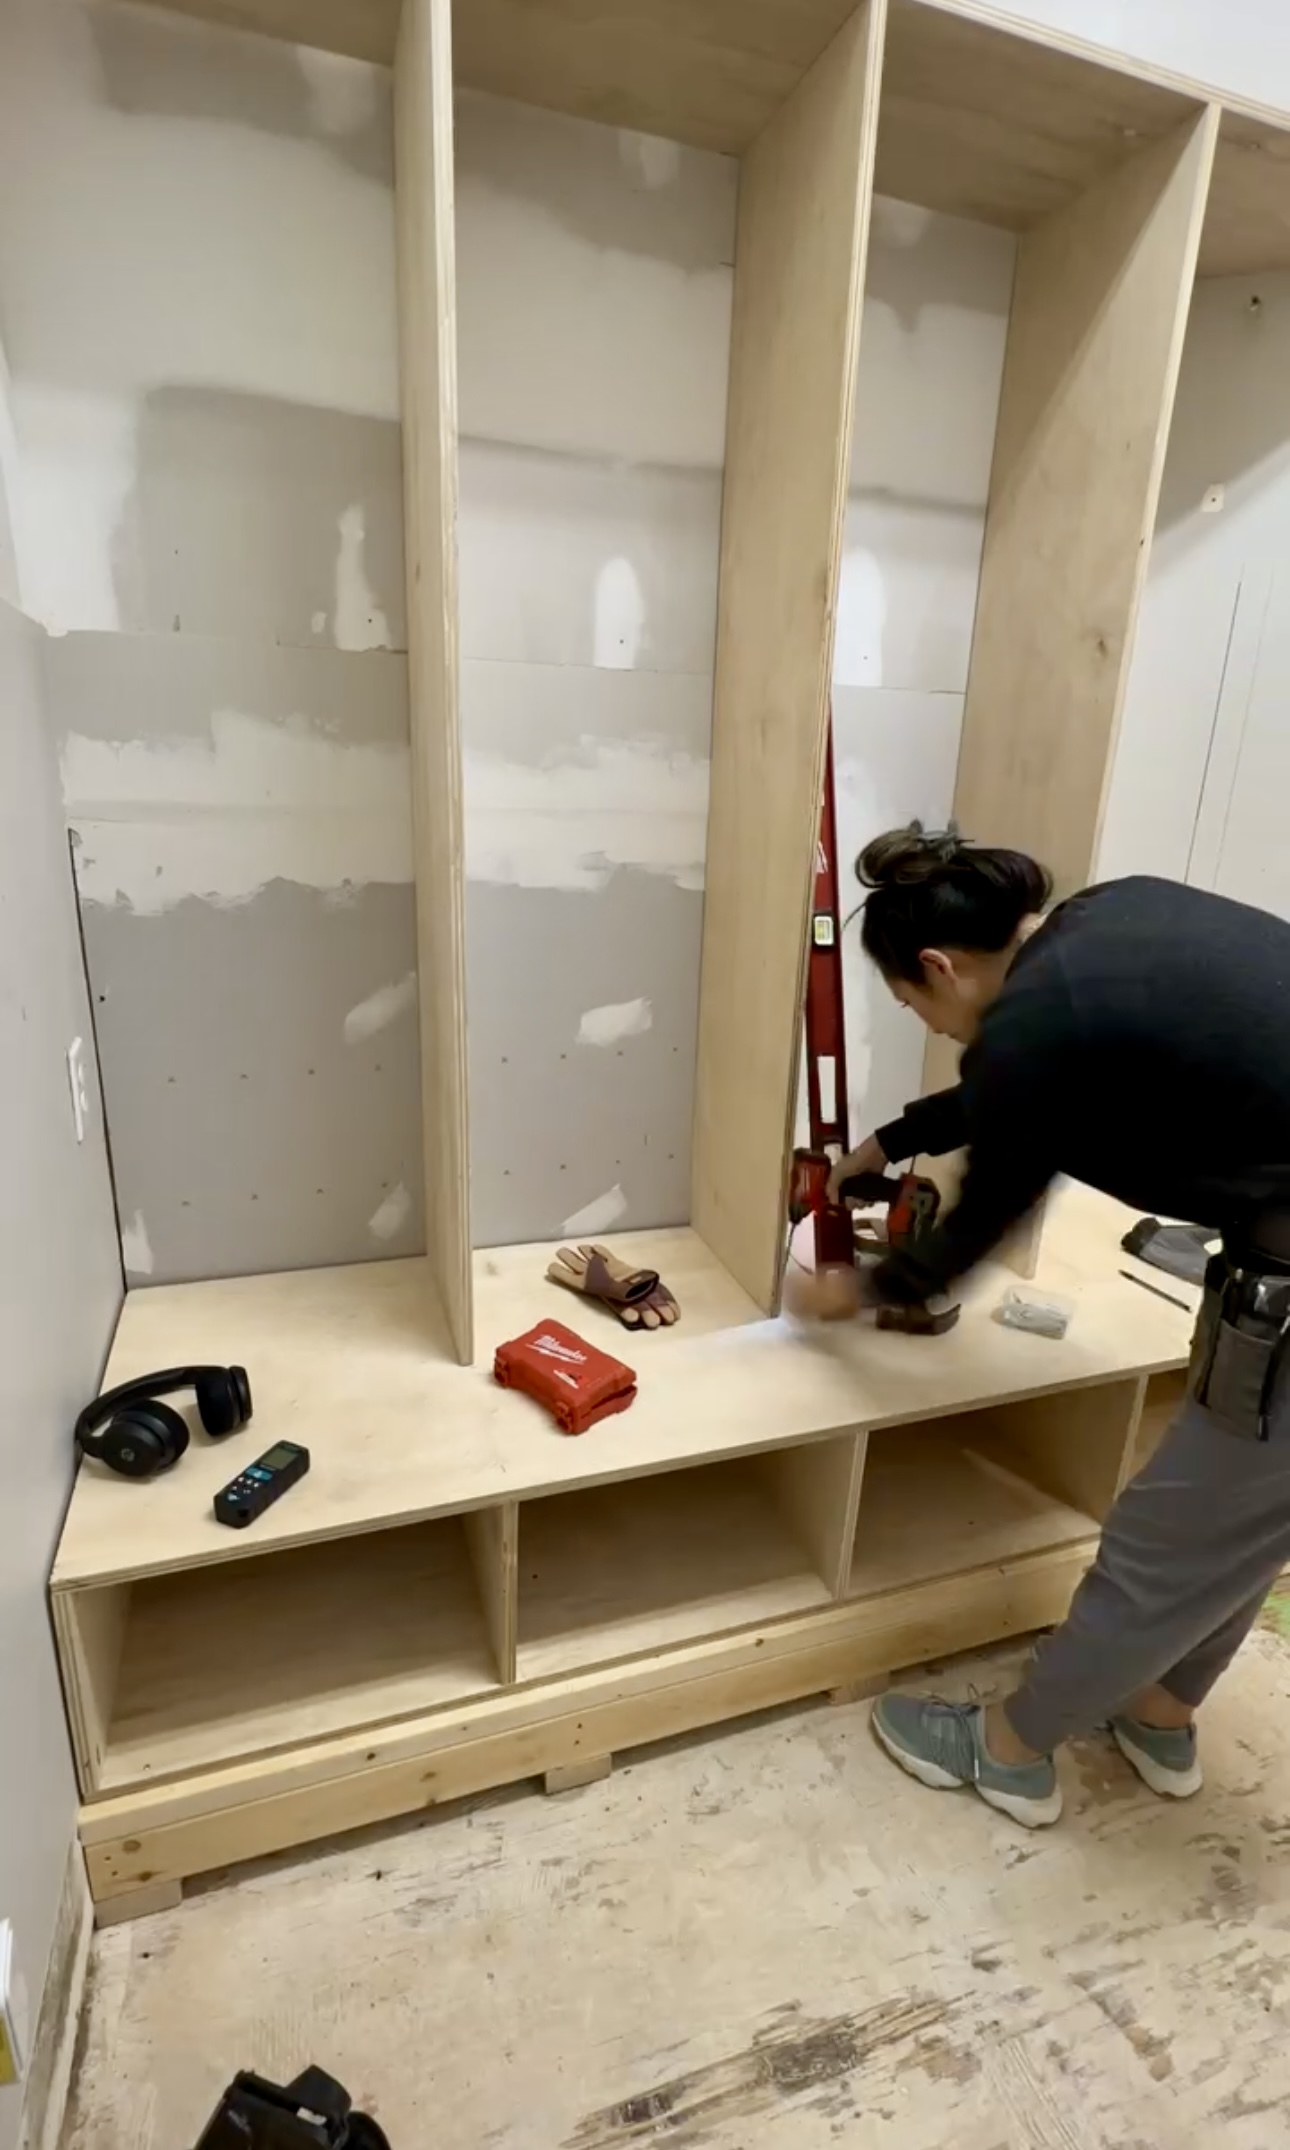
Now it is time to cut the vertical boards for the lockers, again using the rip cutter. I used wood glue and pocket holes to attach the locker boards together. First, I went through and made marks every 19” for the shelves I will add on top. I used this super handy corner clamp that is made by Kreg, especially for working with pocket holes. It just keeps everything lined up at a right angle and secure for you. You can even screw in your pocket holes through the clamp.
Installation
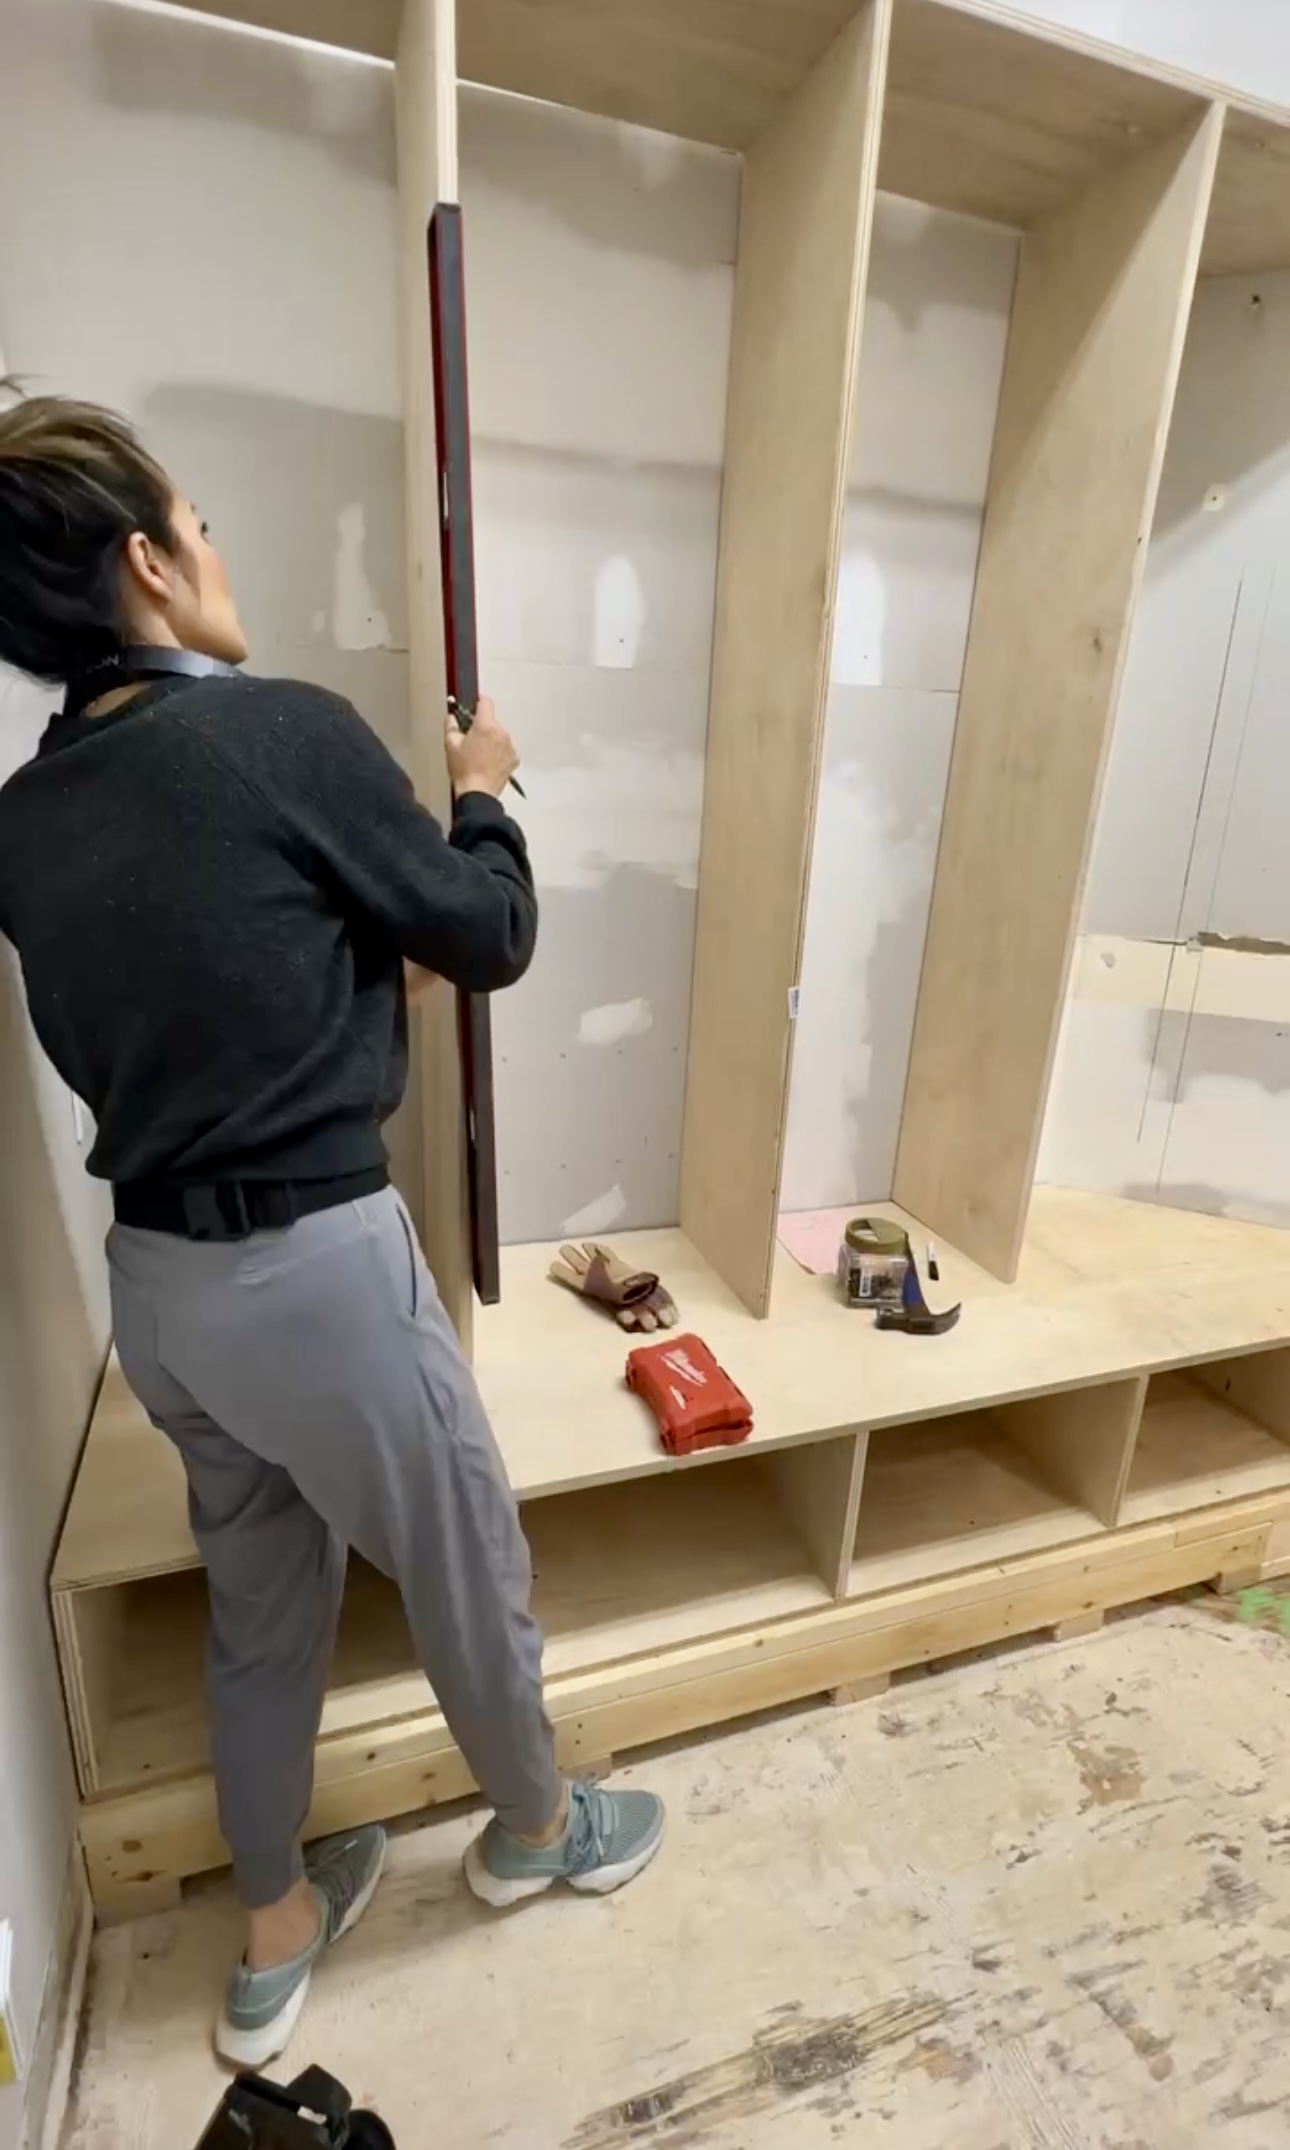
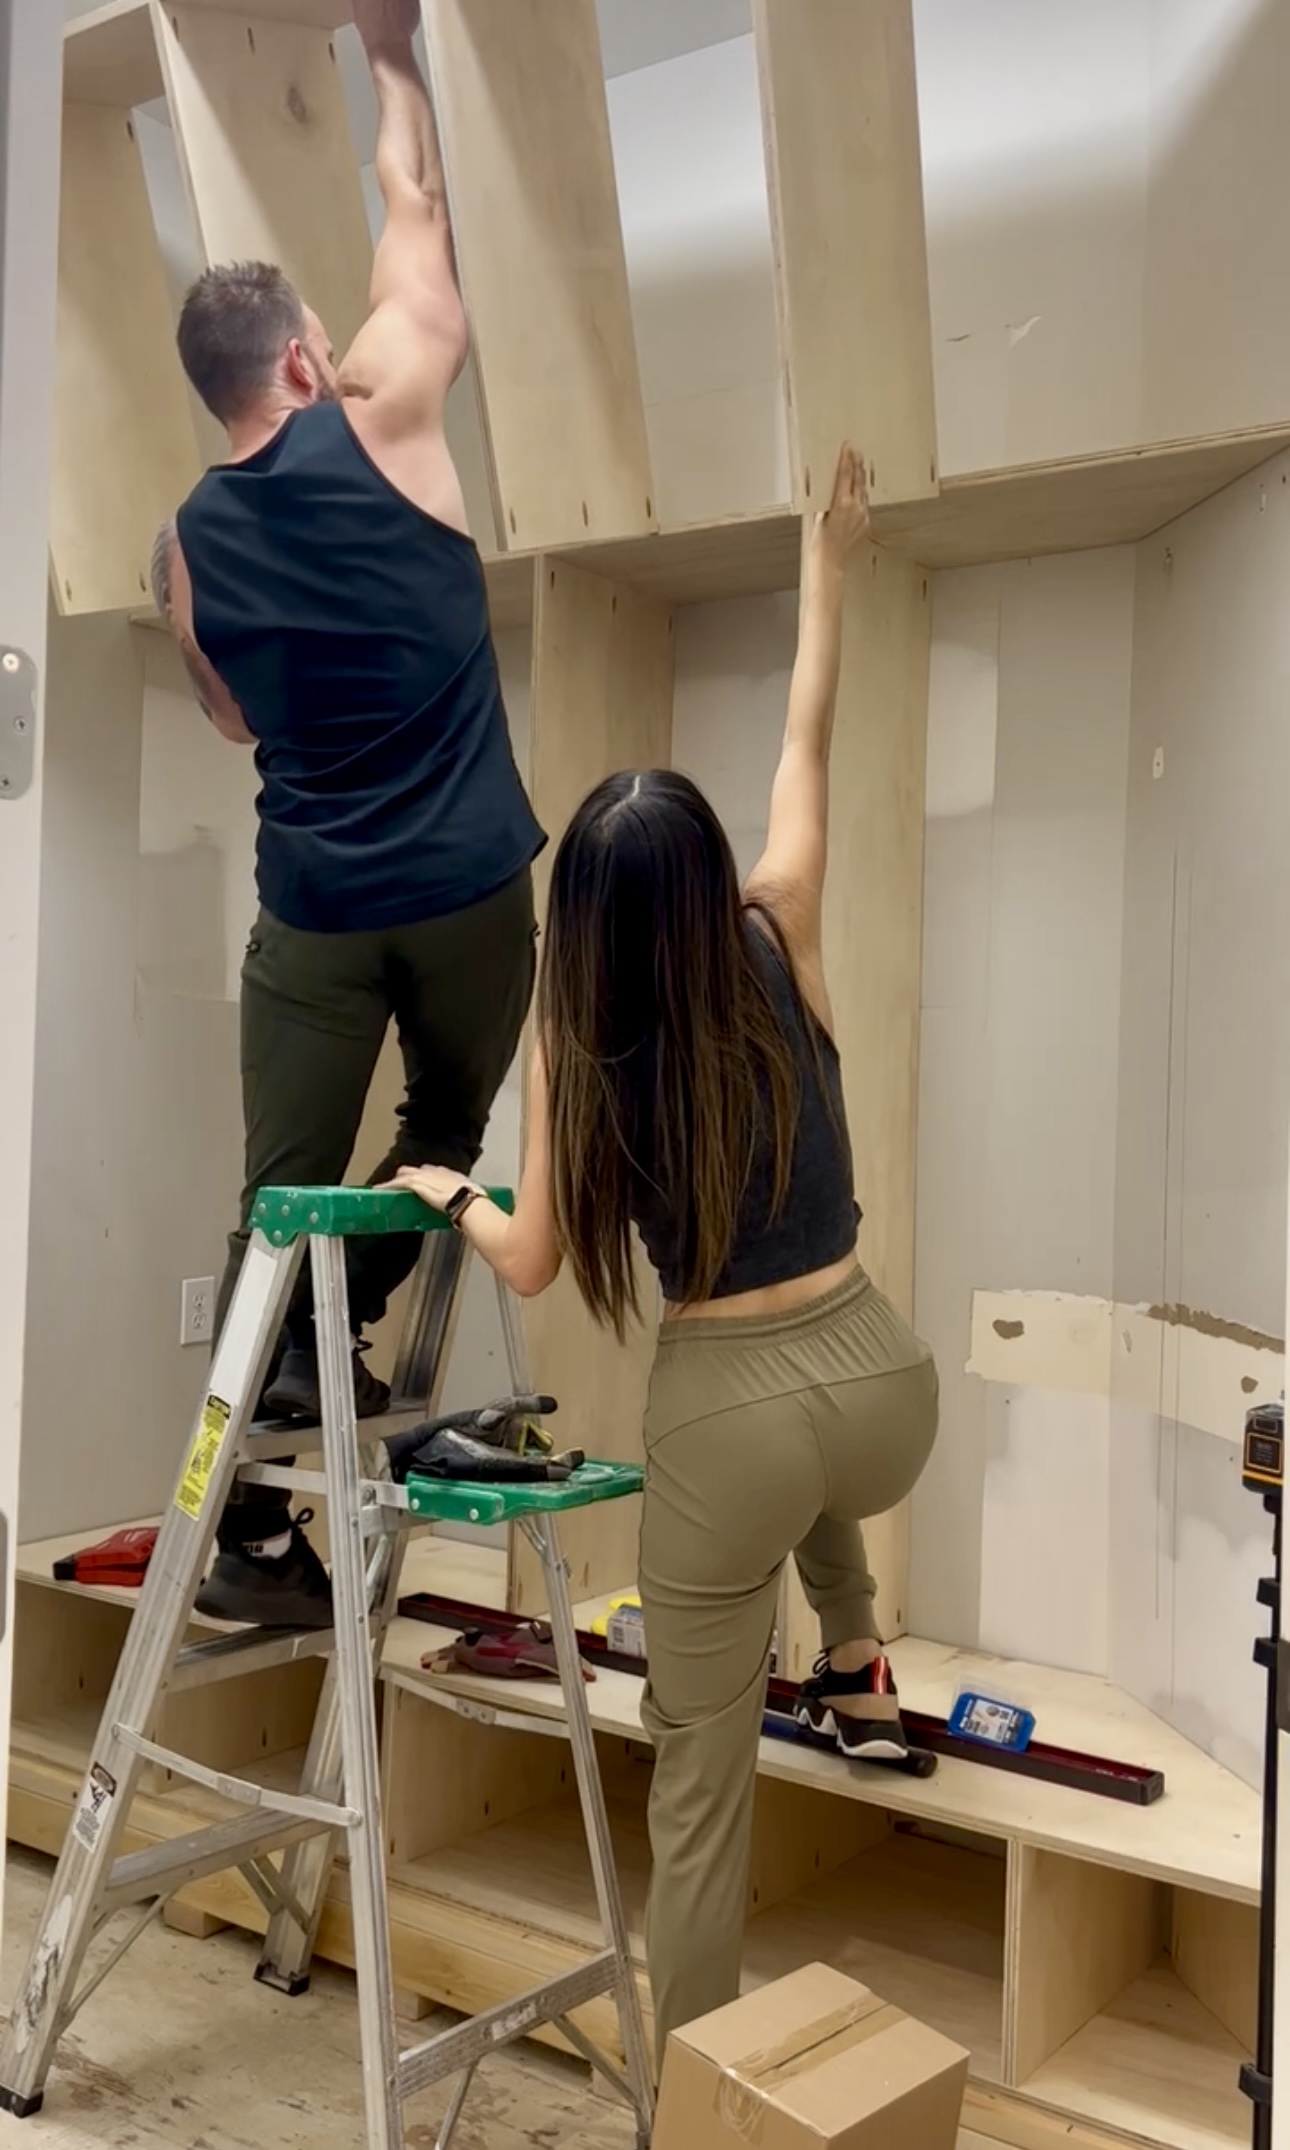
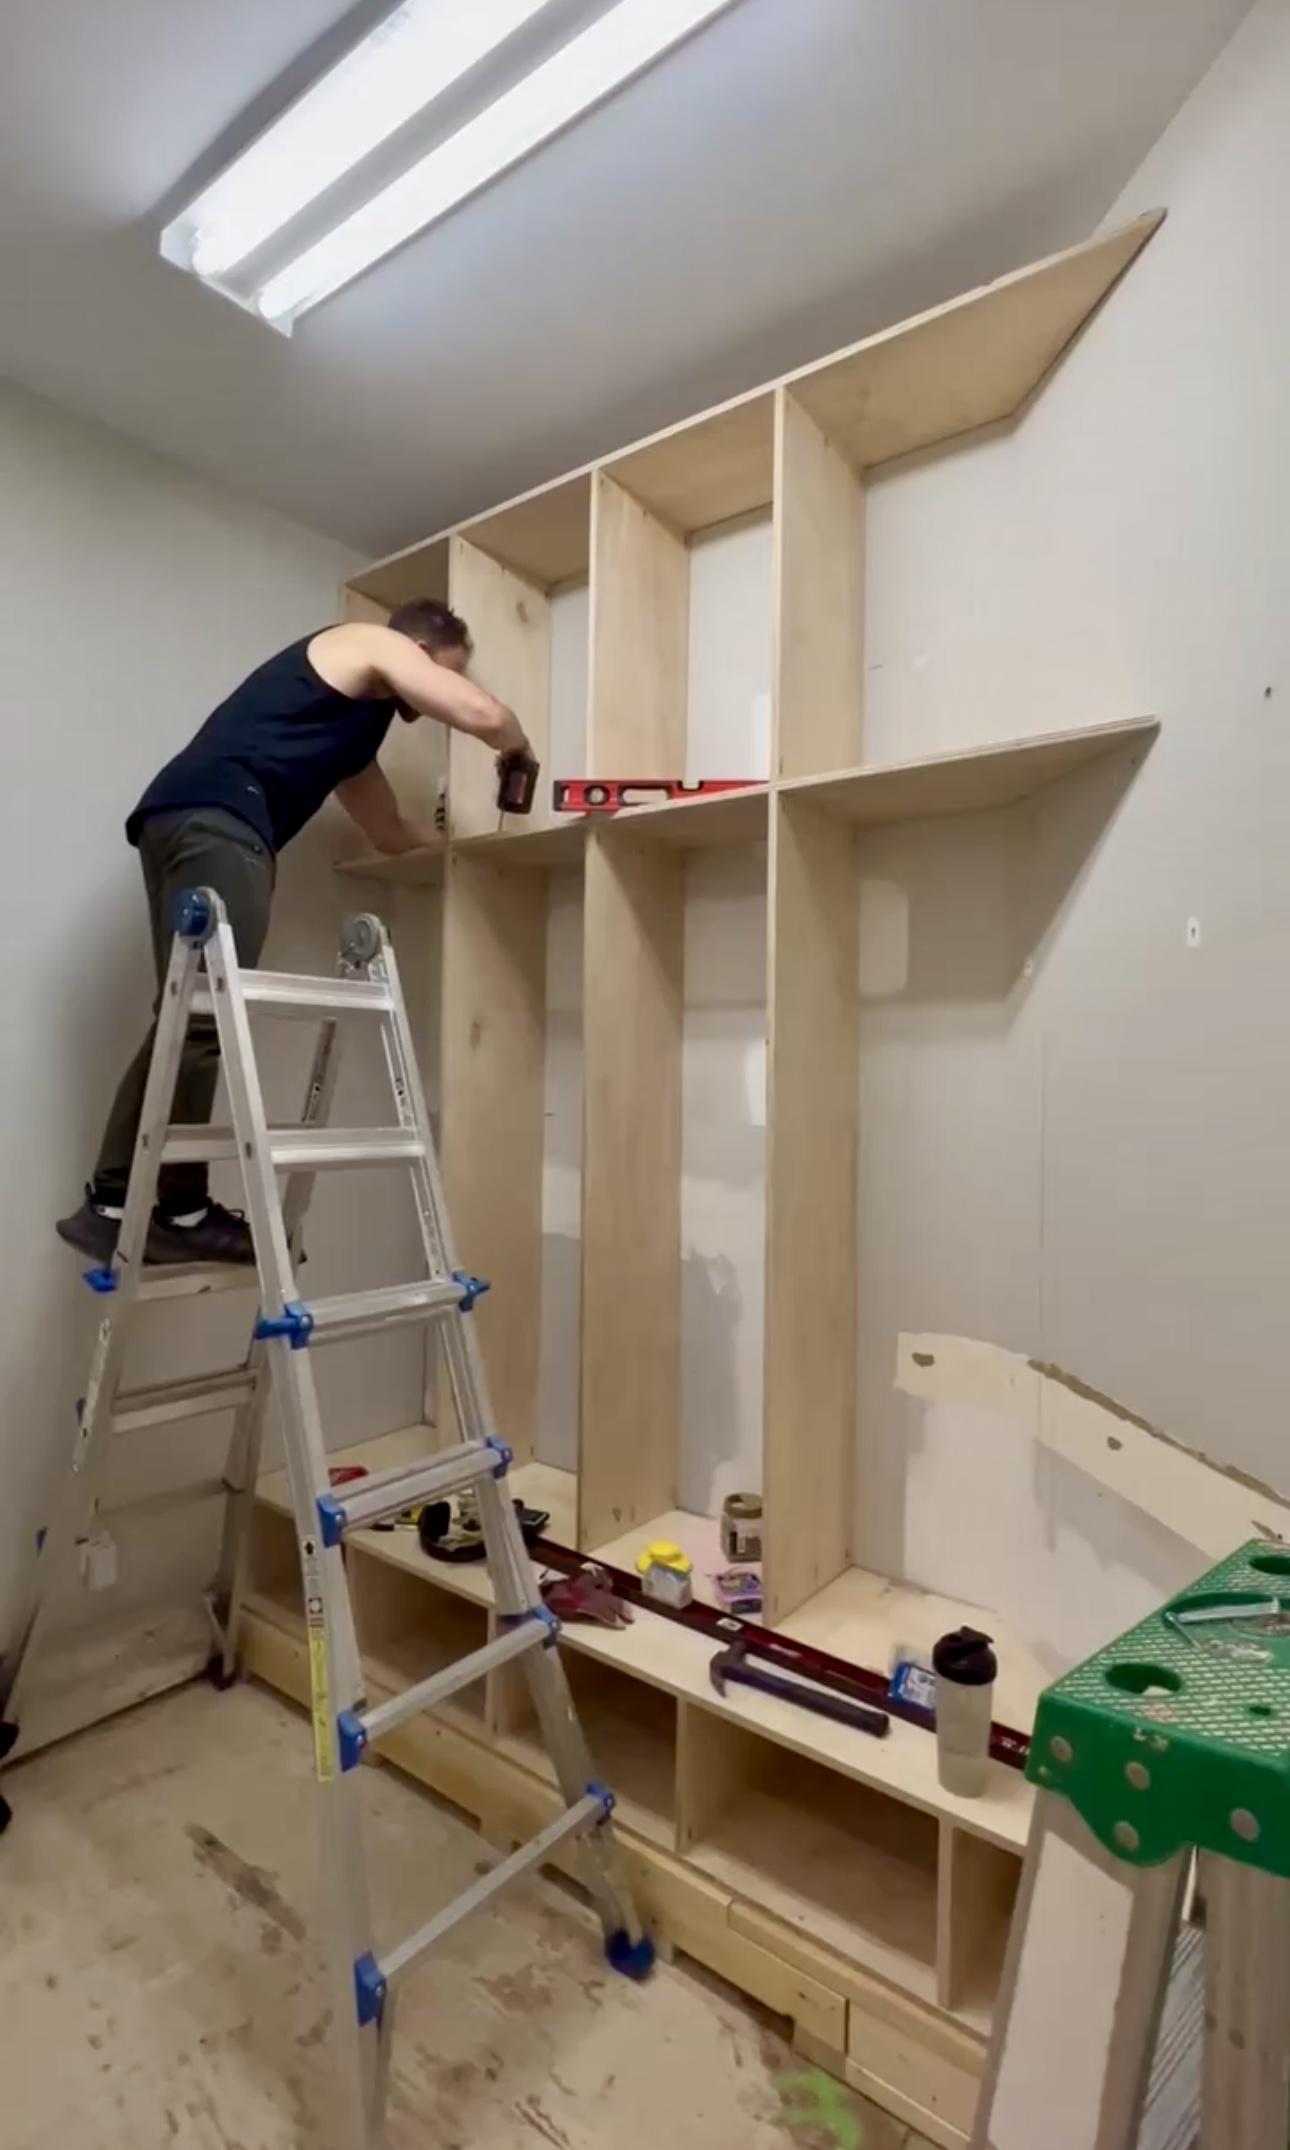
After making sure that the cabinets are plumb I will screw in the pocket screws. You want to line it up so that the screws also go into the wall studs. Make sure to do your pocket holes on the top side (the part facing the ceiling) of the shelf so that you cannot see the holes from below.
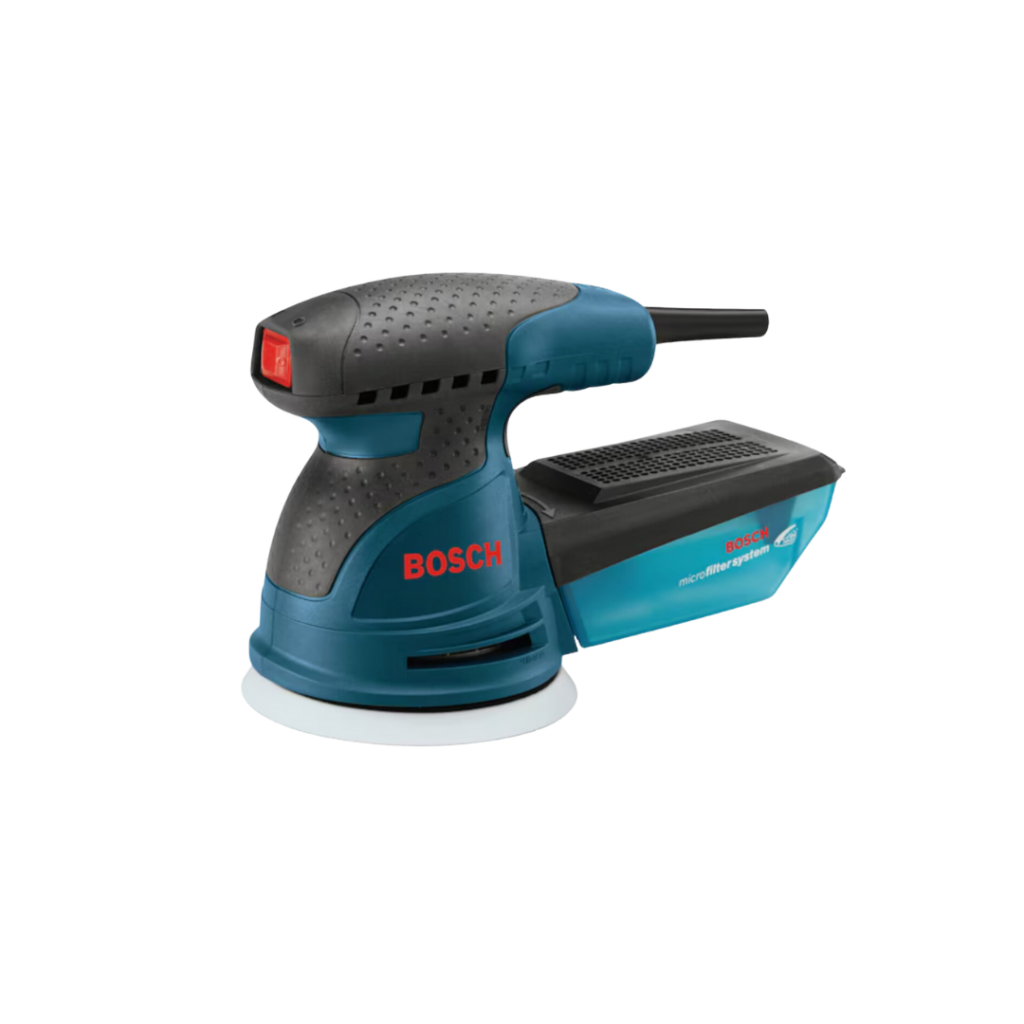
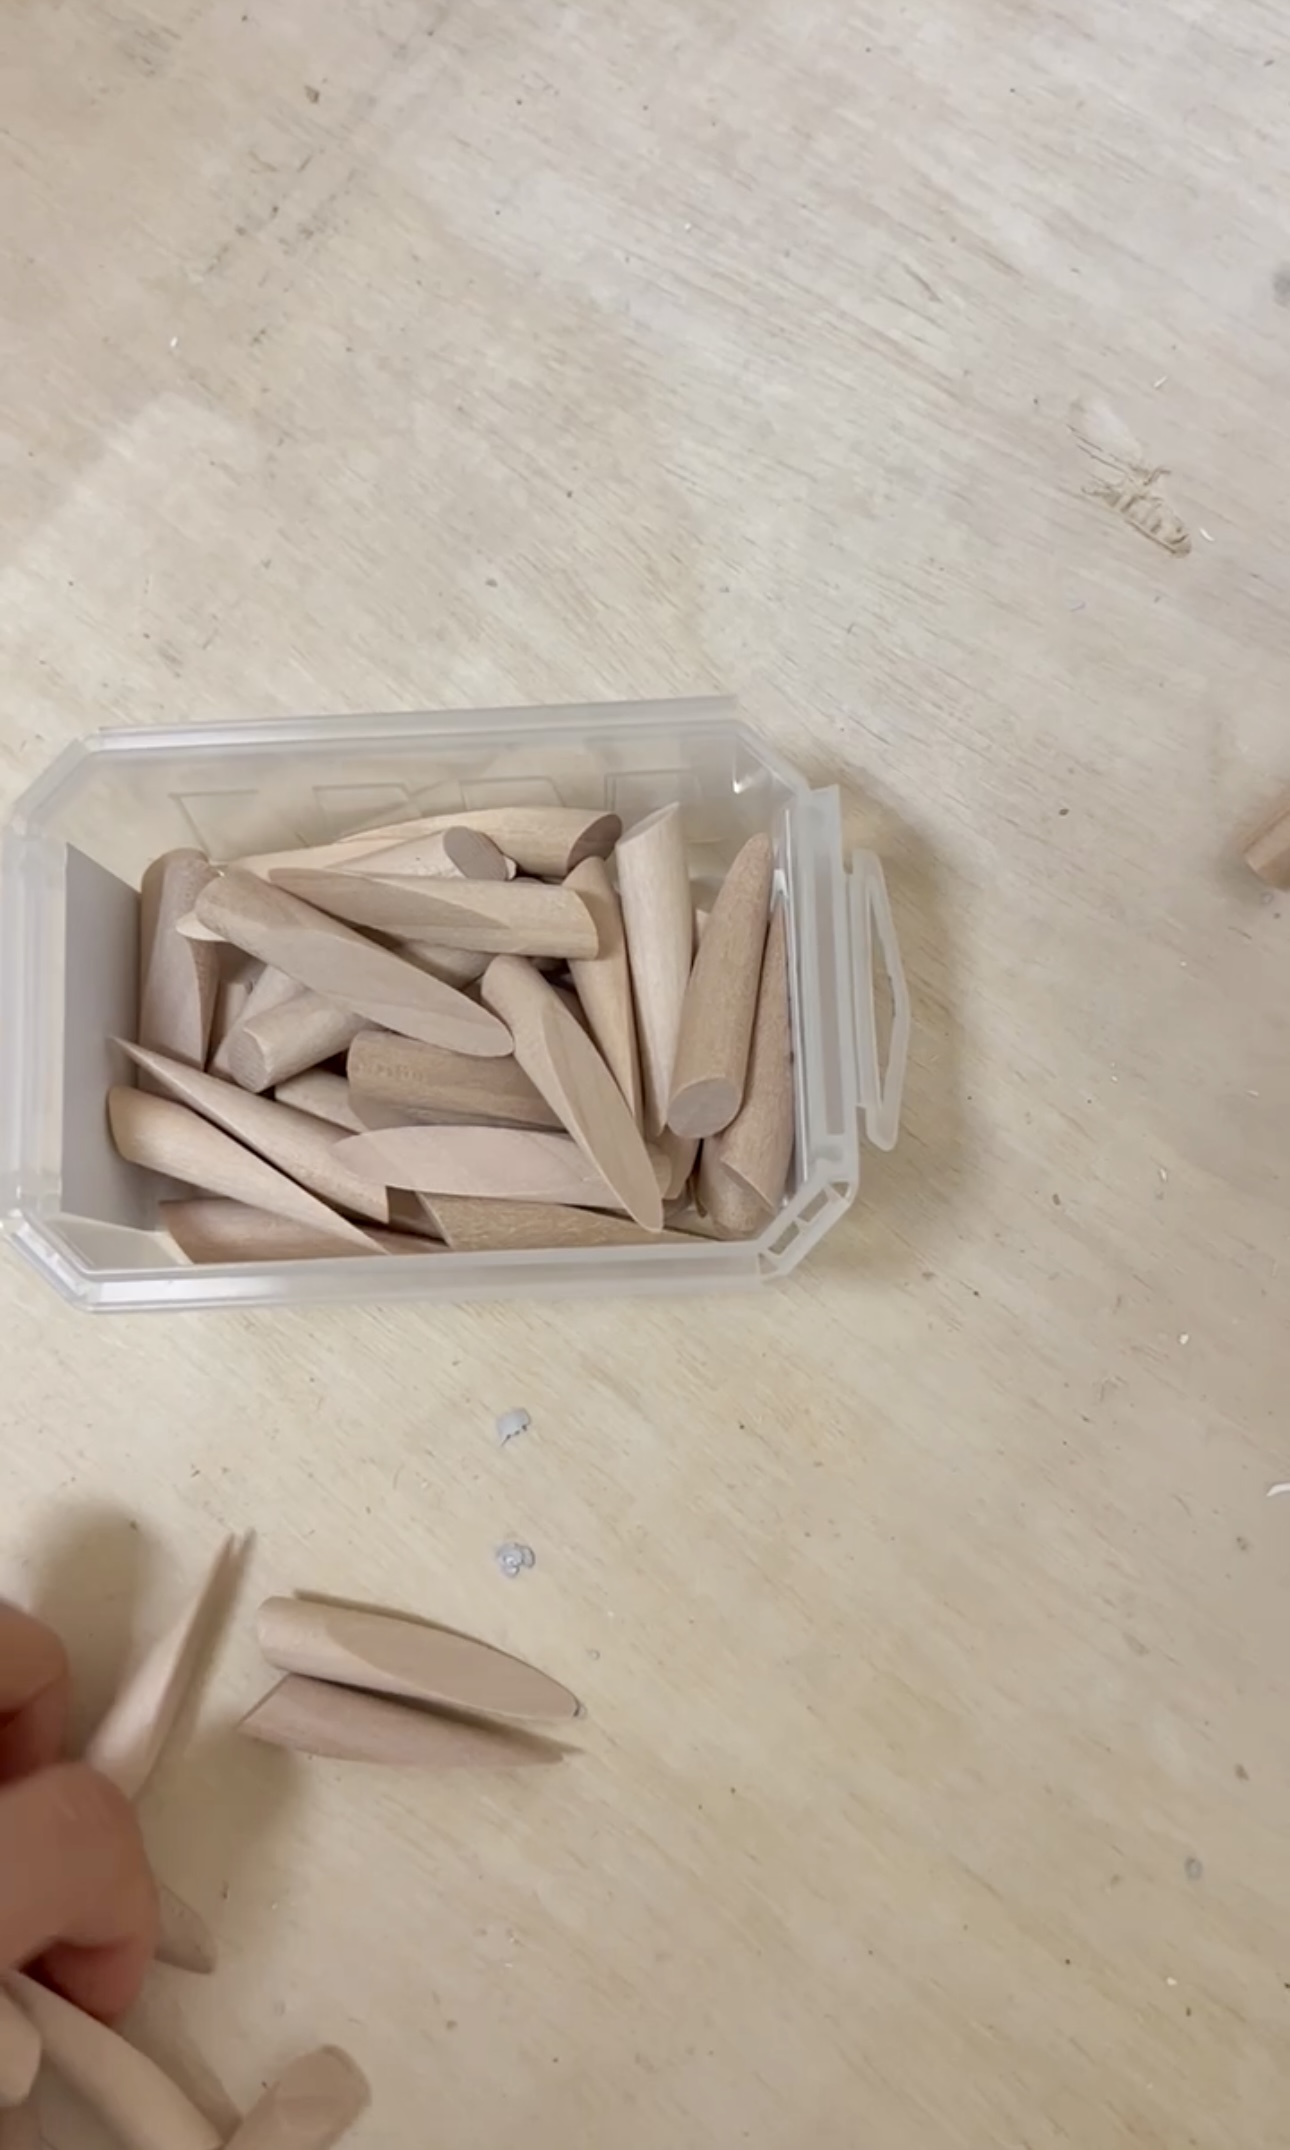
They make plugs for pocket holes. By just putting glue on the plug and then jamming in the plug you create a flush look. Sometimes, however, the plug doesn’t go in perfectly flush. So after the glue dries I use a sander to trim away any access.
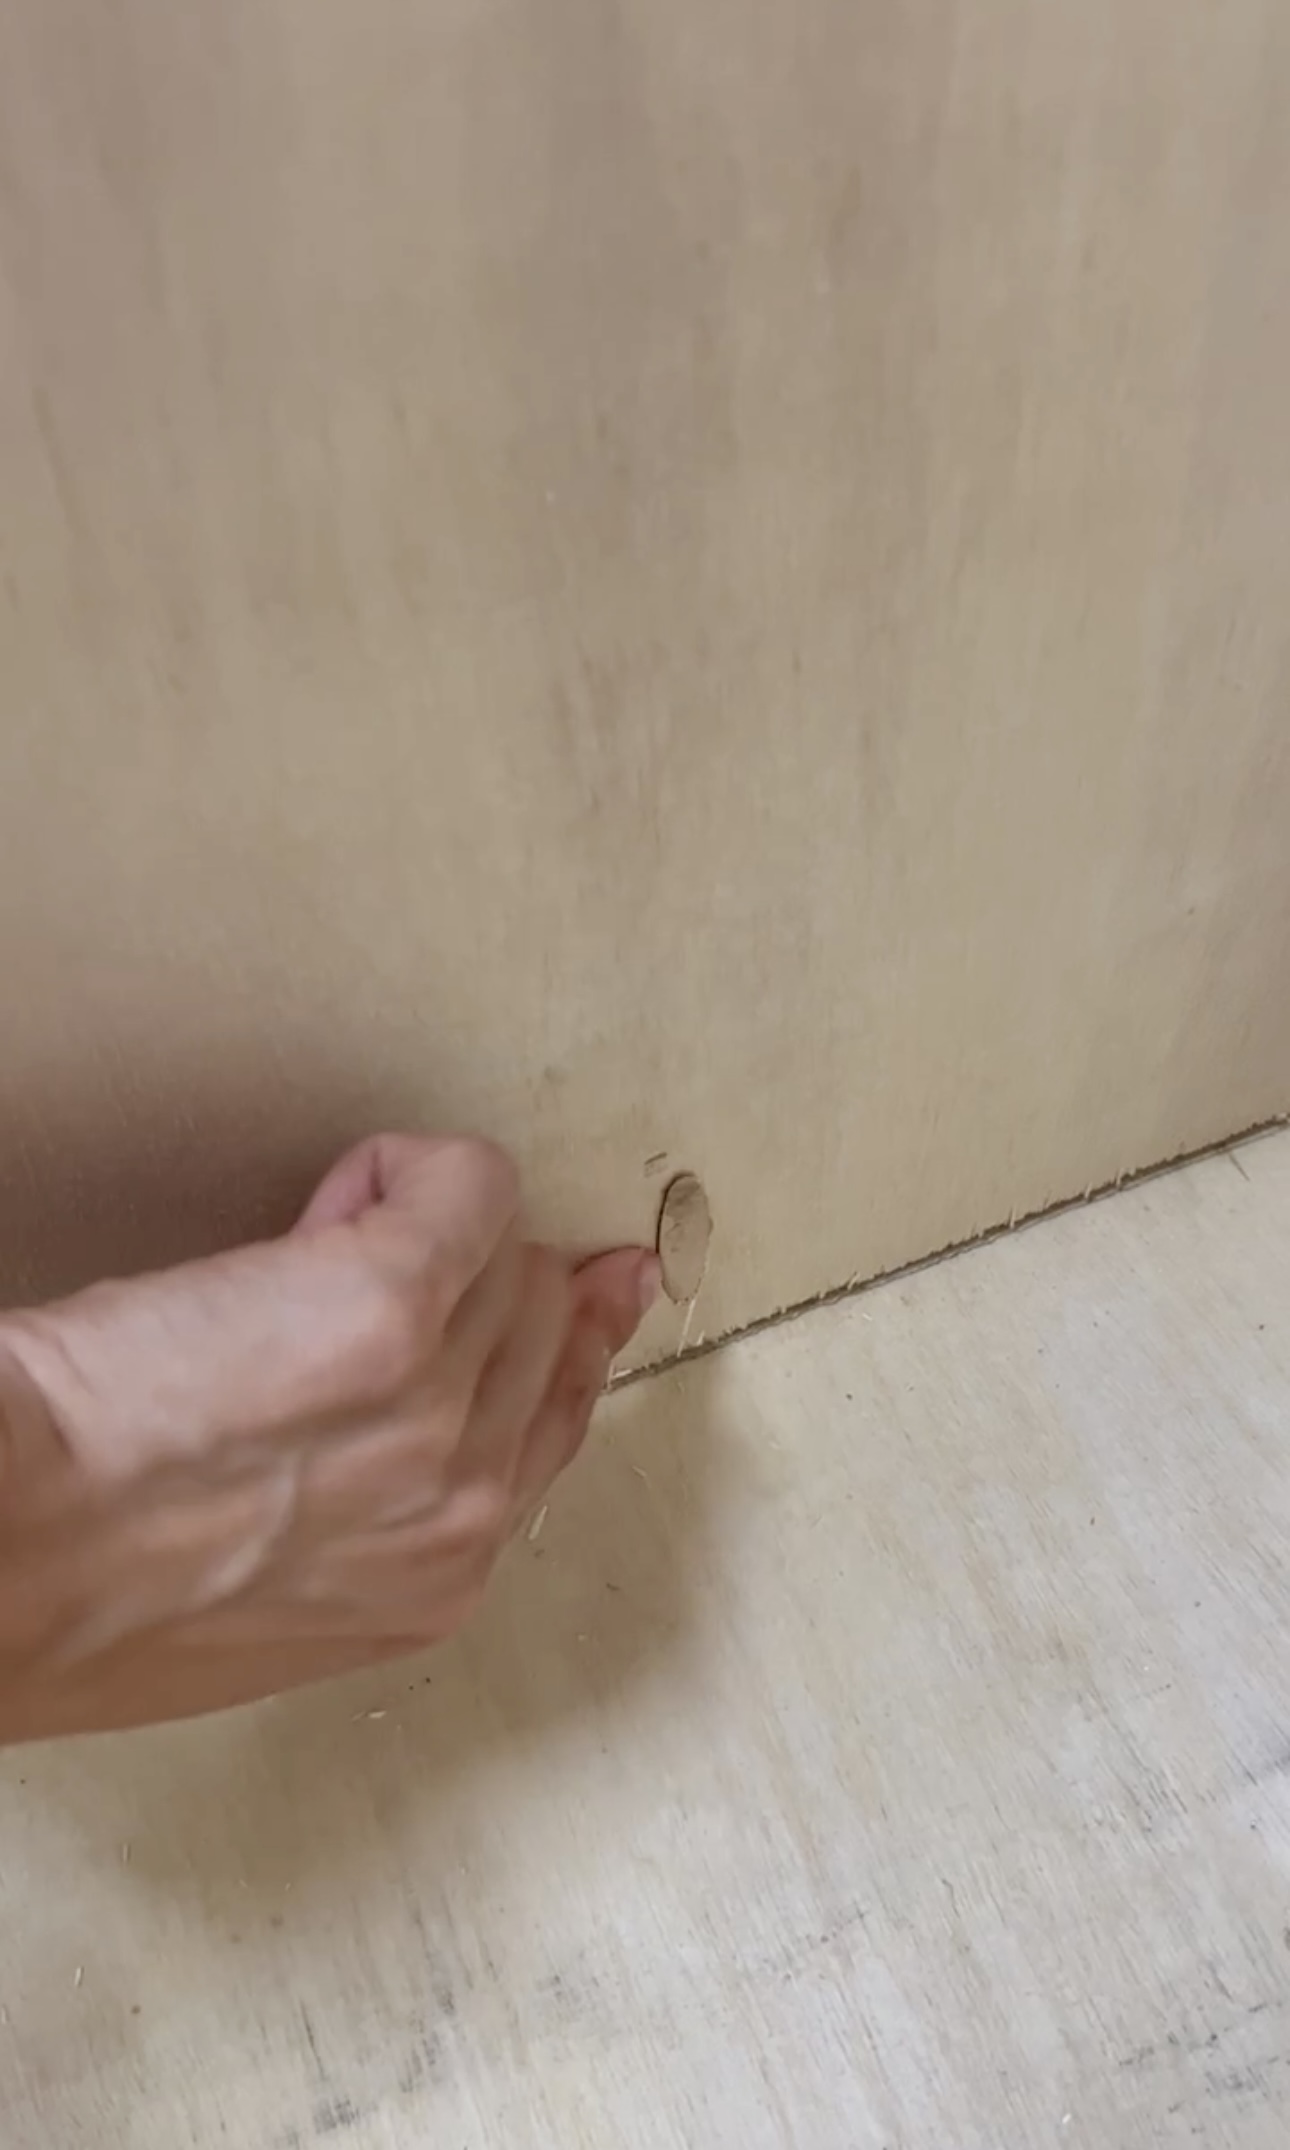
Above the shelves, I will do some crown molding in order to make it a true floor-to-ceiling locker. We have an interesting angled locker but I am cutting everything so that it looks like a straight wall on the outside and you just notice the angle once you open the locker.
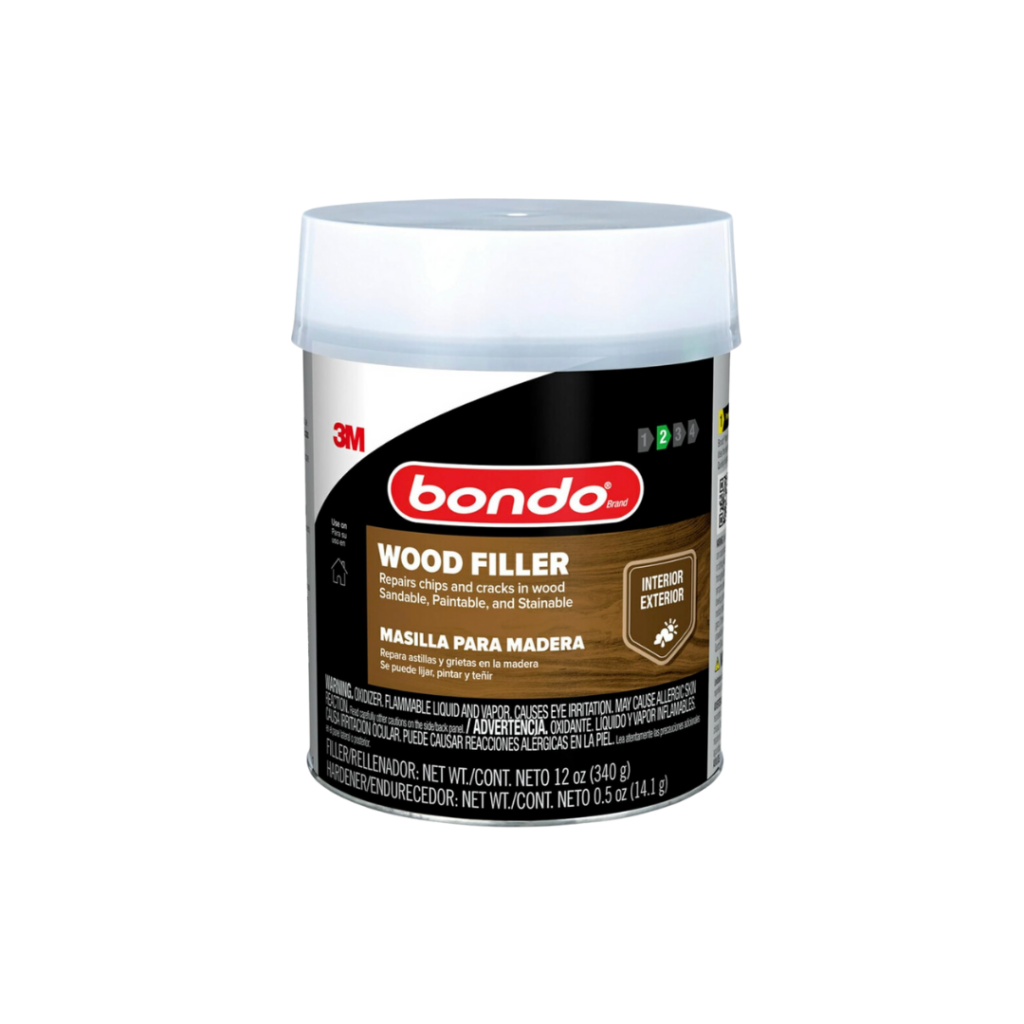
I cut the board for the edge of the mudroom lockers and it was a snug fit but I finally got it in and straight. Then I just screwed in the pocket holes to secure it together. Next, we filled all the pocket holes with more bondo, sanded them down, and then caulked in all the seams. Because my back wall wasn’t perfectly straight, I used a backer rod to fill the gaps. This keeps the caulk from falling through. It comes in all different sizes and is perfect for filling the crack between the shelf and the wall. I cut the backer rods in half just to waste less.
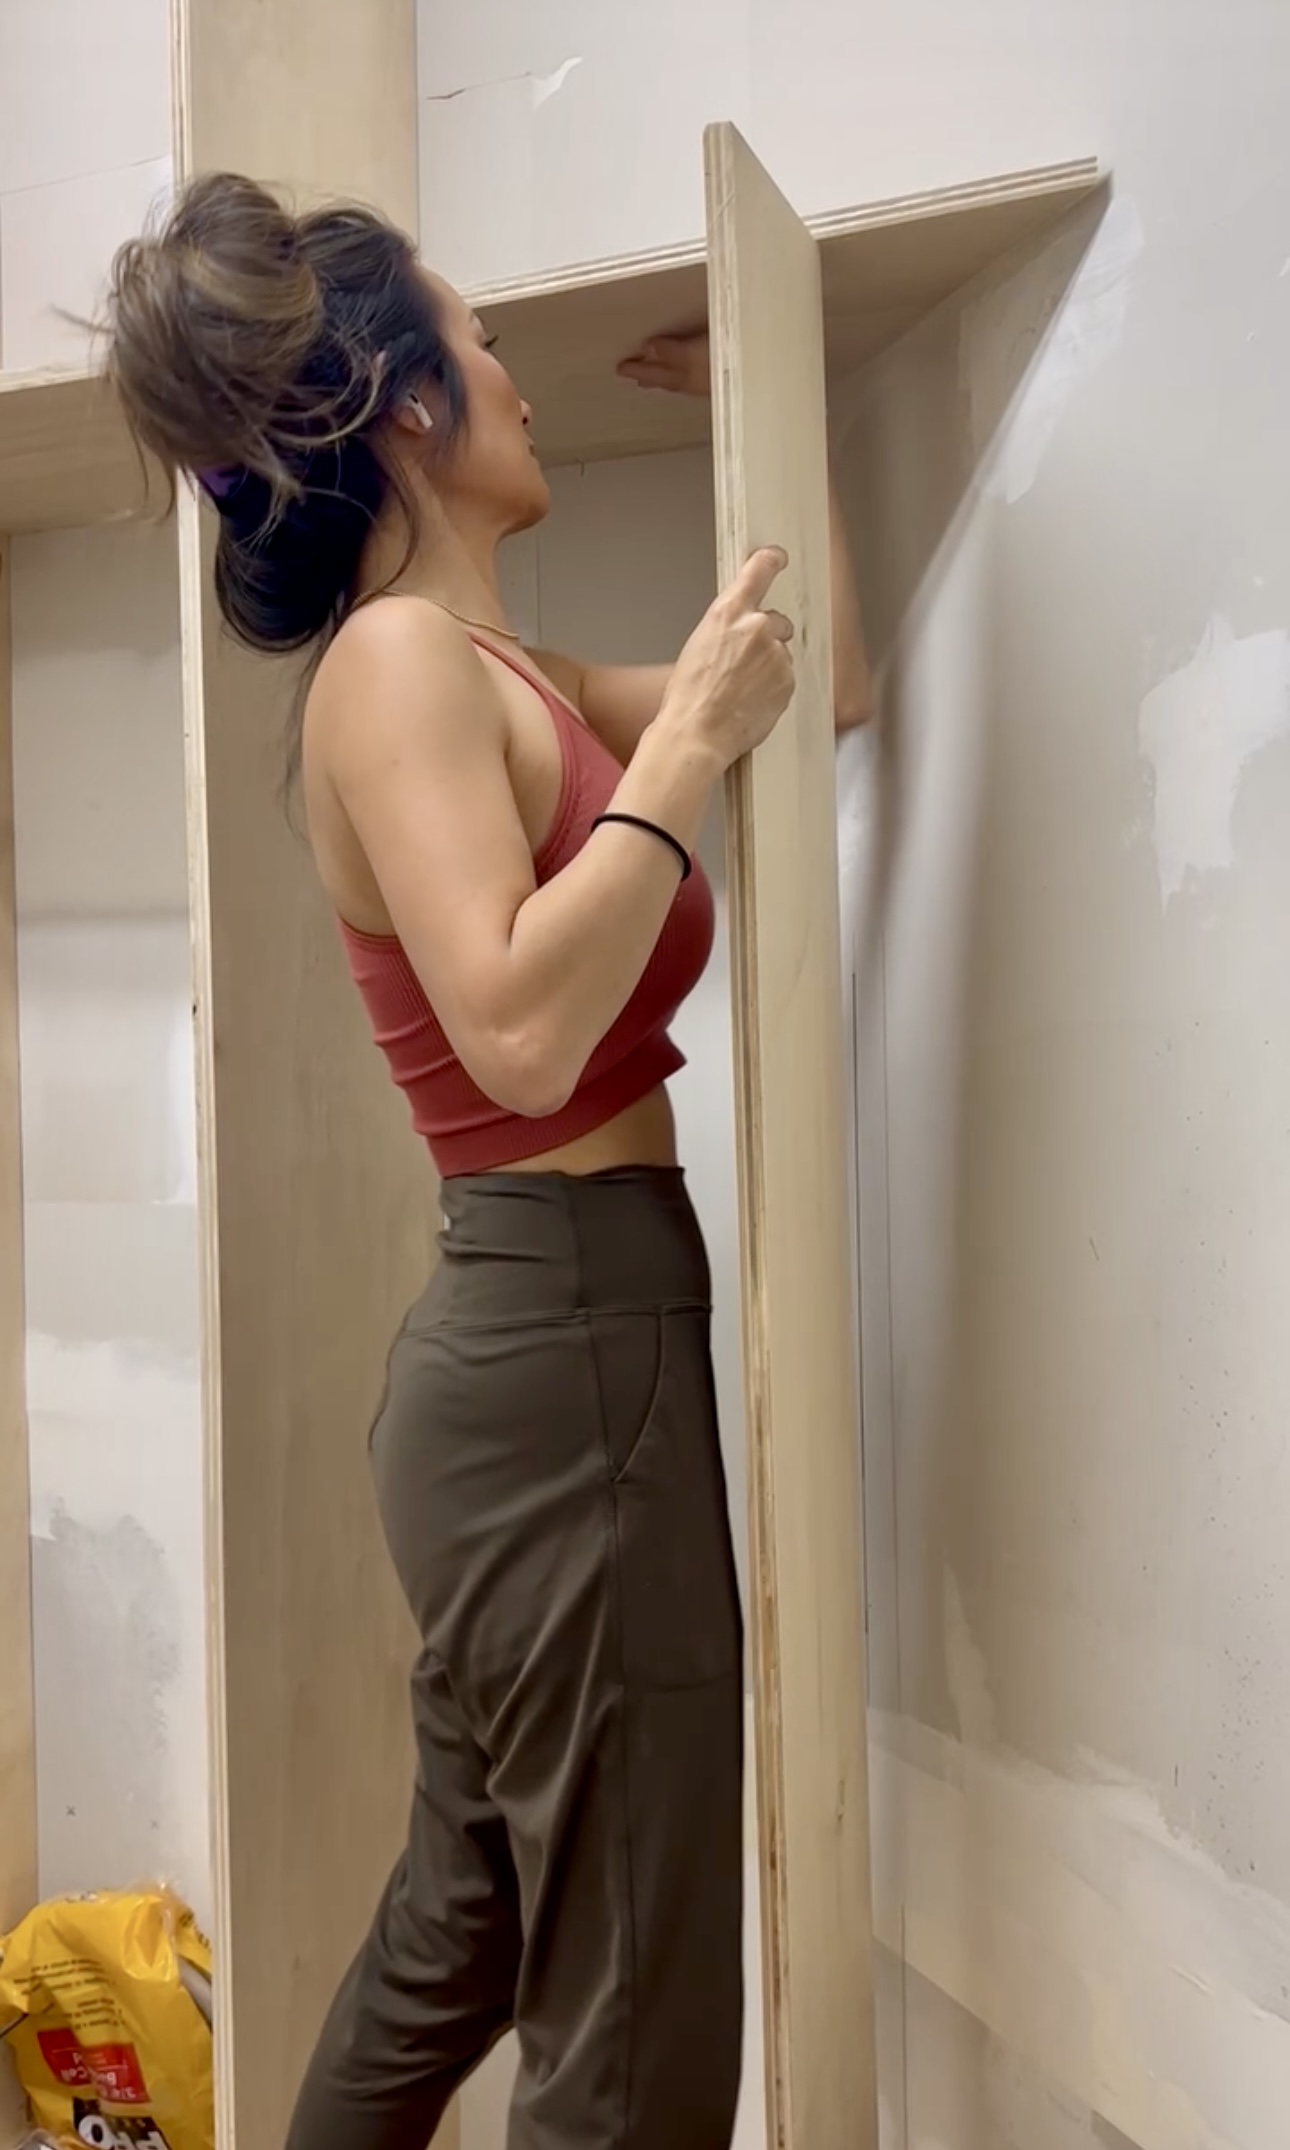
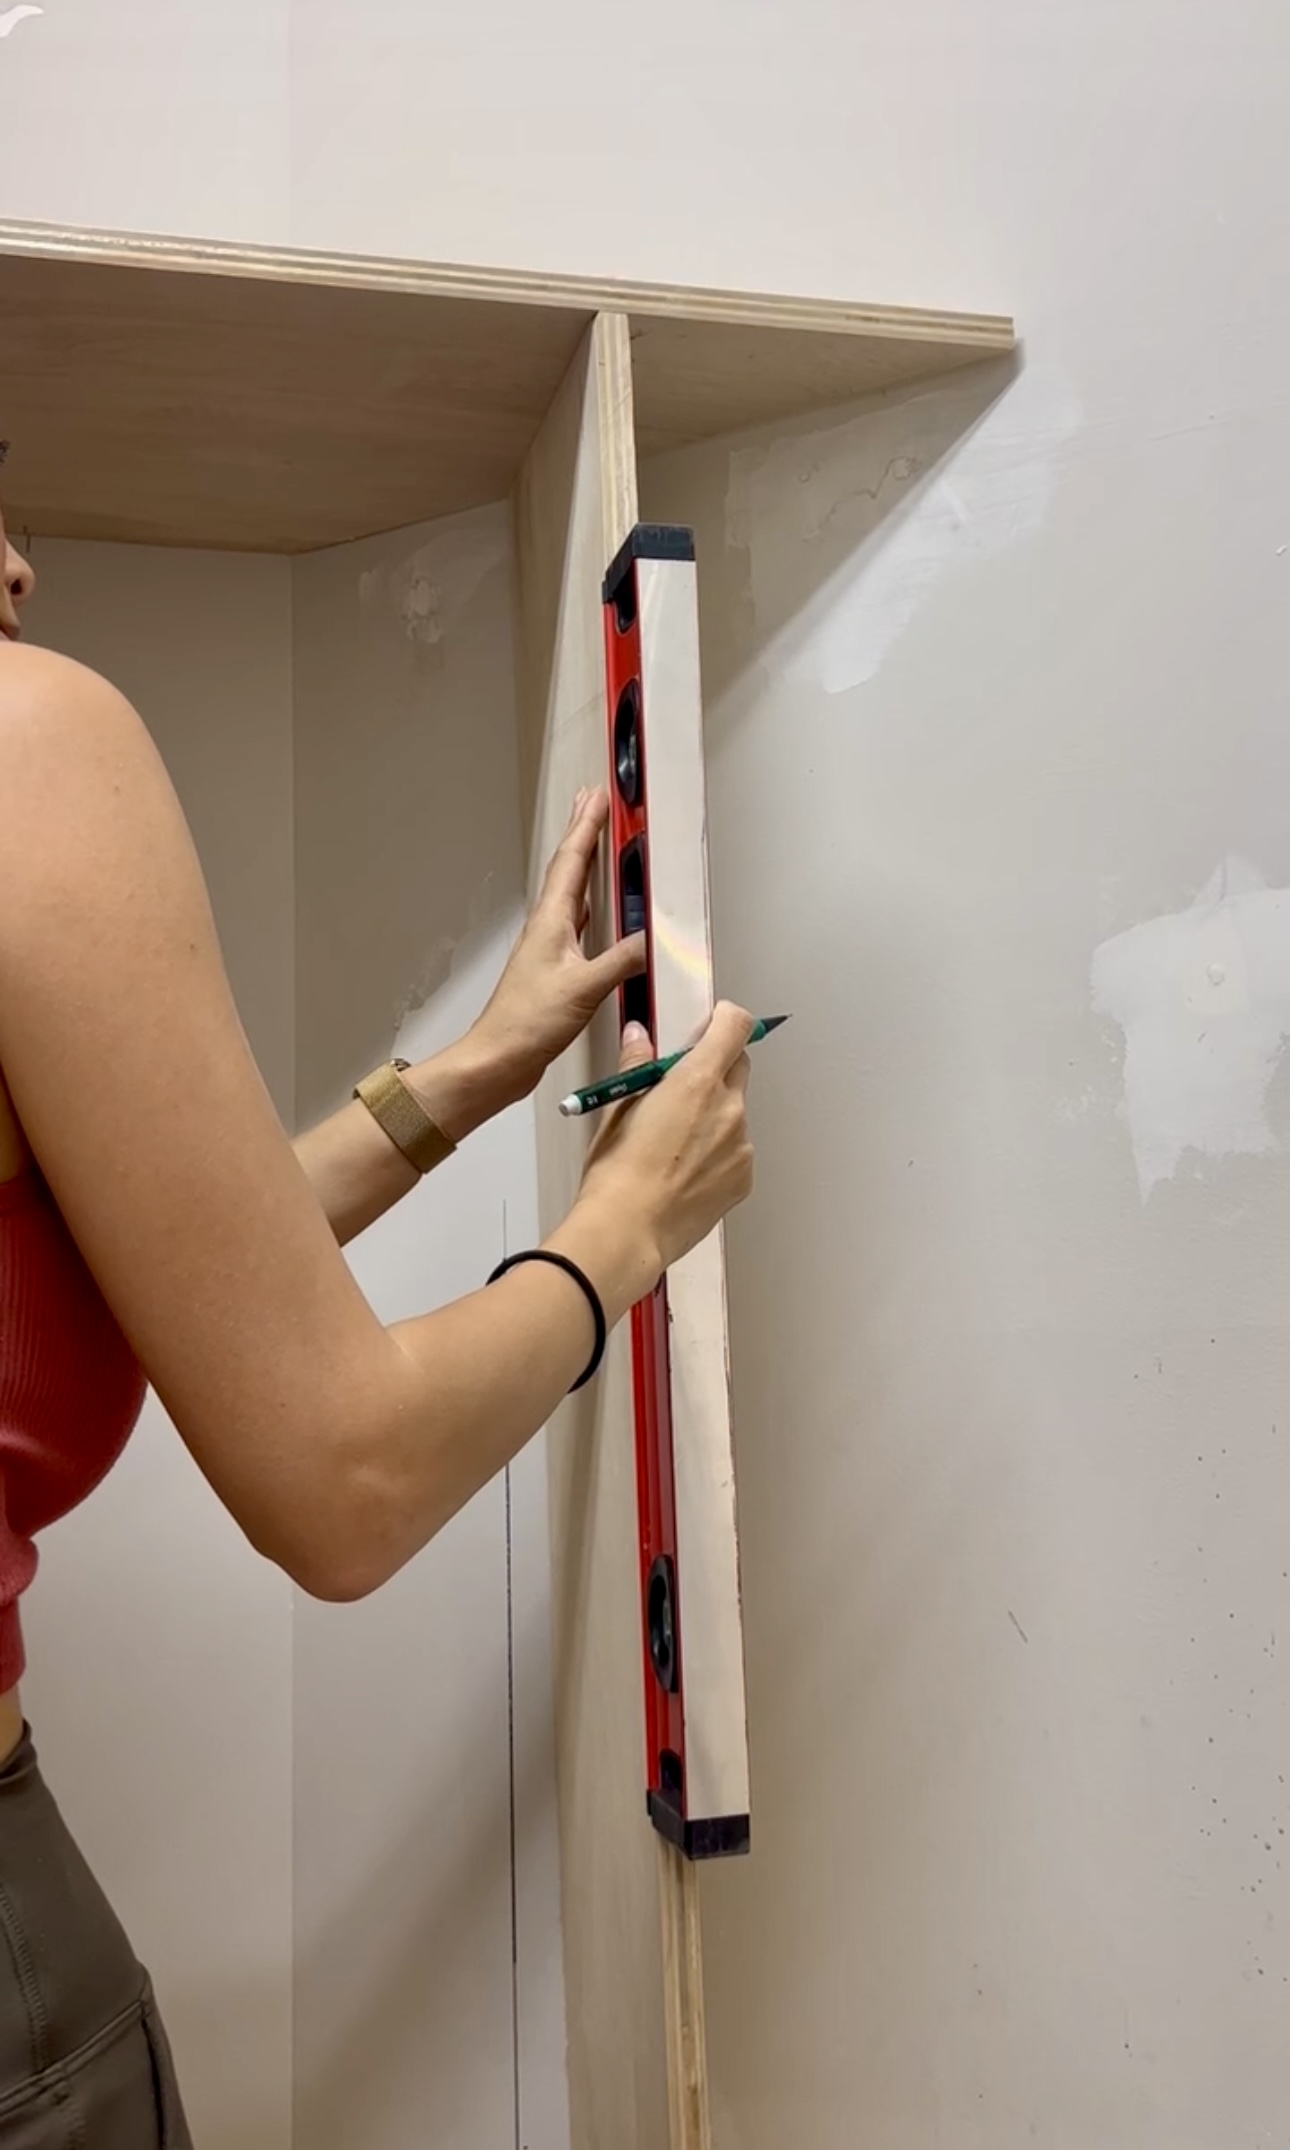
Let’s break down how to use bondo. It comes in two parts, the filler and then the small tube of hardener that activates the bondo. I think it is a 10:1 ratio of bondo to activator and you just mix it up really well. It is important to work in small batches or you won’t get the bondo where you want it nicely before it hardens. The biggest thing is don’t overfill your holes because it is a beast to sand off!
Trim
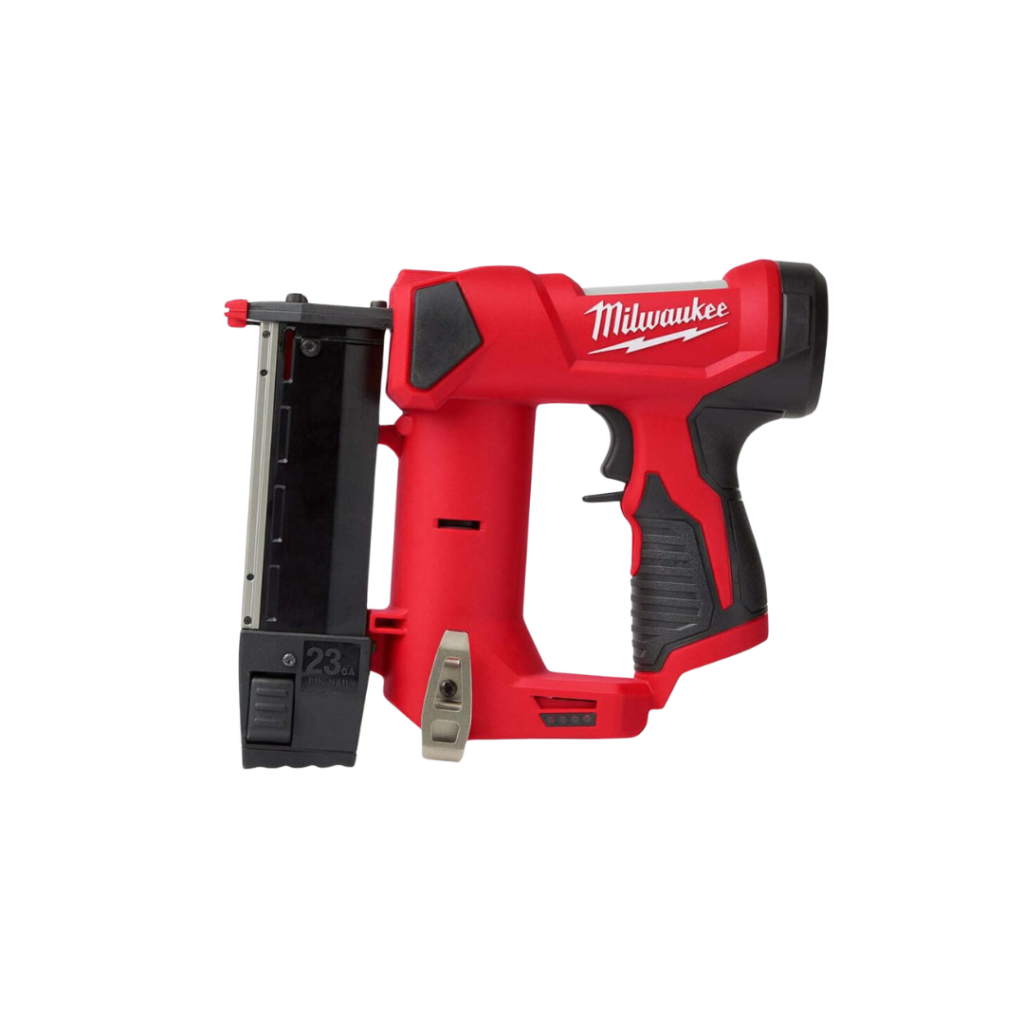
Now it’s time to trim out the boxes. I’m using 1×2” pine trim that you just stick on the front to give it a nice, finished look. I cut the 1×2” board then I used some glue and a brad nailer to attach it to the front with 1.5” nails. I did this for the entire shell of the cabinet. For the trim on the side locker that is at an angle, I beveled it on the side for a perfect fit.
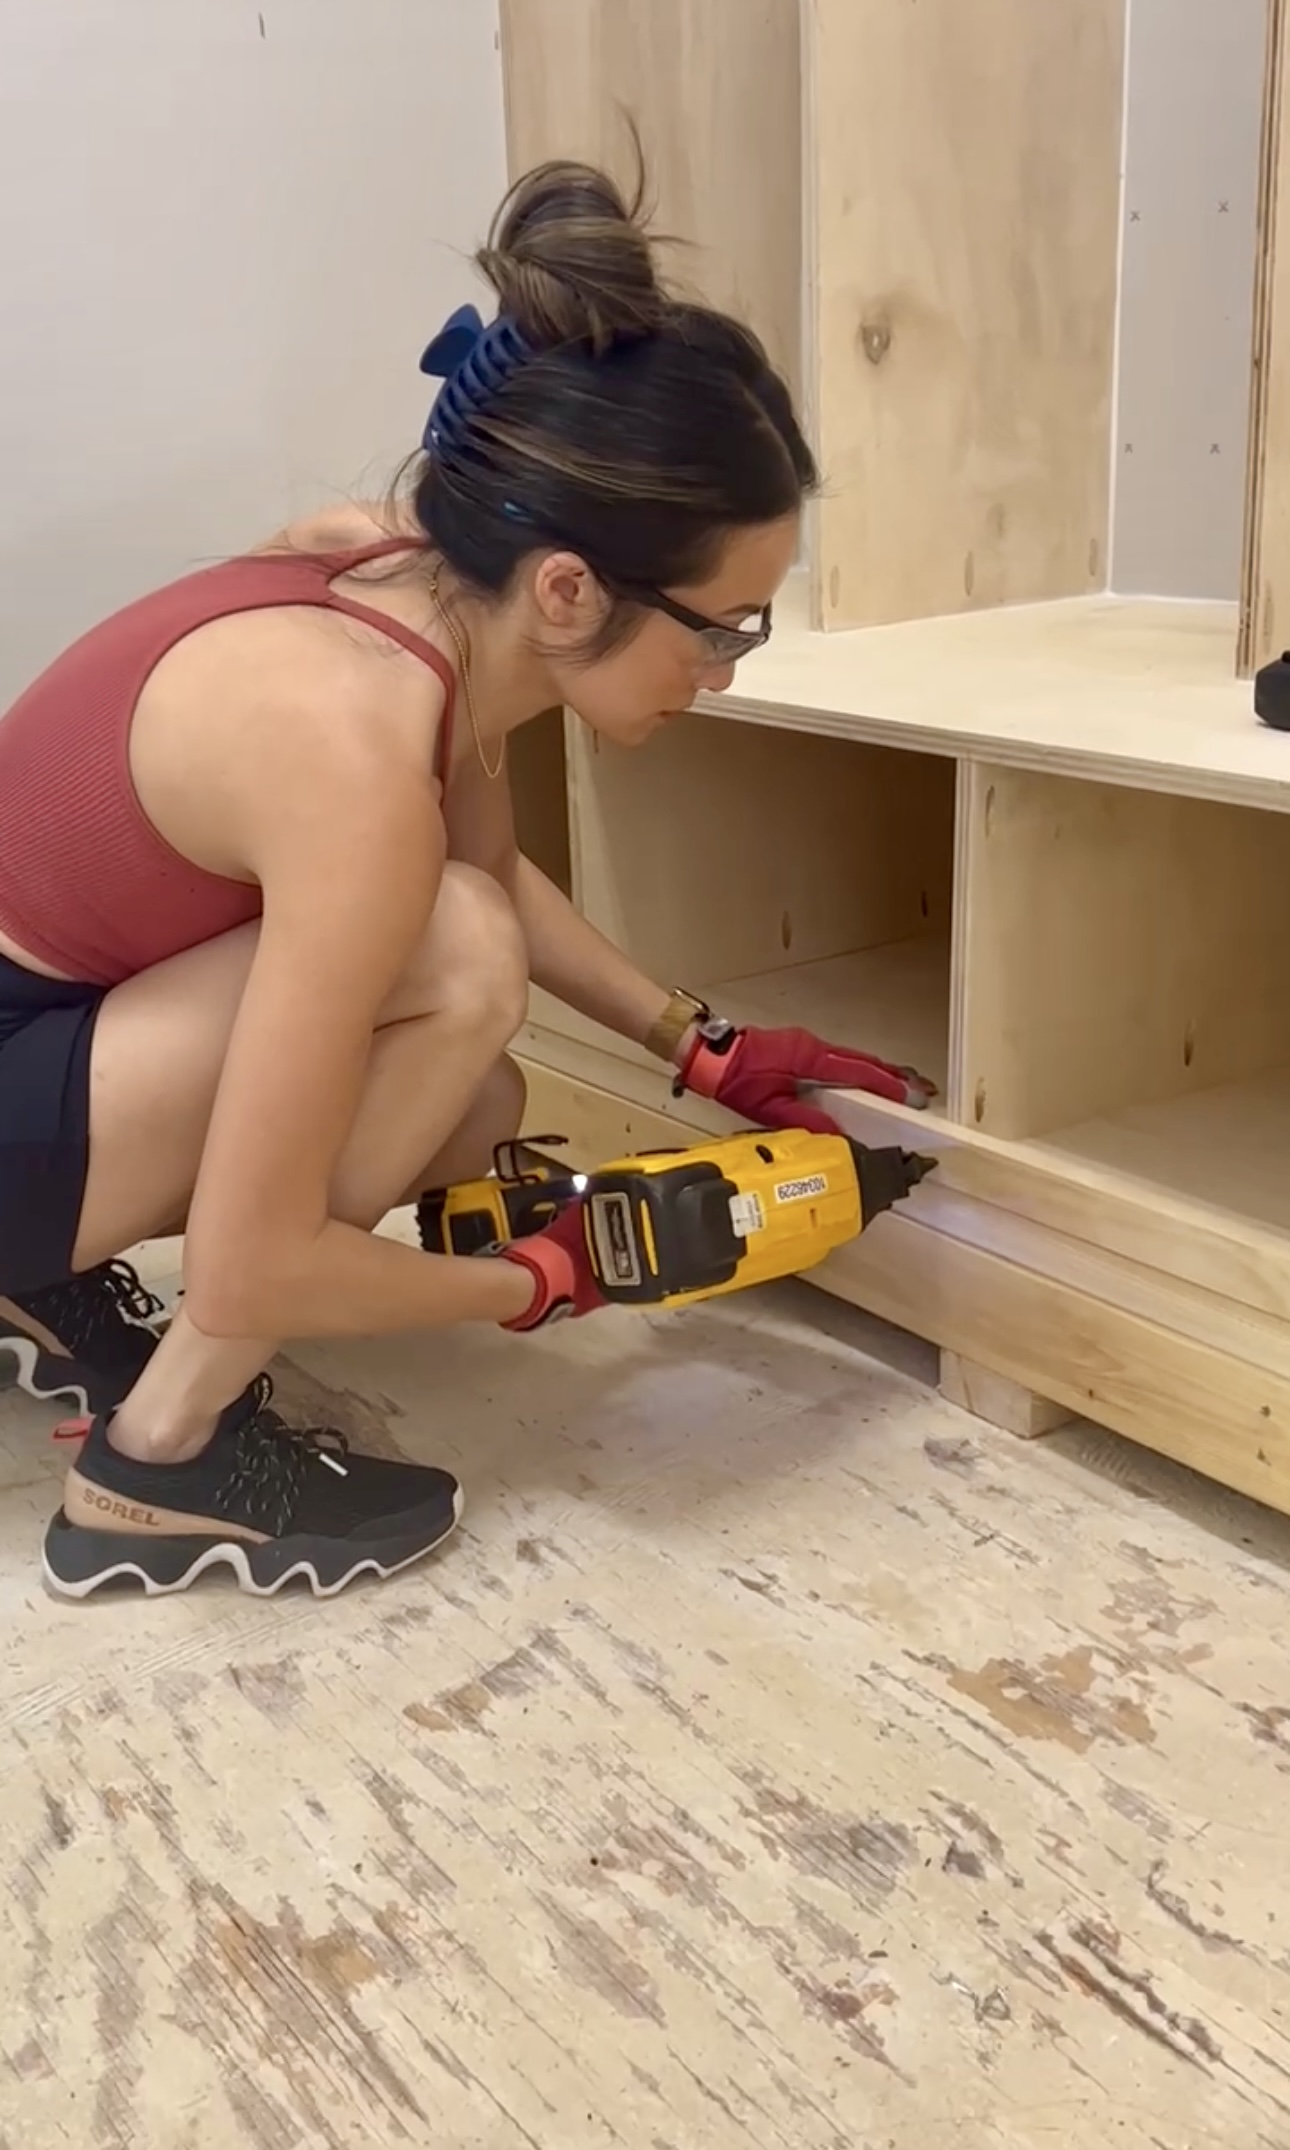
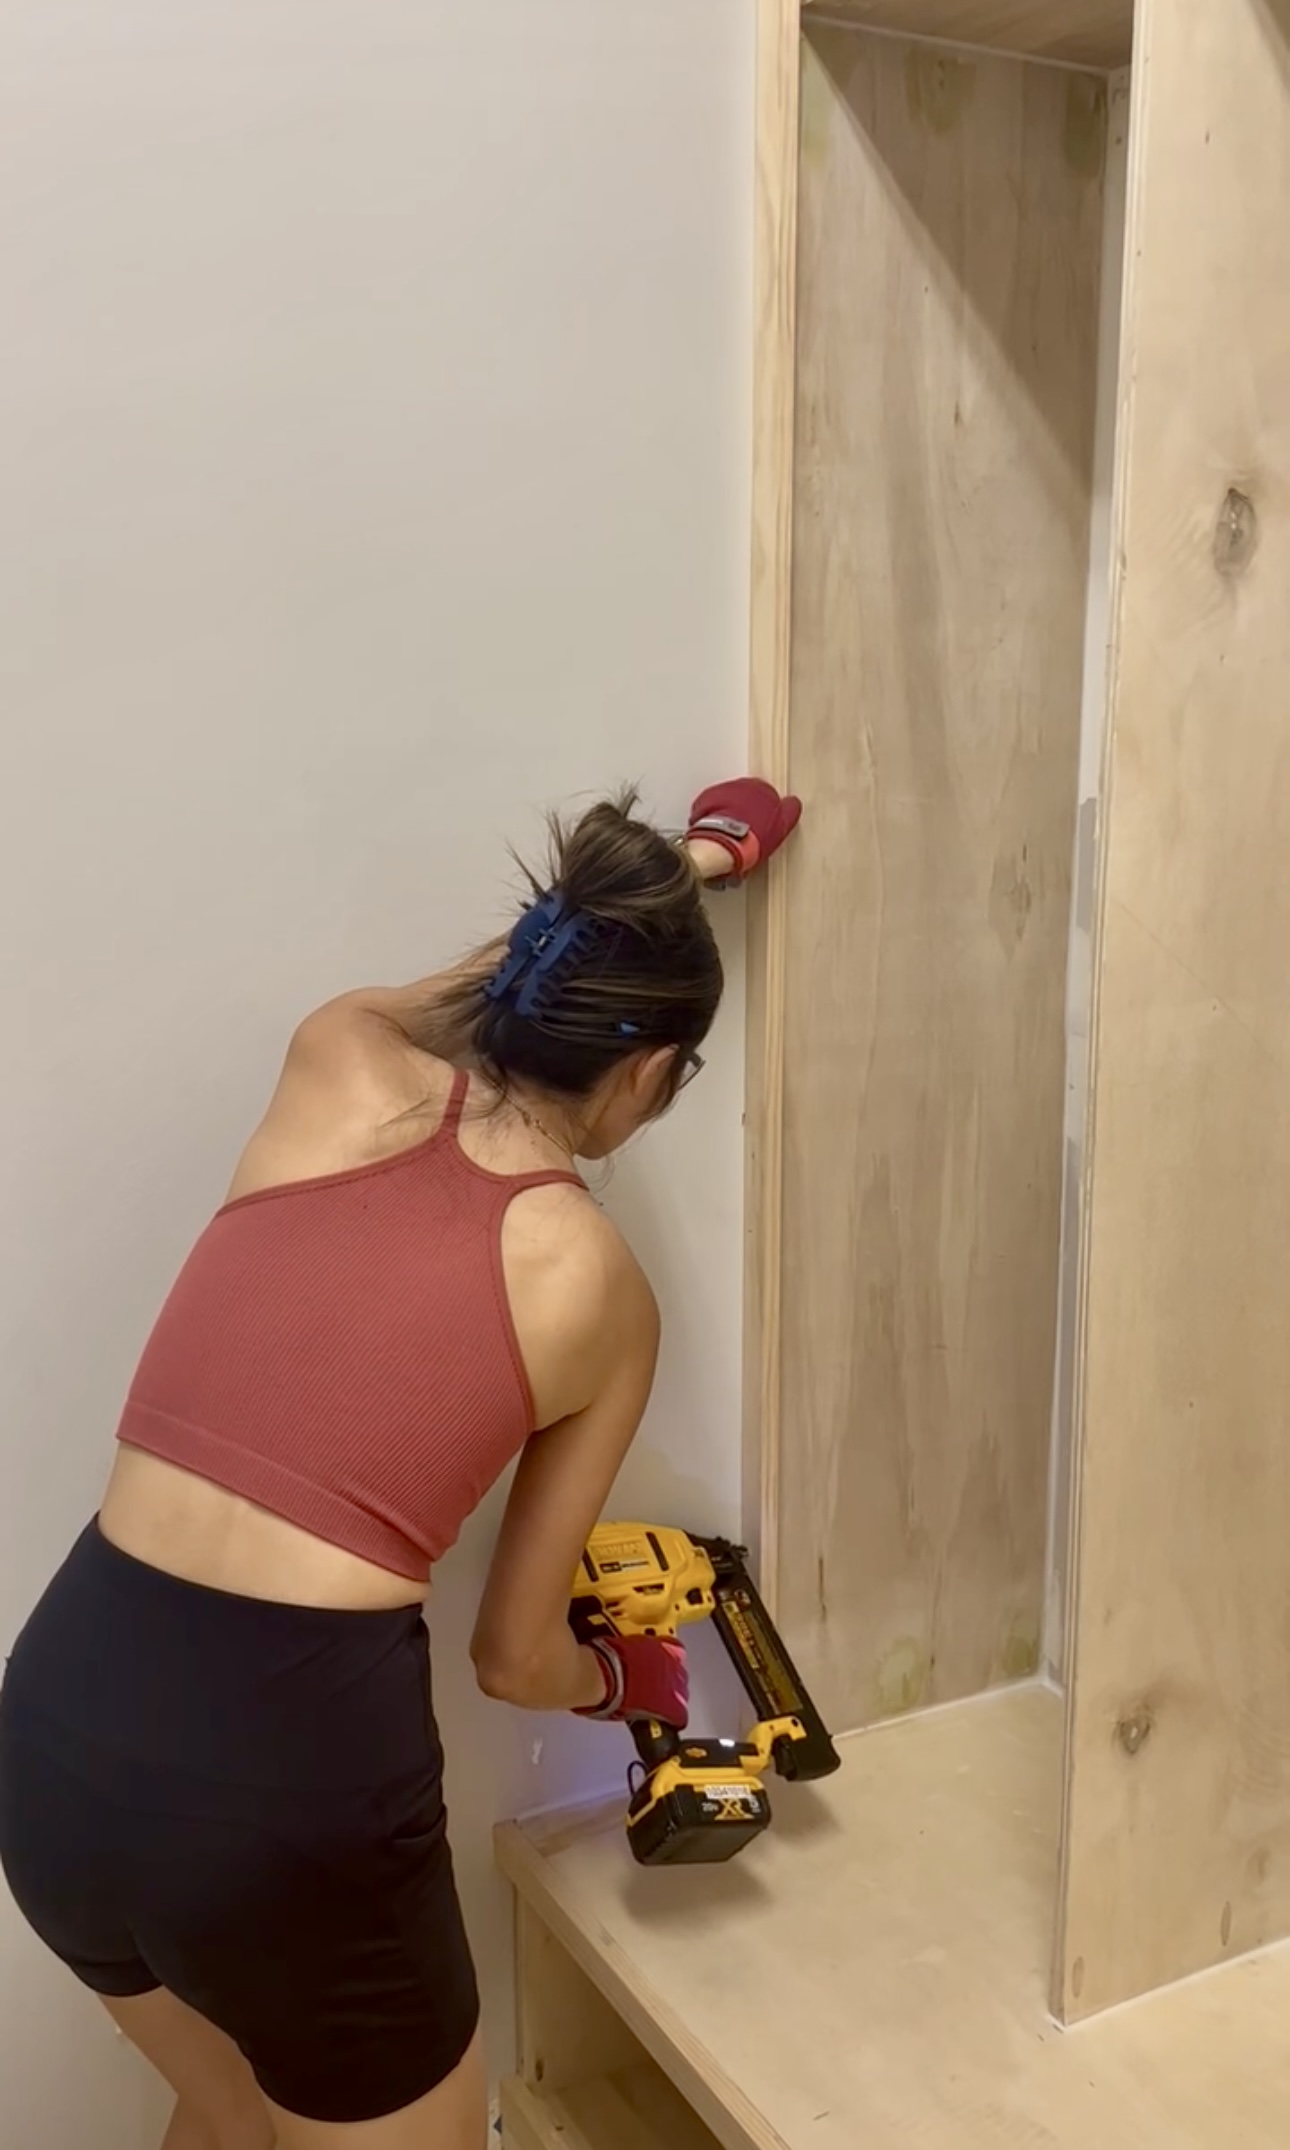
Next, I used more bondo for the cracks and seams from the trim and then just sanded everything down again with 220 grit. I took another beam to close the gap that was at the top of the mudroom lockers so we have our finished base.
Next up, we’ll be painting these mudroom lockers, adding drawers, cabinet fronts, and hardware!
Here’s everything I used to build my mudroom lockers:
