Hi
I'm Bong
I'm just a girl who likes to DIY anything and everything. More than that, I love teaching people - especially women - how to pick up power tools and create the home of their dreams. Stop waiting for someone else and starting Doing It Yourself. I'll show you how!
diy projects
diy school
life hacks
categories
must have products
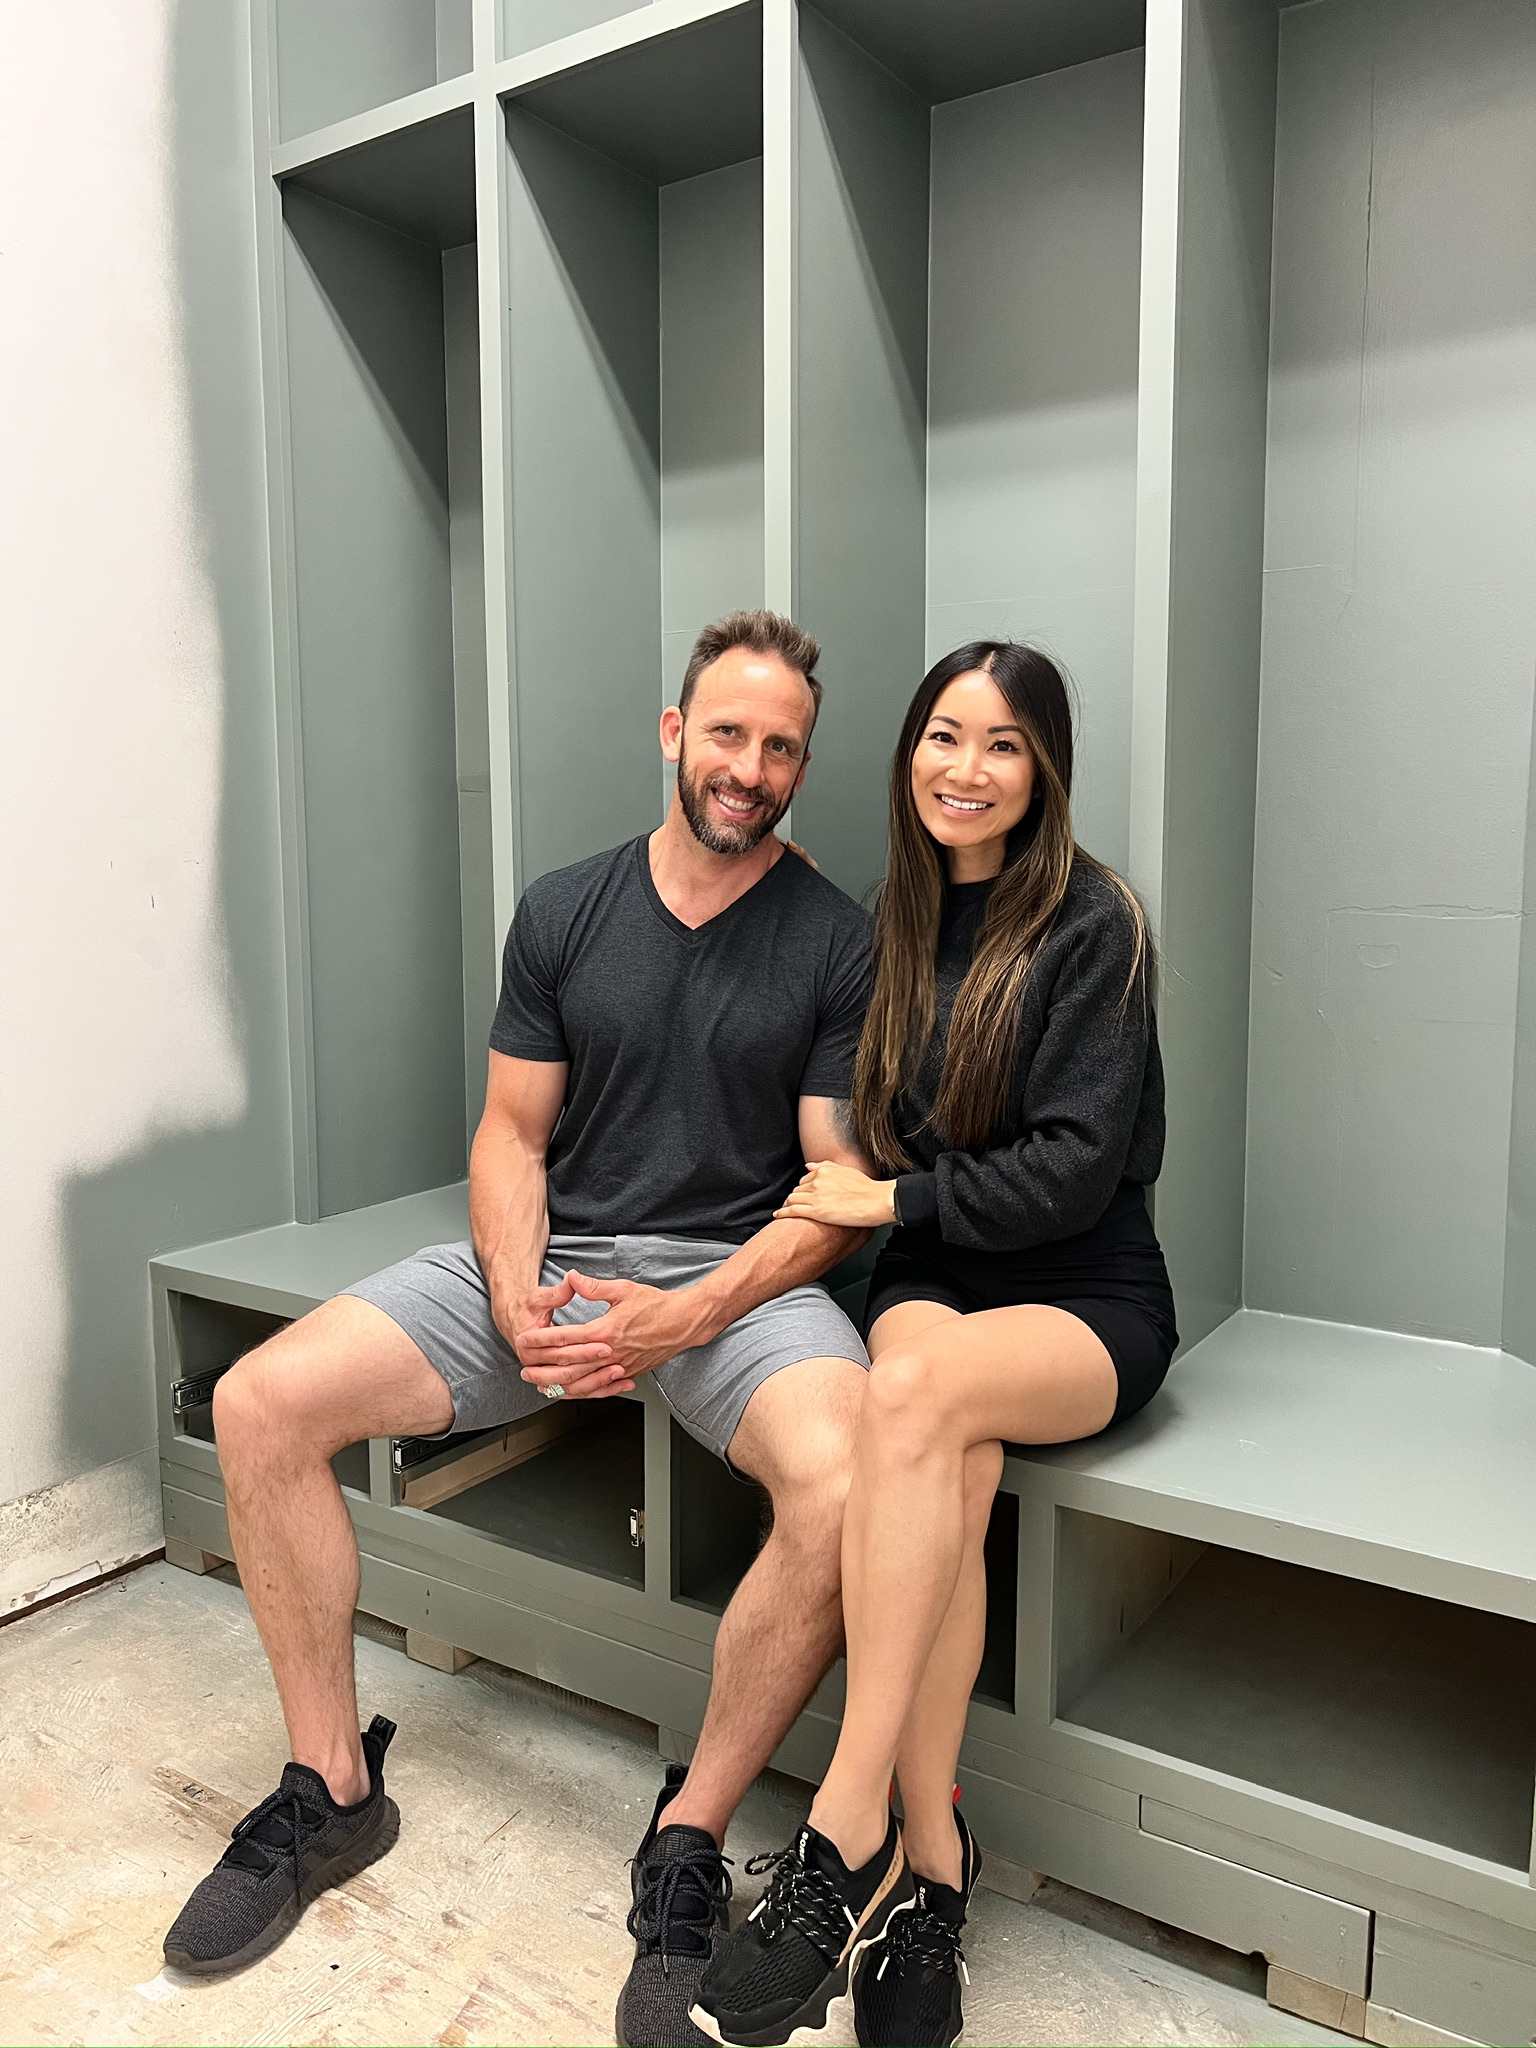
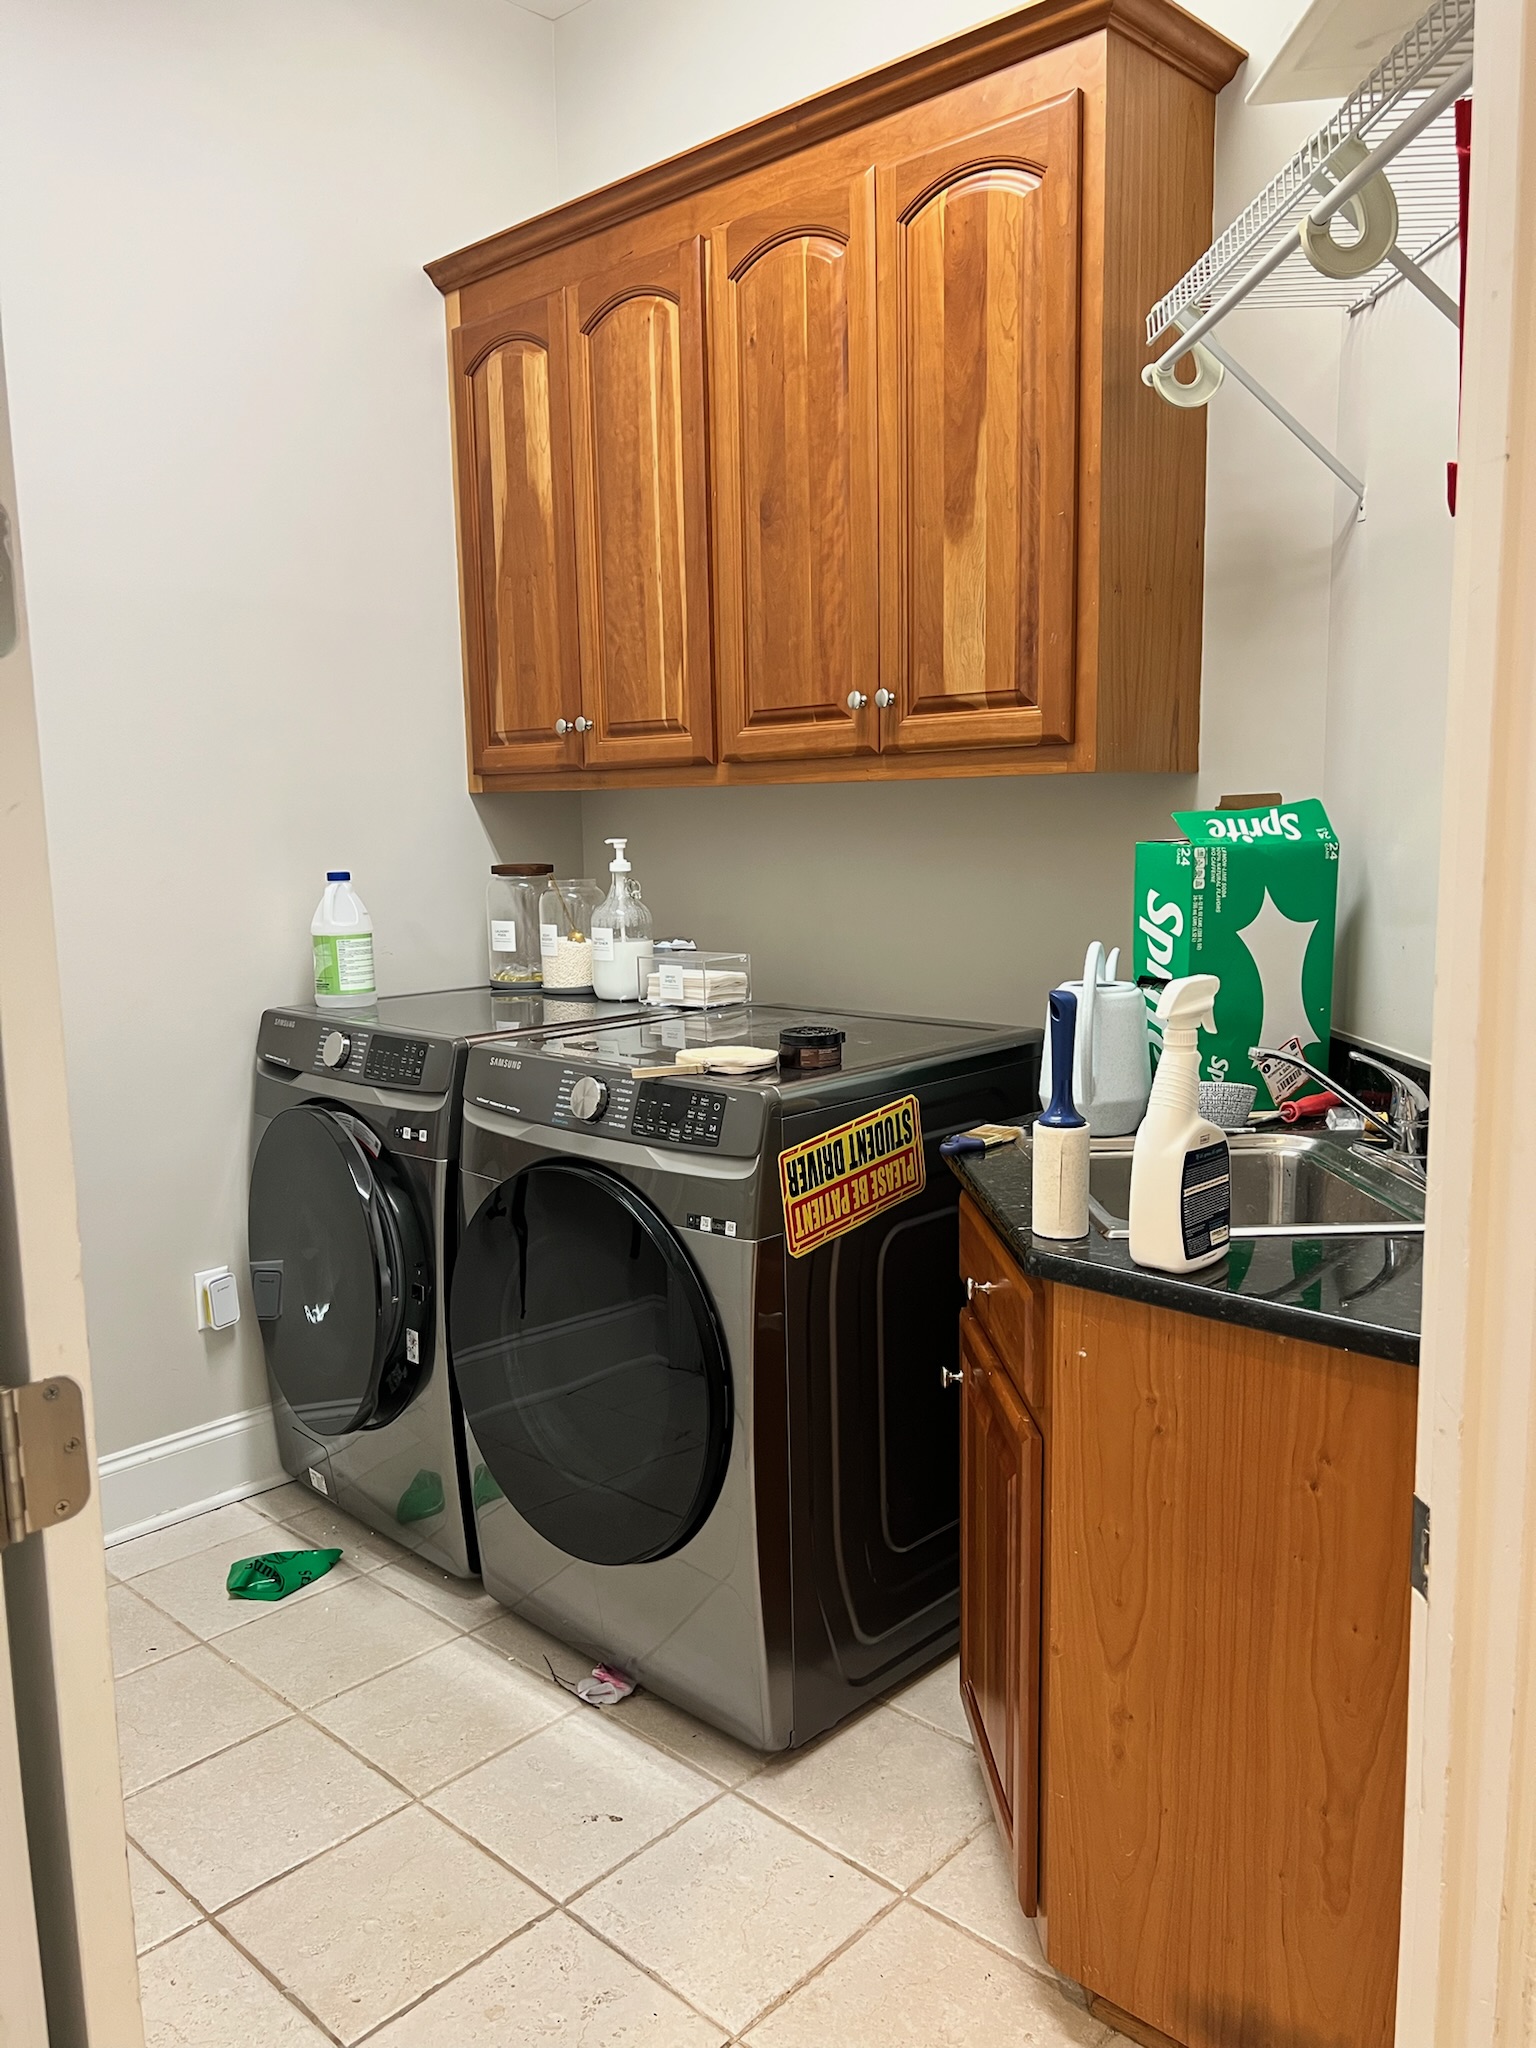
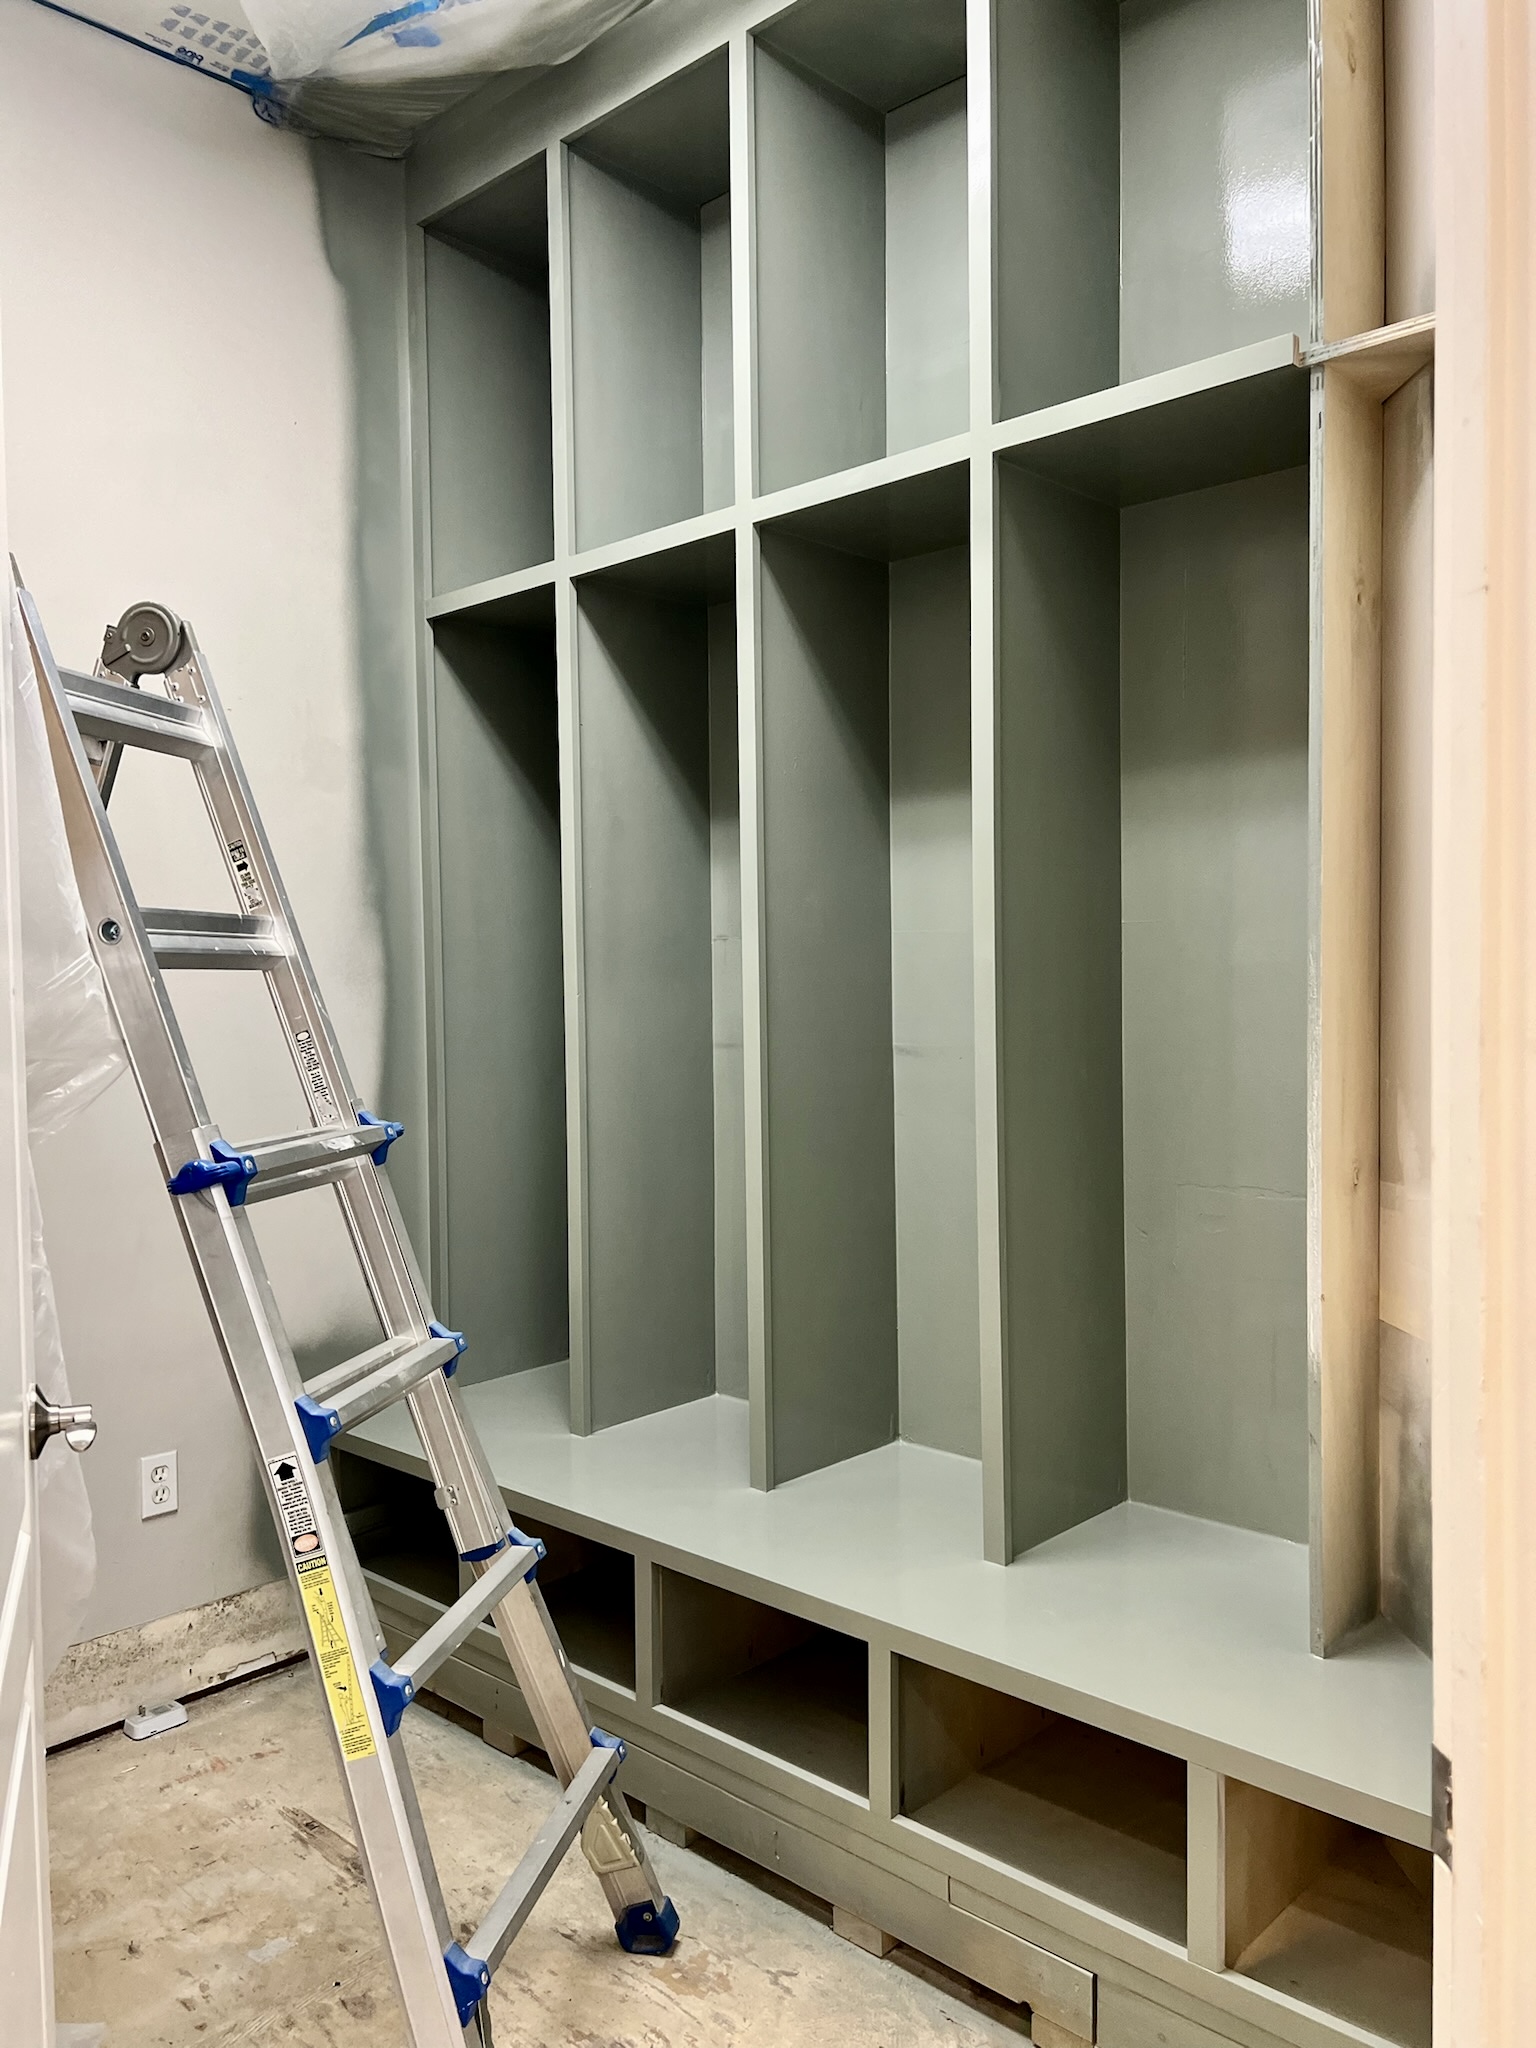
I am turning my outdated and way-too-small laundry room into a mudroom with lockers for all of my kids’ things. We left off building the lockers.. You can see that process here. Now it’s time to paint these mudroom lockers!
Here a reminder of what it looked like before we started:
Paint
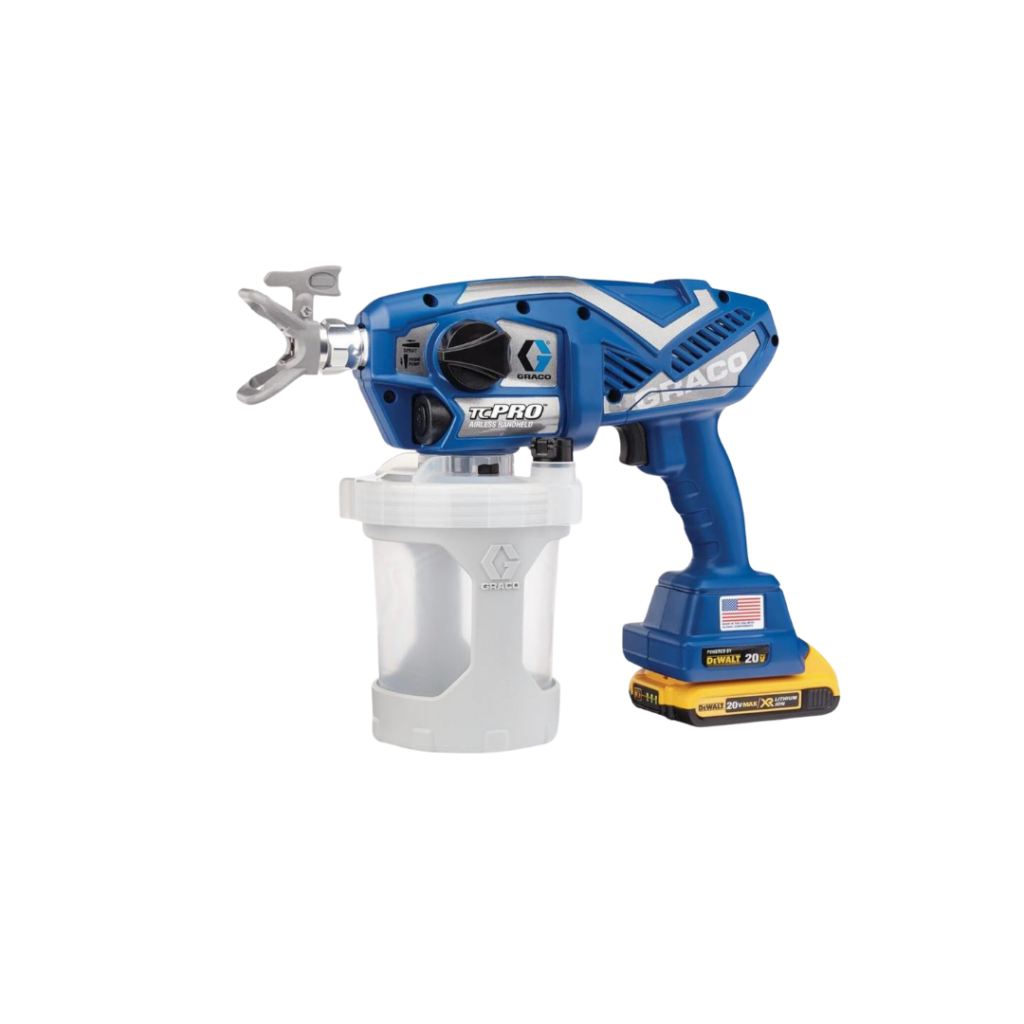
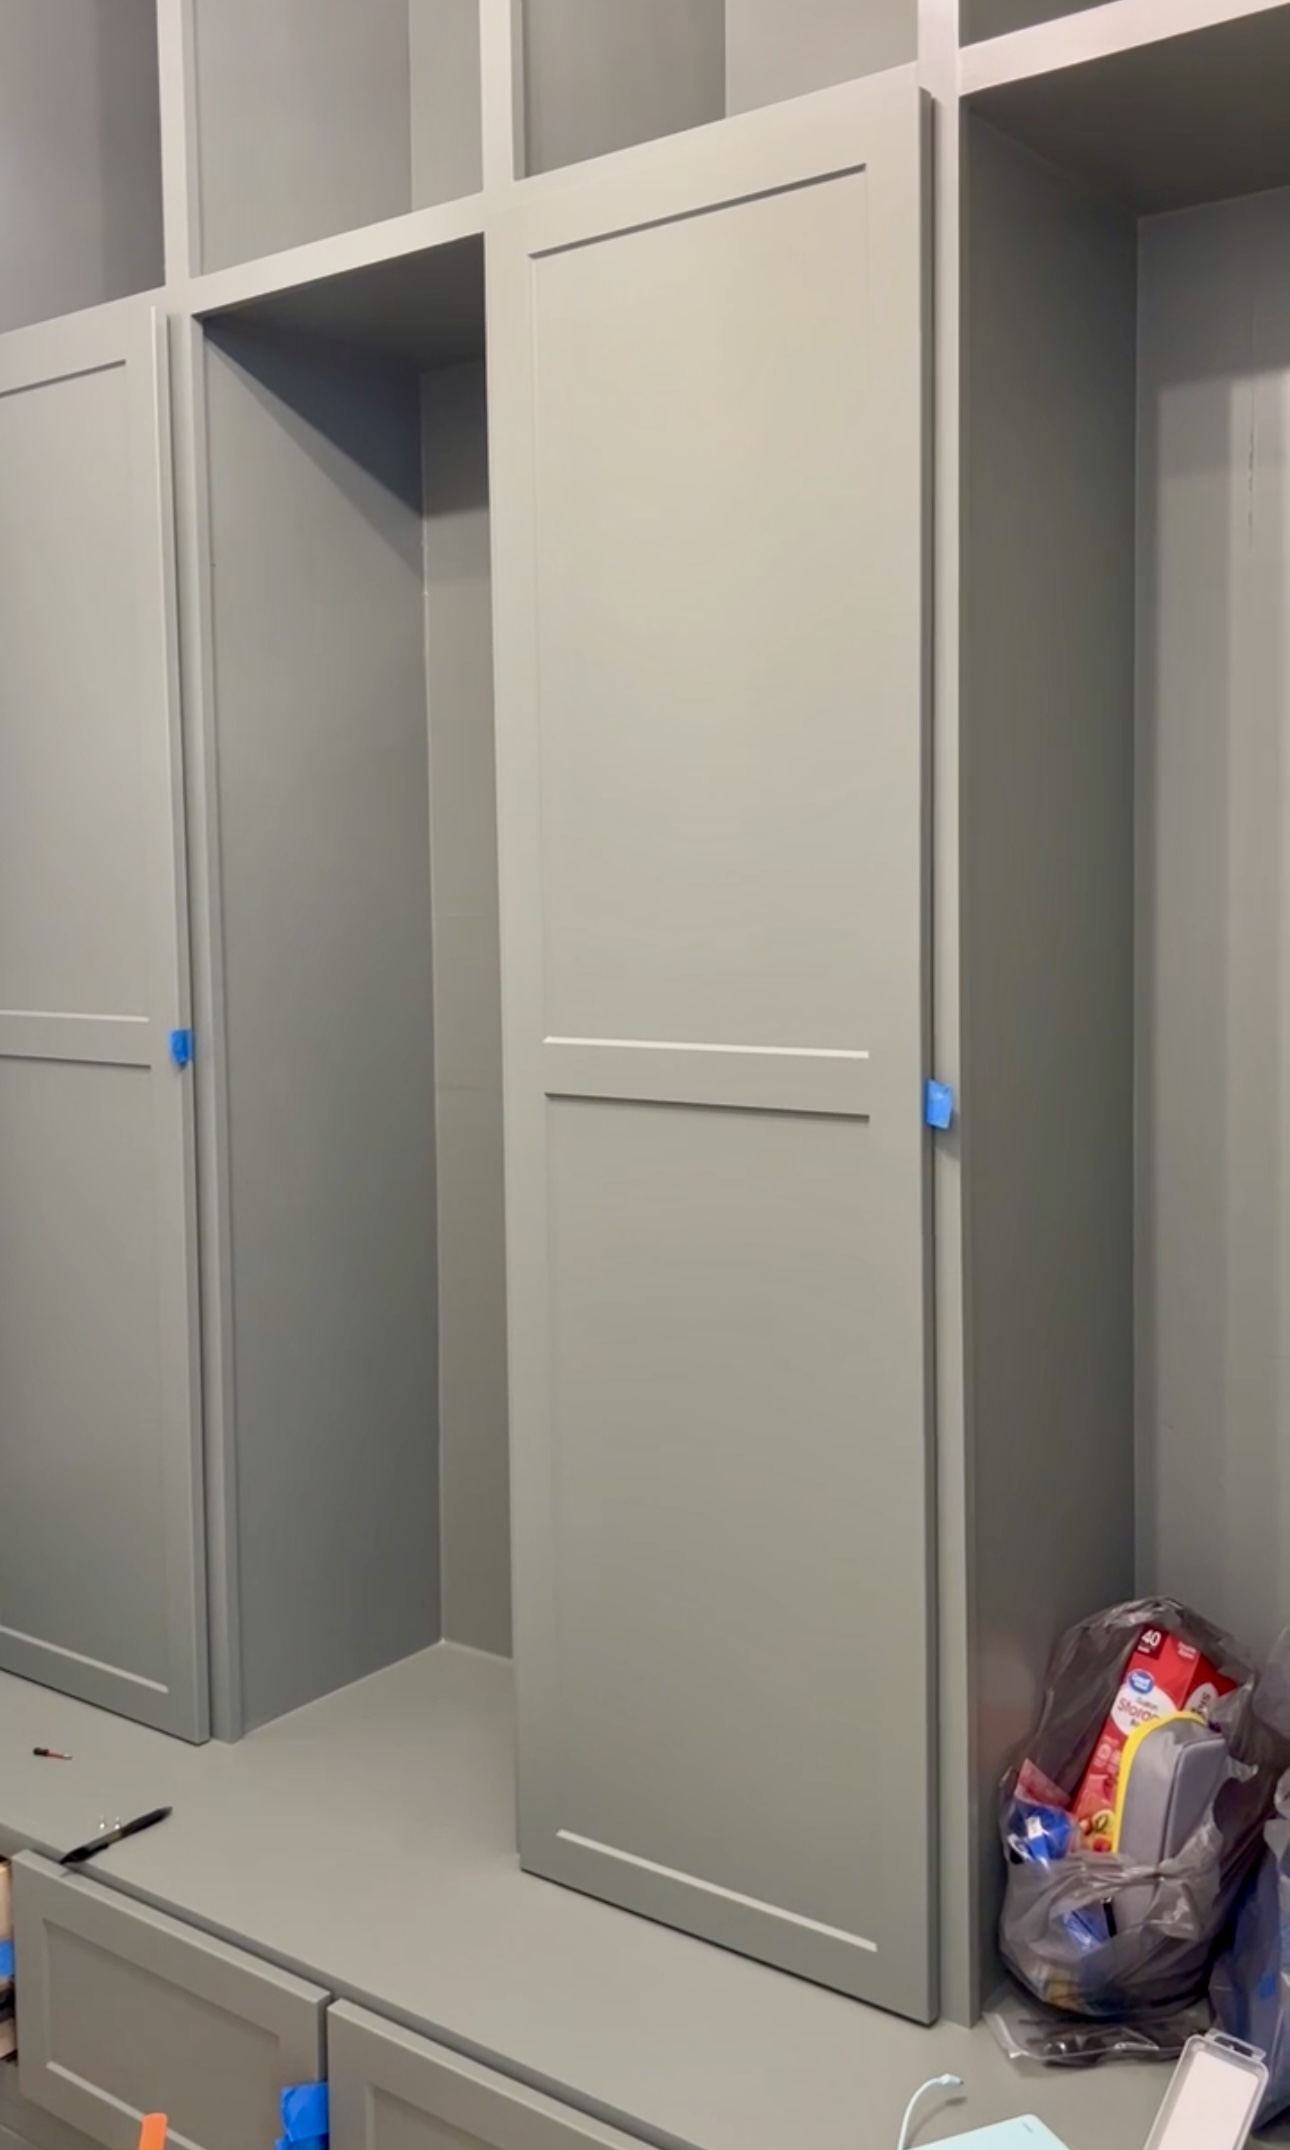
Now it is time to paint! I am using a brush for the primer and then I a paint spray gun to apply the paint.
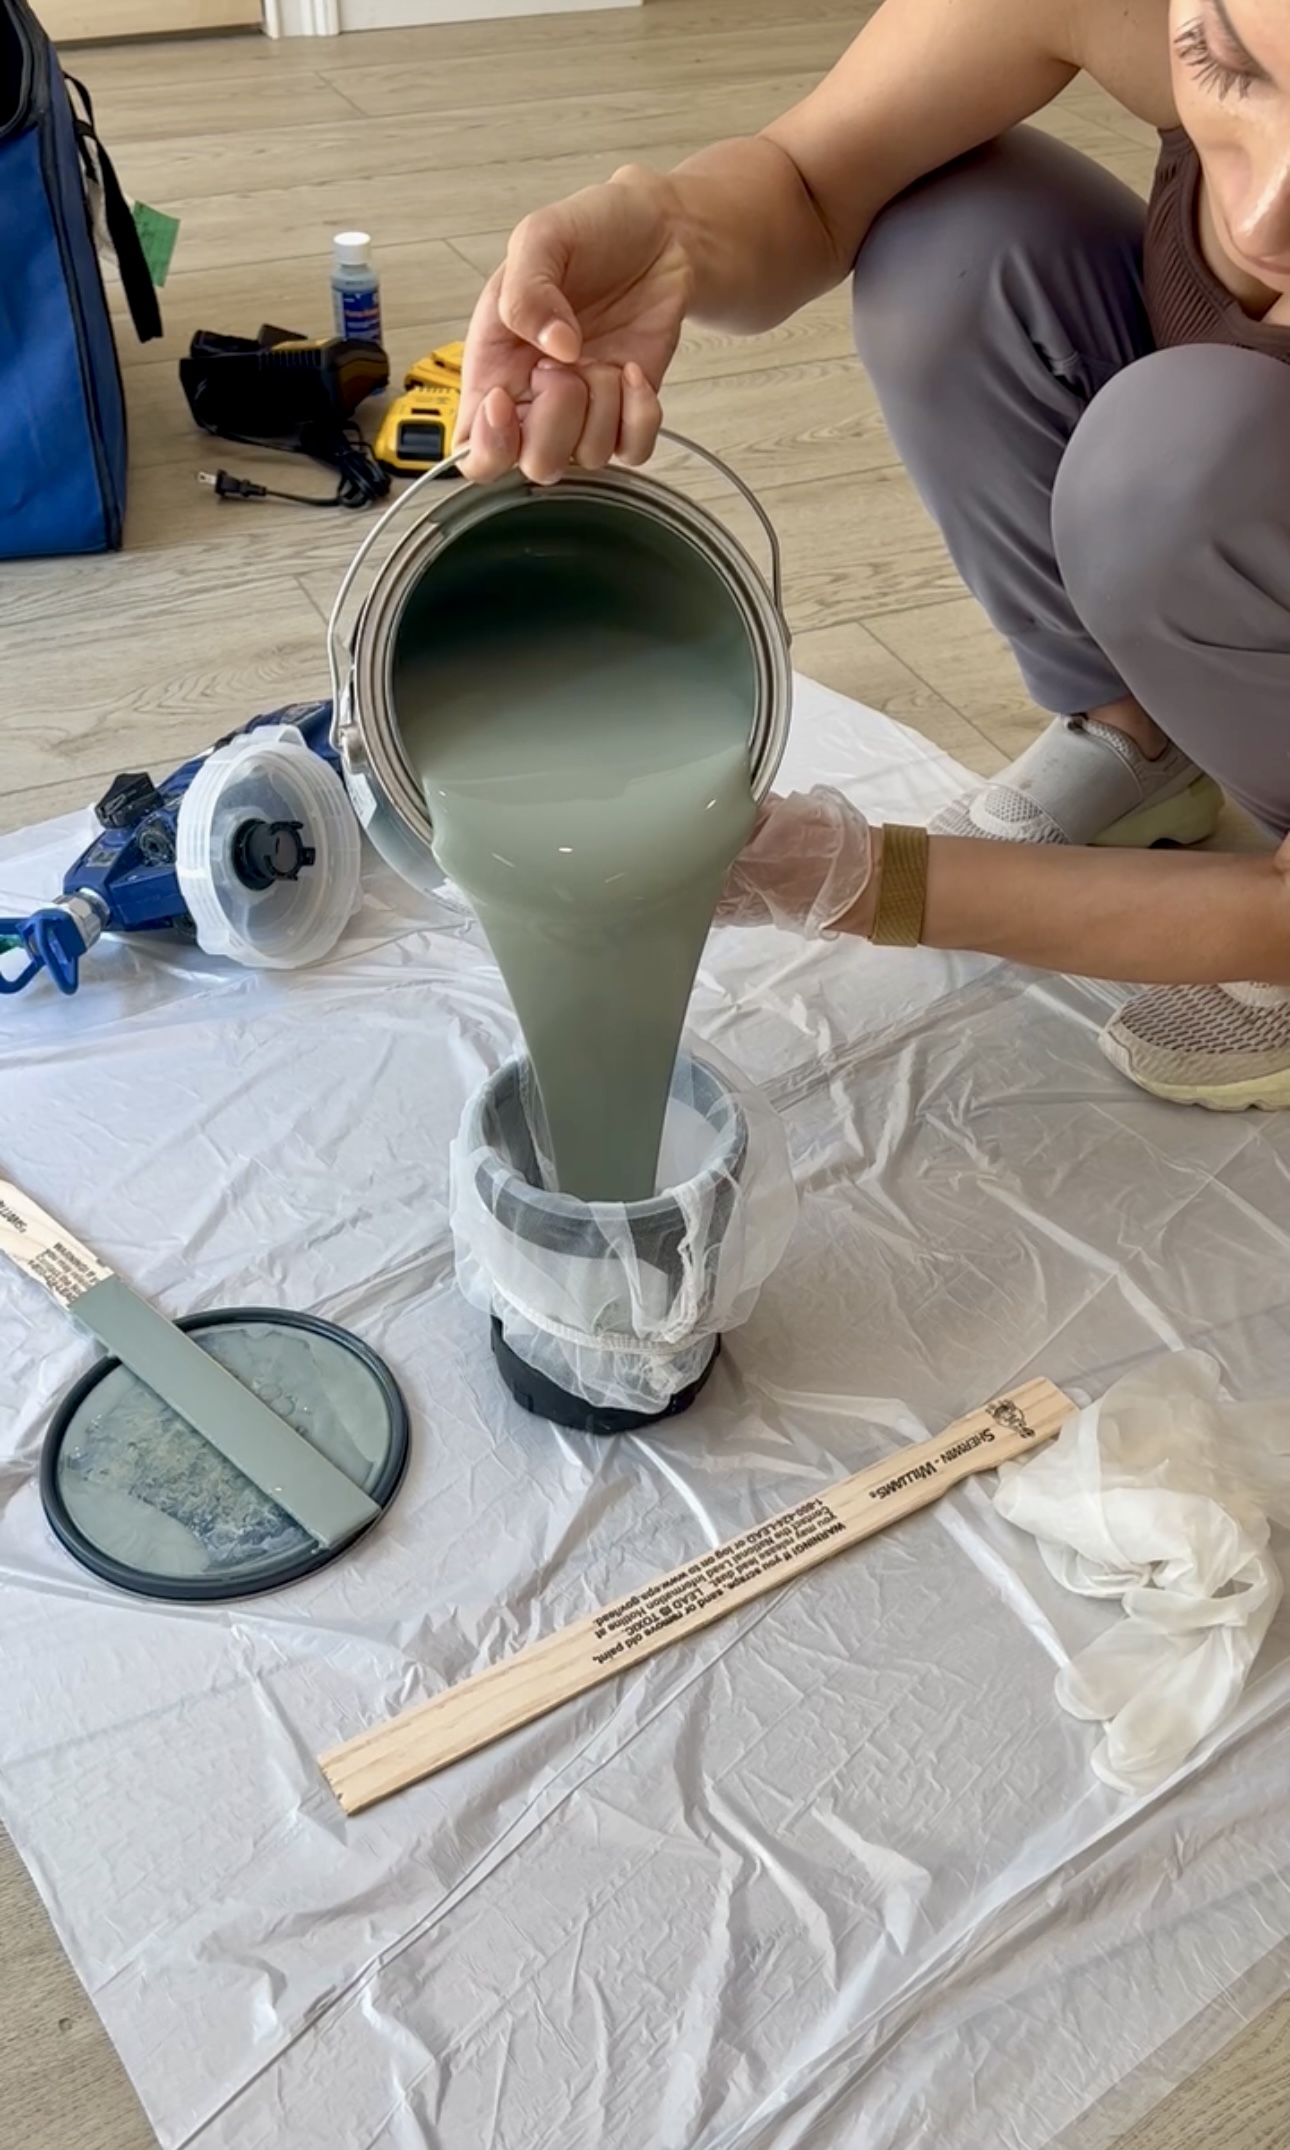
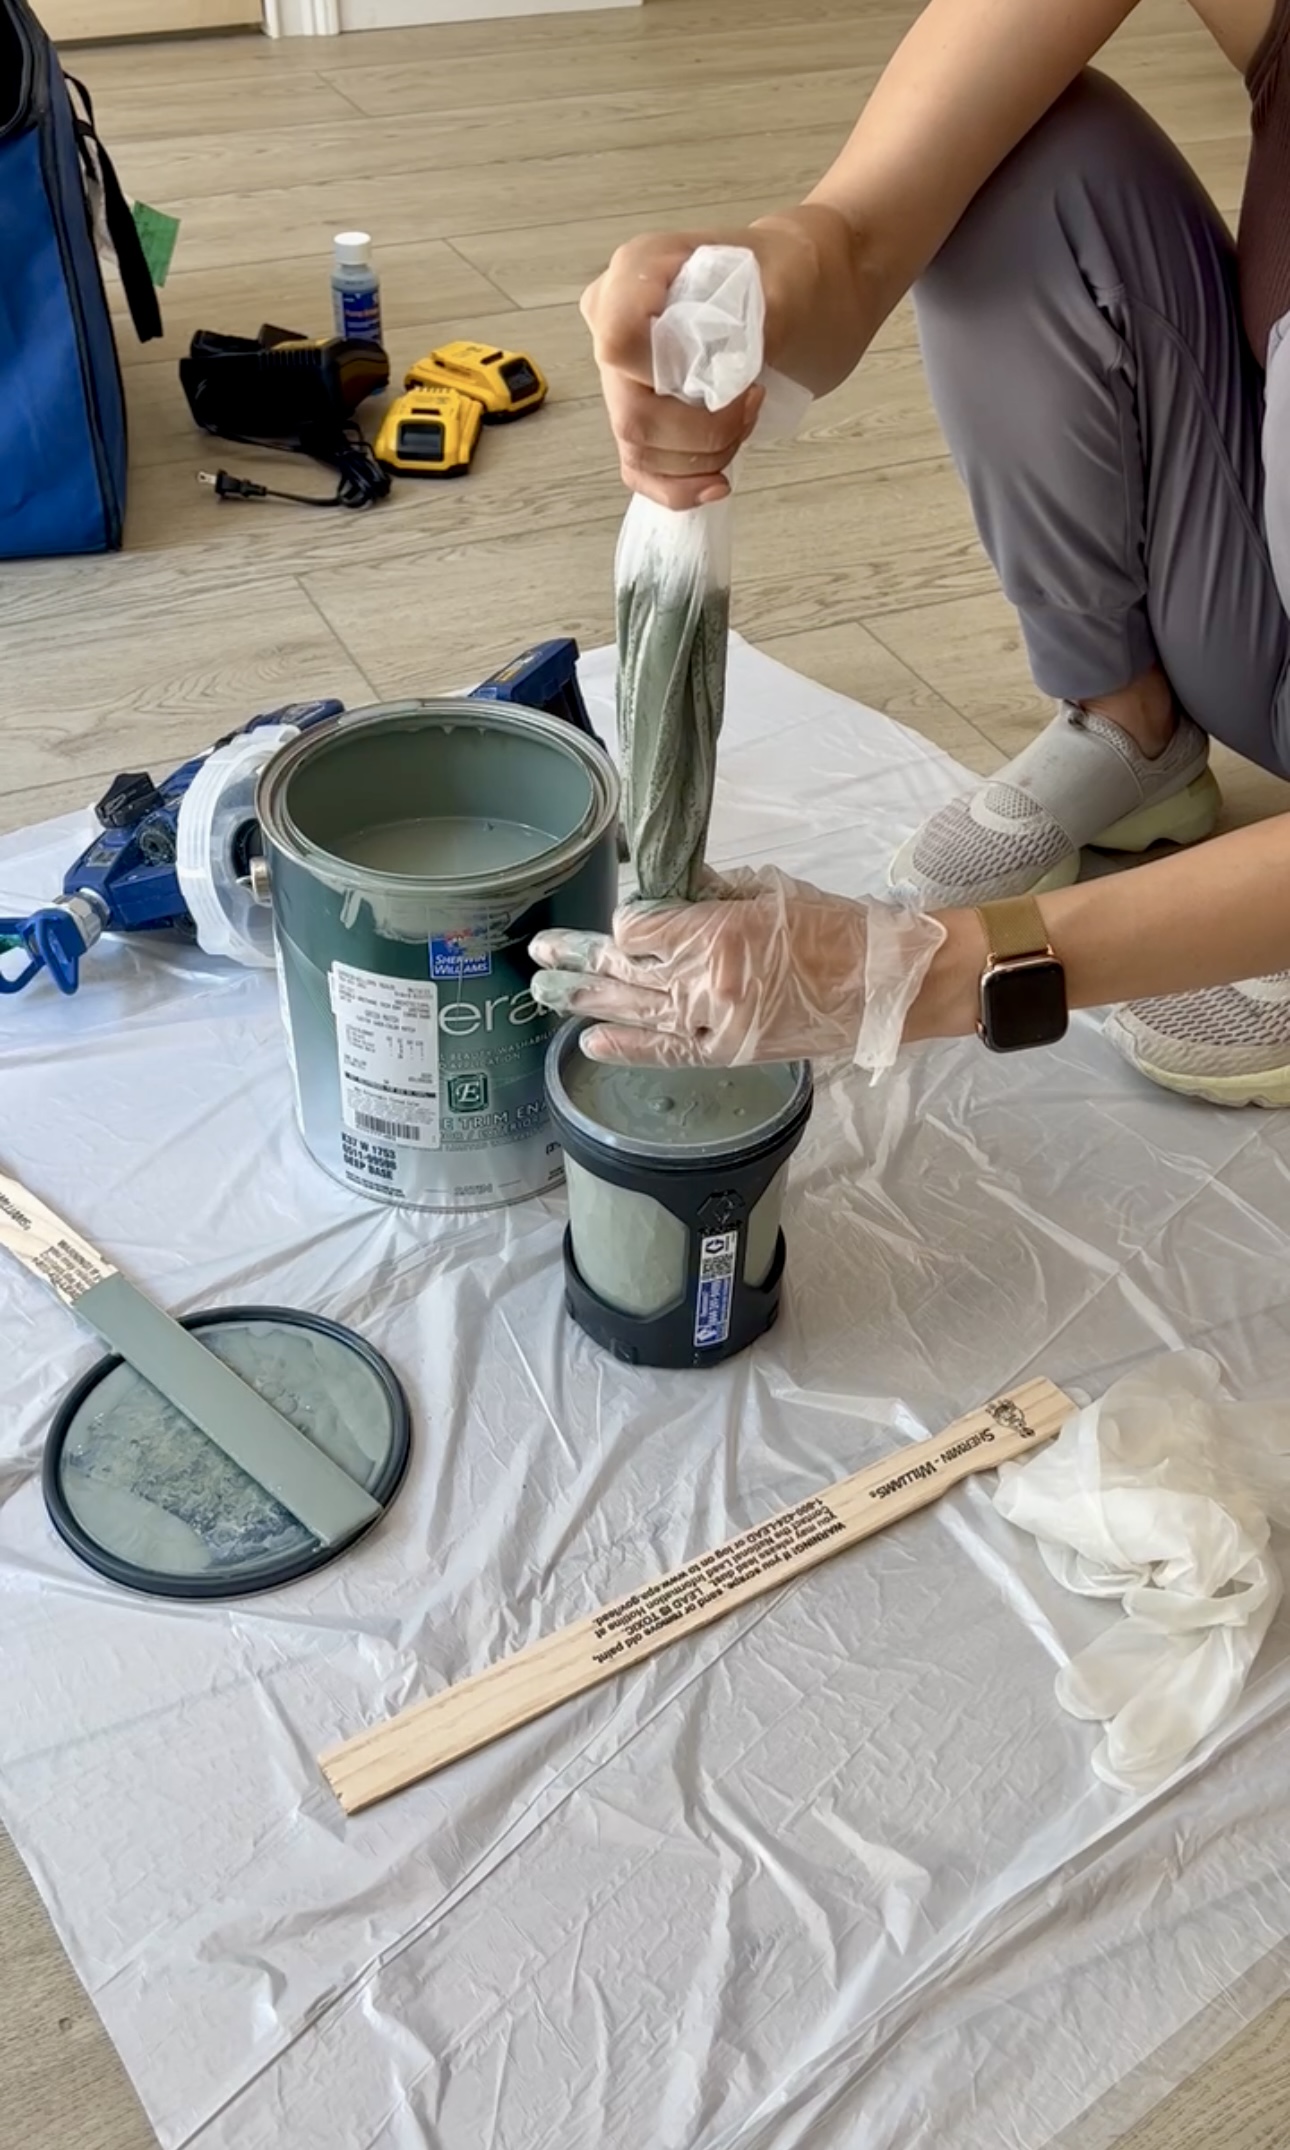
For the paint, I am using Sherwin Williams Emerald Urethane line. I love using this anytime I am doing cabinets or anything like that because once it dries it has a hard cure to it that is more heavy duty. I poured the paint through a strainer and into my spray paint canister.
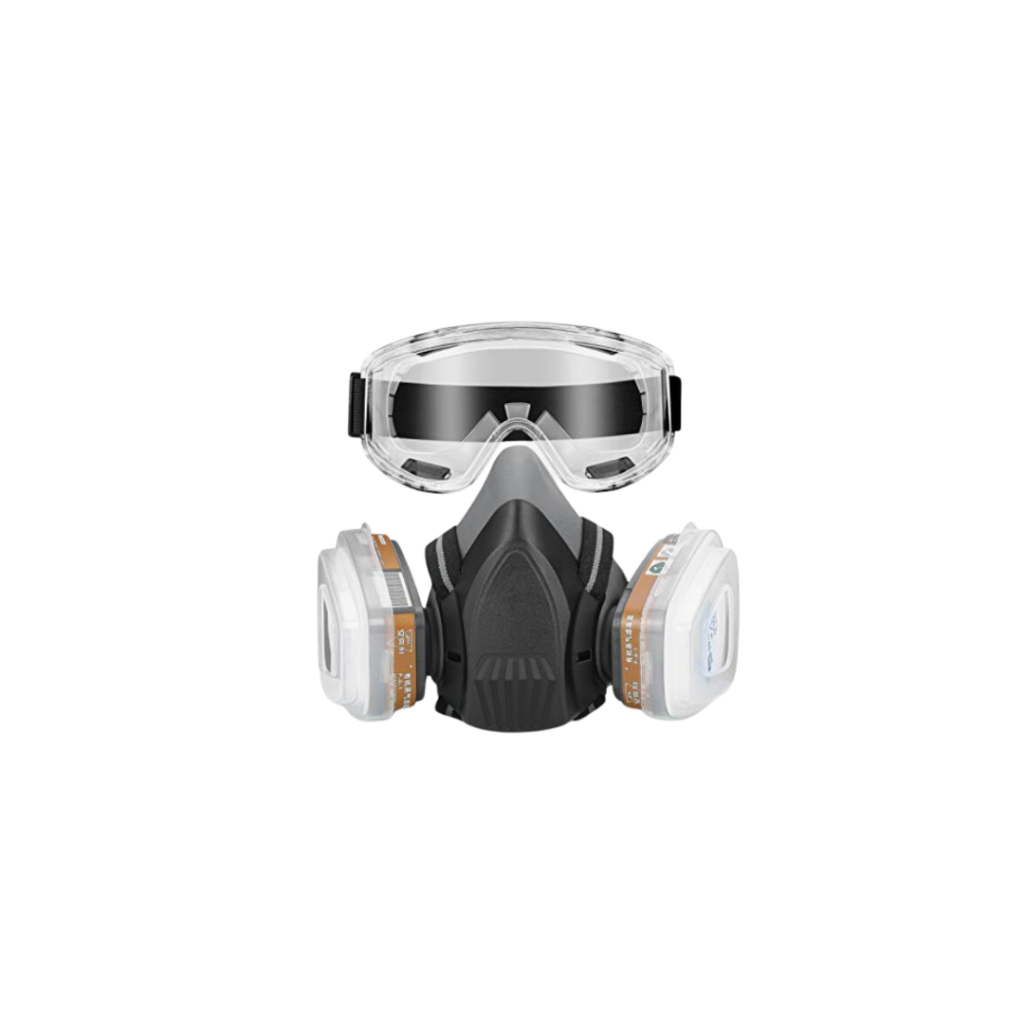
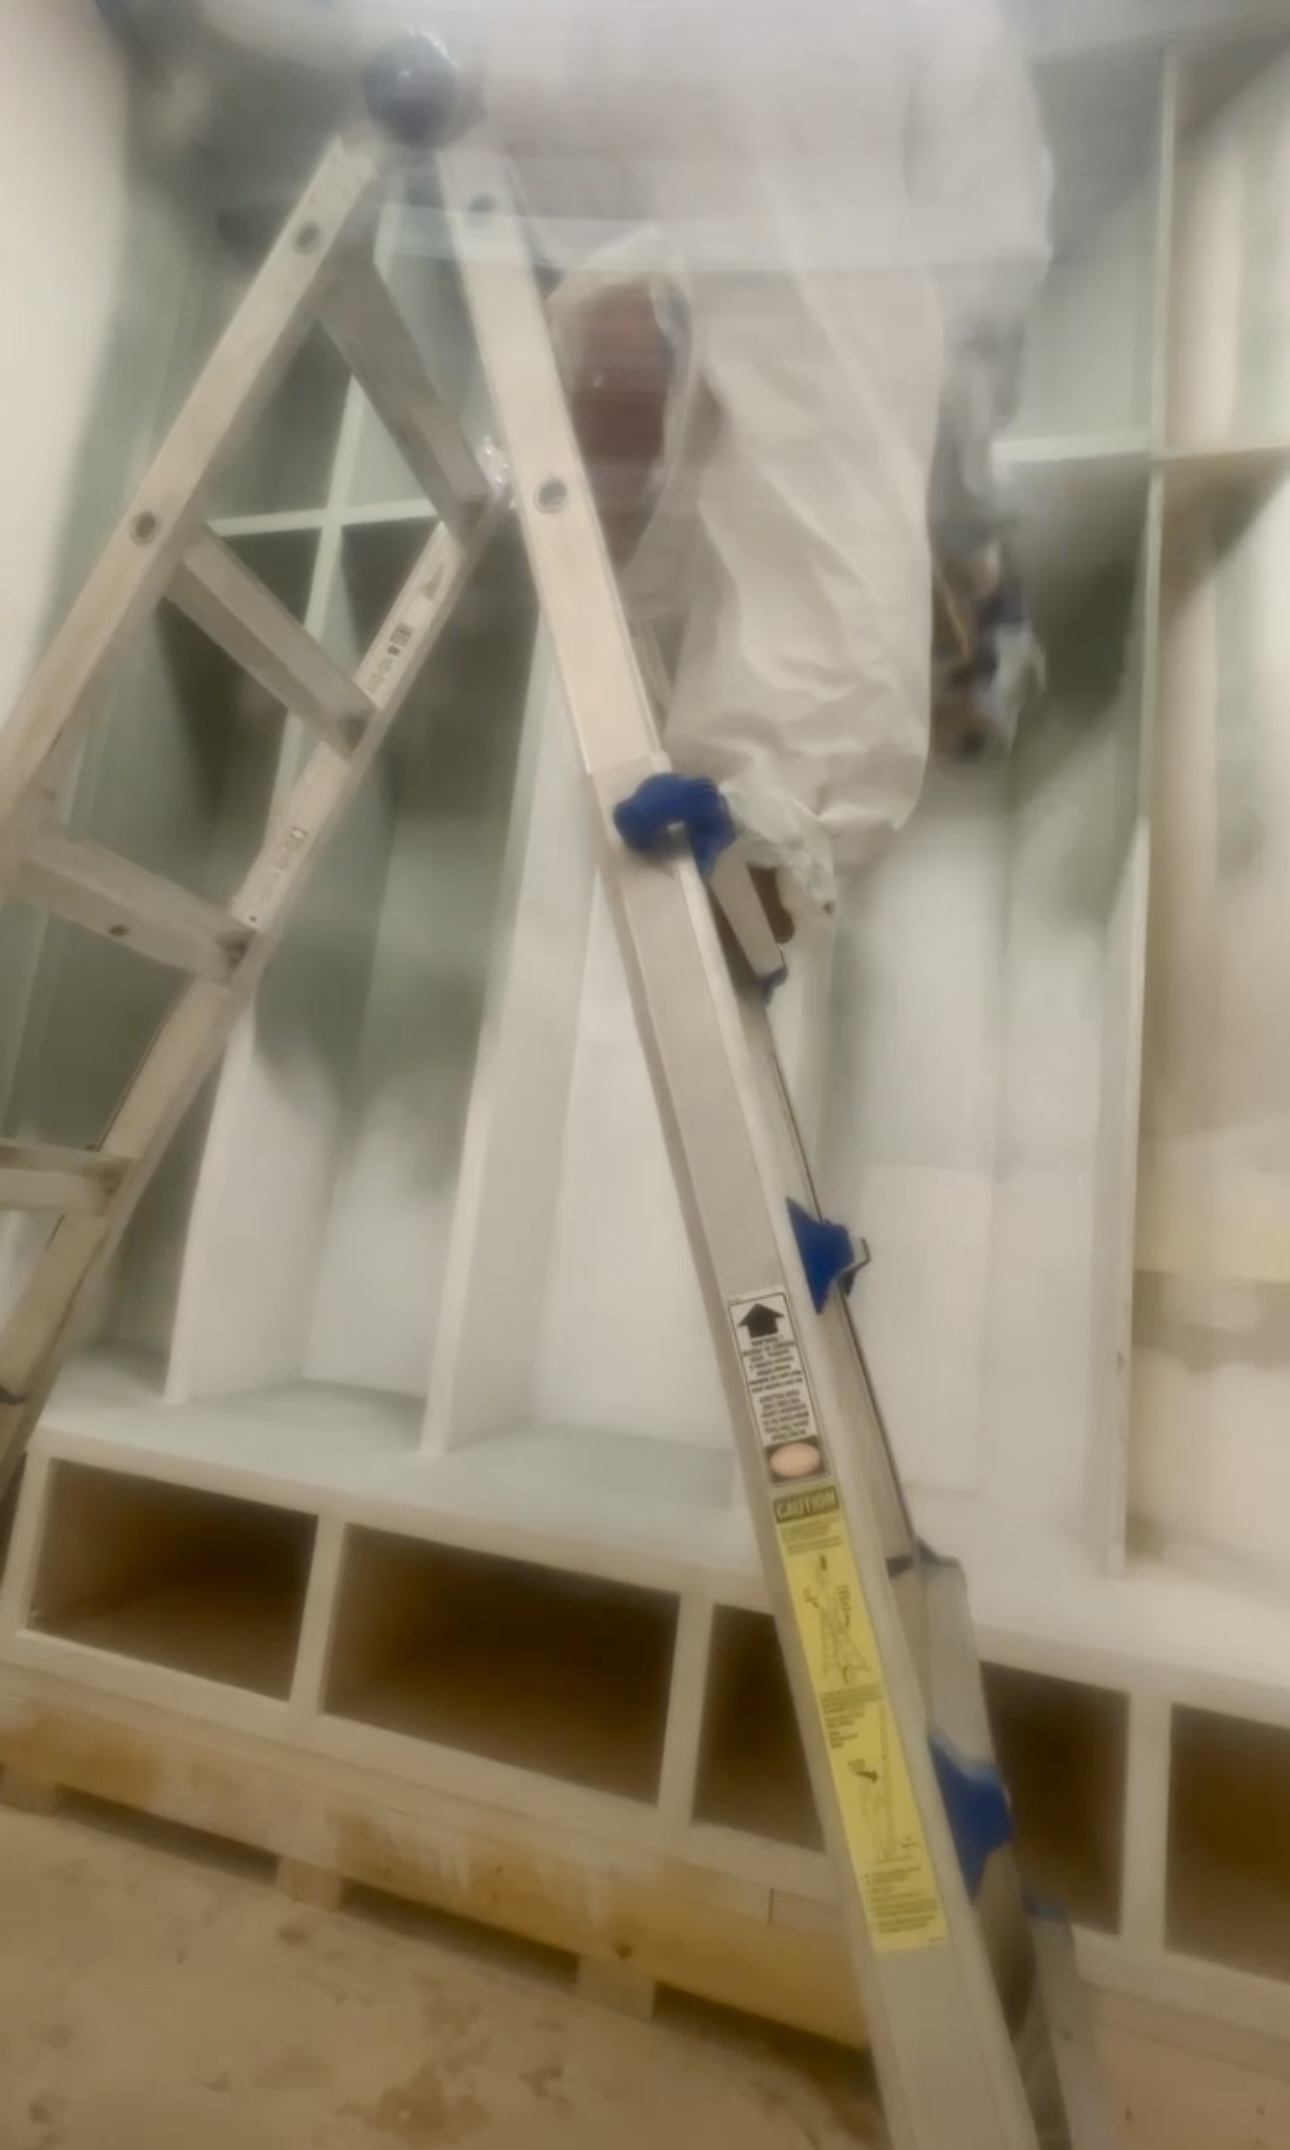
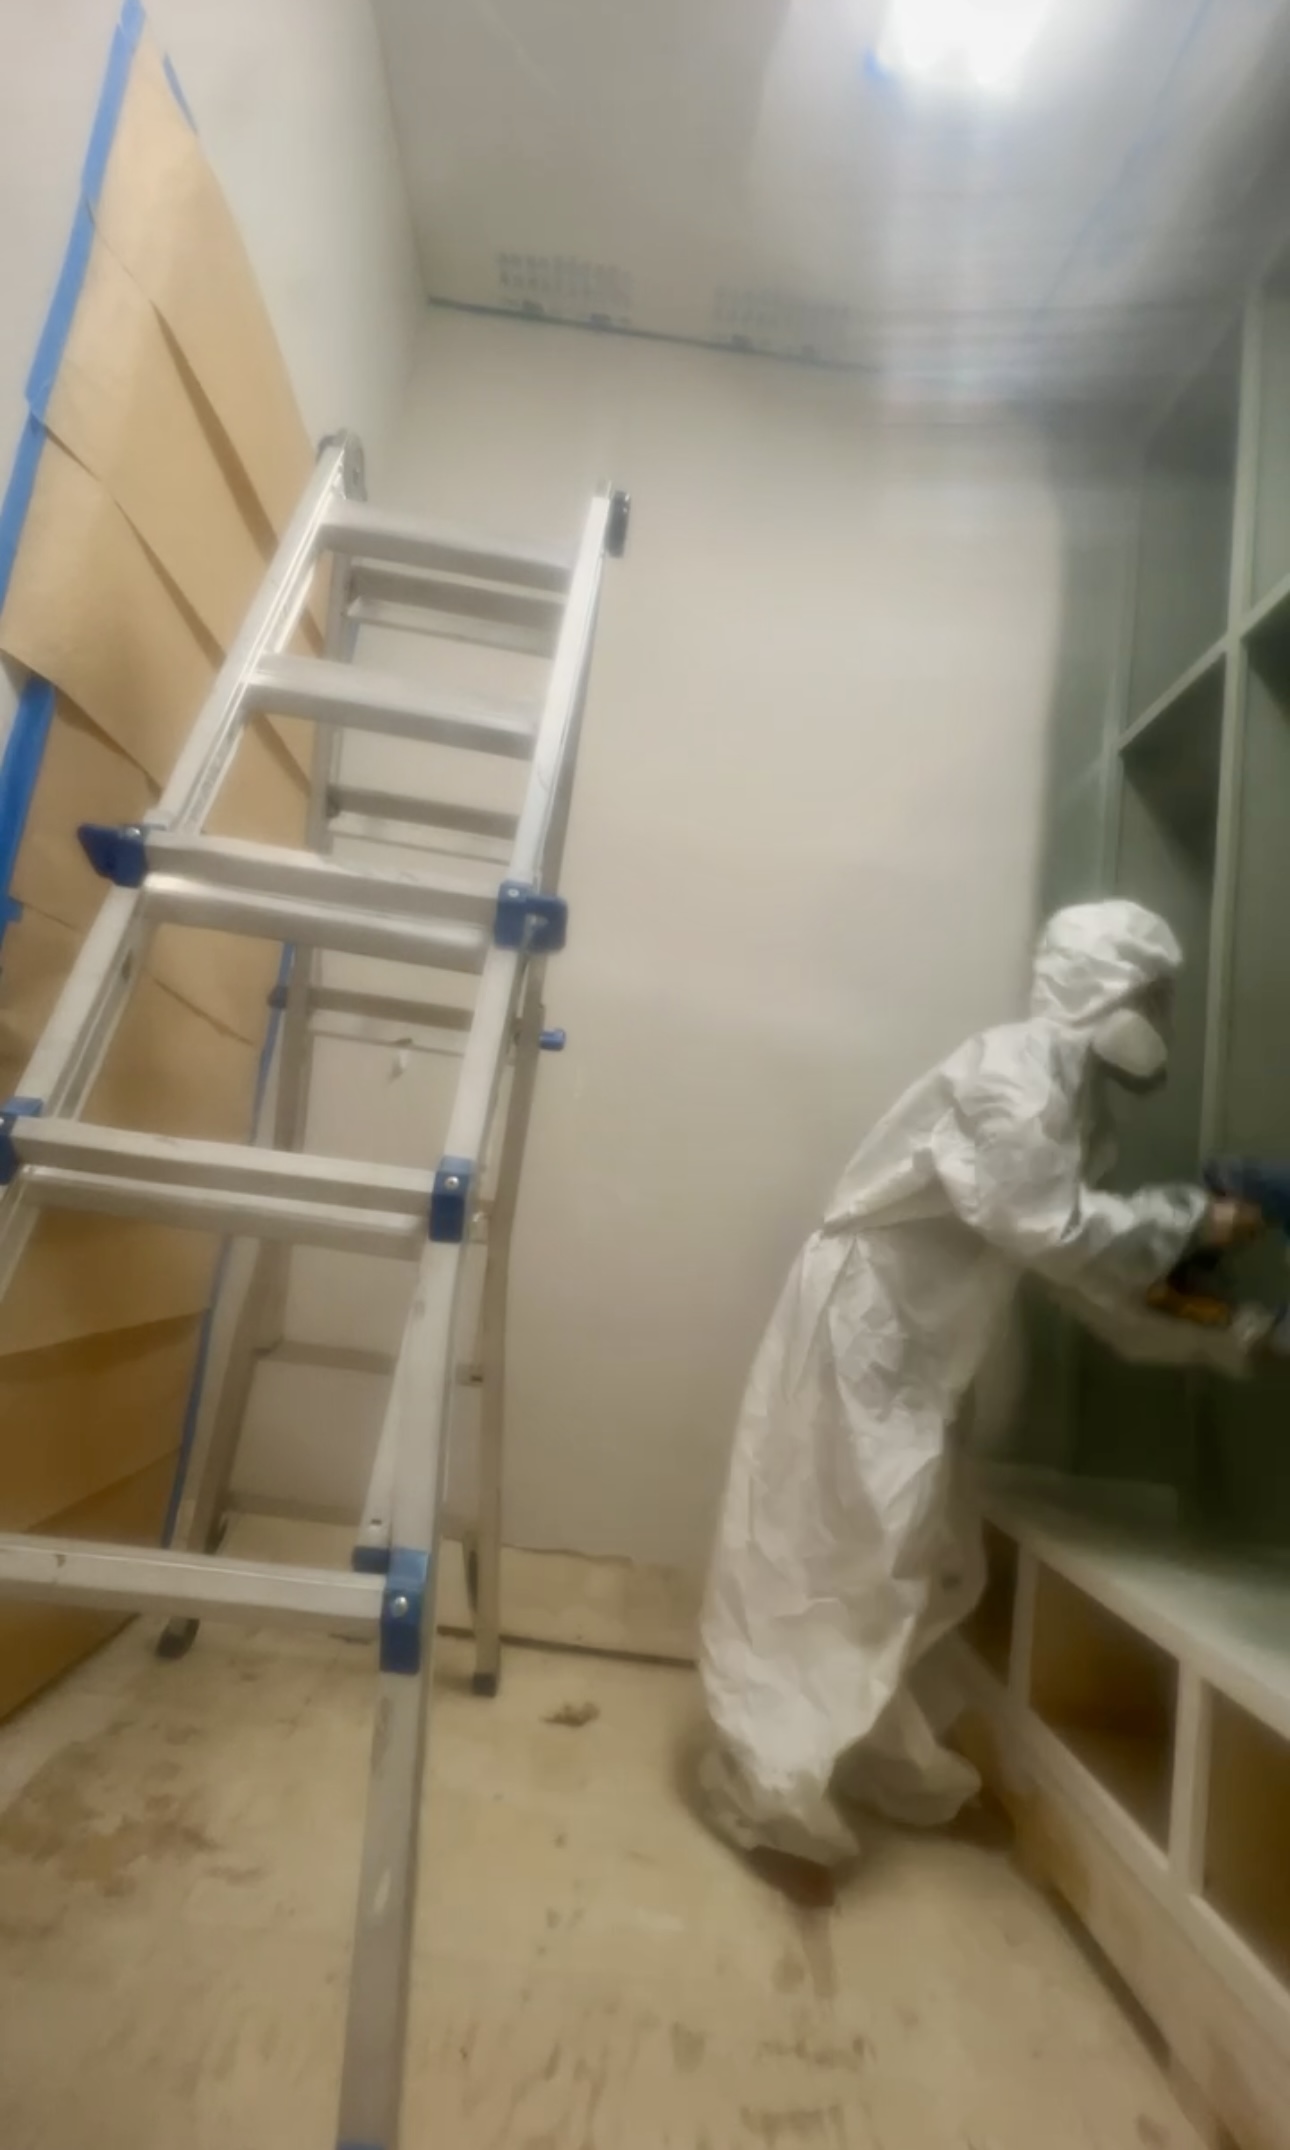
Then I put on my sexy spray paint suit and mask and got to work. I waited about 4 hours for the first coat to dry before doing the second. These pictures are blurry because I had to keep my phone behind the plastic to protect it 😂

Drawers
Building drawers is one of the most frustrating things for me to build. I’ve built them about 3 times and I still mess up! I’ll try and be thorough and not bore you! I start off using plywood. I recommend 1/2 inch plywood but I had 3/4 inch plywood on hand so I just used that!
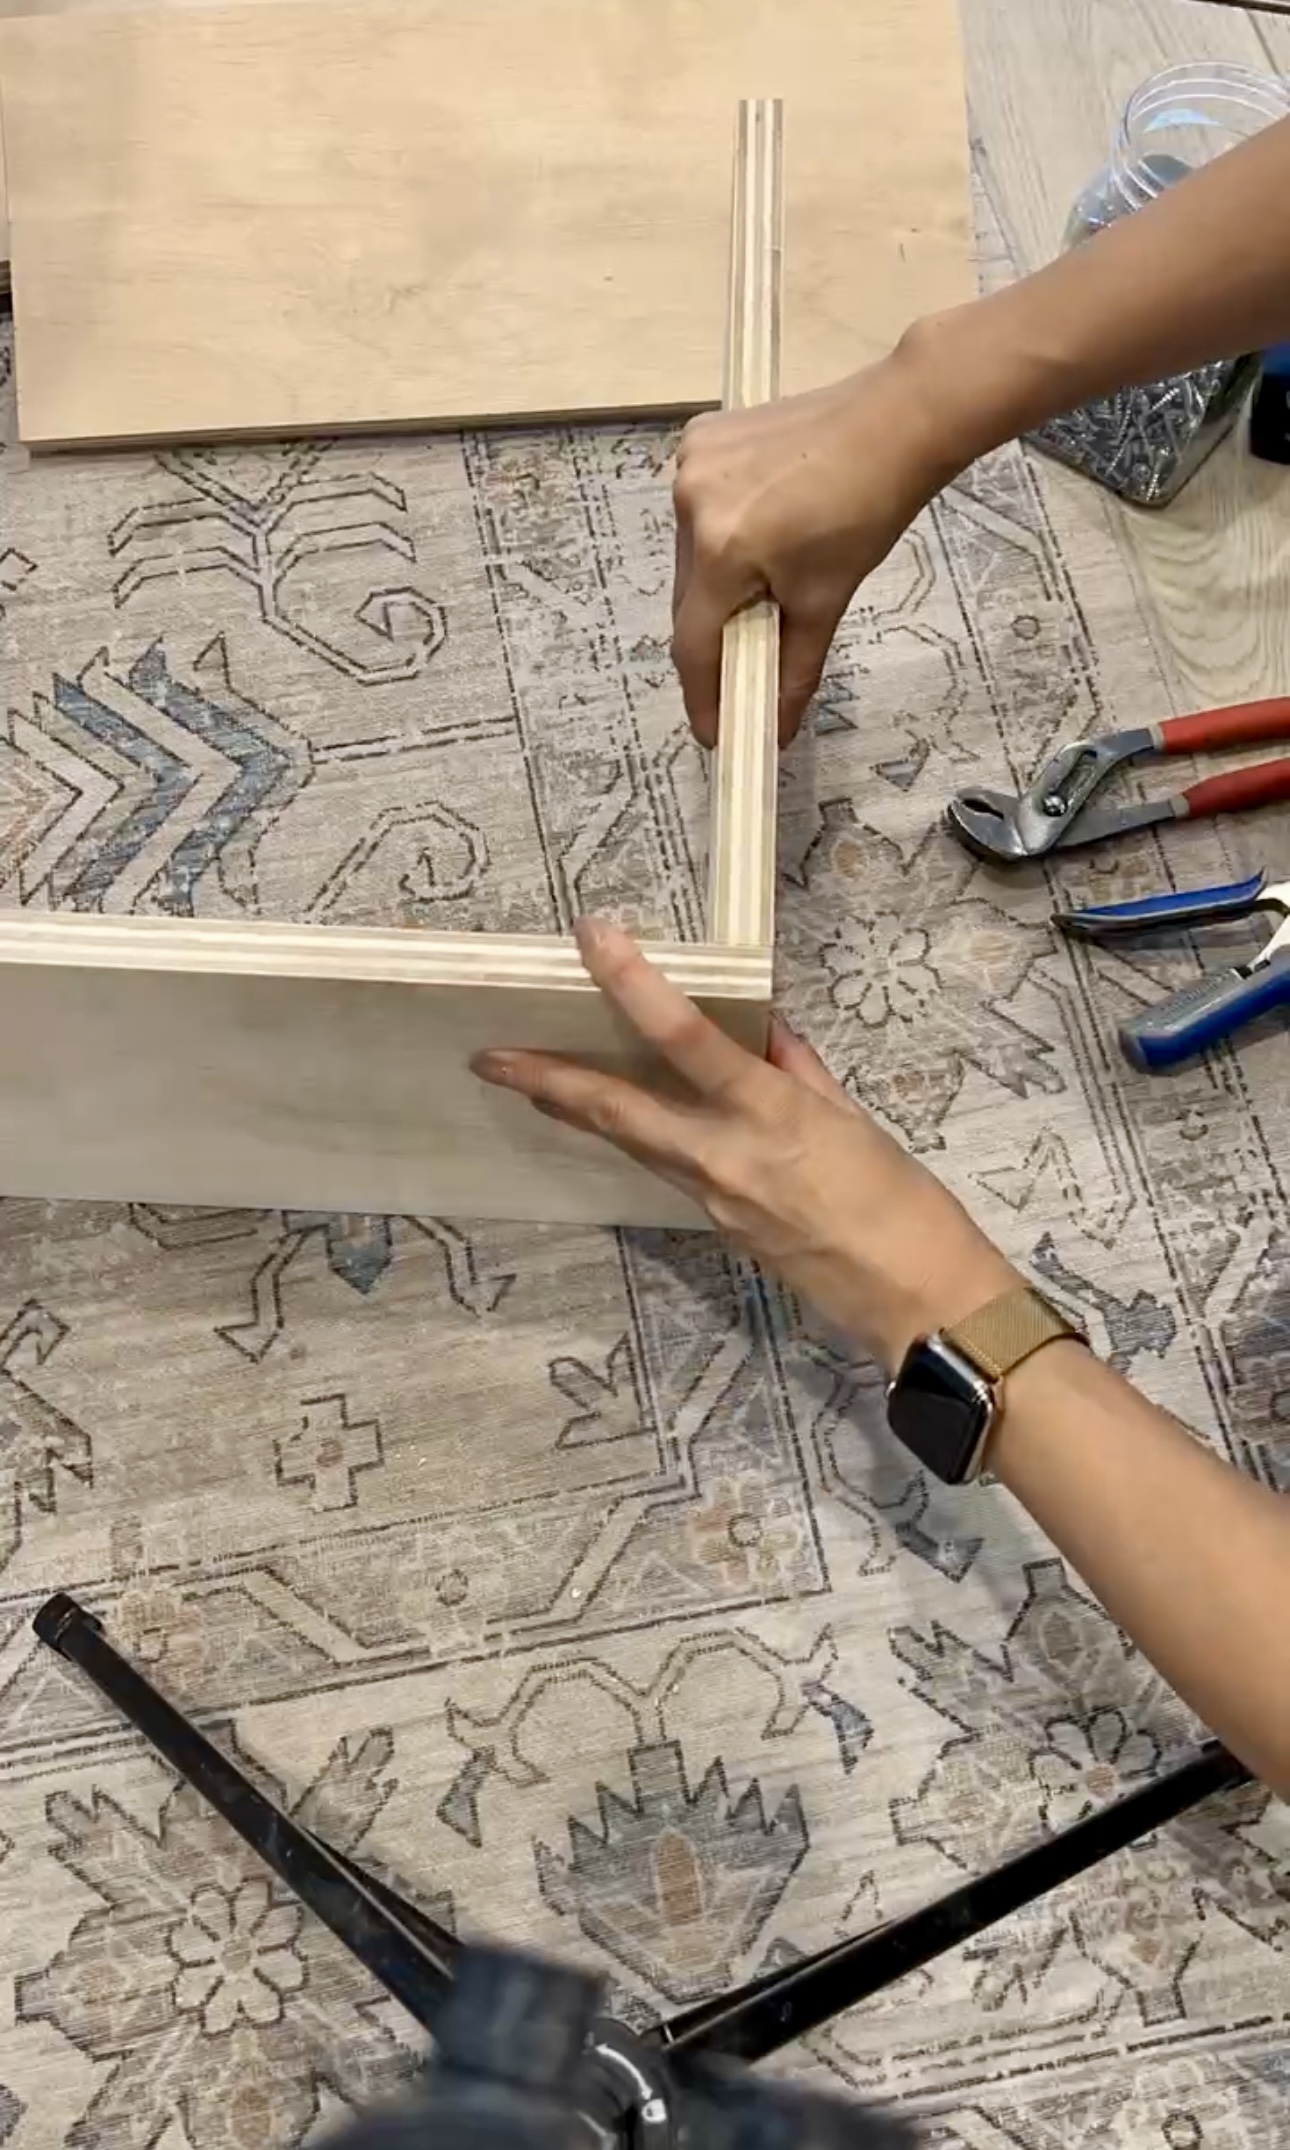
Let’s talk about the layout of the drawer itself. The front & back will be the same as well as the sides. The pocket holes need to go on the front and the back so they can be covered. The way I did the bottom of these drawers was not professional. I didn’t make grooves so the bottom would slide into the frame. But I wanted to make it simple for everyone to understand.
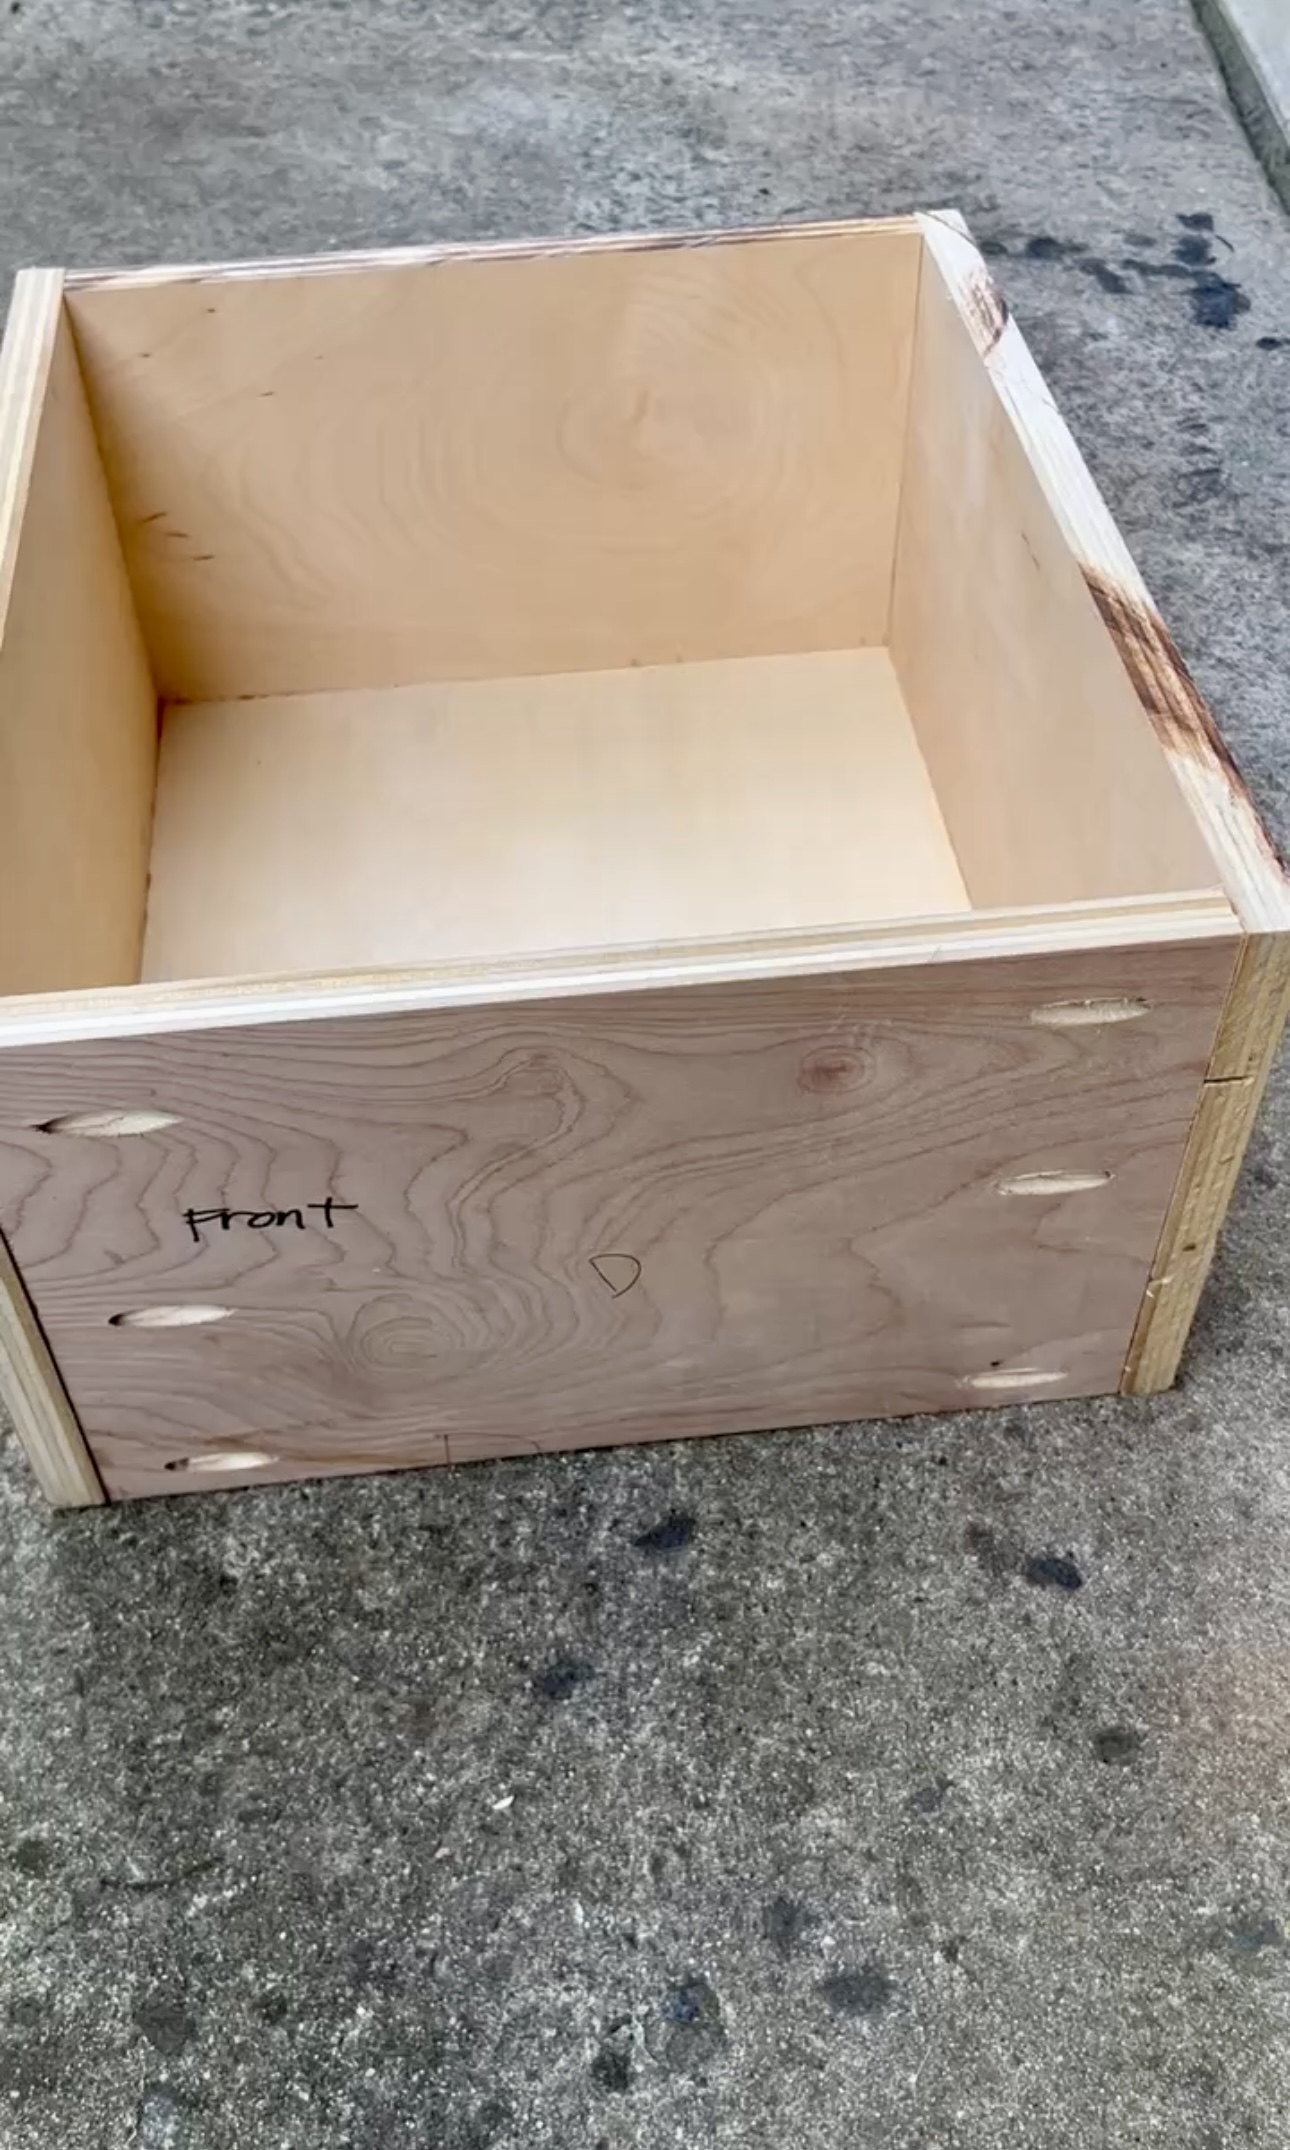
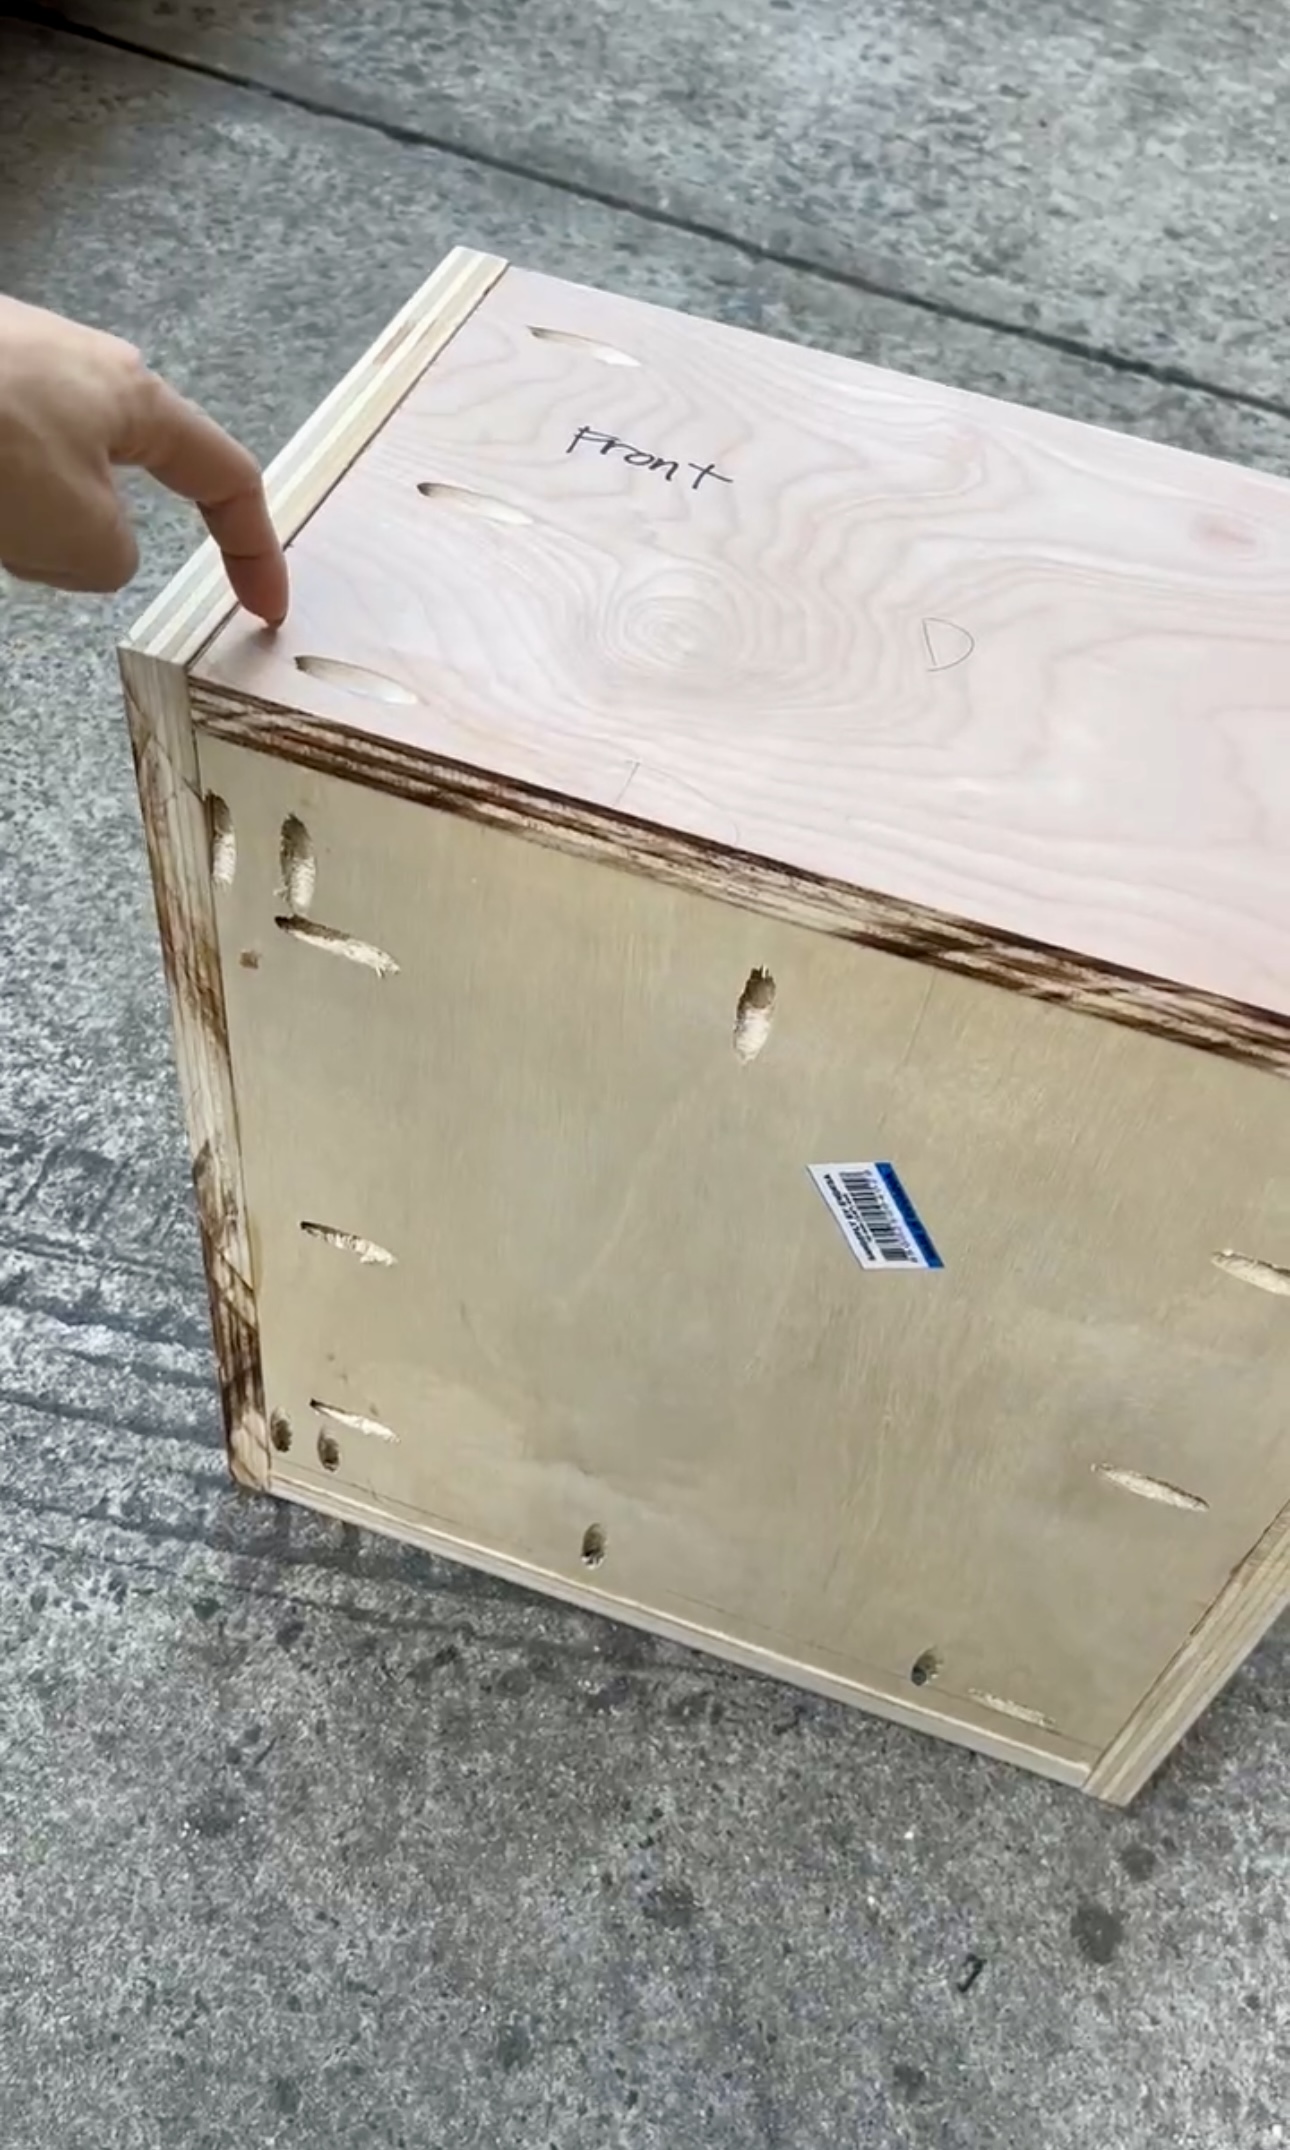
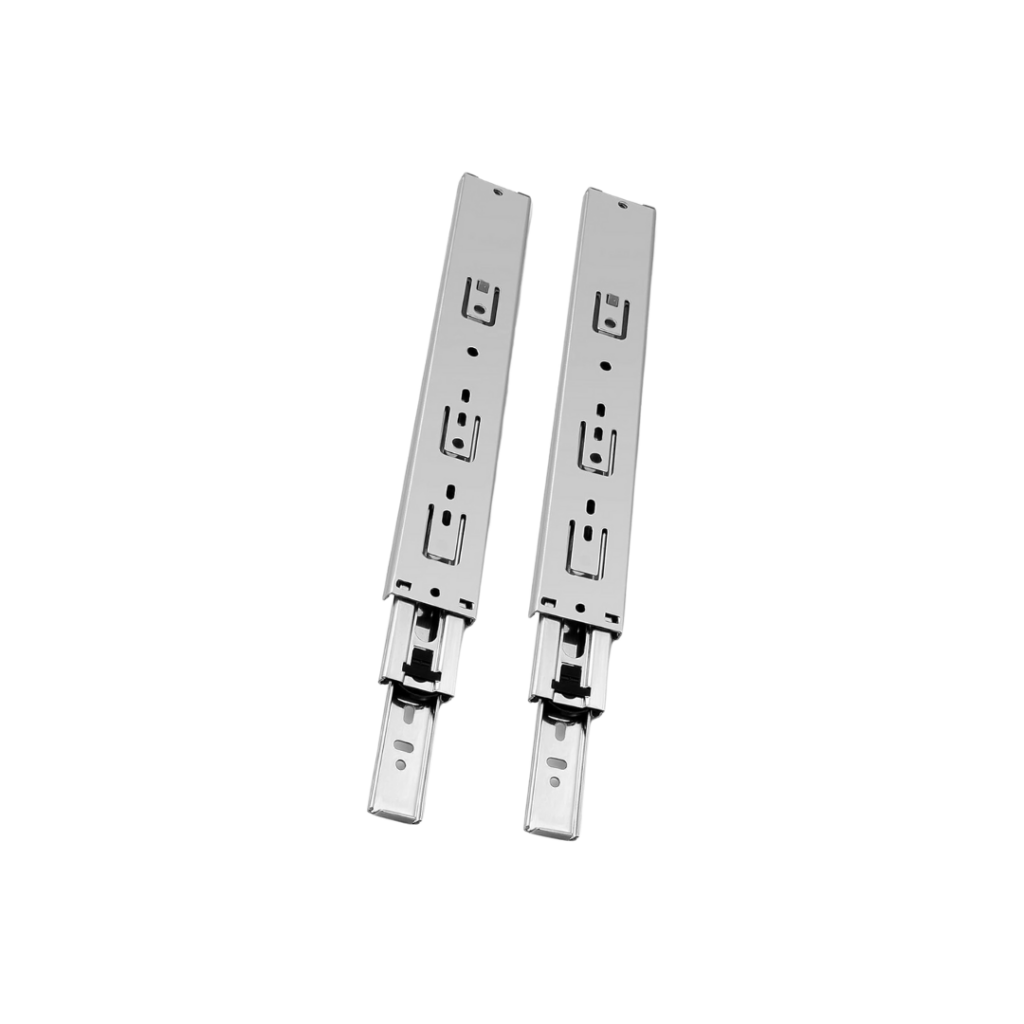
The size of your drawer is up to you. I made mine deep so my kids could fit a lot of shoes in here. For the angled part of my wall, I had to take that into consideration when picking the depth for this last drawer. Height is pretty easy to figure out. You want to give yourself a little space on the top and bottom. For me, the width is the most important measurement. It pretty much has to be perfect. To find this measurement, all you do is install your drawer slides and measure from the inside of one slider to the other inside down to the 16th. Measure a few times to make sure you’ve got it right!
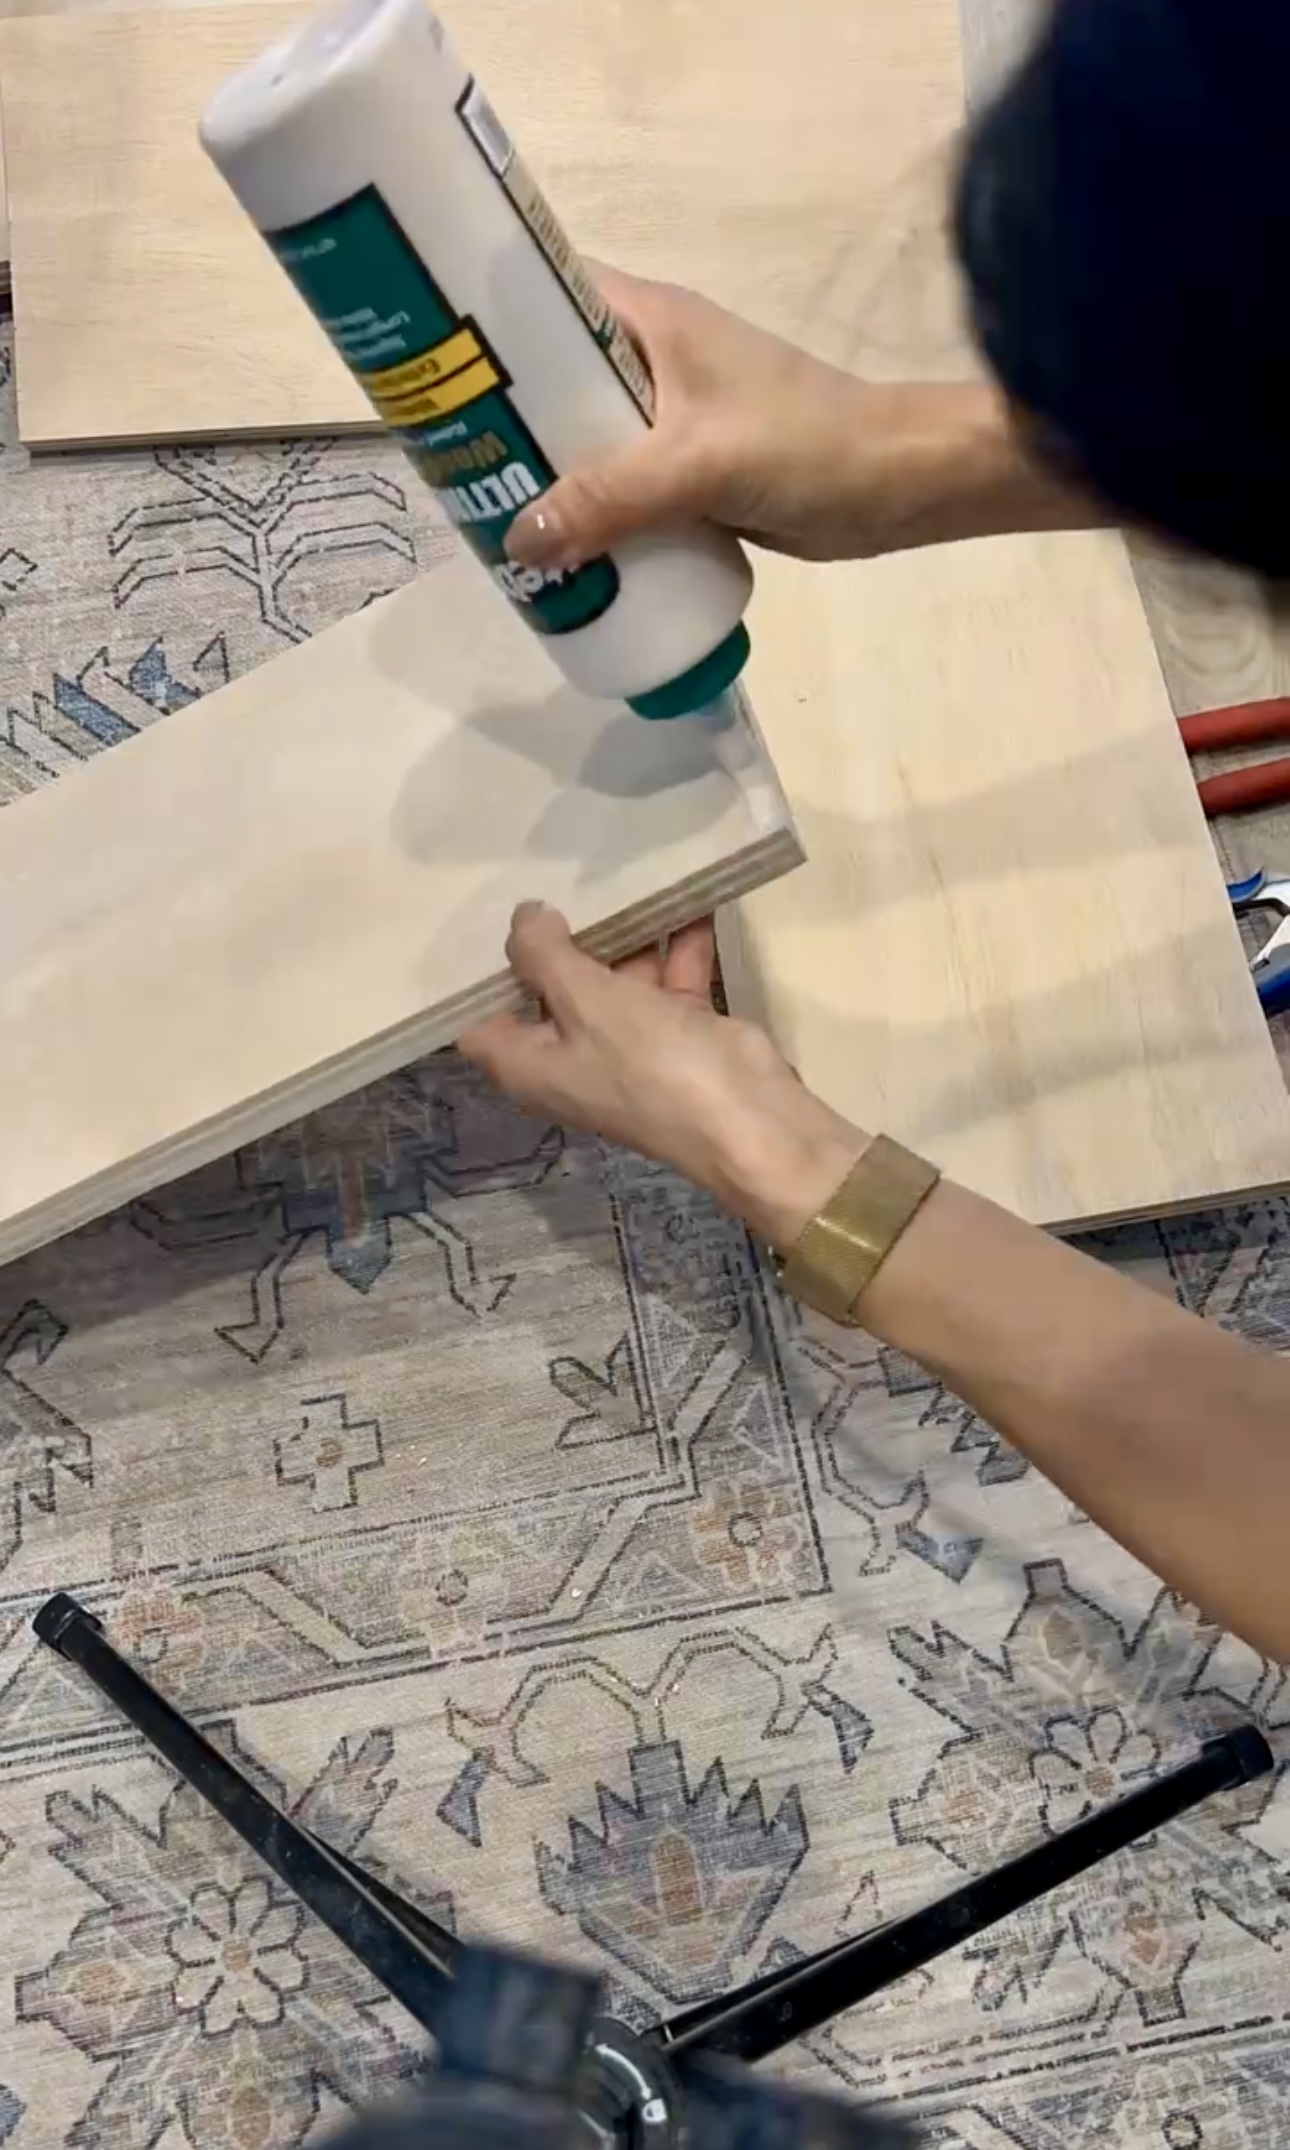
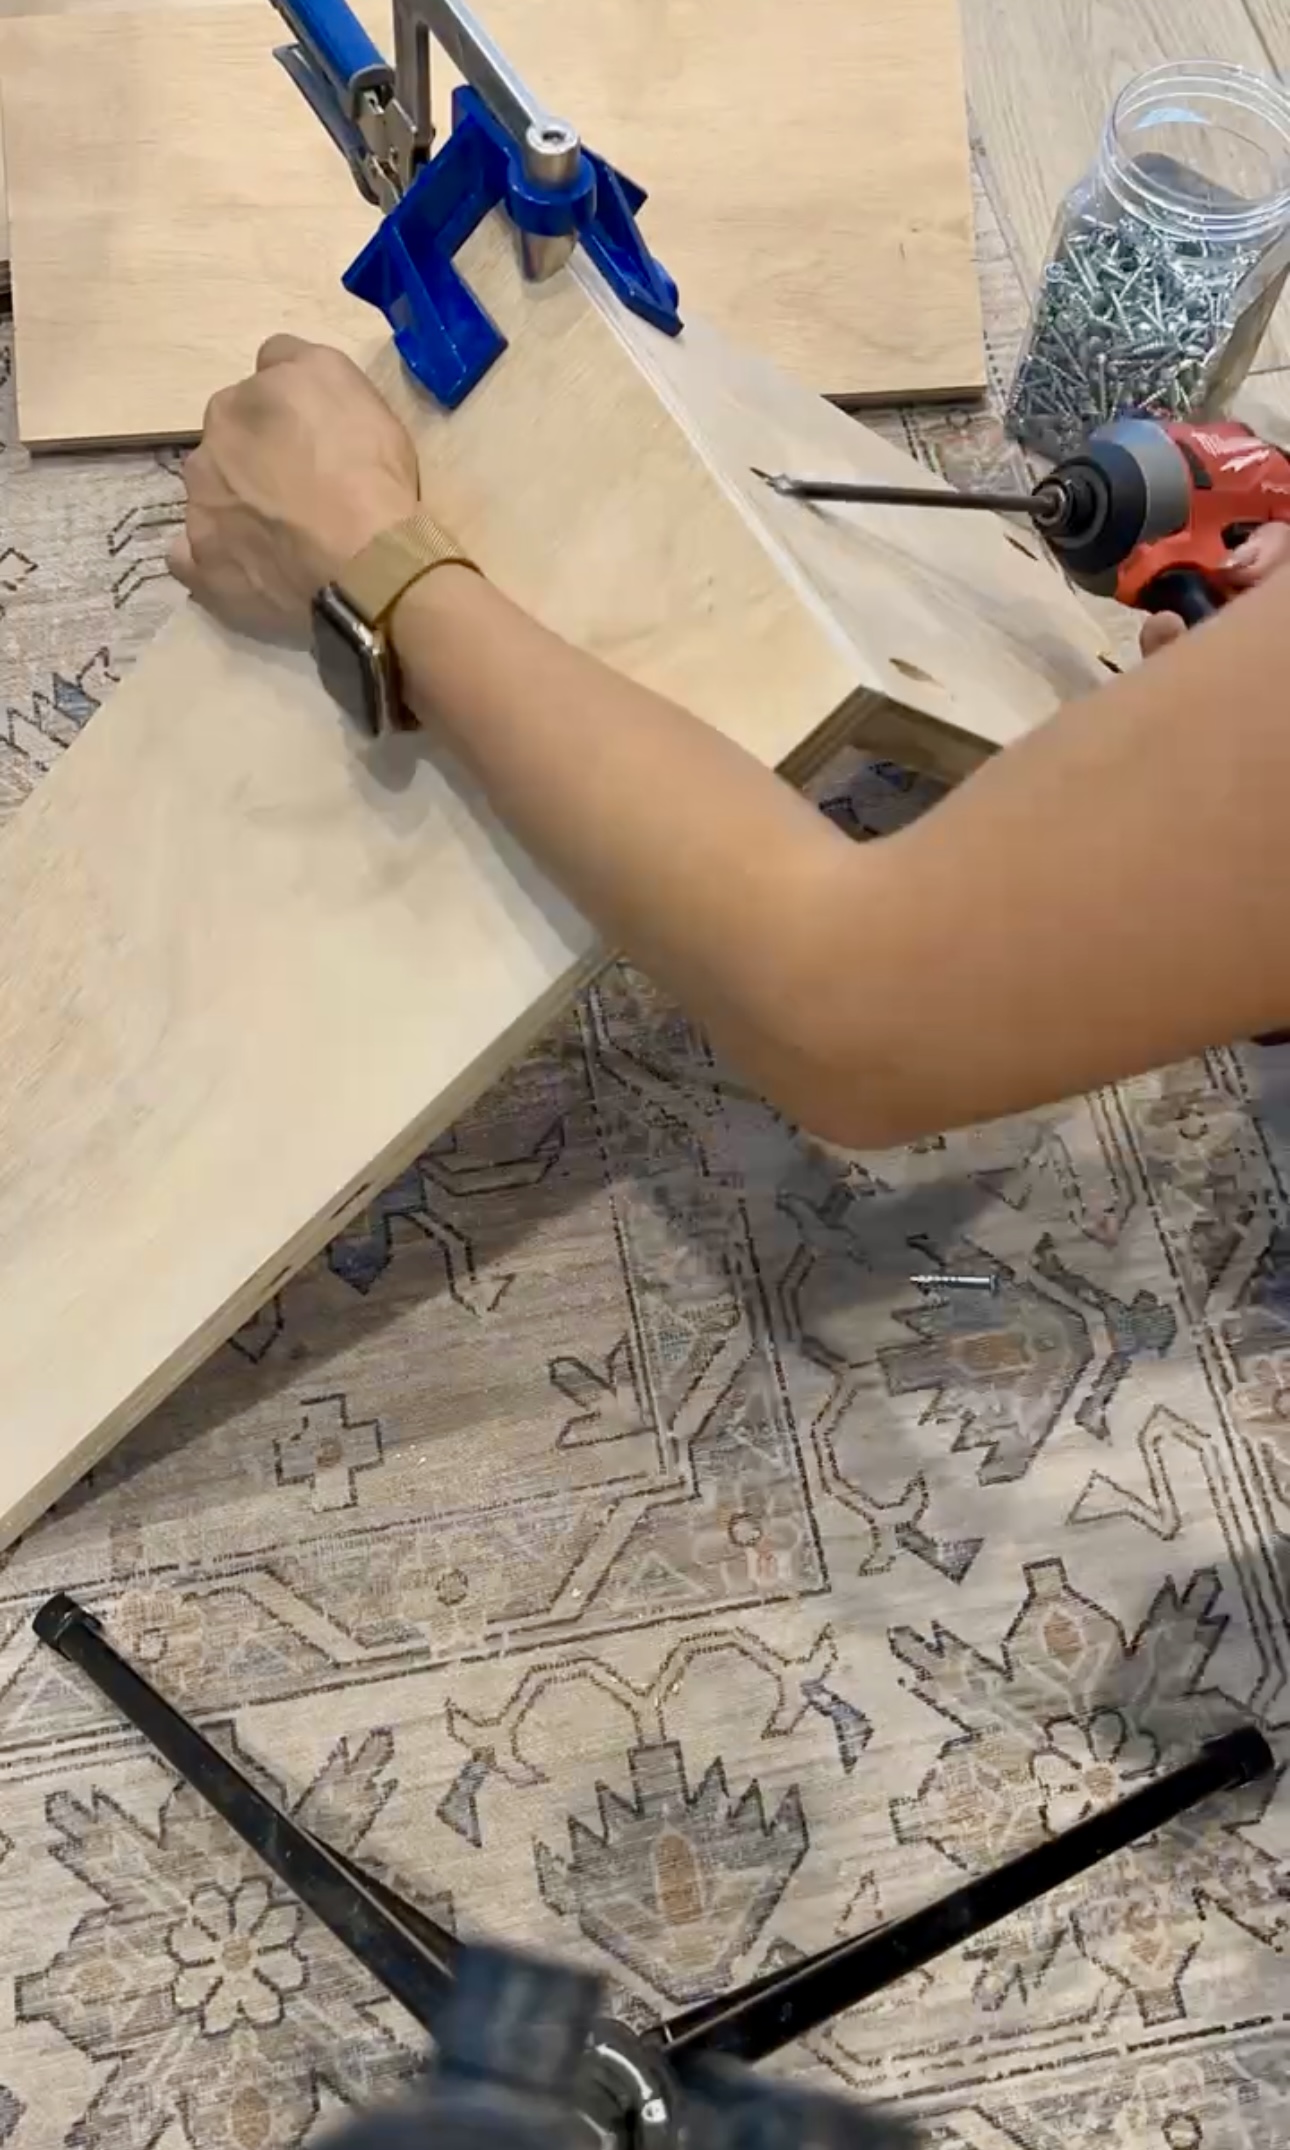
To put the actual drawers together, I used wood glue and pocket holes. Remember to always put pocket holes where they can be hidden!
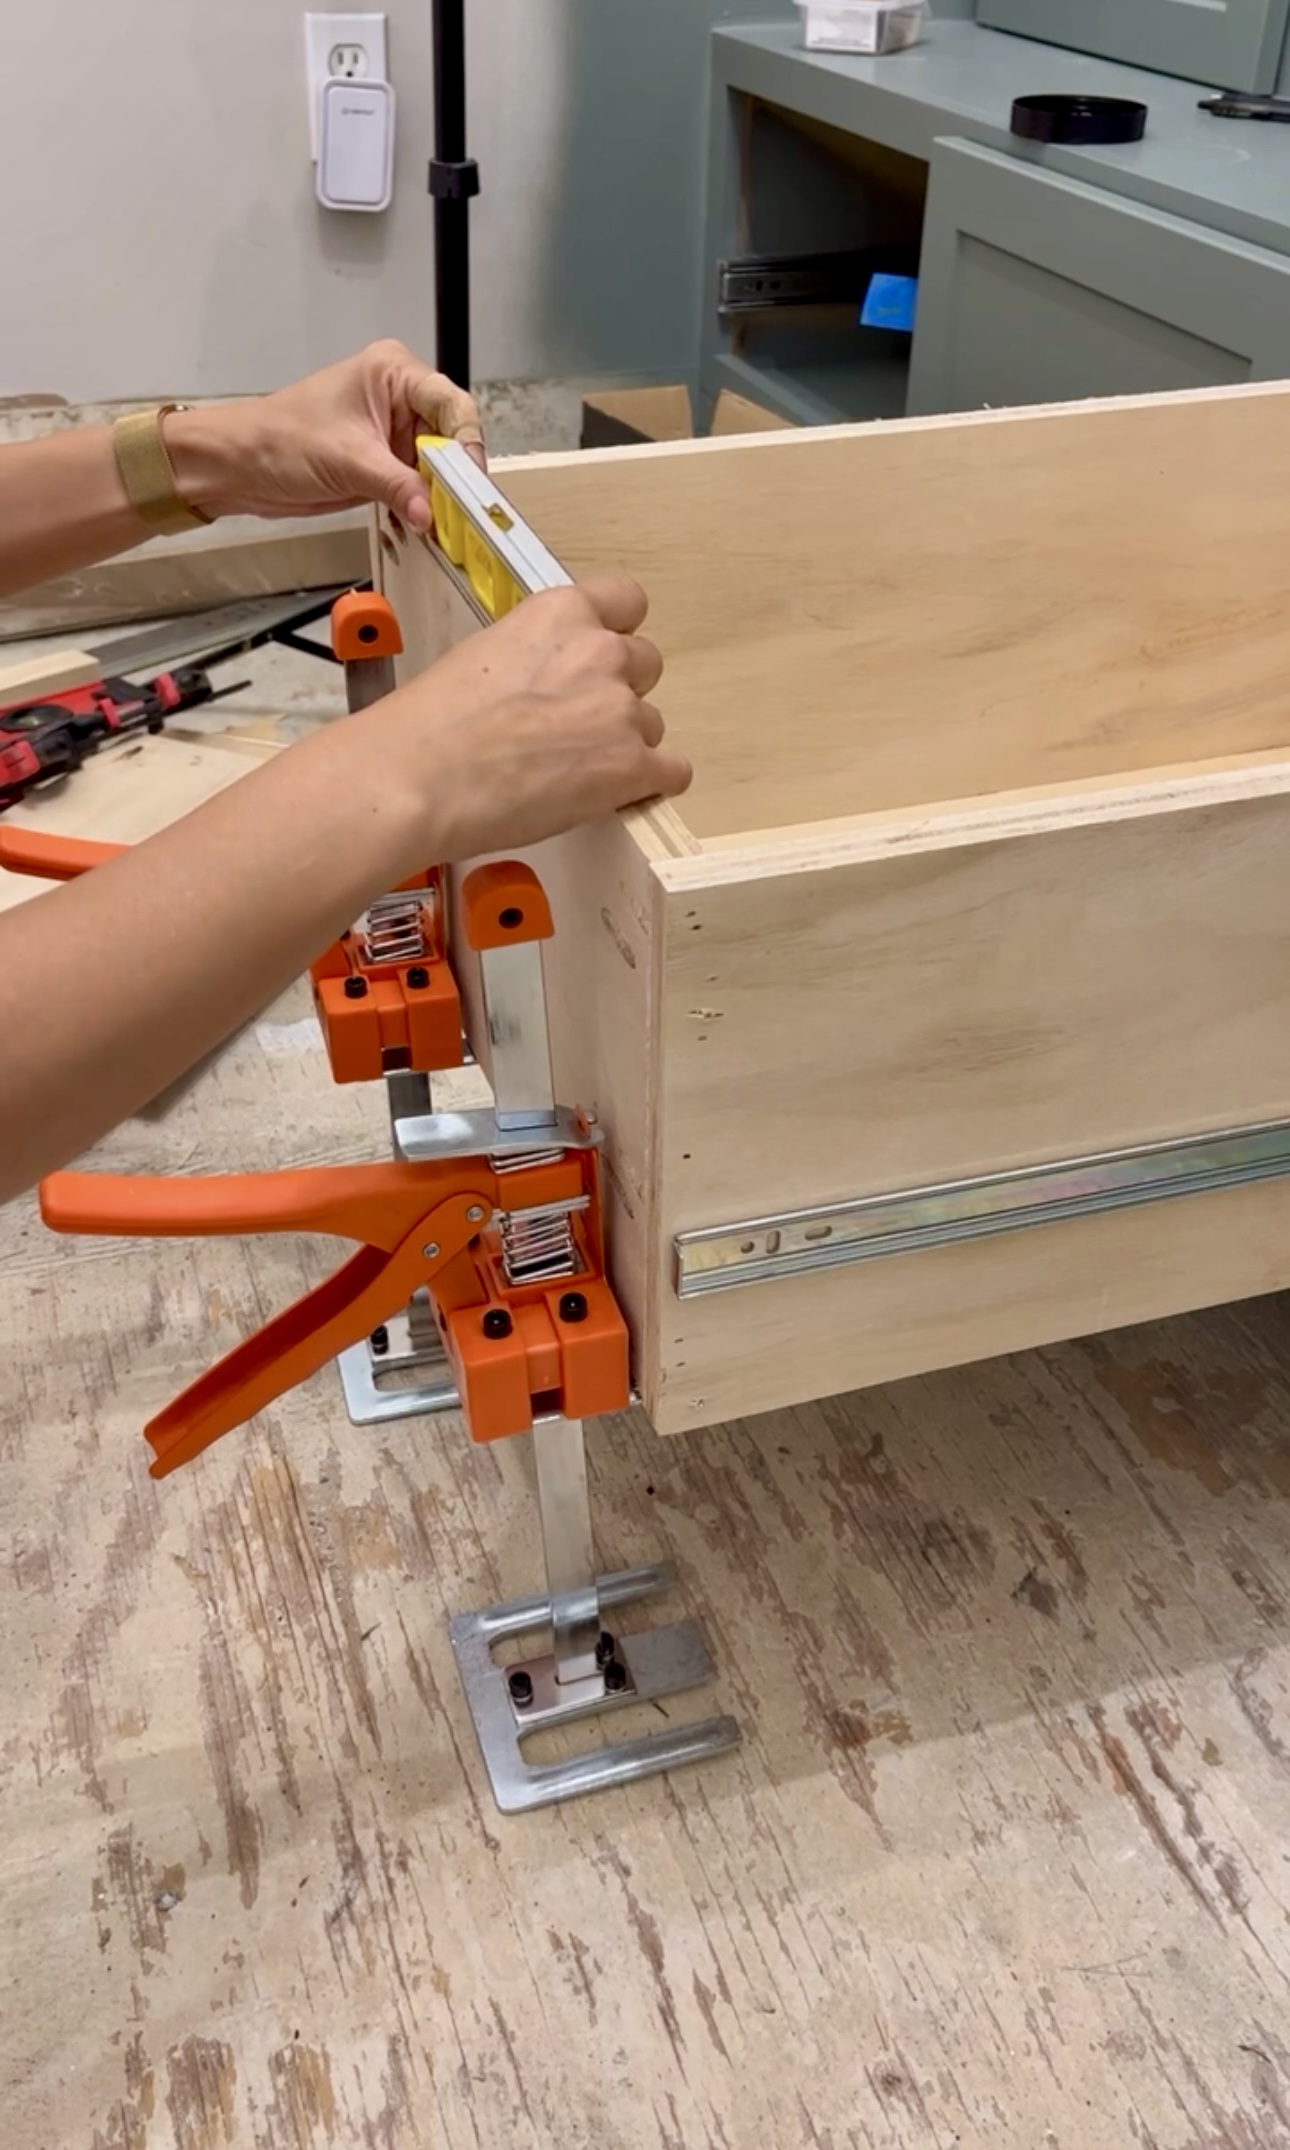
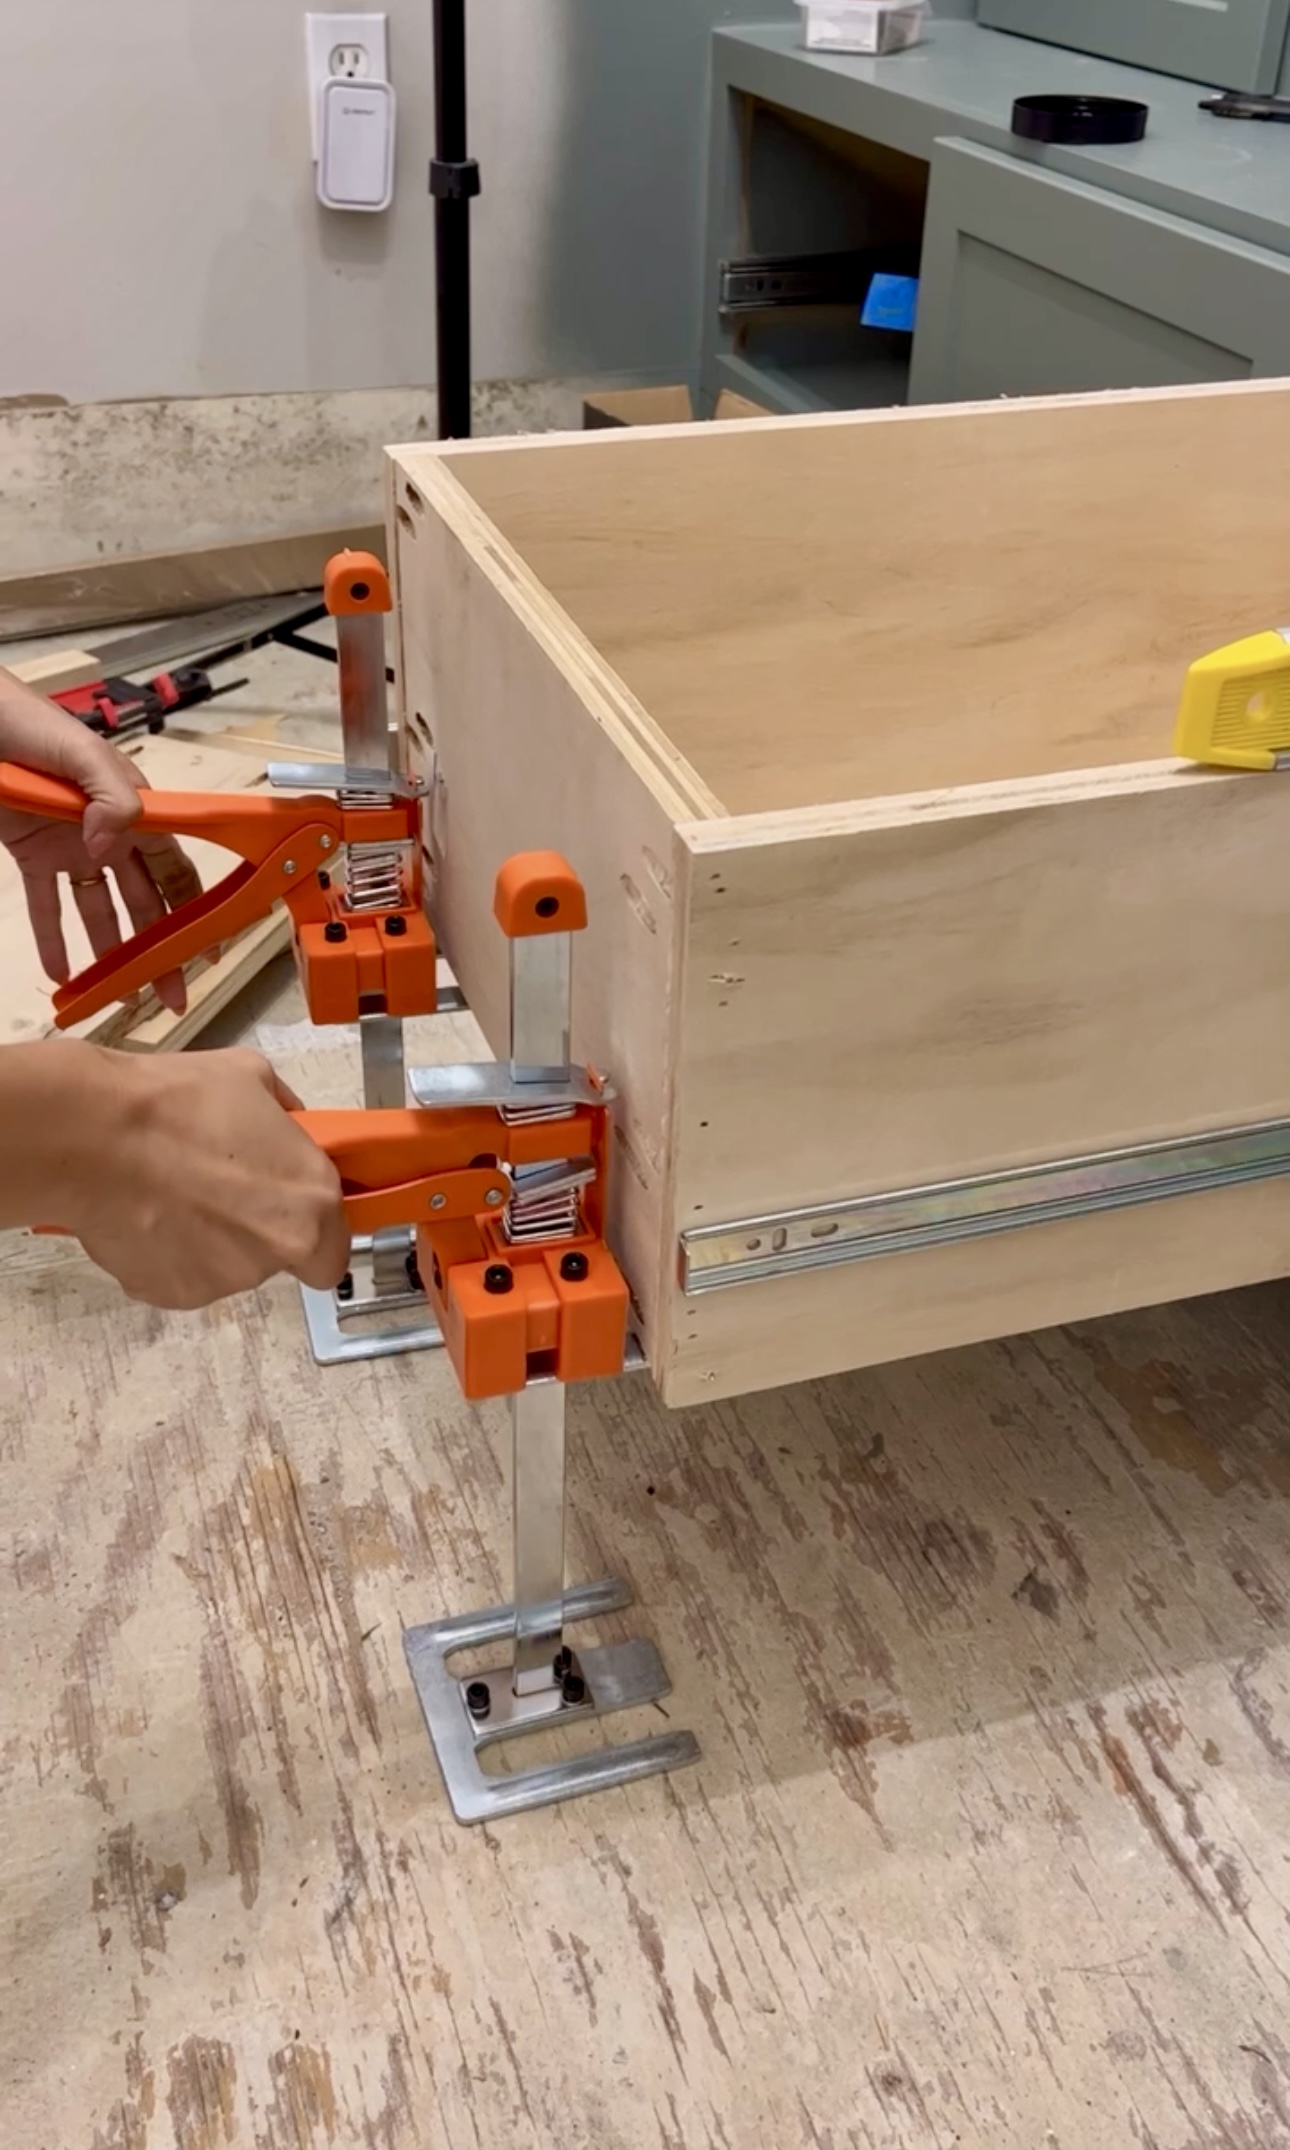
Once the drawers are installed, you need to measure for your drawer fronts. This will be from the insides of the drawer slides again. These two construction jacks I use are super helpful as a second set of hands to help me make sure everything is level! I’m honestly not sure what they’re actually used for – but they’re super helpful for me!
Cabinet Doors & Drawer Fronts
I got my cabinet fronts from Front and Center. They’re BEAUTIFUL! I could have made doors, but their quality cannot be beat… believe me I’ve TRIED!
Hardware
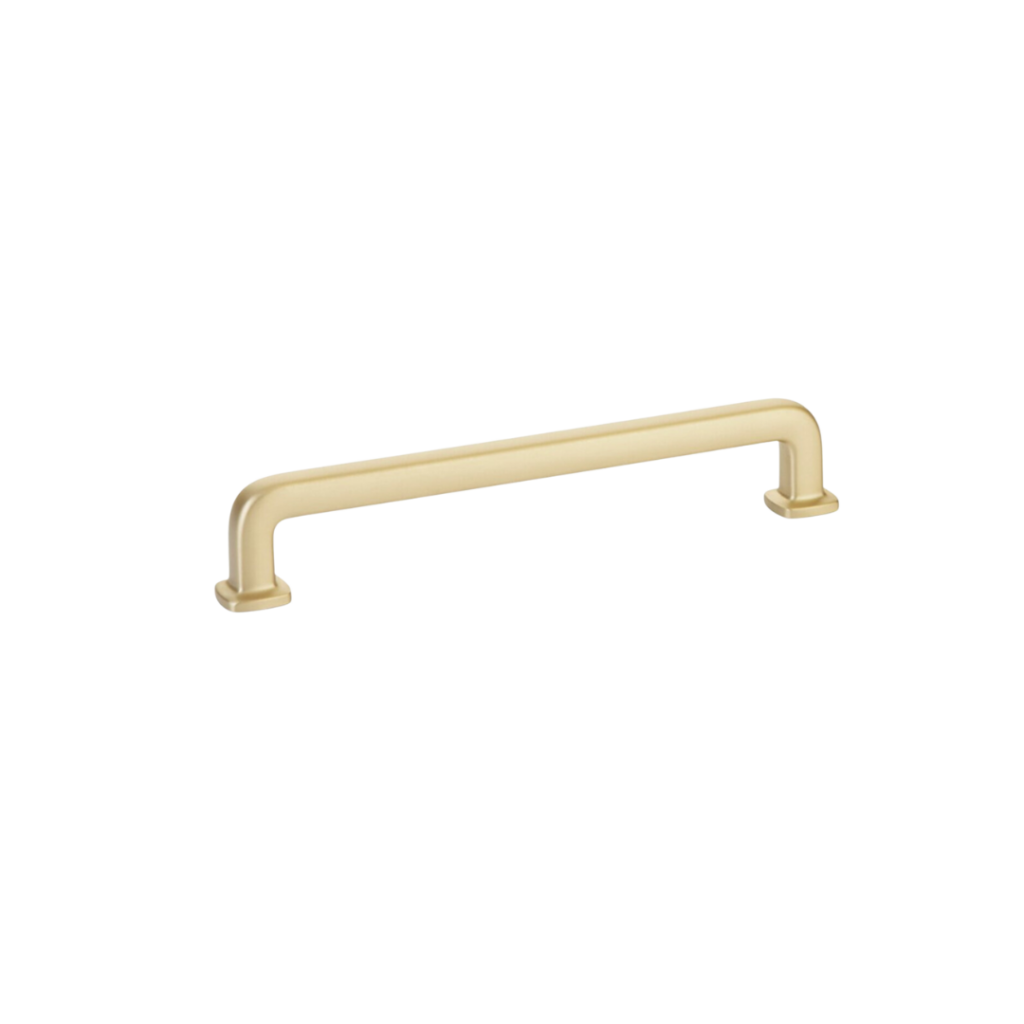
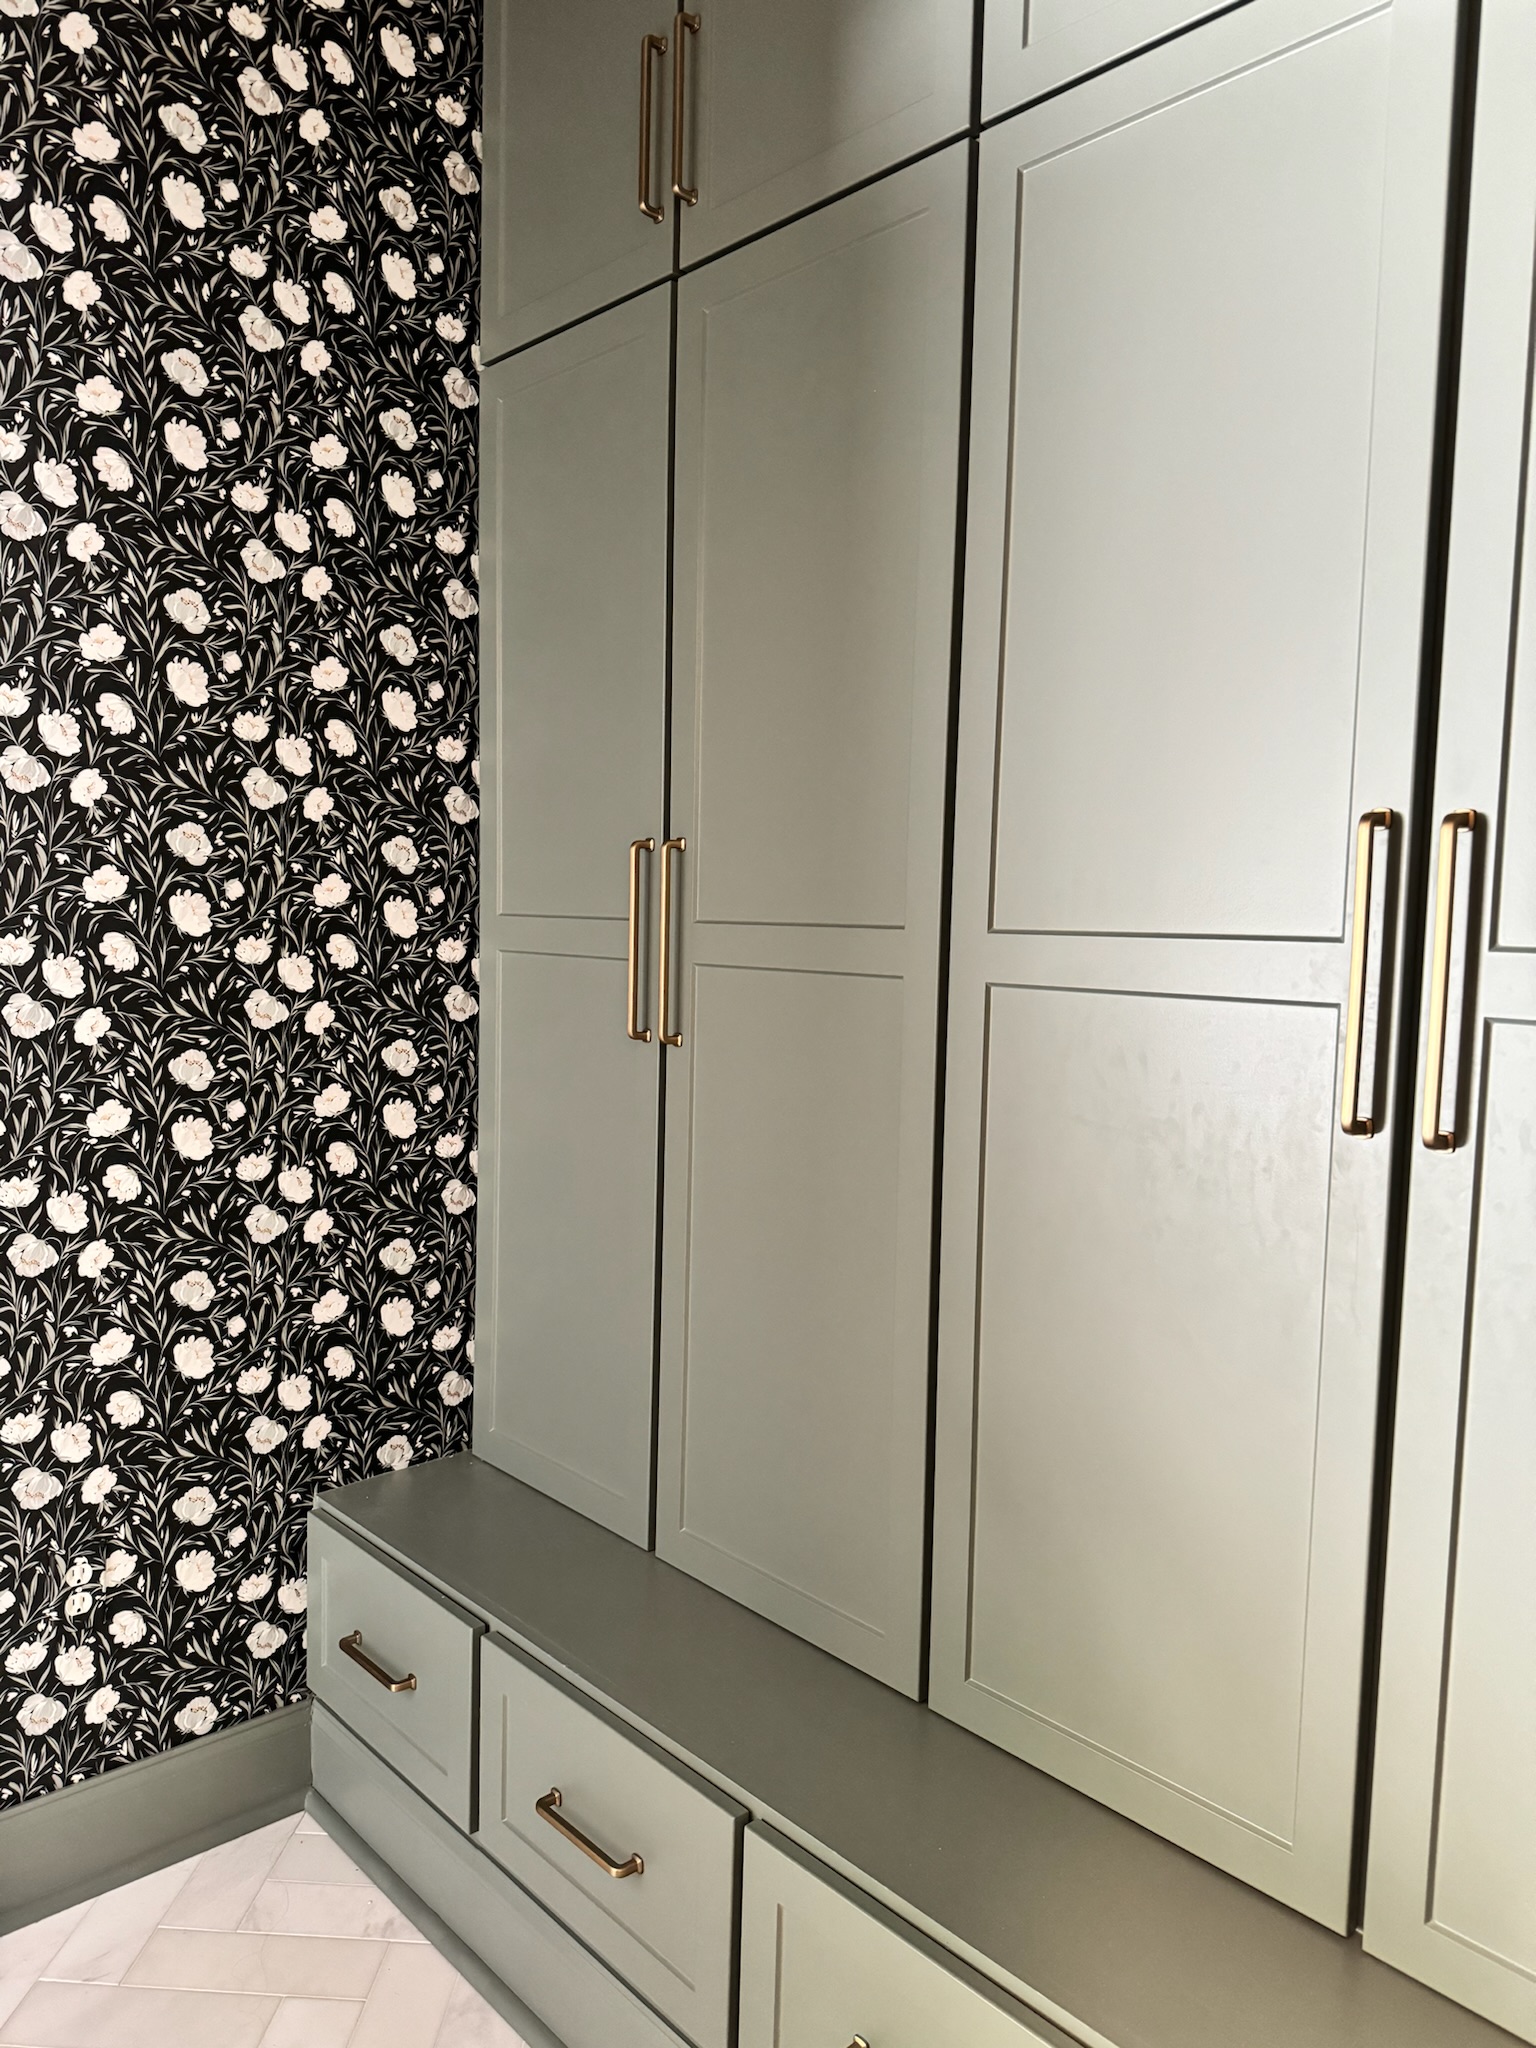
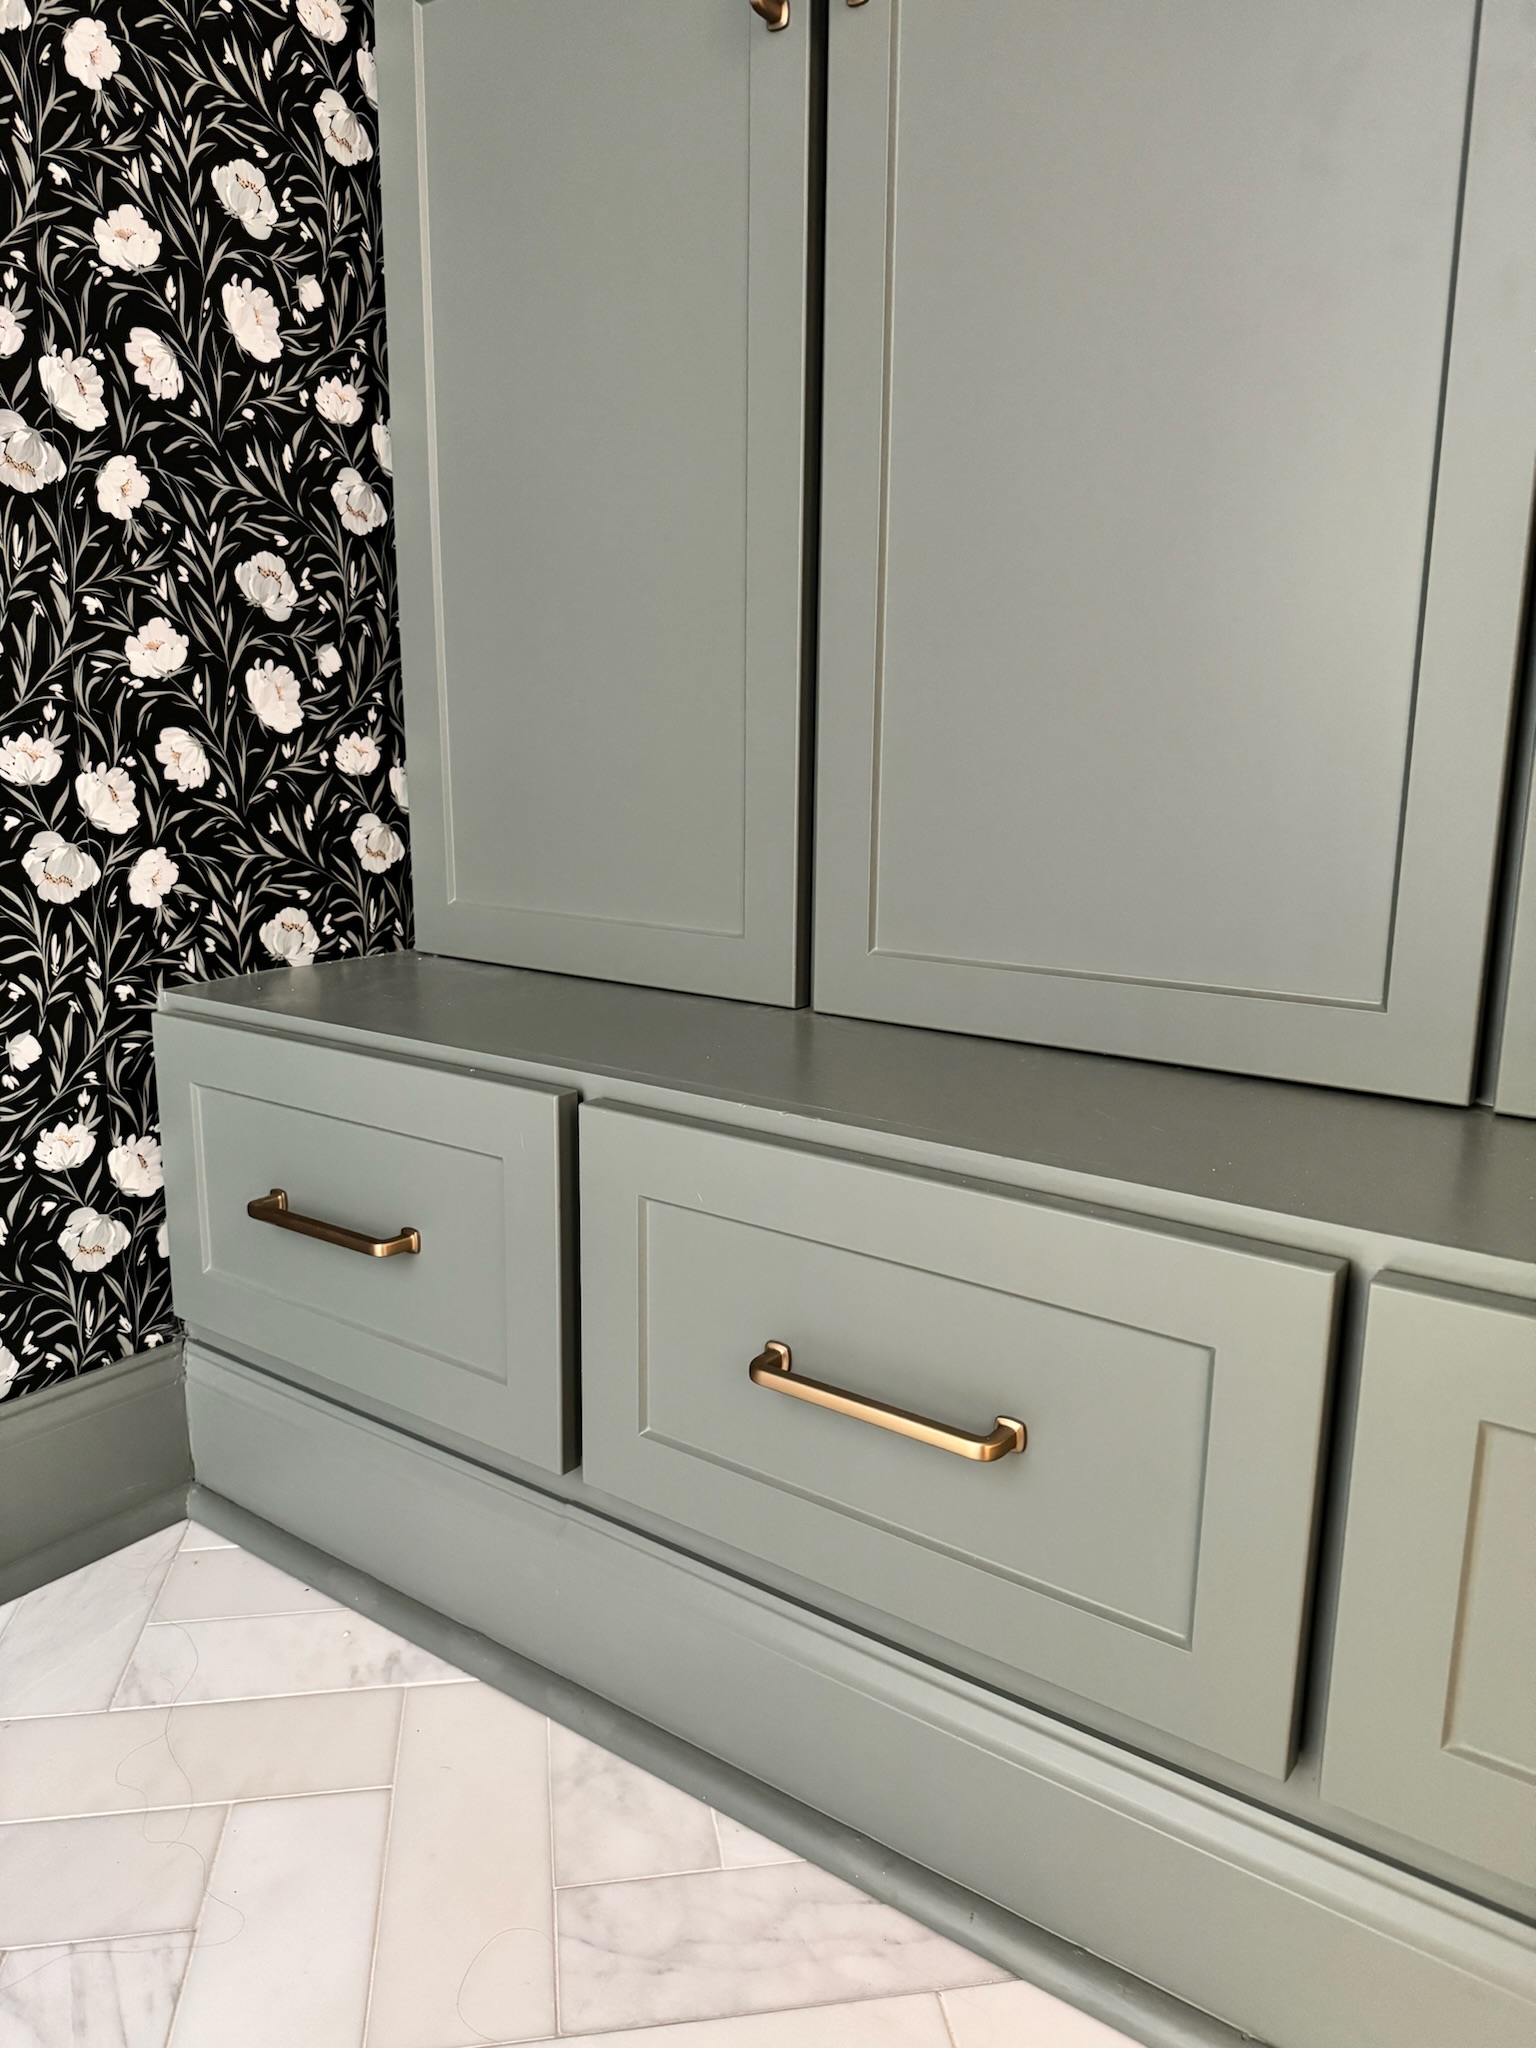
Next, I installed hardware! I used these gold drawer pulls from My Knobs. I absolutely love them!
To finish out this room, I hung wallpaper from Love vs Design and installed new tile flooring. I can’t wait to show you the reveal!
Here’s everything I used painting my mudroom lockers:
