Hi
I'm Bong
I'm just a girl who likes to DIY anything and everything. More than that, I love teaching people - especially women - how to pick up power tools and create the home of their dreams. Stop waiting for someone else and starting Doing It Yourself. I'll show you how!
diy projects
diy school
life hacks
categories
must have products
We’re currently working on renovating our out dated master closet. We emptied the whole room and now we’re ready to install LVP flooring!
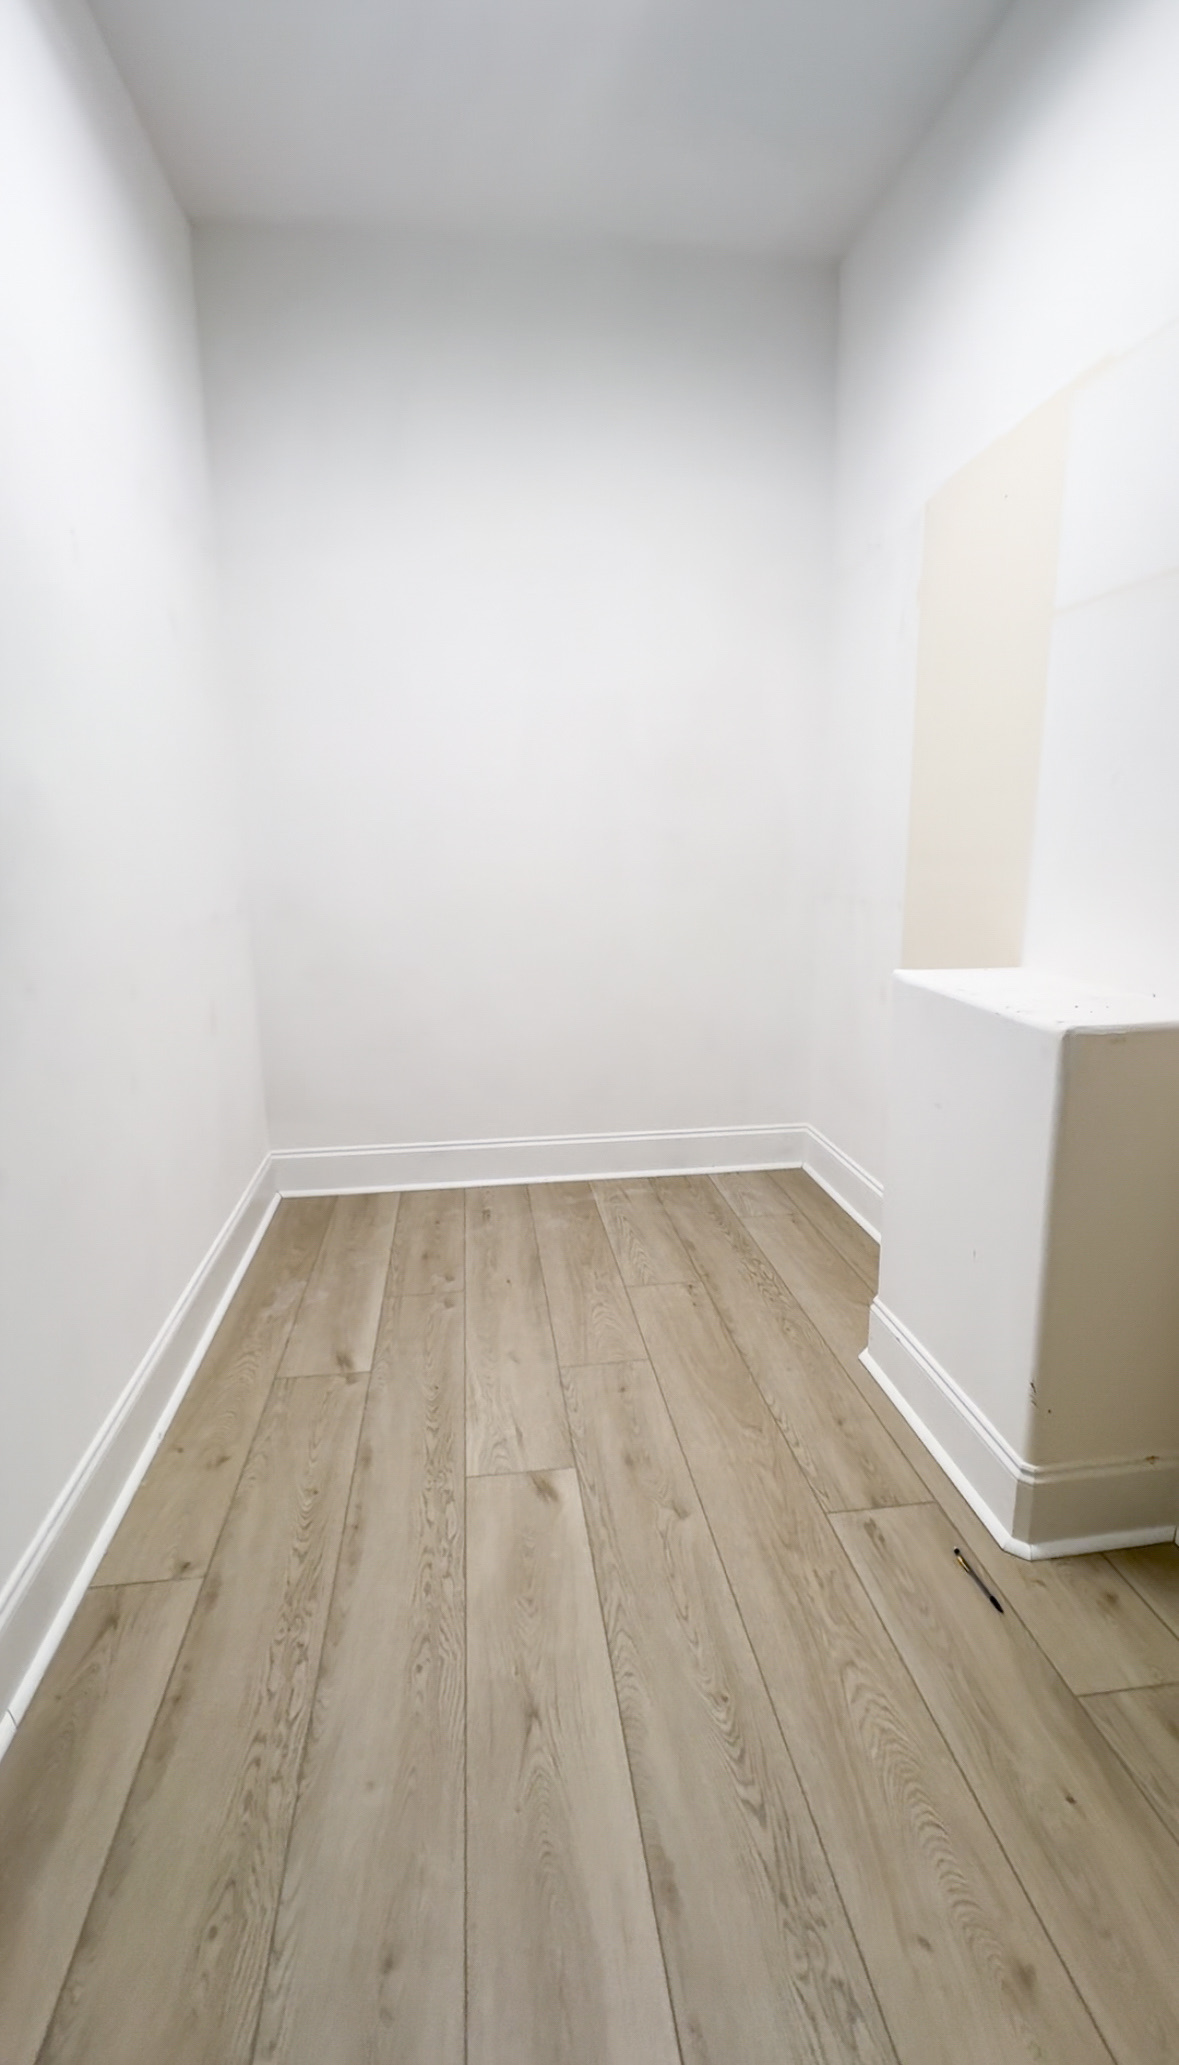
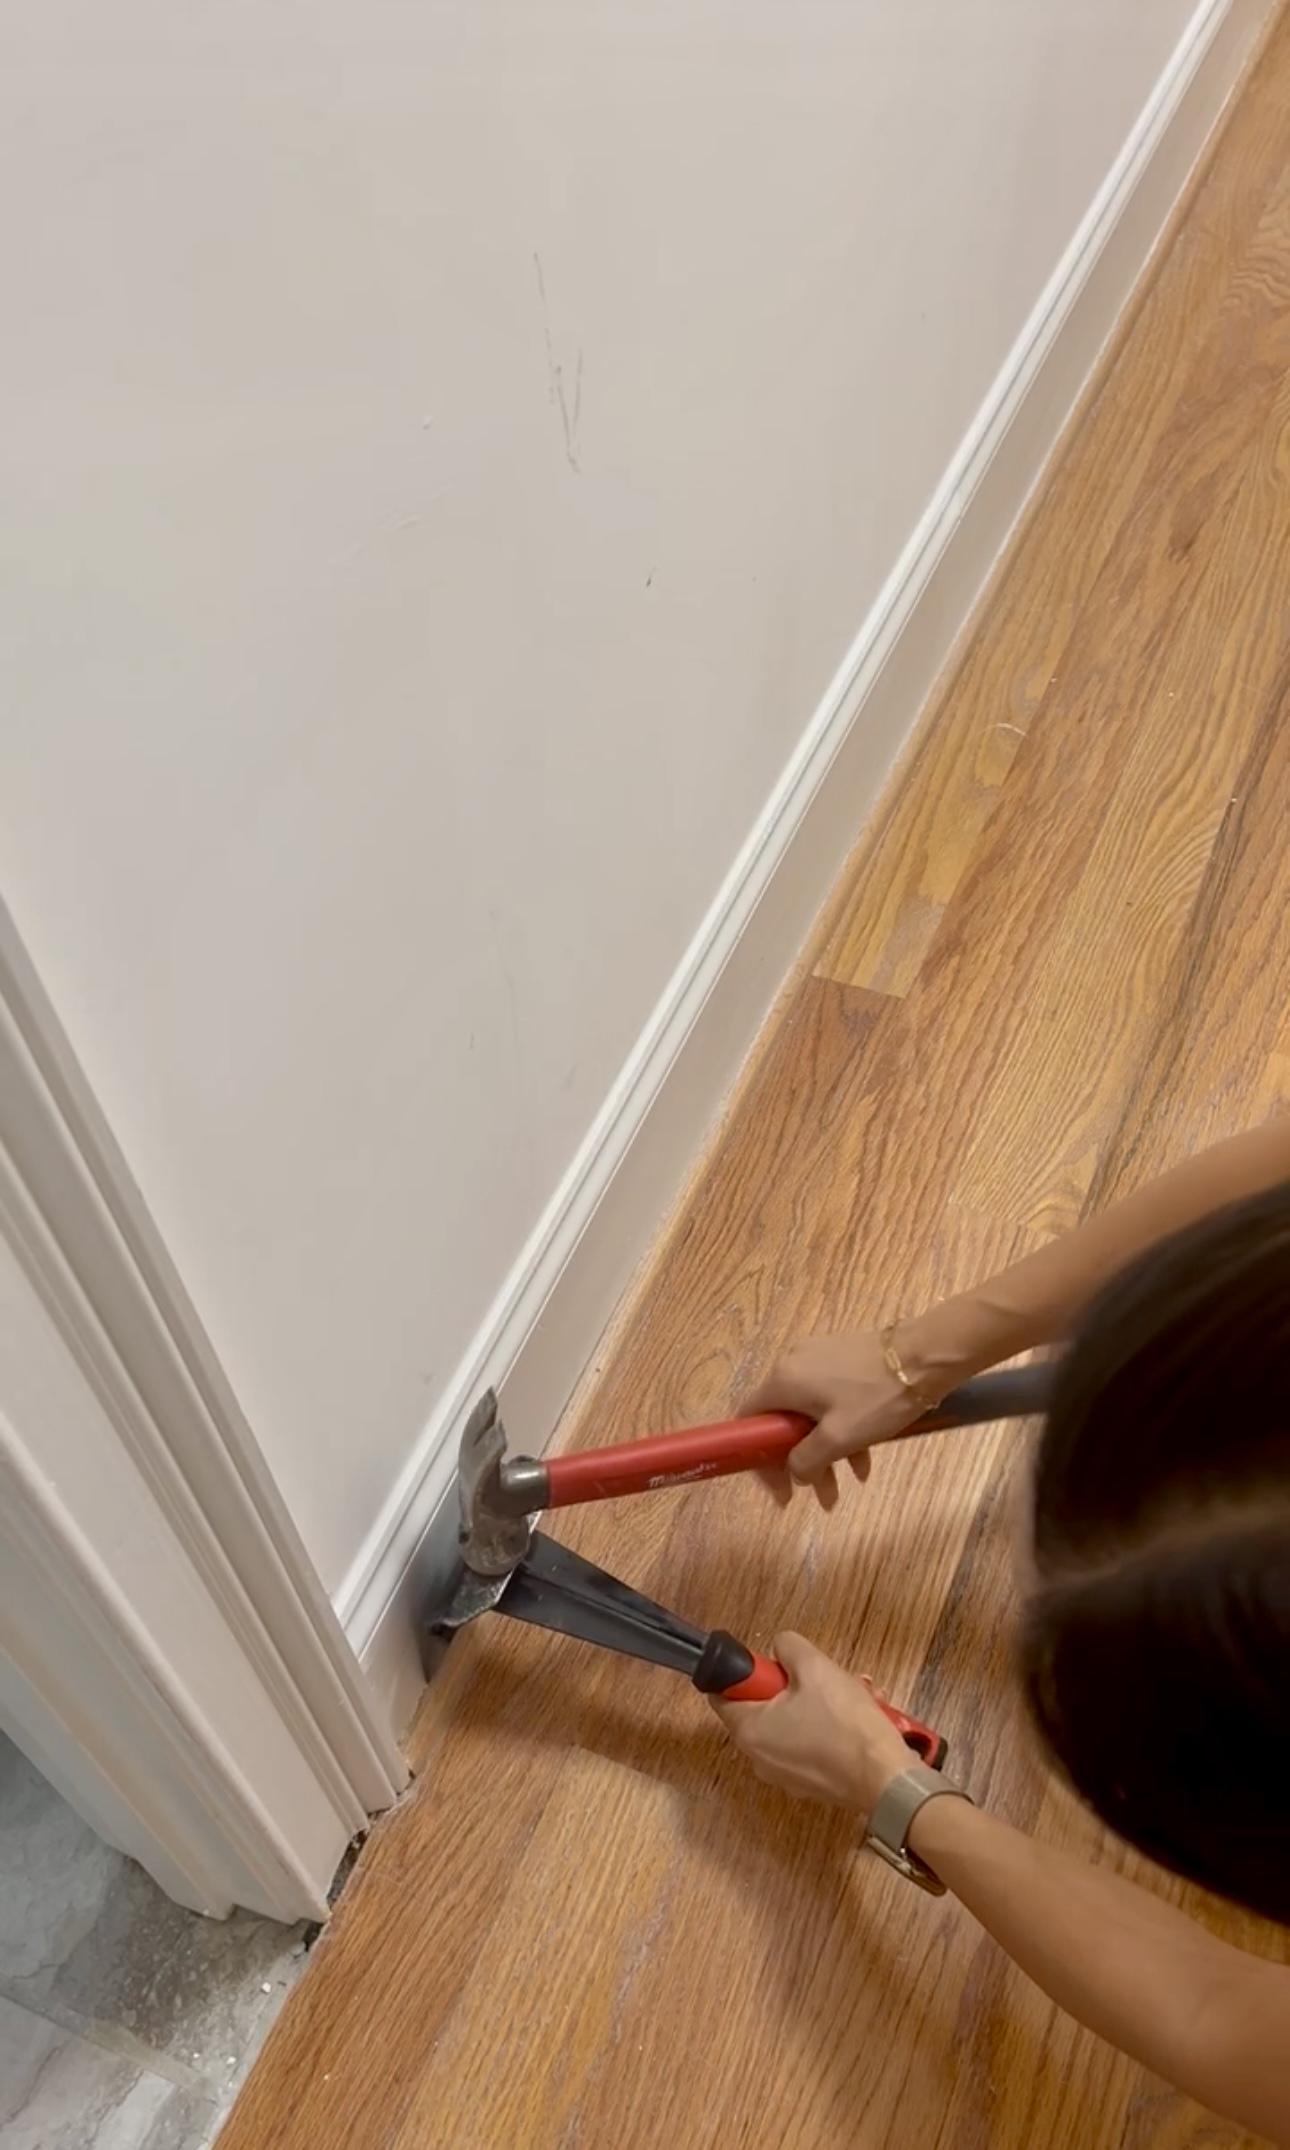
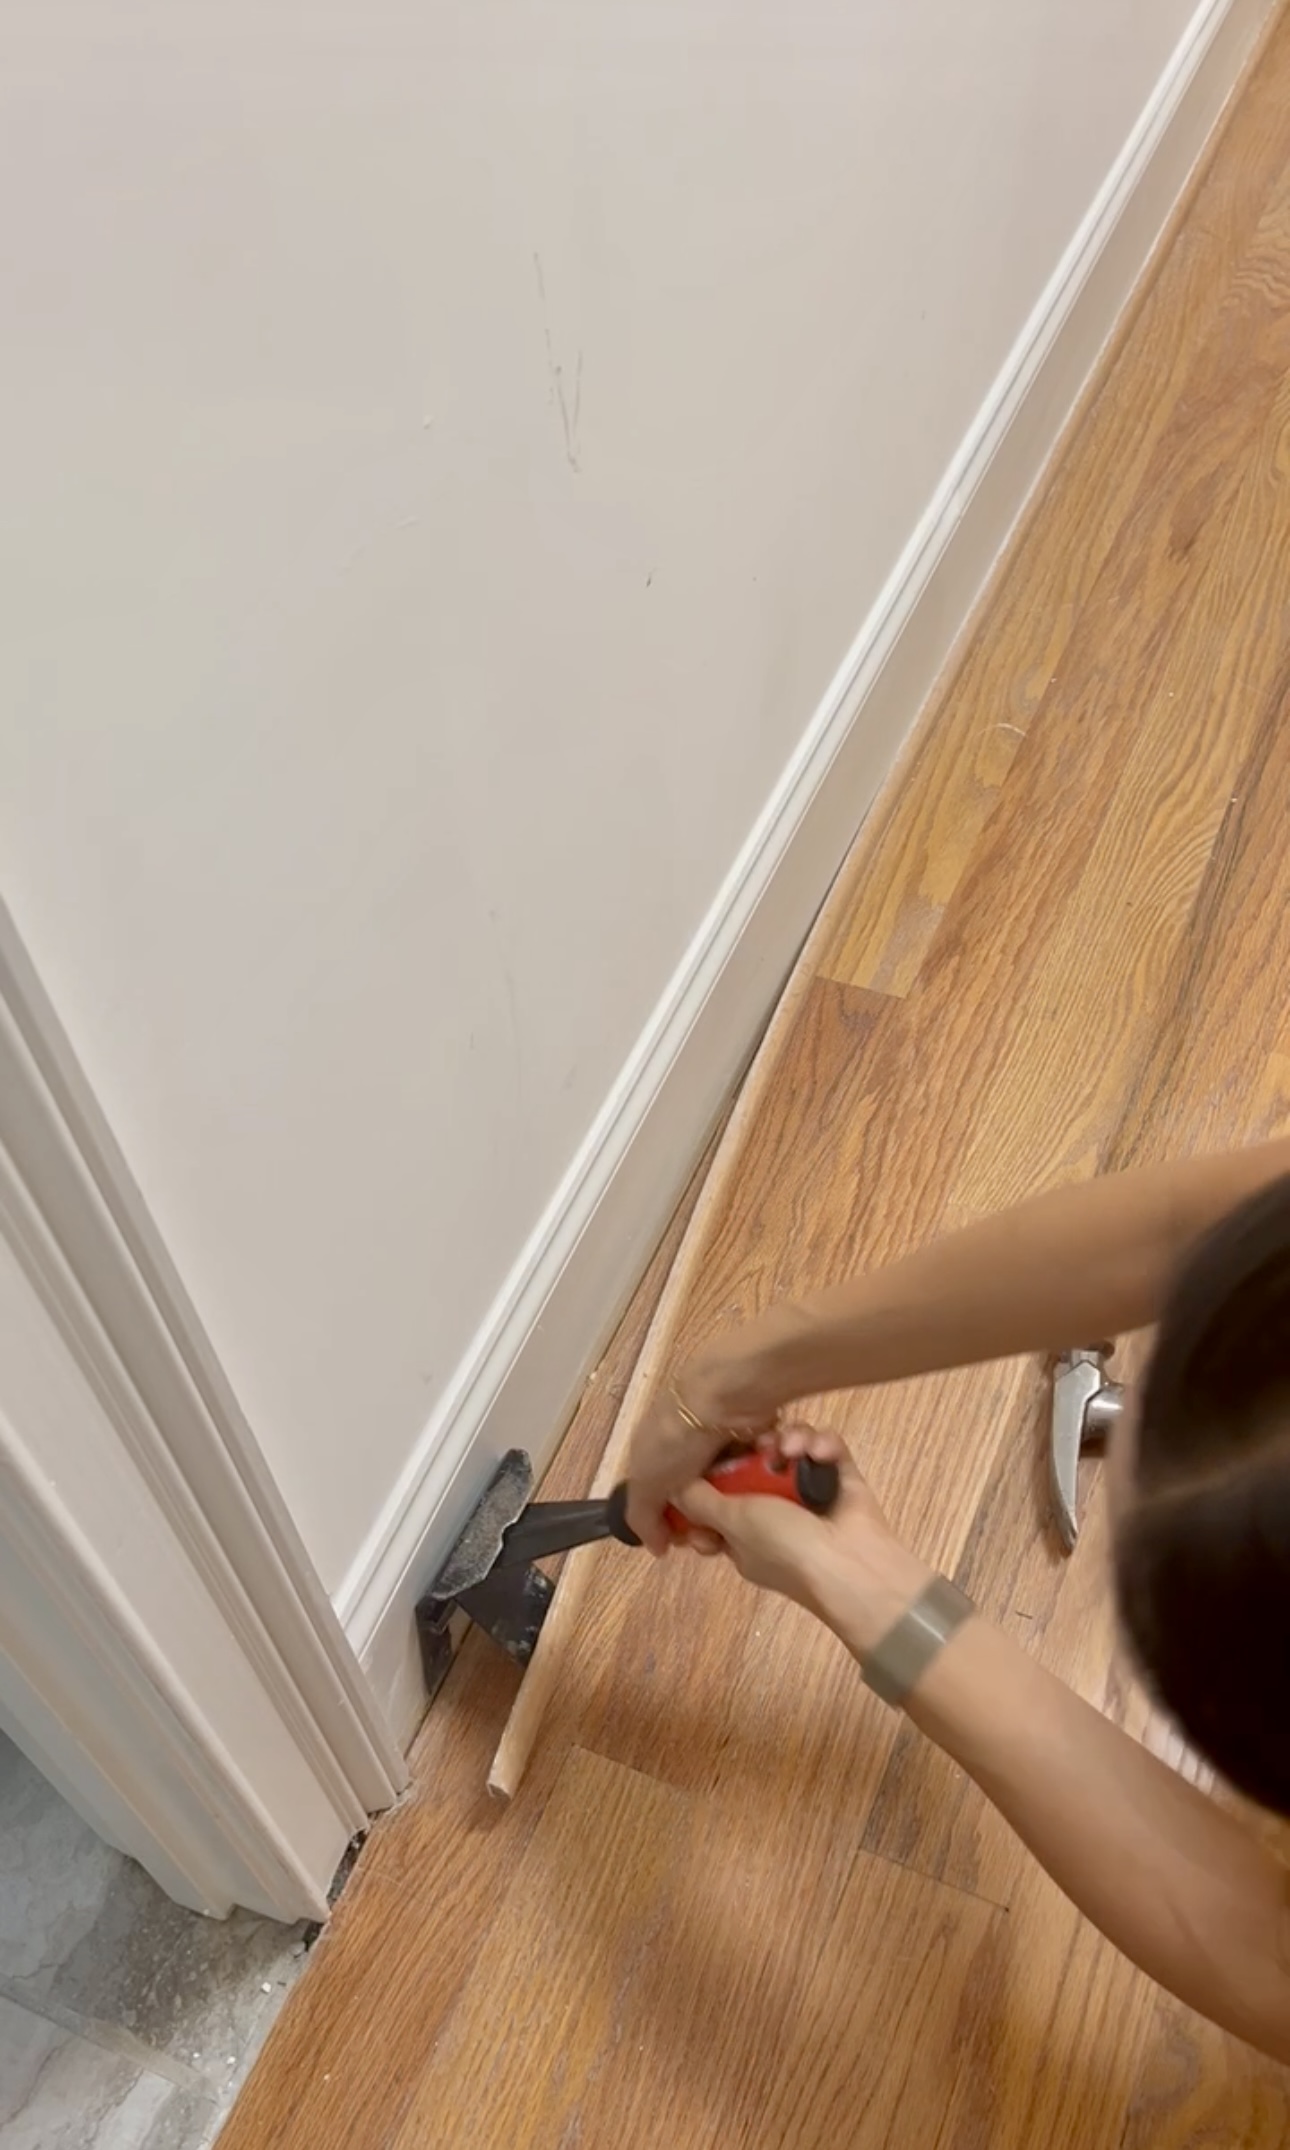
We decided to install LVP flooring in here to match the rest of our house. First up, I removed the quarter round with my trim remover tool. I’ve shared this tool before – it’s my favorite! It works without destroying the drywall behind it. If you use a crowbar, sometimes it’ll mess with your drywall because of the pressure. You just lay it on the seam of your quarter round or baseboard and tap it with a hammer. Super easy!
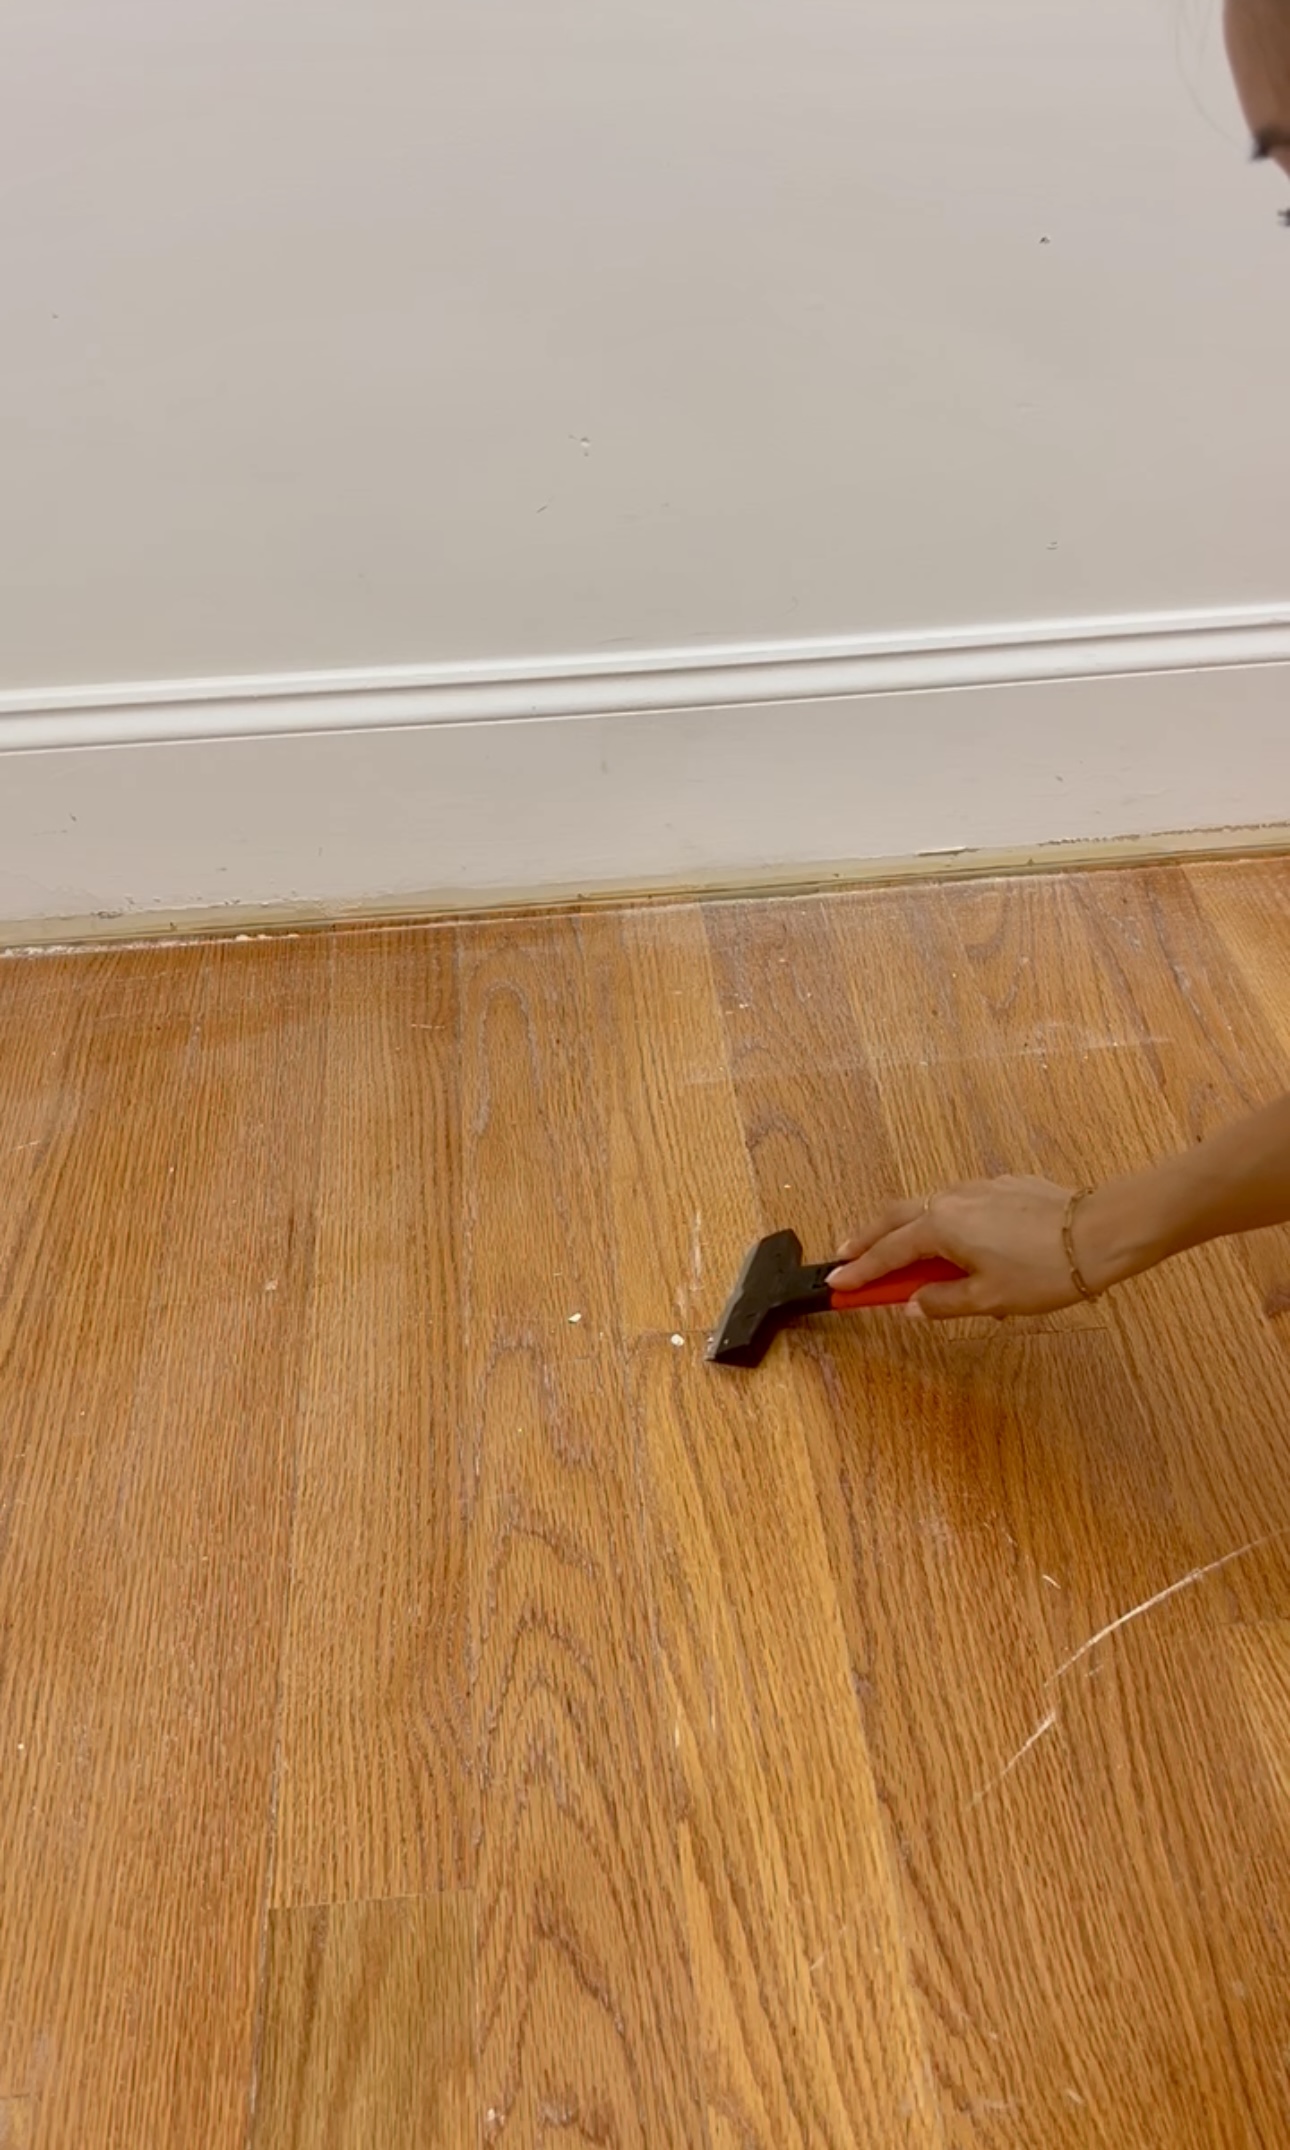
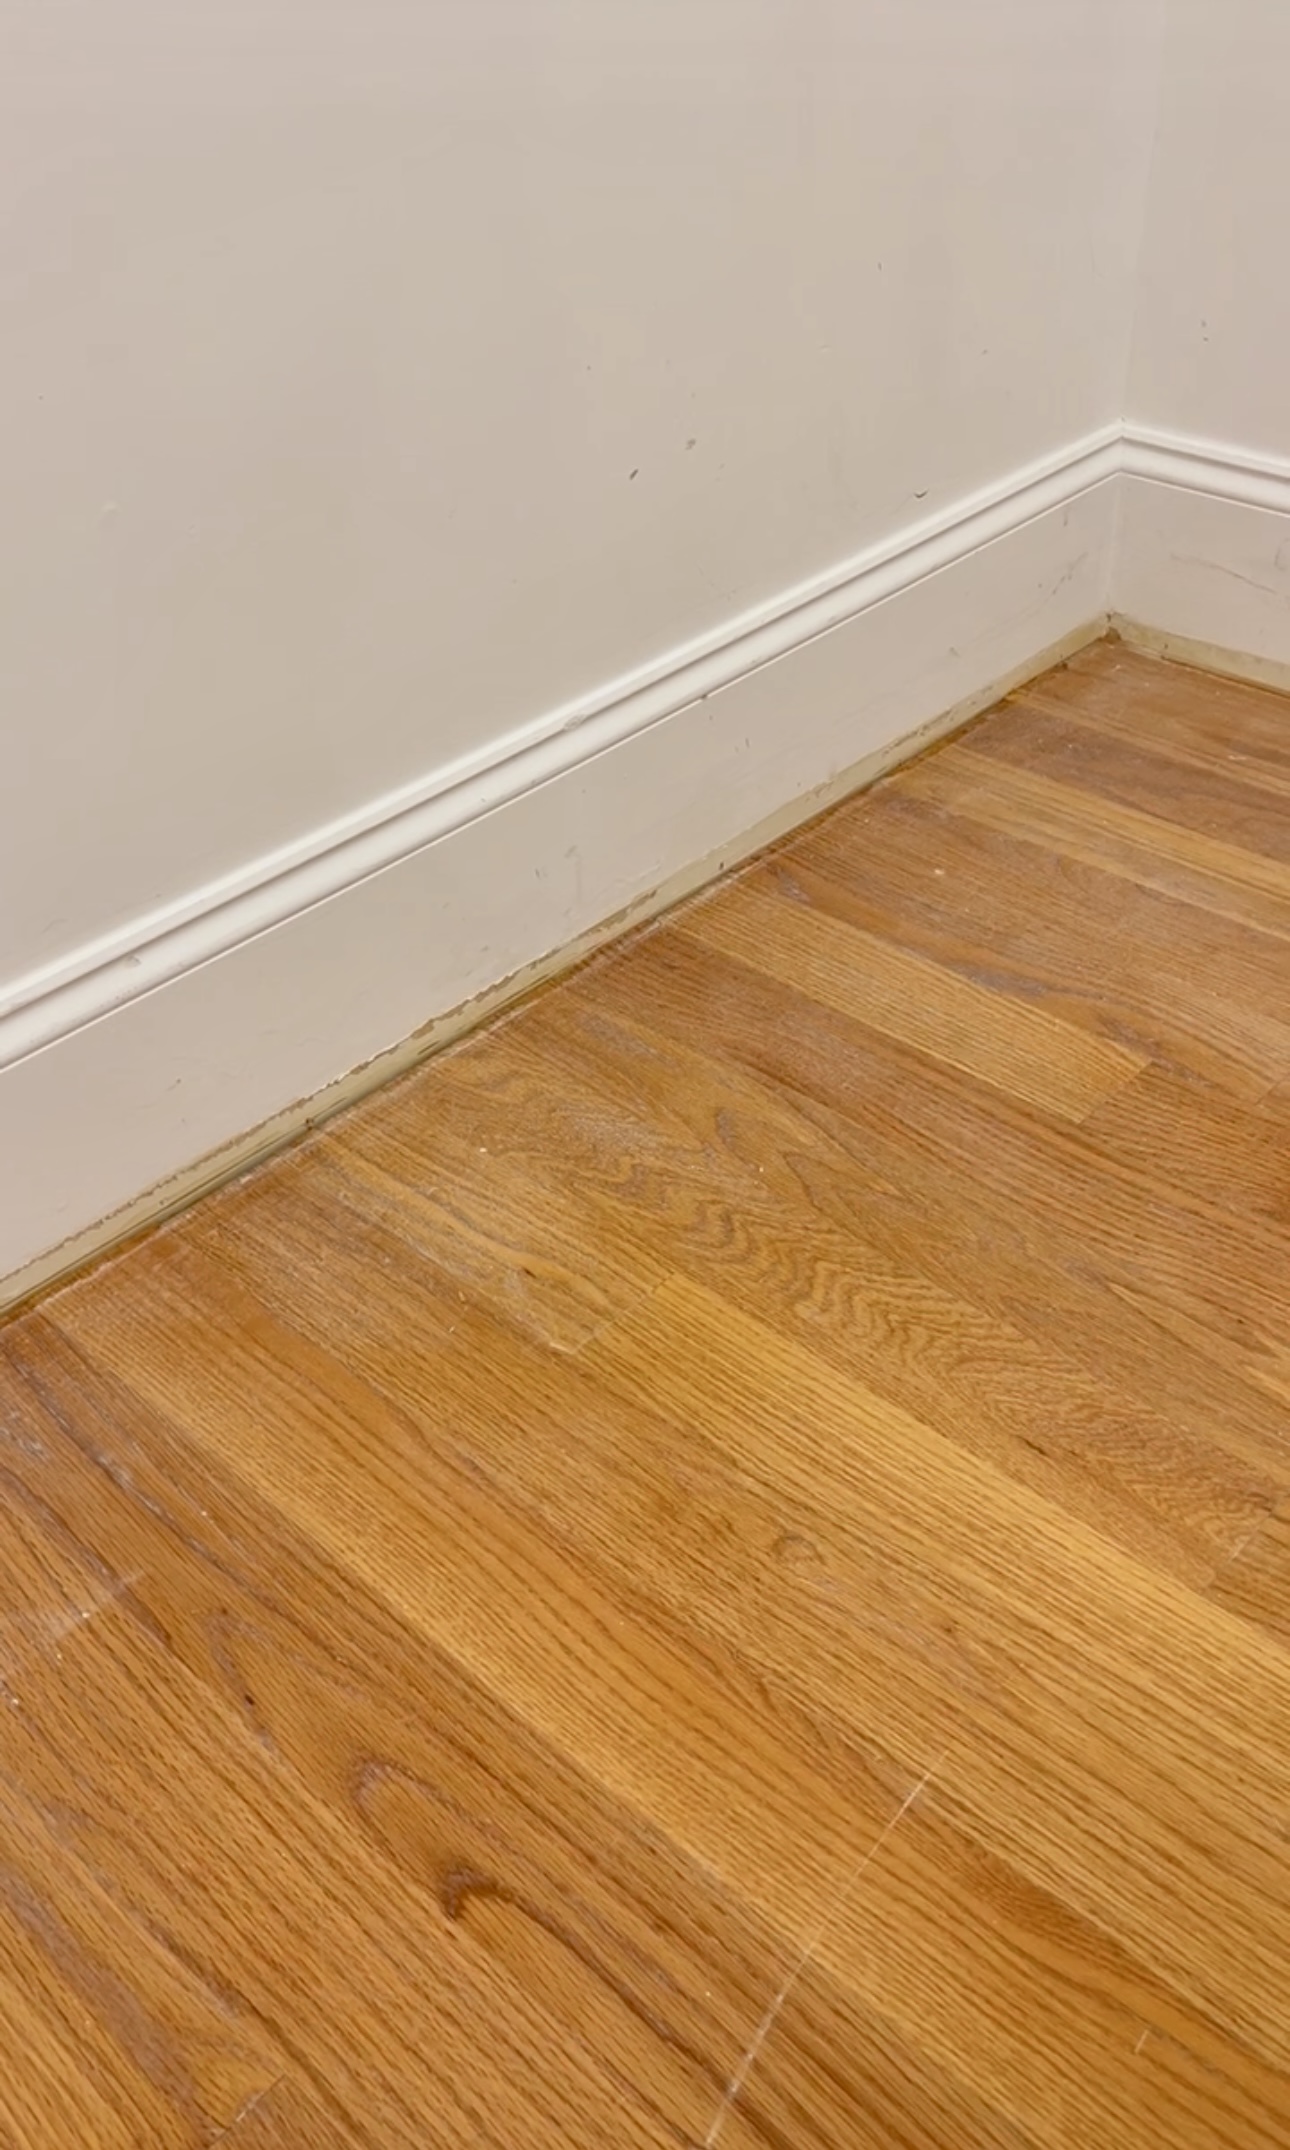
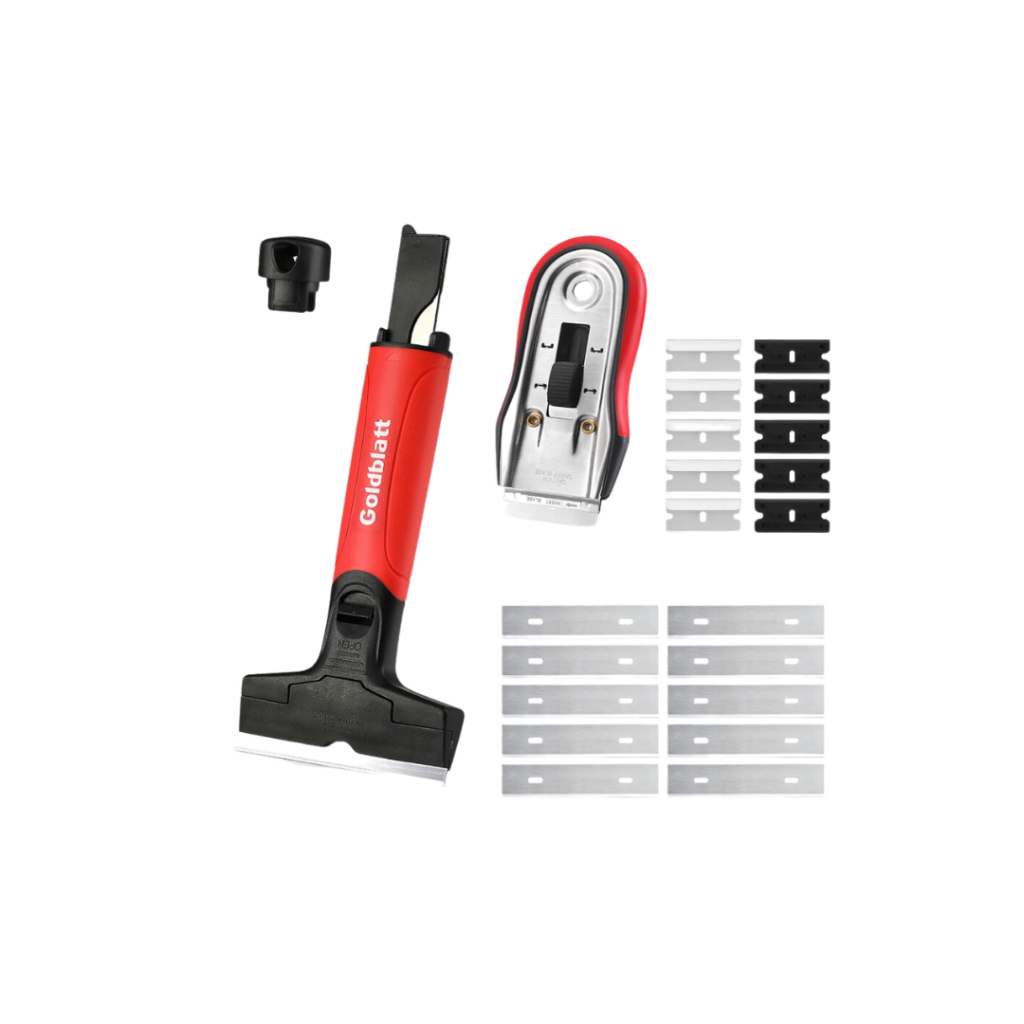
Then, I used this scraping tool to remove anything from the old flooring. Our hardwood was already in great shape so we just decided to lay the LVP over it.
Do you have to put some type of barrier down before laying LVP?
Great question! When I pick LVP, I only pick LVP that already has a underlayment. If you don’t, you end up spending a lot more purchasing the flooring and the underlayment. If you decide to go with LVP that doesn’t have underlayment, just make sure you get underlayment and install it first. This layer helps with moisture and soundproofing.
Getting Started
You’d think you’d just come in here and get started on one end. The problem is, you could end up with a teeny tiny sliver on the opposite end, and you don’t want that. You could lay your flooring out and see how it will lay out or you could measure your room and divide it by the width of your flooring. So that’s what I did!
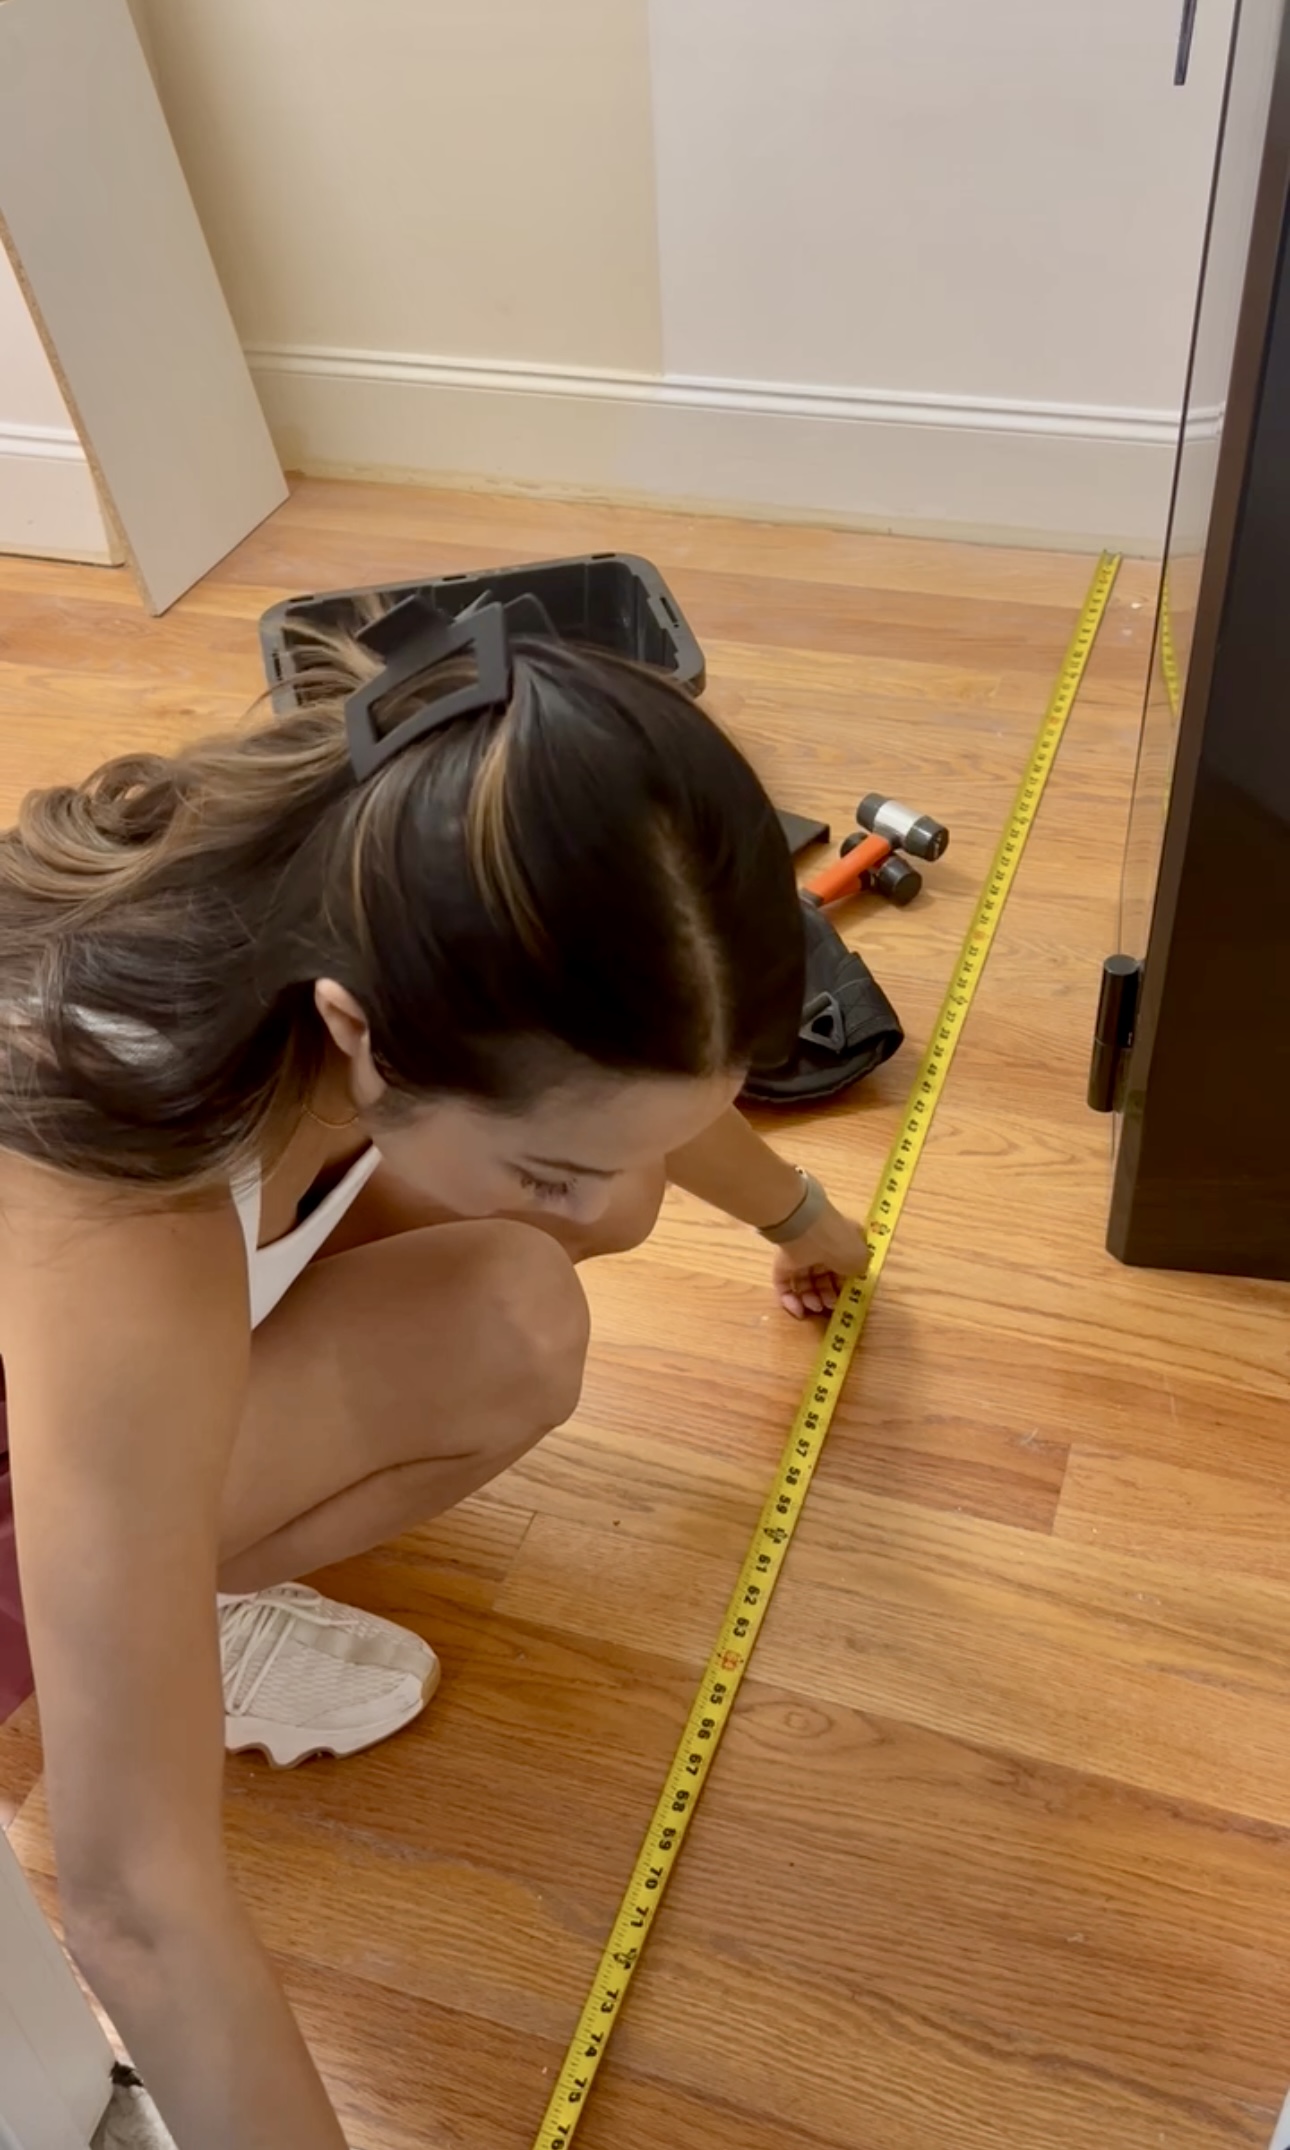
After I measured, I got 77.5″ and my floors are 9″. I knew I’d need 8 full pieces and .61″ of a piece. I’m okay with about half of a piece being on the end. If you were going to have a tiny little piece that would look weird on the end, so you would want to subtract that from the other side as well so it looks a bit more even.
The First Row
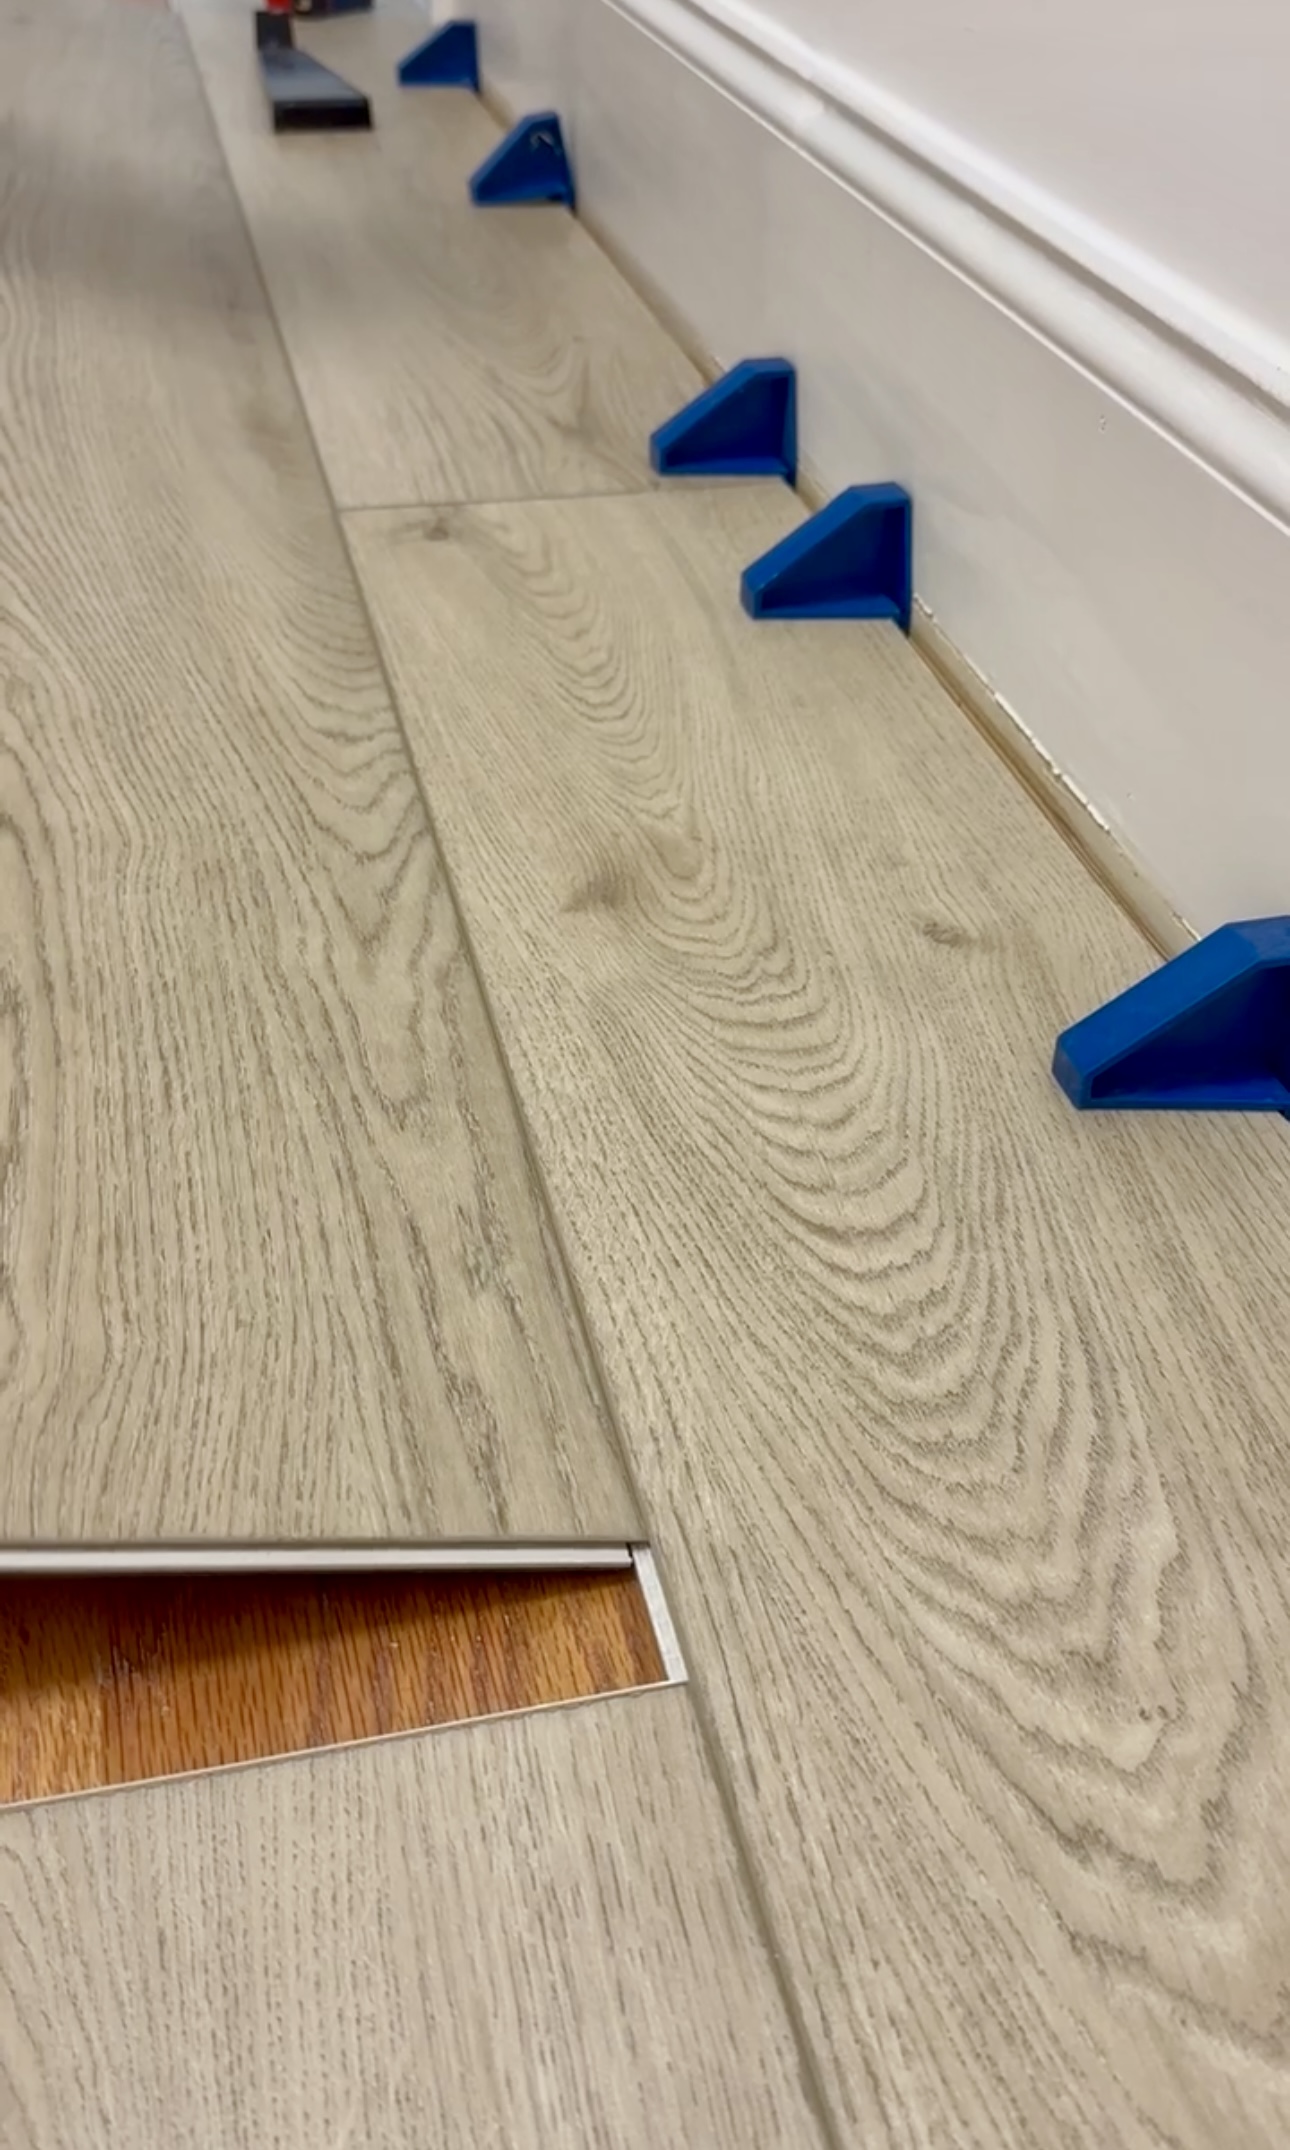
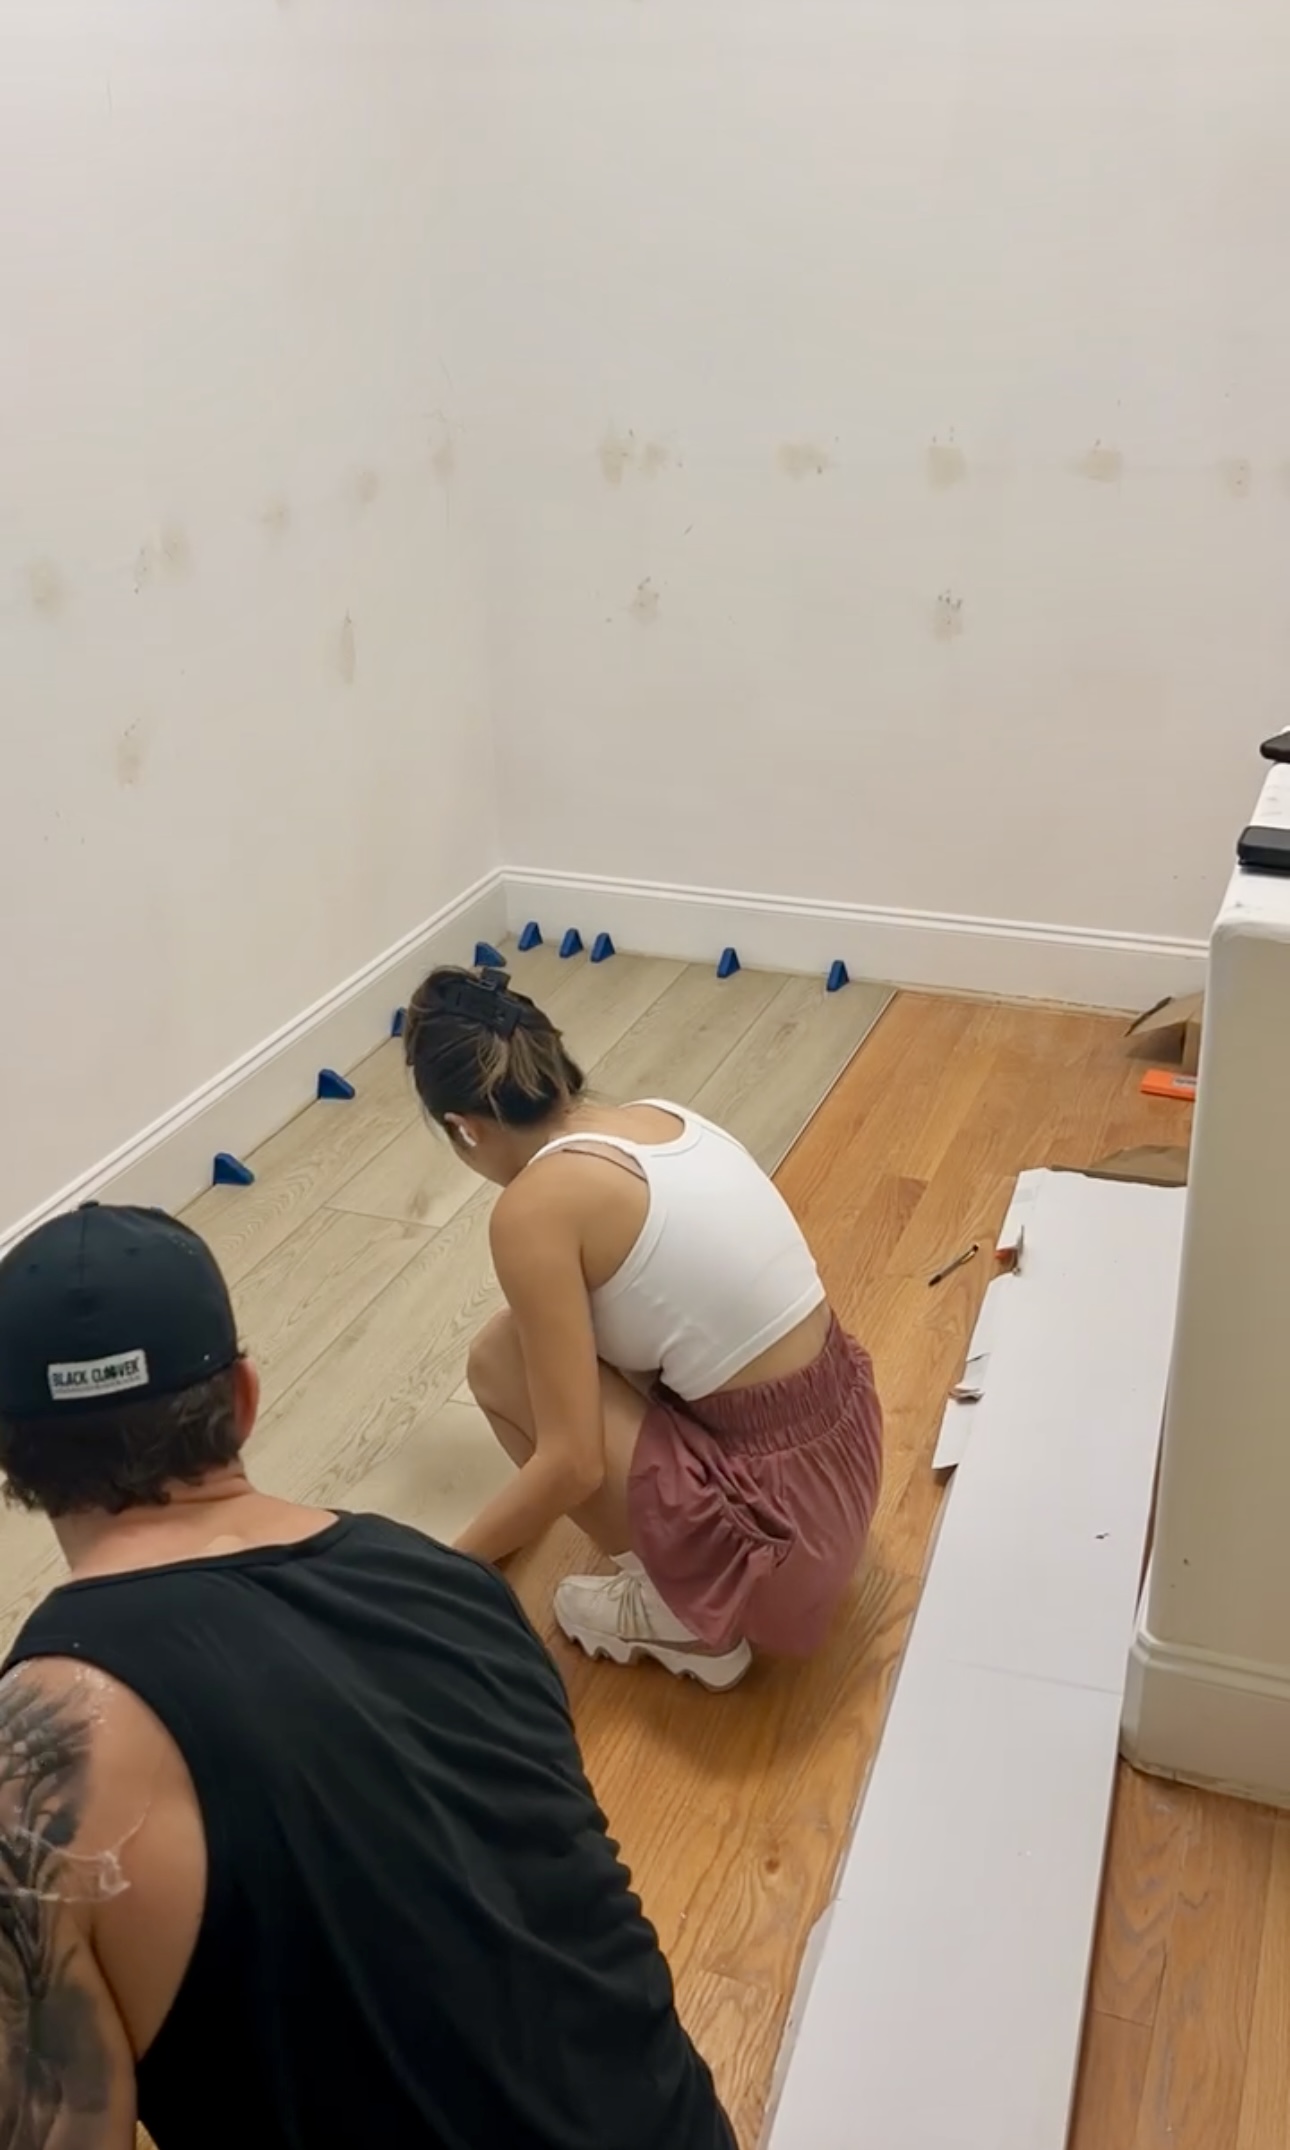
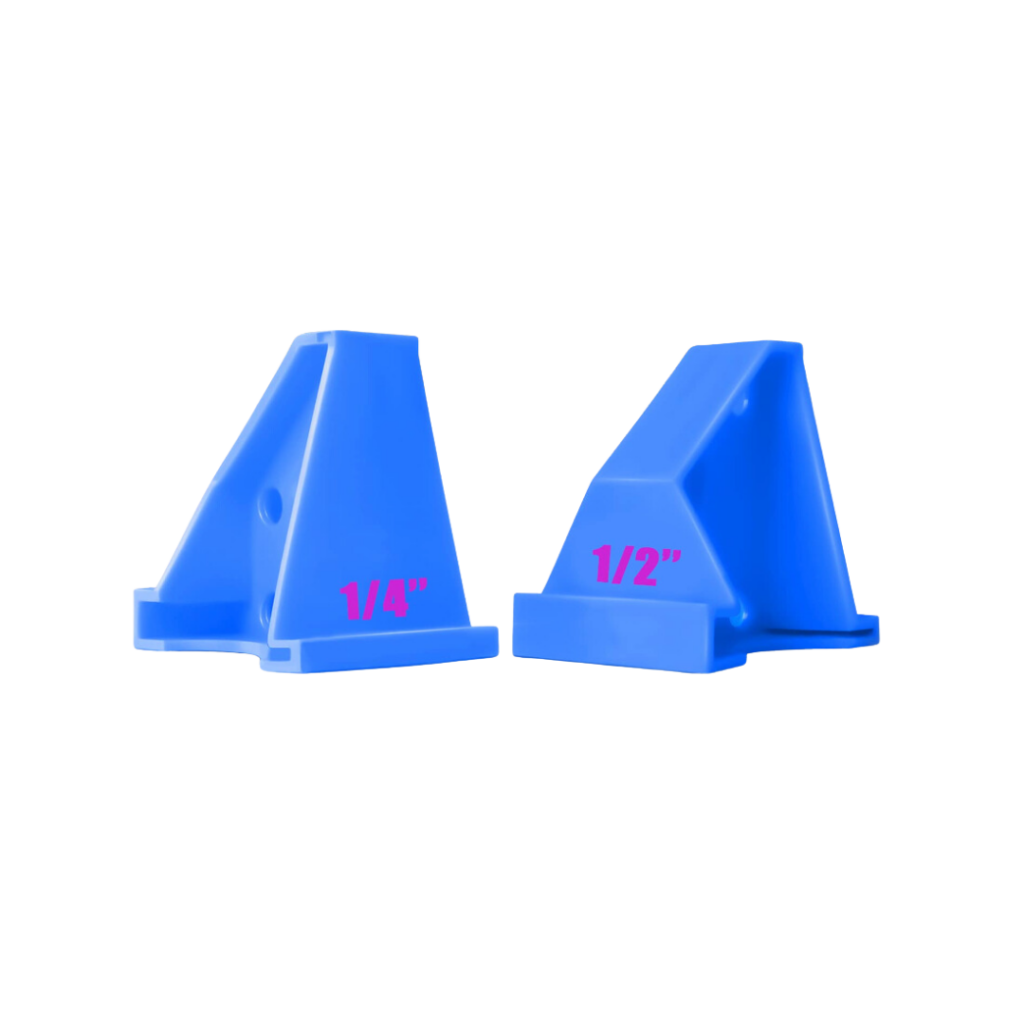
When laying LVP flooring, you always want to start with the tongue against the wall. You need spacers when working with LVP because wood changes over time and weather. I put the spacers along the length of my flooring and pushed it up against the wall.
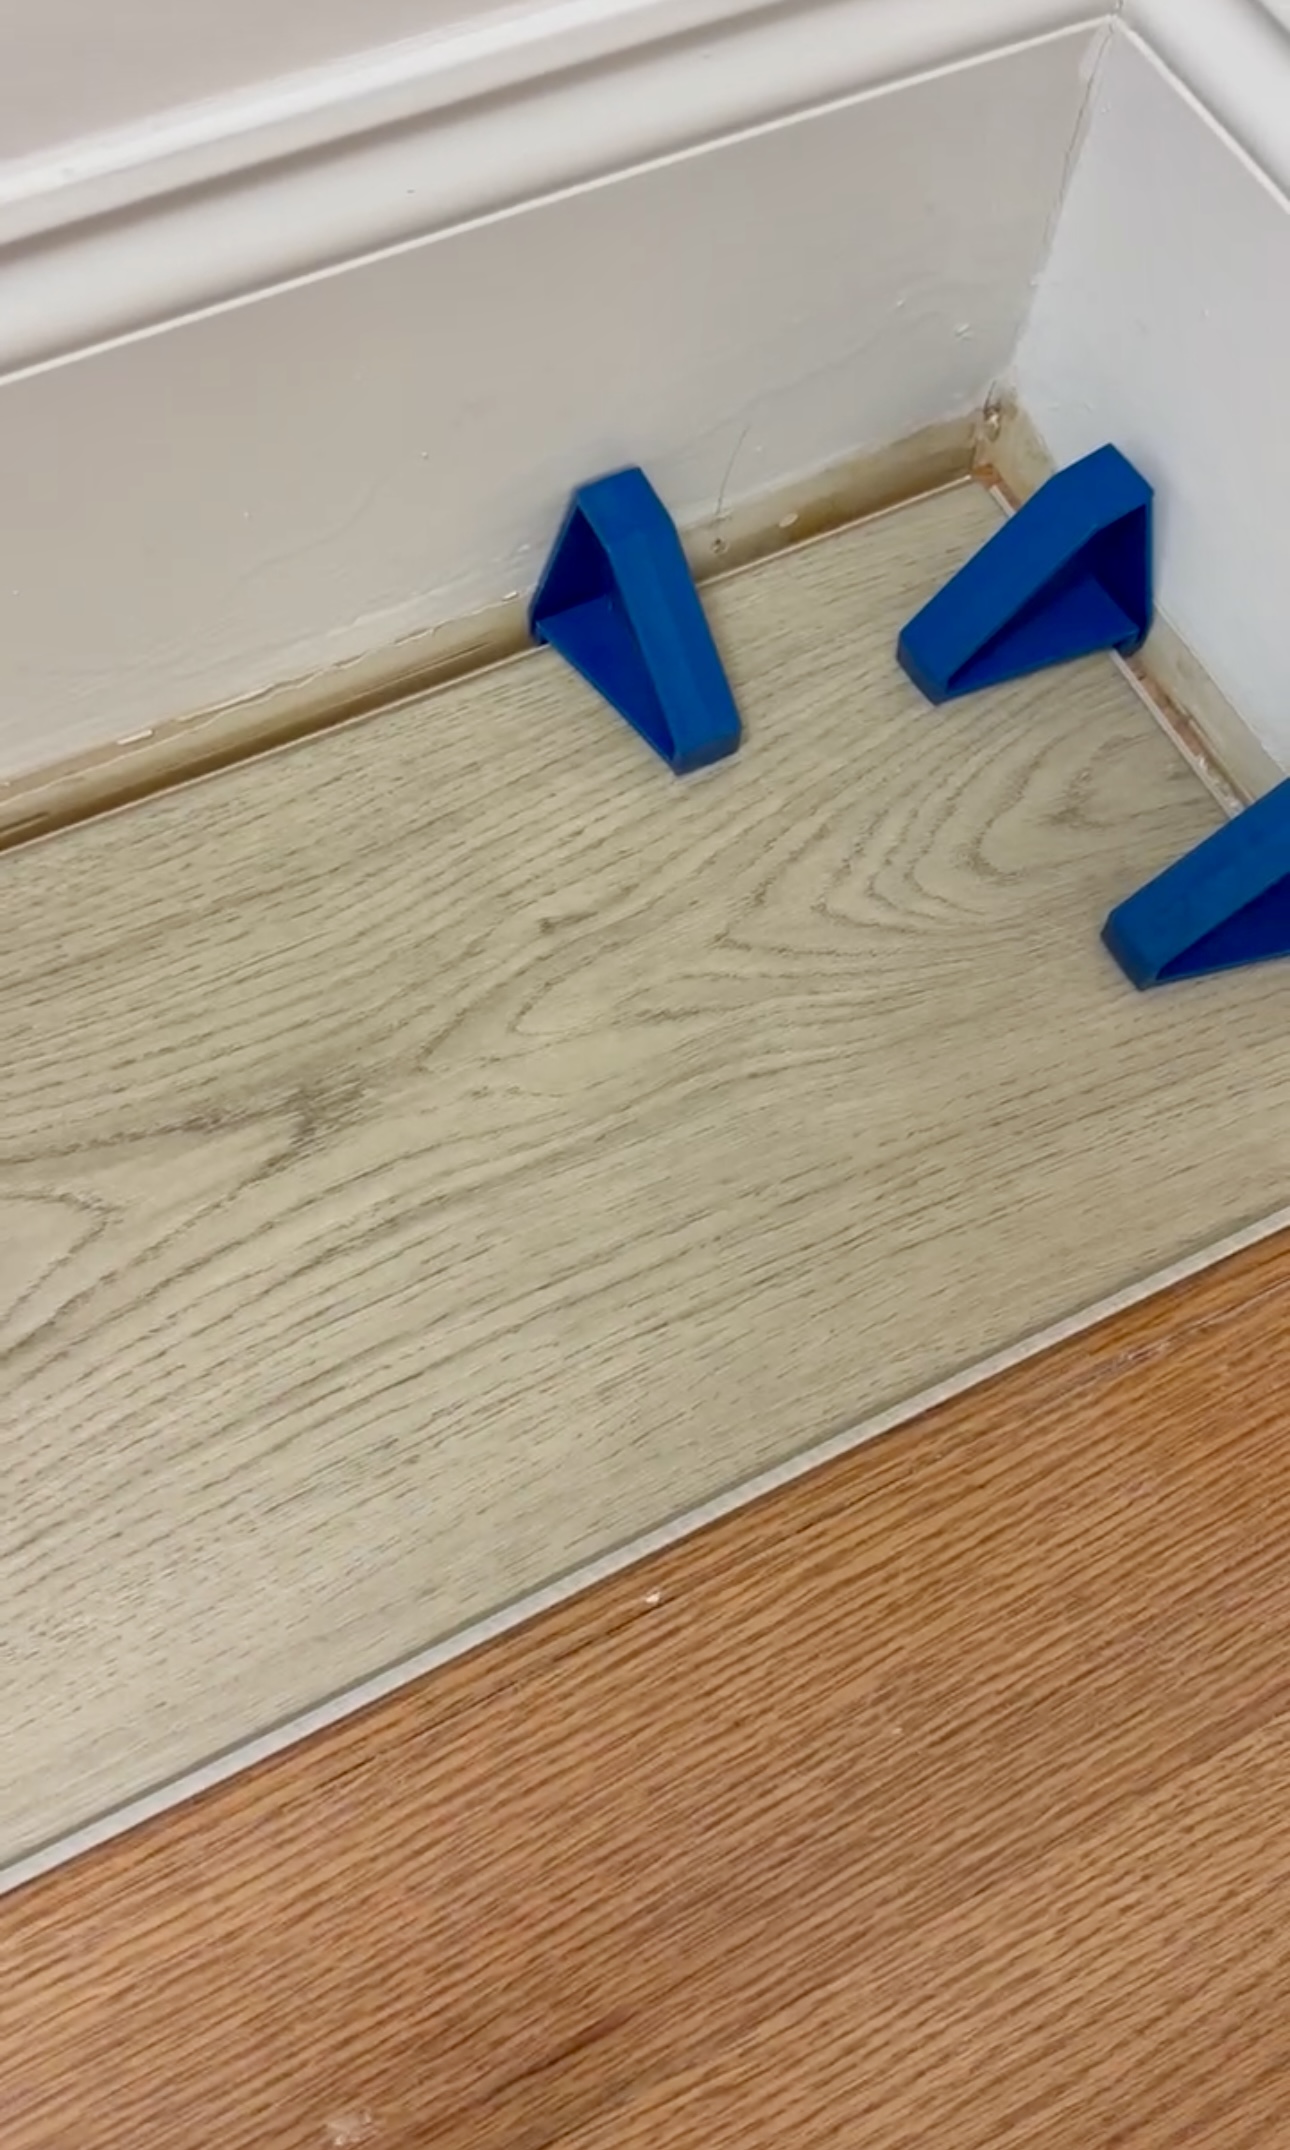
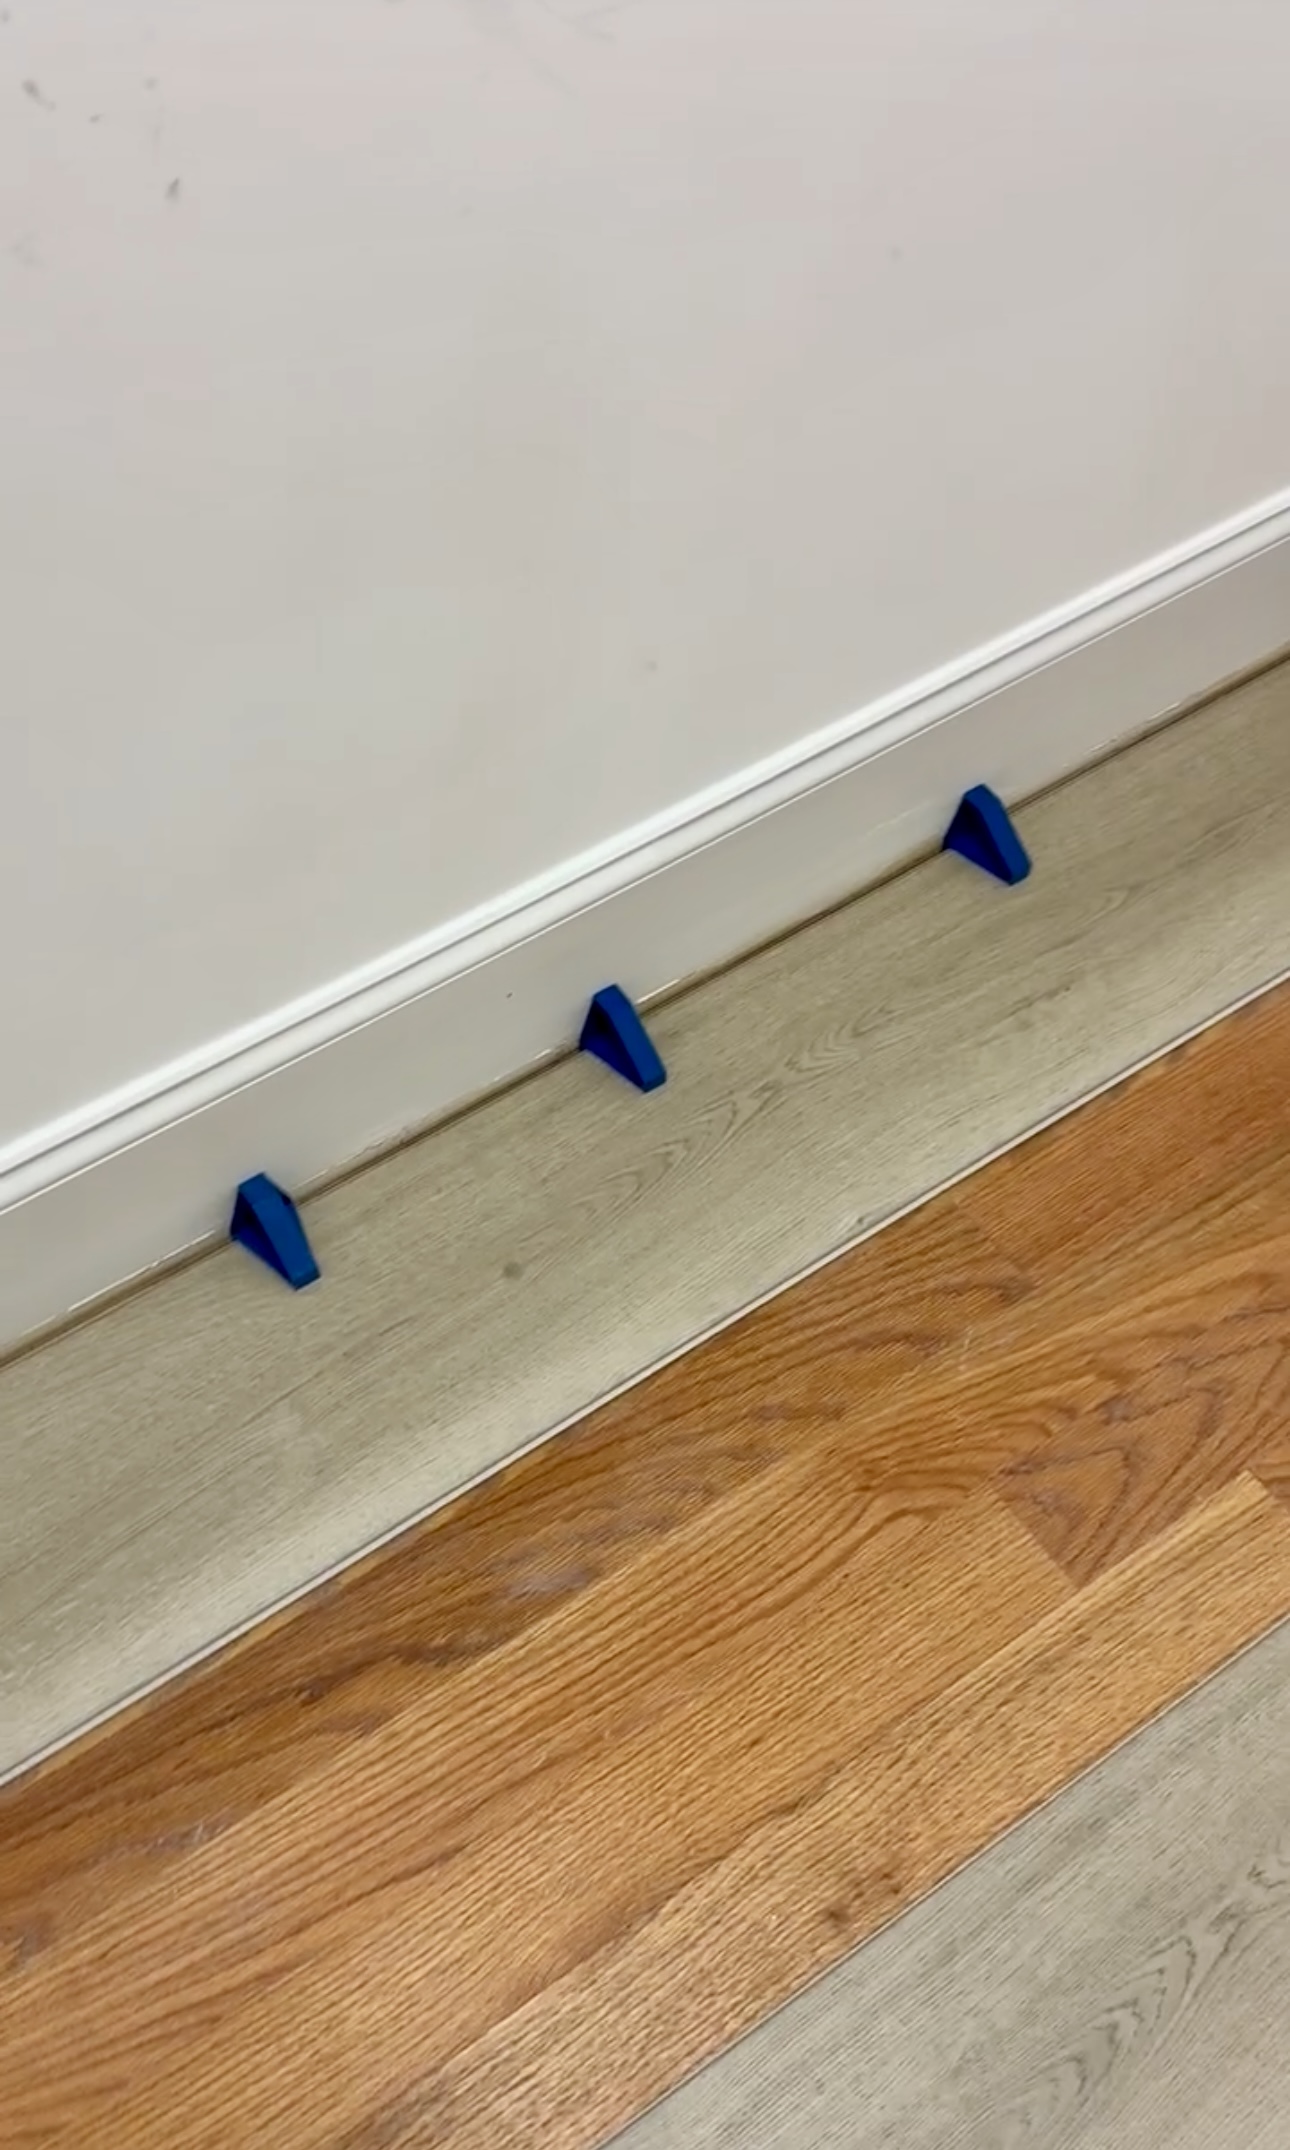
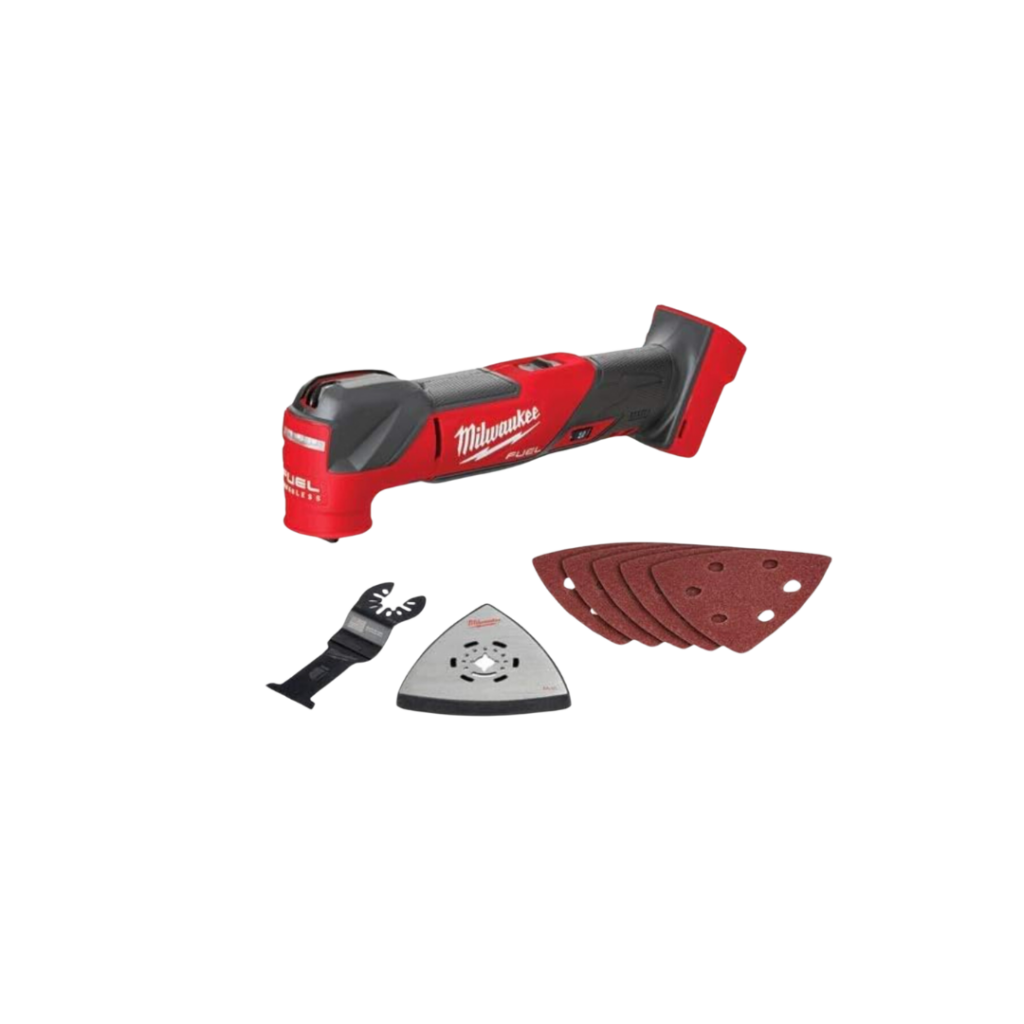
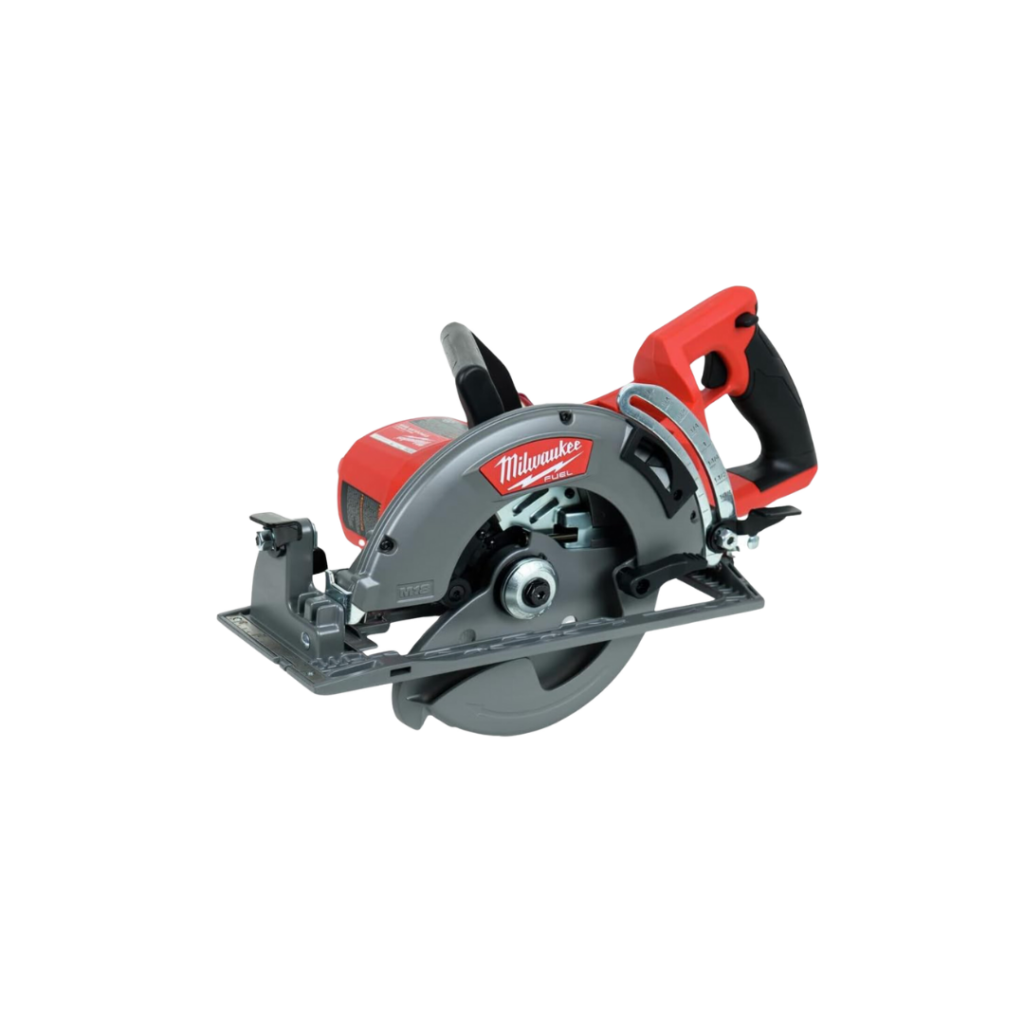
I had to use my oscillating tool to make a tiny cut out of my door jamb so the LVP could fit underneath. But, my LVP didn’t quite sit flush against the door jamb like I wanted it to. So, we cut down the first piece with our circular saw about 3/4″ to eliminate the gap.
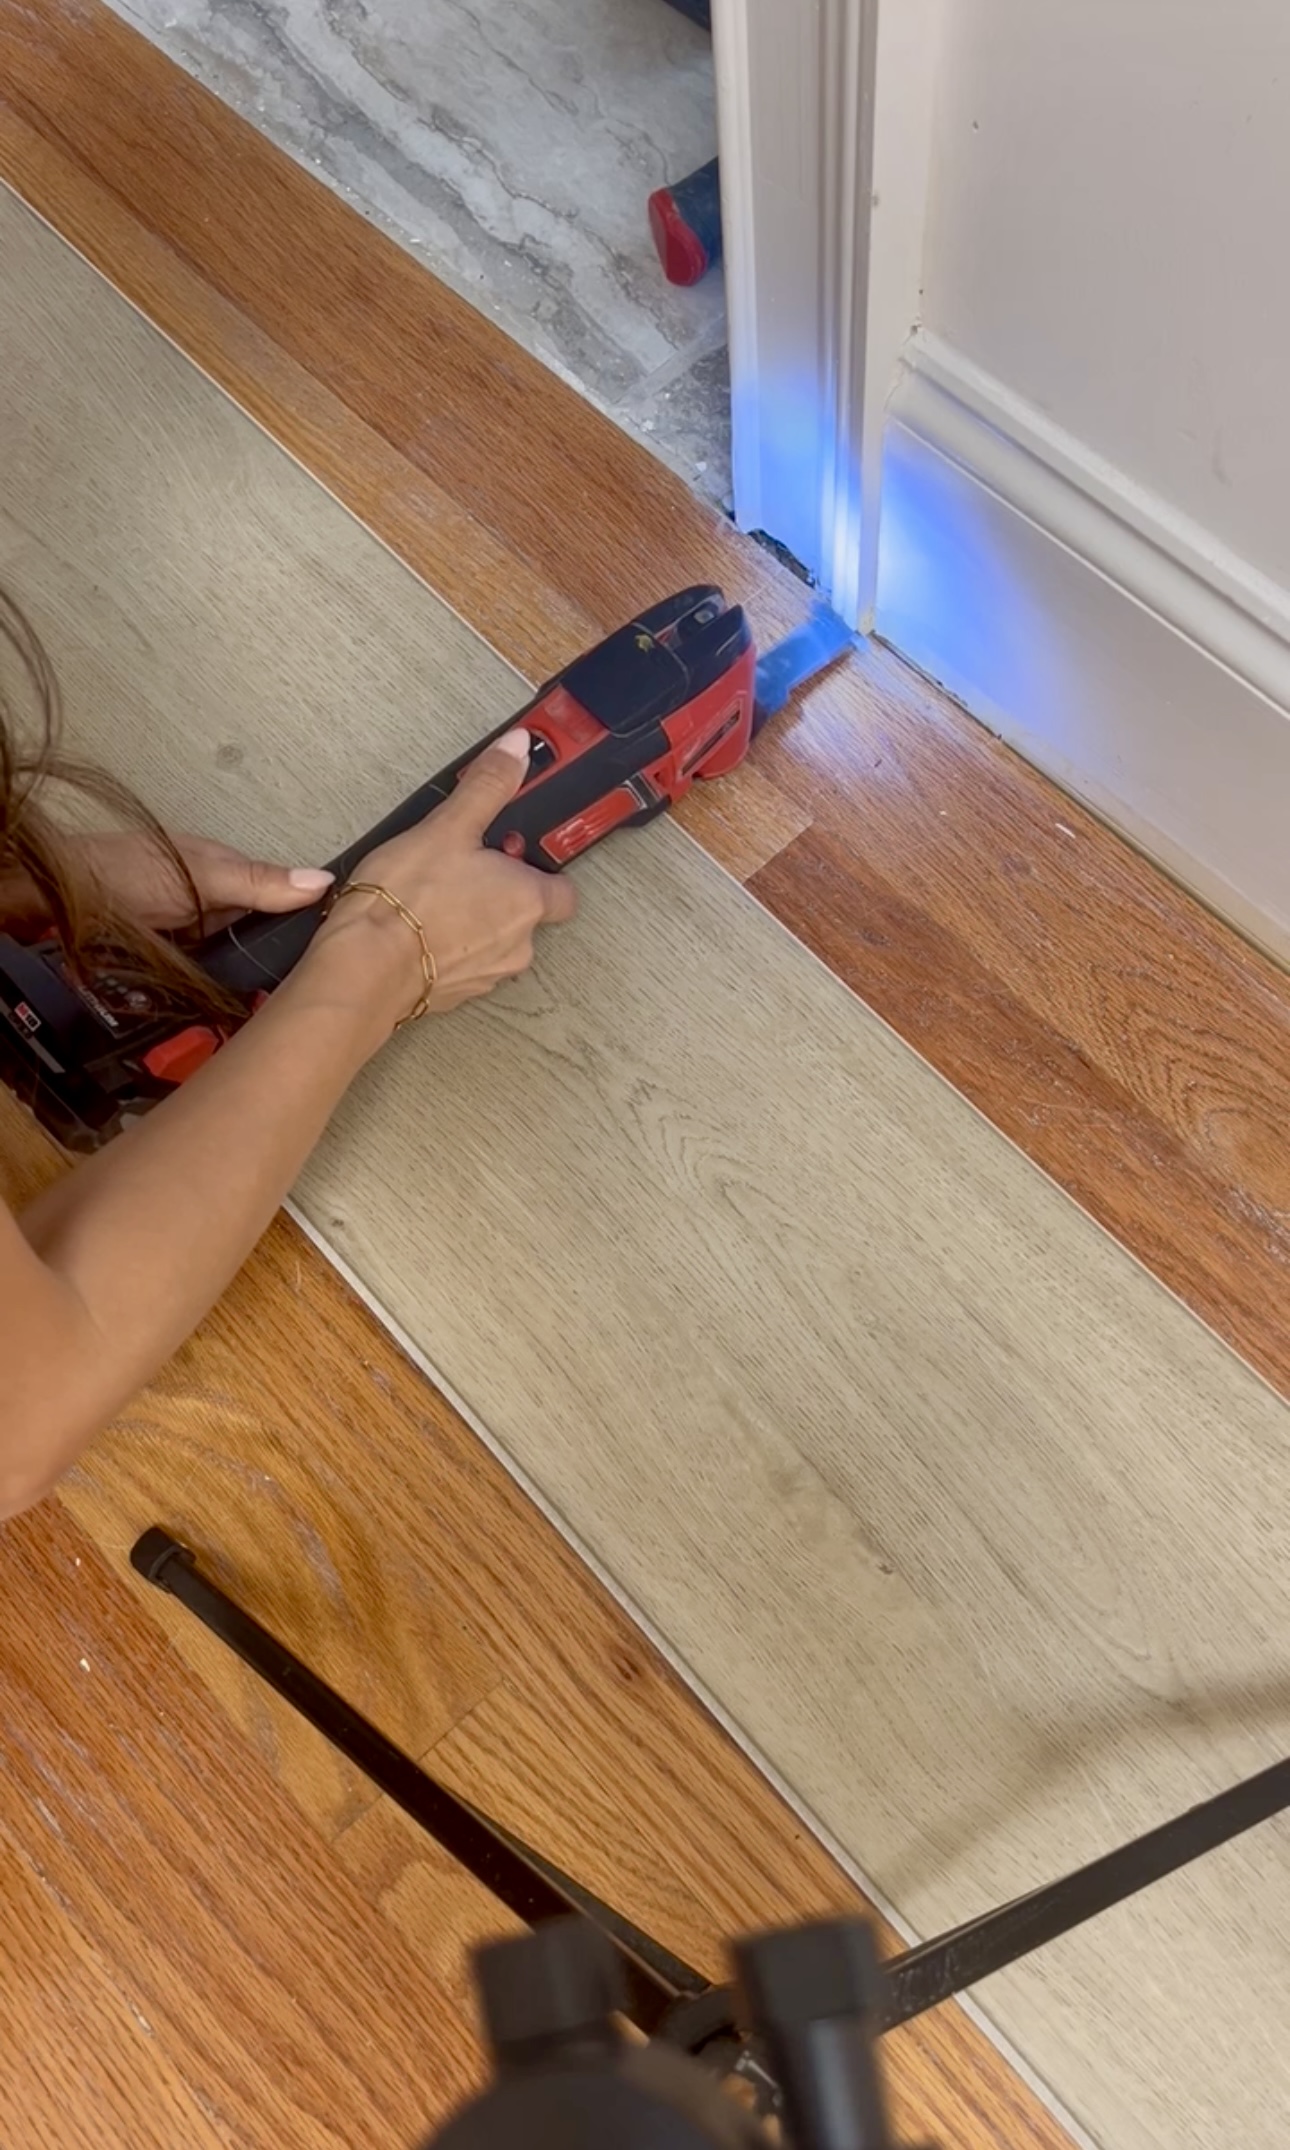
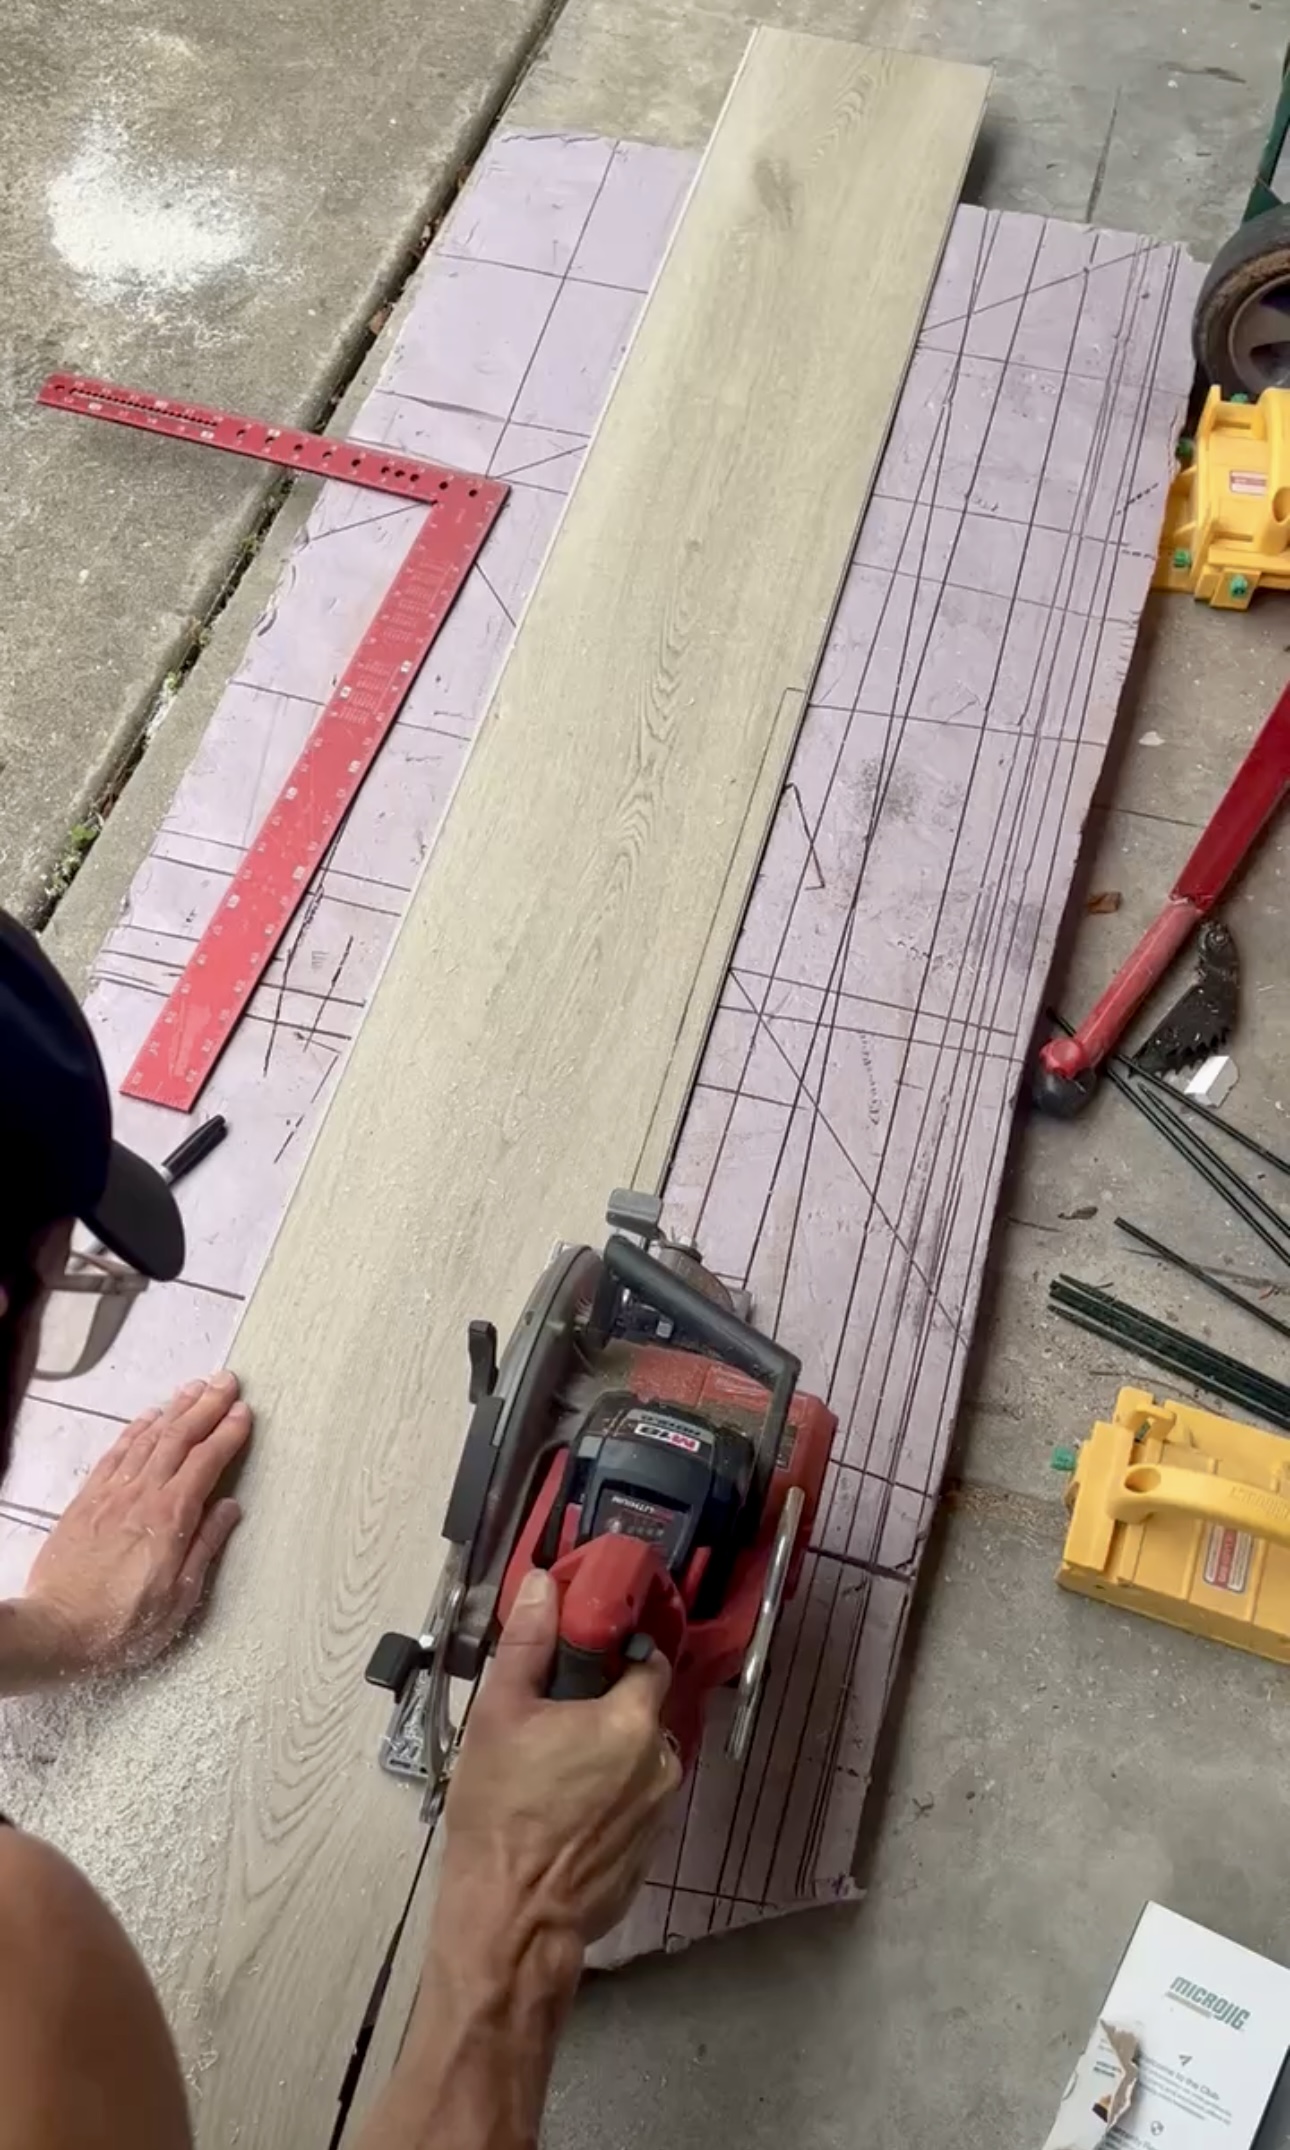
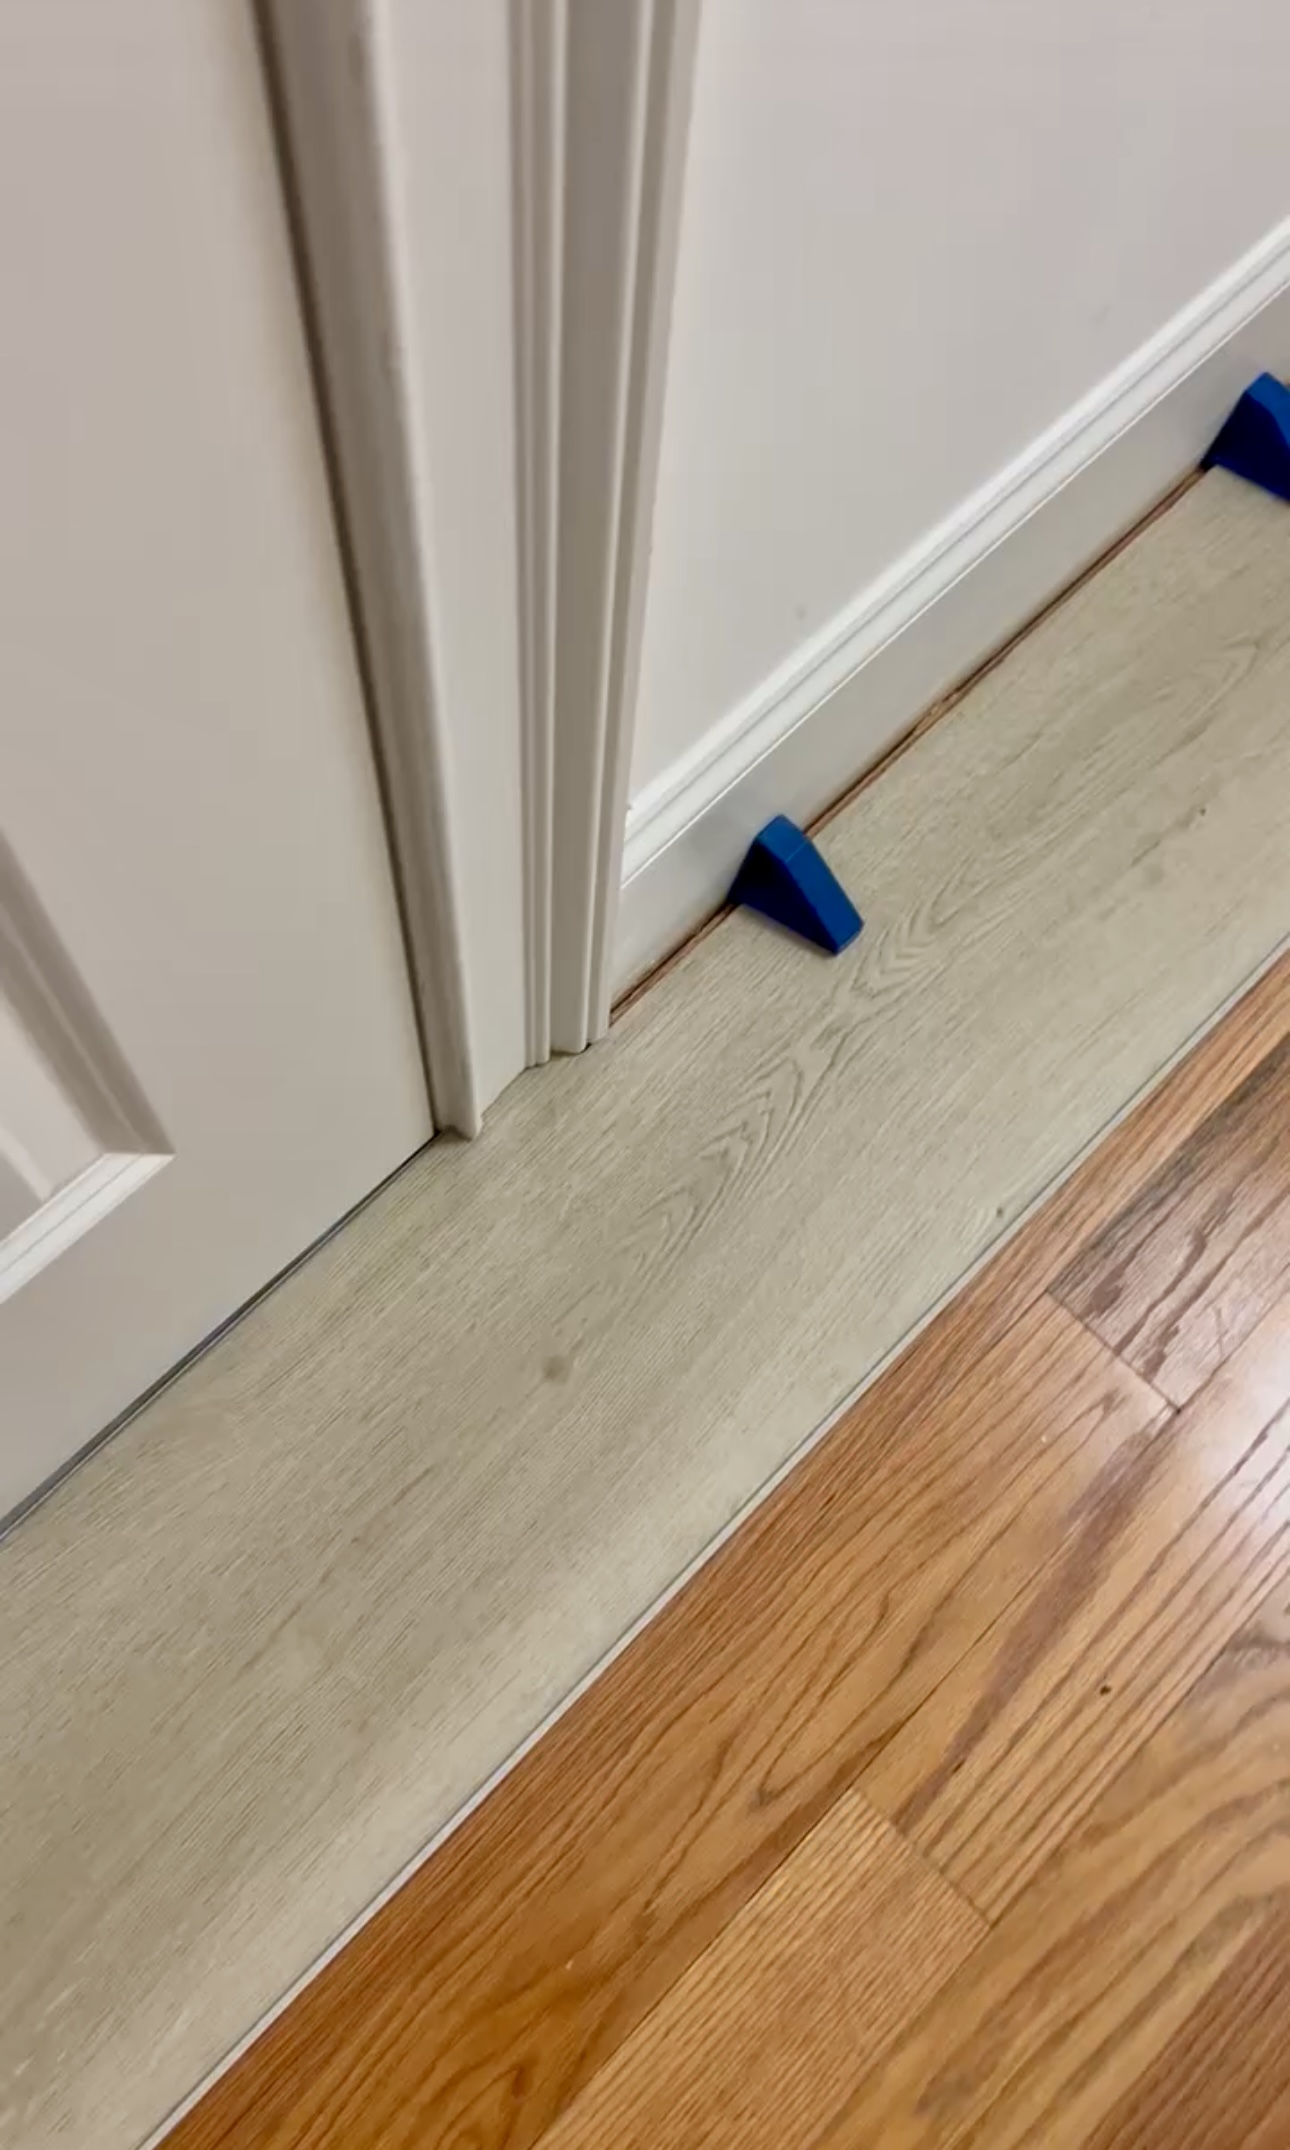
We had to chop a piece down to fit in the corner and we used this tool. It’s so cool! Make sure to always cut the raw side – not the side with the tongue or groove….you’ll need that!
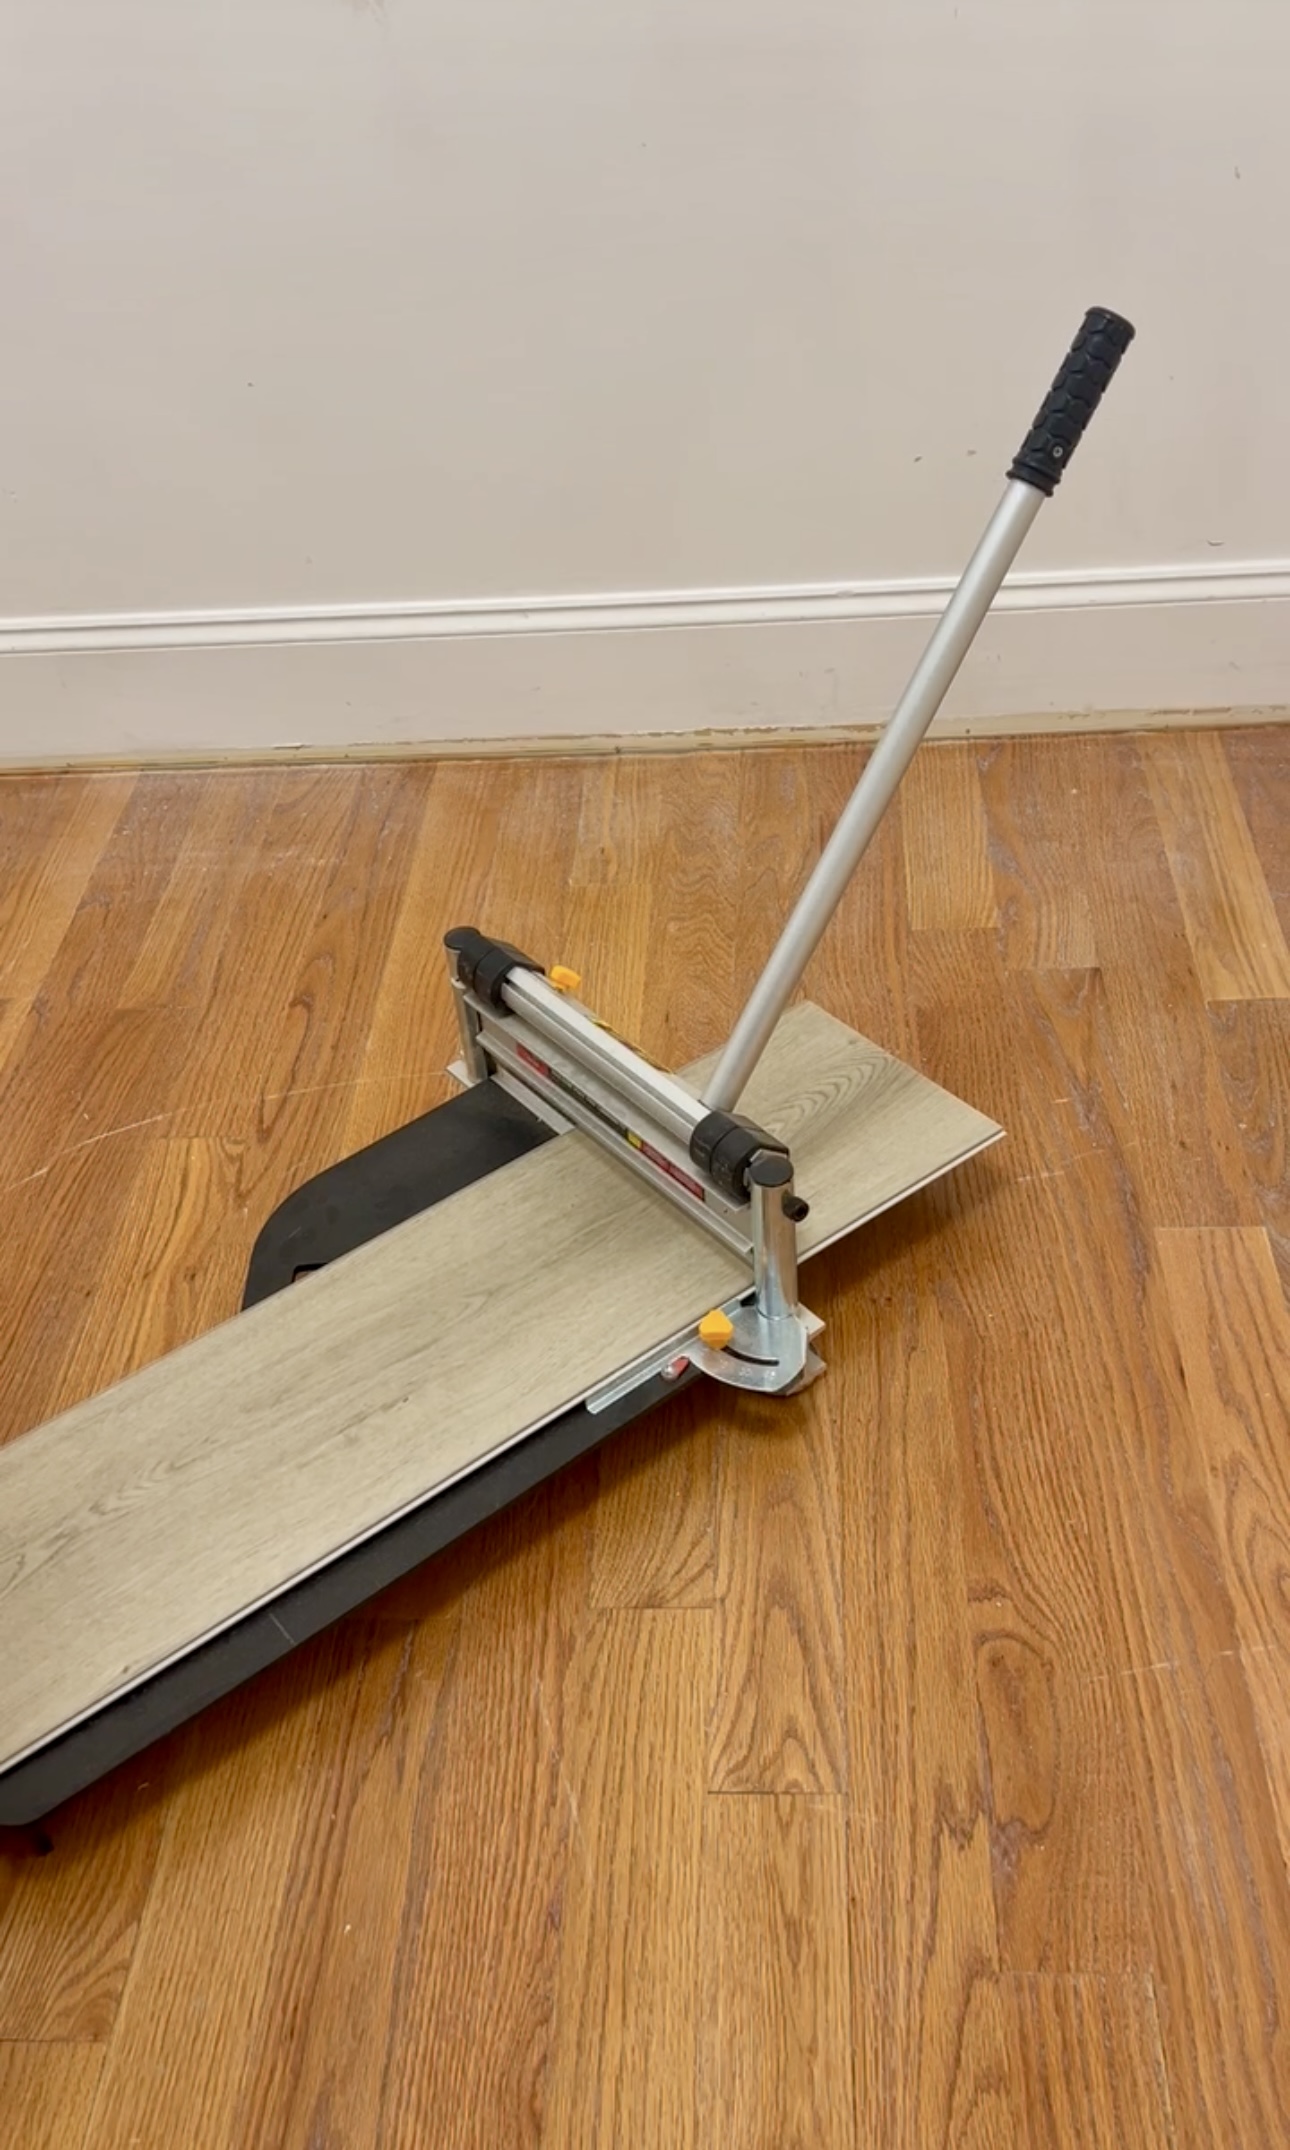
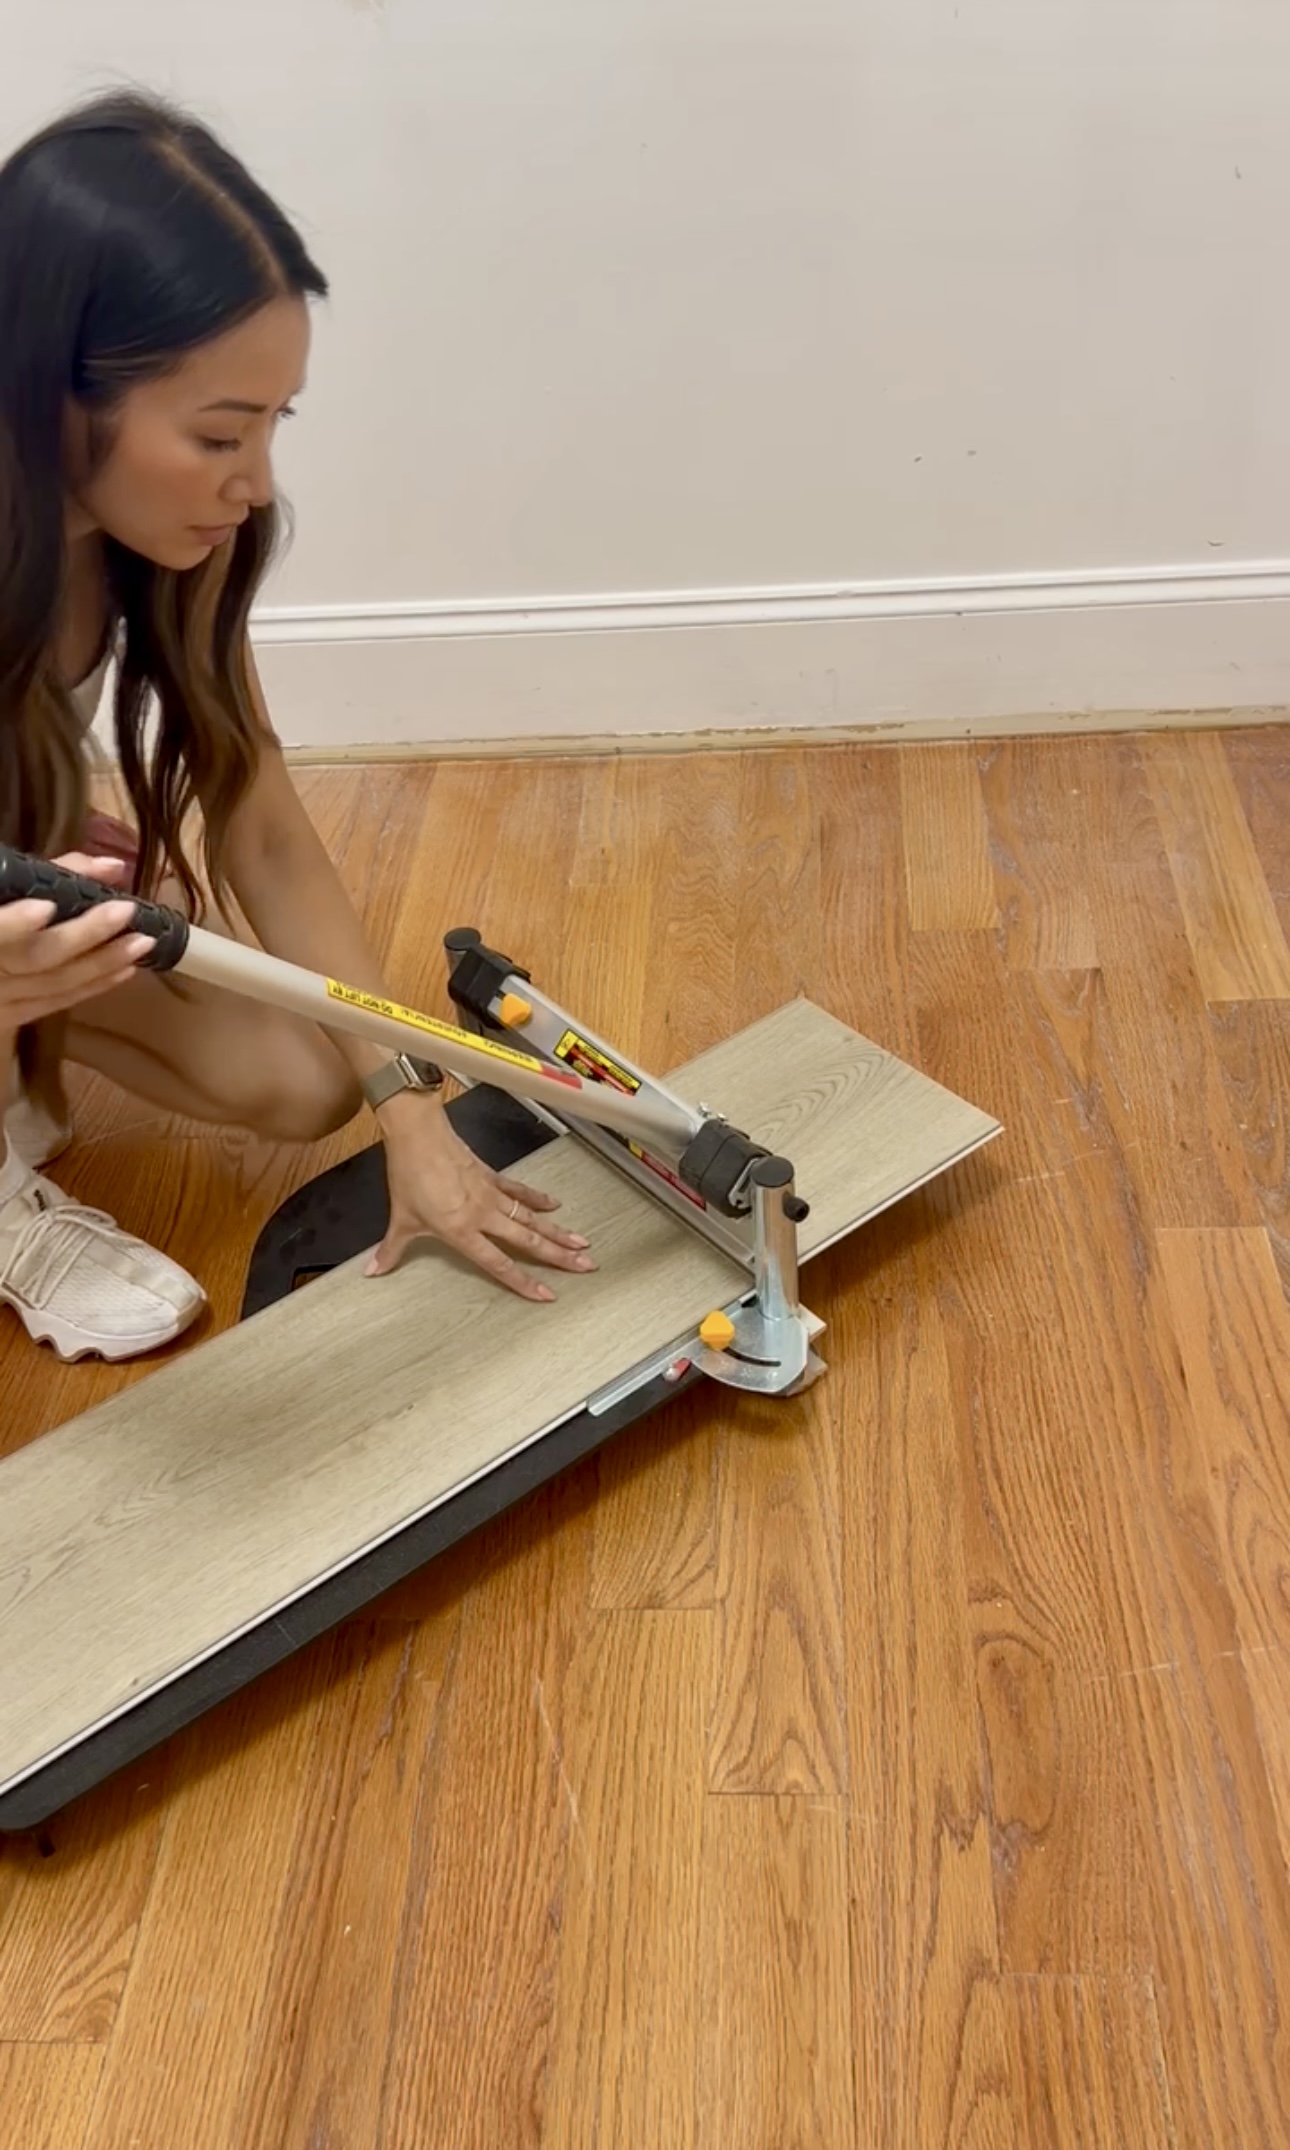
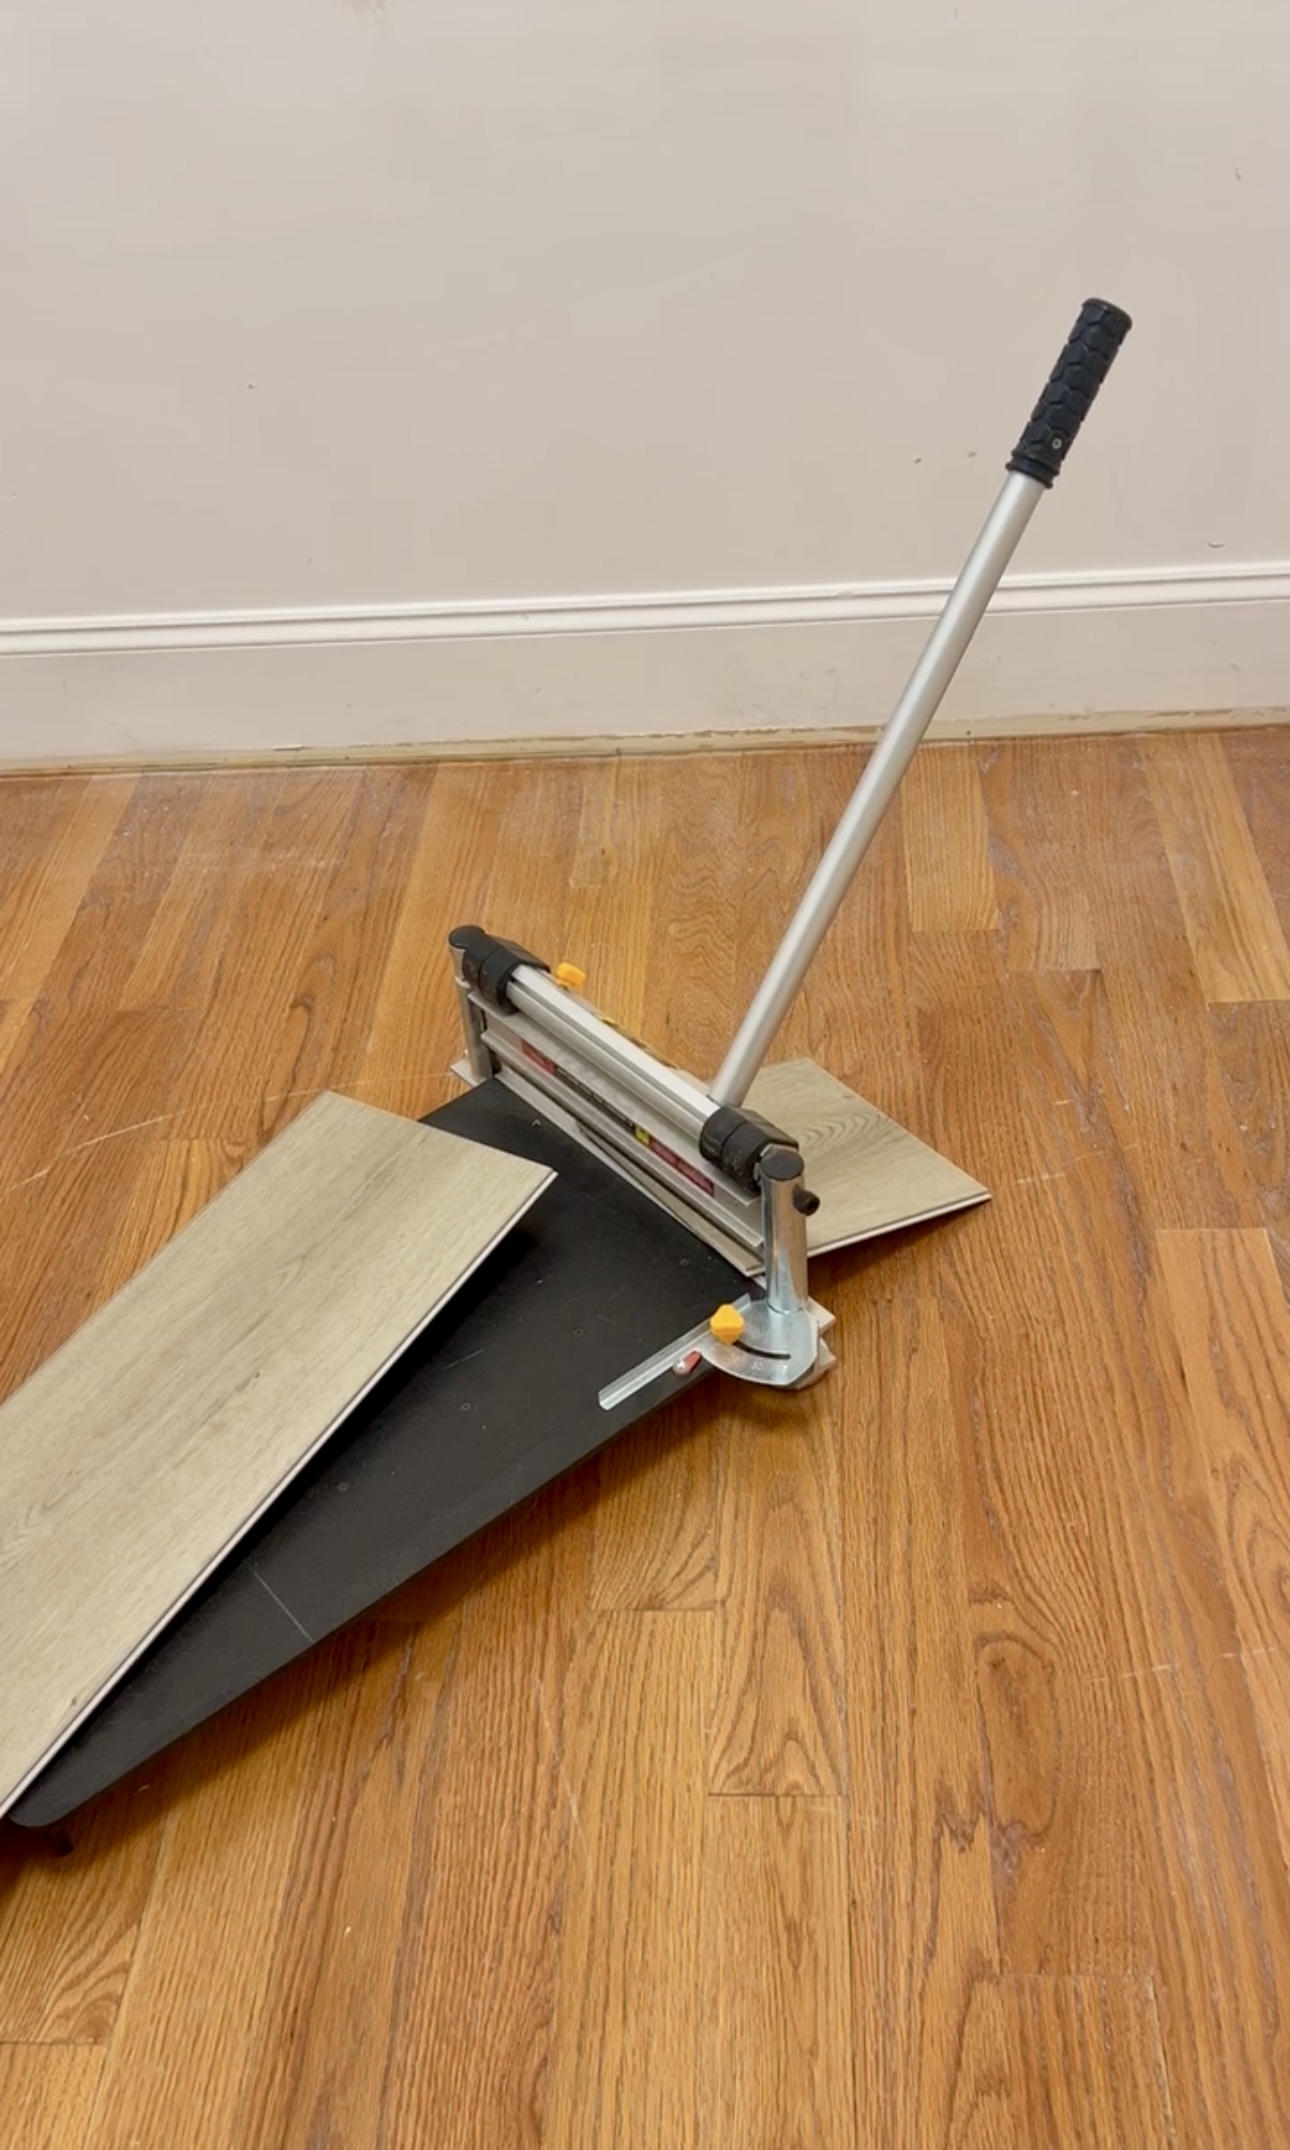
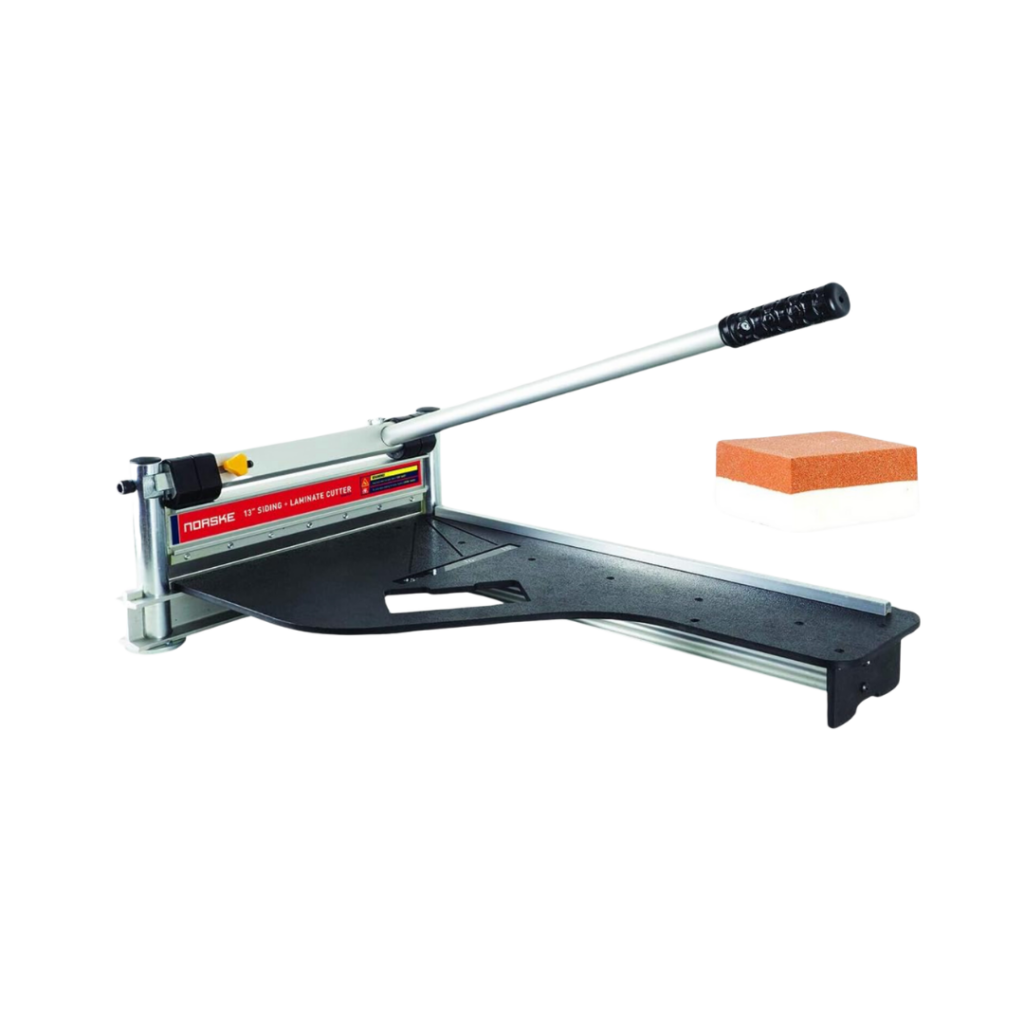
For the following rows, we used our LVP cutting tool to cut pieces down based on preference. I didn’t want the seams too close together.
Tongue and Groove
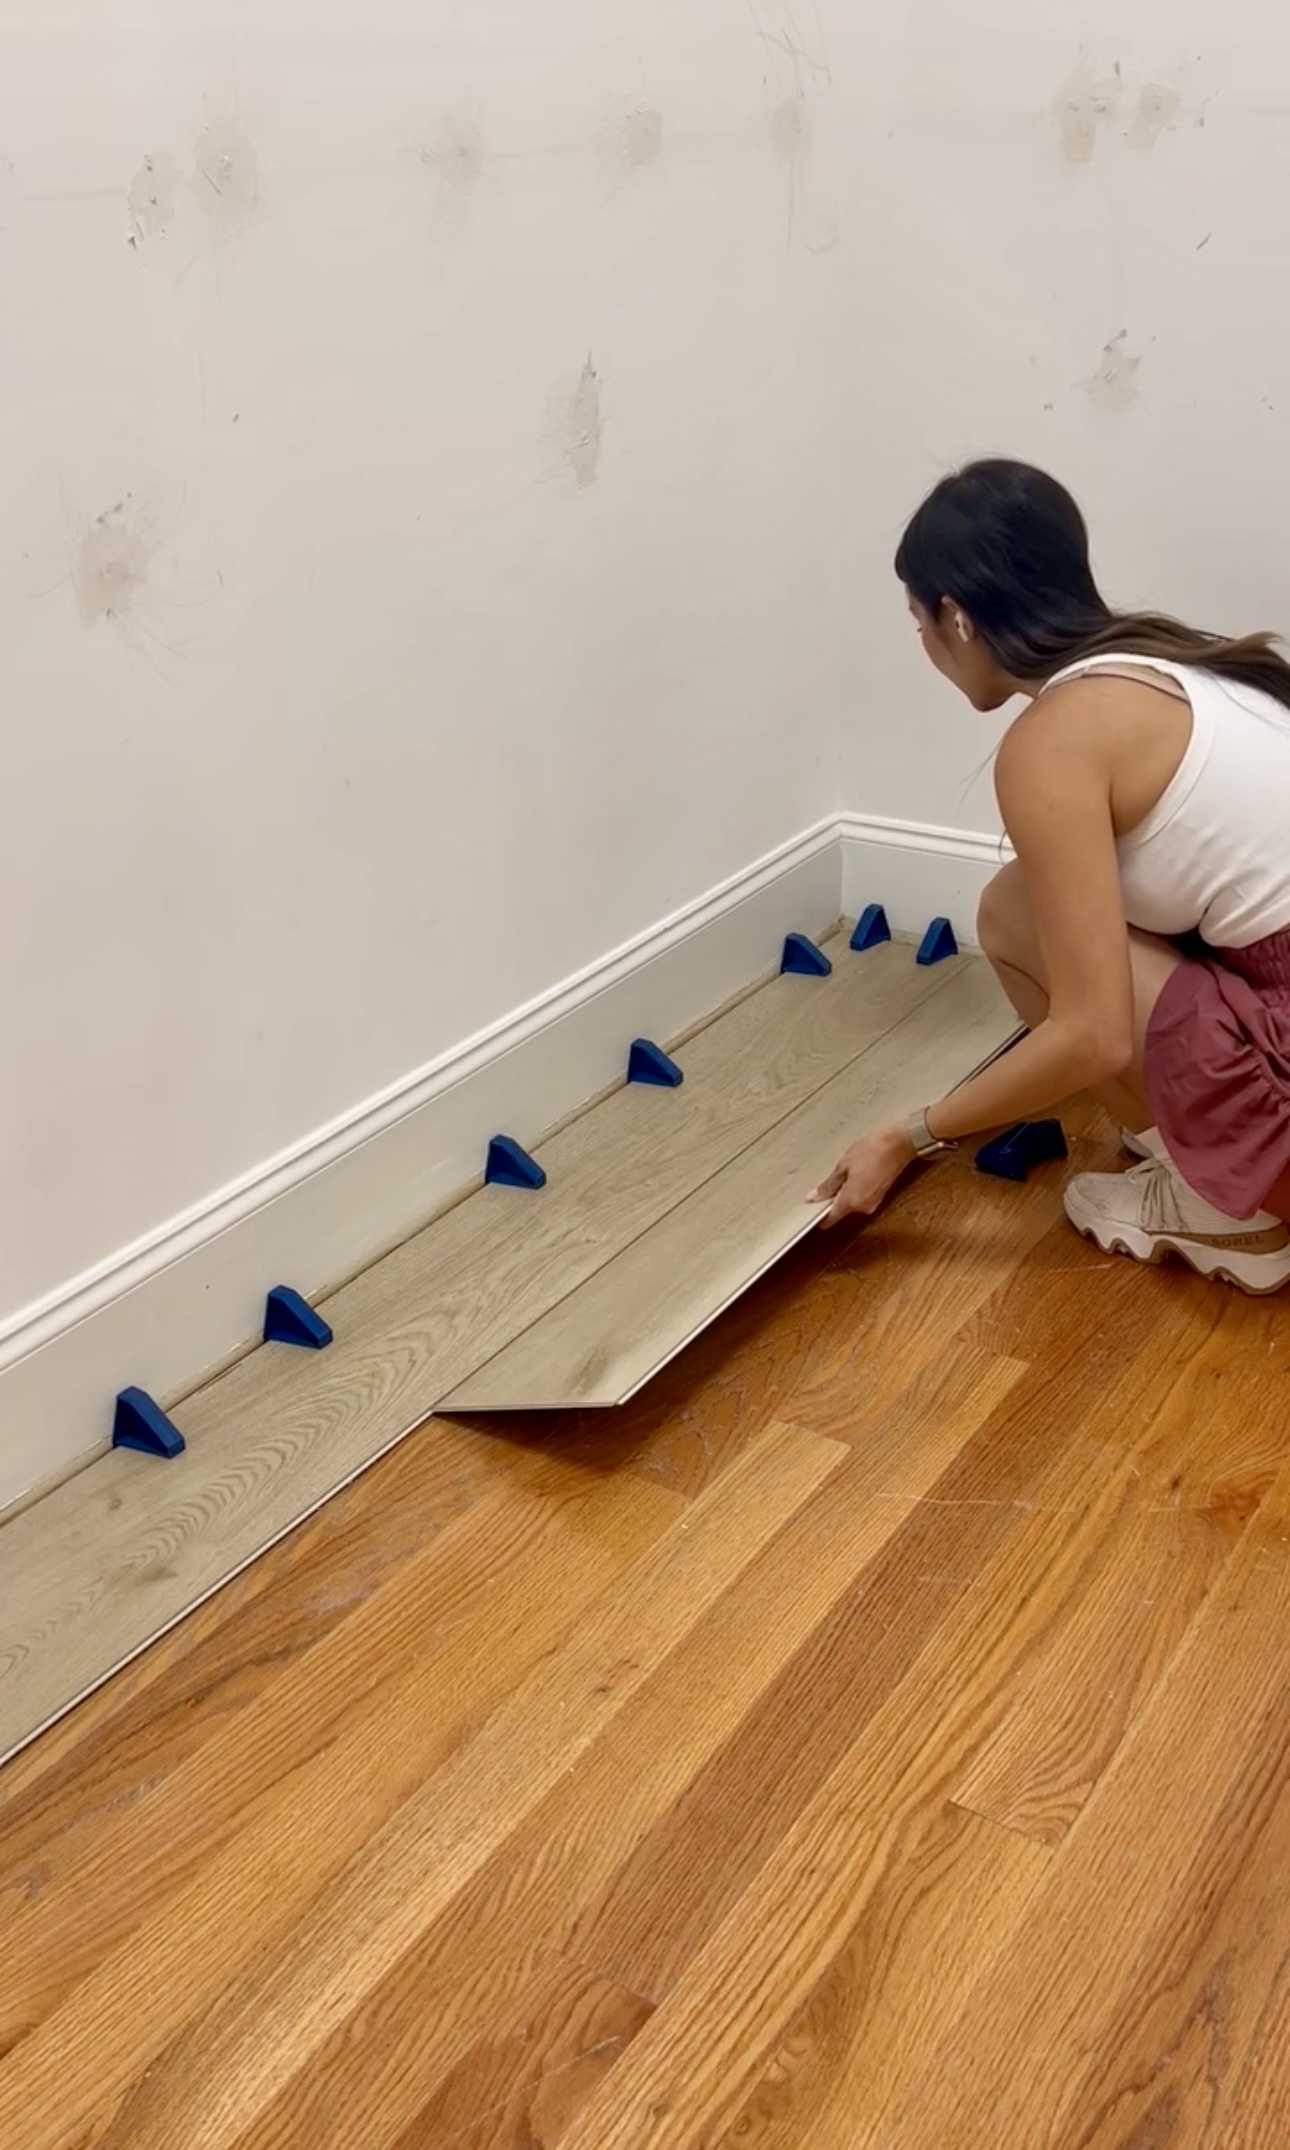
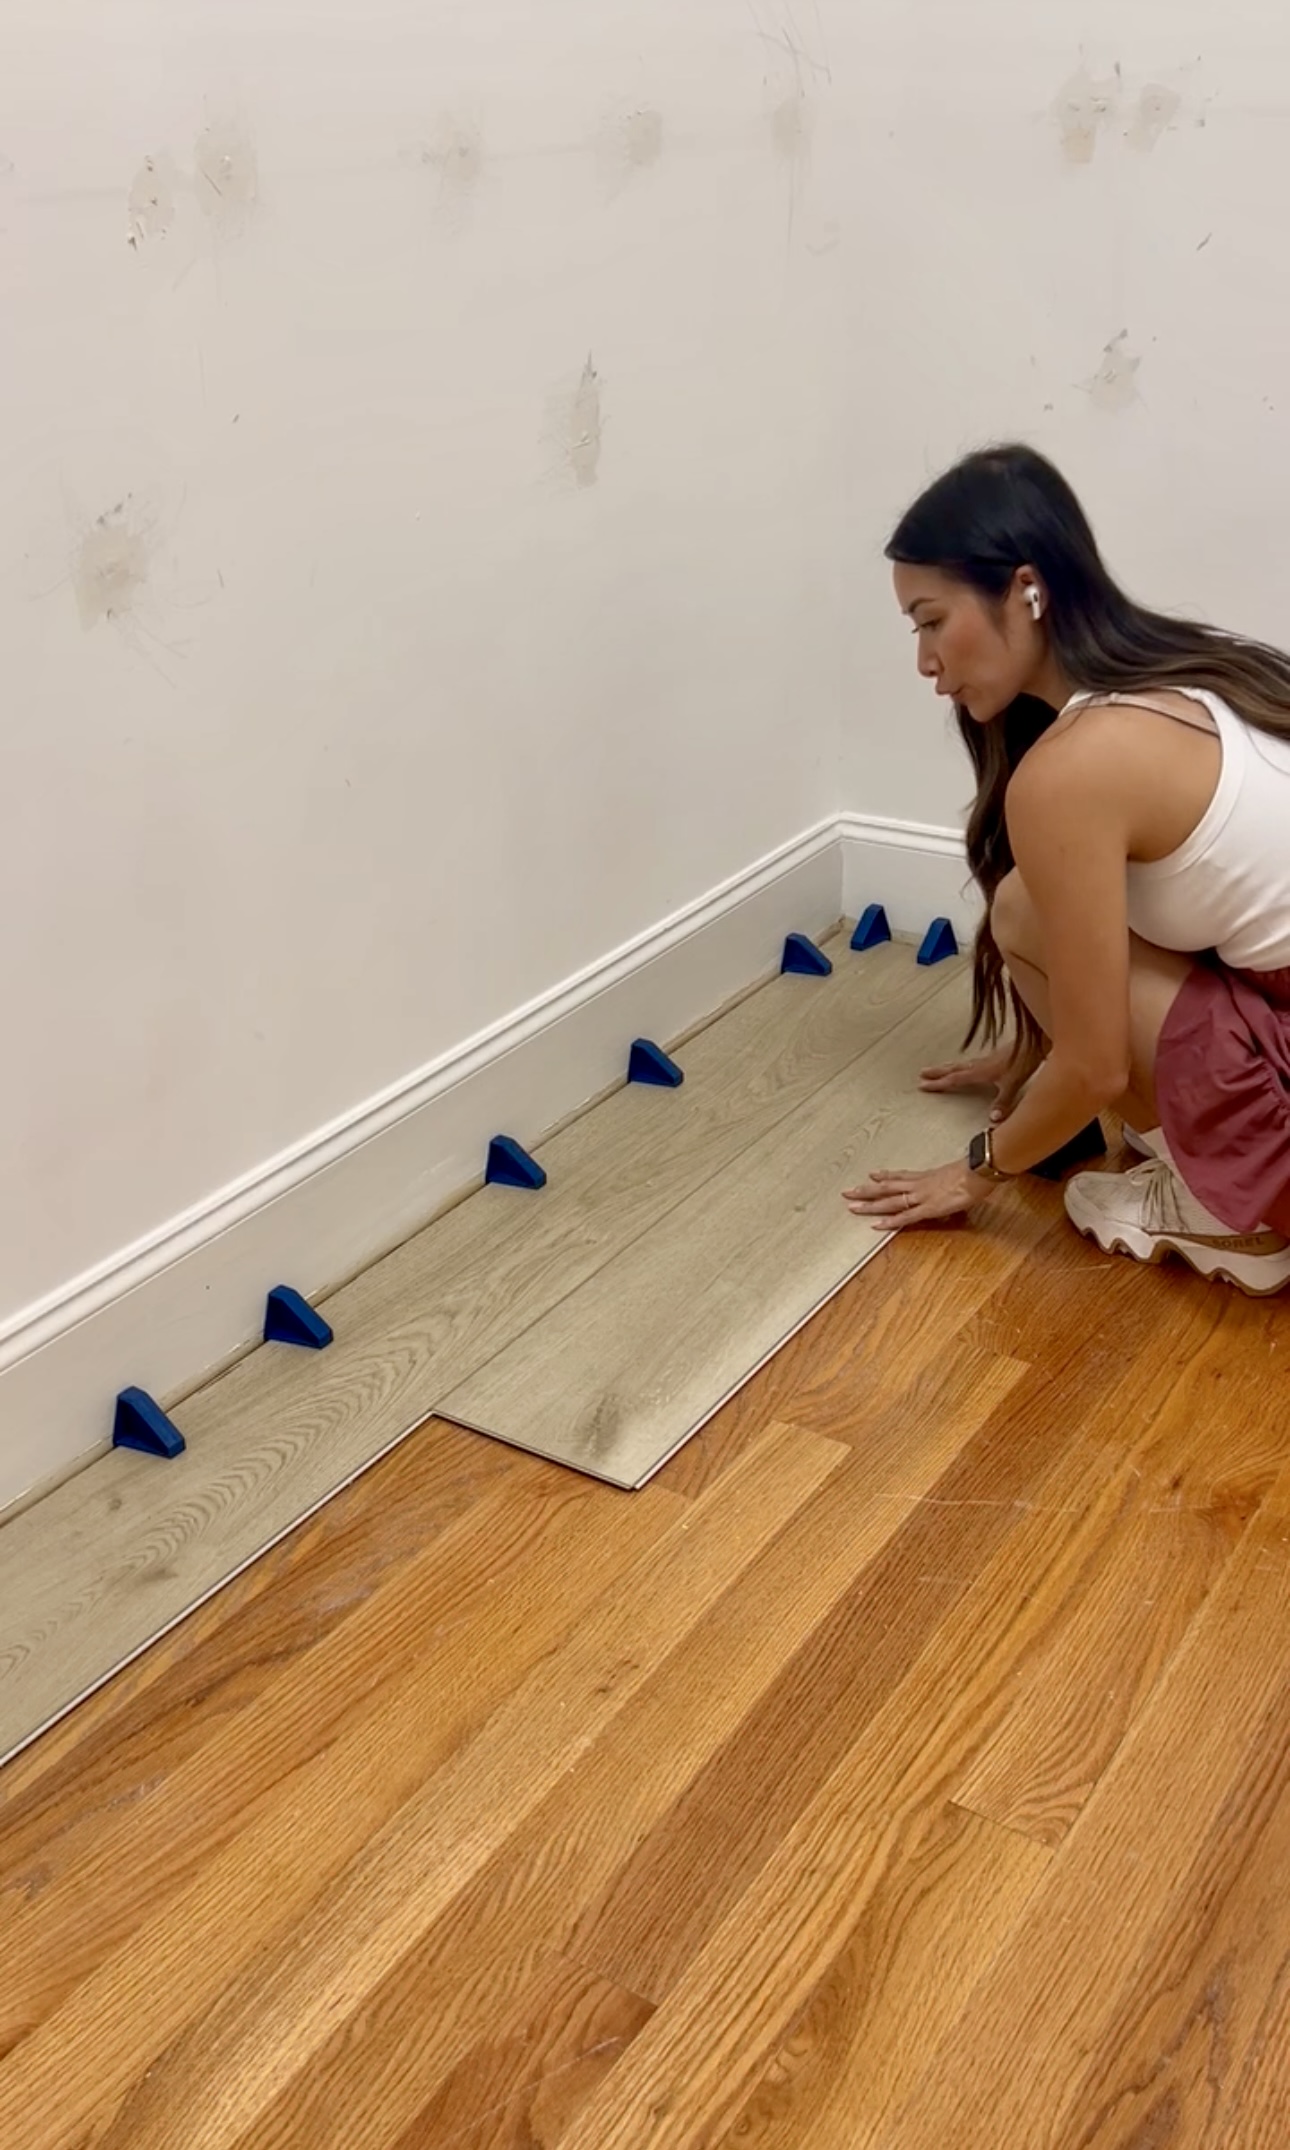
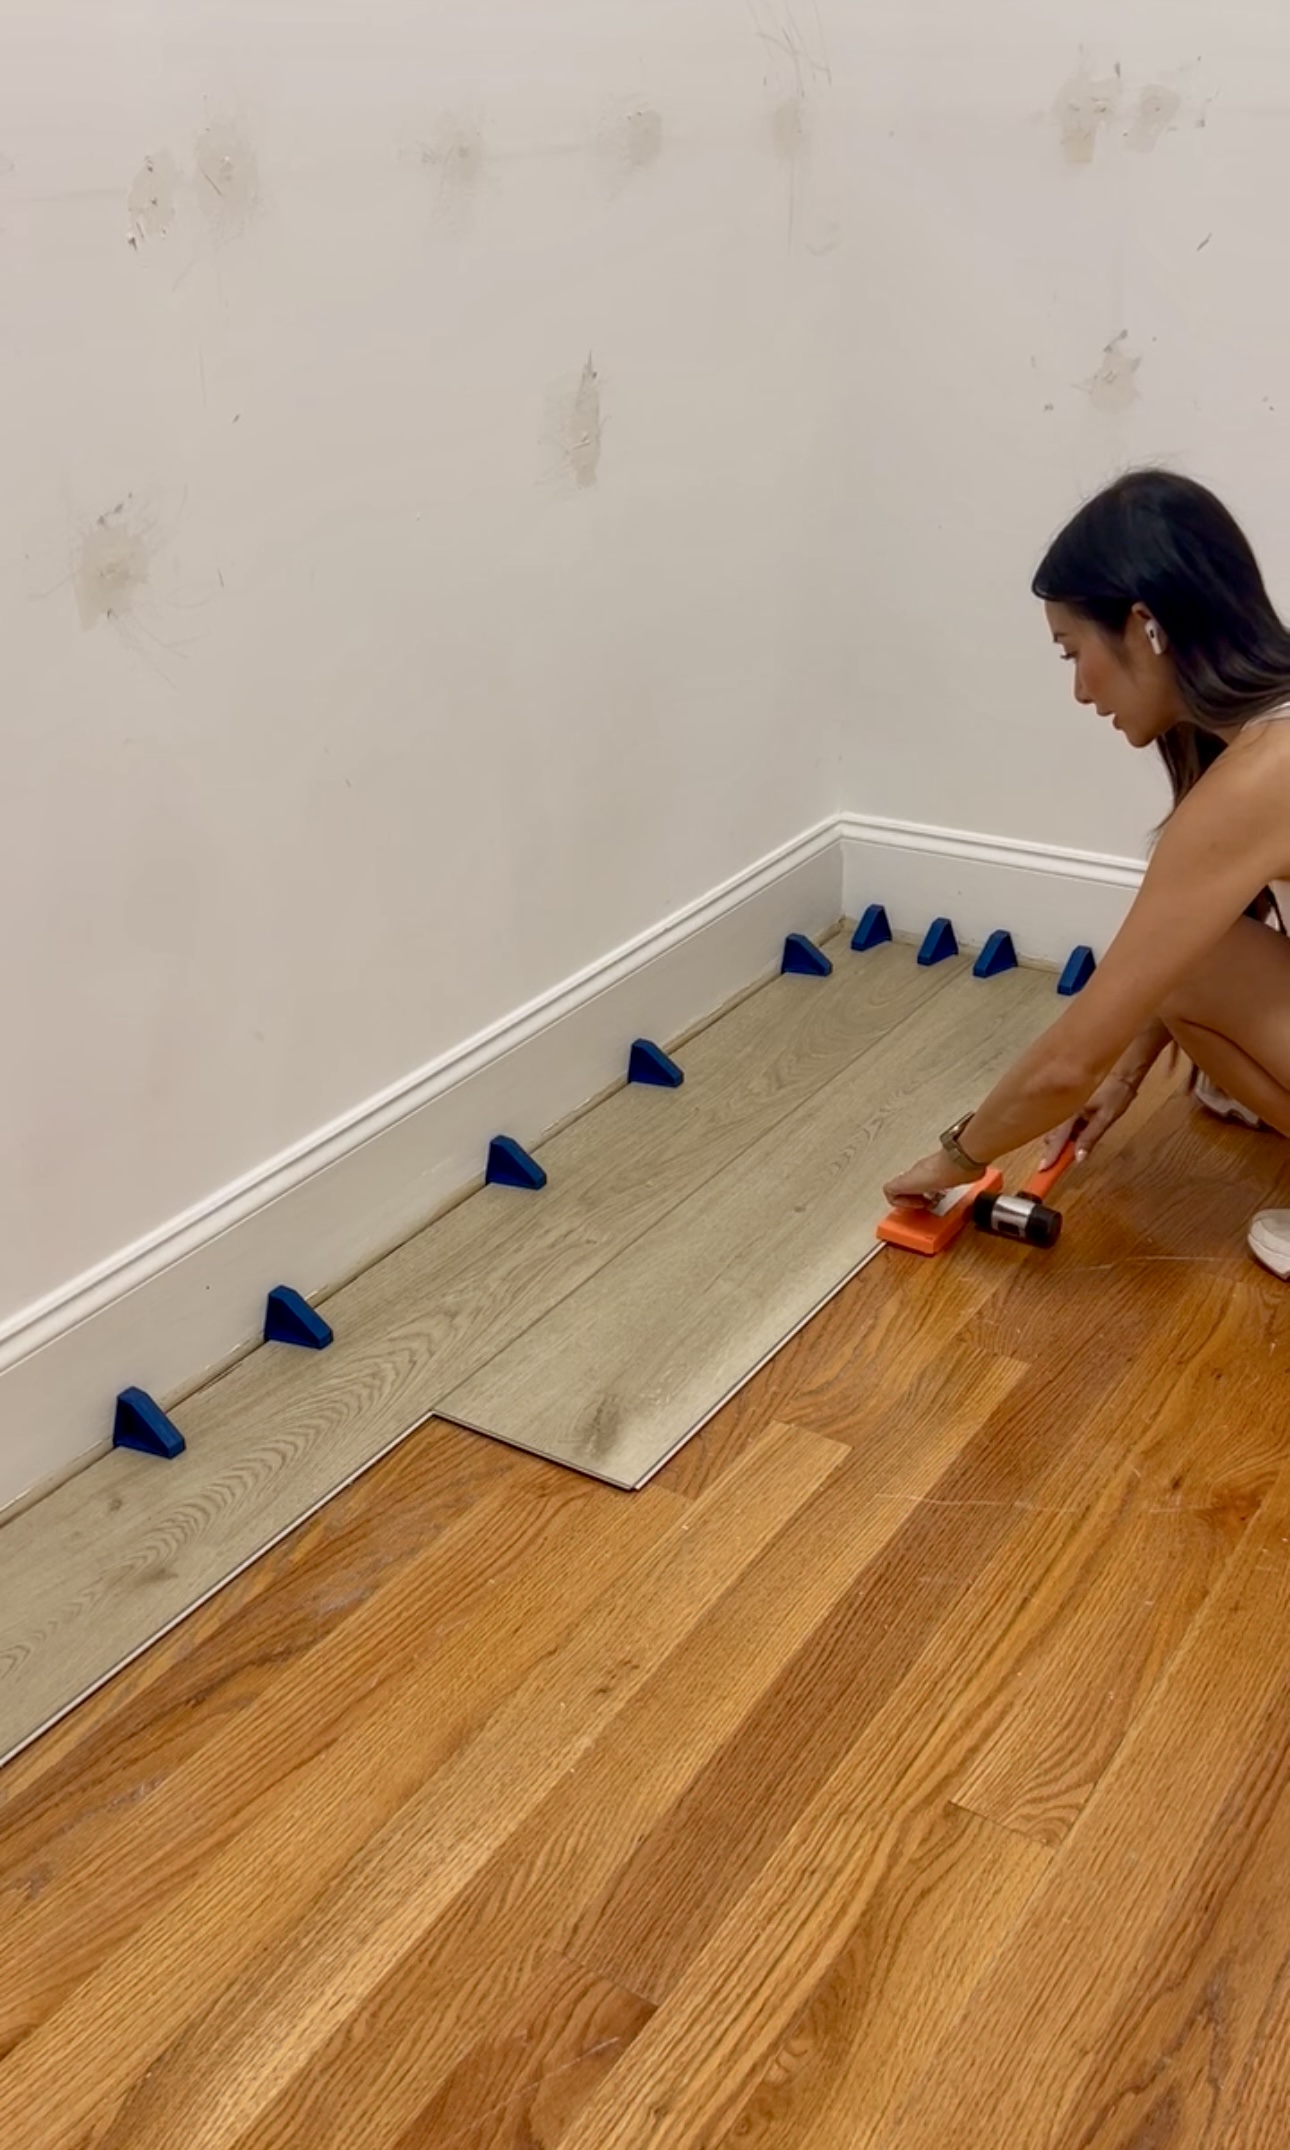
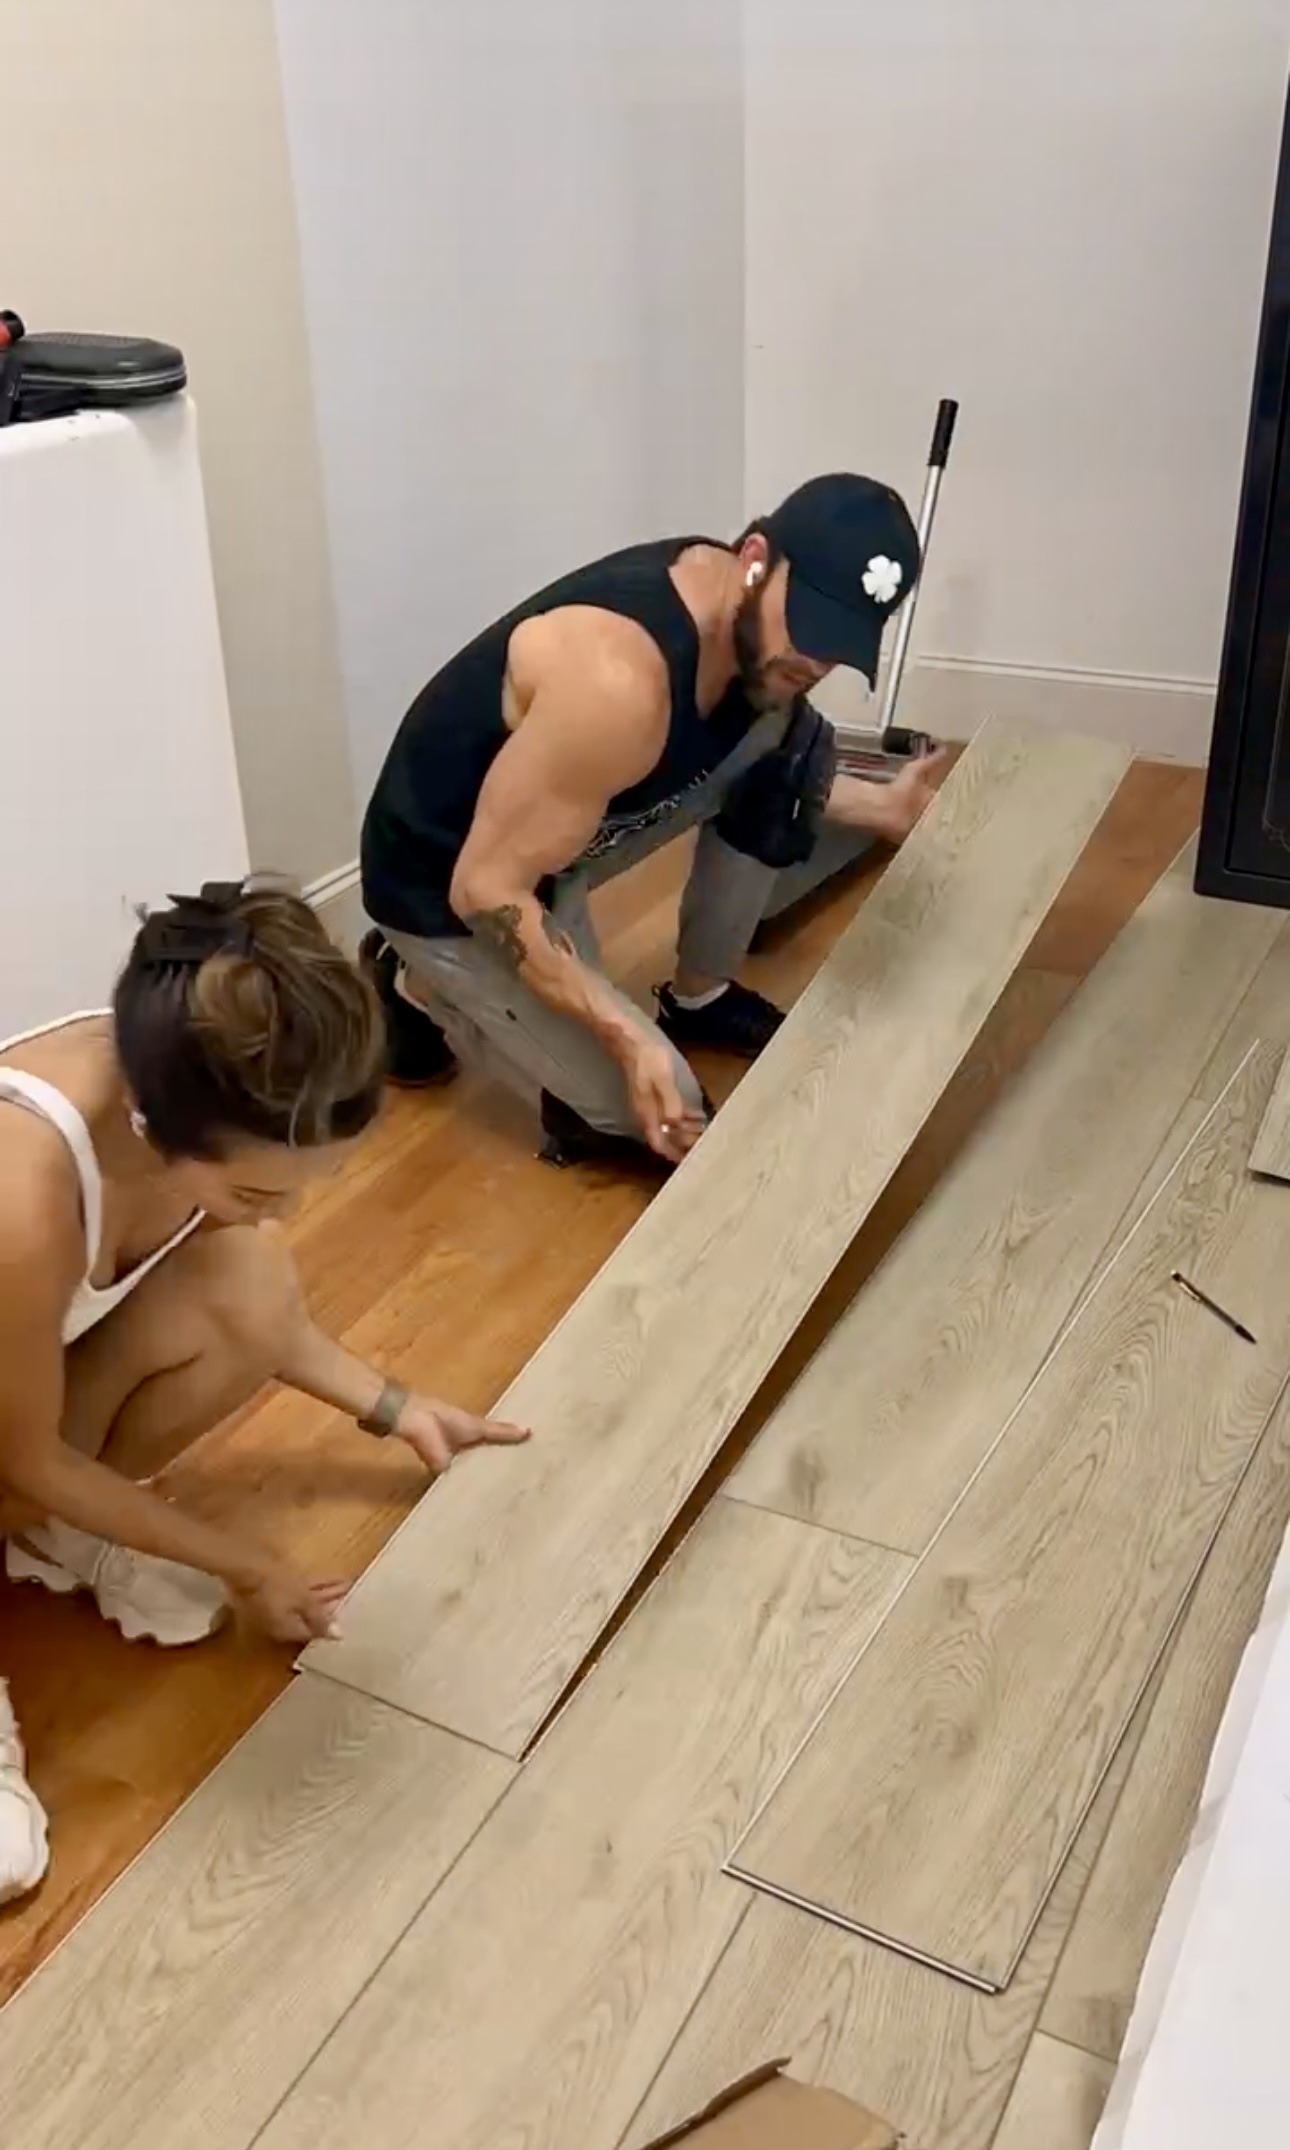
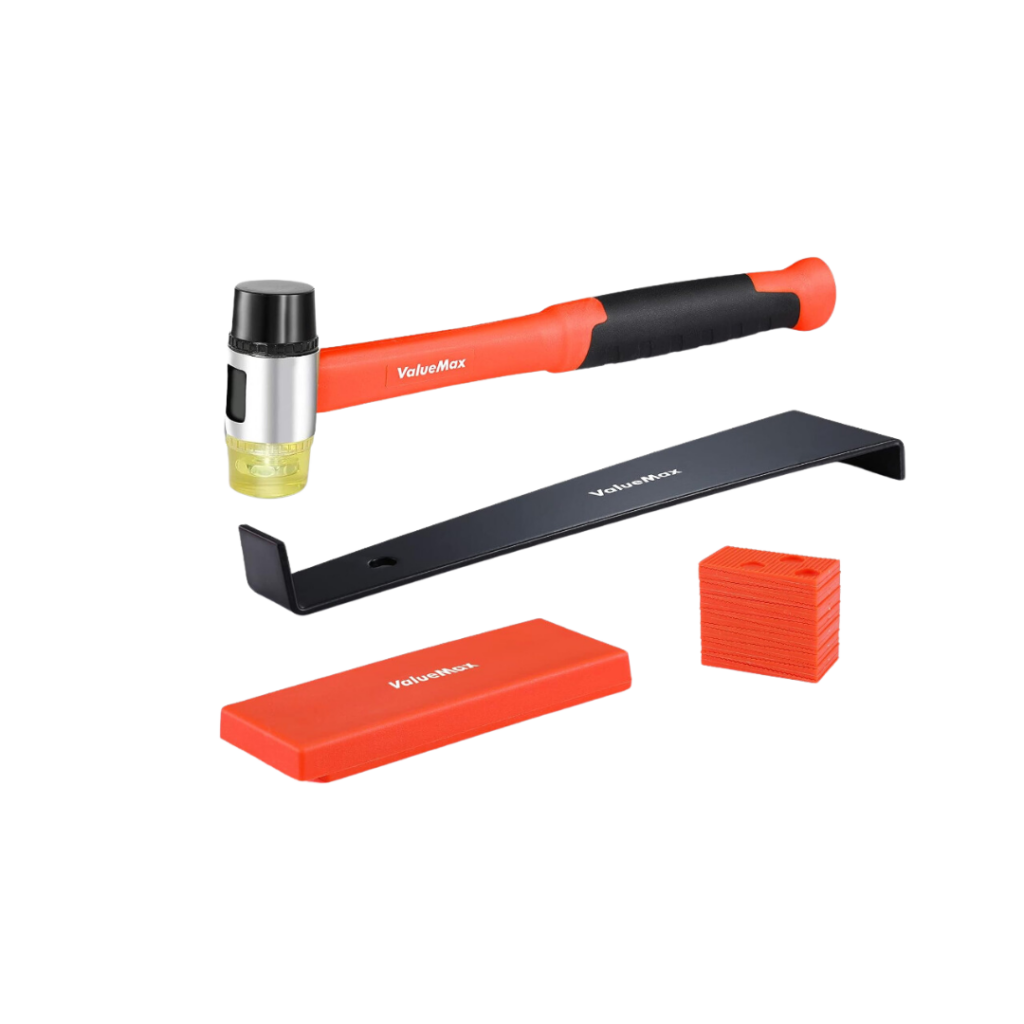
To lay the next row, I put the tongue right into the groove. You have to start at a bit of an angle. You’ll know it fits when it lays down flat and smooth. Then, I took the spacers and put them against the wall. I took my hitting block and mallet and made sure it was snug. Be careful when using these tools – if it is not snug it could damage the flooring.
The First Full Piece
Time for the very first full piece – isn’t that crazy?! First of all, there are always a few different prints on each piece of flooring. Look at the surrounding boards when deciding what piece to lay. You don’t want identical pieces to be right next to each other.
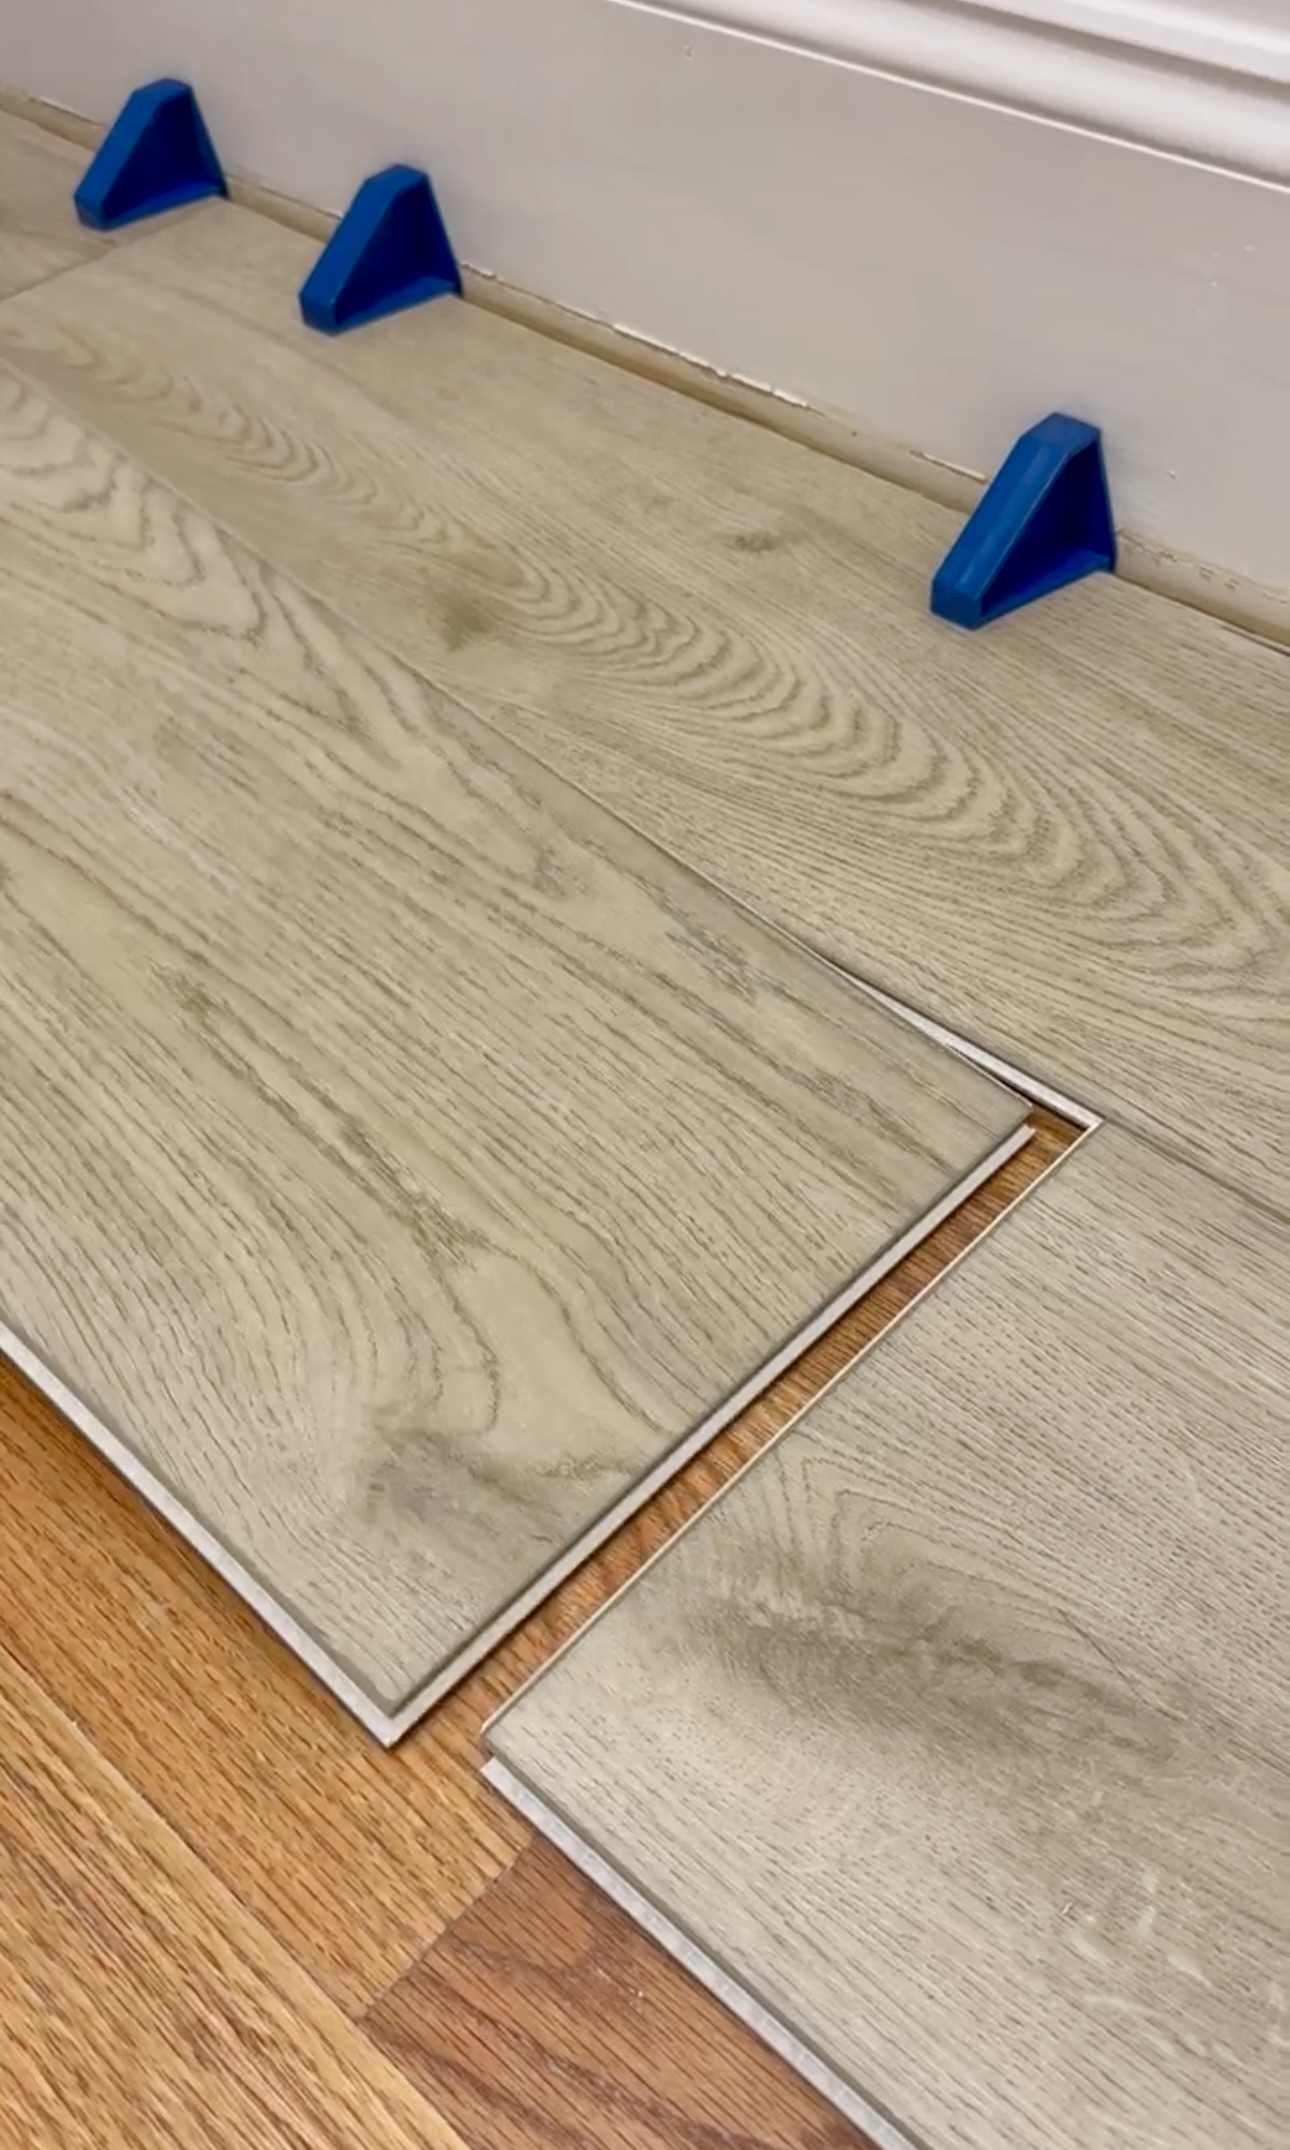
We chose 6 foot boards for this project. It’s tough because you have to line up the long and short sides at the same time – it’s kind of like closing a cardboard box. This is way easier as a 2 person job!
The Final Board
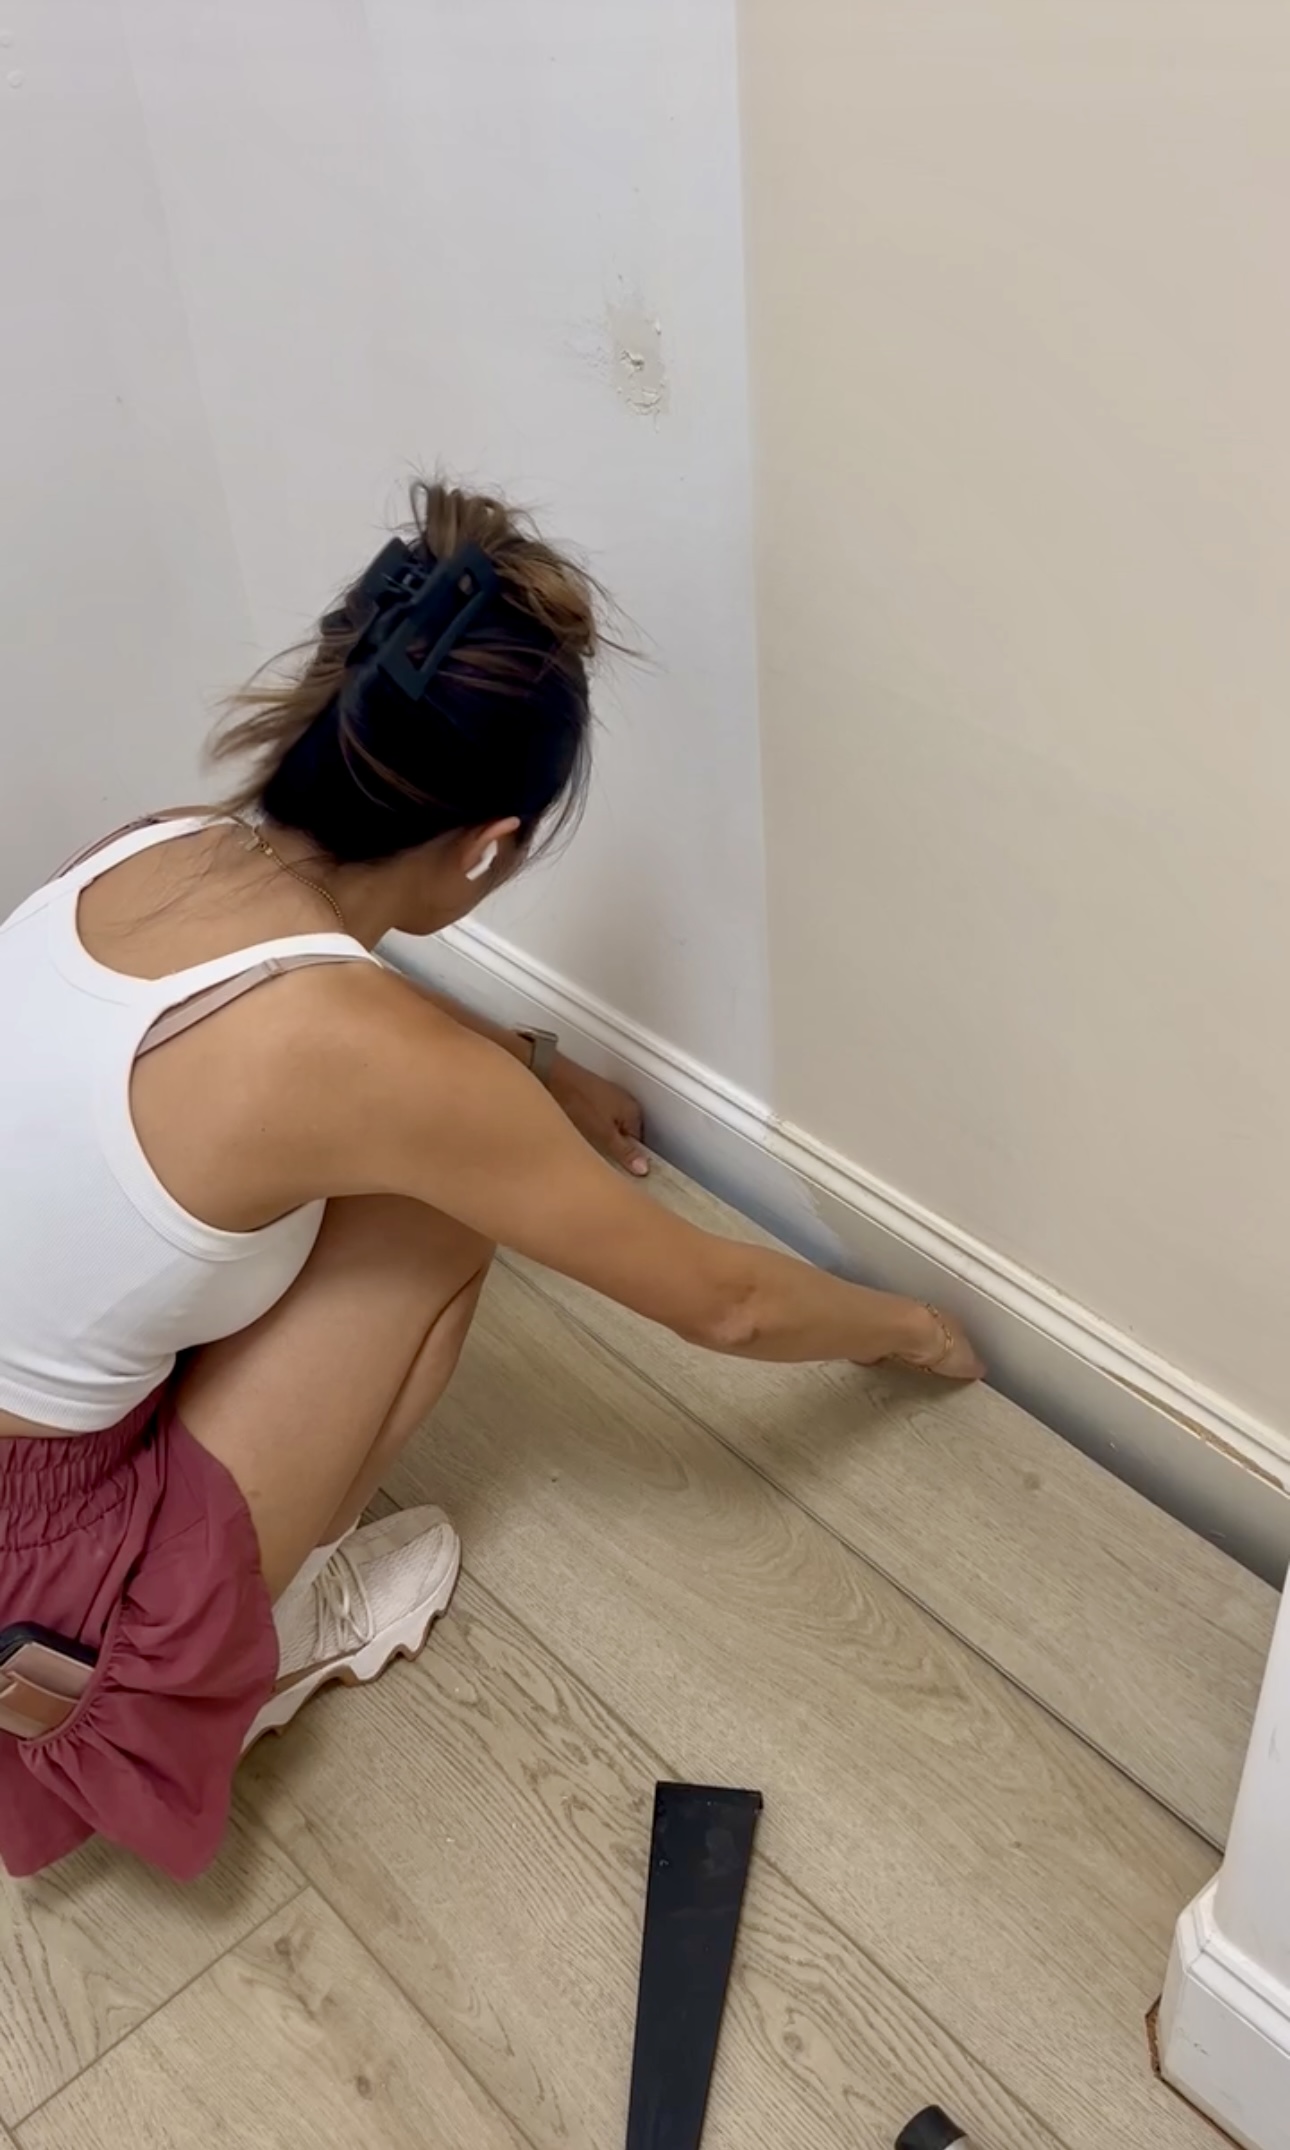
Time to install the final board! To install the final board, I took my piece and laid it down. Then, I used this end tool and put it between the baseboard and LVP piece. You take a mallet and hit the opposite side of the tool to secure it.
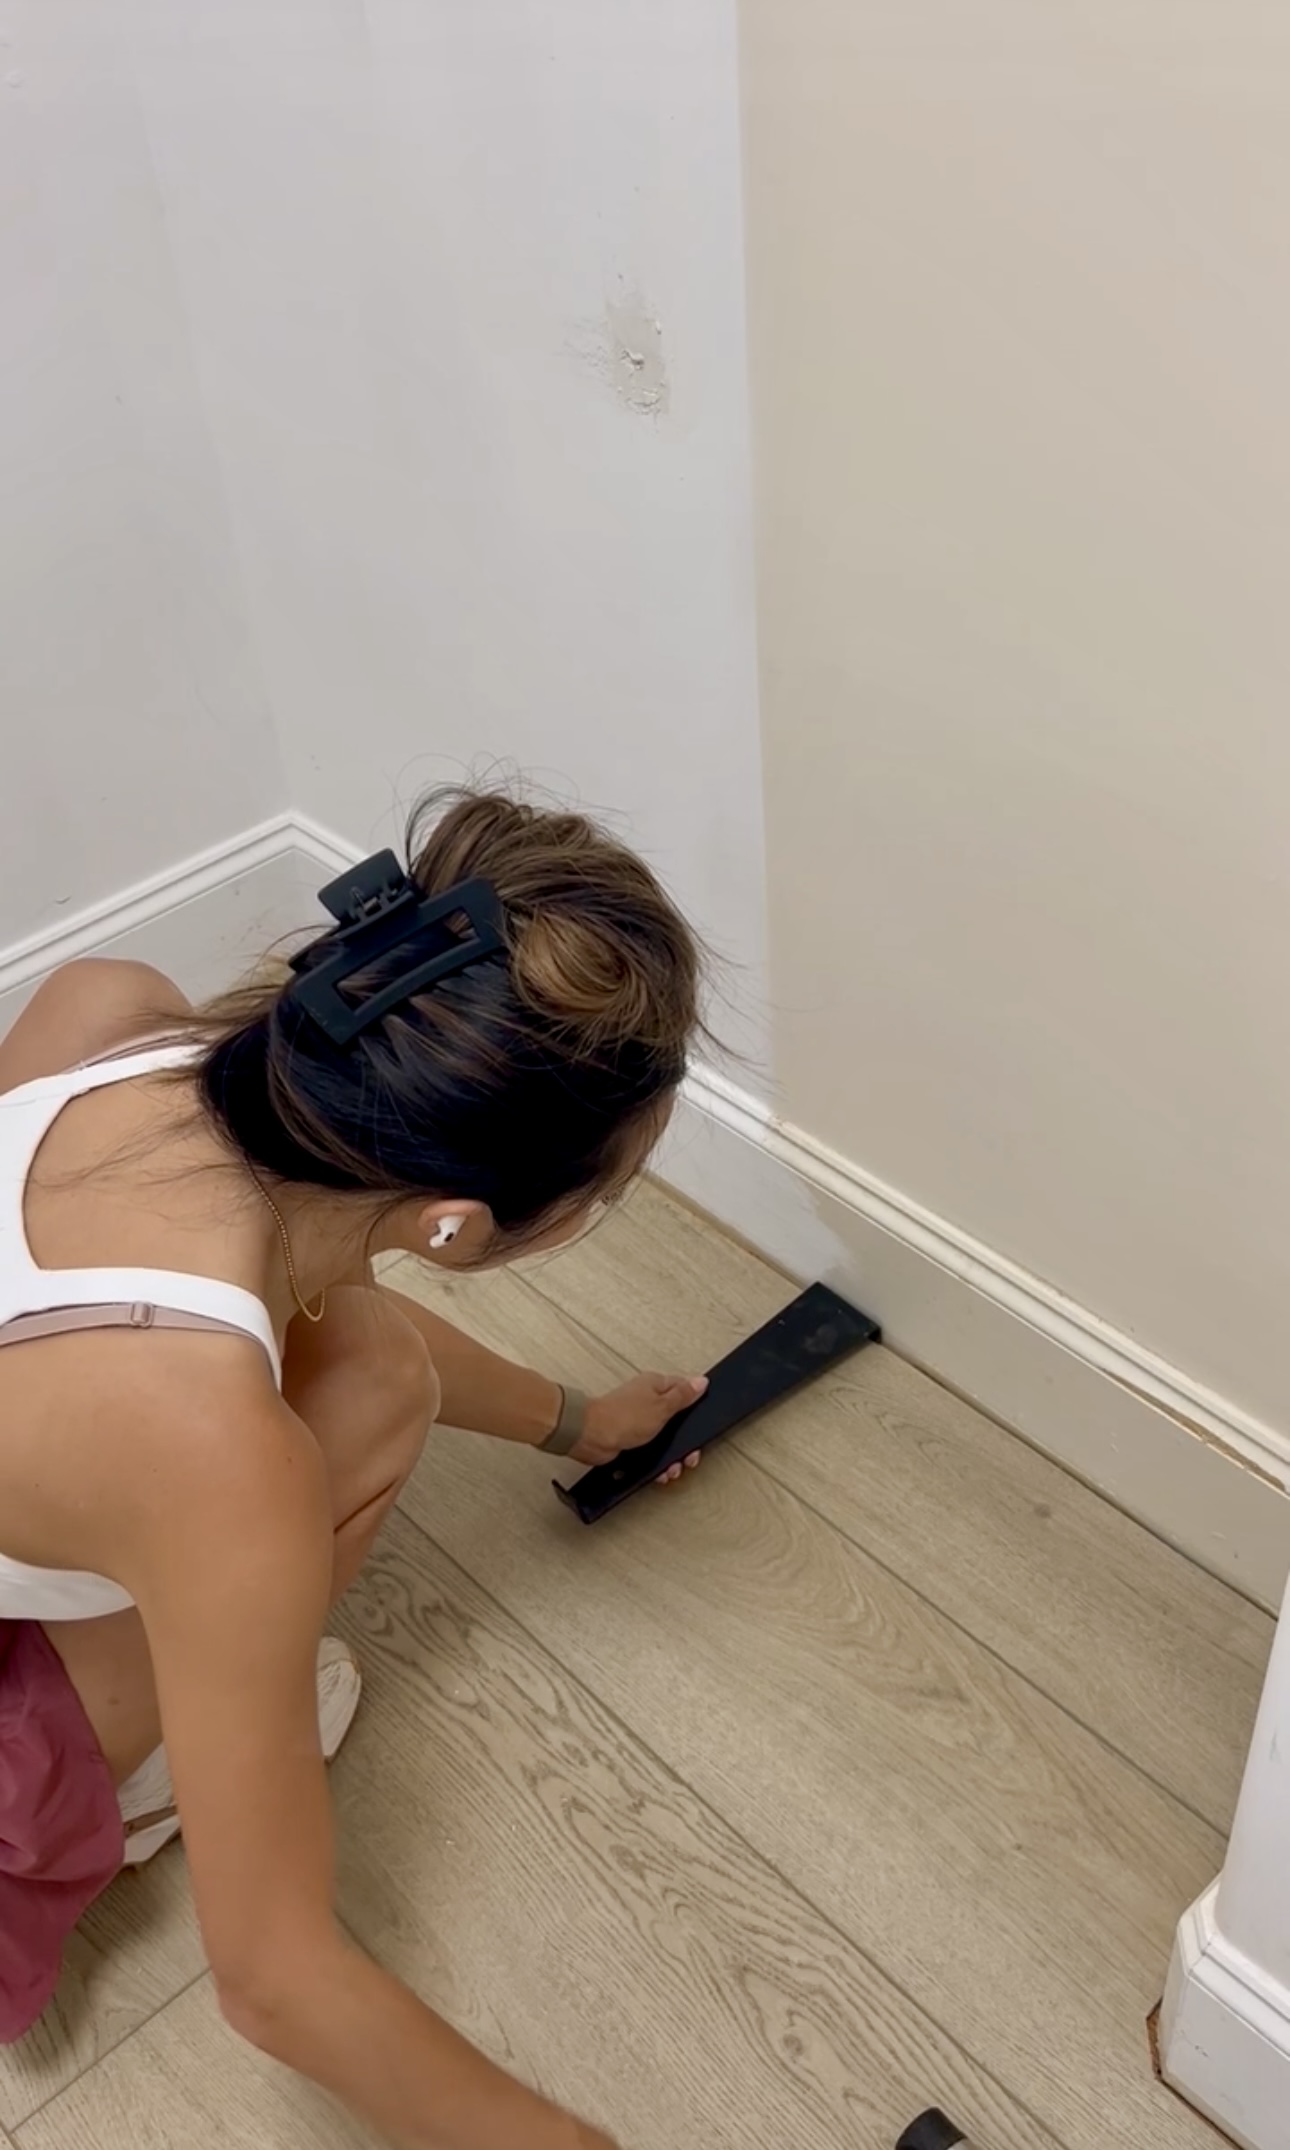
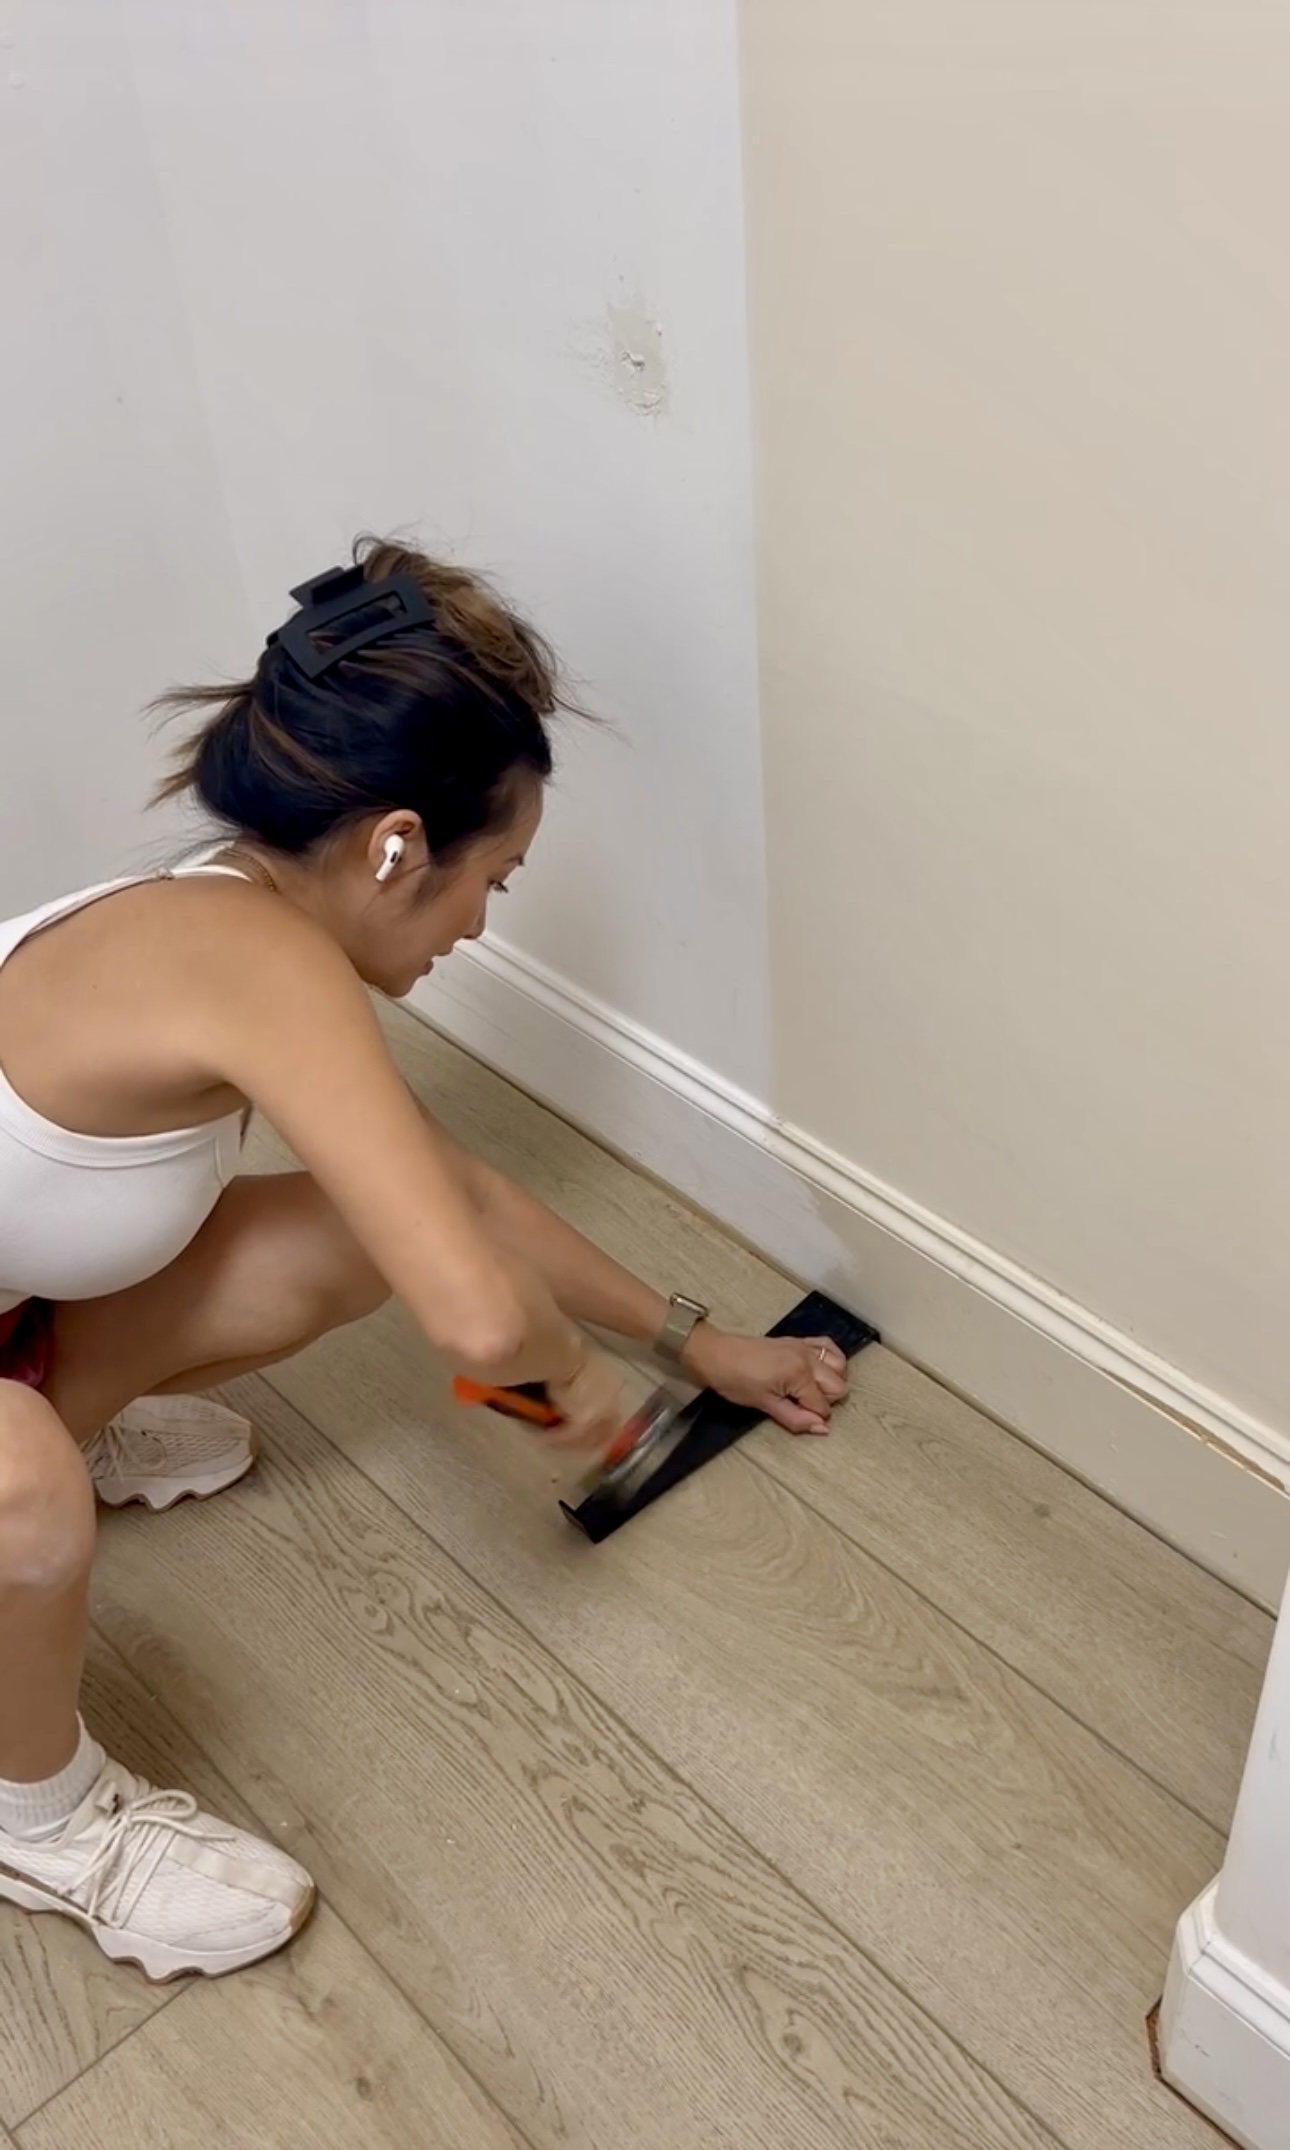
Quarter Round
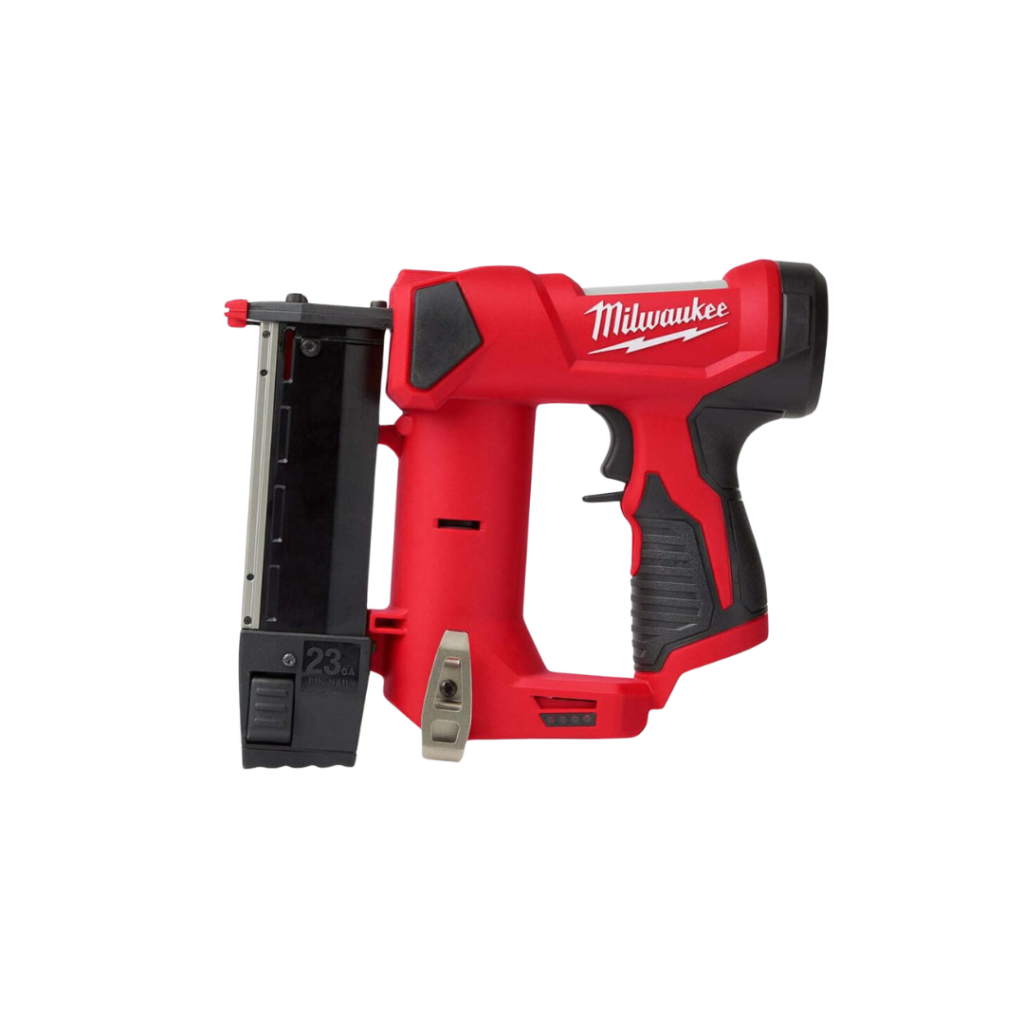
I loathe quarter rounds but they’re so worth it to install. To install the quarter round, We cut them down to size to border the entire room and secured them with my brad nailer.
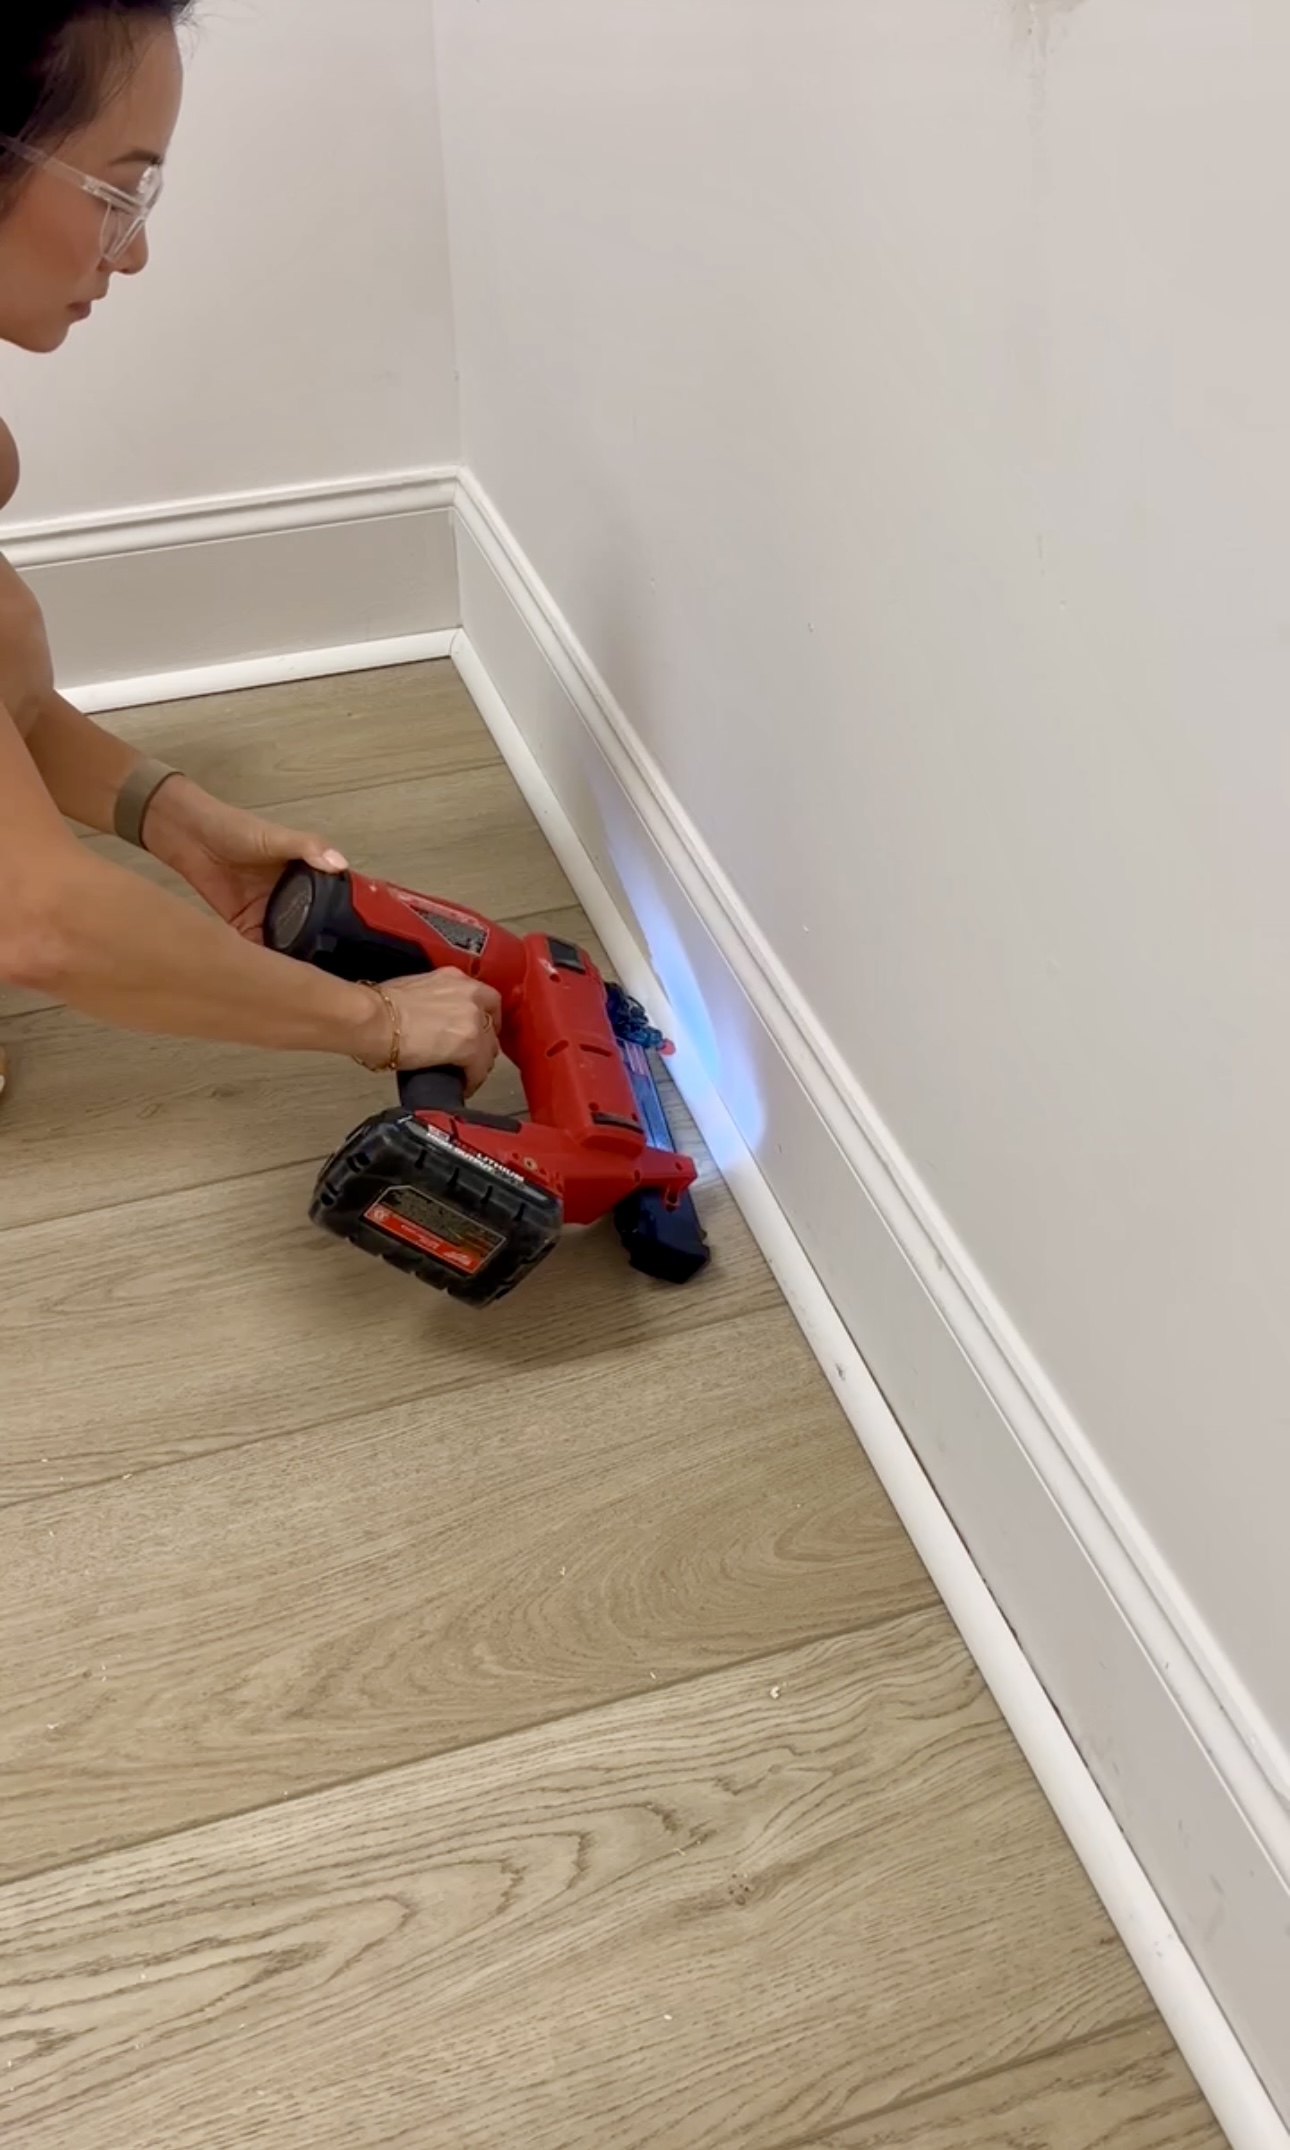
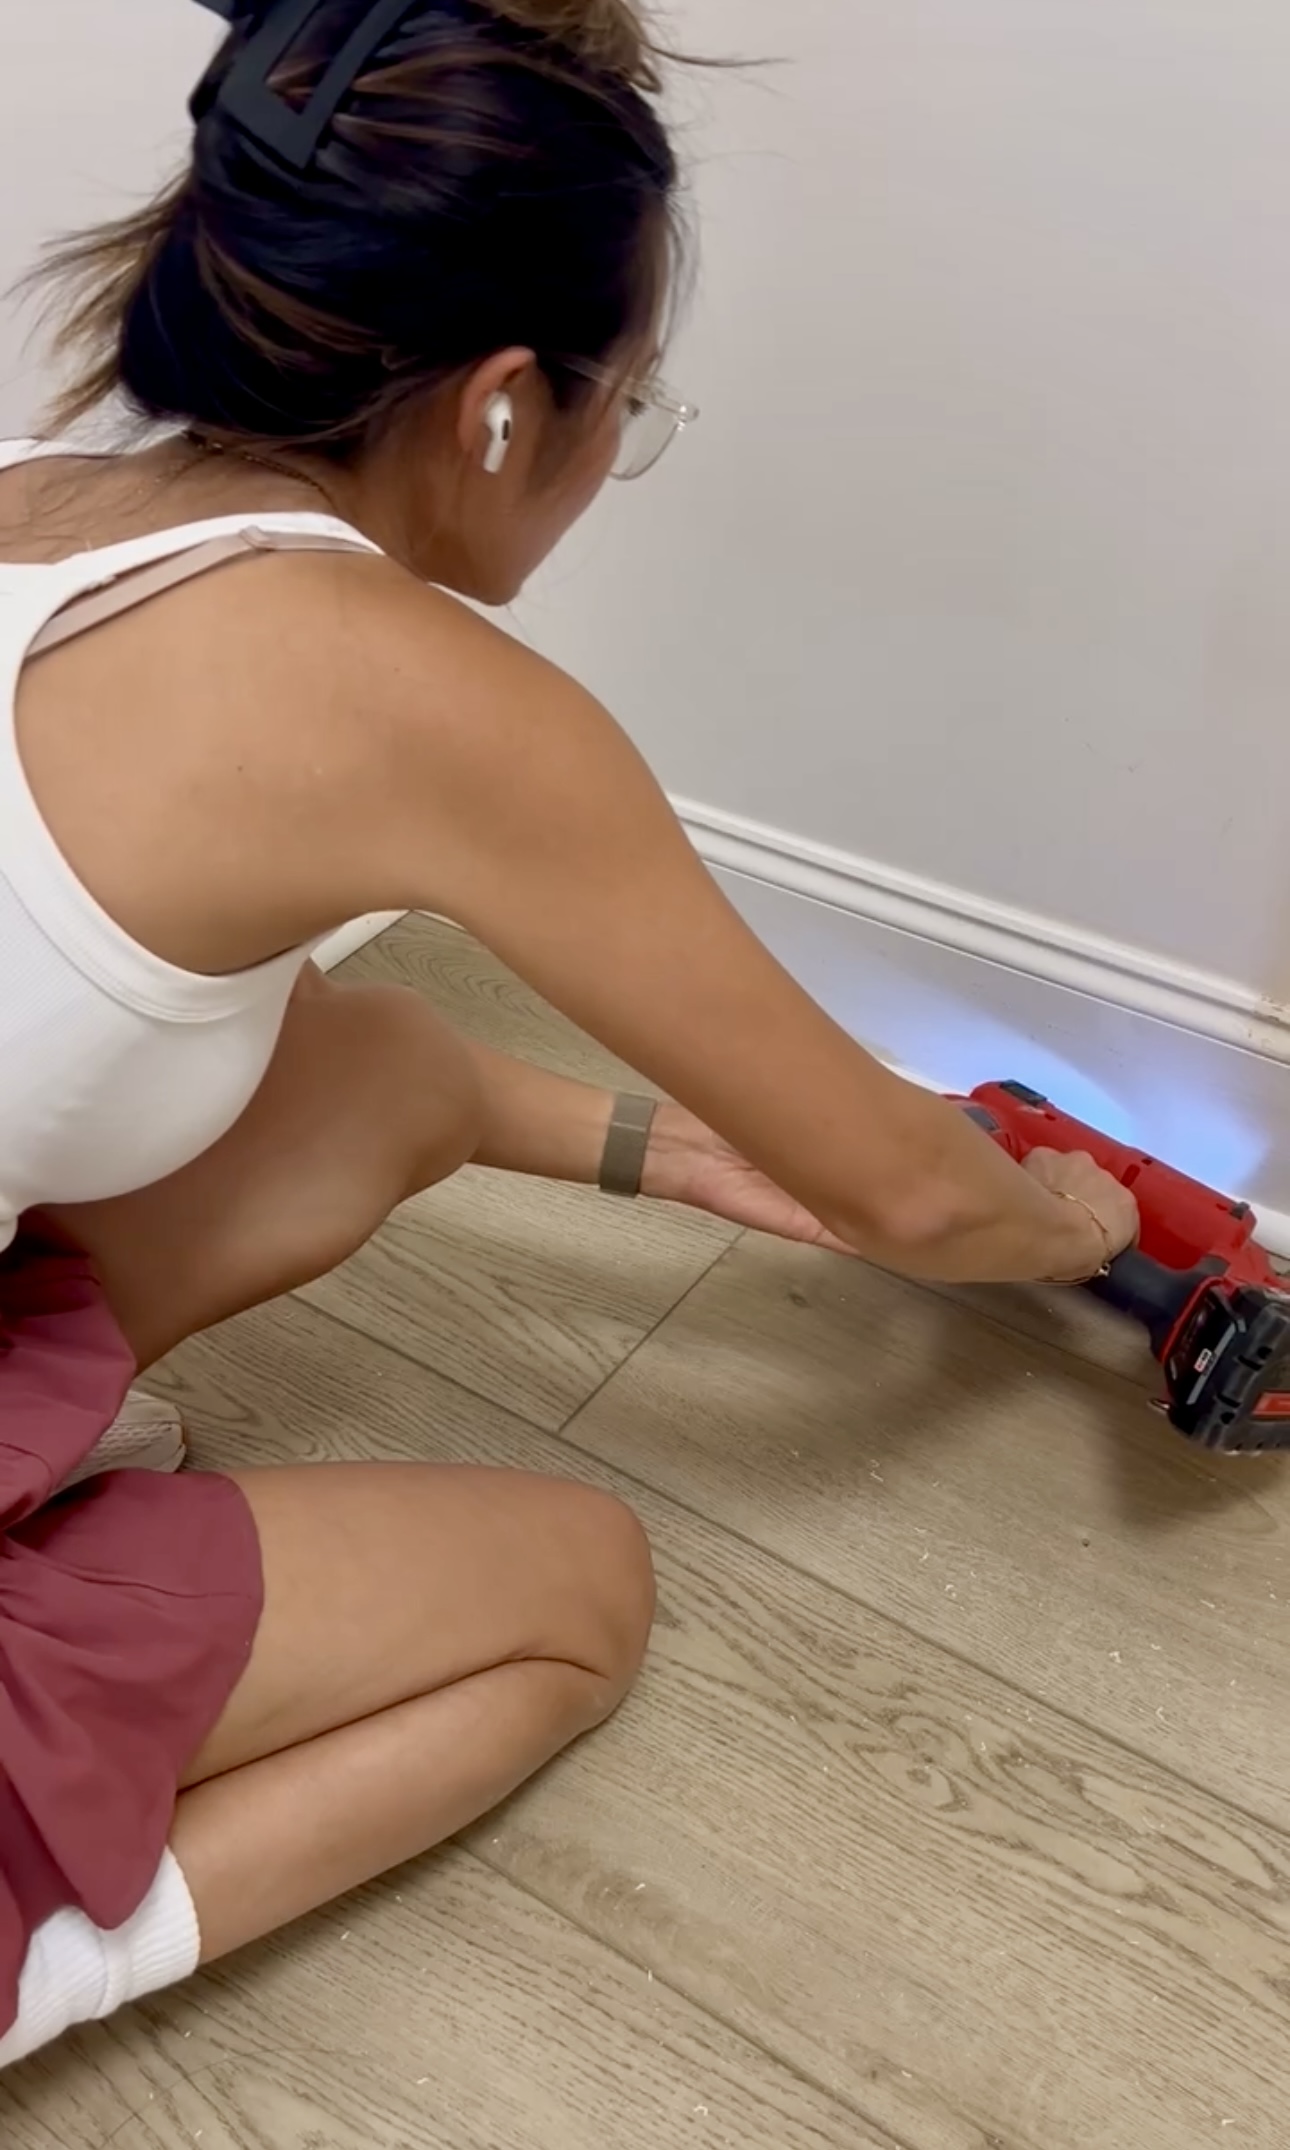
If you have regular corners, you cut your quarter rounds at 45 degrees. If you have rounded corners like us, you cut them at 22.5 degrees because 22.5 + 22.5 = 45!
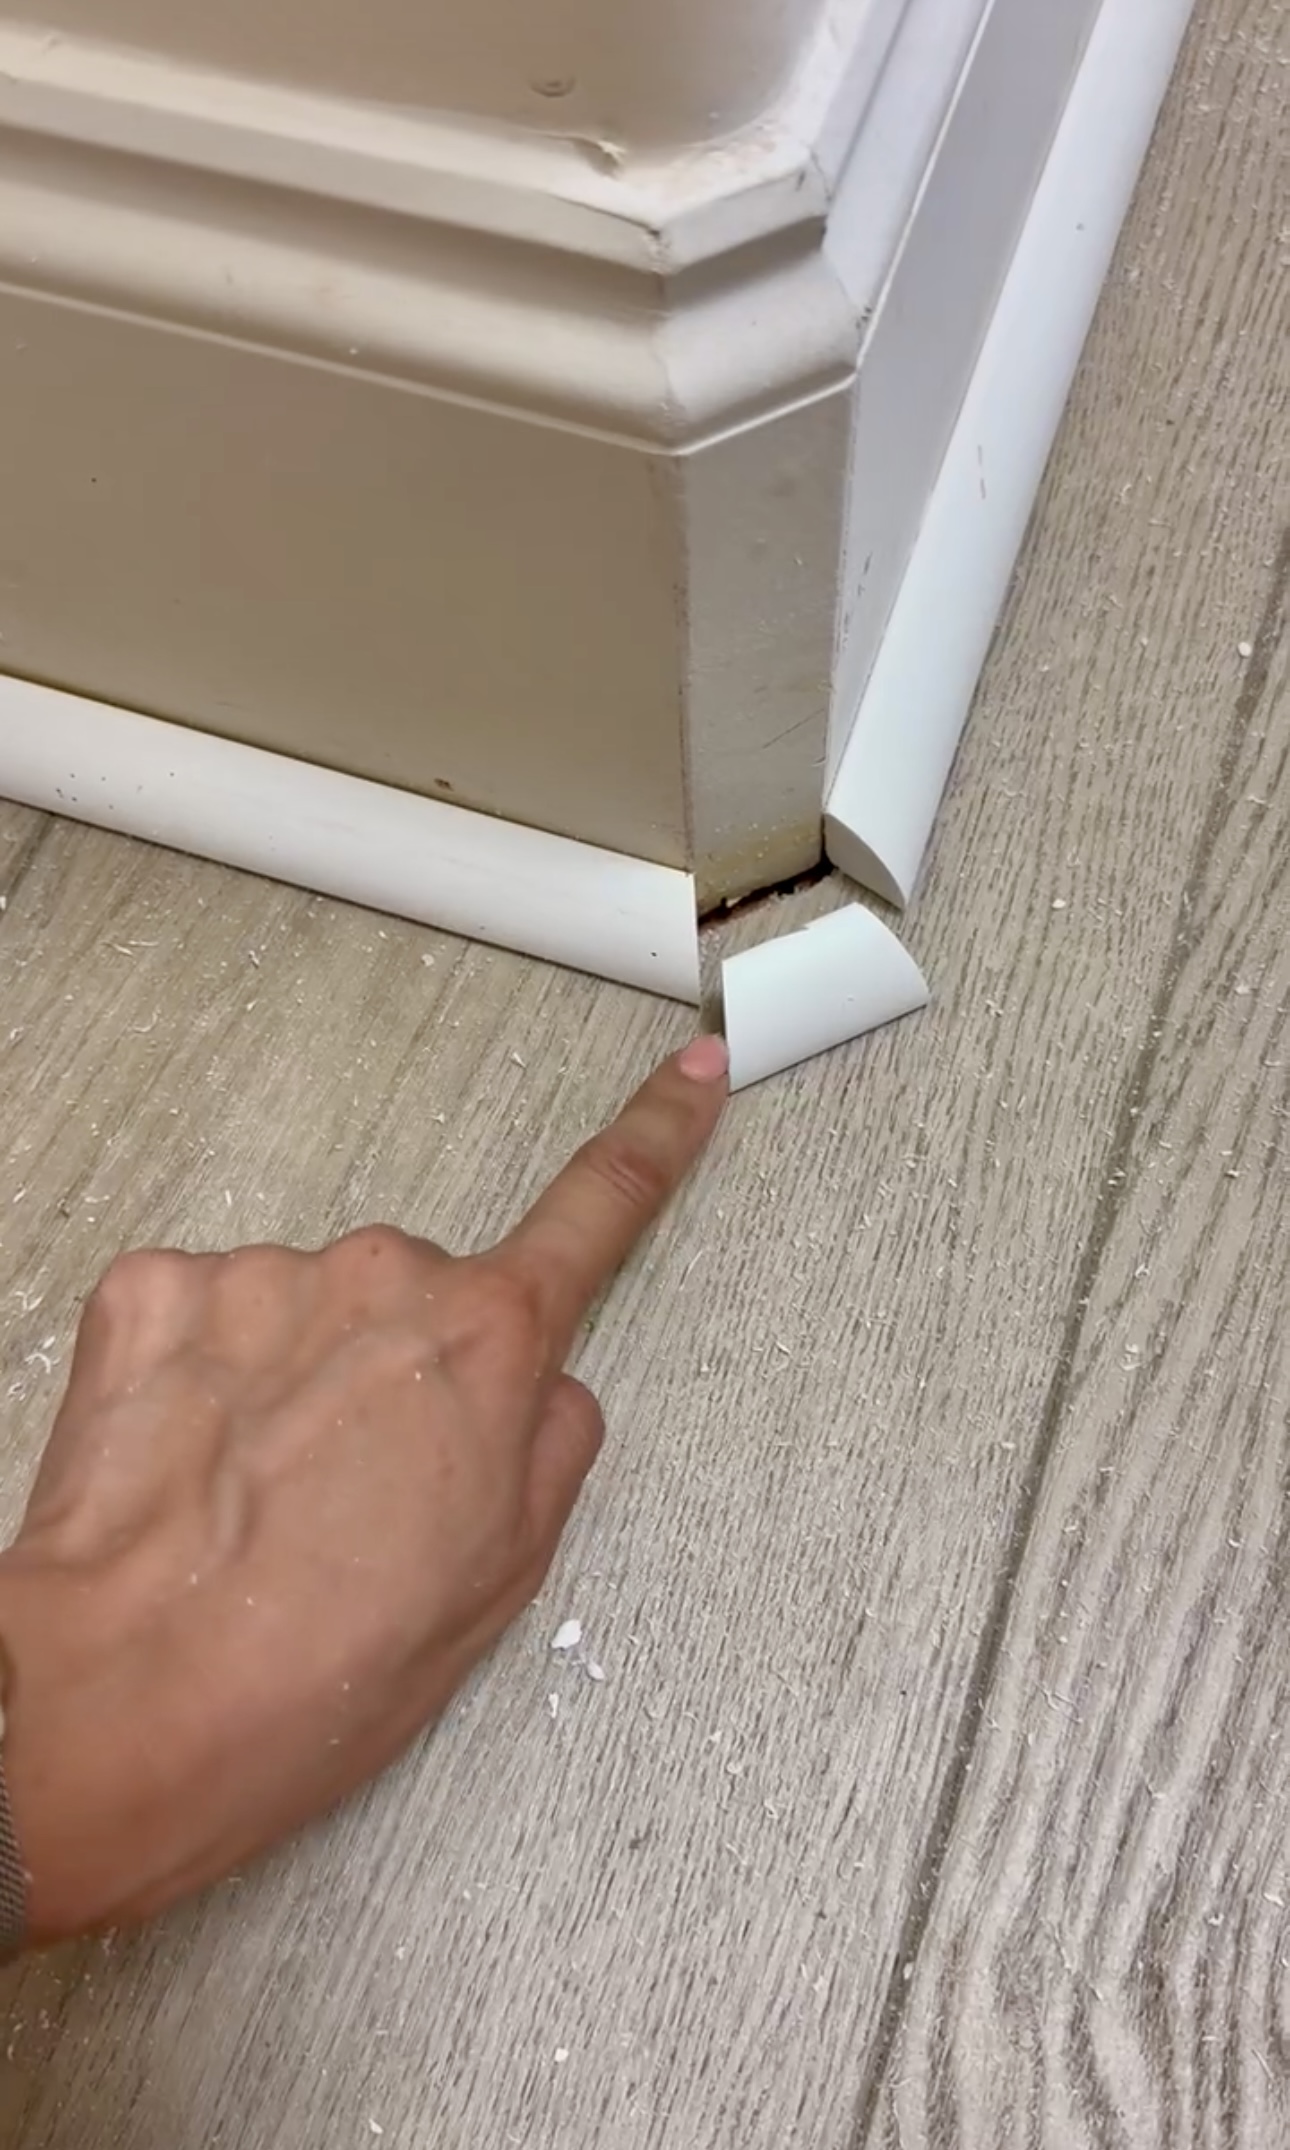
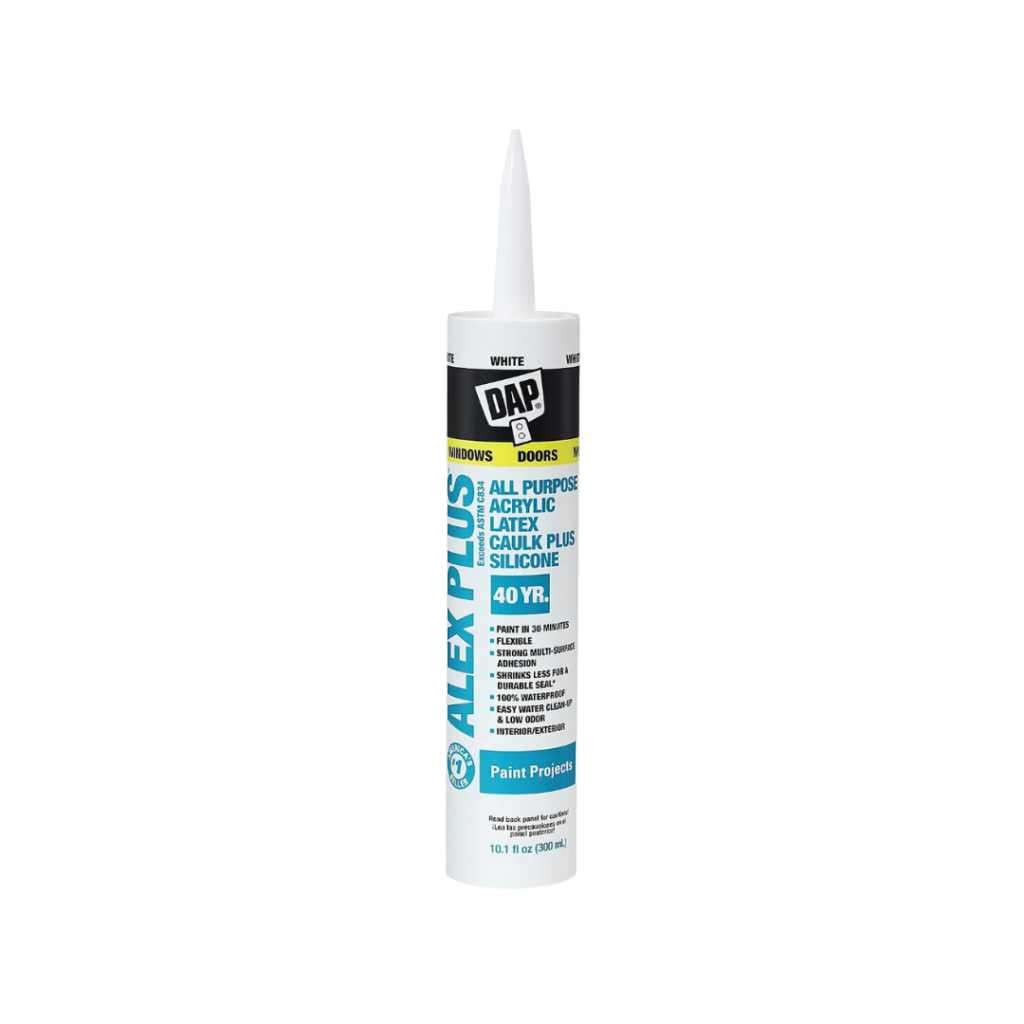
Next up, I caulked all the seams and sanded them down.
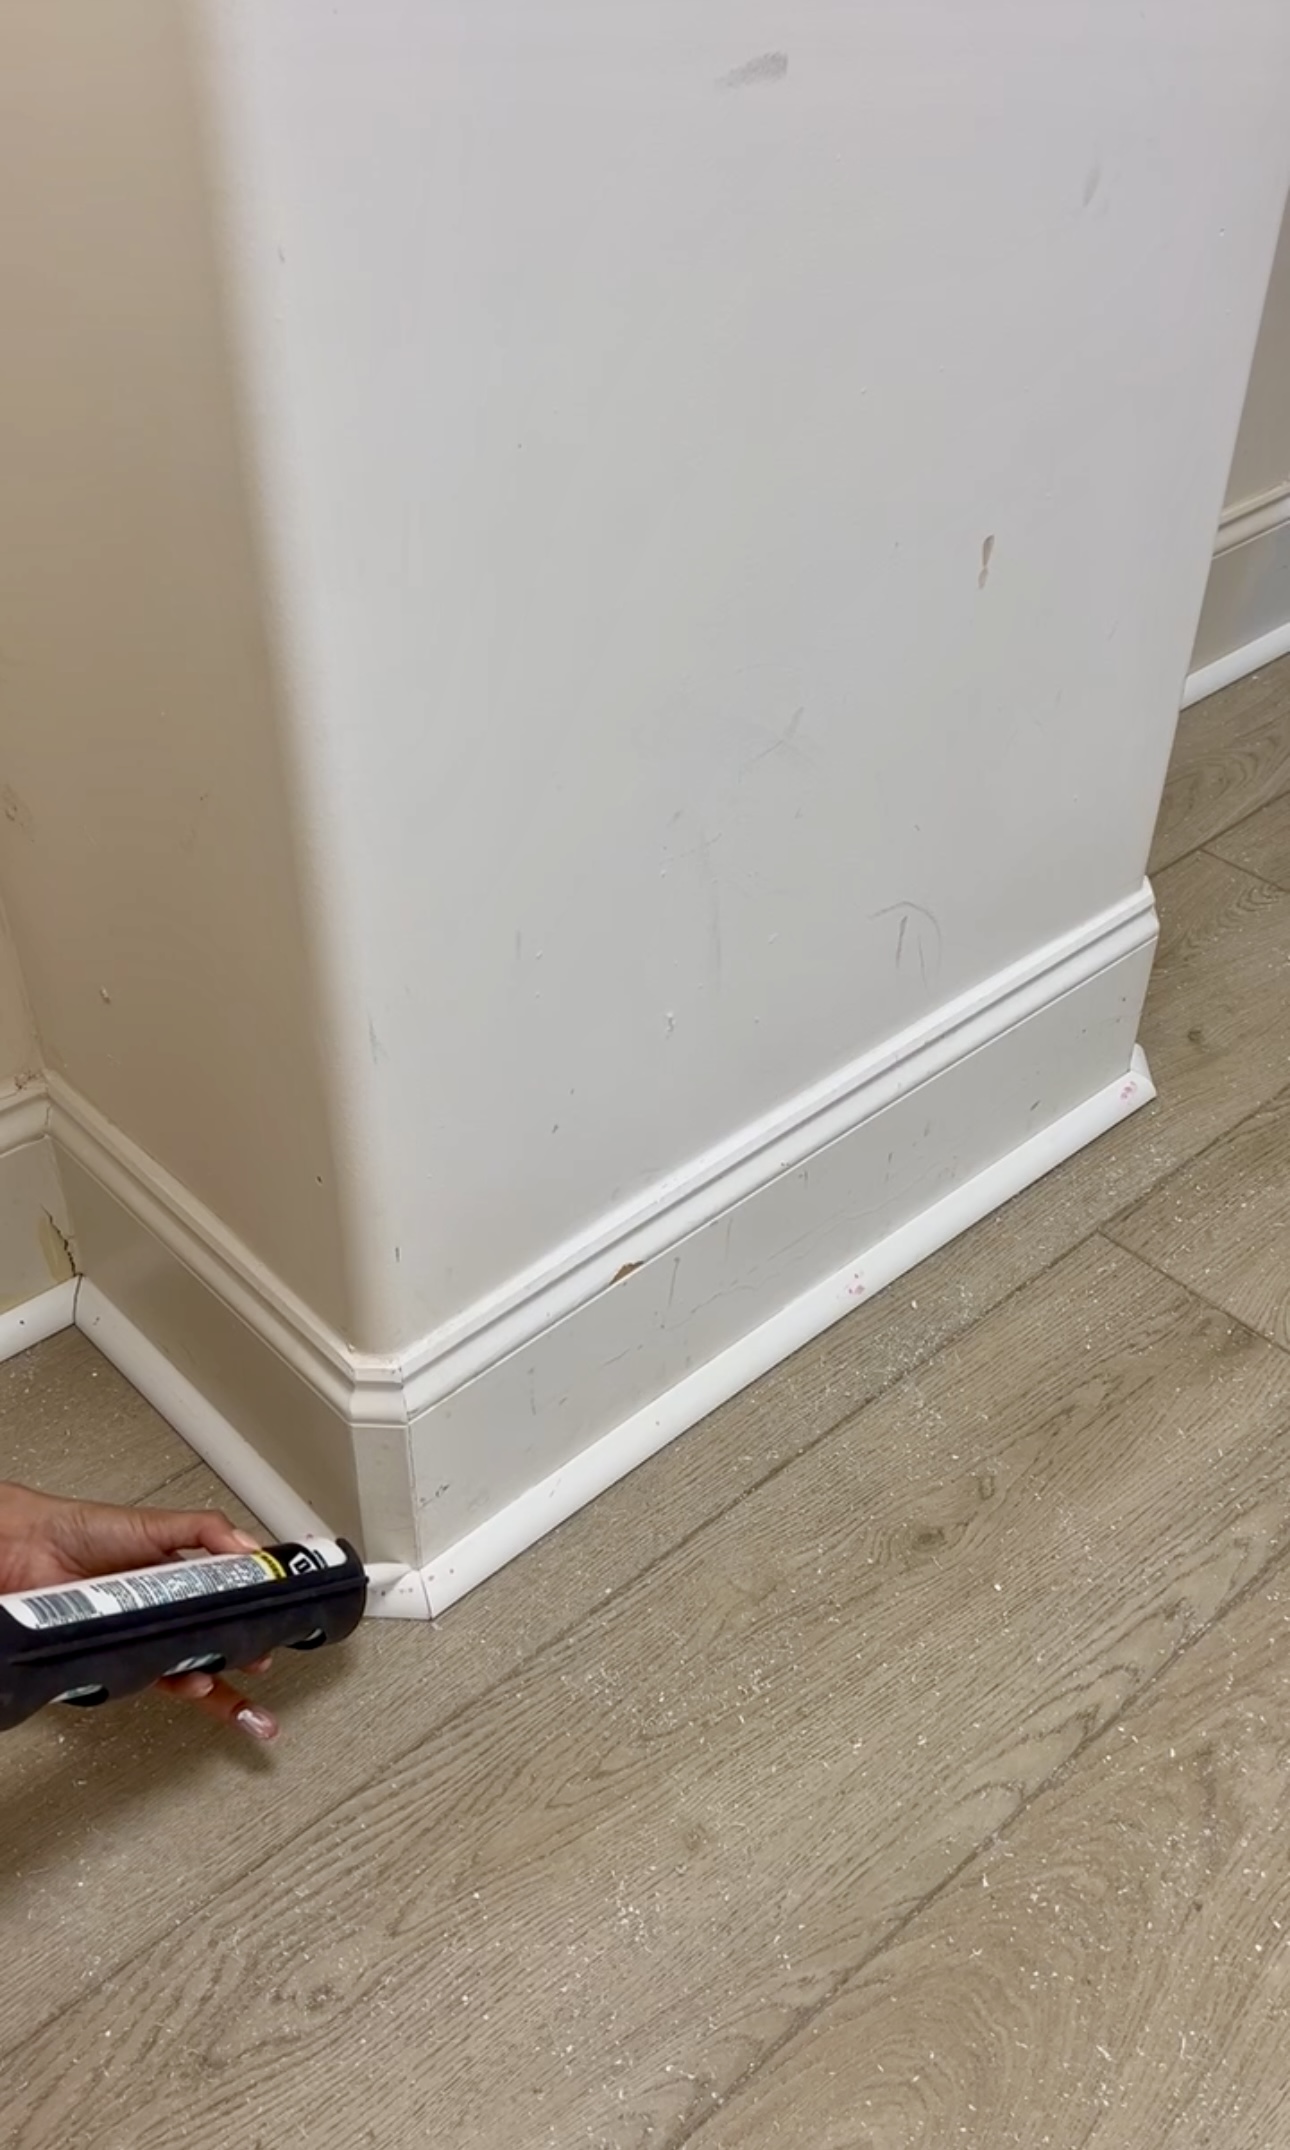
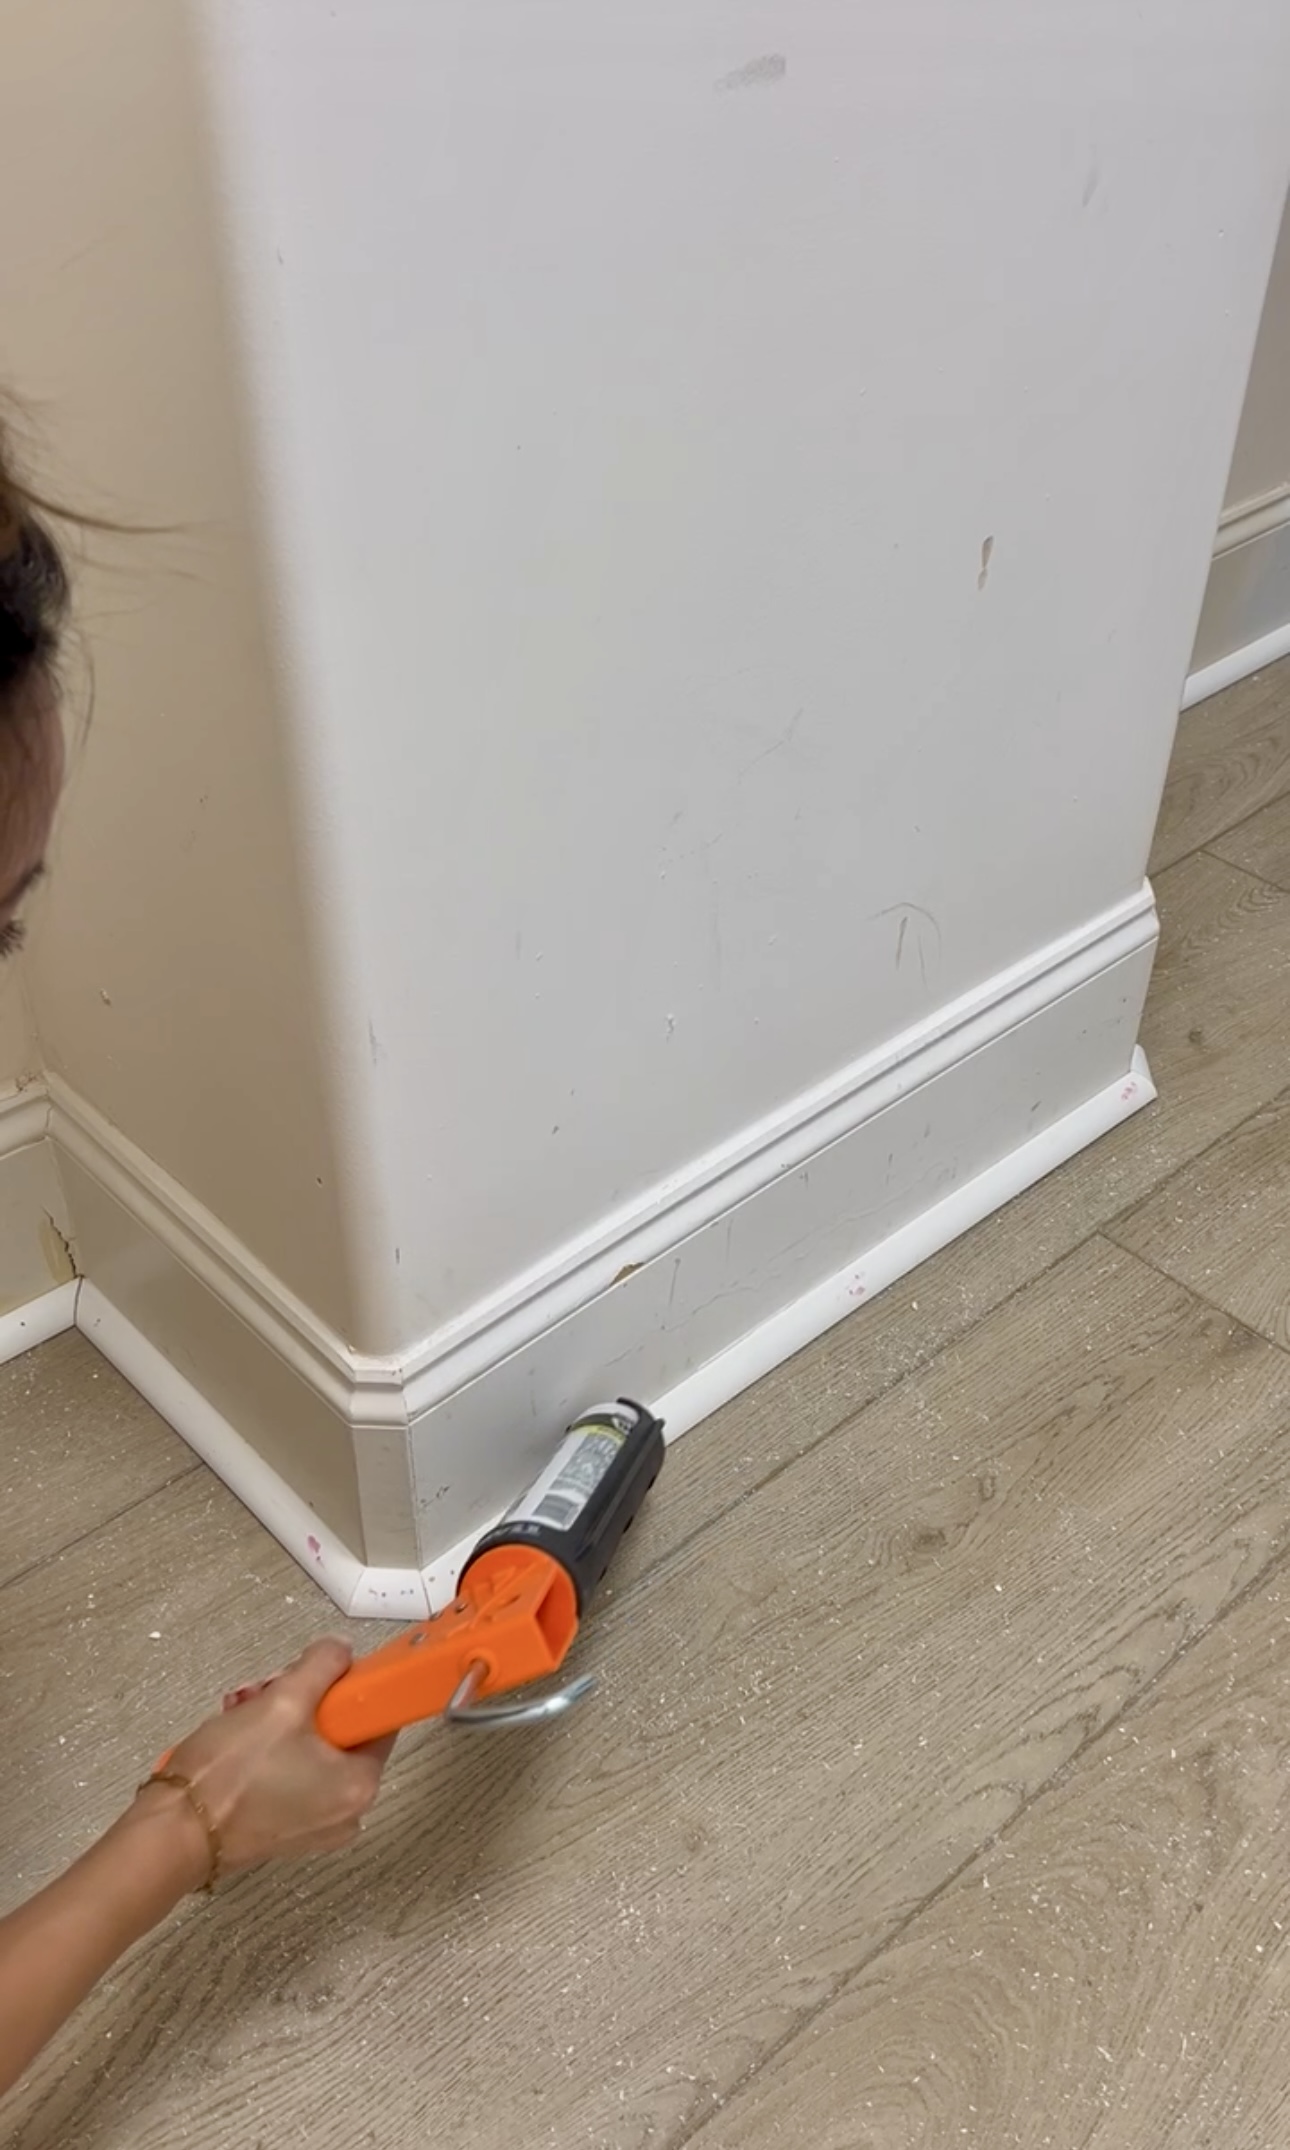
Flooring is DONE!

Materials for installing our LVP Flooring:
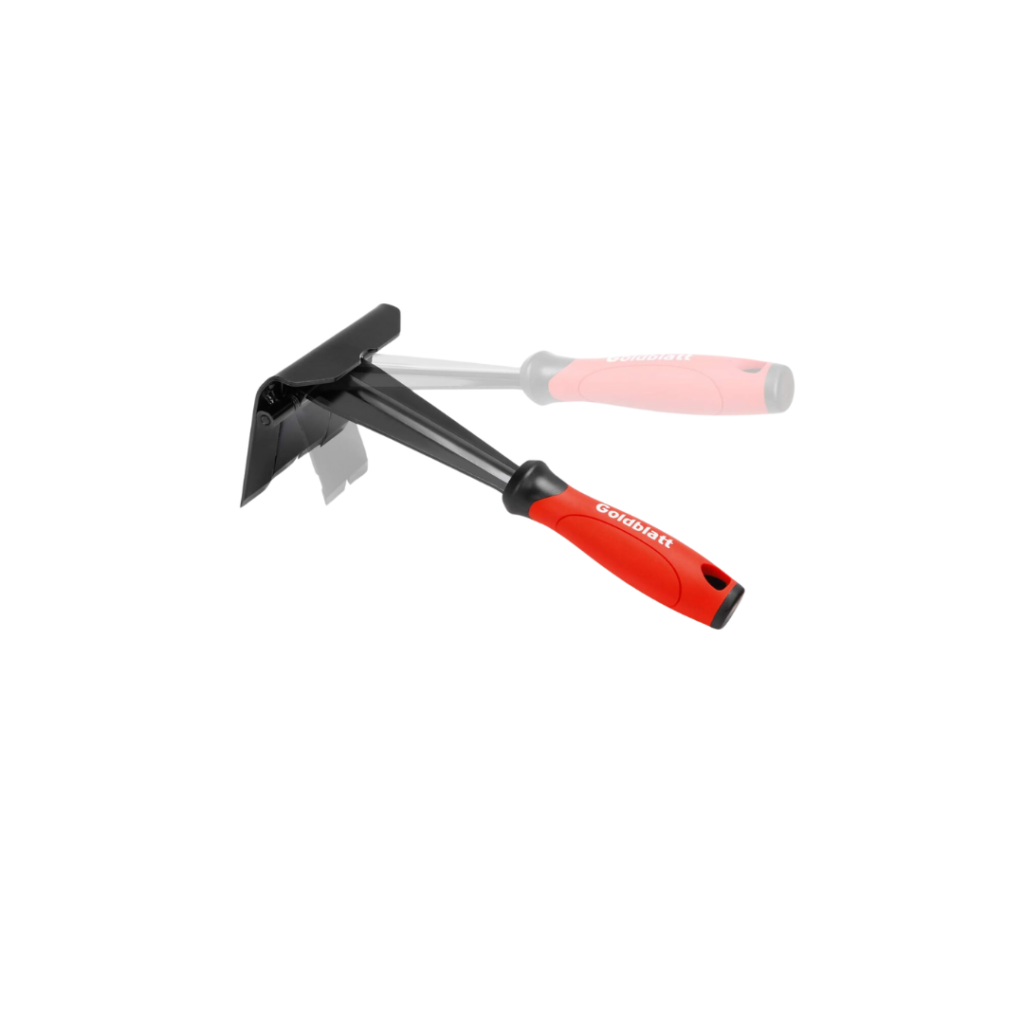
- Trim Removal Tool
- Scraping Tool
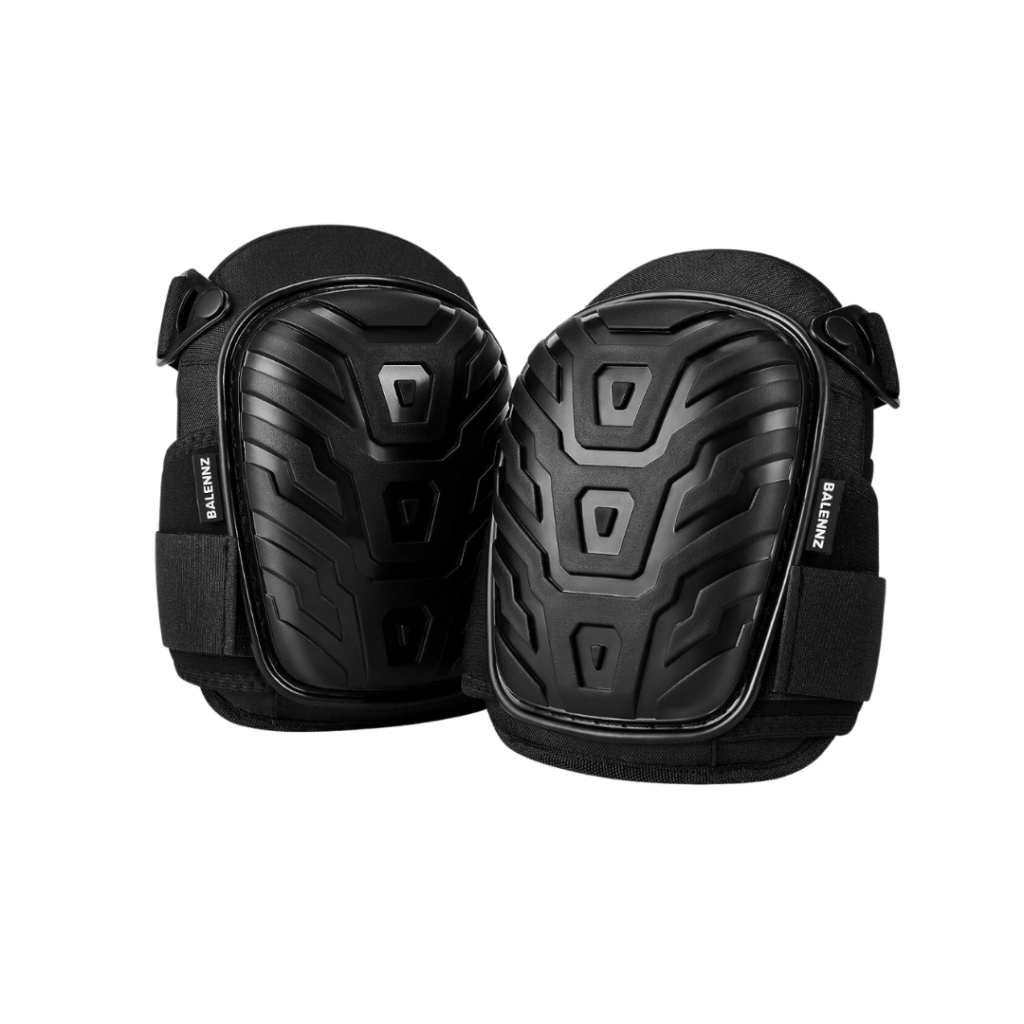
- Knee Pads
- Spacers
- Rubber Mallet
- Hitting Blocks
- End Tool
- Oscillating Tool
- Circular saw
- LVP Cutting Tool
- Brad Nailer
- Quarter Round
- Caulk
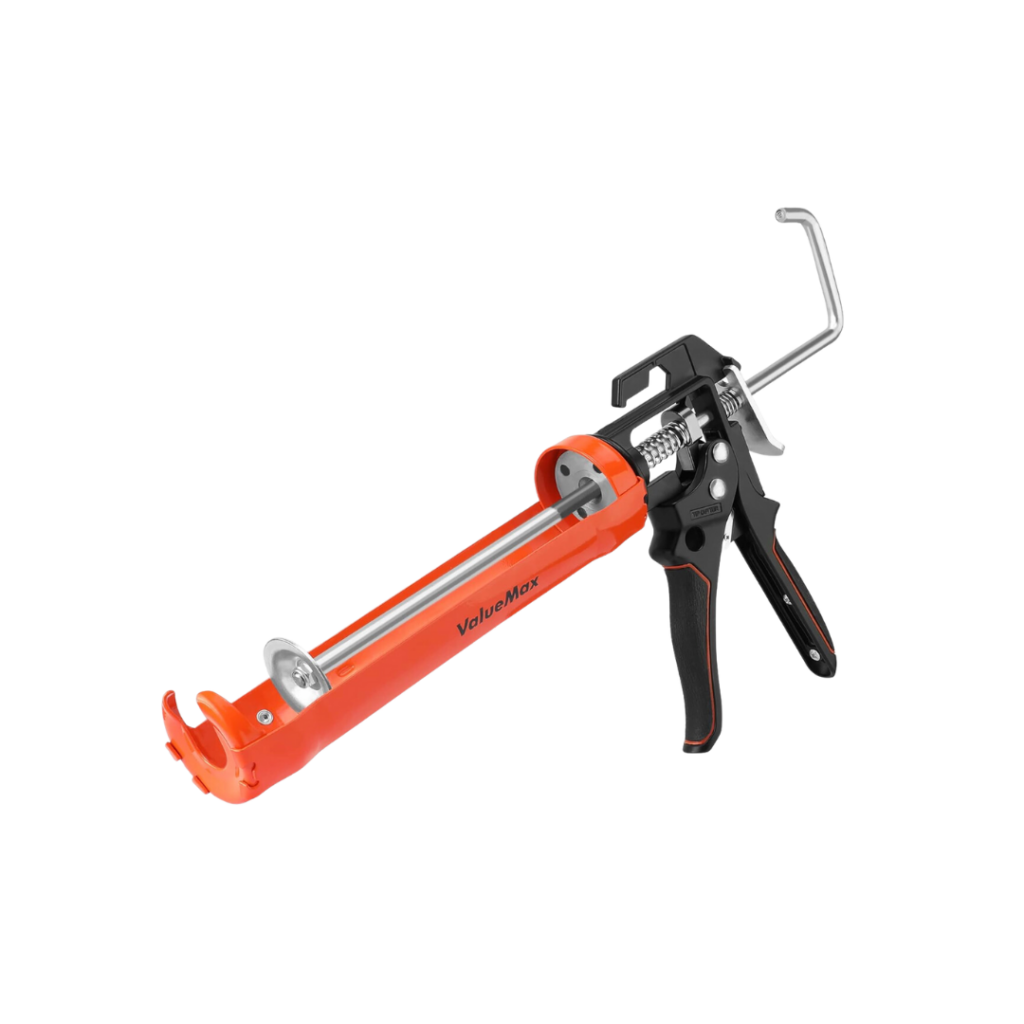
- Caulk Gun
