Hi
I'm Bong
I'm just a girl who likes to DIY anything and everything. More than that, I love teaching people - especially women - how to pick up power tools and create the home of their dreams. Stop waiting for someone else and starting Doing It Yourself. I'll show you how!
diy projects
diy school
life hacks
categories
must have products
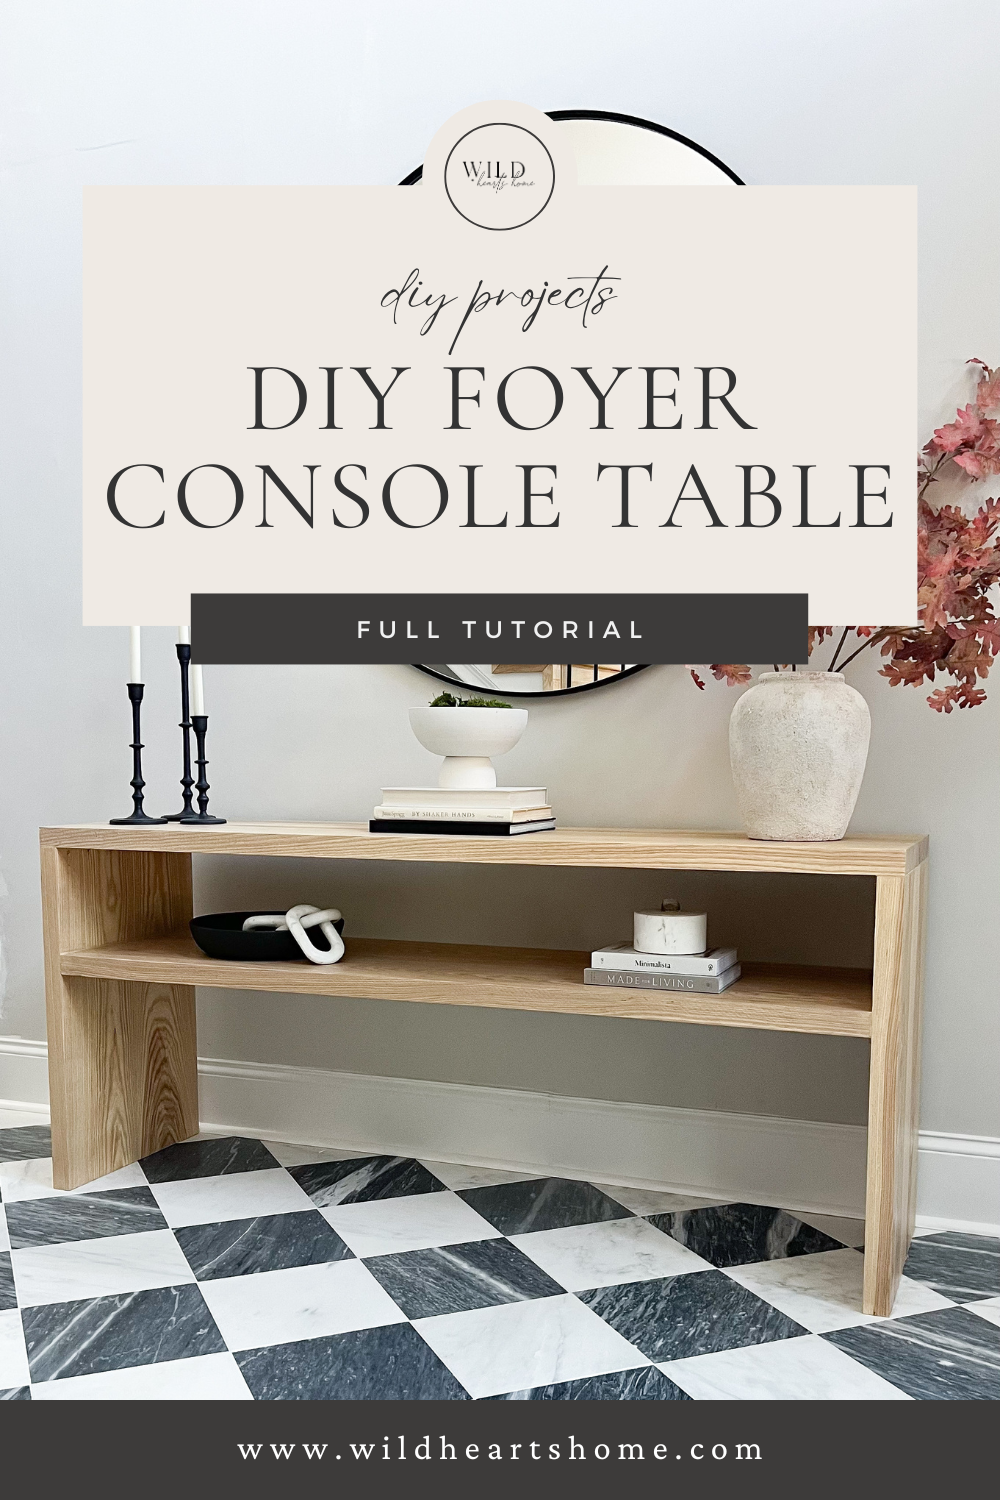
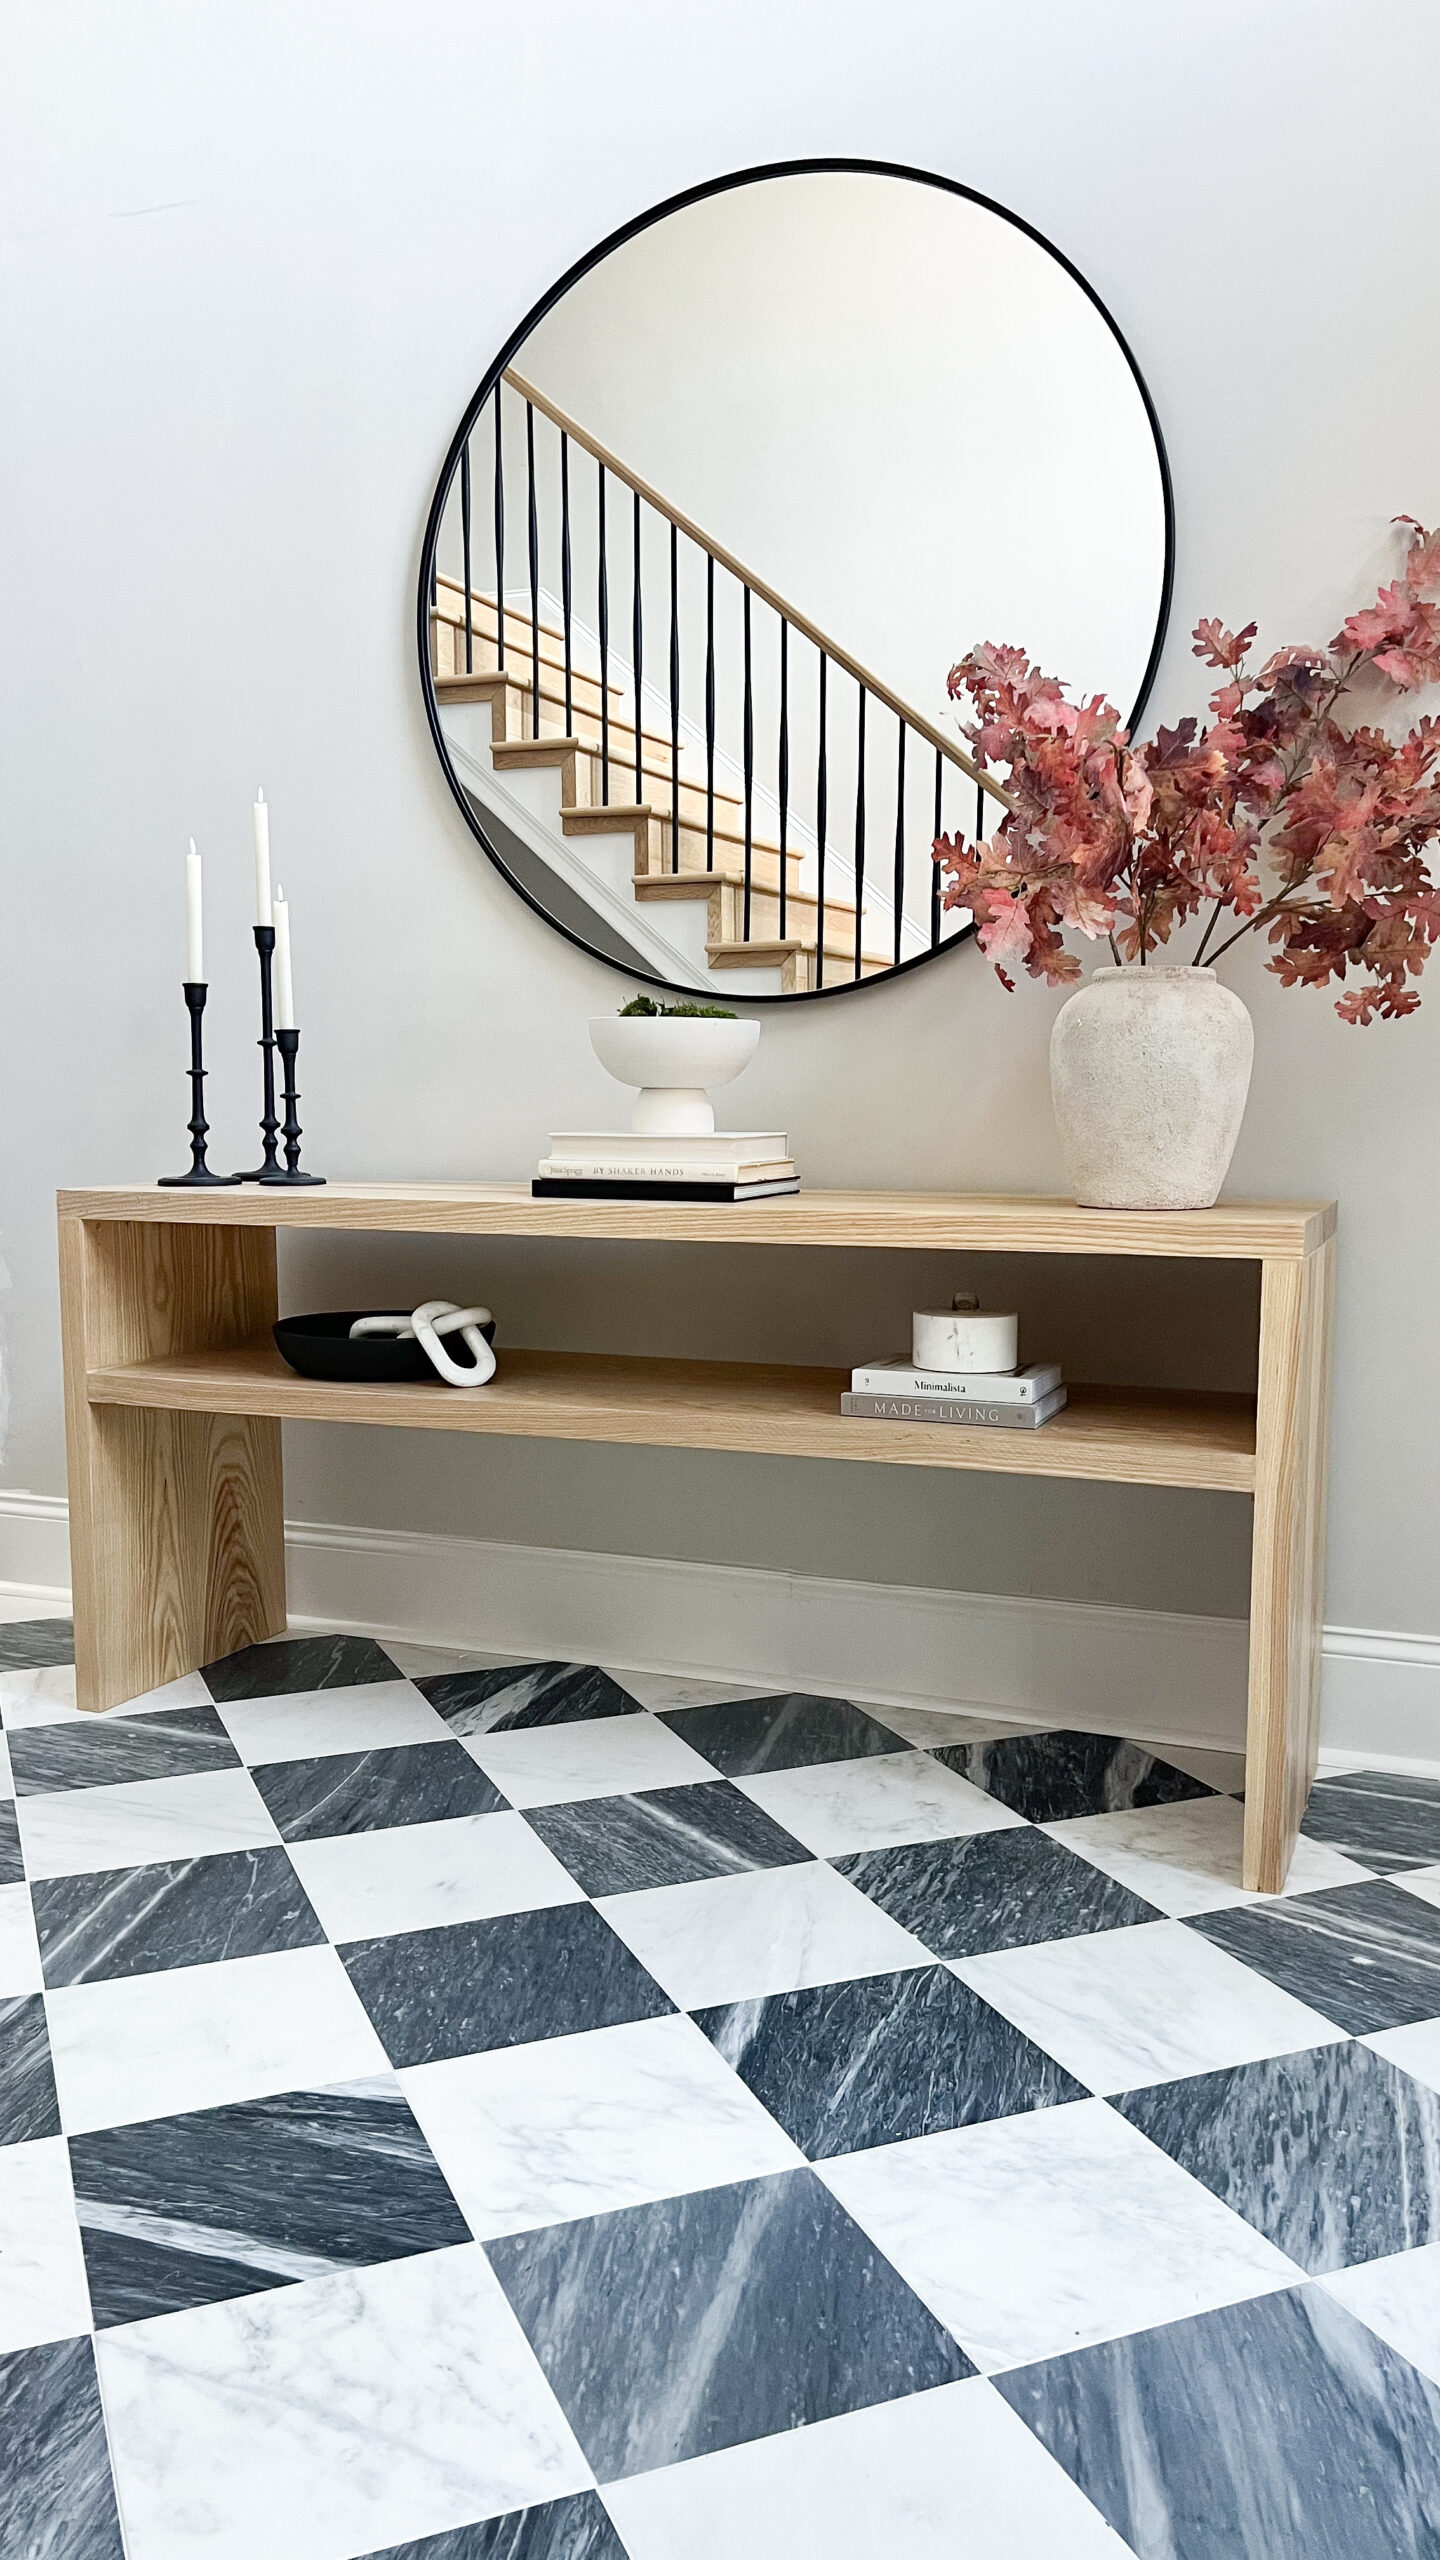
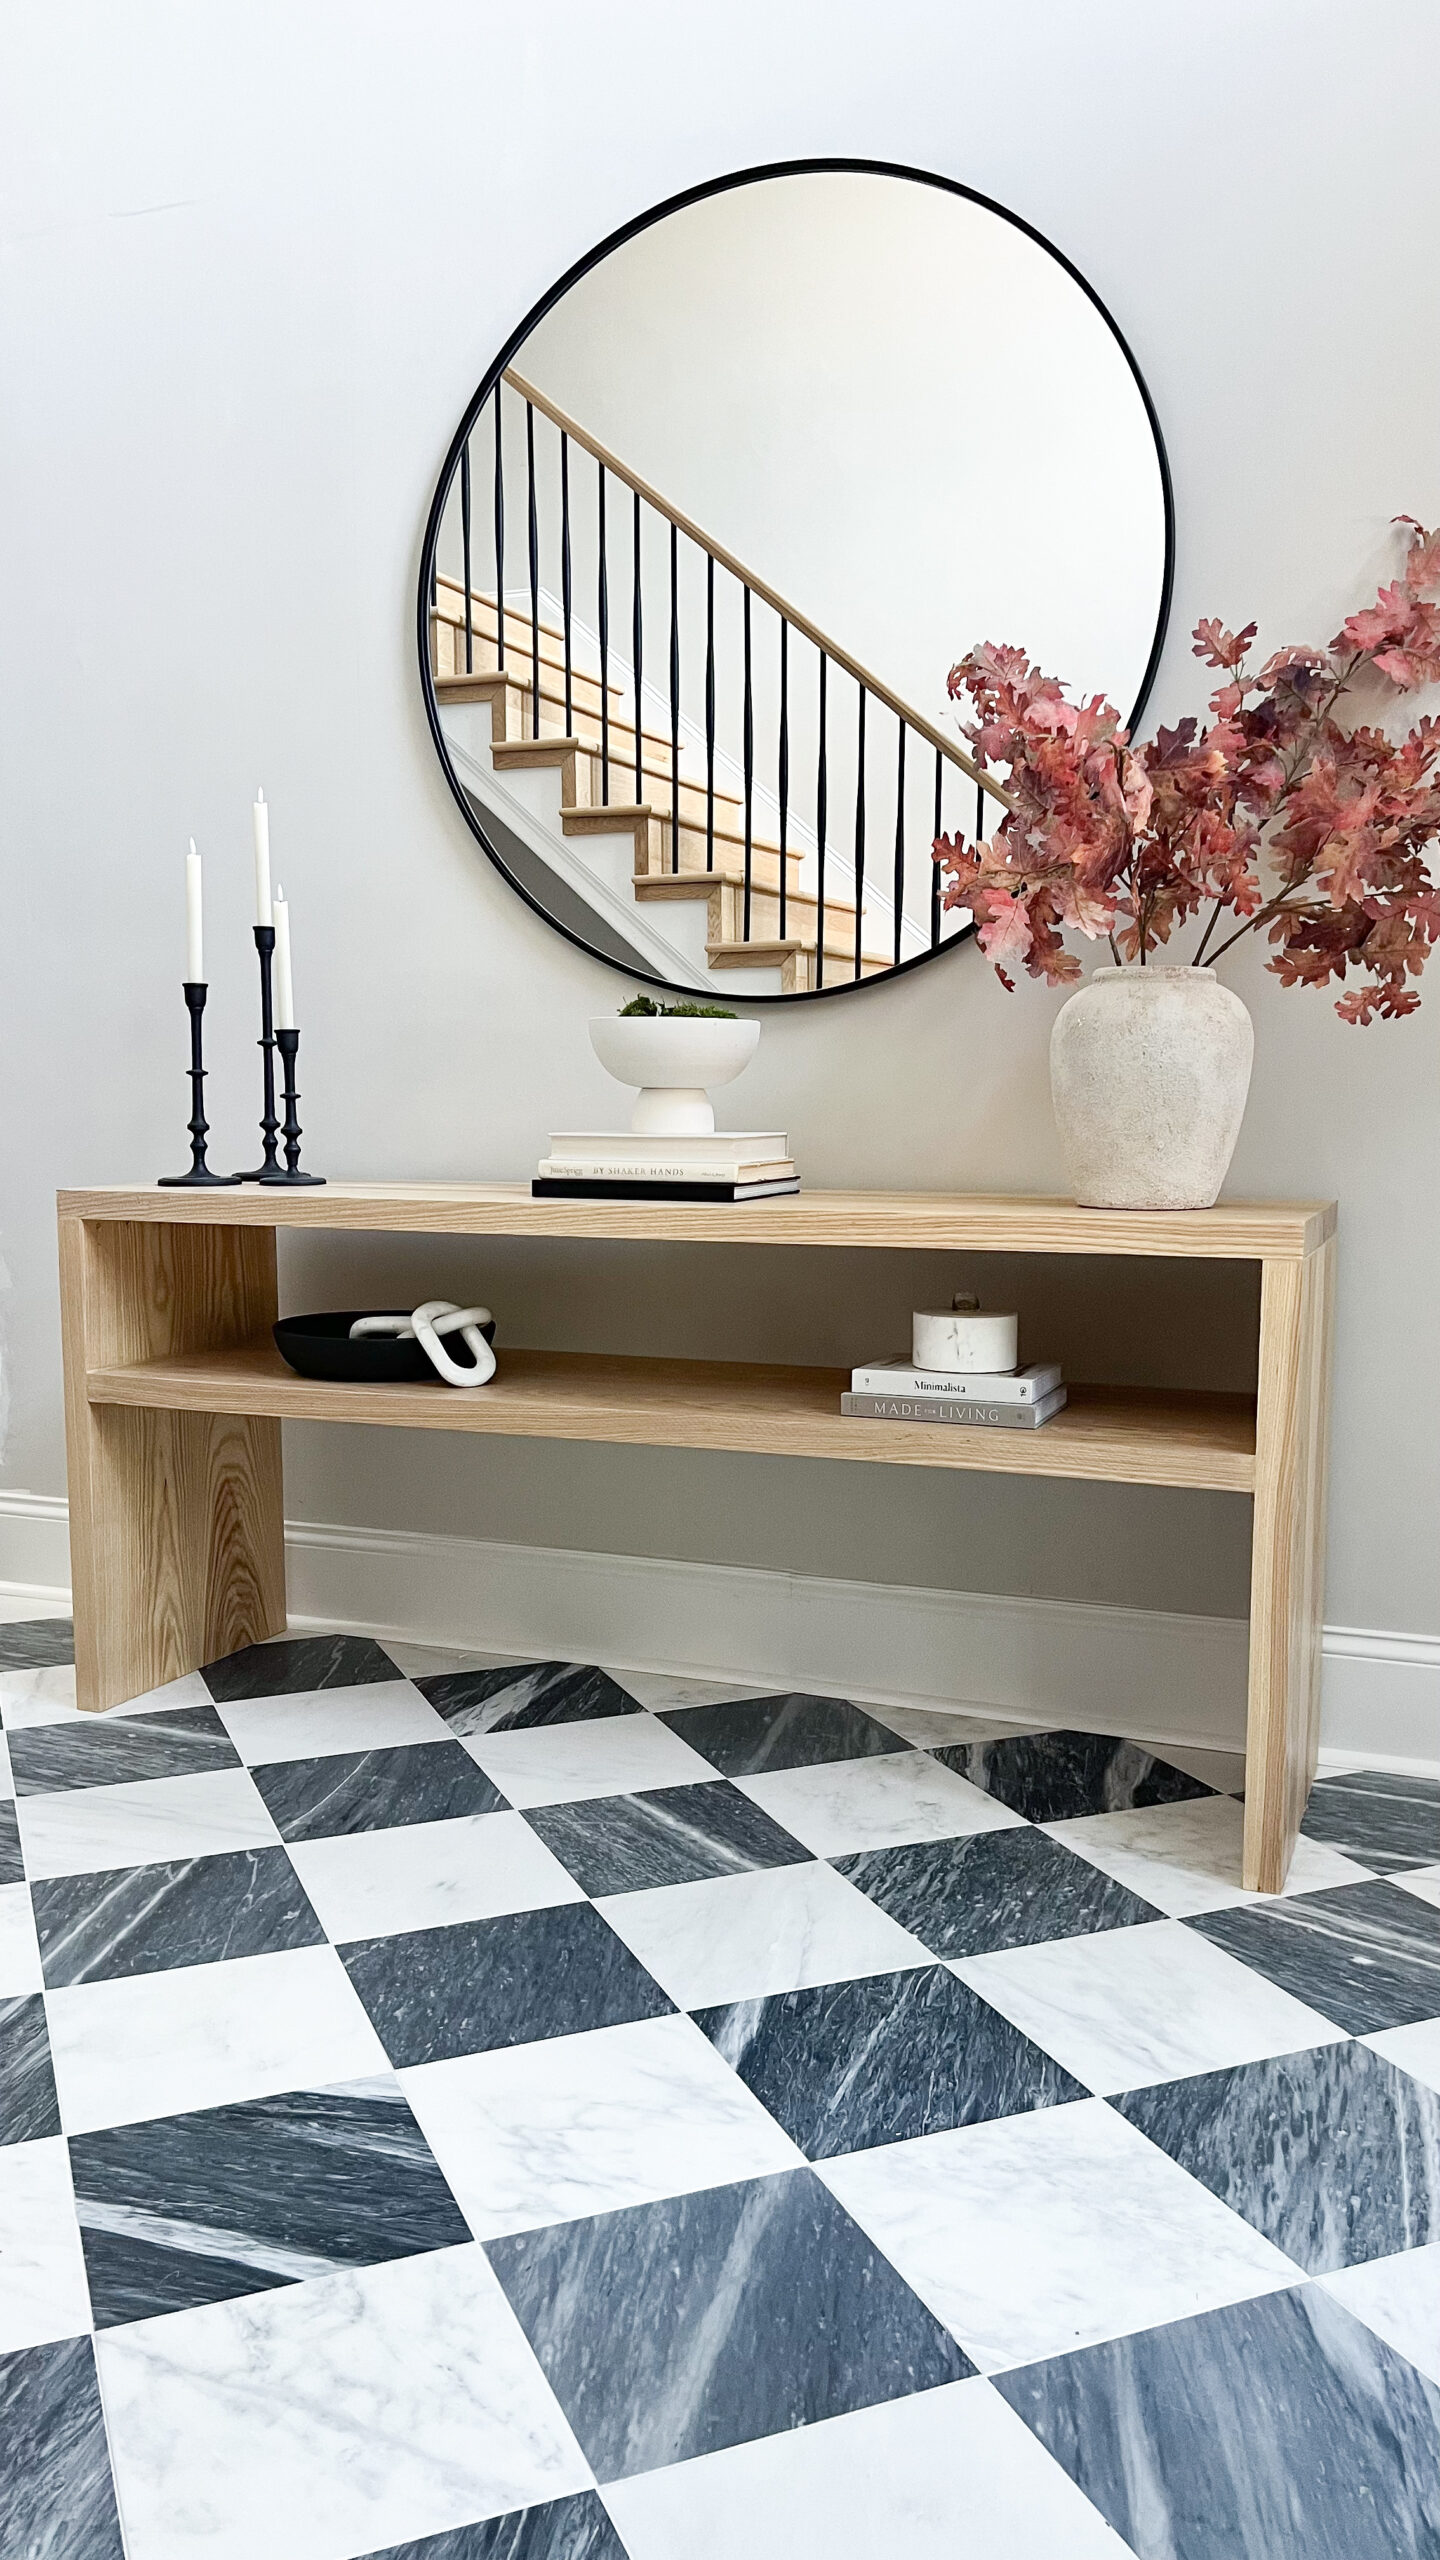
I really needed a table in the foyer. I found one that I loved, but it was so expensive. So I decided to make it myself! Here’s how I made my DIY Foyer Console Table.
Getting My Materials
I went to my local lumber store and got 2″ thick Ashwood. You really get your bang for your buck because Ashwood is just as pretty as White Oak, but not nearly as expensive.
To put these pieces of wood together, I used wood glue and Bessey Clamps. I put wood glue on both ends, clamped them, and let them sit overnight just to make sure they were super secure. You want to use clamps to make sure everything secures straight.


Prep for Stain
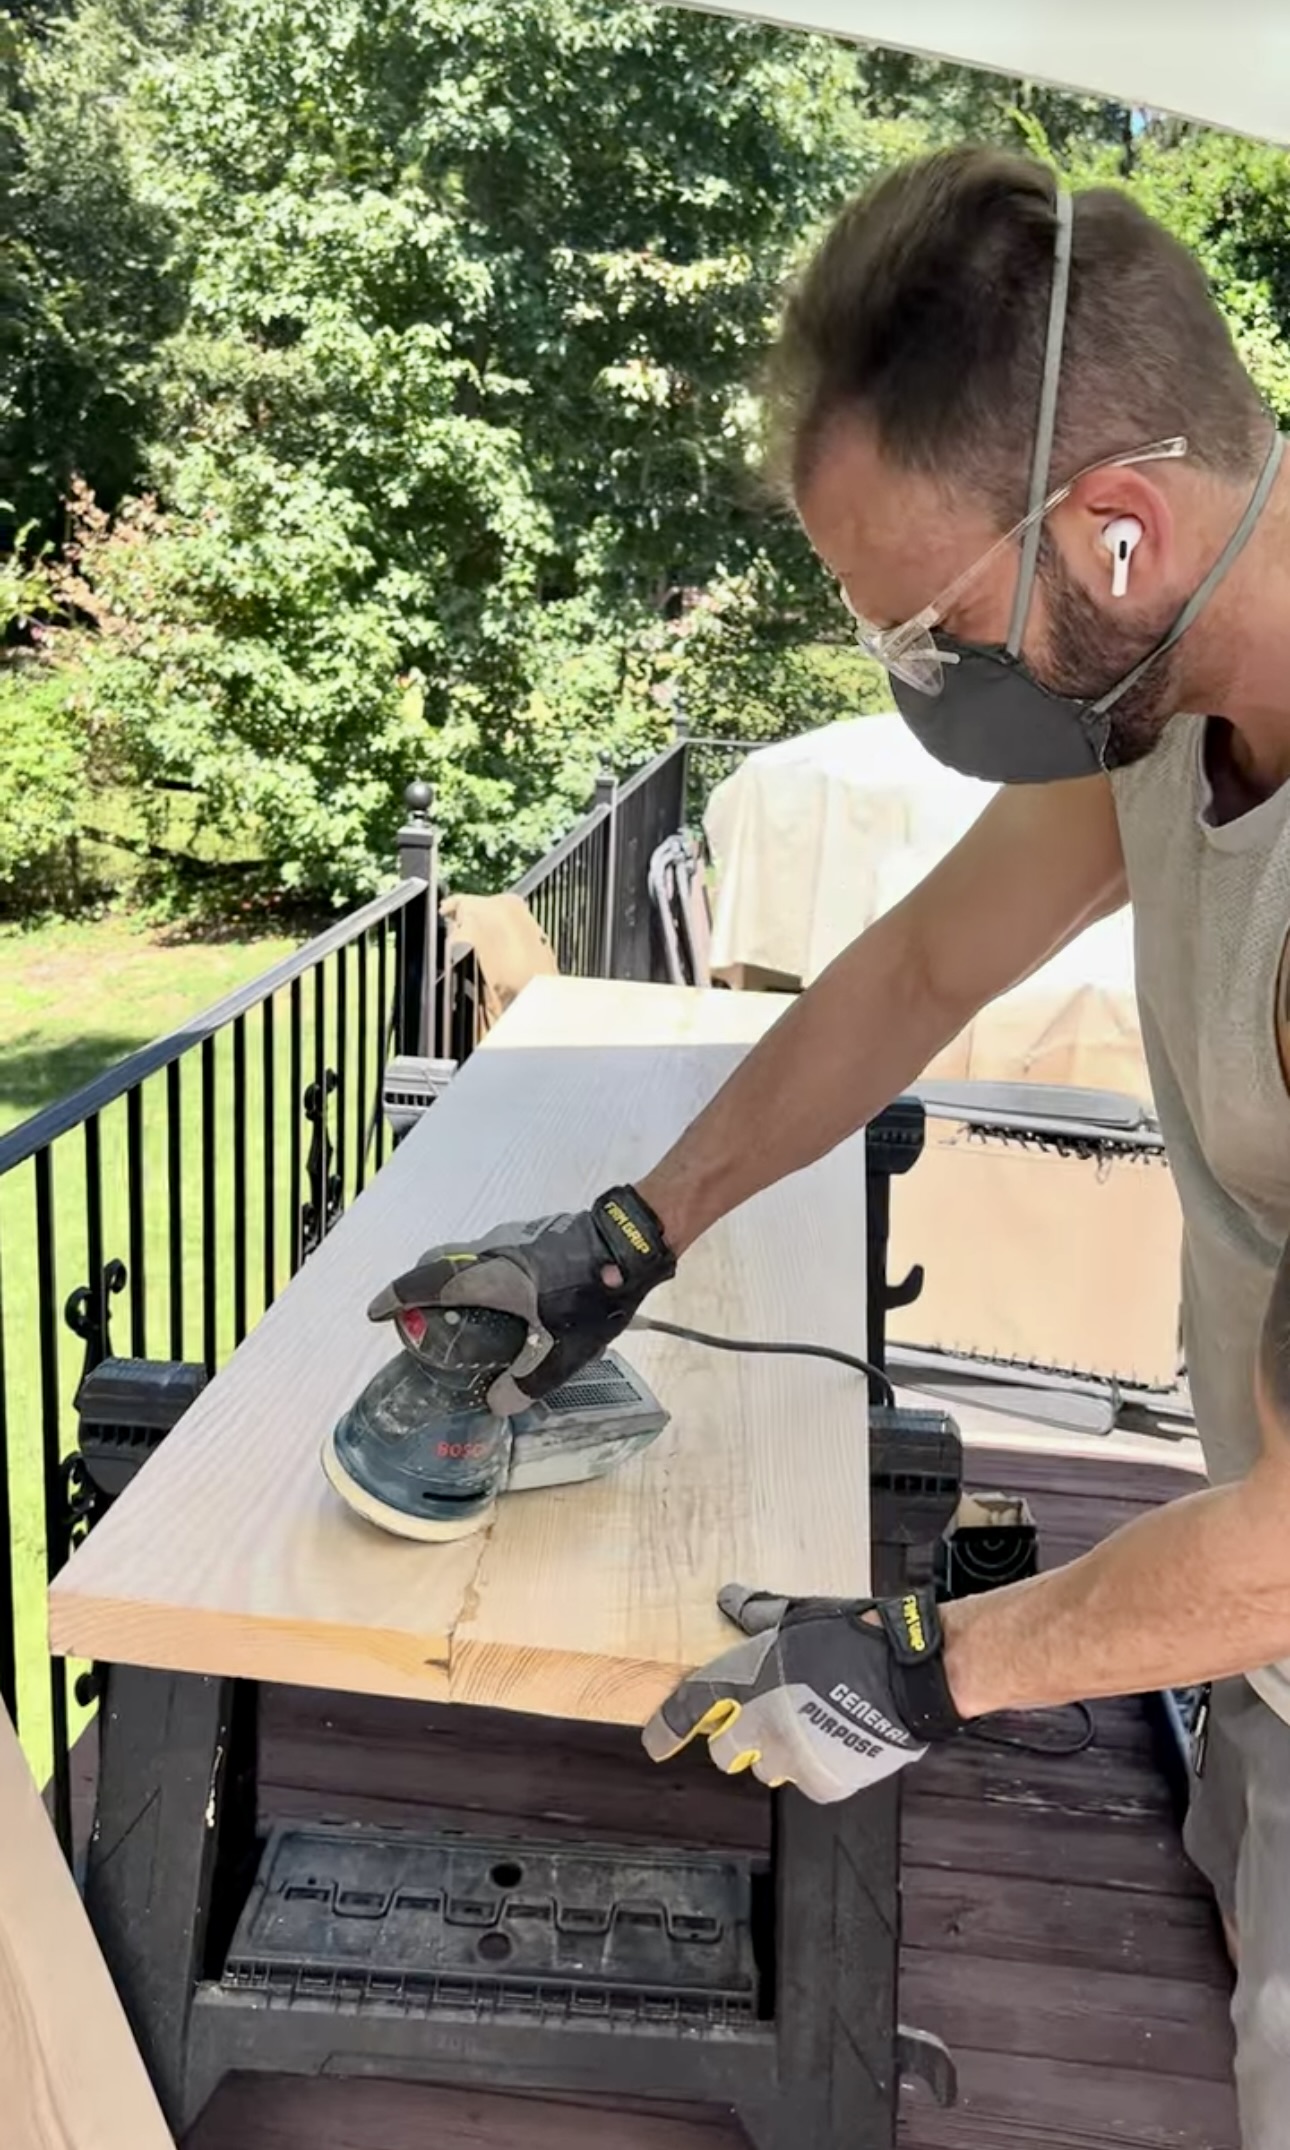
Next, I filled in any holes or seams with wood filler. Then, it was time to sand. I used my orbital sander and started with 80 grit, and then moved my way up to 220. After everything was sanded, I needed to make sure my edges were straight. I made a line at 72″ and then we took the circular saw and cut along the line to make sure the ends were completely flush. I always put some Frog Tape on to keep the wood from splitting and to ensure a nice, clean cut.


Attaching the Table Legs
Next, I attached the legs to the top by using wood glue and 2 1/2″ screws. I screwed them in diagonally. To do this, you screw in horizontally first and then aim down slightly.


I got a lot of questions about why I didn’t do pocket holes. This is a great question! My wood is 2″ thick and my pocket hole jig only goes to 1 1/2,” plus I hate waiting so I didn’t want to order one. And, when you flip the table over, you can’t see the holes anyway!
Attaching the Shelf
I wanted a shelf underneath the table top to place more decor on. In order to make the shelf stable, I built cleats and then slid the piece of wood onto them. Then, I glued it into place.


Stain
I always use pre stain when staining wood. It keeps the stain from coming out blotchy. I applied the pre stain and then I created my own little mixture of wood stain for this project. I made a 1:1 ratio of Special Walnut and Birchbark for this table. First, I put on a layer of Birchbark. While it was still wet, I applied my mixture, then let it sit for 2 minutes and wiped it off. I did this on the entire table.


Here’s how I applied the polycrylic topcoat. First, I sanded with my hand sander and 220 grit sand paper. Then, I wiped it clean with a tack cloth to remove any dust. Next, I painted on my first layer of polycrylic. I did this a total of 3 times over the entire table.


I absolutely love how this table turned out. The final dimensions of this table are 72″ wide, 19″ deep, and 32″ tall. I love to have a console as a piece when people enter a home. I am so proud of all the work TJ and I have done here!
Materials
- Ash wood
- Wood Glue
- Wood Filler
- Frog Tape
- Minwax Pre Stain
- Minwax Wood Finish
- Minwax Polycrylic Top Coat
- Tack Cloth
Tools
