Hi
I'm Bong
I'm just a girl who likes to DIY anything and everything. More than that, I love teaching people - especially women - how to pick up power tools and create the home of their dreams. Stop waiting for someone else and starting Doing It Yourself. I'll show you how!
diy projects
diy school
life hacks
categories
must have products
Oh my gosh, I’m so excited. We get to finally build our built-ins in the living room! I cannot wait.
Demo
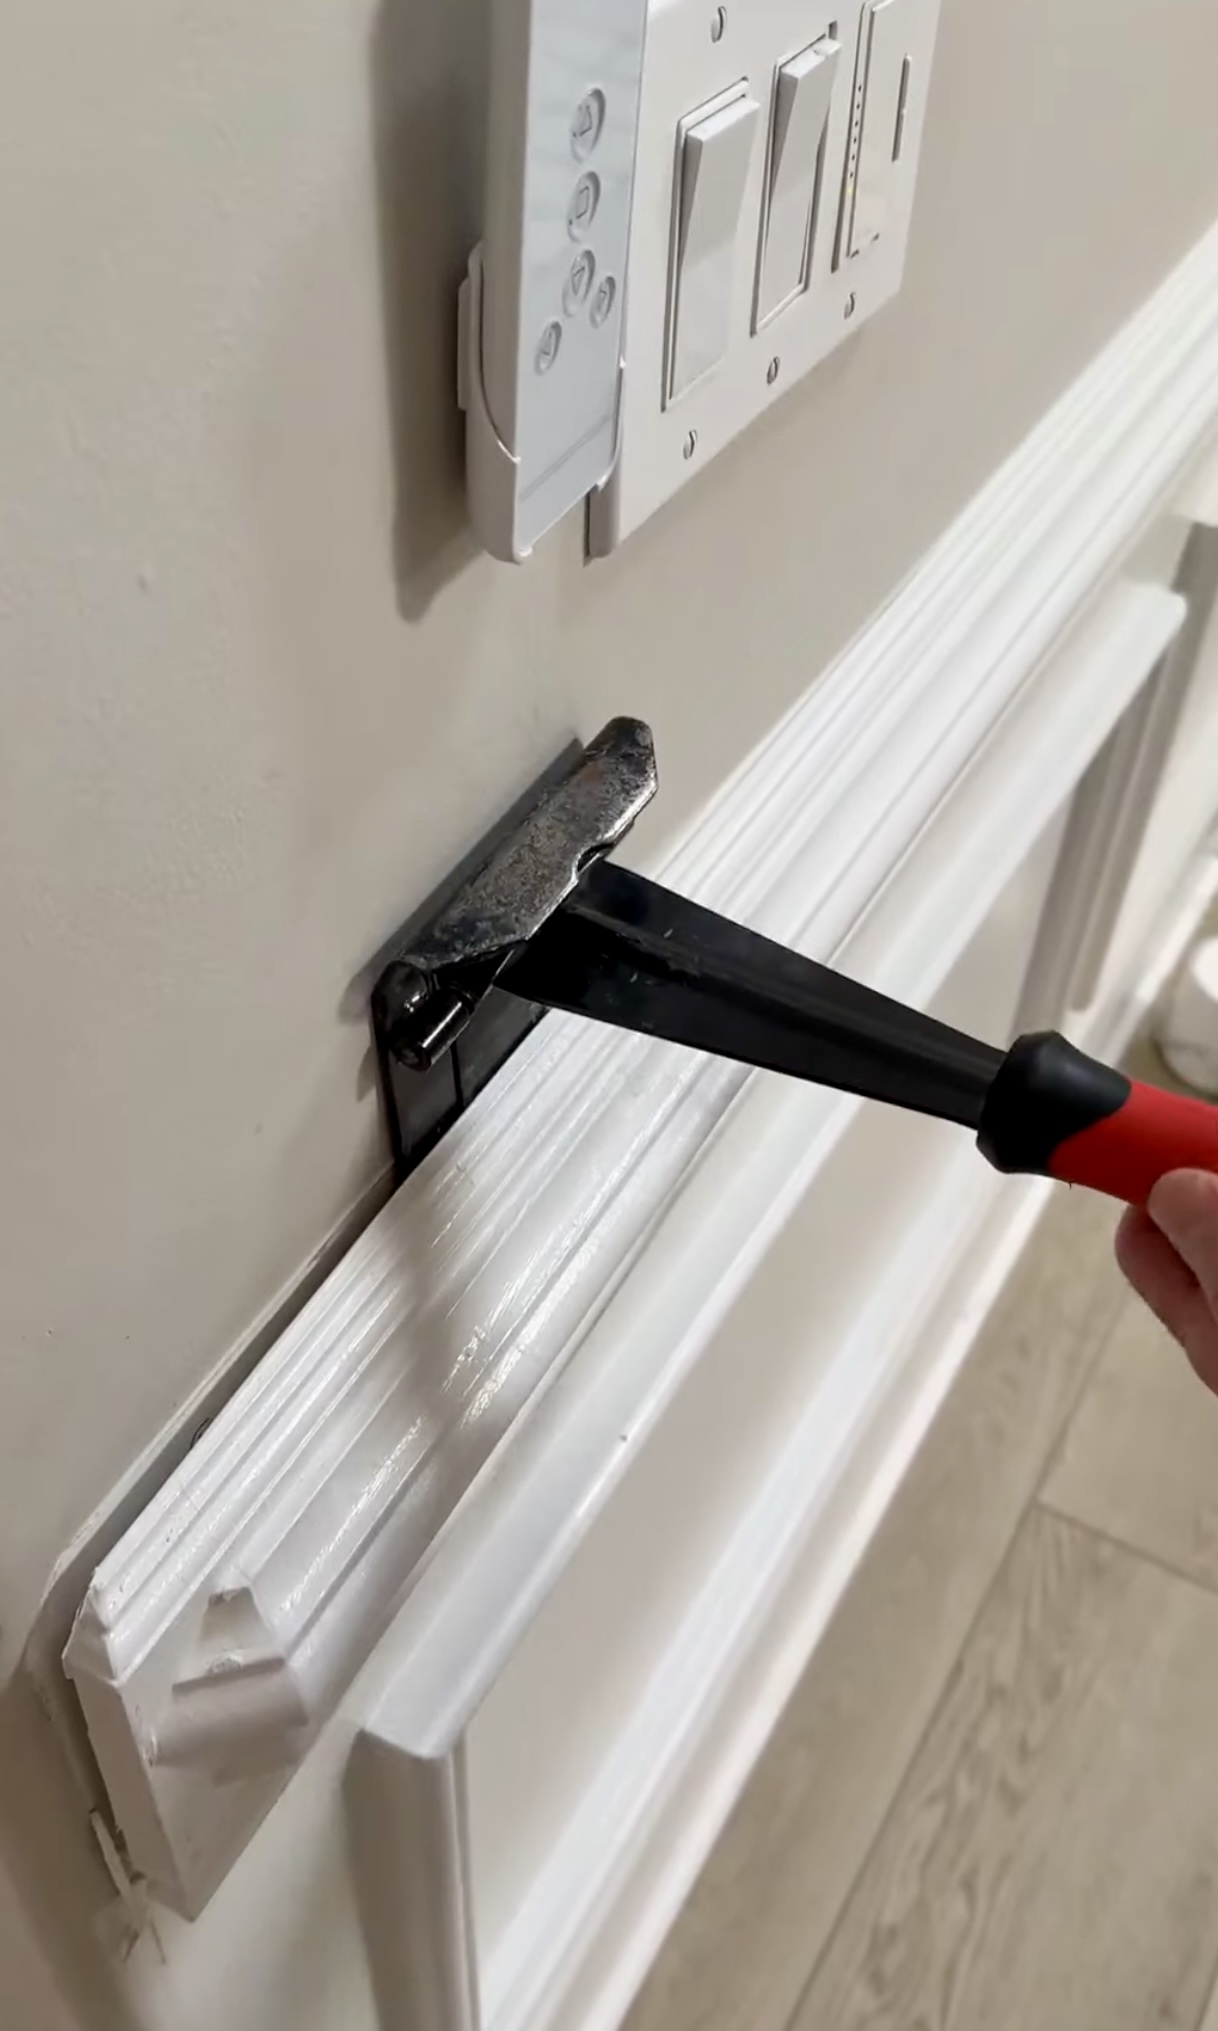
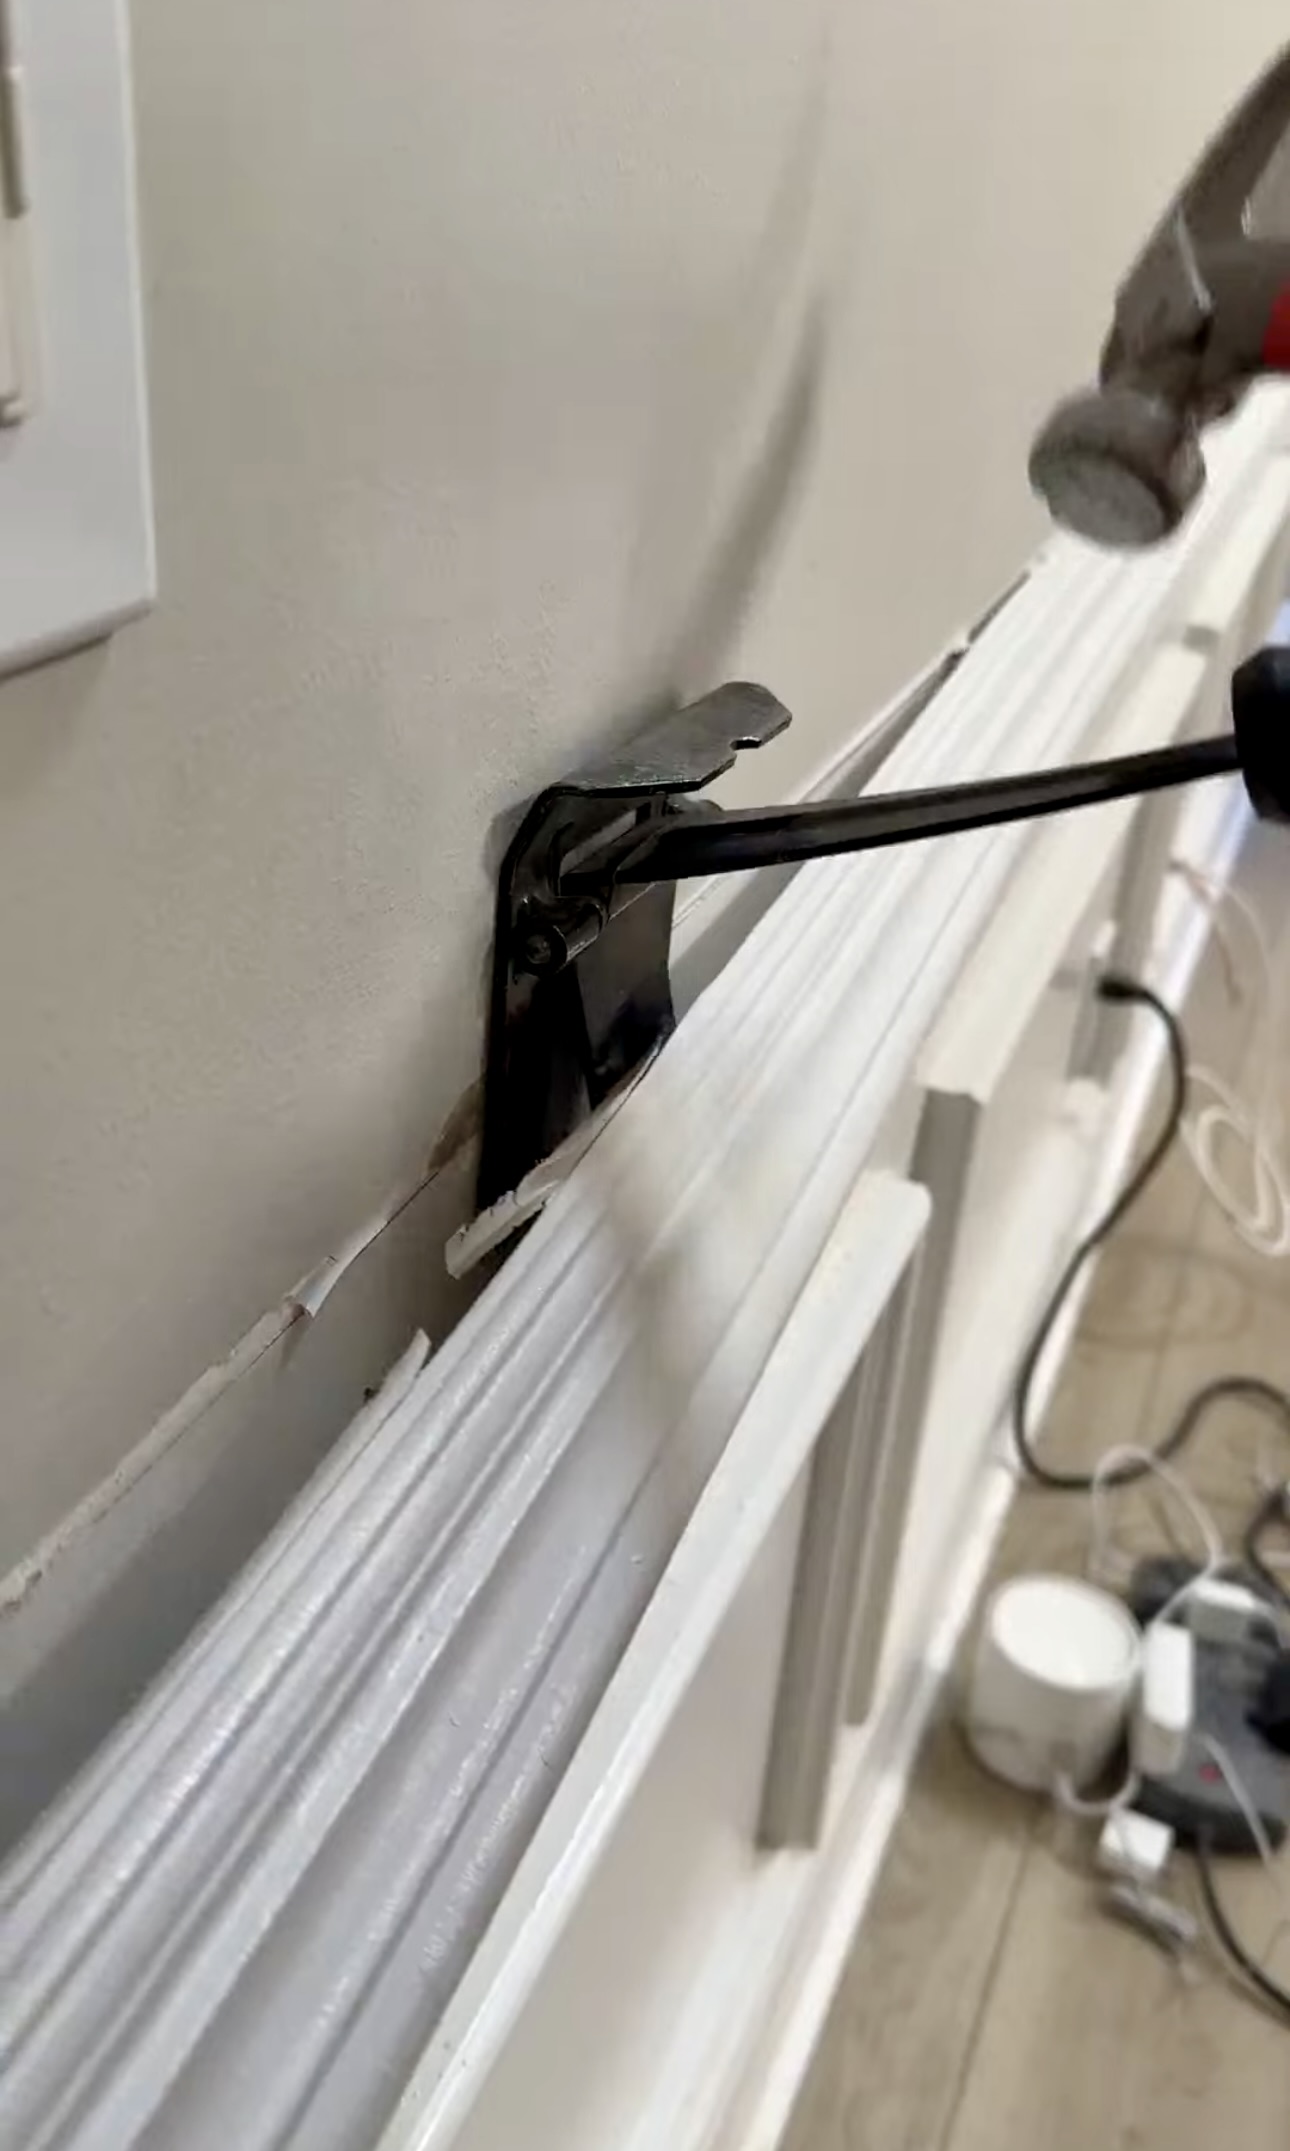
First thing I had to do was remove the trim along the wall. TJ scored the utility knife along the trim and then we used this trim puller (our favorite tool) to get the trim off. You just wedge it in between the wall and the trim, tap it with a hammer, and pry it off. It removes the trim without removing the drywall behind it. I will forever recommend this tool!
Visualizing My Built-ins
I’m such a visual person. Whenever I build built-ins, I like to tape out my measurements with painter’s tape and a laser level to make sure it’s the size and configuration I want.
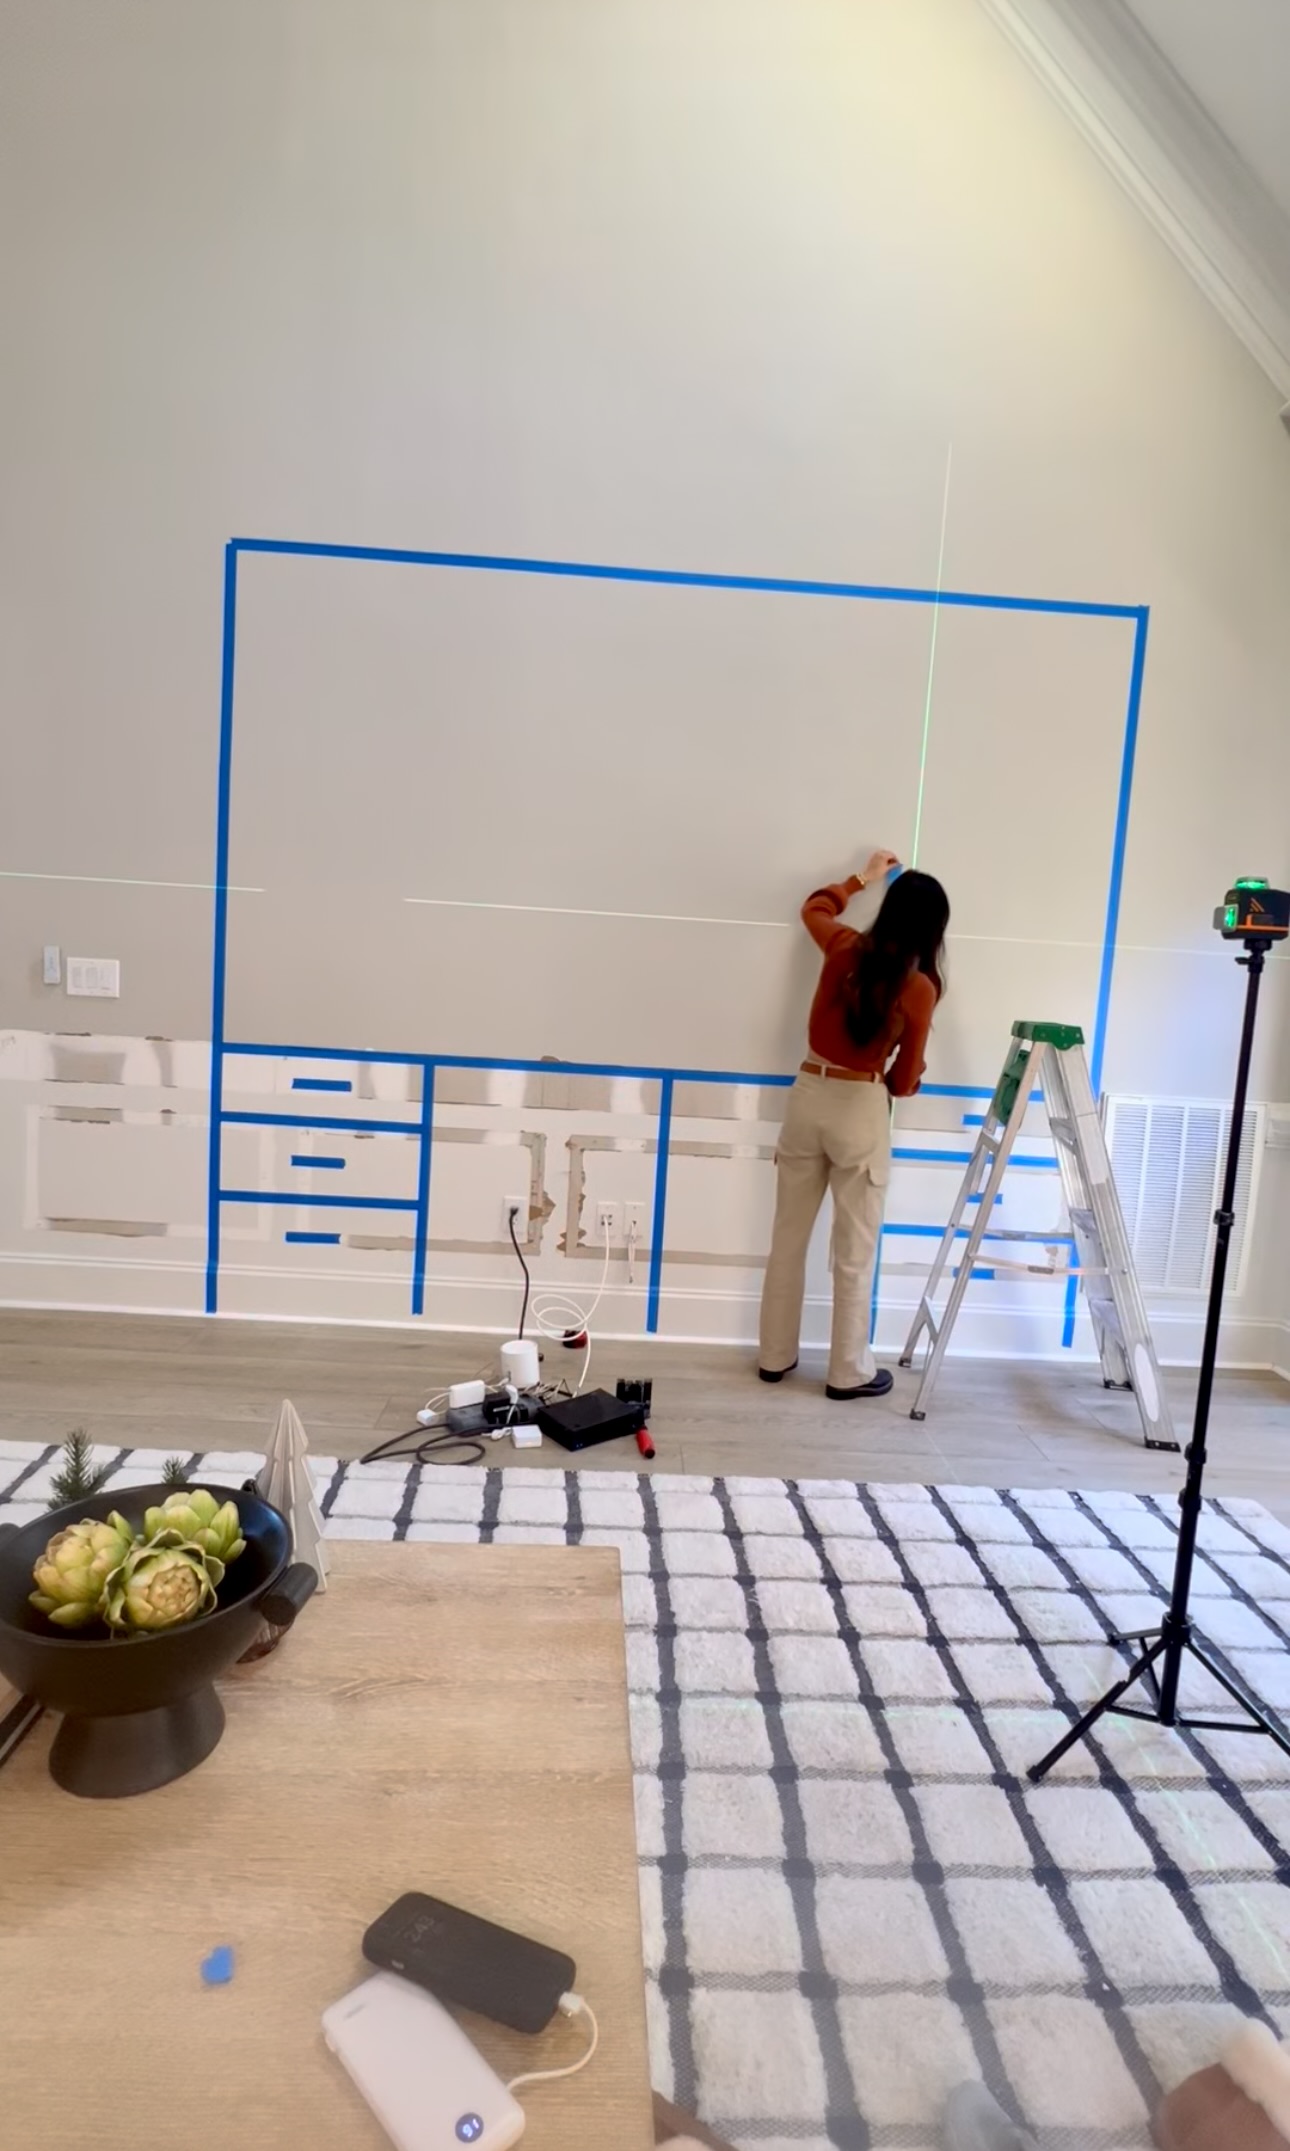
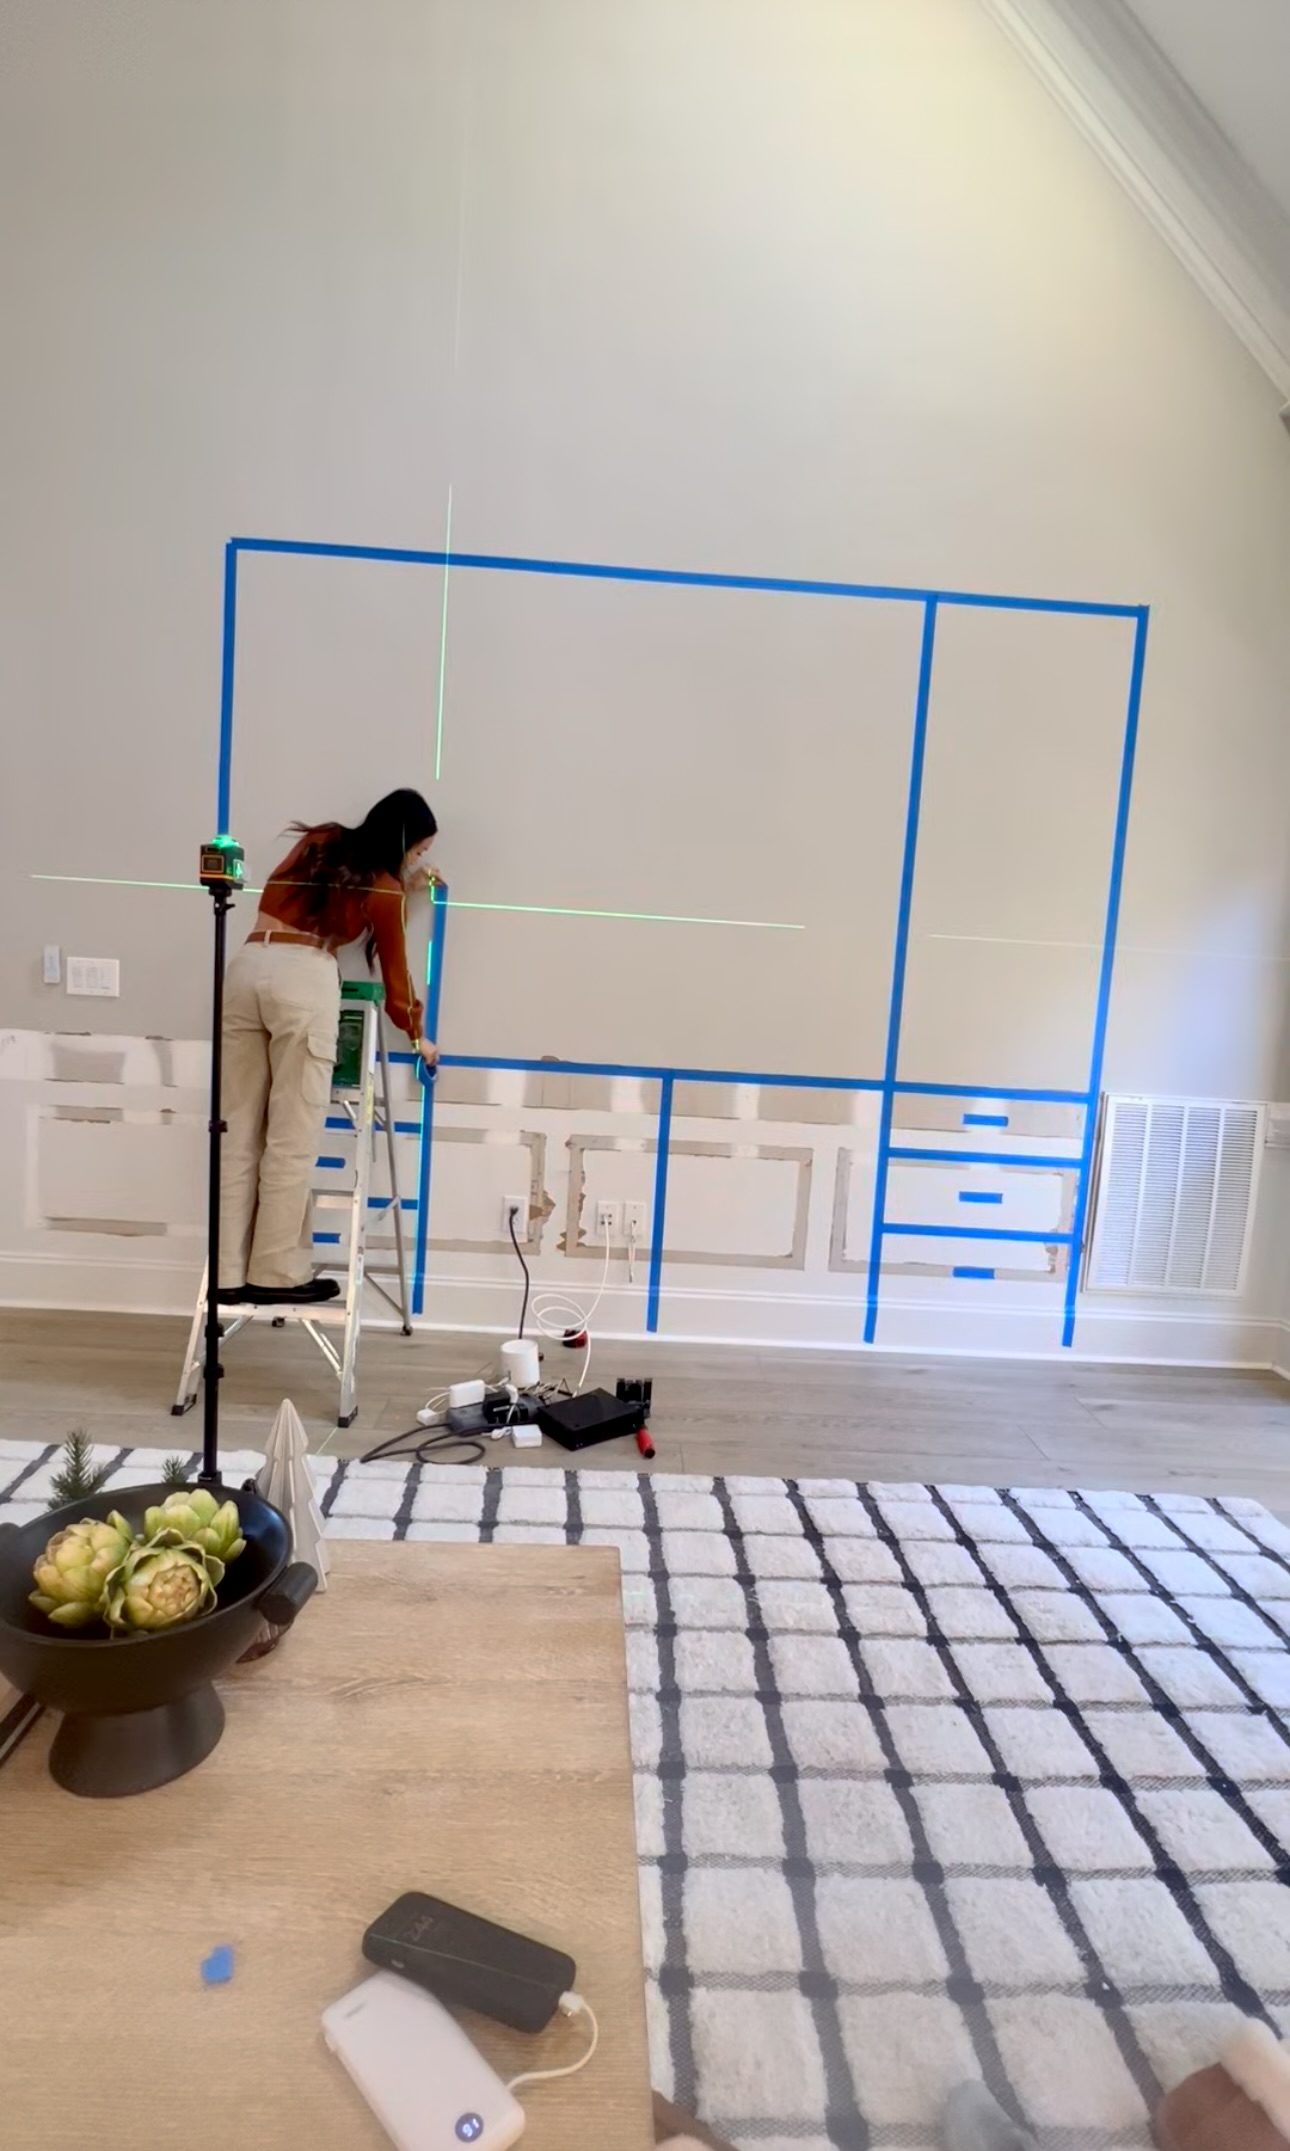
I used this free cut list optimizer online. I’d never used it before and it’s so awesome. You can put in what you need and it takes into consideration the length of your plywood and tells you what will fit where so you can use each board to its max capacity. Usually I do this part myself but this was so incredibly helpful!
The Base
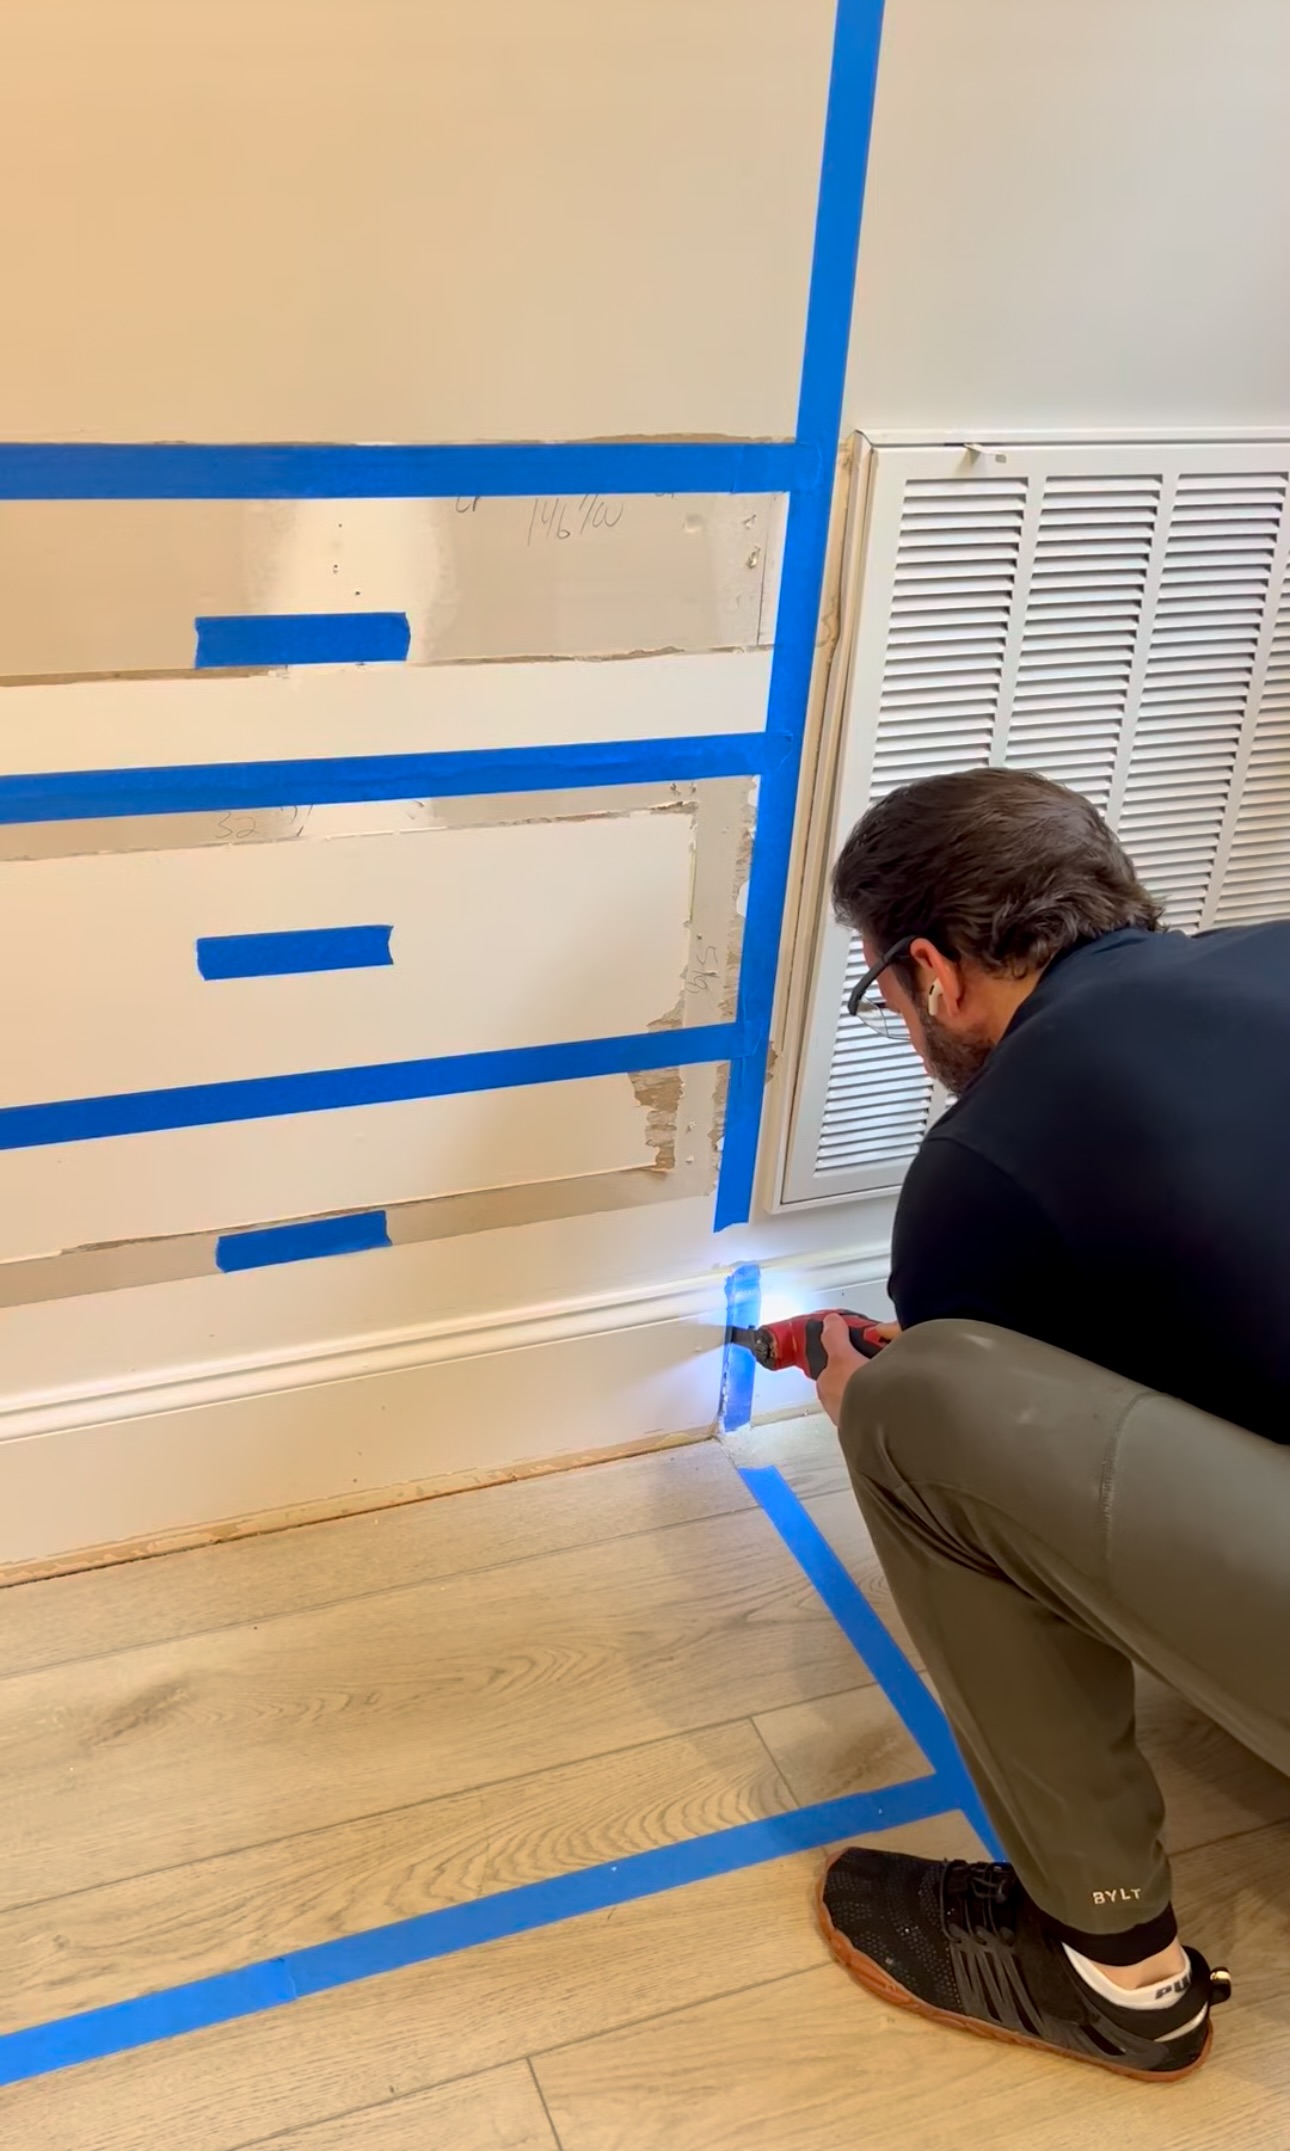
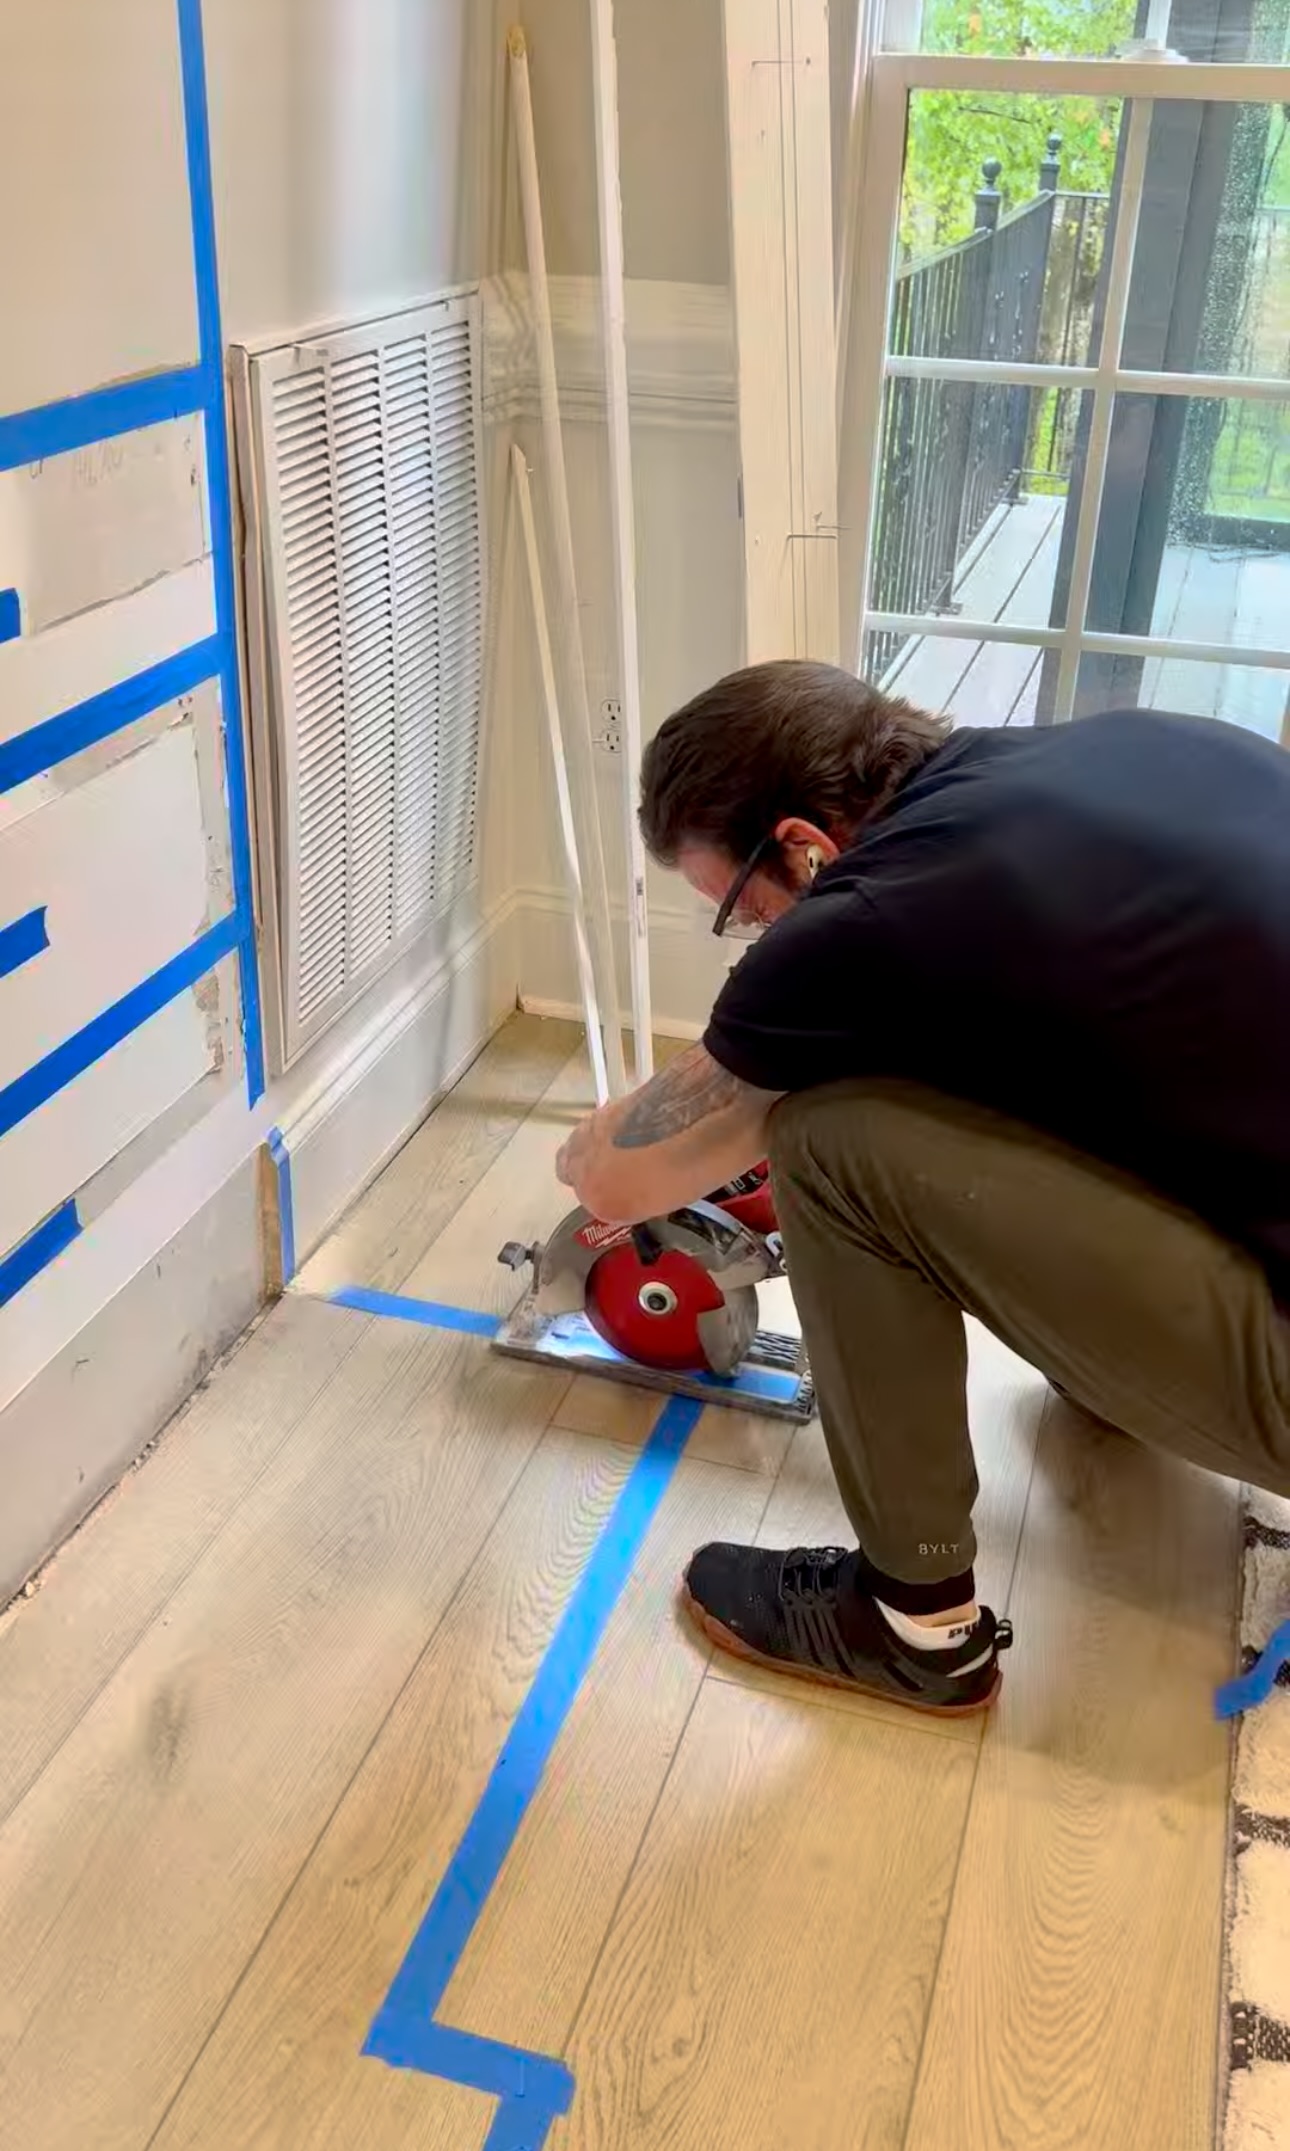
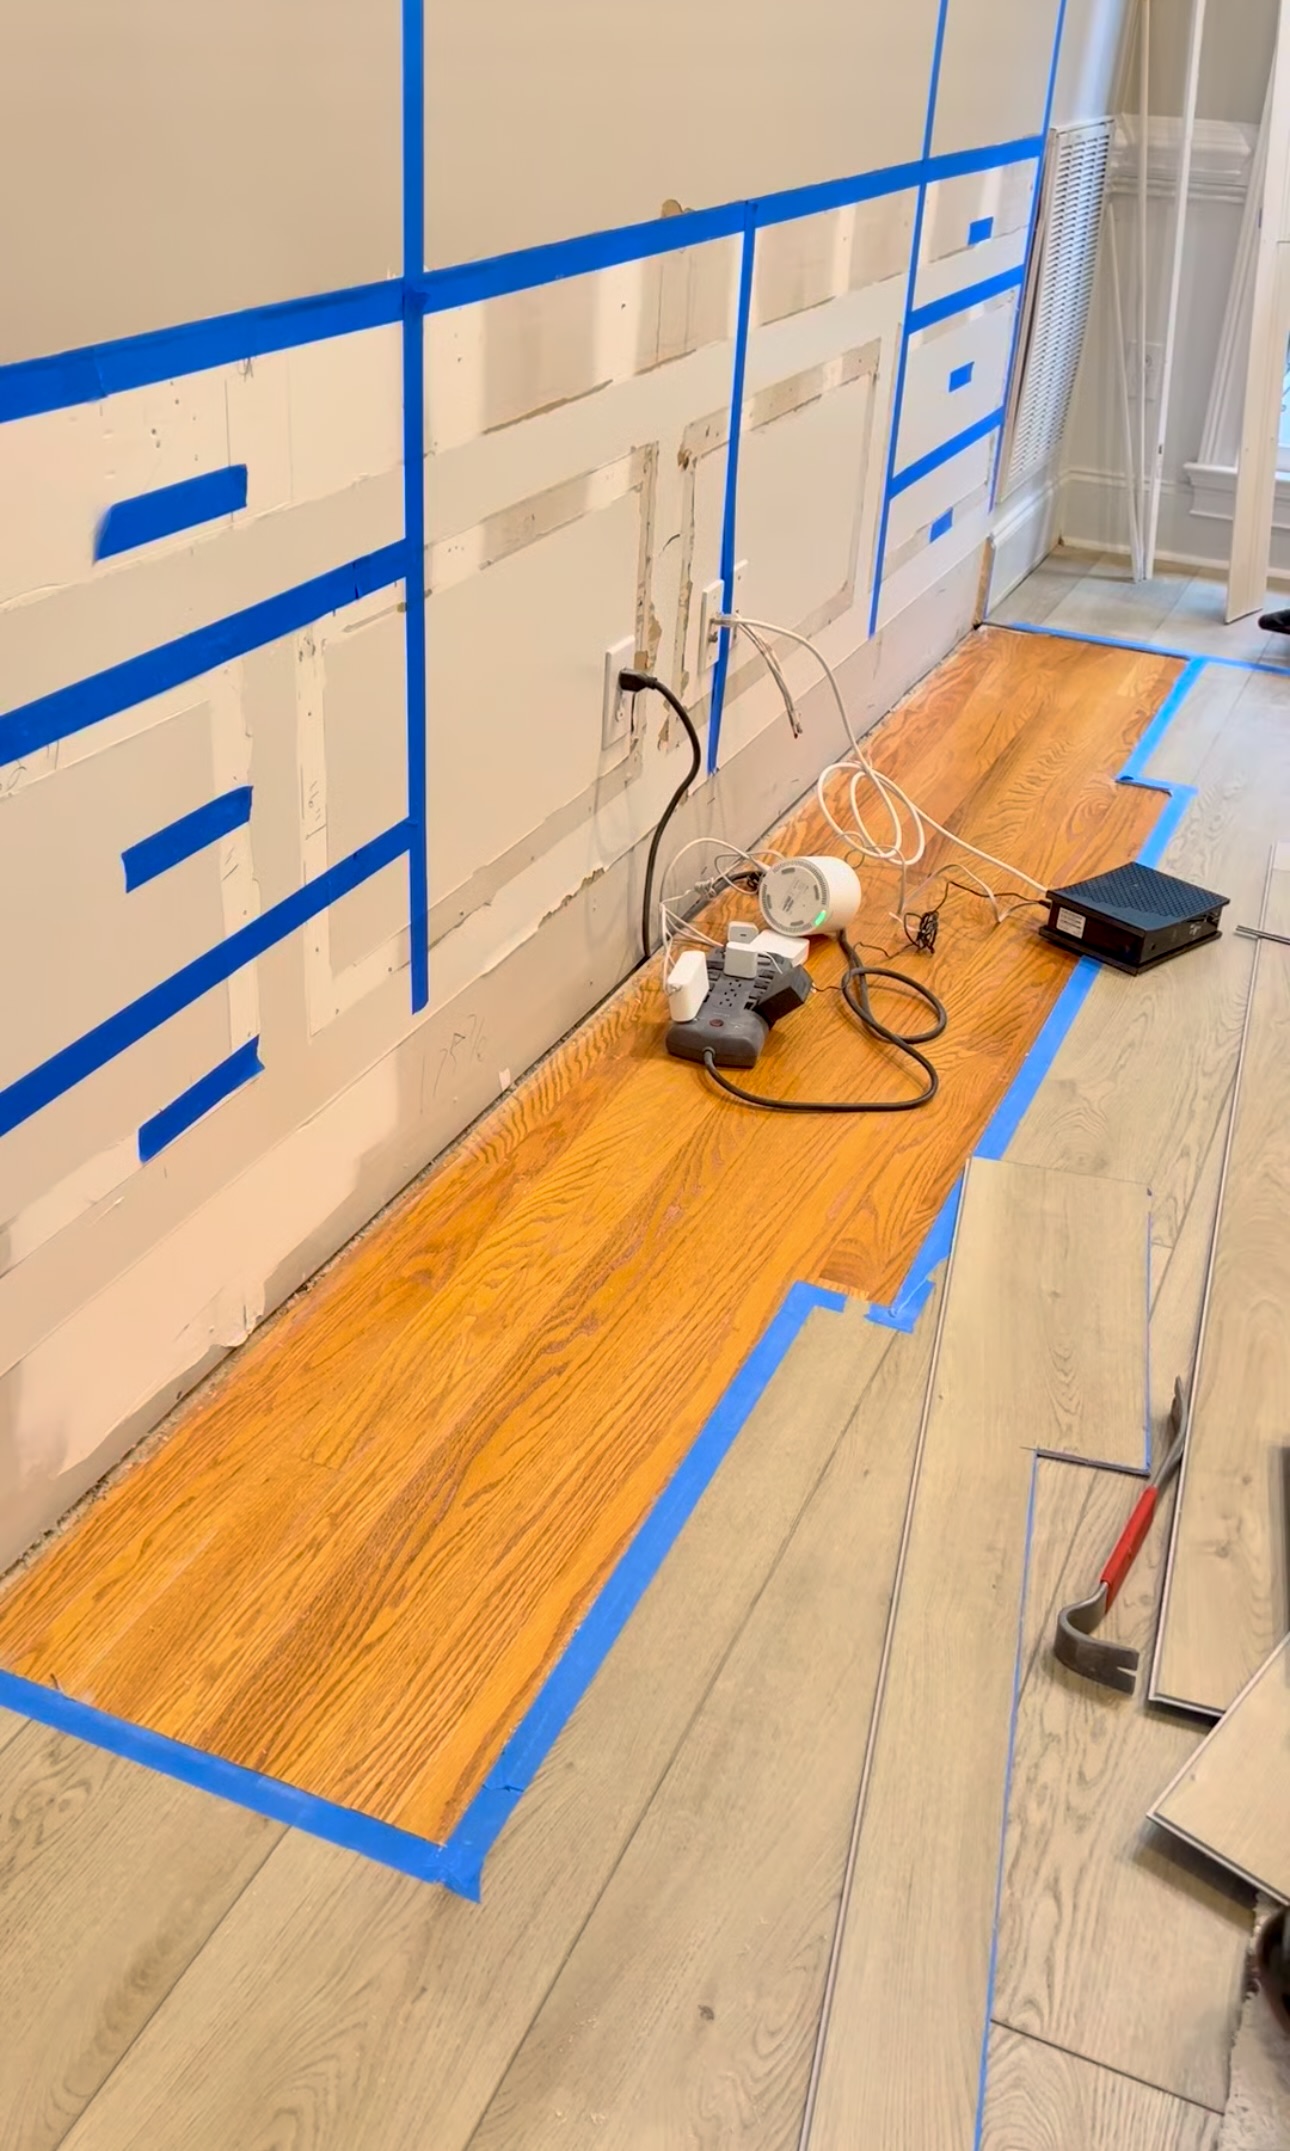
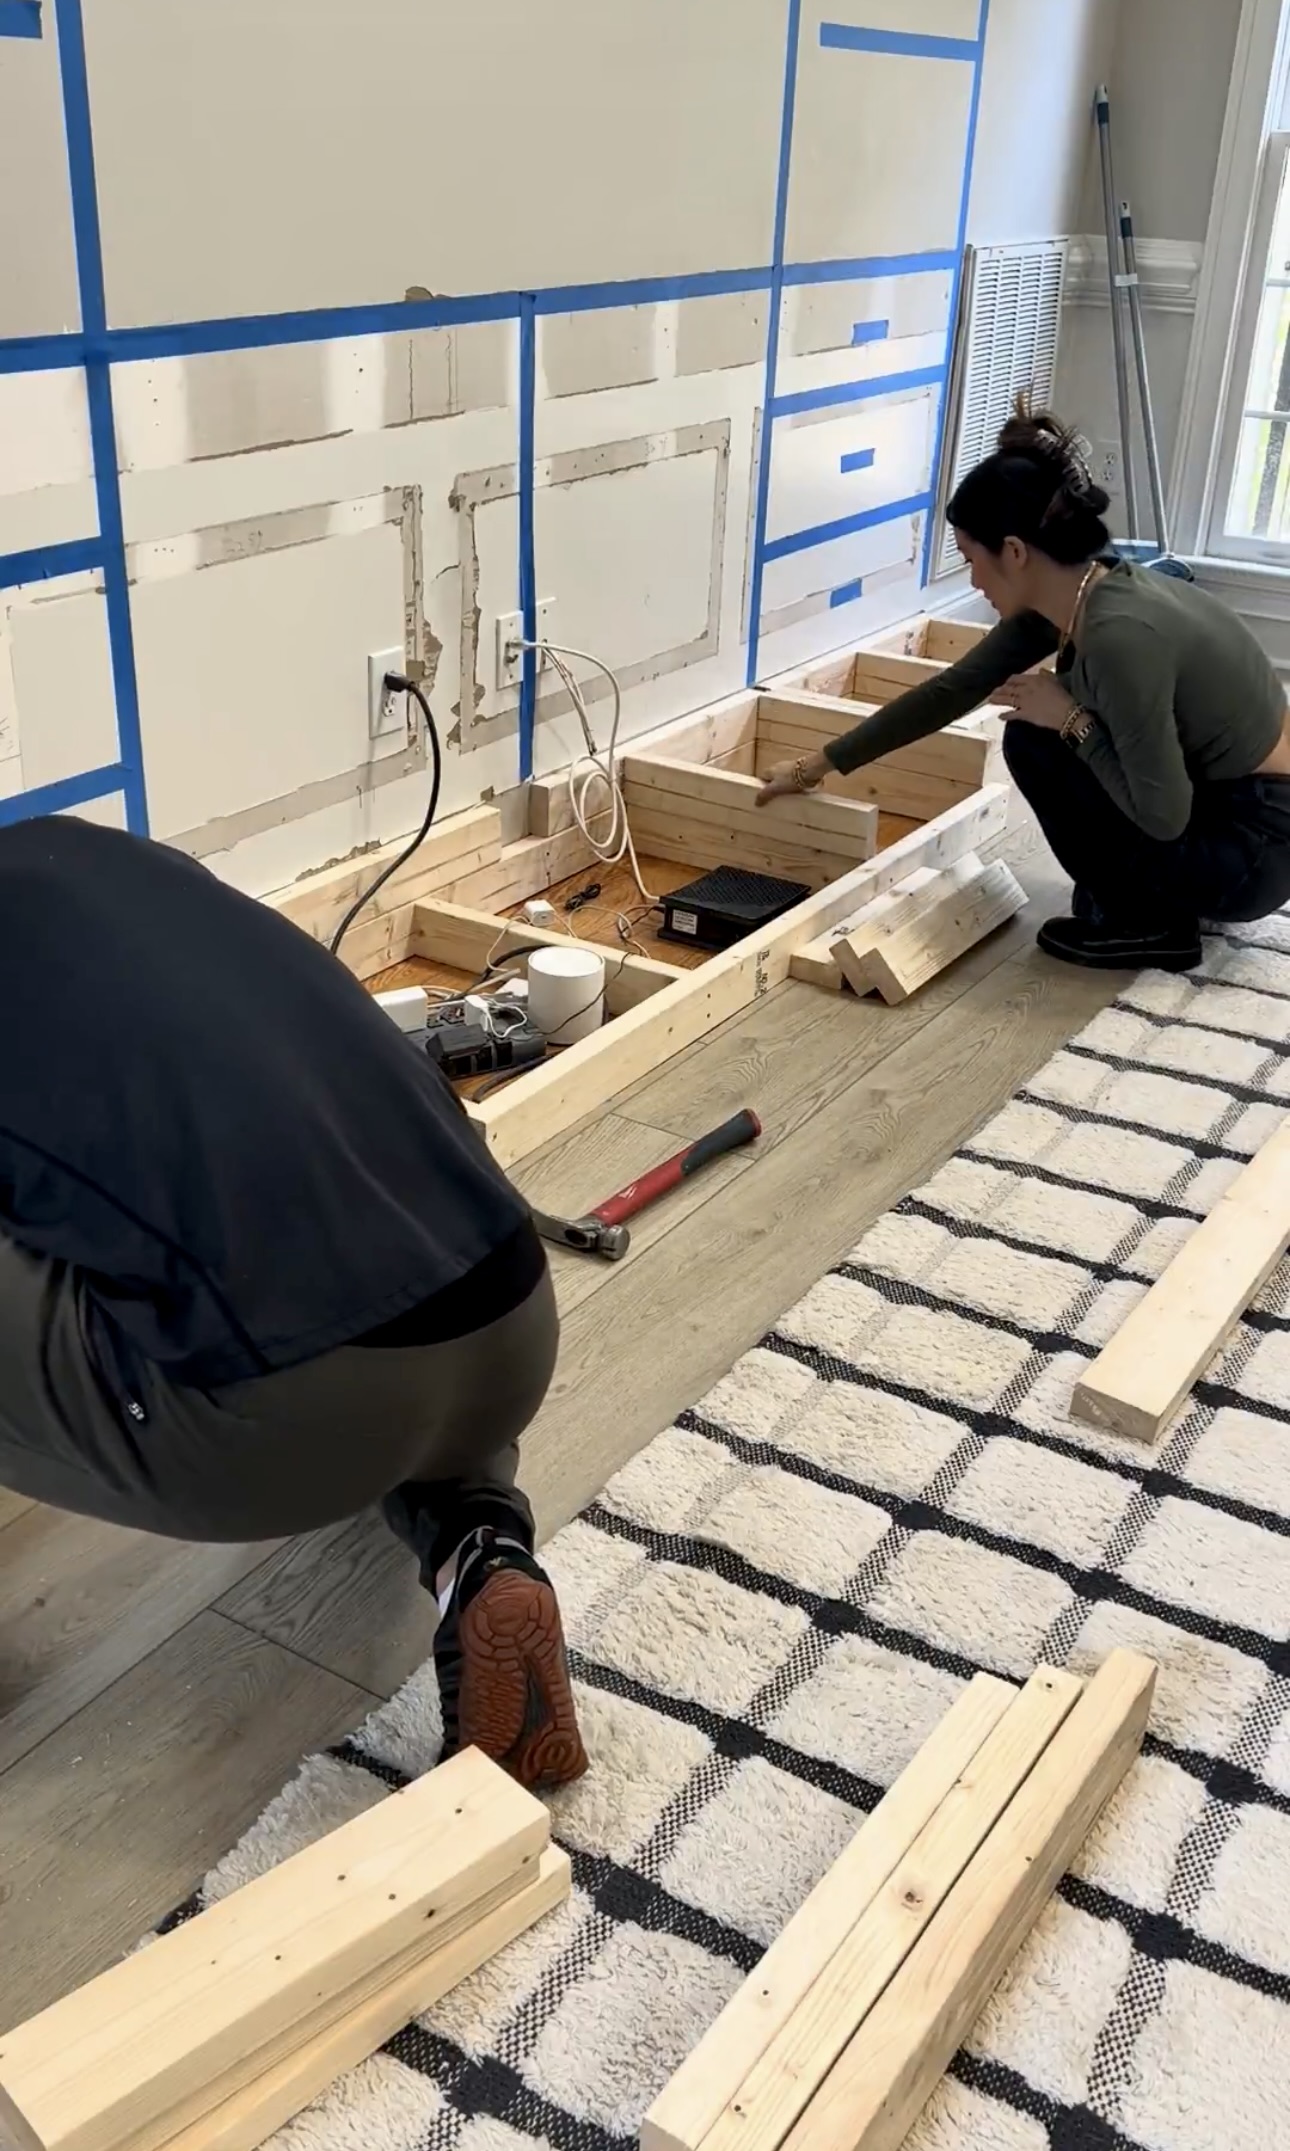
Before we got started building the base, we had to cut up the trim and LVP flooring so the built-ins would sit at ground level. If we left it, the LVP would crack under all the weight. LVP also needs room to expand and contract – it wouldn’t be able to do so under the built-ins. Some LVP brands also void their warranty if anything permanent is placed on top! We used the circular saw and oscillating tool from Milwaukee for this.

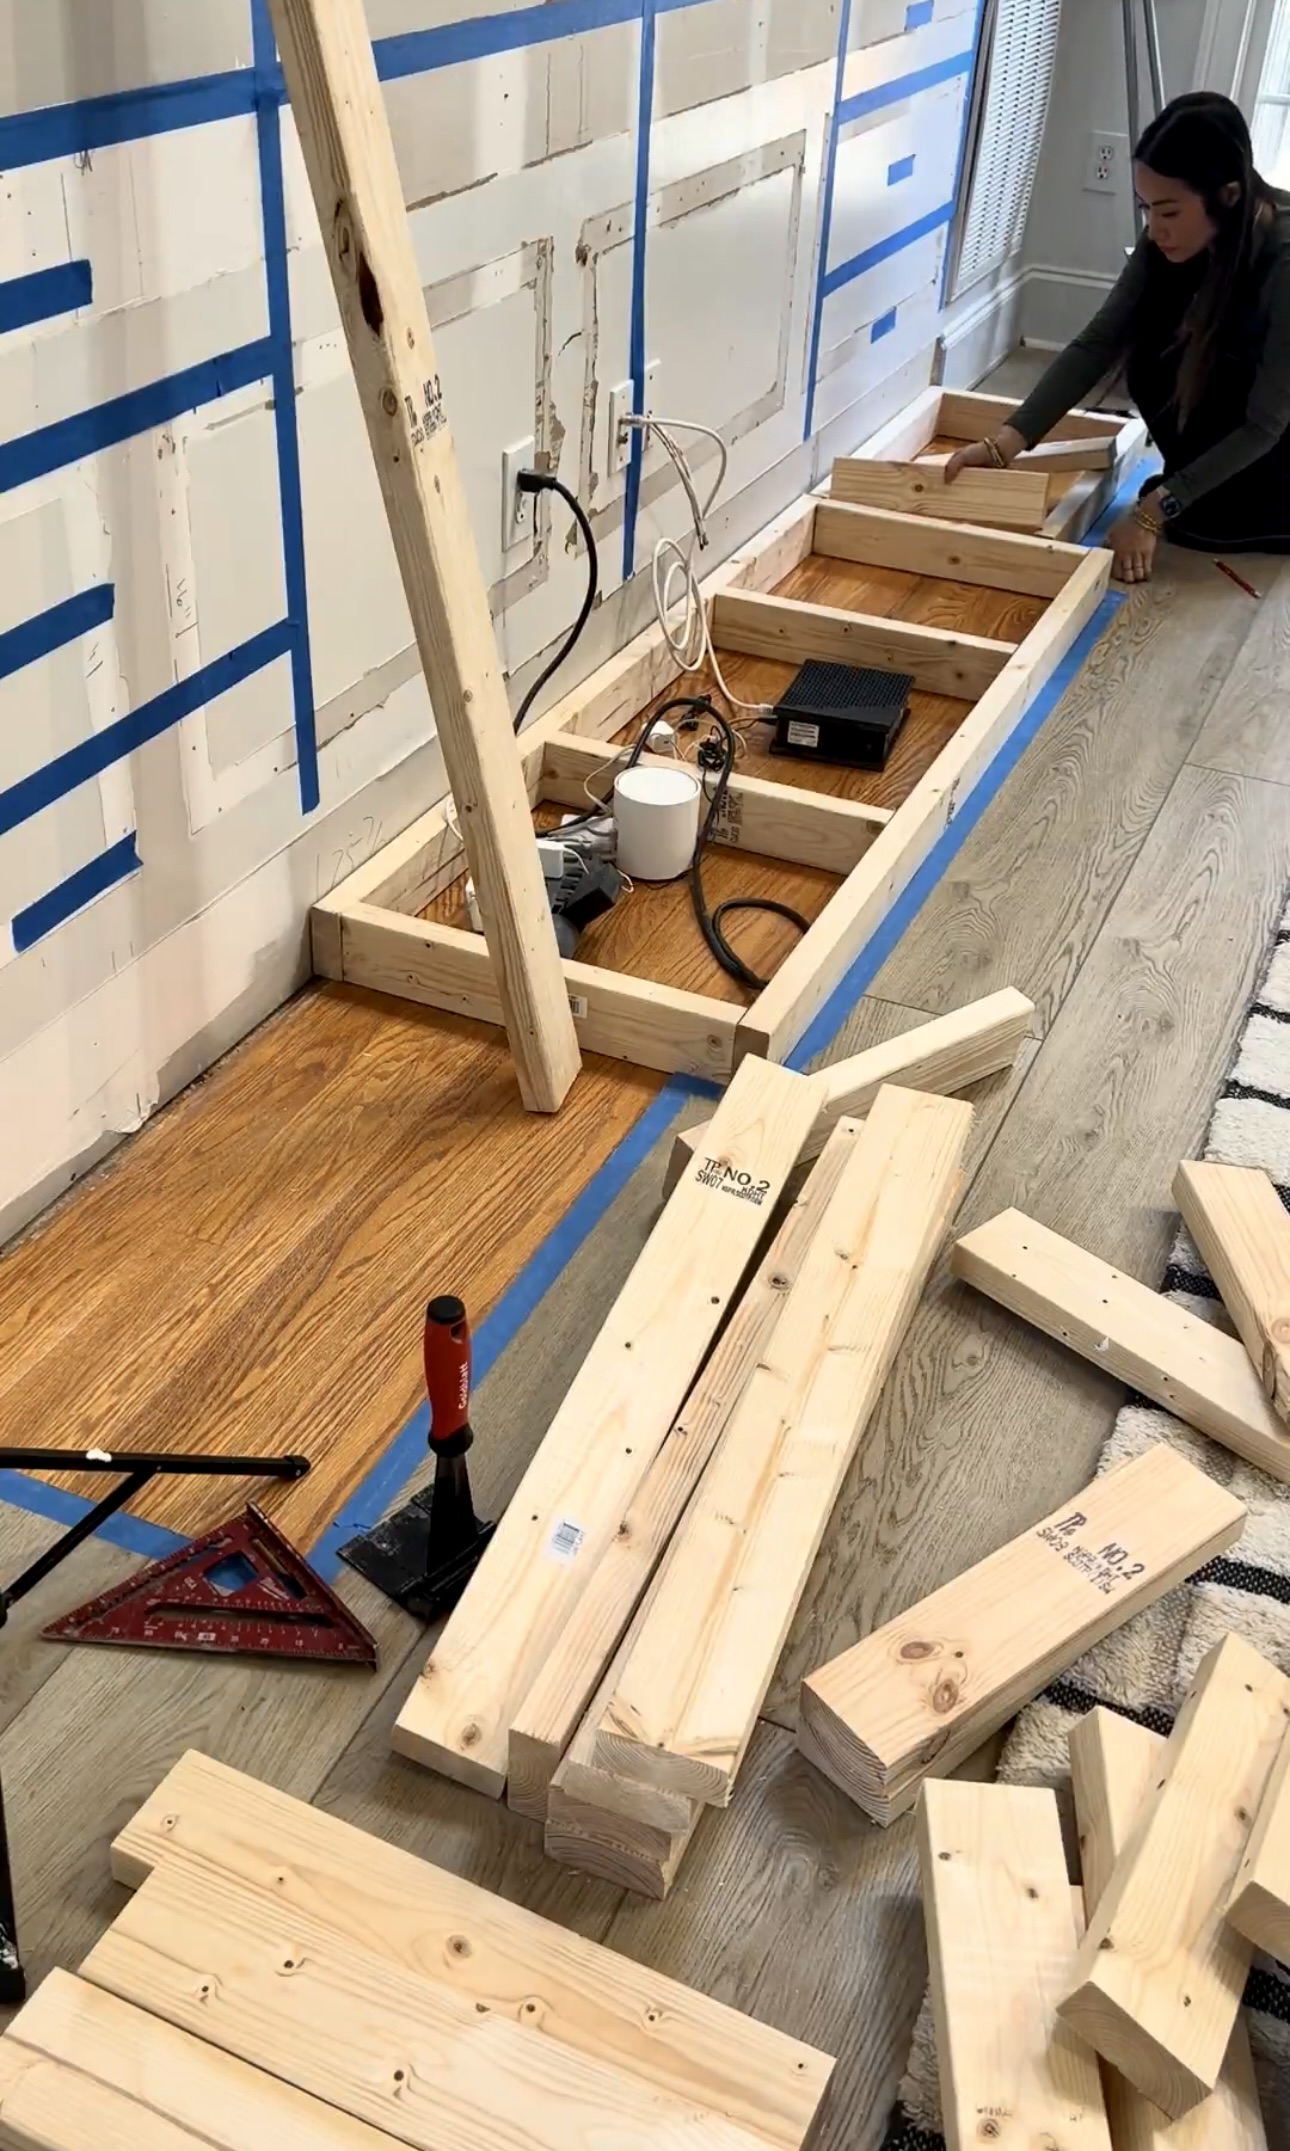
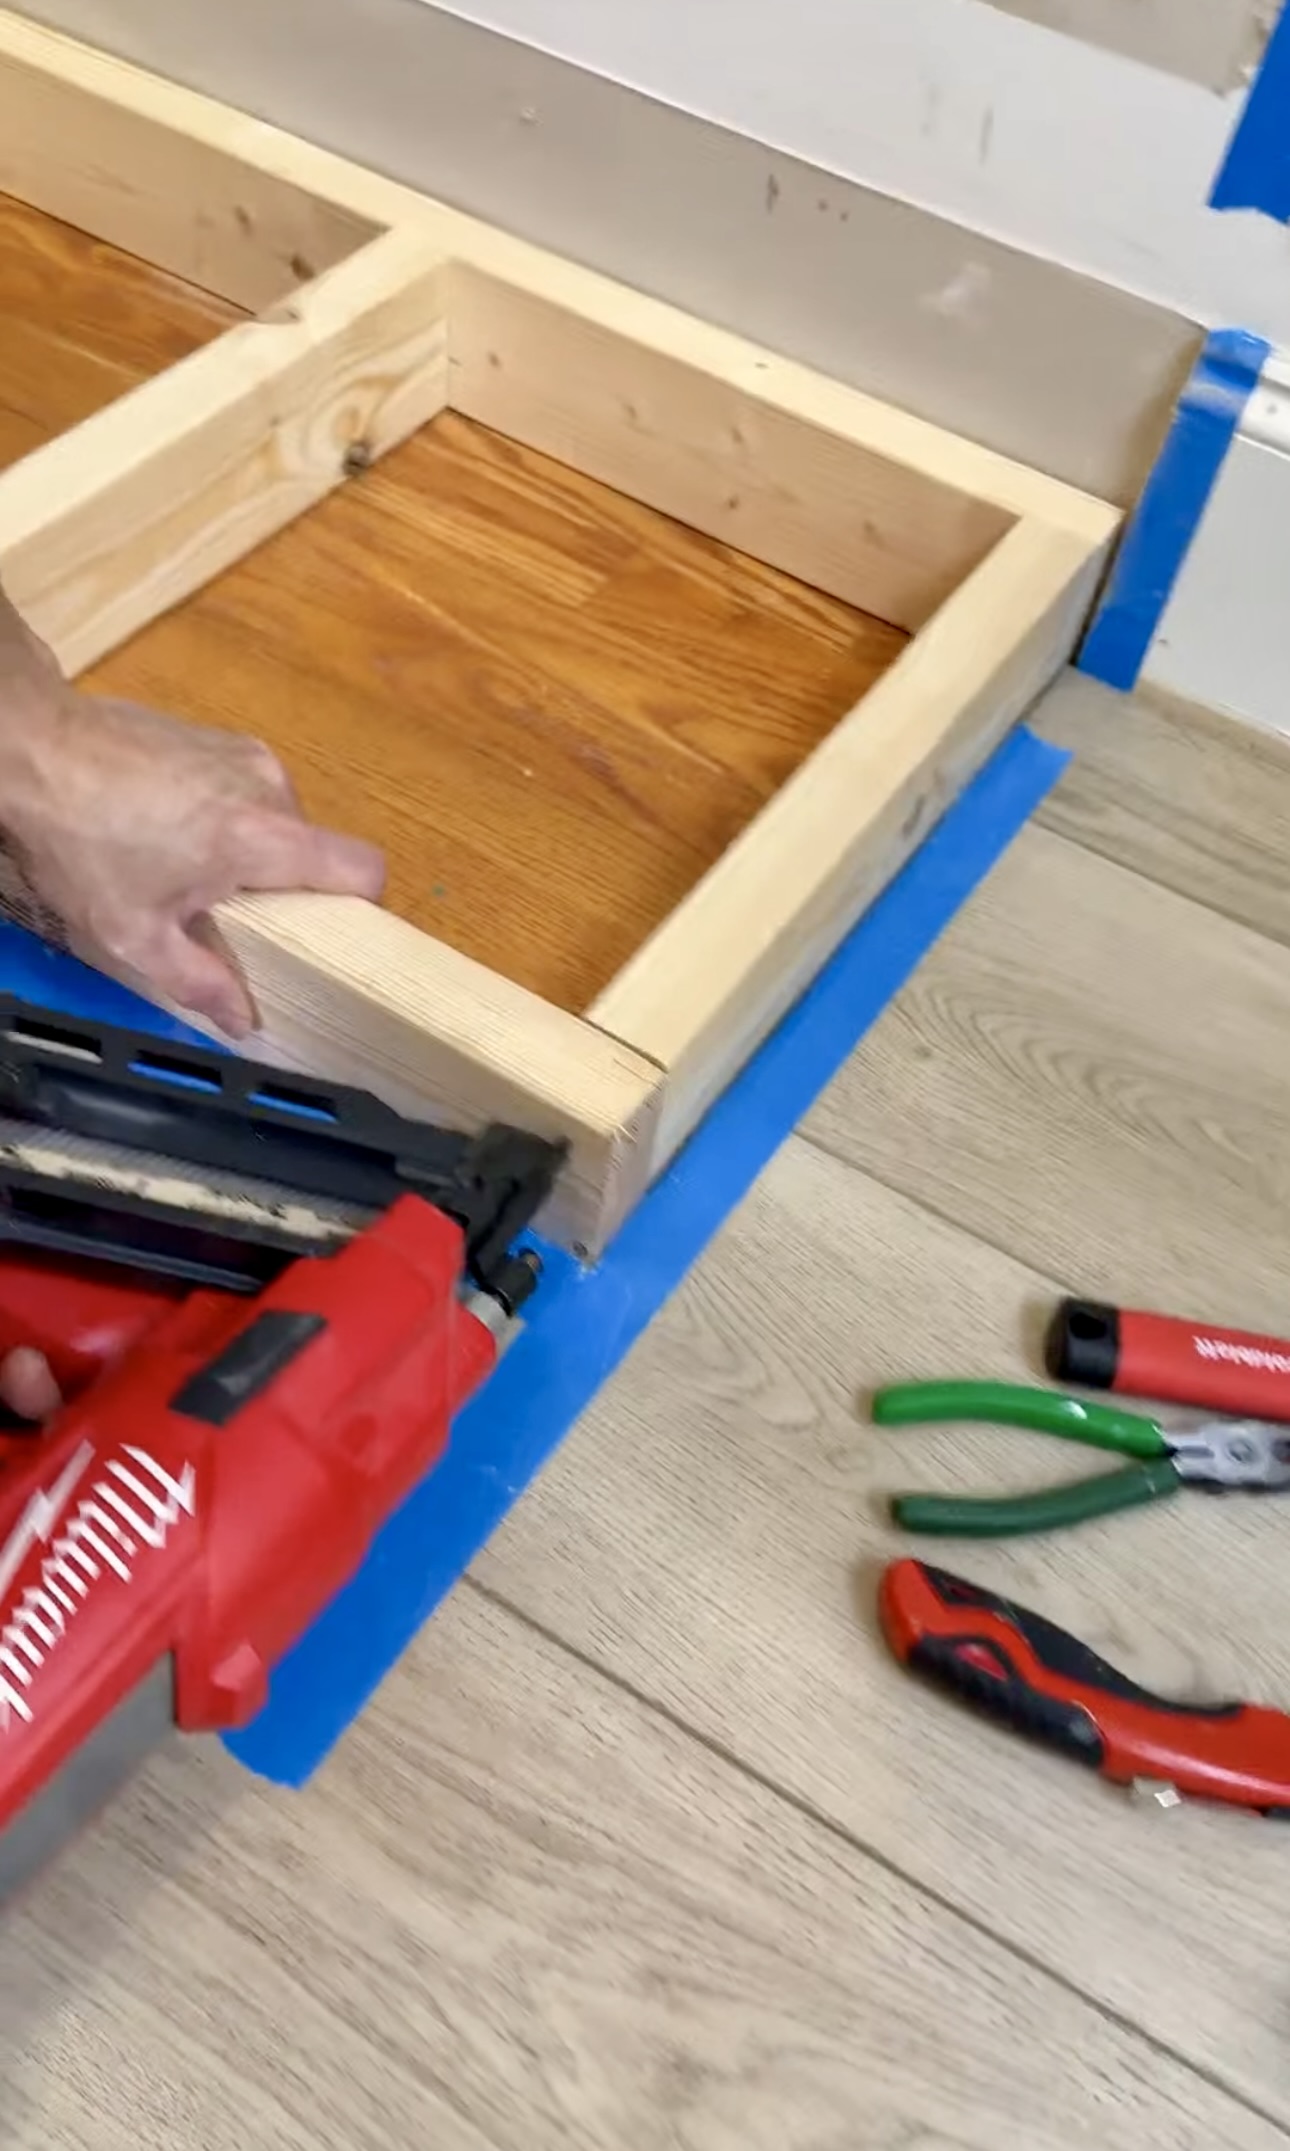
We cut 2×4‘s for our base using our miter saw. Then I used our framing nailer (which I don’t get to use often)! They’re expensive and honestly not worth it unless you frame a lot. BUT, such a great investment if you do.
TJ nailed the 2×4‘s into the studs while I added on the second layer of 2x4s. I usually do just one base level. Why did I do 2 levels? Since our baseboards are tall, we have to double it so the baseboards can go back on once we are done. Your base height depends on how tall your baseboards are.

Plywood Cuts
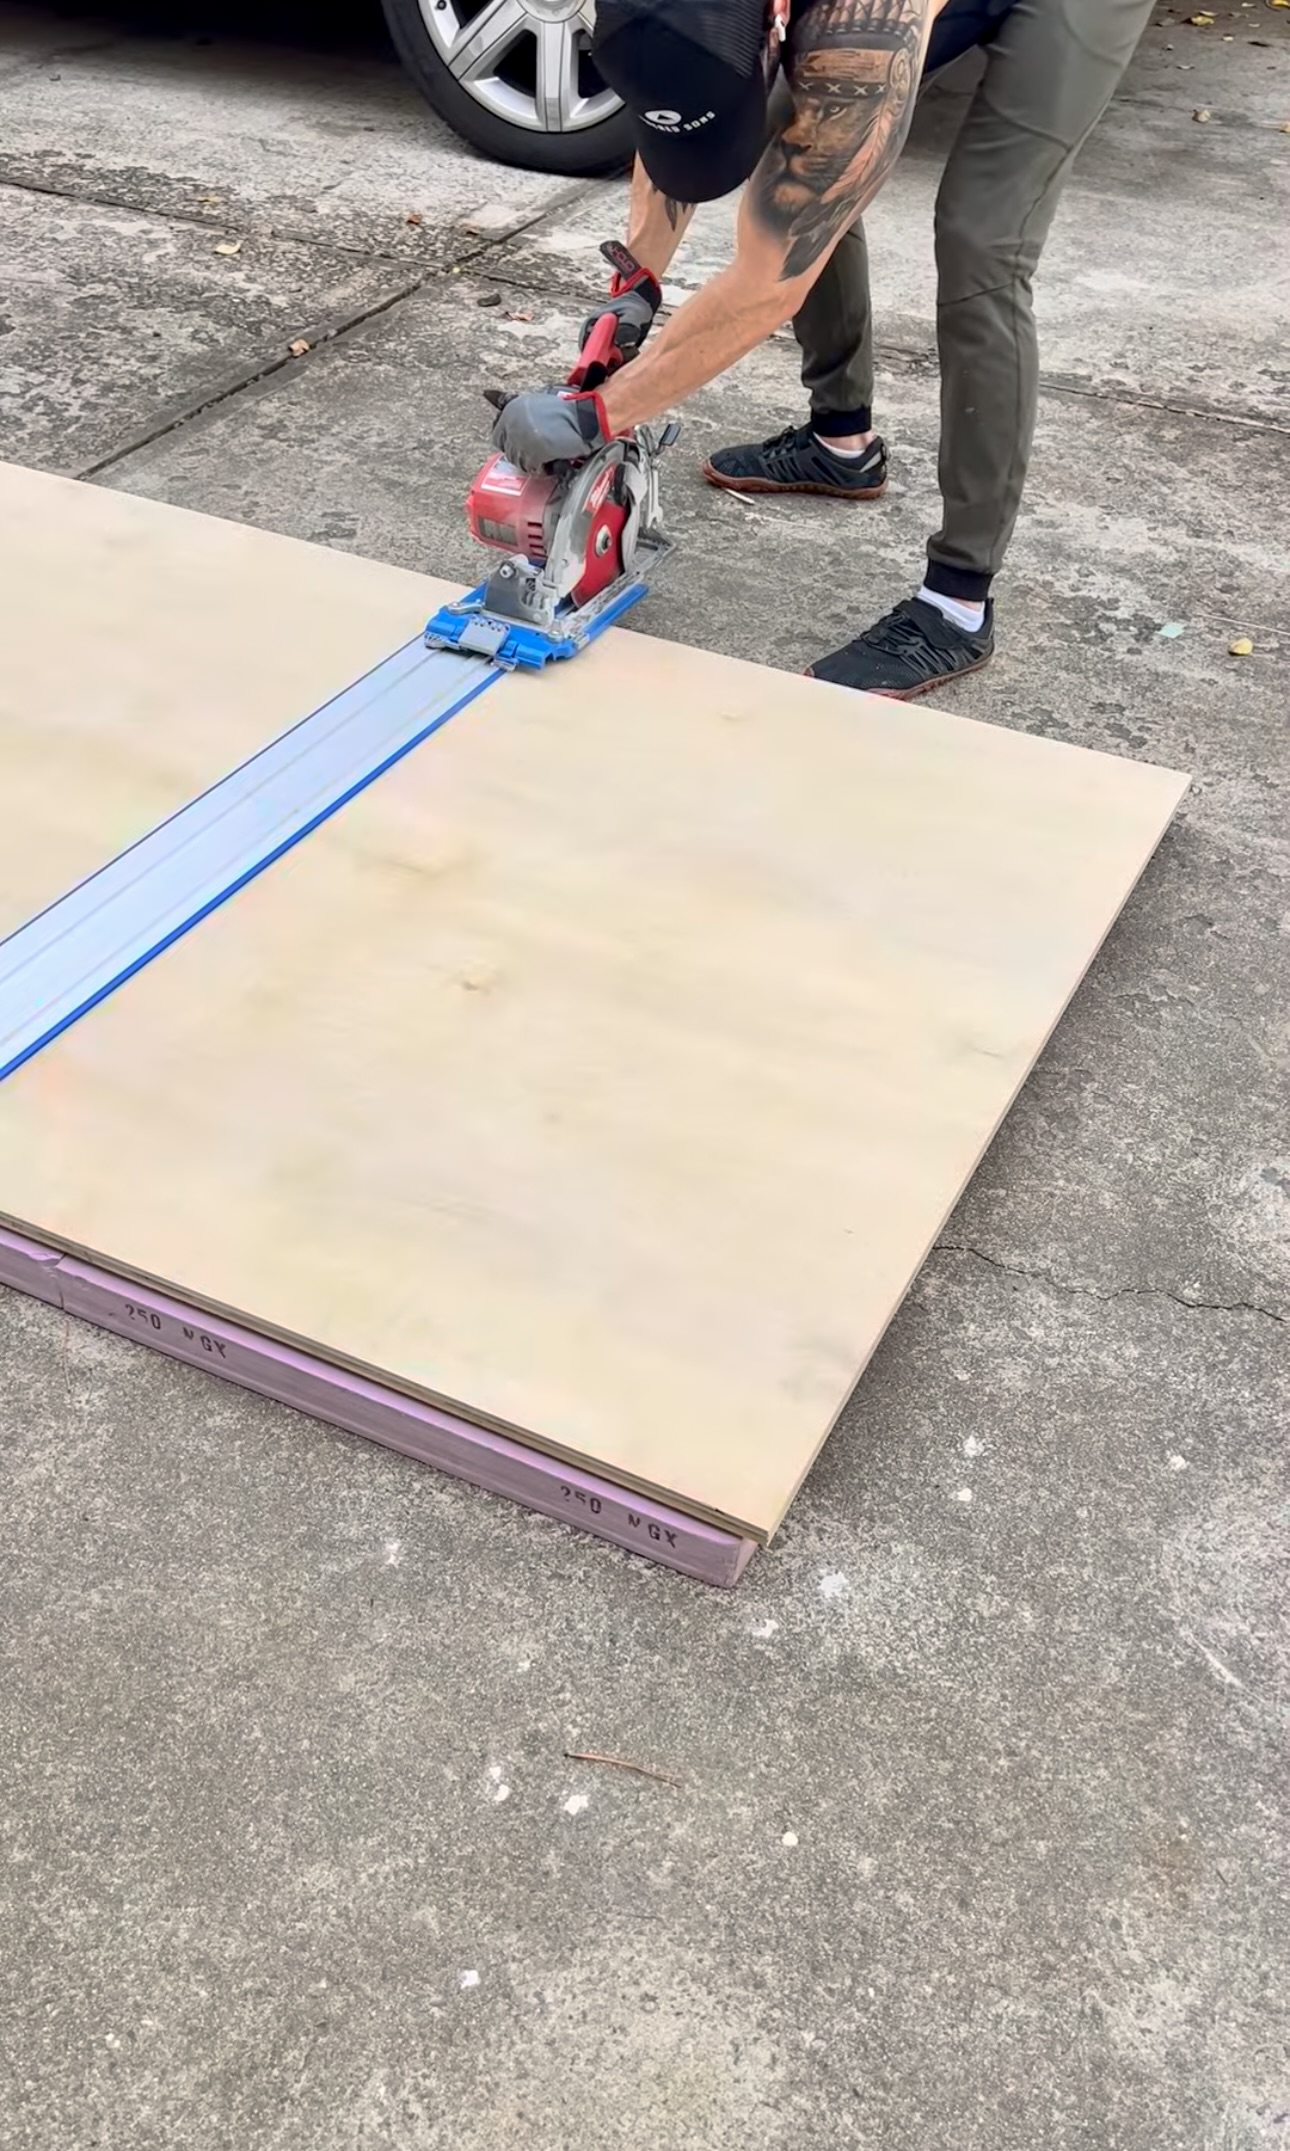
Time to make the cuts for the actual built-ins! I got a new foam board to place the plywood on for my cuts. I typically use a rip saw guide which is usually amazing. But, those only cut up to 24″ wide and I needed to make bigger cuts. I got this accu cut guide to help make my bigger cuts. You just place your saw on the guide and it helps make a straight cut.
Pocket Holes
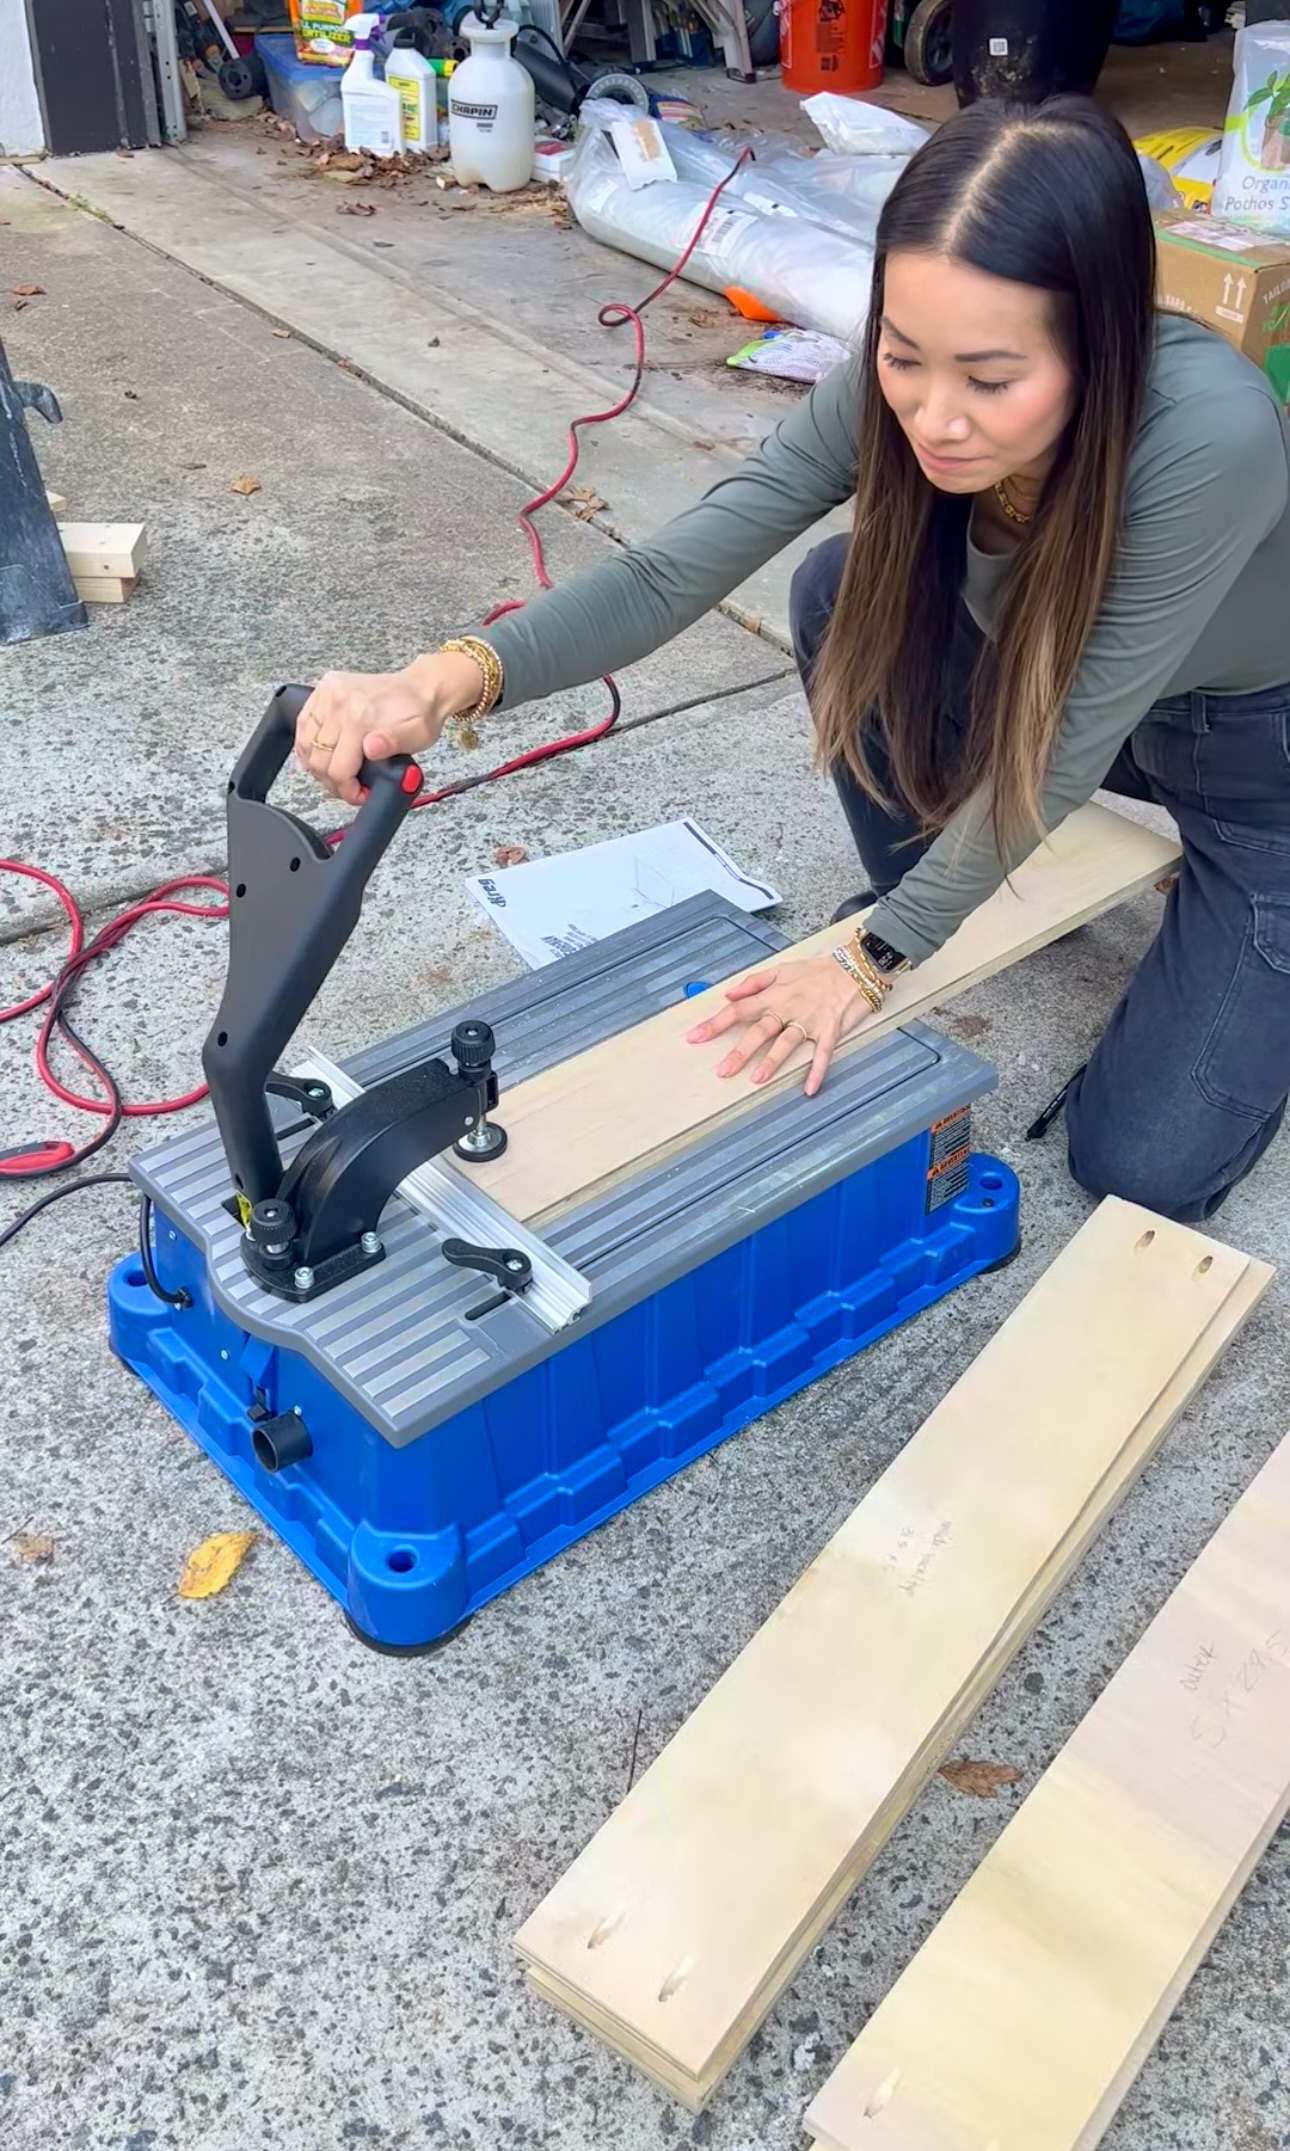
I started using this Foreman to make my pocket holes and it’s so cool! You just set up your dimensions and measurements and it makes the pocket holes for you. So easy and so fast. It’s good to remember that your pocket holes go on the bottom of your built-ins so the outside visible edges are smooth.
Assembly
To assemble the built-in base, I glued the pieces together and then put some clamps on. I love these clamps for corners. They hold them in place without slipping and sliding. After gluing, I screwed into my pocket holes to secure everything.

We put support pieces on the back on just the top and the bottom of the boxes. We did this to create support without having to spend money on an entire sheet of plywood.
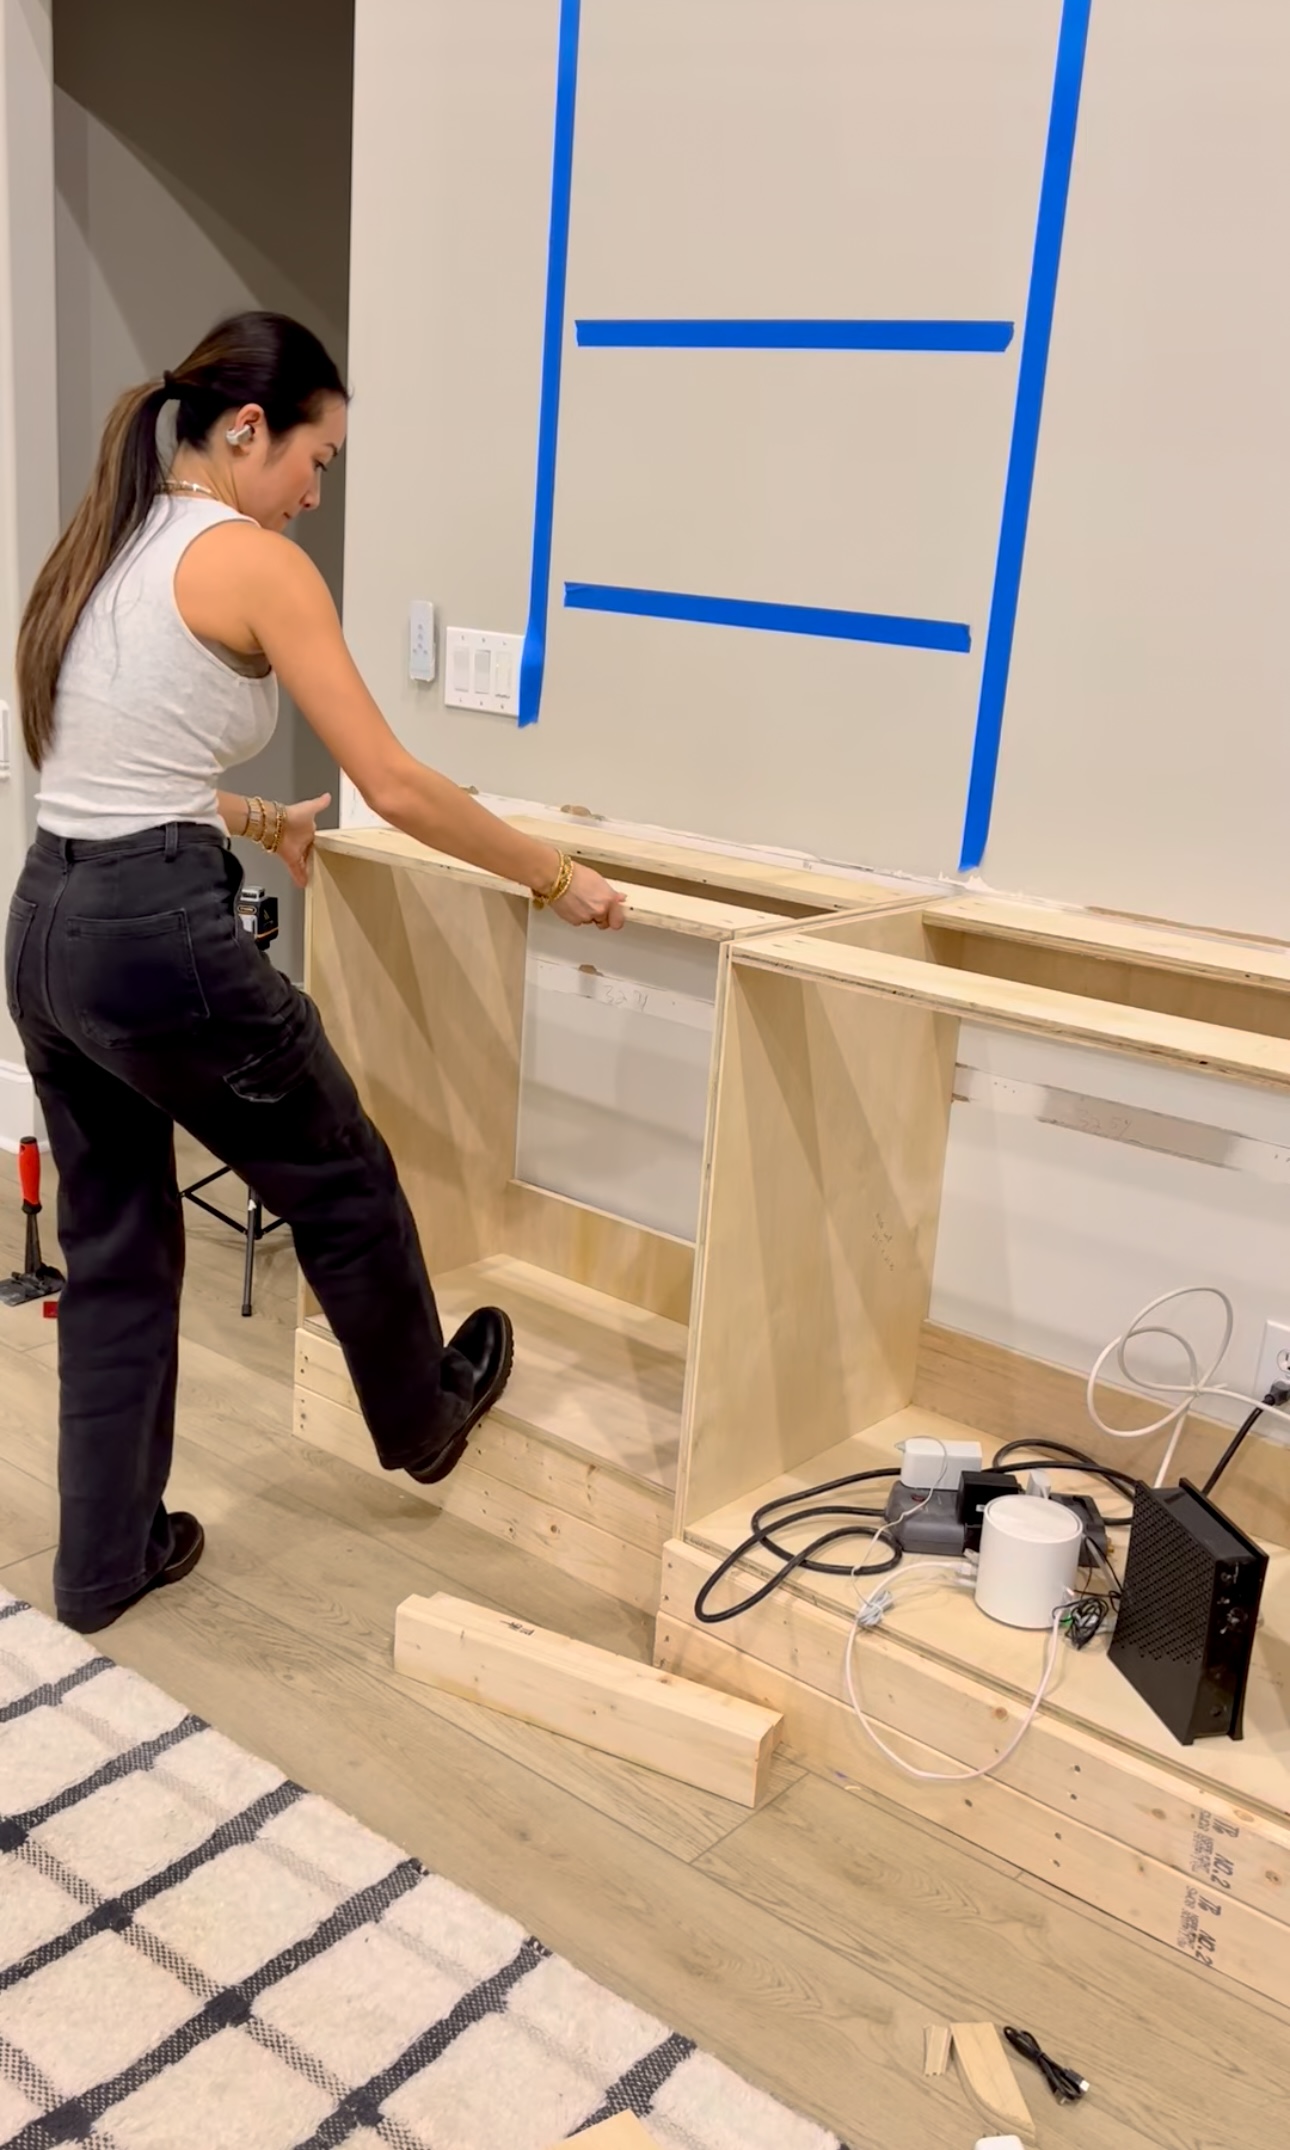
For the shelves, I used pocket holes and wood glue to secure them. I made pocket holes for the part of the shelves that will go into studs in the wall to secure them.
Installation
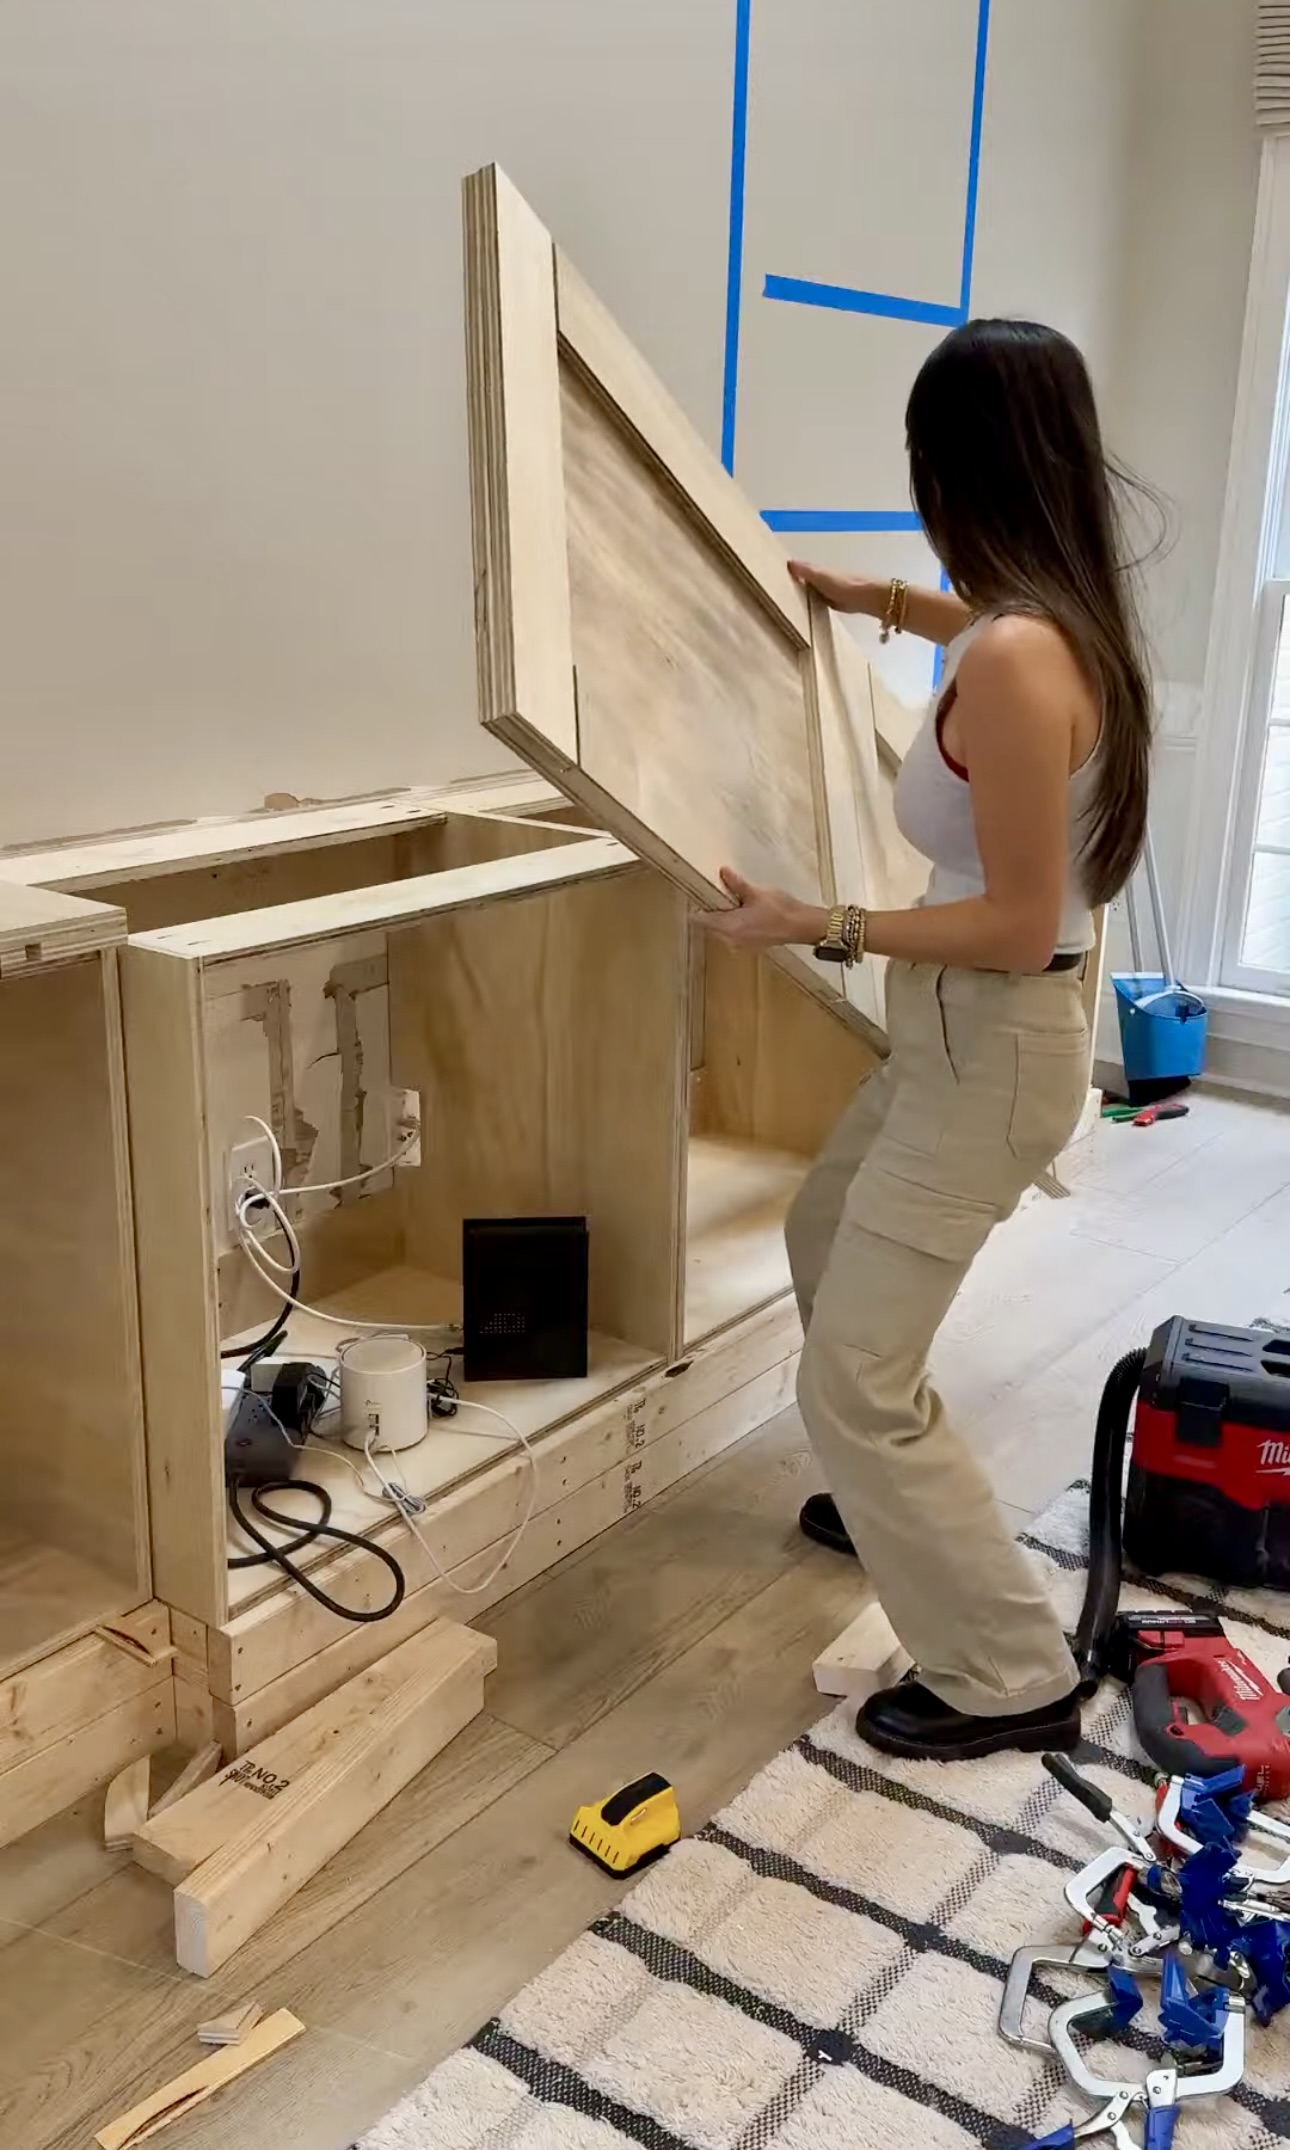
To install the built-ins, we placed our boxes on the base we made. Next, we checked to make sure these were level. This part is super important! If they are not plumb, your built-ins will move around. Side to side, my boxes were level. But front to back, one of them wasn’t. So I had to add some shims underneath to make it level.

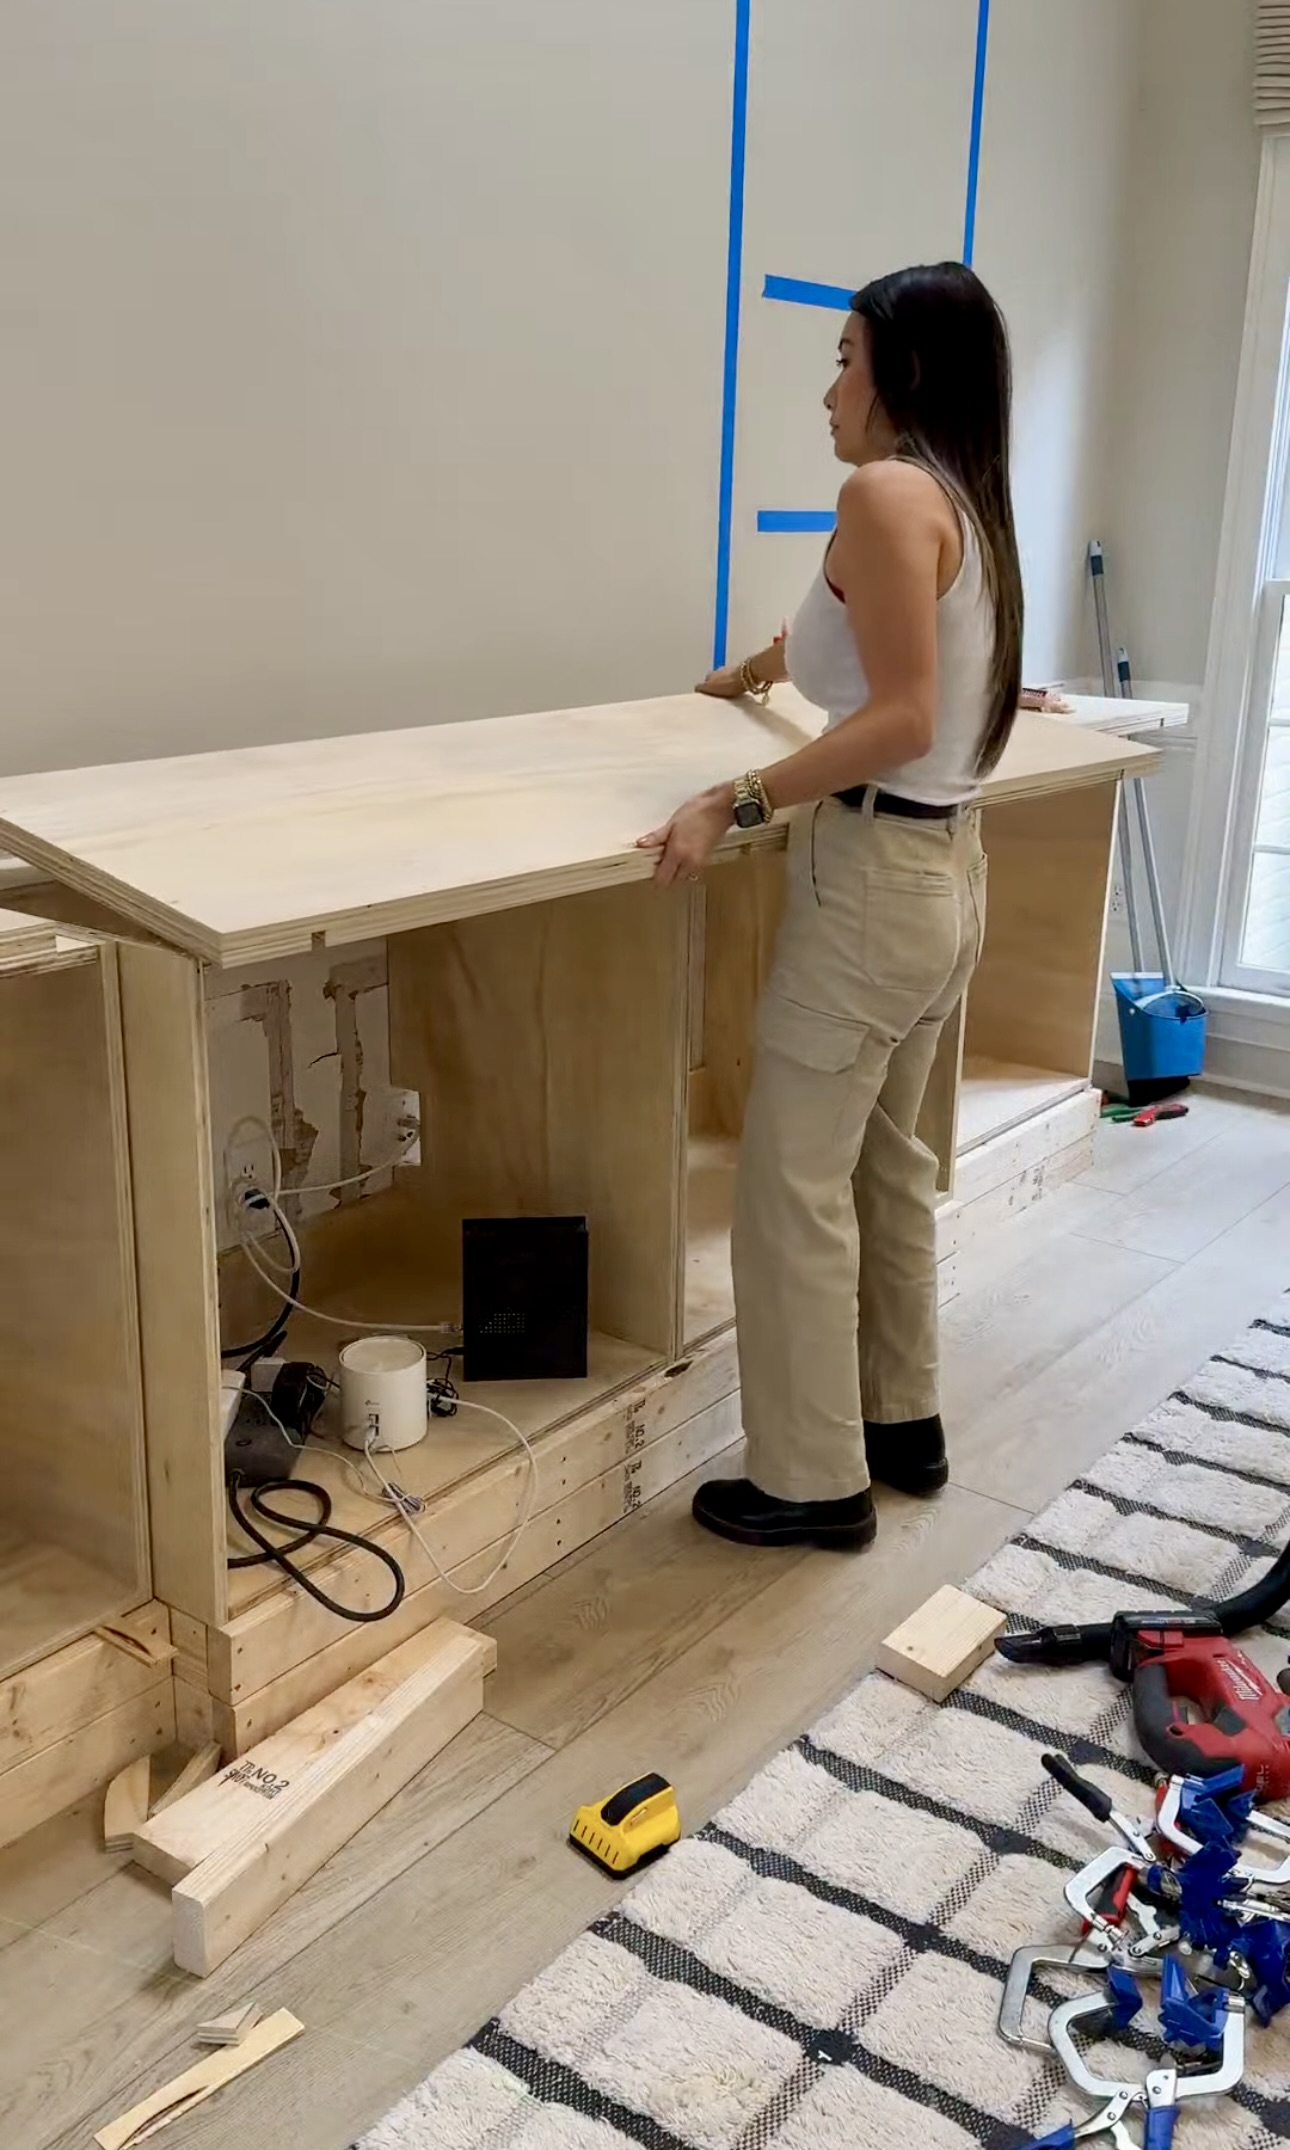
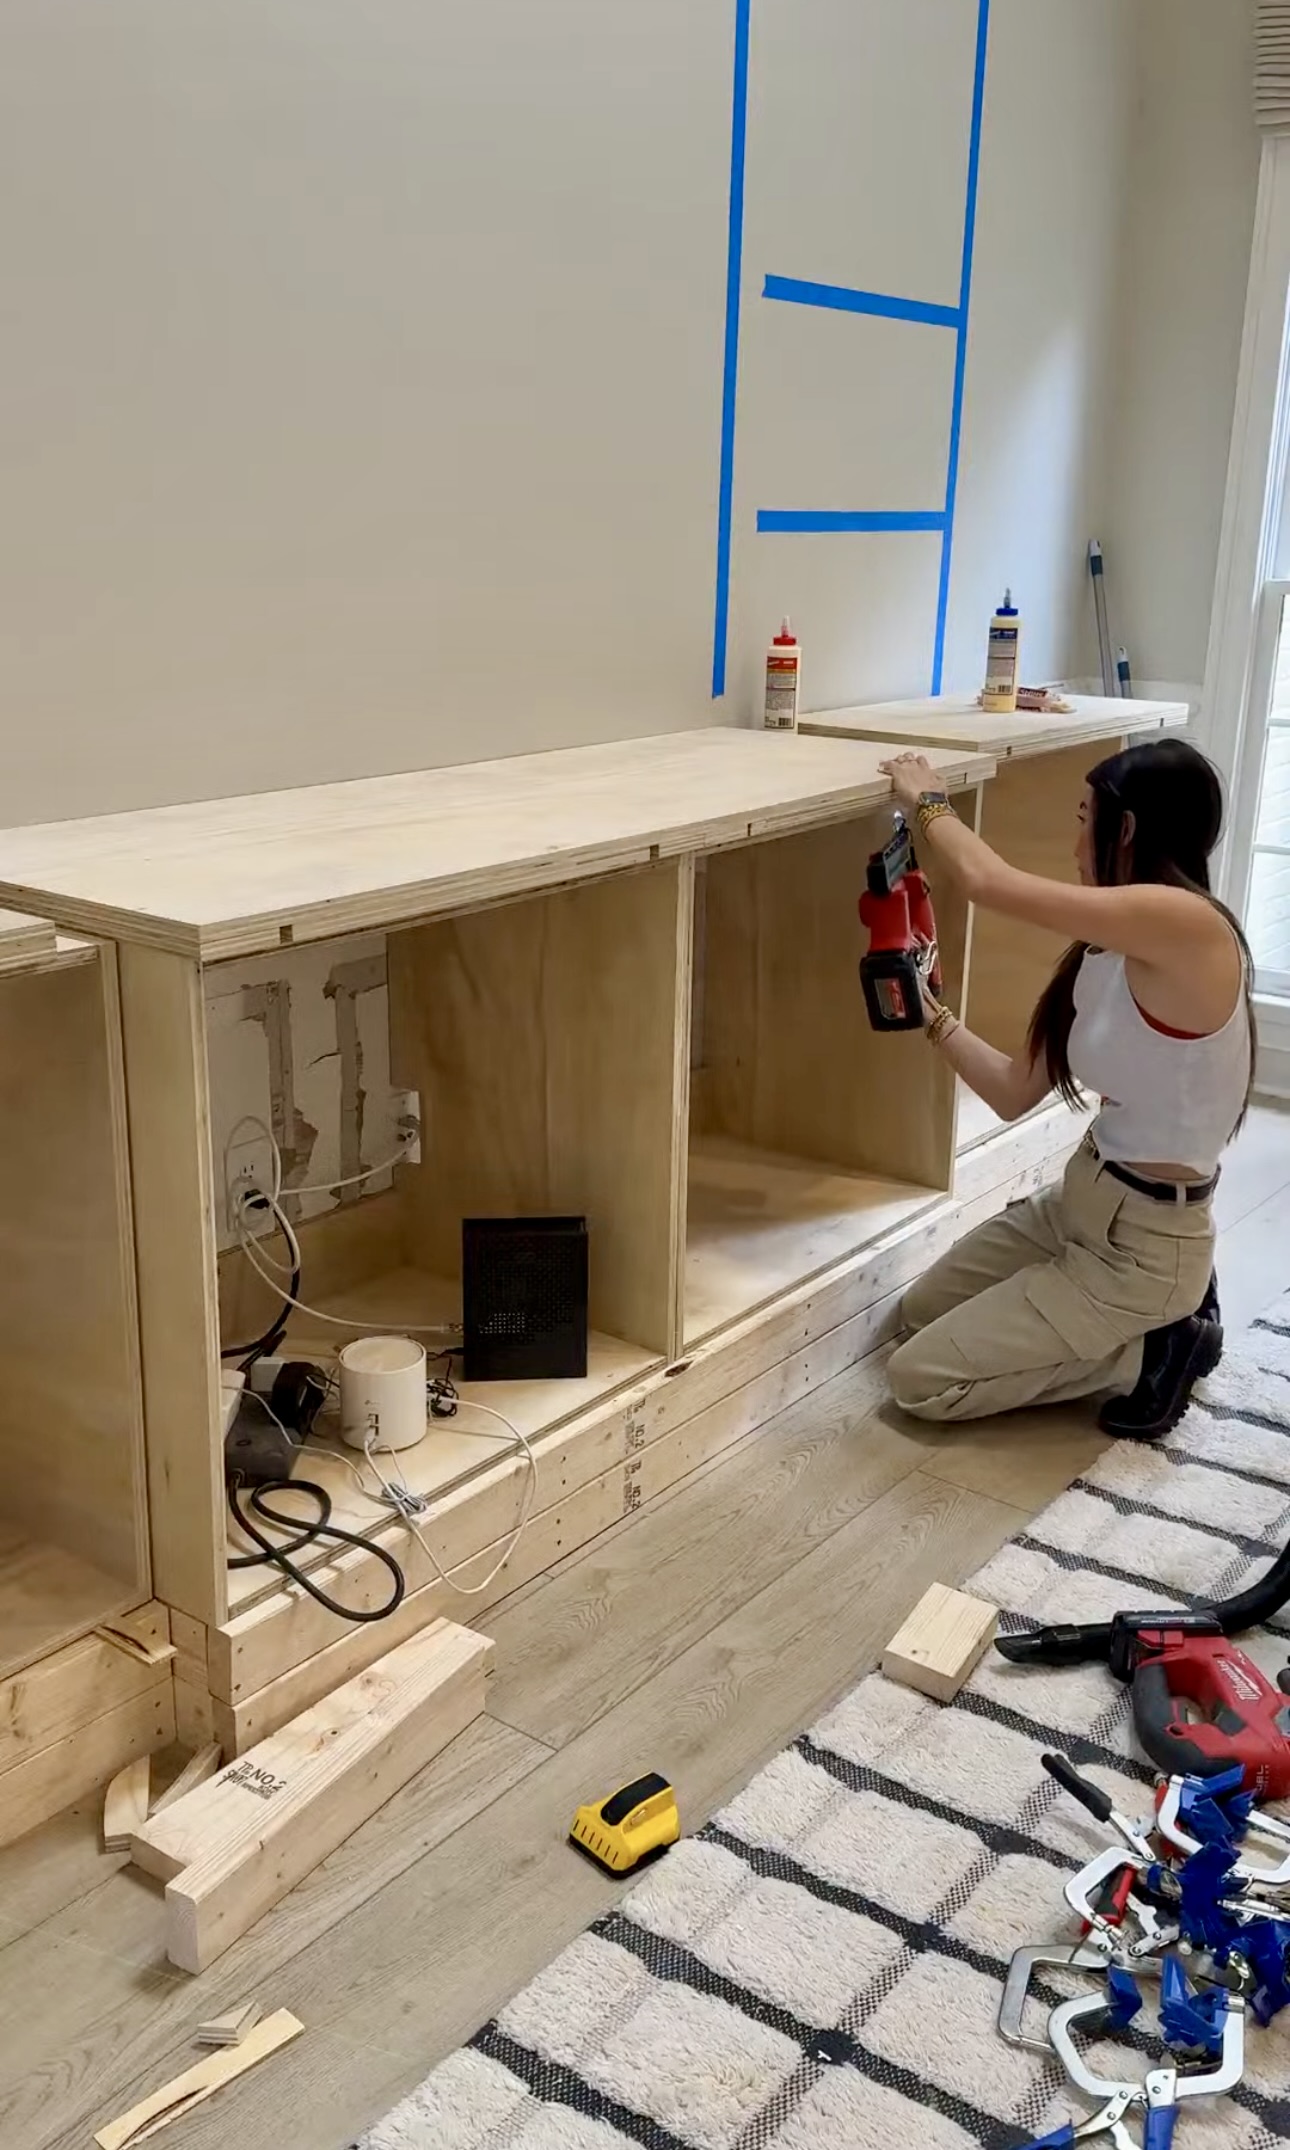
Then, I secured the boxes into the studs. To install the top shelving units, I put wood glue on the countertop and lifted the shelves on. I didn’t have pocket hole screws that were long enough to go through the holes and the studs, so I just used construction screws.
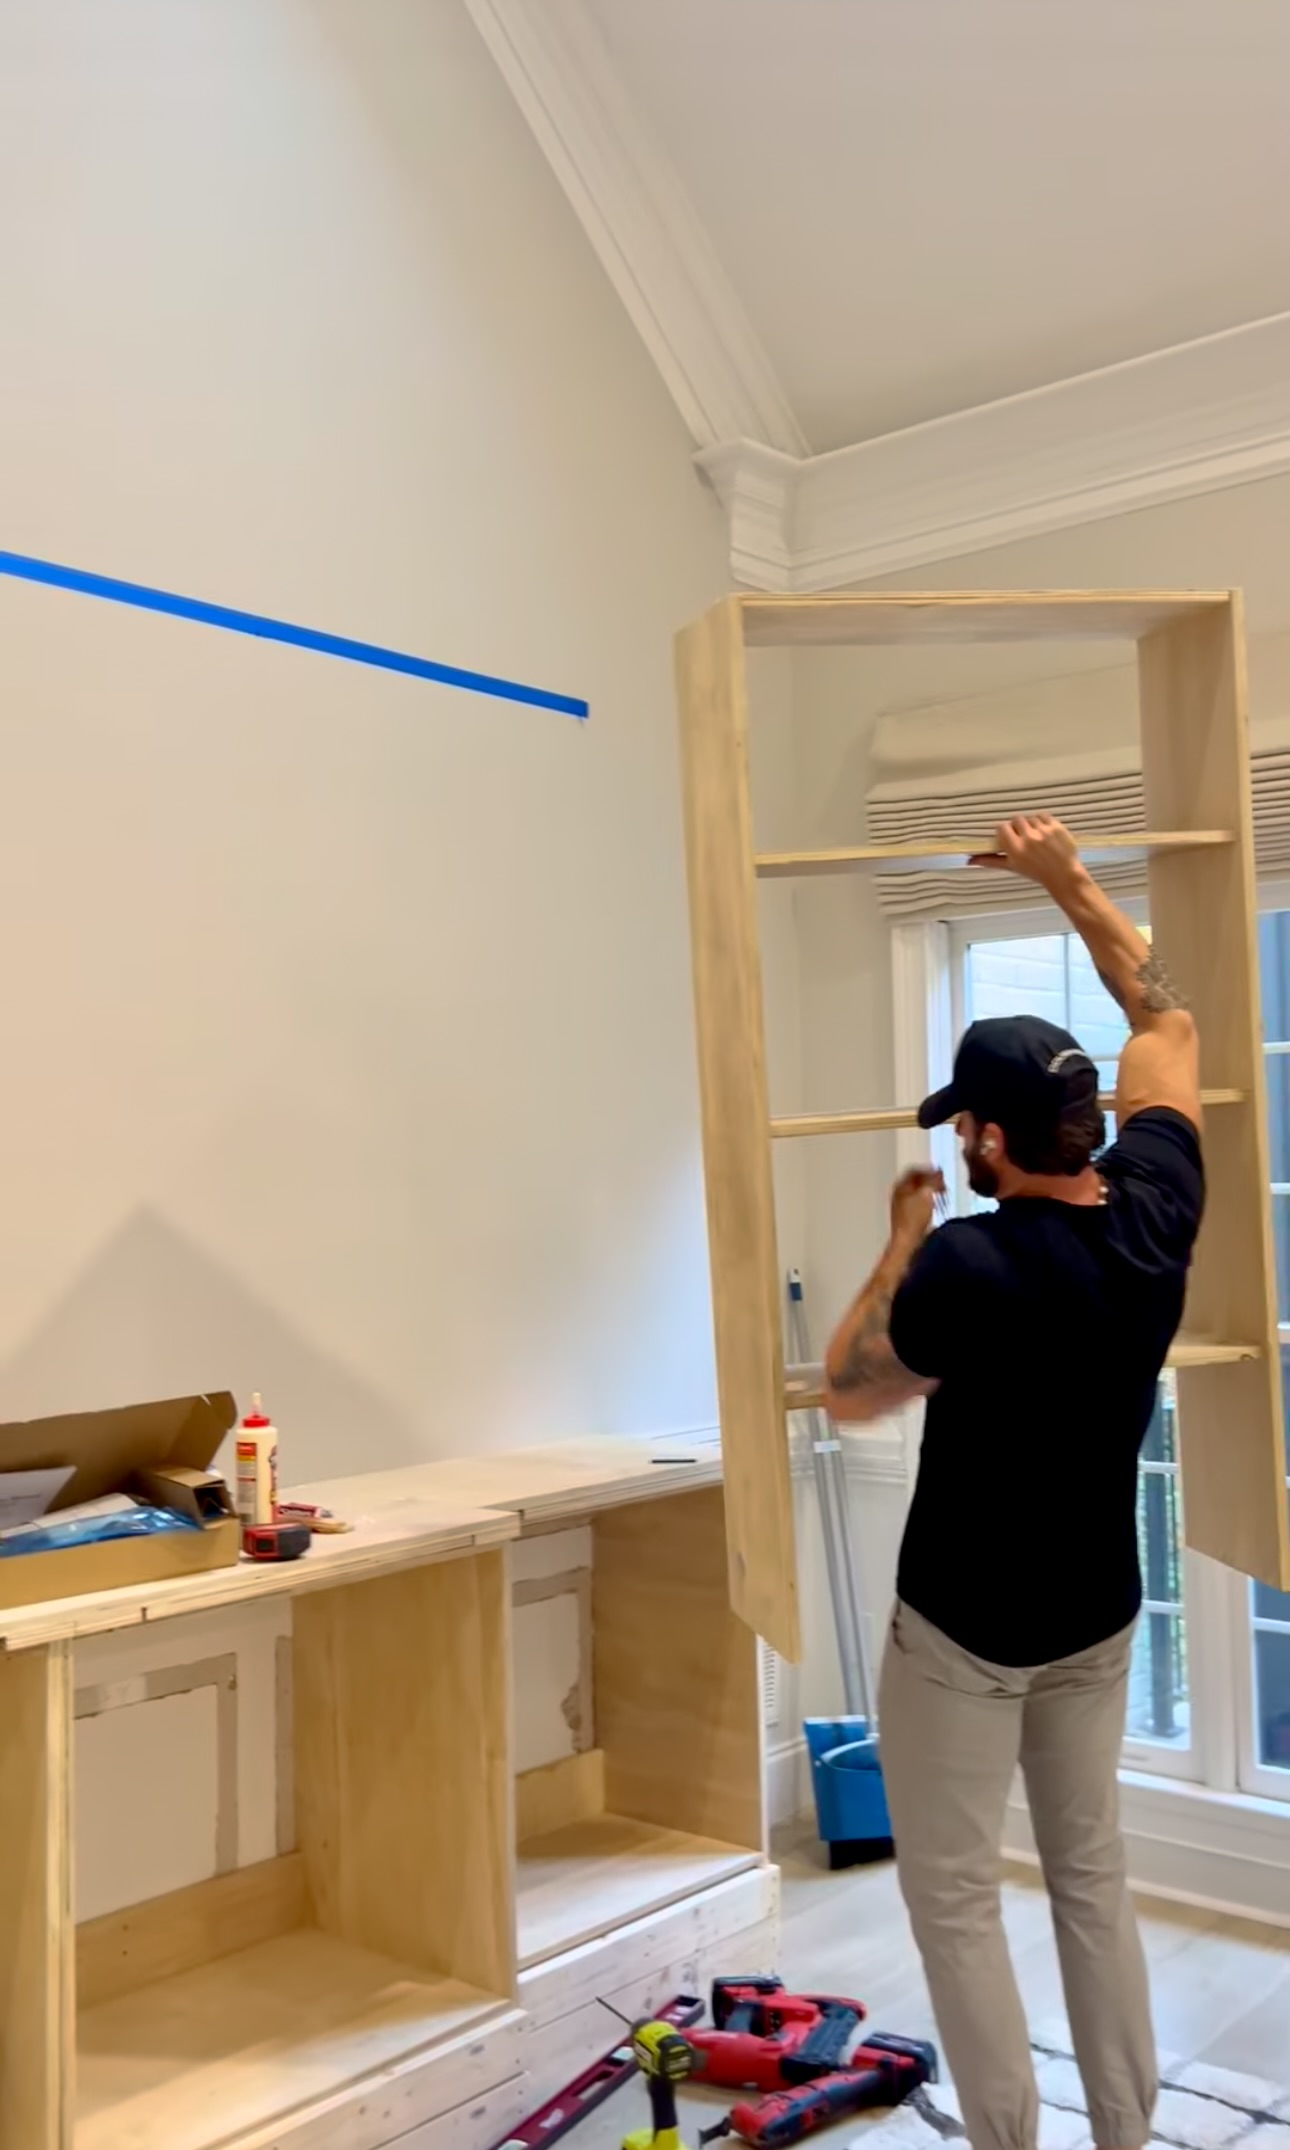
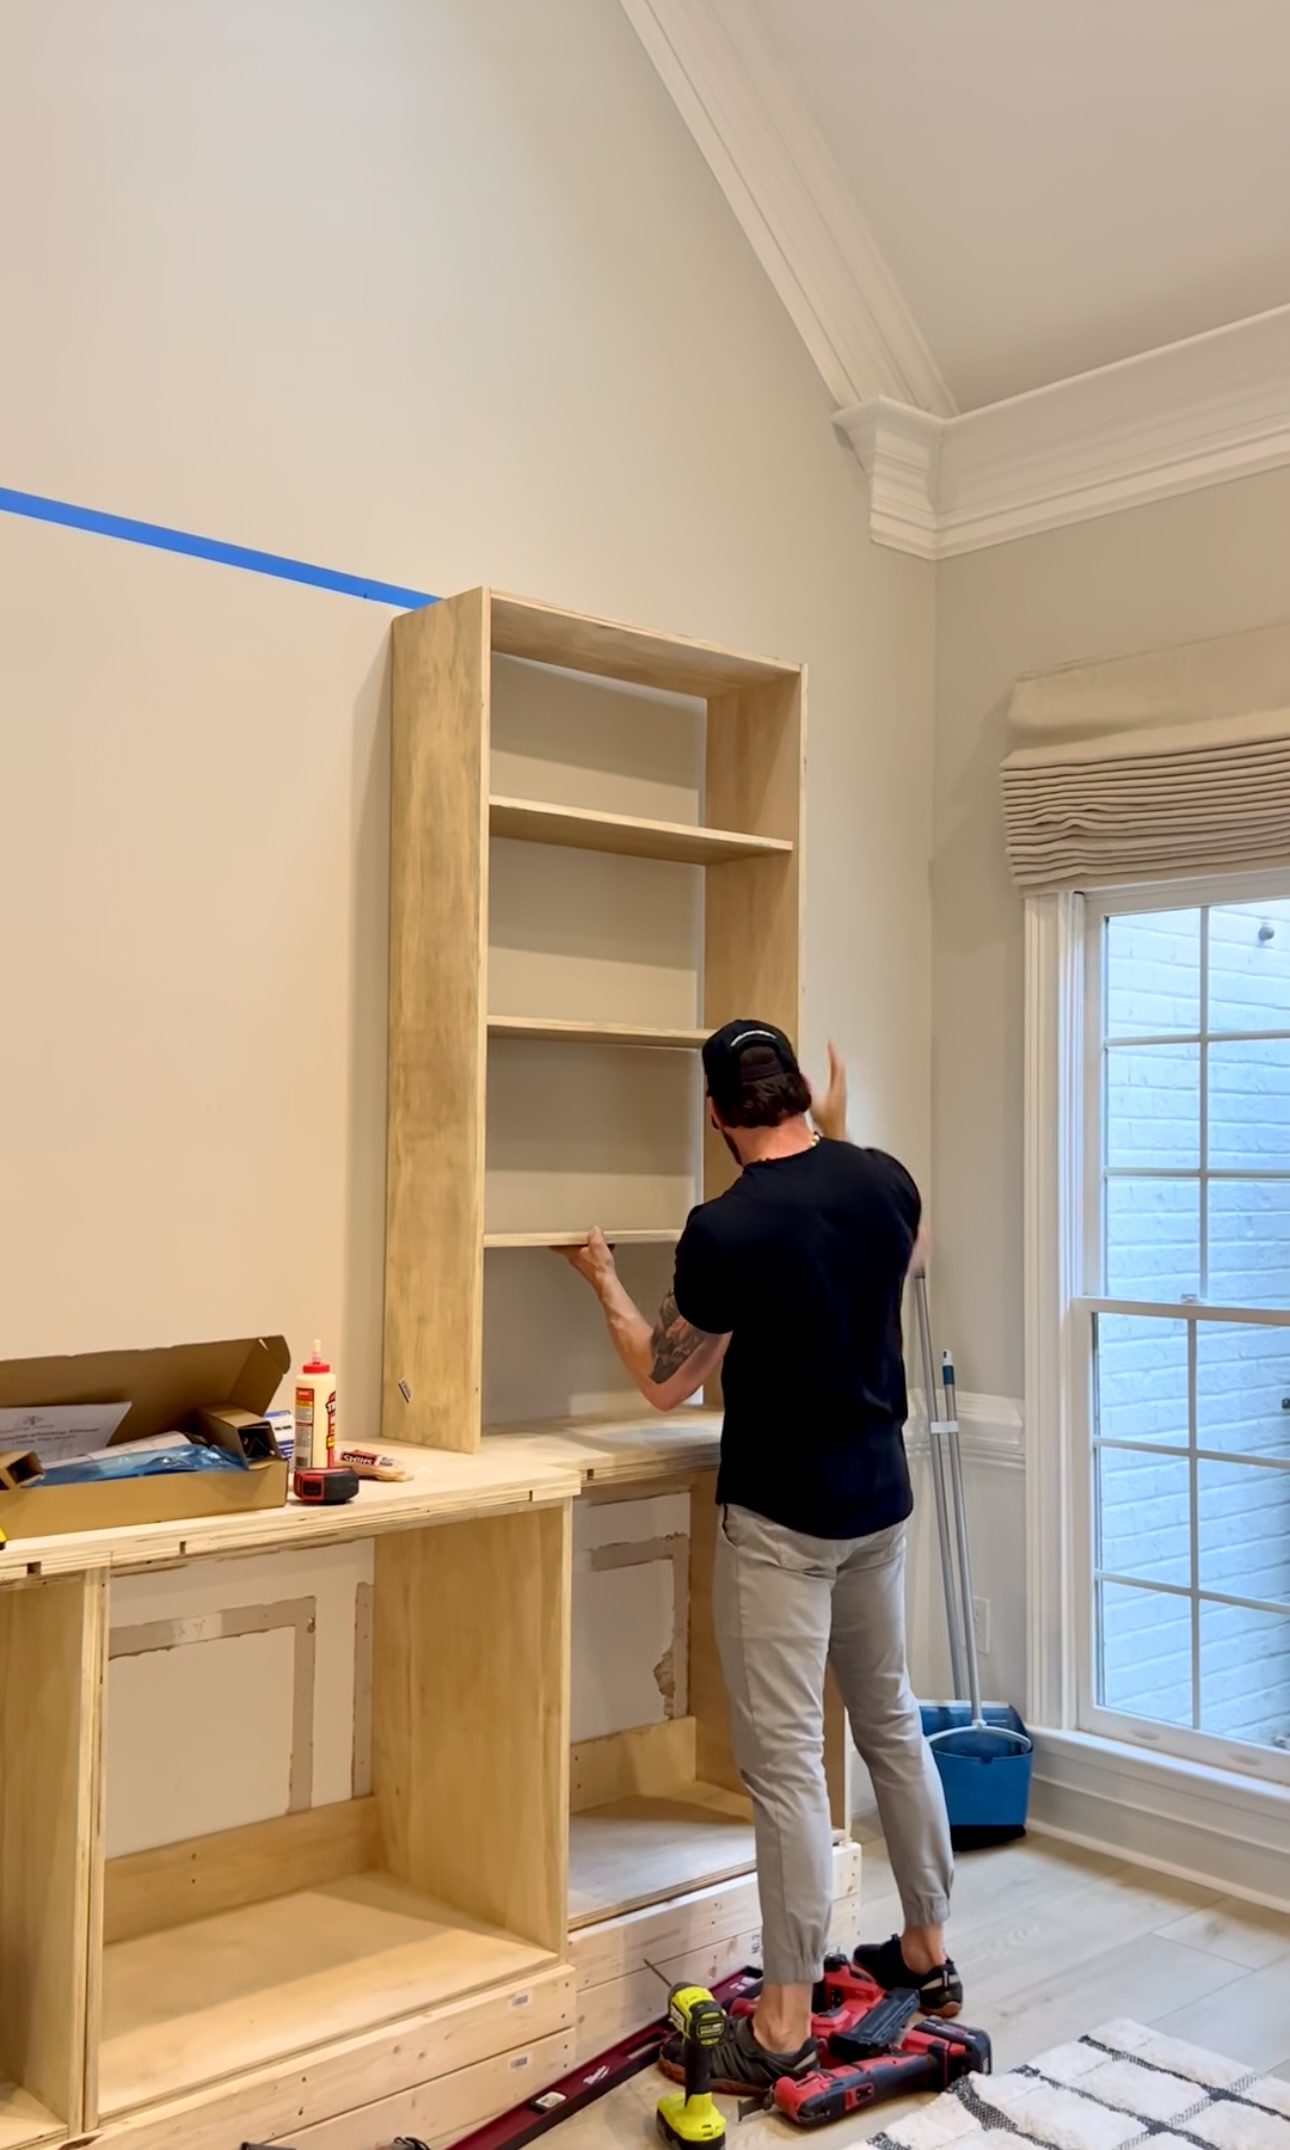
p.s. I totally carried the first shelving unit in by myself but I didn’t film it. I just let TJ do this one to let him feel strong 😉
Countertop
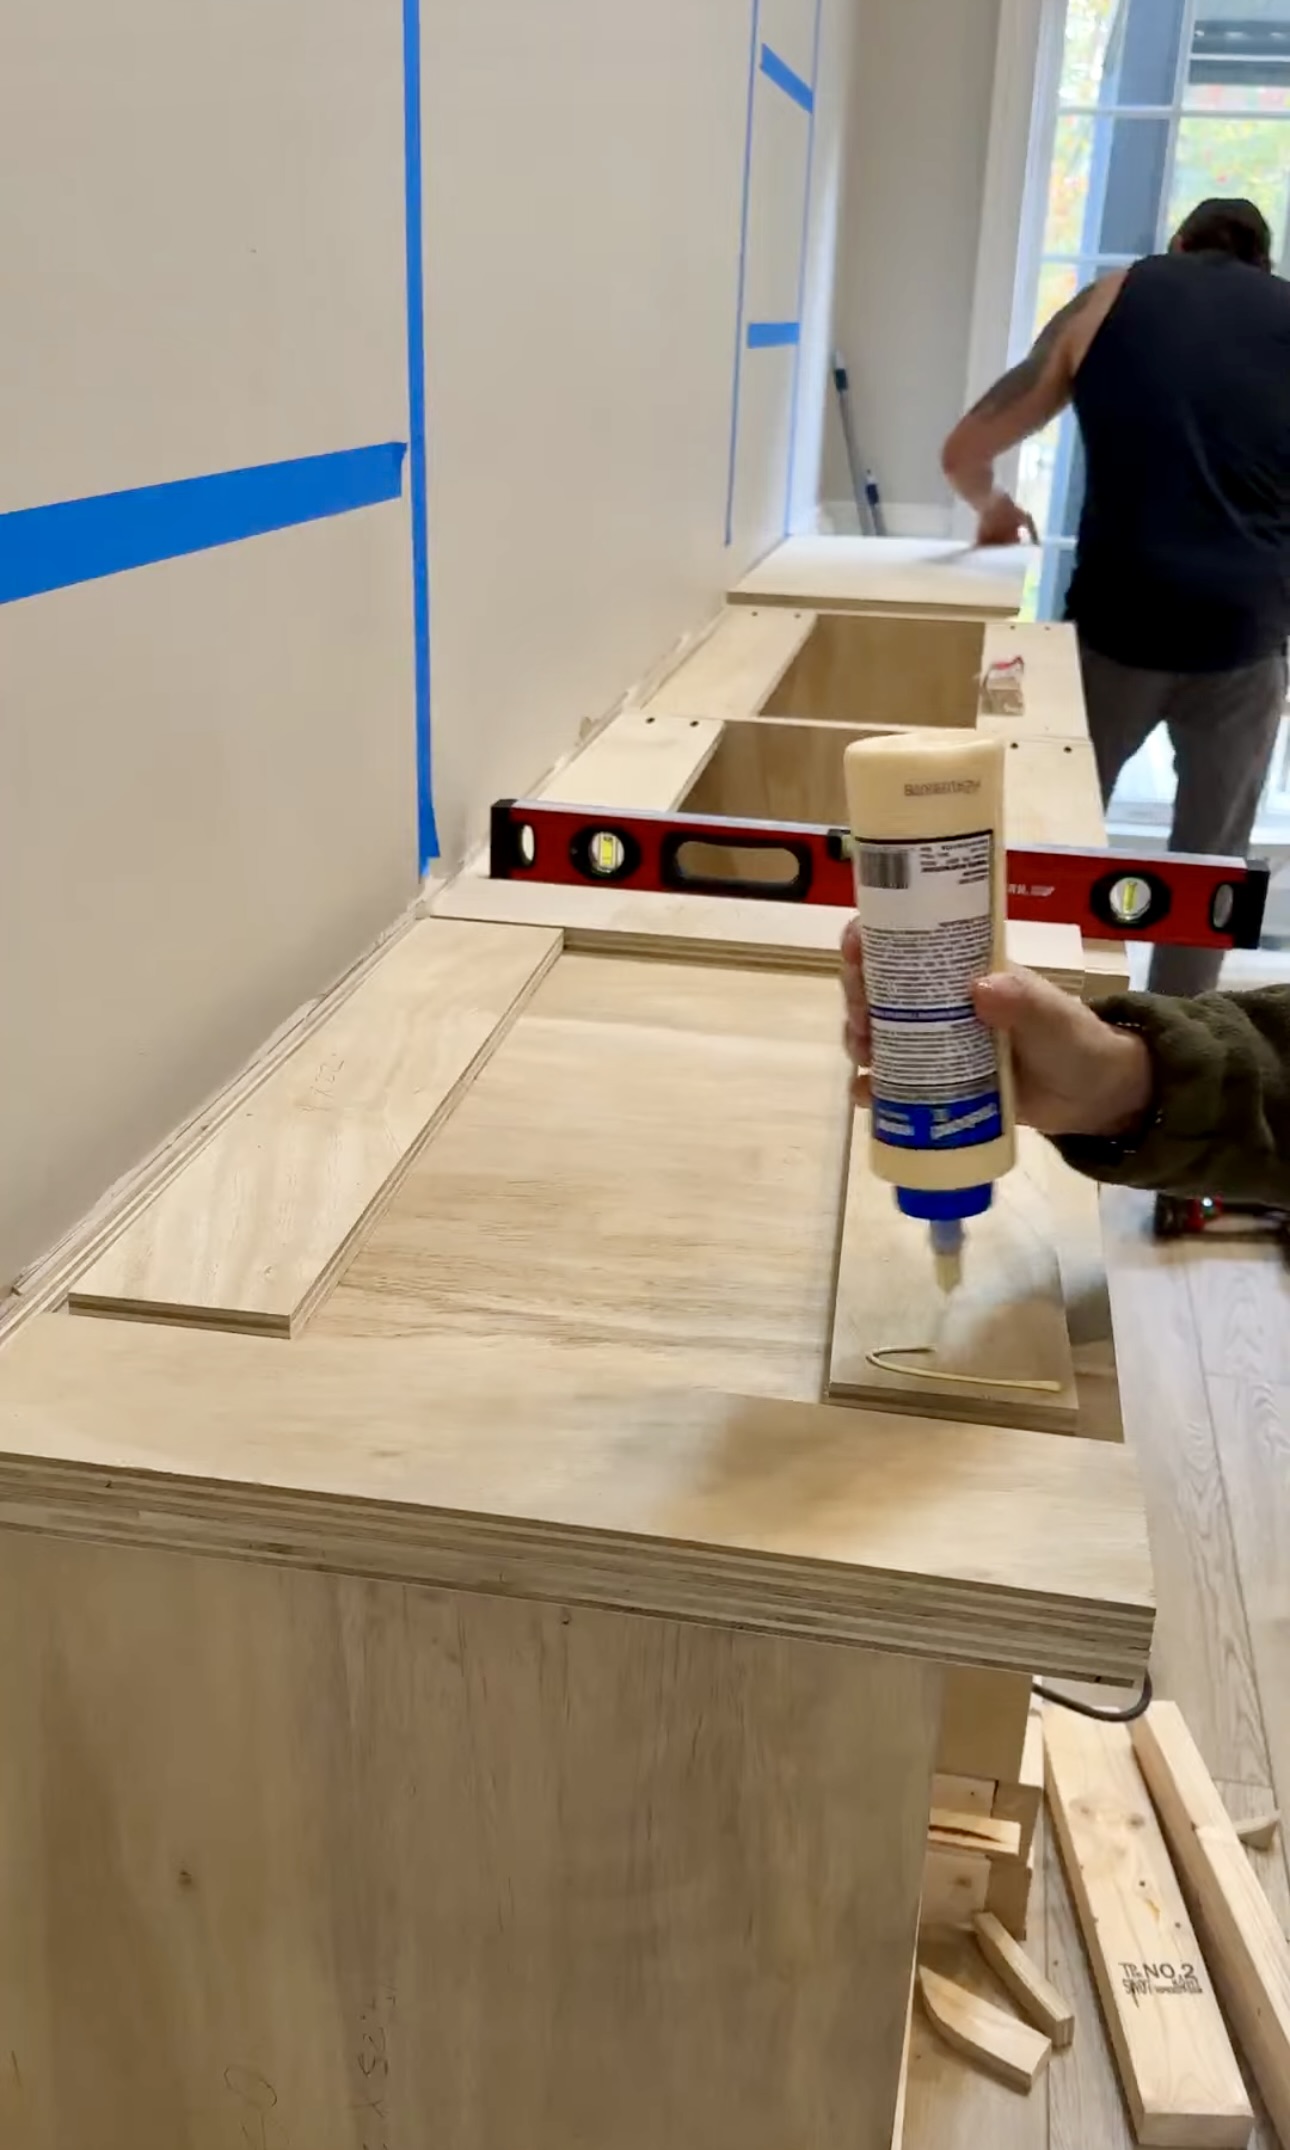
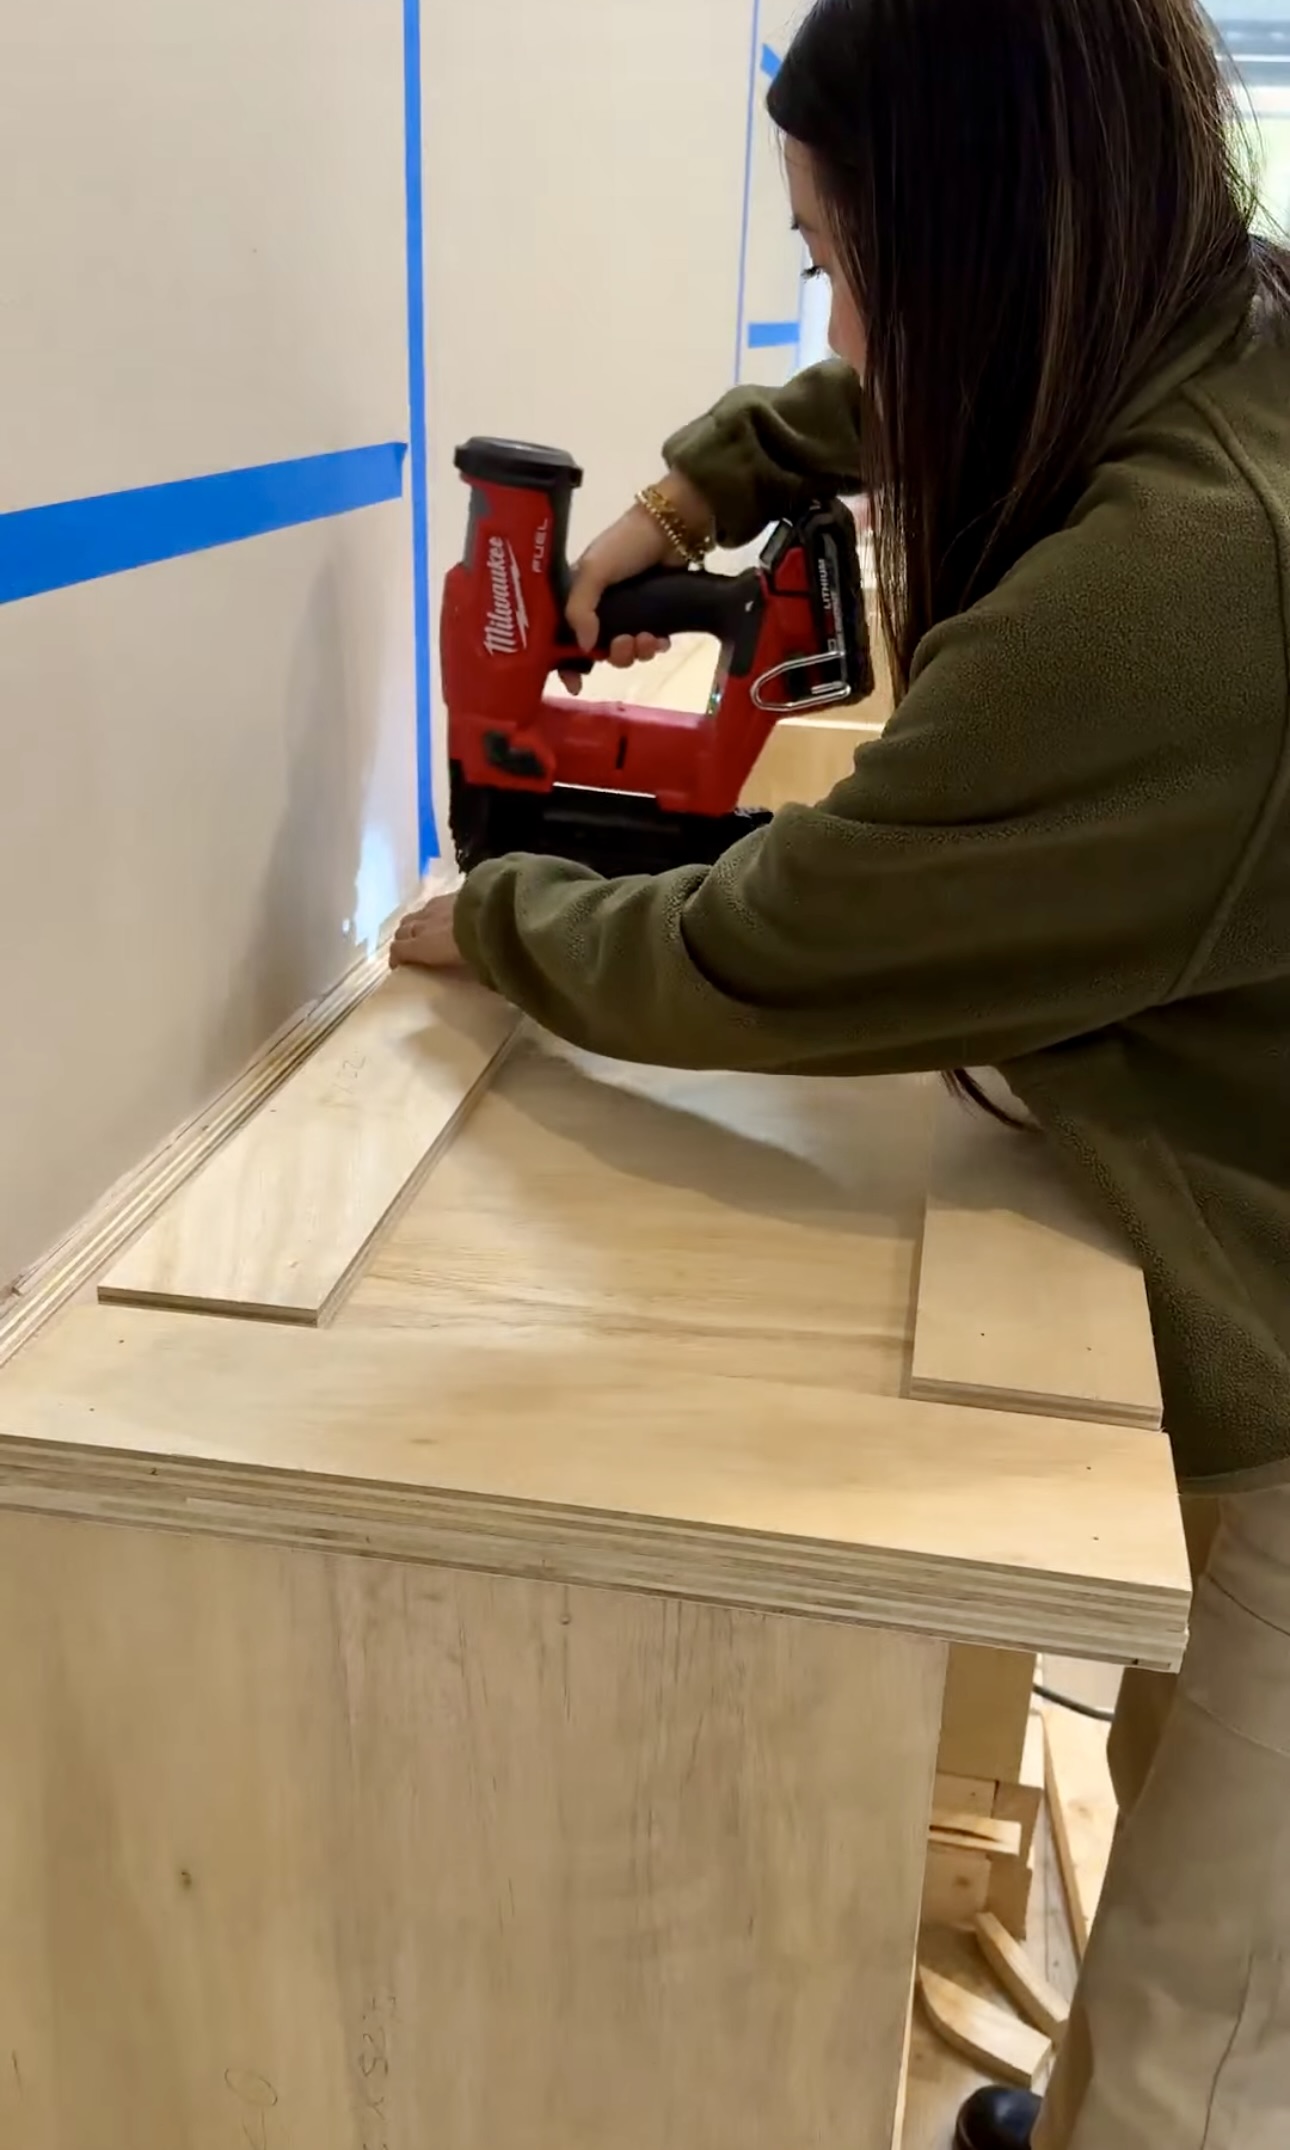
For the countertop, I used plywood. I wanted it to look thick without wasting plywood. To do this, I put pieces of plywood around the perimeter as the bottom layer to give it a bit more thickness. I glued them down with wood glue and secured them. Then I flipped them over and had a seamless, thick countertop!
Stain
I wanted to make this birch plywood look like white oak. I put on a white-wash from Varathane and then applied a coat of stain, Special Walnut. The key is to leave the white-wash wet so the two coats can blend together to create that white oak look.
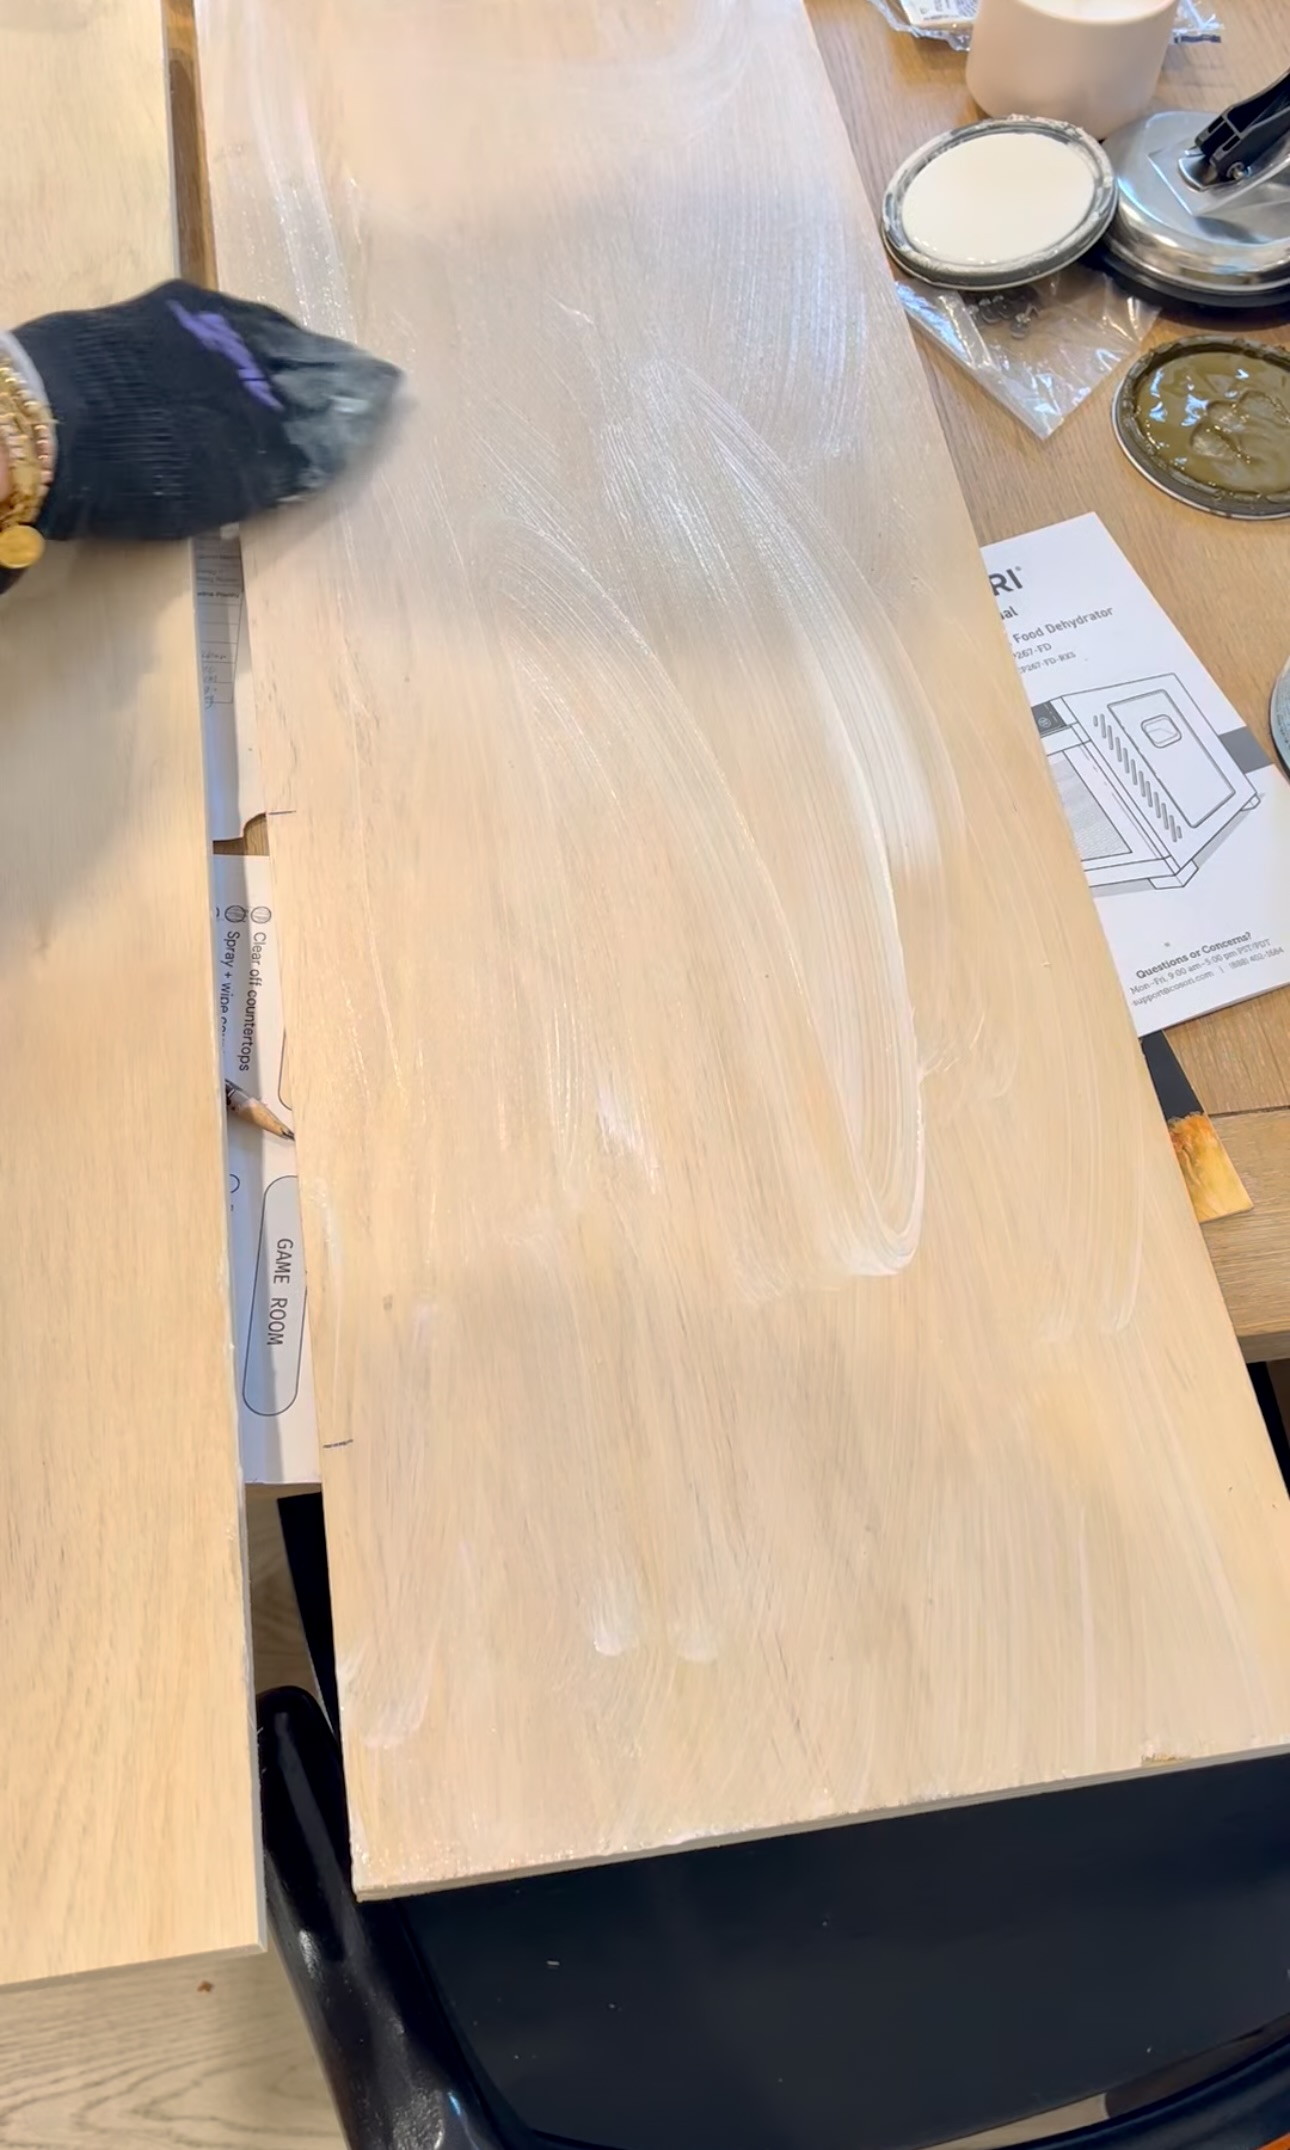
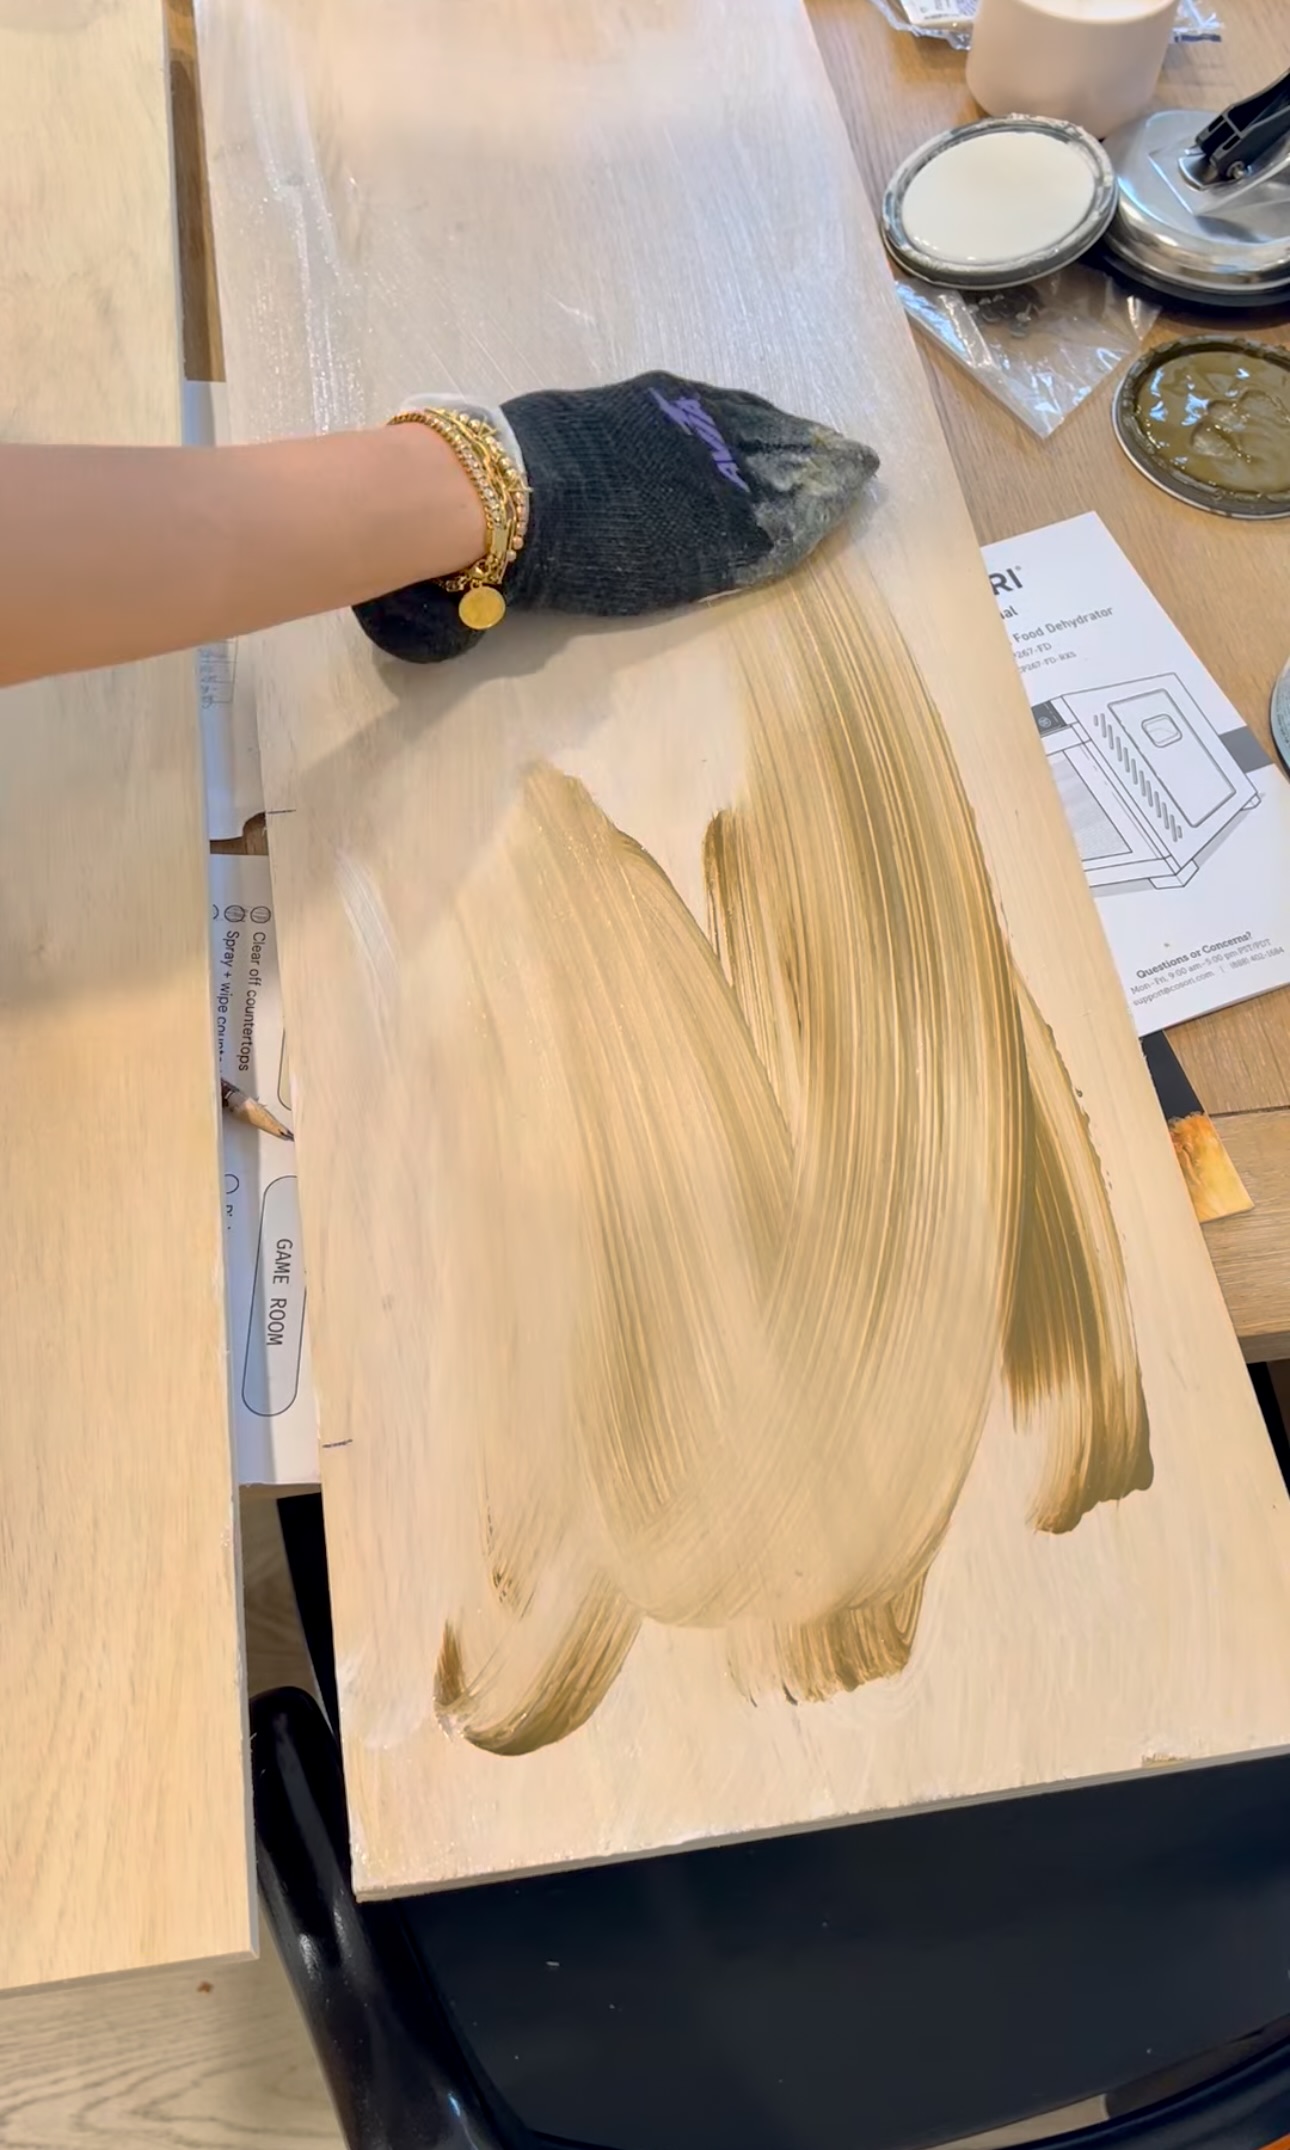
For the polycrylic, I put on my first coat, sanded, wiped with a tack cloth, repeated the steps for the 2nd coat, and then a third coat!
Face Framing
Next, I made the face frames for the base so I could create space for the drawers. I used 1×3’s, wood glue, and pocket holes!
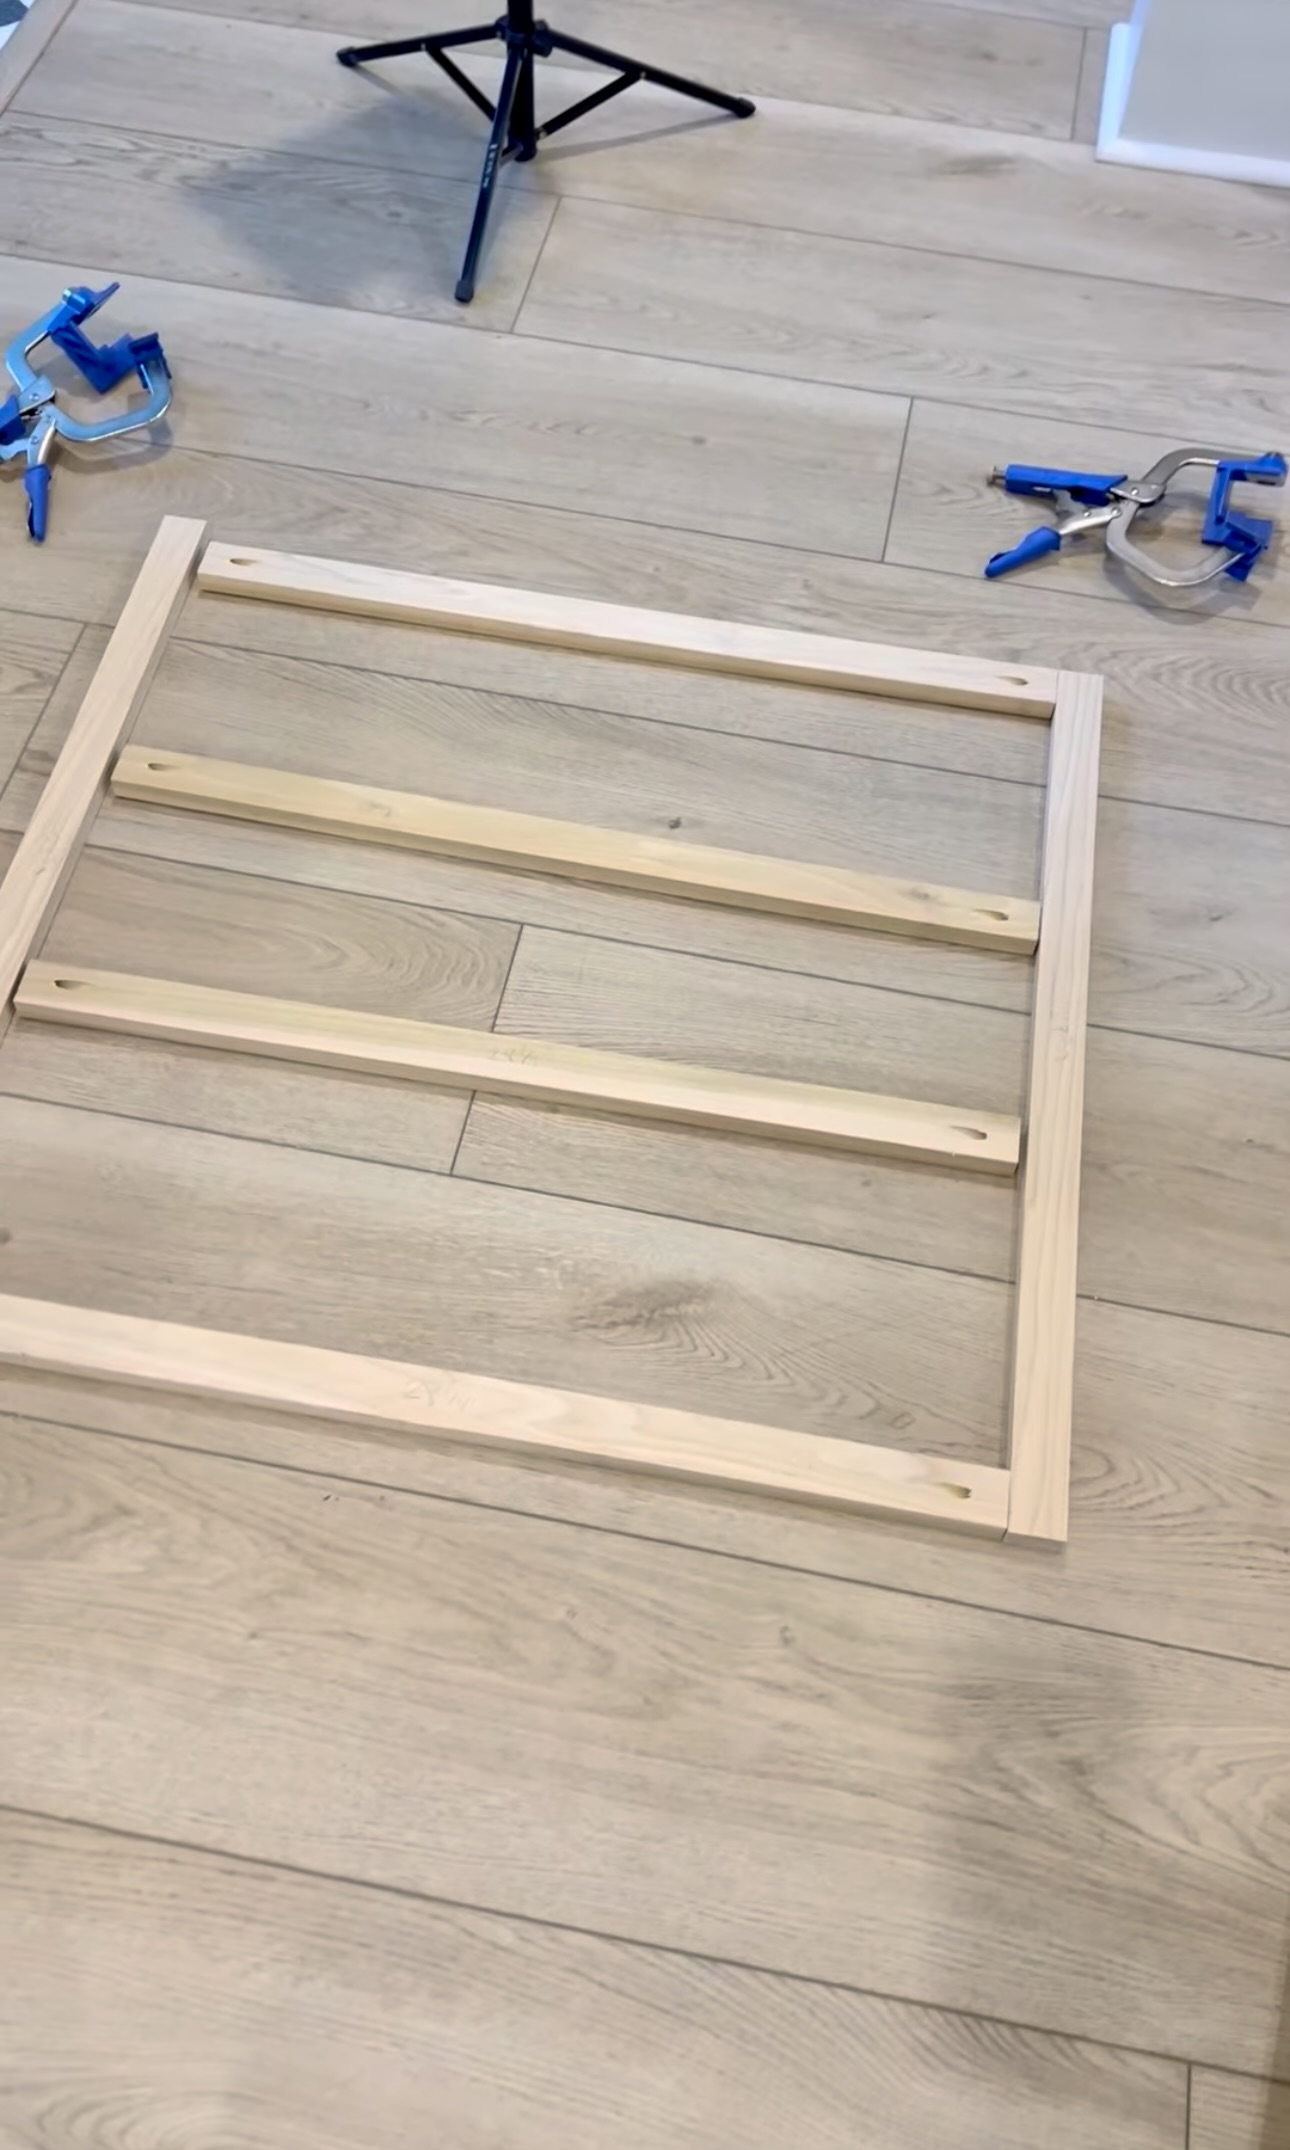

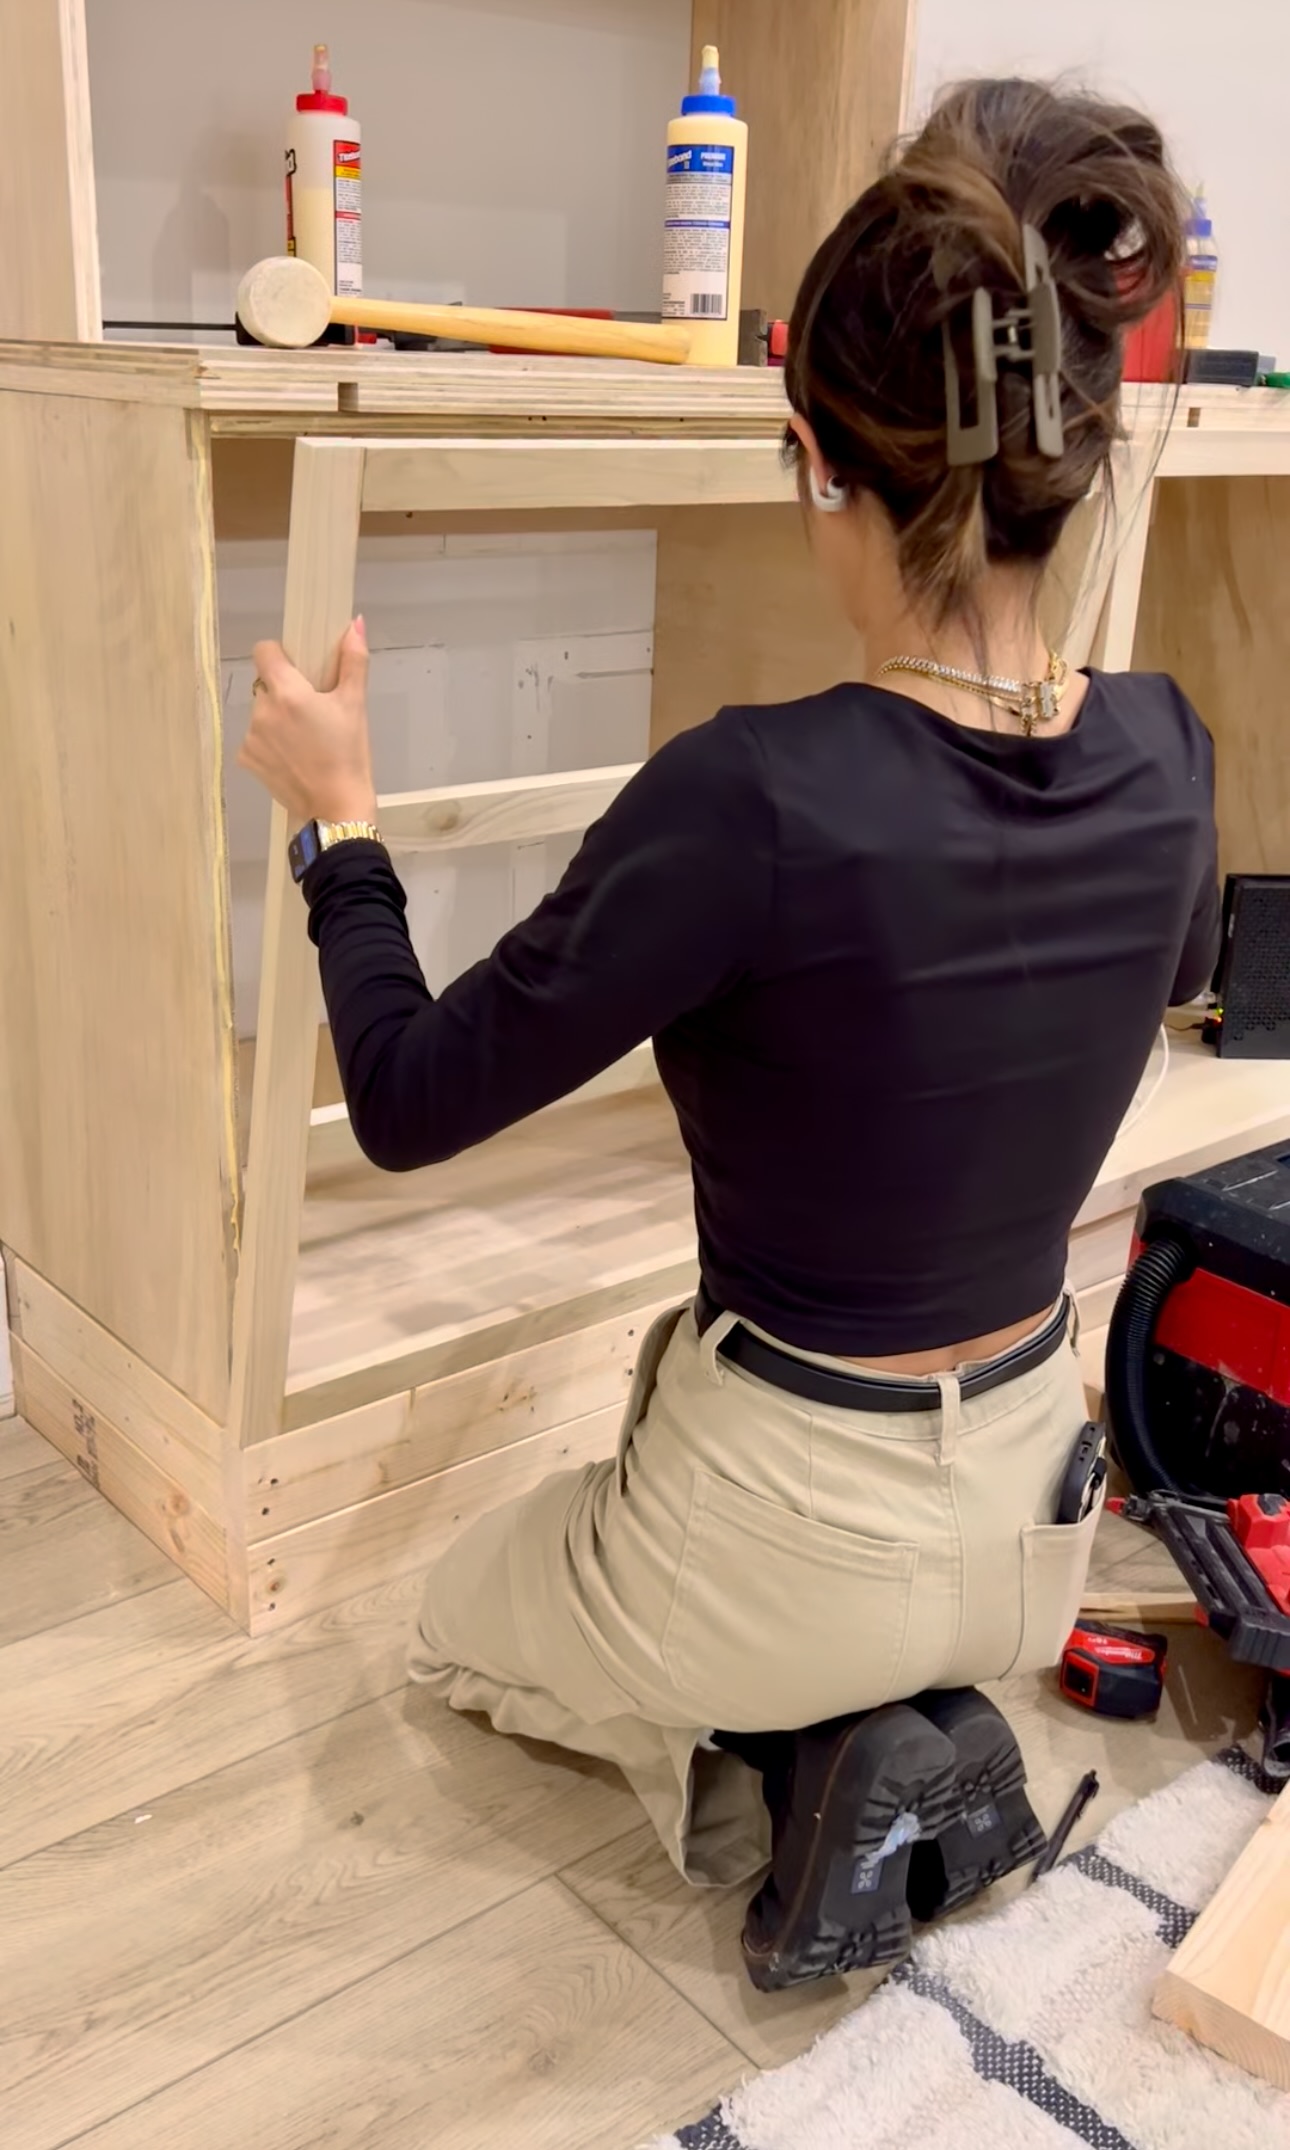
Trim
Next, we installed trim to all the raw edges. I made a cut list for TJ – he cut the pieces at 90 and 45 degree angles so the pieces would meet seamlessly. I used wood glue, clamps, and a brad nailer to attach and secure the trim. For the top, we used an 11 foot board.
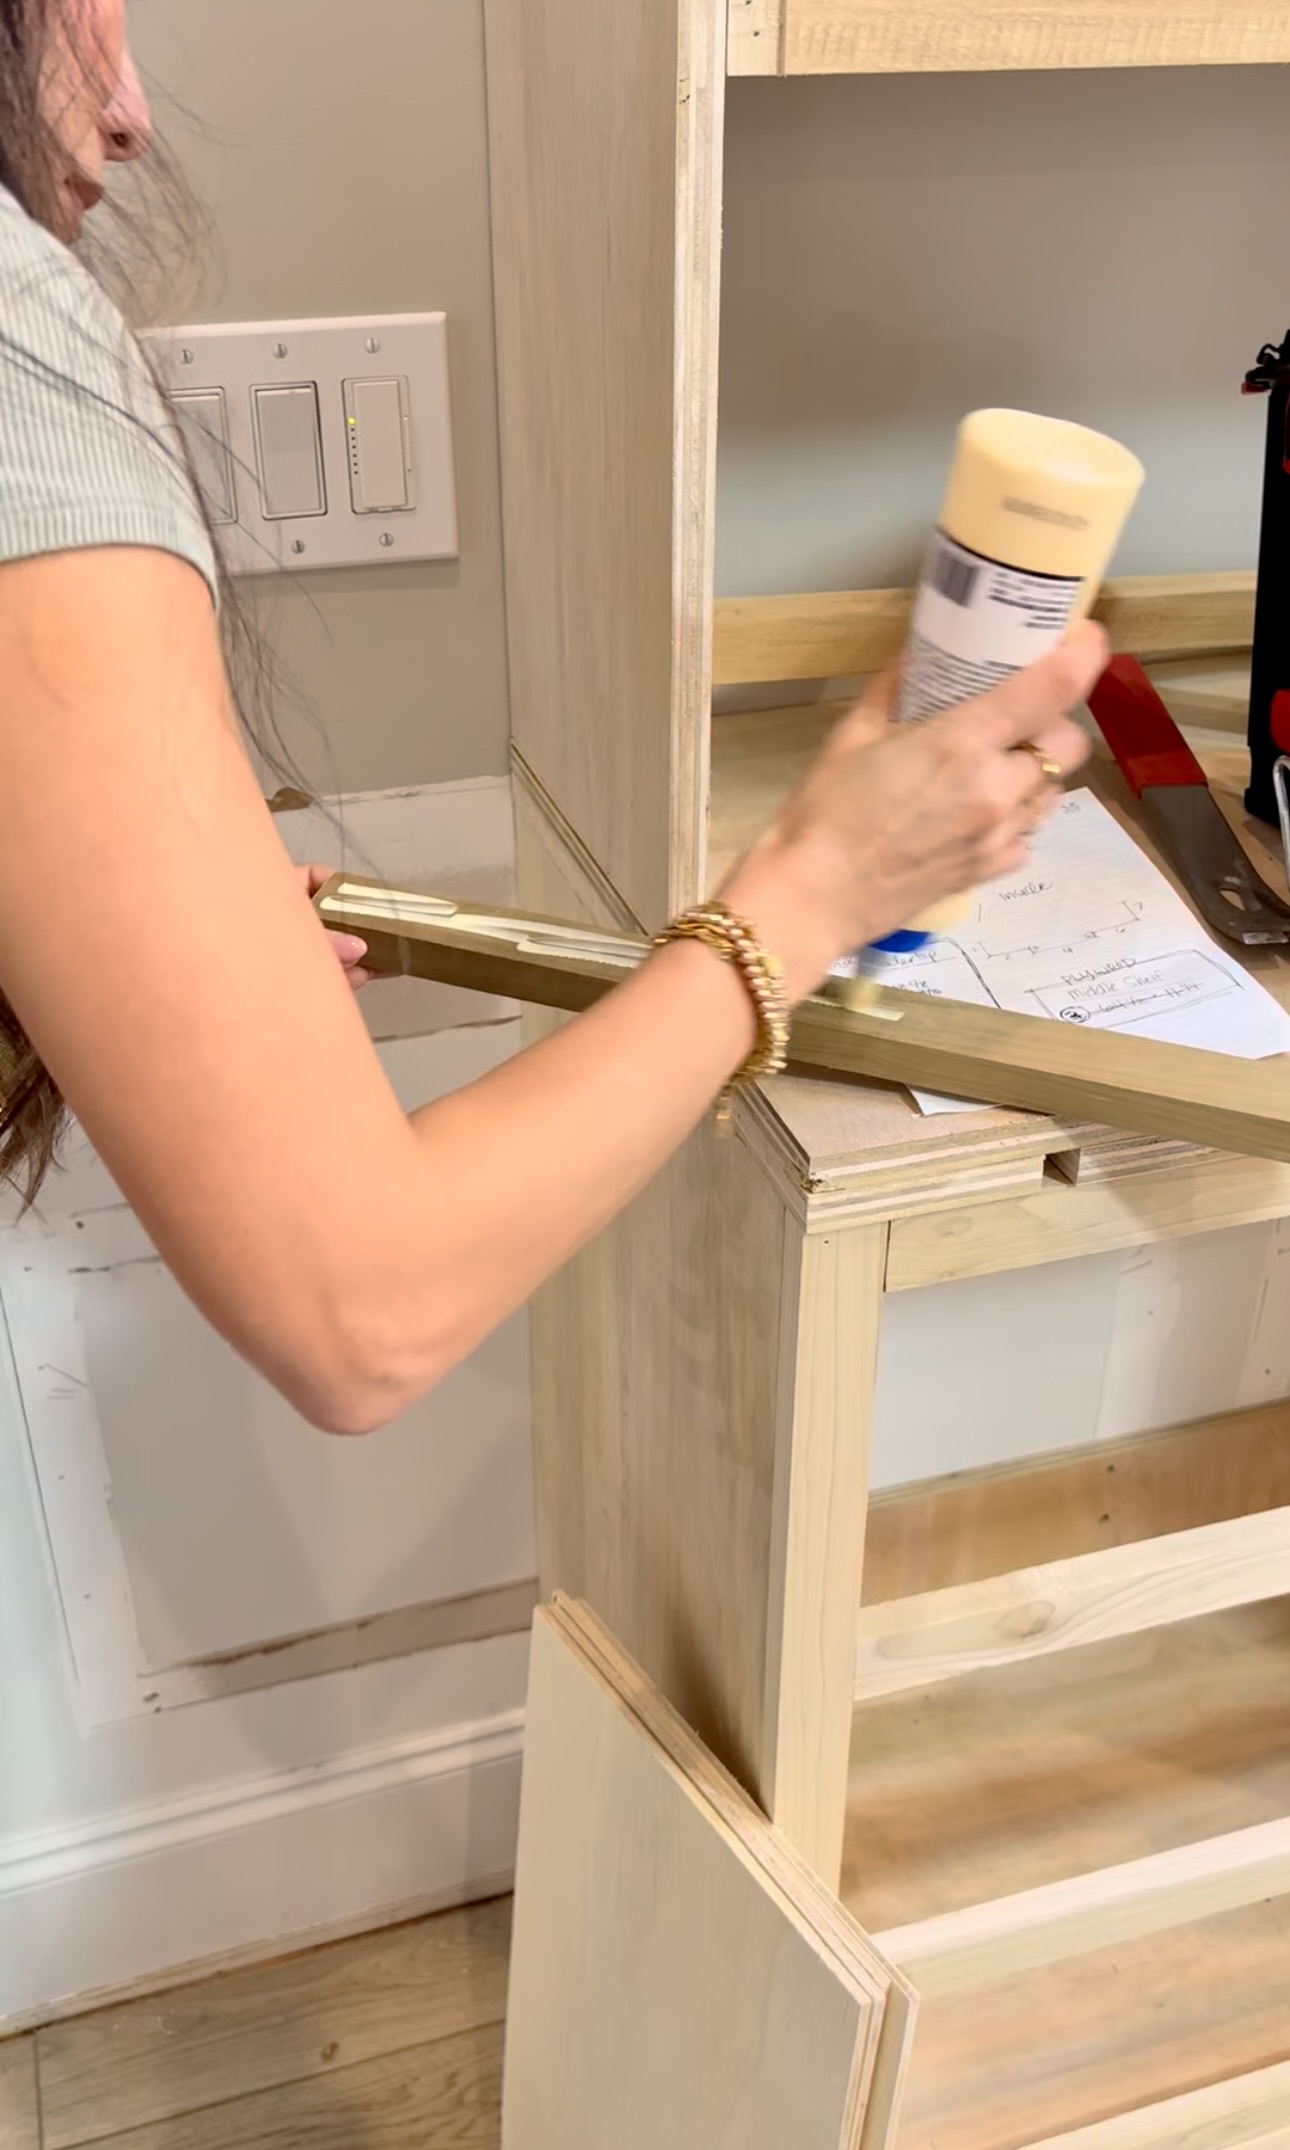

After installing the trim, I caulked all the seams. For the wall seams, we installed backer rods to give the caulk something to stick to where the built-ins didn’t sit plumb against the walls.
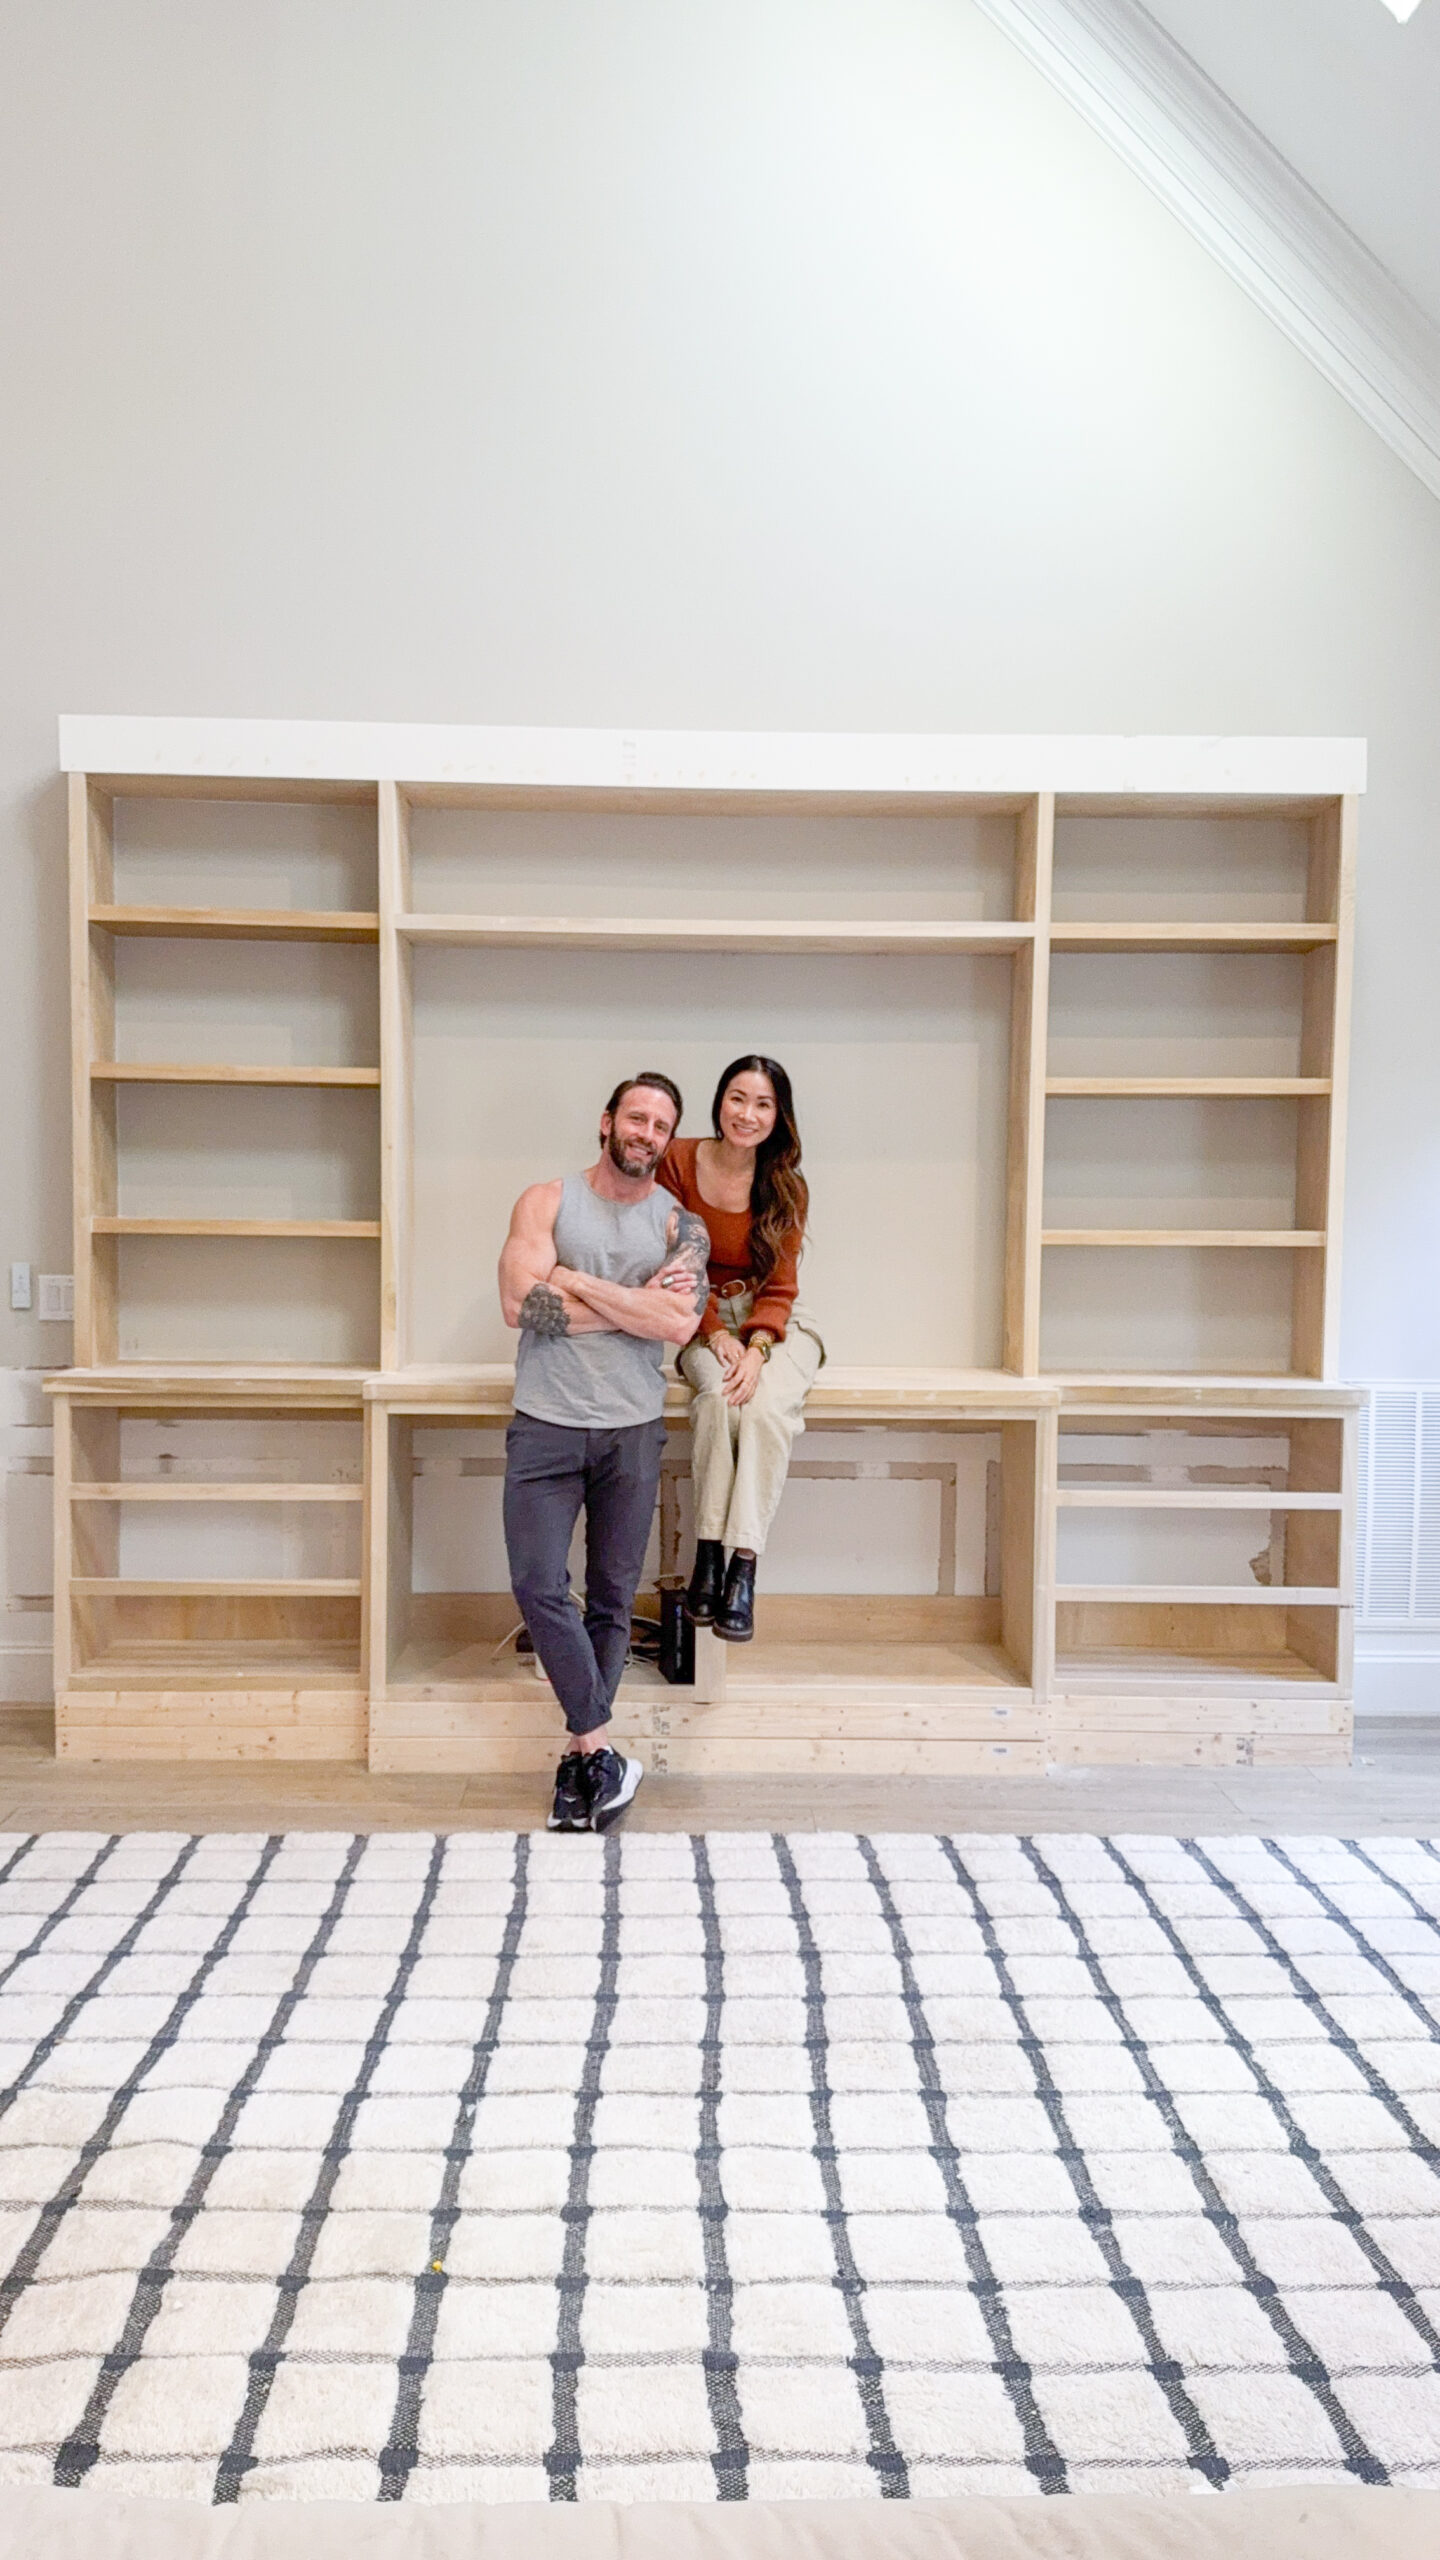
Wow! WHAT a project this is. It was a lot of work but we did it. It’s so fun to see these dreams come to life.

We definitely have lots more to do on these built-ins. Here’s a list of everything we have left to do:
- Build Drawer Boxes
- Build Drawer Fronts
- Build Cabinet Doors
- Install Crown Molding
- Prime and Paint
- Install Cabinet Hardware
- Install TV
- Paint the entire room
- Hang New Chandelier
We are far from done in here. But, I’m happy with the progress we’ve made!
Materials
- 2×4’s
- 1×3’s
- Accu Cut Guide
- Plywood
- Foam board
- Corner Clamps
- Wood Glue
- Level
- Shims
- White Wash
- Special Walnut Stain
- 320 grit sand paper
- Caulk
- Backer Rod
- Polycrylic
- Tack Cloth
Tools
- Utility Knife
- Trim Puller
- Hammer
- Cut List Optimizer
- Oscillating Tool
- Circular Saw
- Miter Saw
- Framing Nailer
- Stud Finder
- Foreman Pocket Hole Machine
- Drill
