Hi
I'm Bong
I'm just a girl who likes to DIY anything and everything. More than that, I love teaching people - especially women - how to pick up power tools and create the home of their dreams. Stop waiting for someone else and starting Doing It Yourself. I'll show you how!
diy projects
diy school
life hacks
categories
must have products
Hello DIY friends! I am excited about today’s blog post because I will teach you all about pocket holes. I will be sharing my go-to products along with the step-by-step process for how to make them and when to use them.
What is a pocket hole?
You use a pocket hole to drive a specific kind of screw into. This hole will keep the screw hidden from plain sight.
When do you use a pocket hole?
You can use pocket holes on so many projects. Most of my projects use pocket holes. I like hidden screws because it gives my projects a sleeker, professional look. These holes are very strong, especially when you add glue to the wood. Some examples of when to use a pocket hole are creating a frame, or I used pocket holes when creating my built-in console.
What do you need to know when creating pocket holes?
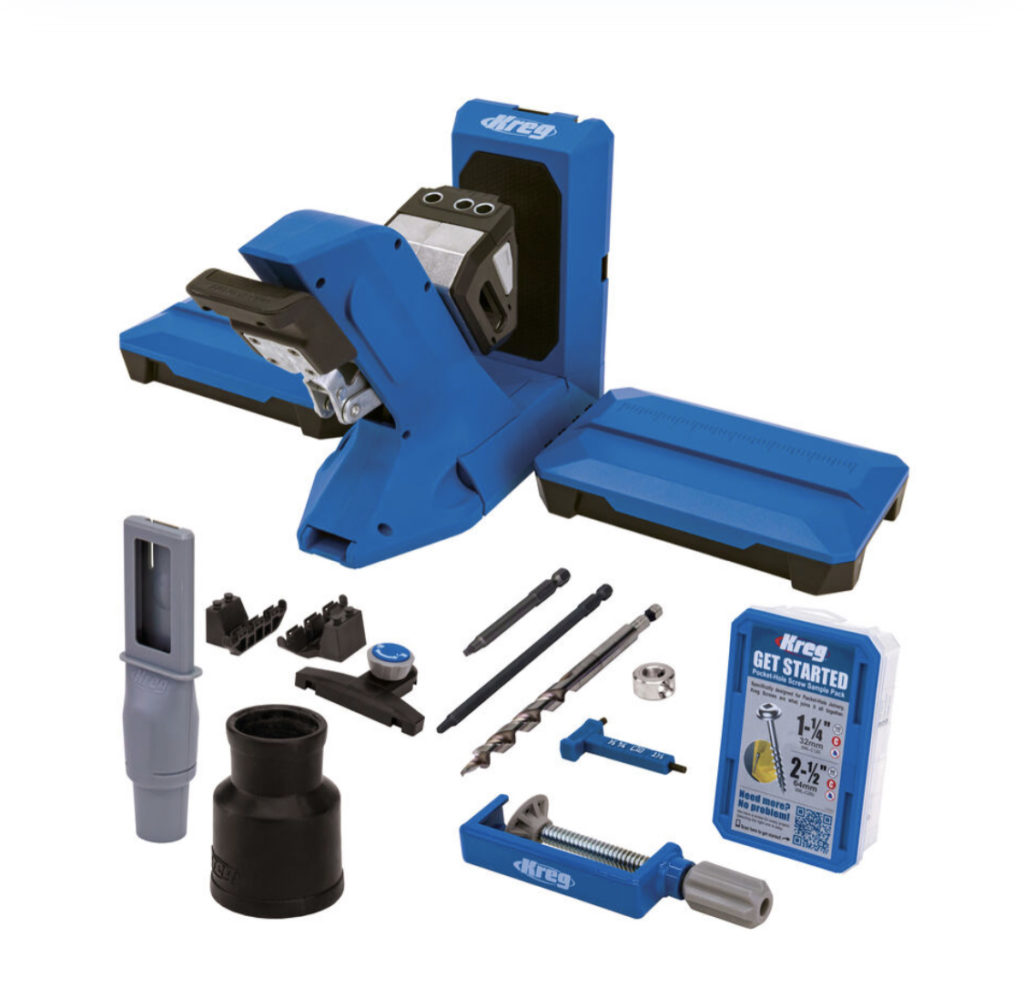
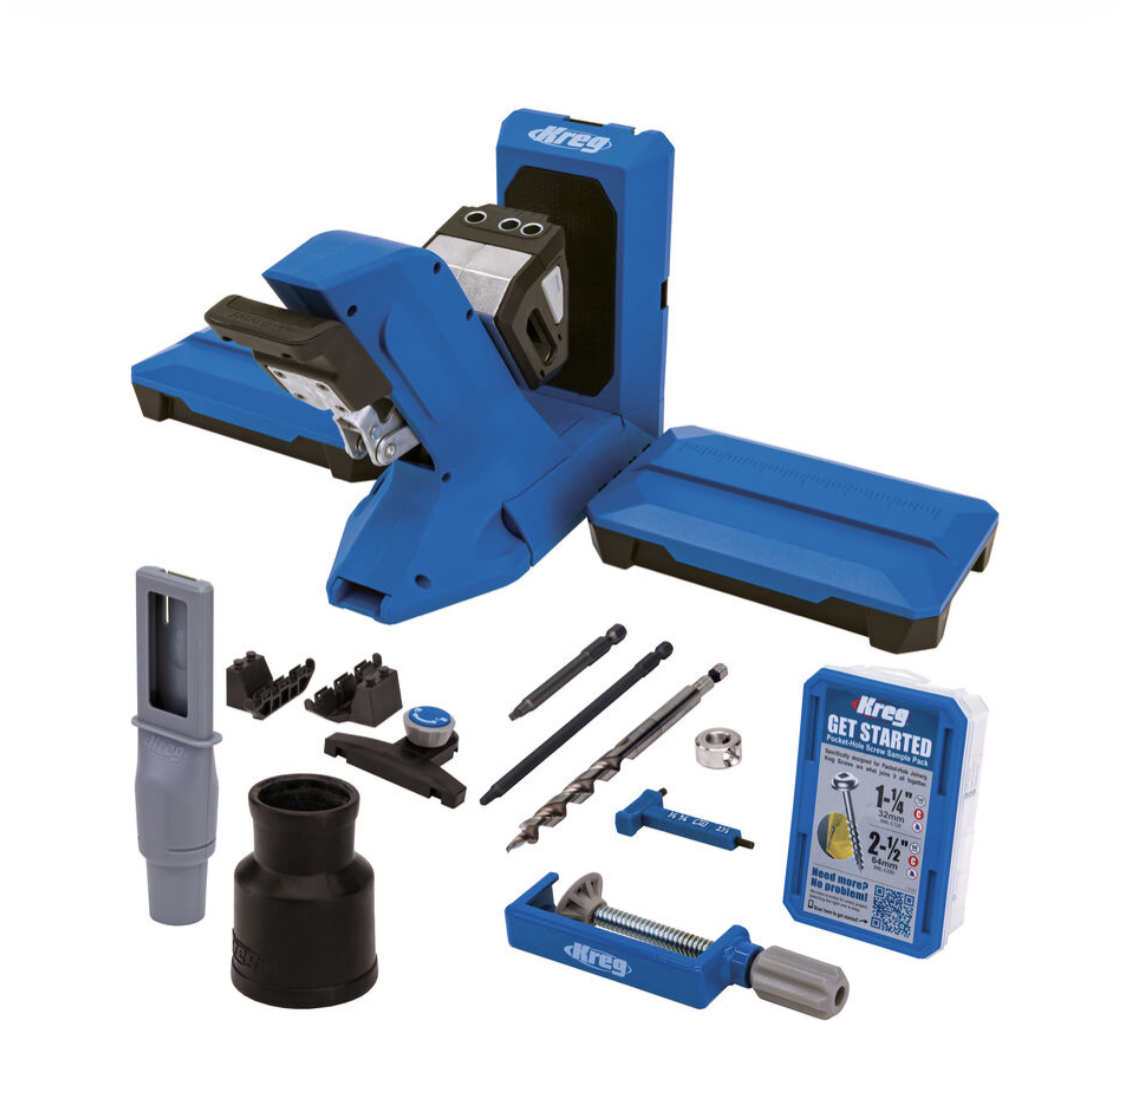
There are a few different ways to create a pocket hole, but I will show you how I create them because it is the easiest way to make them. I use my Kreg Jig to make all my pocket holes. I have one of the bigger, more expensive Kreg Jigs; however, there are smaller ones that are less expensive. I chose the bigger Kreg Jig because I love pocket holes and make them often. Because of this, it was worth the investment to me to opt for the bigger one.

When it comes to pocket holes, you must know the nominal thickness of your wood. This is the actual thickness. For example, I am using a 1×3 piece of wood. However, the nominal thickness is ¾ by 2 ½. I know this can be confusing at first, so do additional research before making your pocket holes.
Your Kreg Jig should come with a drill bit. On this drill bit, you will see an adjustable stopper or collar. Mine also comes with an adjustment tool that I use to loosen it. This way, I can put the stopper on the correct number. Some drill bits do not have numbers, but you can adjust them correctly by placing the drill bit inside and moving the stopper up and down.
Aside from adjusting your drill bit, you might have to adapt your Kreg Jig (this is only for some models). However, my Kreg Jig is self-adjusting, so I only need to change my drill bit.
Since all Kreg Jigs are different, it is always good to do a practice piece first to ensure you have gotten the hang of it before starting this step on your project.
If you have a choice, put your pocket hole along the wood grain. This will reinforce your pocket holes, making your project as stable as possible. In addition to this, you should always use glue for extra reinforcements.
What screws do you need to create pocket holes?
You will need specific screws for your pocket holes. These screws are called pocket hole screws. I know, what a shocker! These screws come in different sizes. Your Kreg Jig should come with a guide that helps you choose which size is best for the size of the wood you are working with. These screws look like regular screws but do not be fooled. They are not the same! The top of the pocket hole screw is smooth and has a fair bit at the top. Therefore, all Kreg Jigs have a fair bit of driving the correct screw-in. Kreg Jigs also have a long shaft, so you can quickly move the screw in.
So, How do you make the pocket hole?
First, I will grab my drill bit, then make sure it is sized correctly and the collar is stopped at the number that correlates with the nominal thickness of my wood. I will then stick the drill bit into my drill and screw it on until it feels secure. Since my Kreg Jig is self-adjusting, I will not need to adjust the Jig, but you might need to change your Jig depending on what you are using to create pocket holes.
Once you have placed the wood into your Kreg Jig, you will see three different holes to choose from. These three options are considered standard pocket hole measurements. If you are using a 1×2, you will use the two holes that are closer together. Or you are using a longer piece of wood. You can slide the wood through the Jig and cut holes every 4-6 inches. It just depends on what you want. It would always help start closest to the corner or edge when making pocket holes to stabilize your project.
Now that your wood is in the Kreg Jig and you know which holes you are using, you will clamp the wood in securely to your Kreg Jig. Your wood should fit tightly if everything is sized correctly. Once it is secure inside the Jig, you will fit your drill into the hole. Then drill down until the collar stops at the spot and pull it out. Once you have made the first hole, you will then drill the next pocket hole, and so forth.
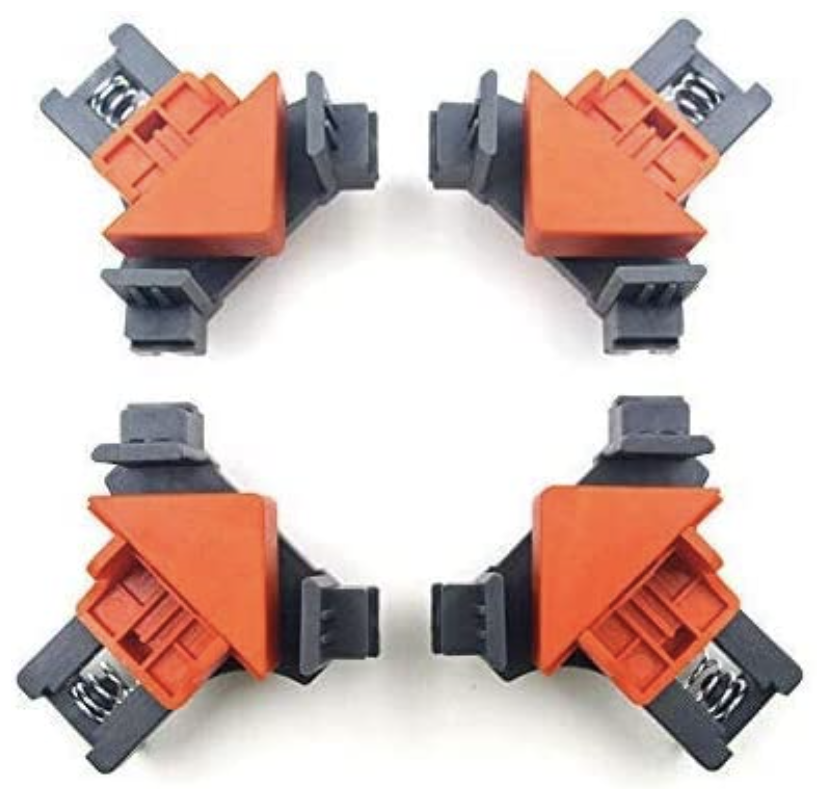
Once your Pocket holes are made, you will apply glue and clamp the two pieces of wood together. I have a brand of corner clamps that I like. These clamps fit tight and come in four packs for about $10.

I hope you find this blog helpful for creating pocket holes! Here are some links to ensure you have everything you need to set yourself up for DIY success!


