Hi
I'm Bong
I'm just a girl who likes to DIY anything and everything. More than that, I love teaching people - especially women - how to pick up power tools and create the home of their dreams. Stop waiting for someone else and starting Doing It Yourself. I'll show you how!
diy projects
diy school
life hacks
categories
must have products
Hello DIYers! Today I wanted to talk to you all about sanders because this can be essential for any project, if you have to stain or paint.
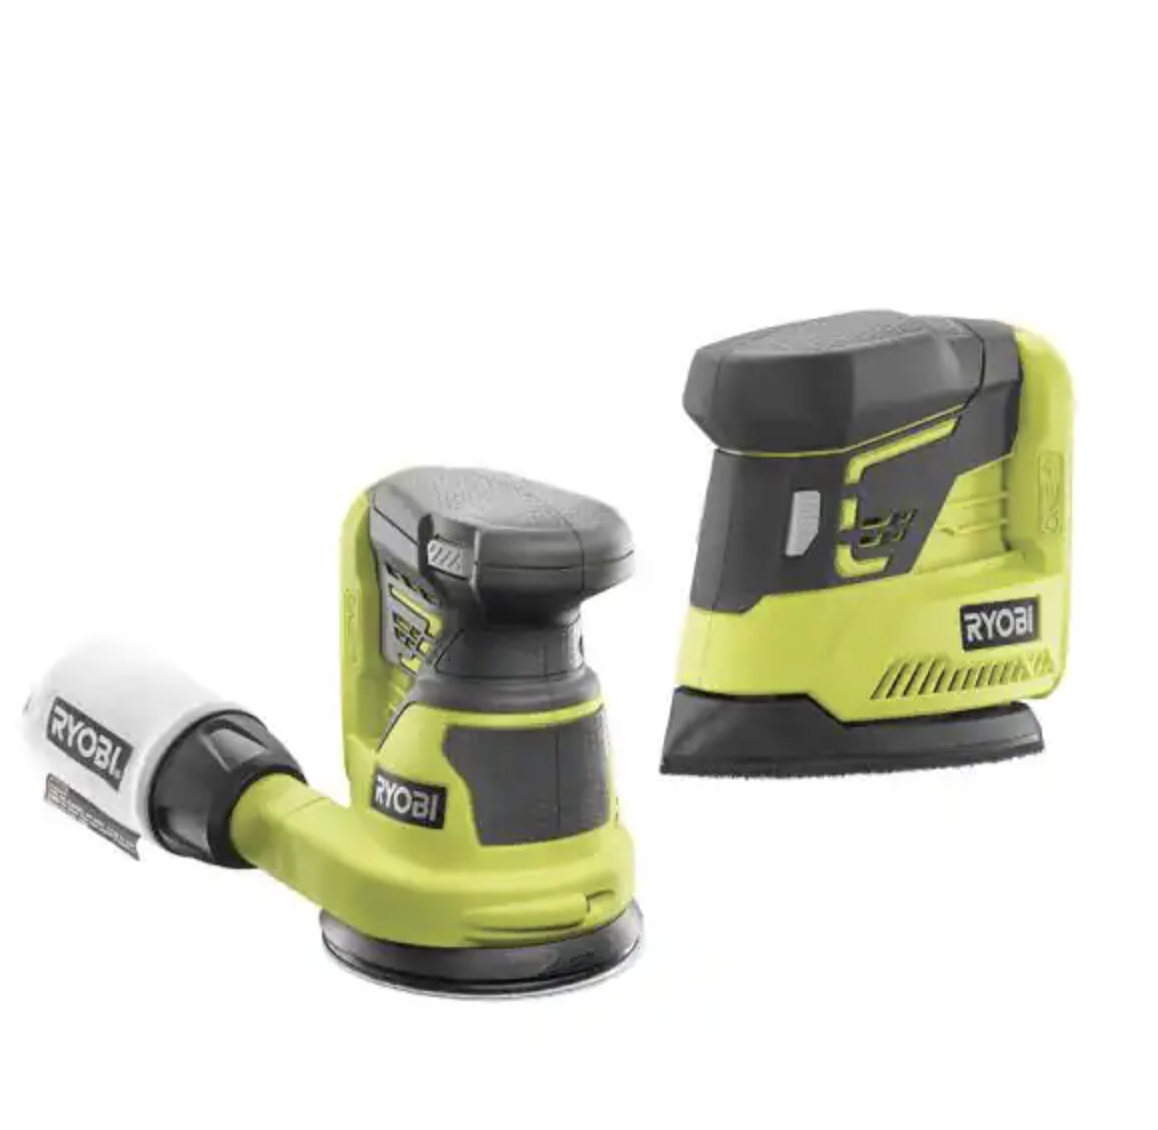
Let’s jump right in! I have two types of sanders, however, there are a few different options when choosing the right sander. The two I have are probably the most important and versatile.
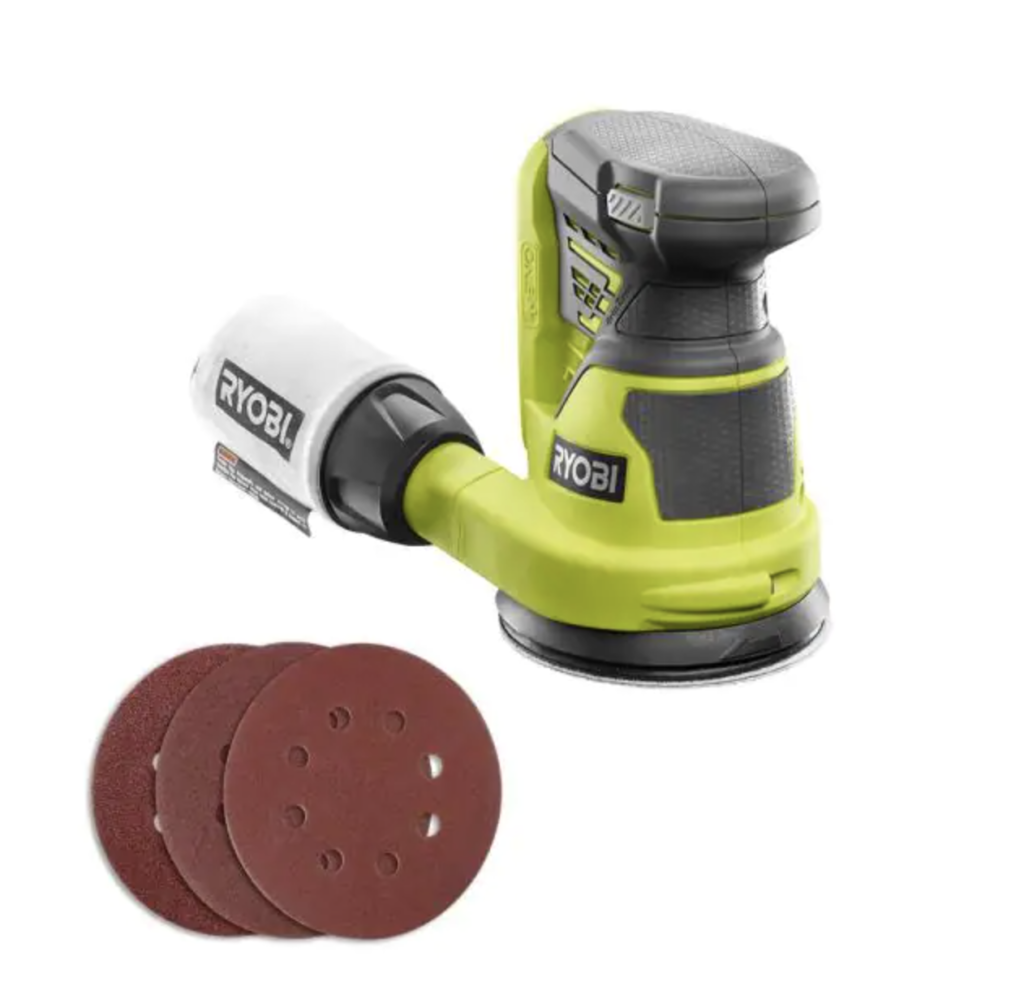
Random Orbital Sander
The first sander, I want to tell you about is called a Random Orbital Sander. This tool is round and vibrates while sanding. I love this sander because it is cordless with a battery. Even though cordless sounds more convenient, both options have pros and cons. With a battery, you have to charge the tool and run into issues when the battery dies. However, you are given more freedom to move around without the hassle of plugging the sander in and out.
This upgrade is really up to your preference depending on your budget. To avoid my sander running out of power, I always make sure to have a spare battery on hand so I never run into that issue. I love this sander because it is so versatile and works great on long pieces of wood, small pieces, or even delicate woods. This tool is my number one pick if you had to choose one sander.
Corner Cat Sander
The second sander I have is called a Corner Cat Sander. This sander can reach easily into corners and tight spaces and the model I have is not cordless. This is a great option for detailed work, like when sanding a frame because the Orbit sander can’t reach those tight spaces.
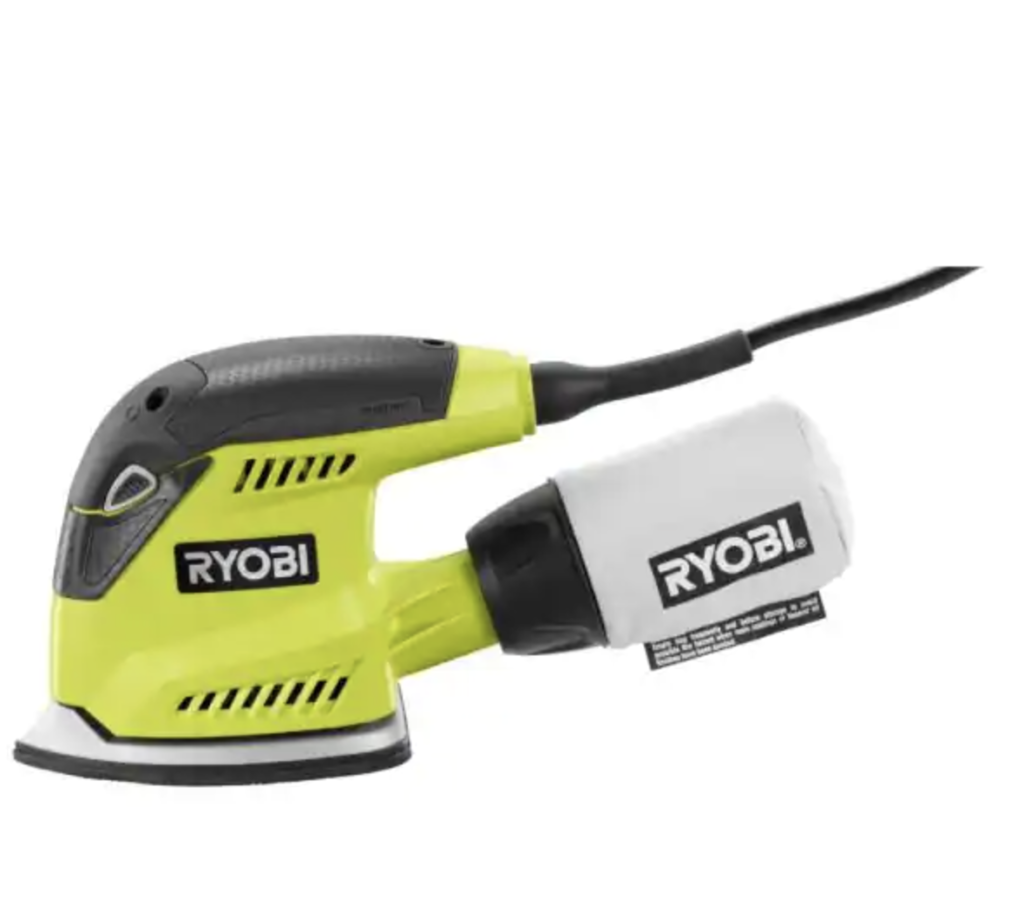
If your budget only allows you to buy one sander, I would encourage you to purchase the Orbit Sander first, because if you need to sand a corner you can always rip off the sandpaper and hand sand the hard-to-reach spaces.
One thing to note, when using a sander, the refills can become expensive. Typically, I buy my sandpaper in bulk, which helps me save money. If you go to the hardware store, you can usually find a pack of 10 sanders for $10 but I found a multi-pack that had lots of grit sizes.

This set is my favorite for the corner cat. It comes with 5o pieces in lots of grits.
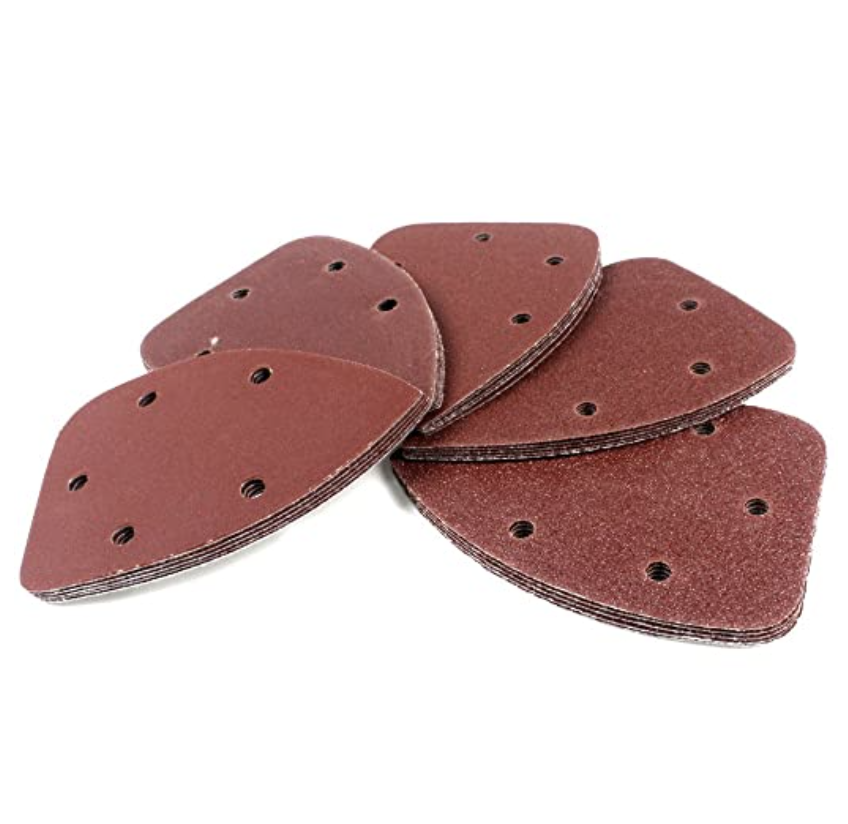
Now, how do you know which grit to use and when?
You will find when sanding, that there are different kinds of numbers and types of sandpaper. It’s important to understand what the numbers mean because you’ll use them for different reasons. The lower the number, for example, 60, is going to be more coarse with large textured sand. A 60 will not be used very often because it will shred off layers of wood quickly. You could use this size when taking off old paint or flipping furniture.
On the other hand, you will find higher numbers like 220 to be much finer. The 220 size will not take off wood, however, create a nice smooth surface. Sometimes I start with a size 80 to round out corners or I start with a 120, then 150, and then finish it off with a 220. The 120 will soften it down, then you will need to wipe off the dust and use the next size down to repeat the process. The sizes I use the most while creating projects are 150 and 220, however, this really depends on what kind of projects you make.
So when do you need to change the sandpaper on your sander and how do you change it?
Usually, you will know when to change the paper out when it starts to look worn out. Changing your paper is super easy! The paper is attached by velcro so all you need to do is pull off the paper and stick a new one on.
I hope you found this information helpful for creating your next project. Happy sanding!
