Hi
I'm Bong
I'm just a girl who likes to DIY anything and everything. More than that, I love teaching people - especially women - how to pick up power tools and create the home of their dreams. Stop waiting for someone else and starting Doing It Yourself. I'll show you how!
diy projects
diy school
life hacks
categories
must have products
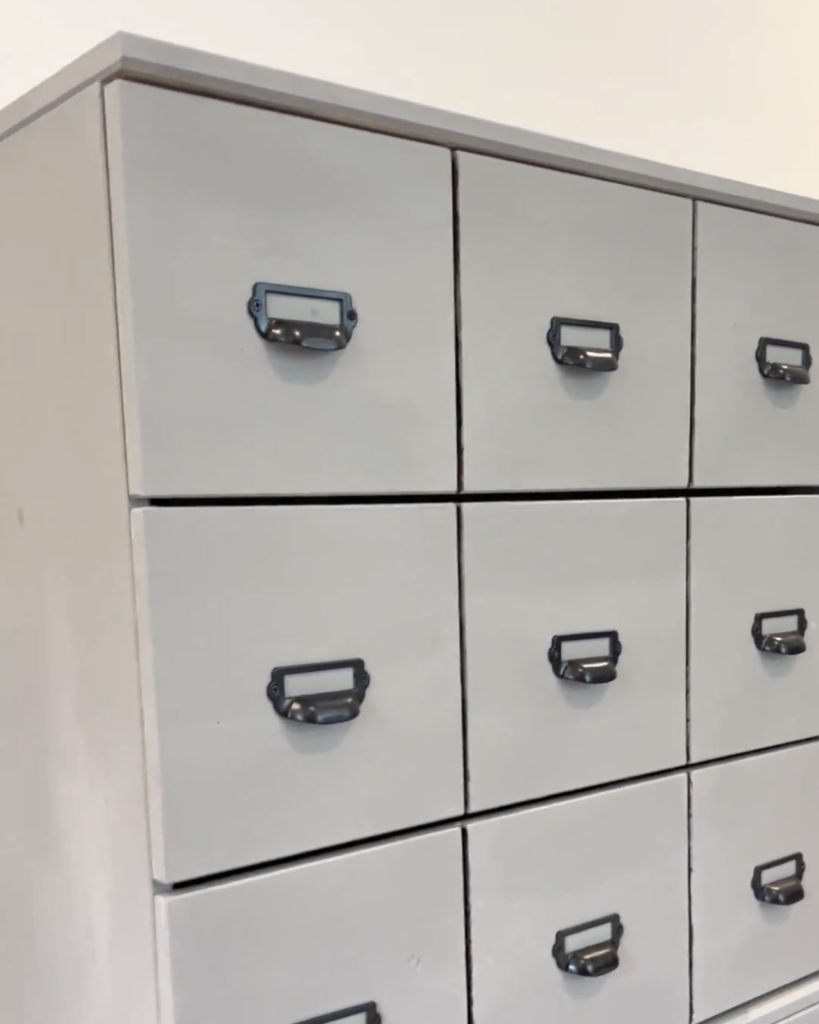
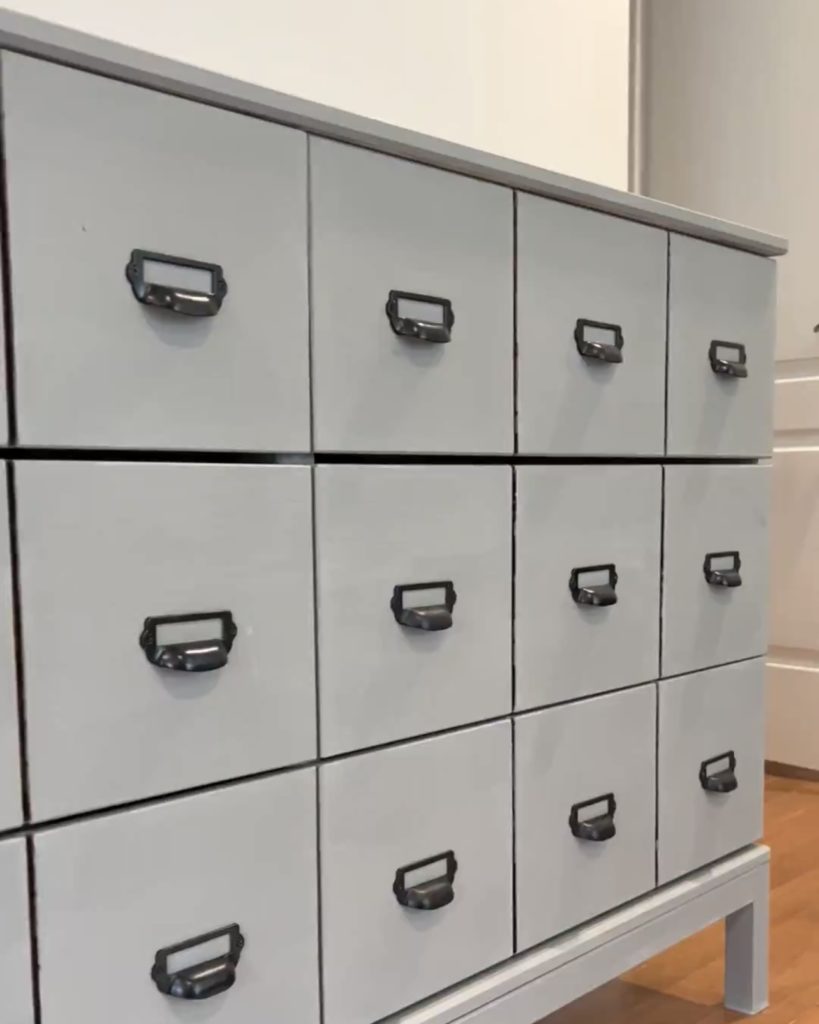
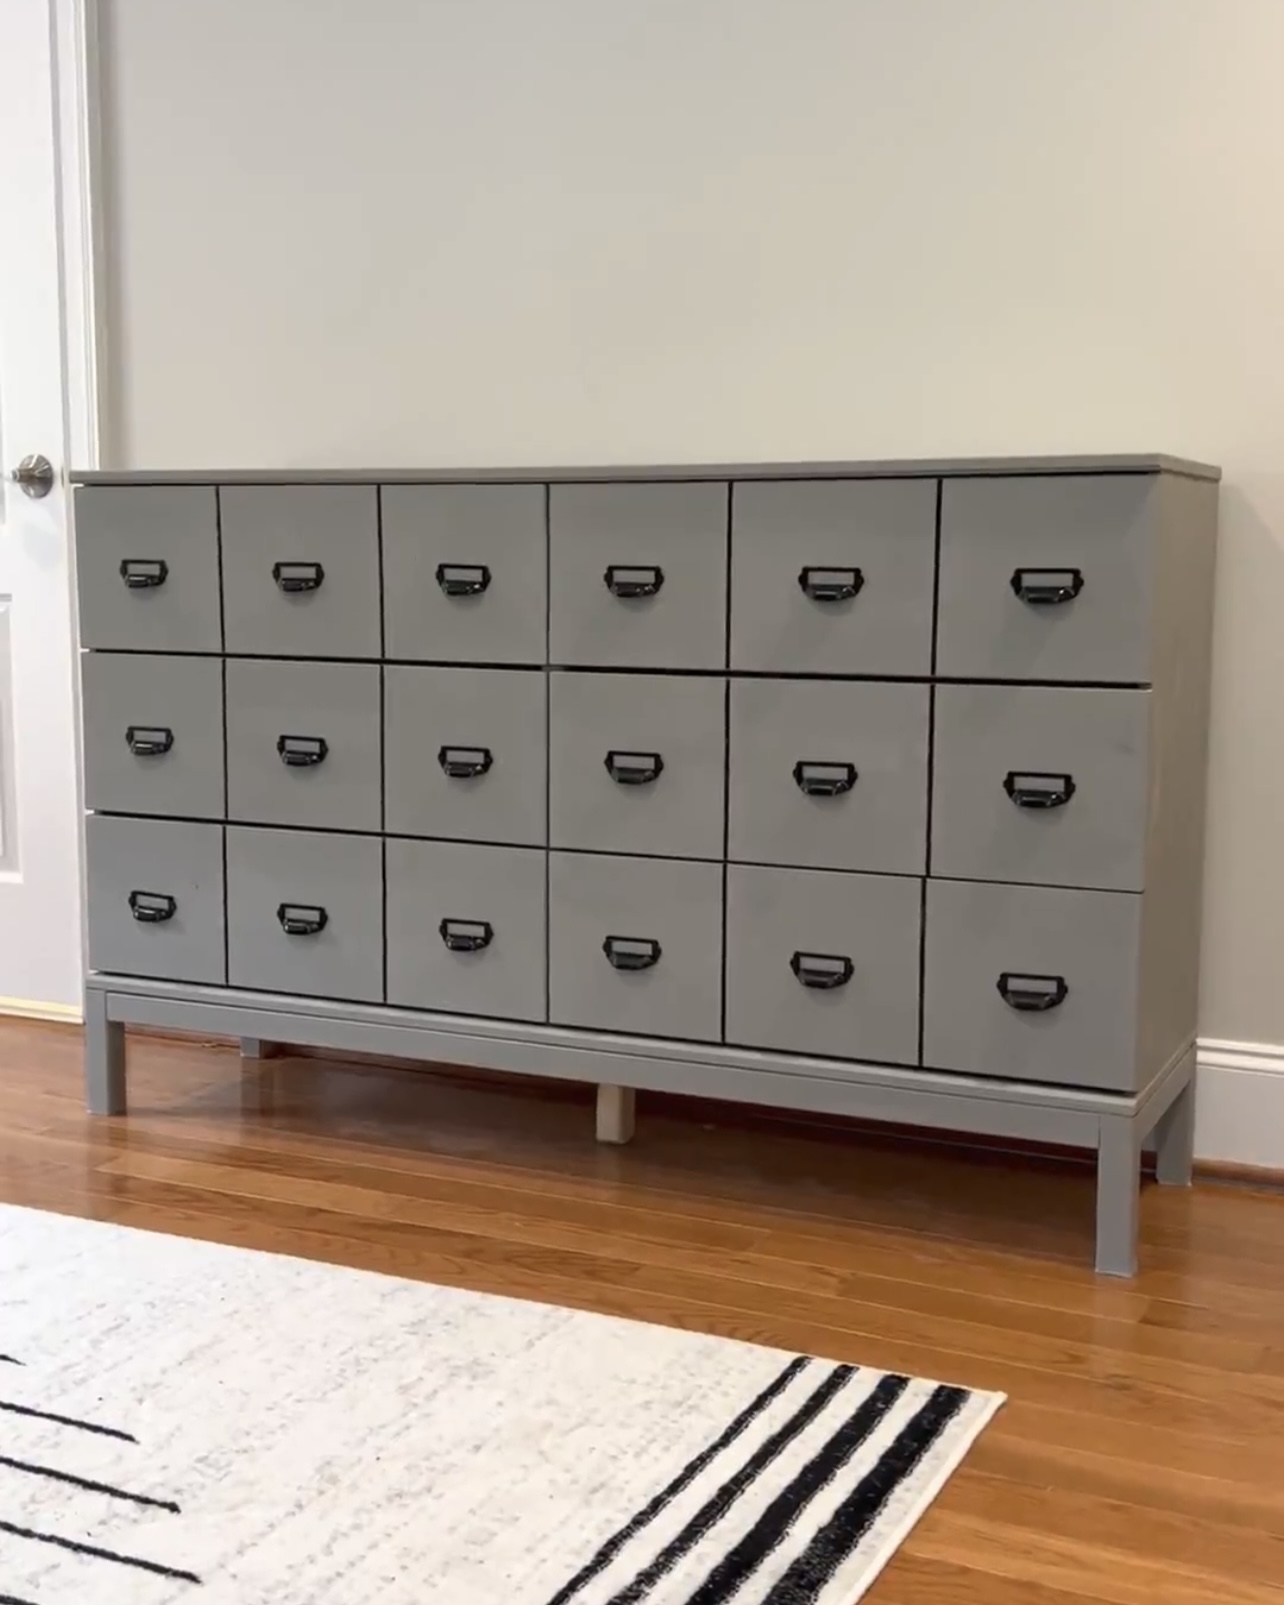
Today I am going to be showing you all how to make an Apothecary Dresser. Before we continue, I want to answer some questions about what an “apothecary” cabinet is. An apothecary cabinet, is a cupboard formerly used by pharmacists and physicians, to store medicines and tools, the many small compartment drawers. Today, apothecary cabinets are popular in homes as antique or rustic-looking decor.
Now to the project! This project is going to be super simple. I am going to show y’all how to use a router, to cut through a single piece of a drawer front to make it look multiple. I am so excited to show you how to use a router and it’s super fun and not scary at all.
To begin, I have divided my drawer length into three sections which is approximately 9 ¾”. I’ve made those marks on my board and will fill the holes in the board later on.
Now it is time to show yall how to cut this board with my router. What I did first was hold my router bit to see where it would line up and hold the small stick up to the router. Then I clamped one side, making sure it was square, and then clamped the other side. Now this small stick will be my perfect guide. I repeated this 11 more times for all the drawers.
Now that I have the little slots routed out I am going to use some black paint and go in this grove. That way when I paint the whole thing later it will have more of a dimensional look.
For painting, I am using Rust-Oleum Chalk Paint in the color “Country Gray” which was the perfect color. I wanted to do a modern look in Kyson’s room. And if you didn’t know, chalk paint is one of the best types of paints for furniture because it adheres so well. You also don’t have to worry about priming which is super nice. After the chalk paint, I will use a matte clear top coat.
I found a cute pull on Amazon and with the exact style I wanted. But I don’t love the color, it is too antique looking so I am going to spray paint it. To spray these pulls I am going to use this Rust-Oleum Matte spray paint and primer. It is my favorite and I’ve been using this brand for years. They have the prettiest colors you could ever want. It goes on so smoothly and on all types of surfaces and materials. A little tick of the trade, when I have little screws I need to spray pain I just stick them into cardboard to keep them standing up. This makes it super easy.
Then I took my drill and screwed in the pulls and I love the finished piece. It took me only a day to do this project and I am so pleased with how it turned out.

