Hi
I'm Bong
I'm just a girl who likes to DIY anything and everything. More than that, I love teaching people - especially women - how to pick up power tools and create the home of their dreams. Stop waiting for someone else and starting Doing It Yourself. I'll show you how!
diy projects
diy school
life hacks
categories
must have products
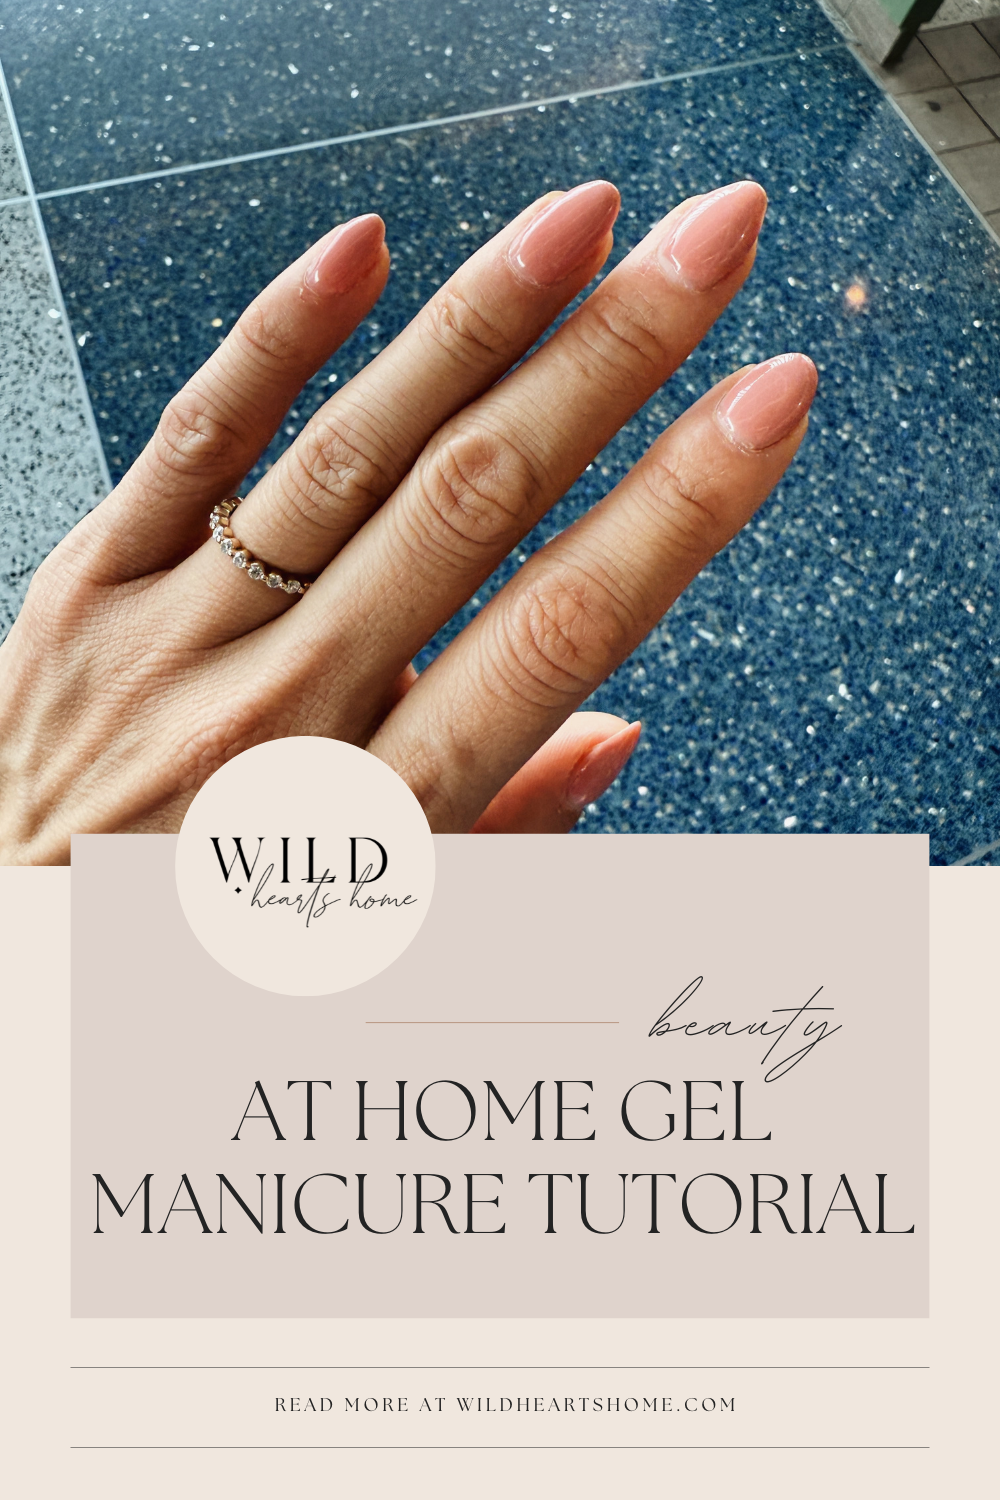
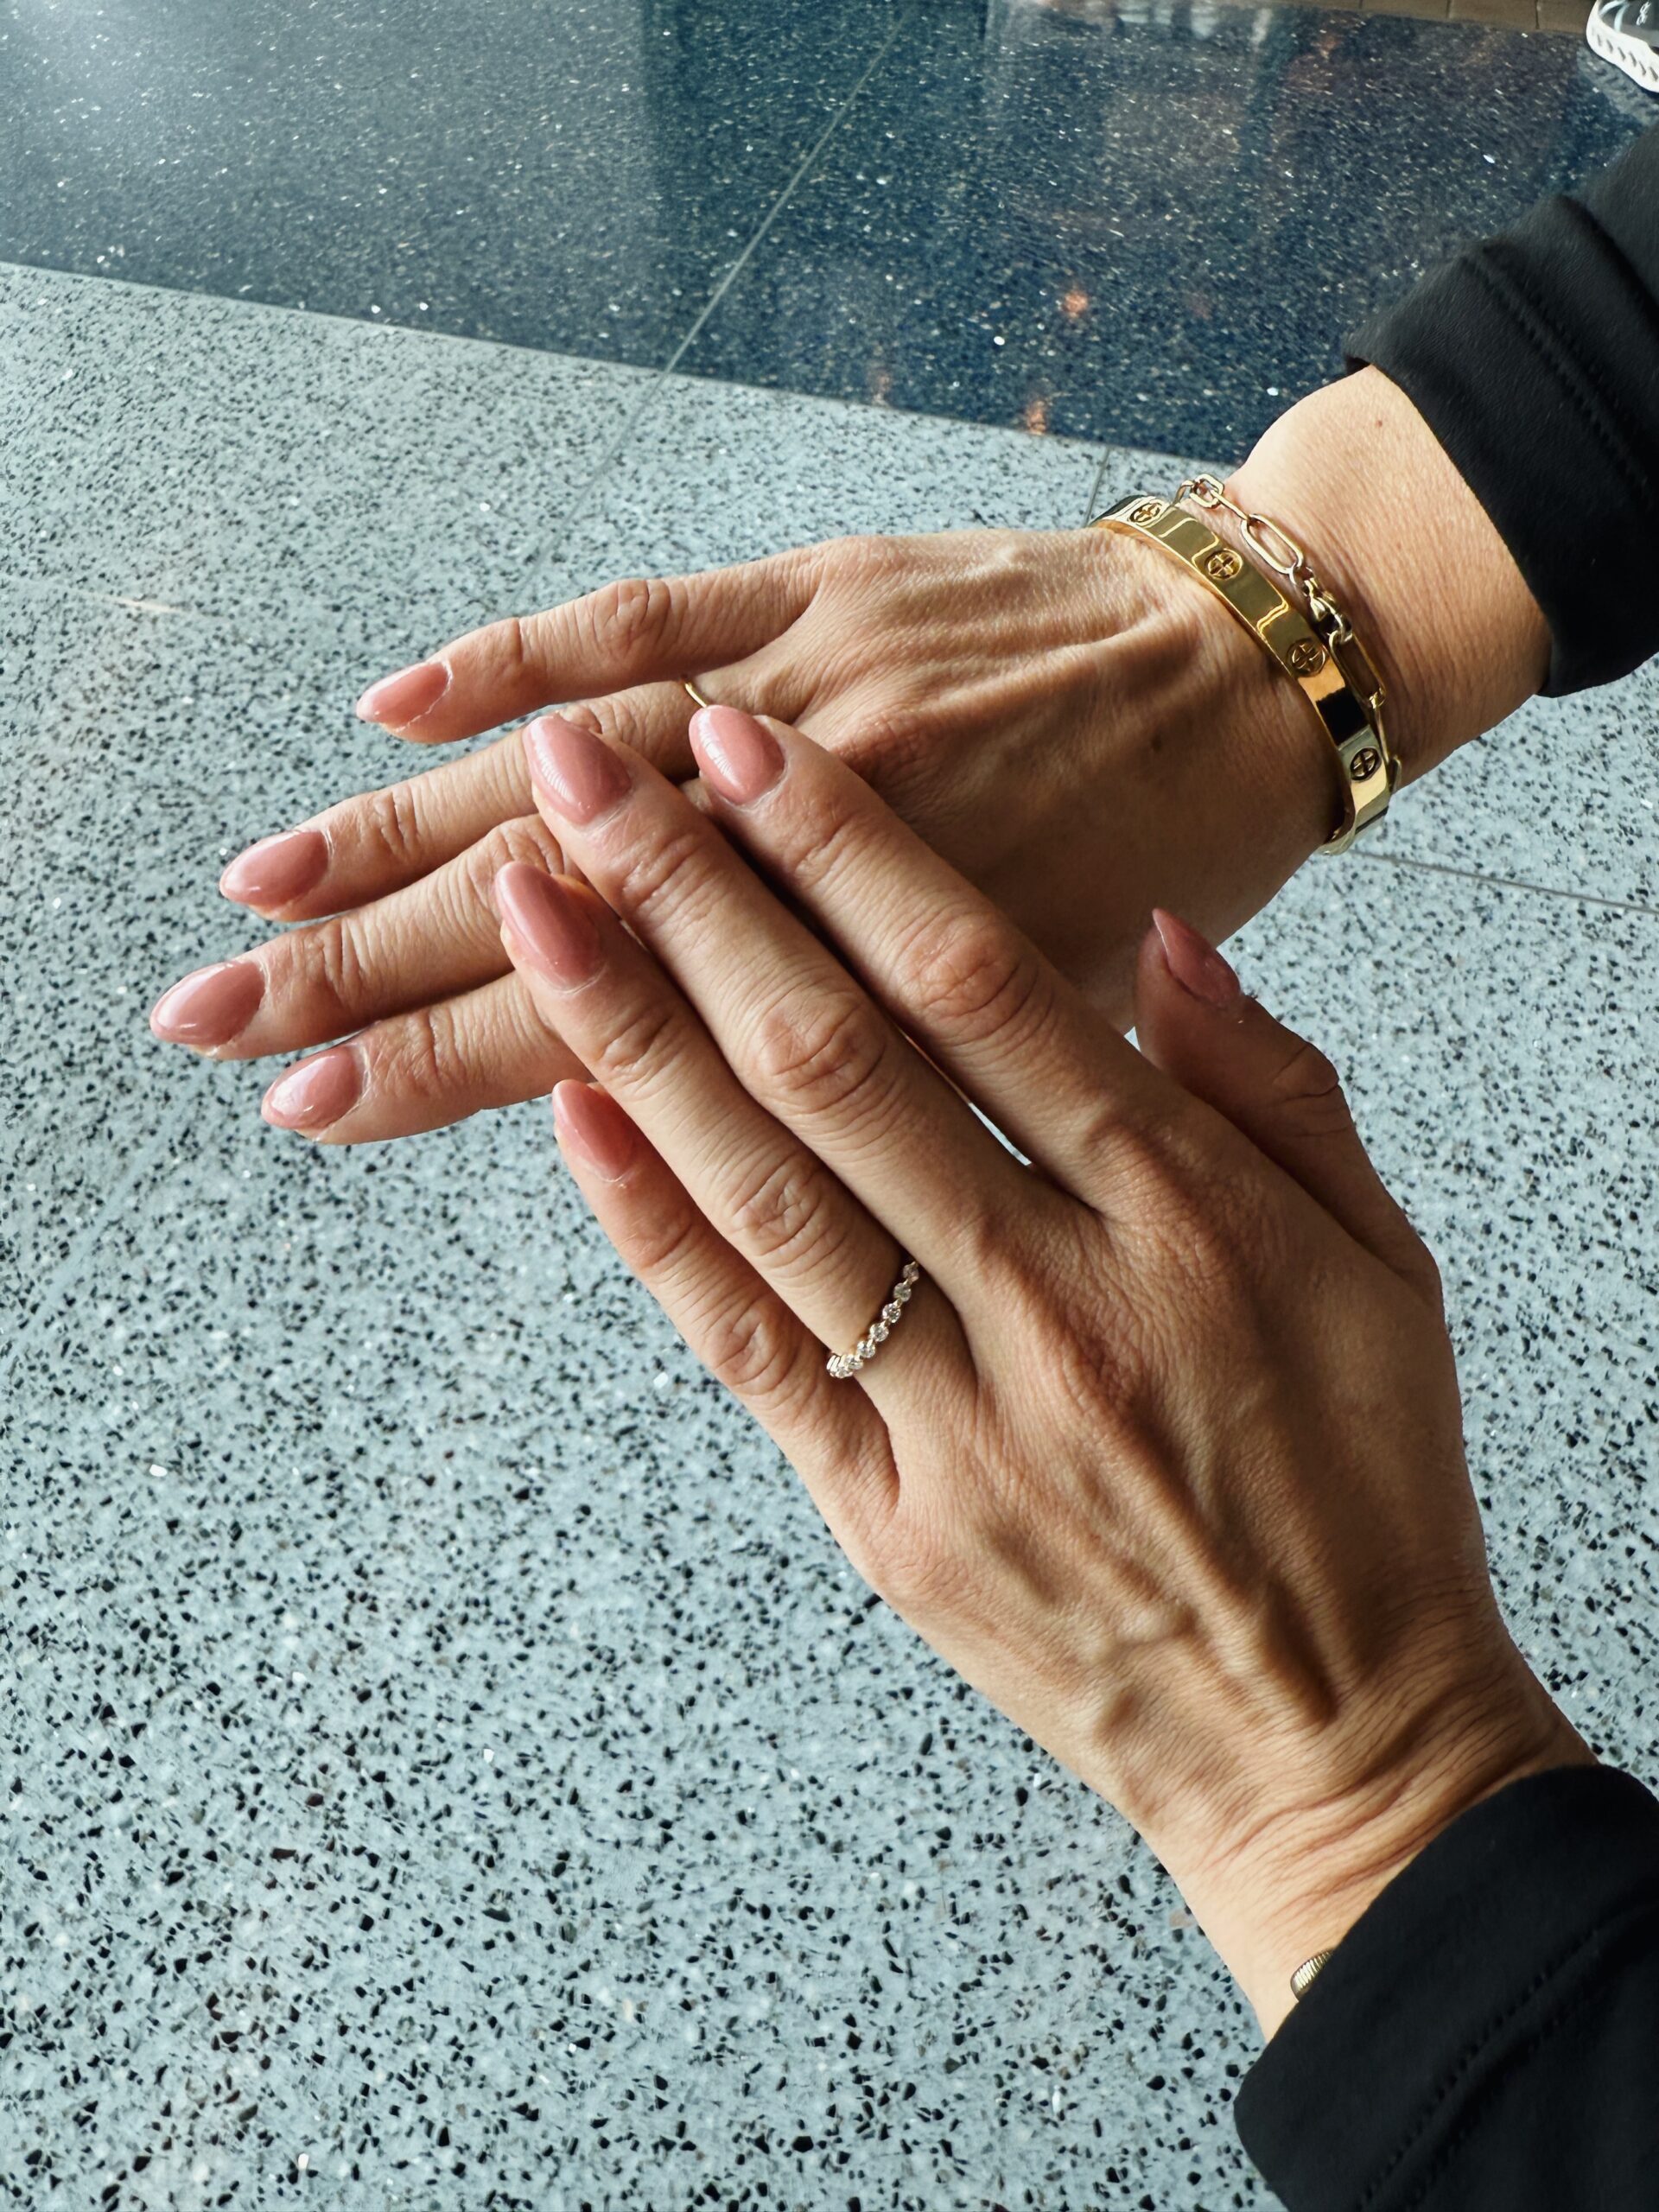
Today is finally the day I show you how to do an at home gel manicure! All the products I use are from Amazon. This is my at home gel manicure tutorial.
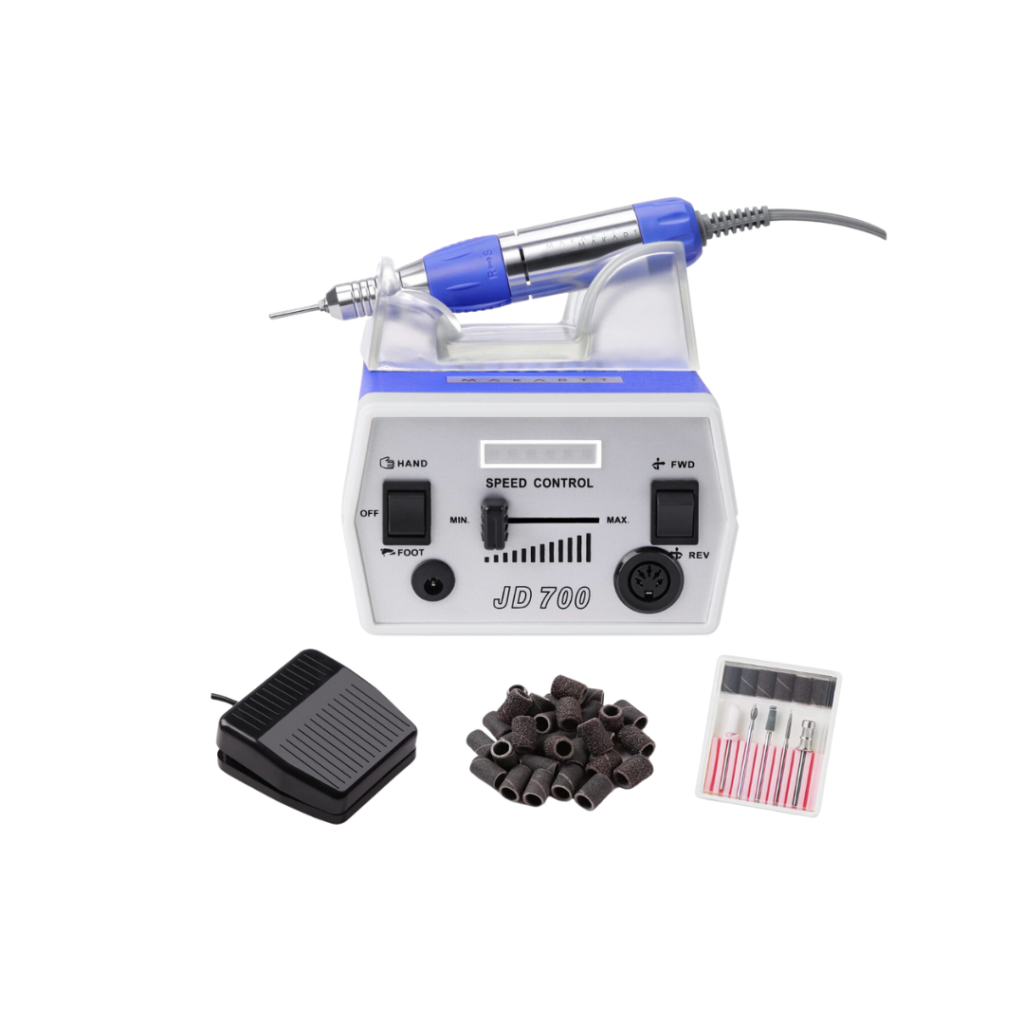
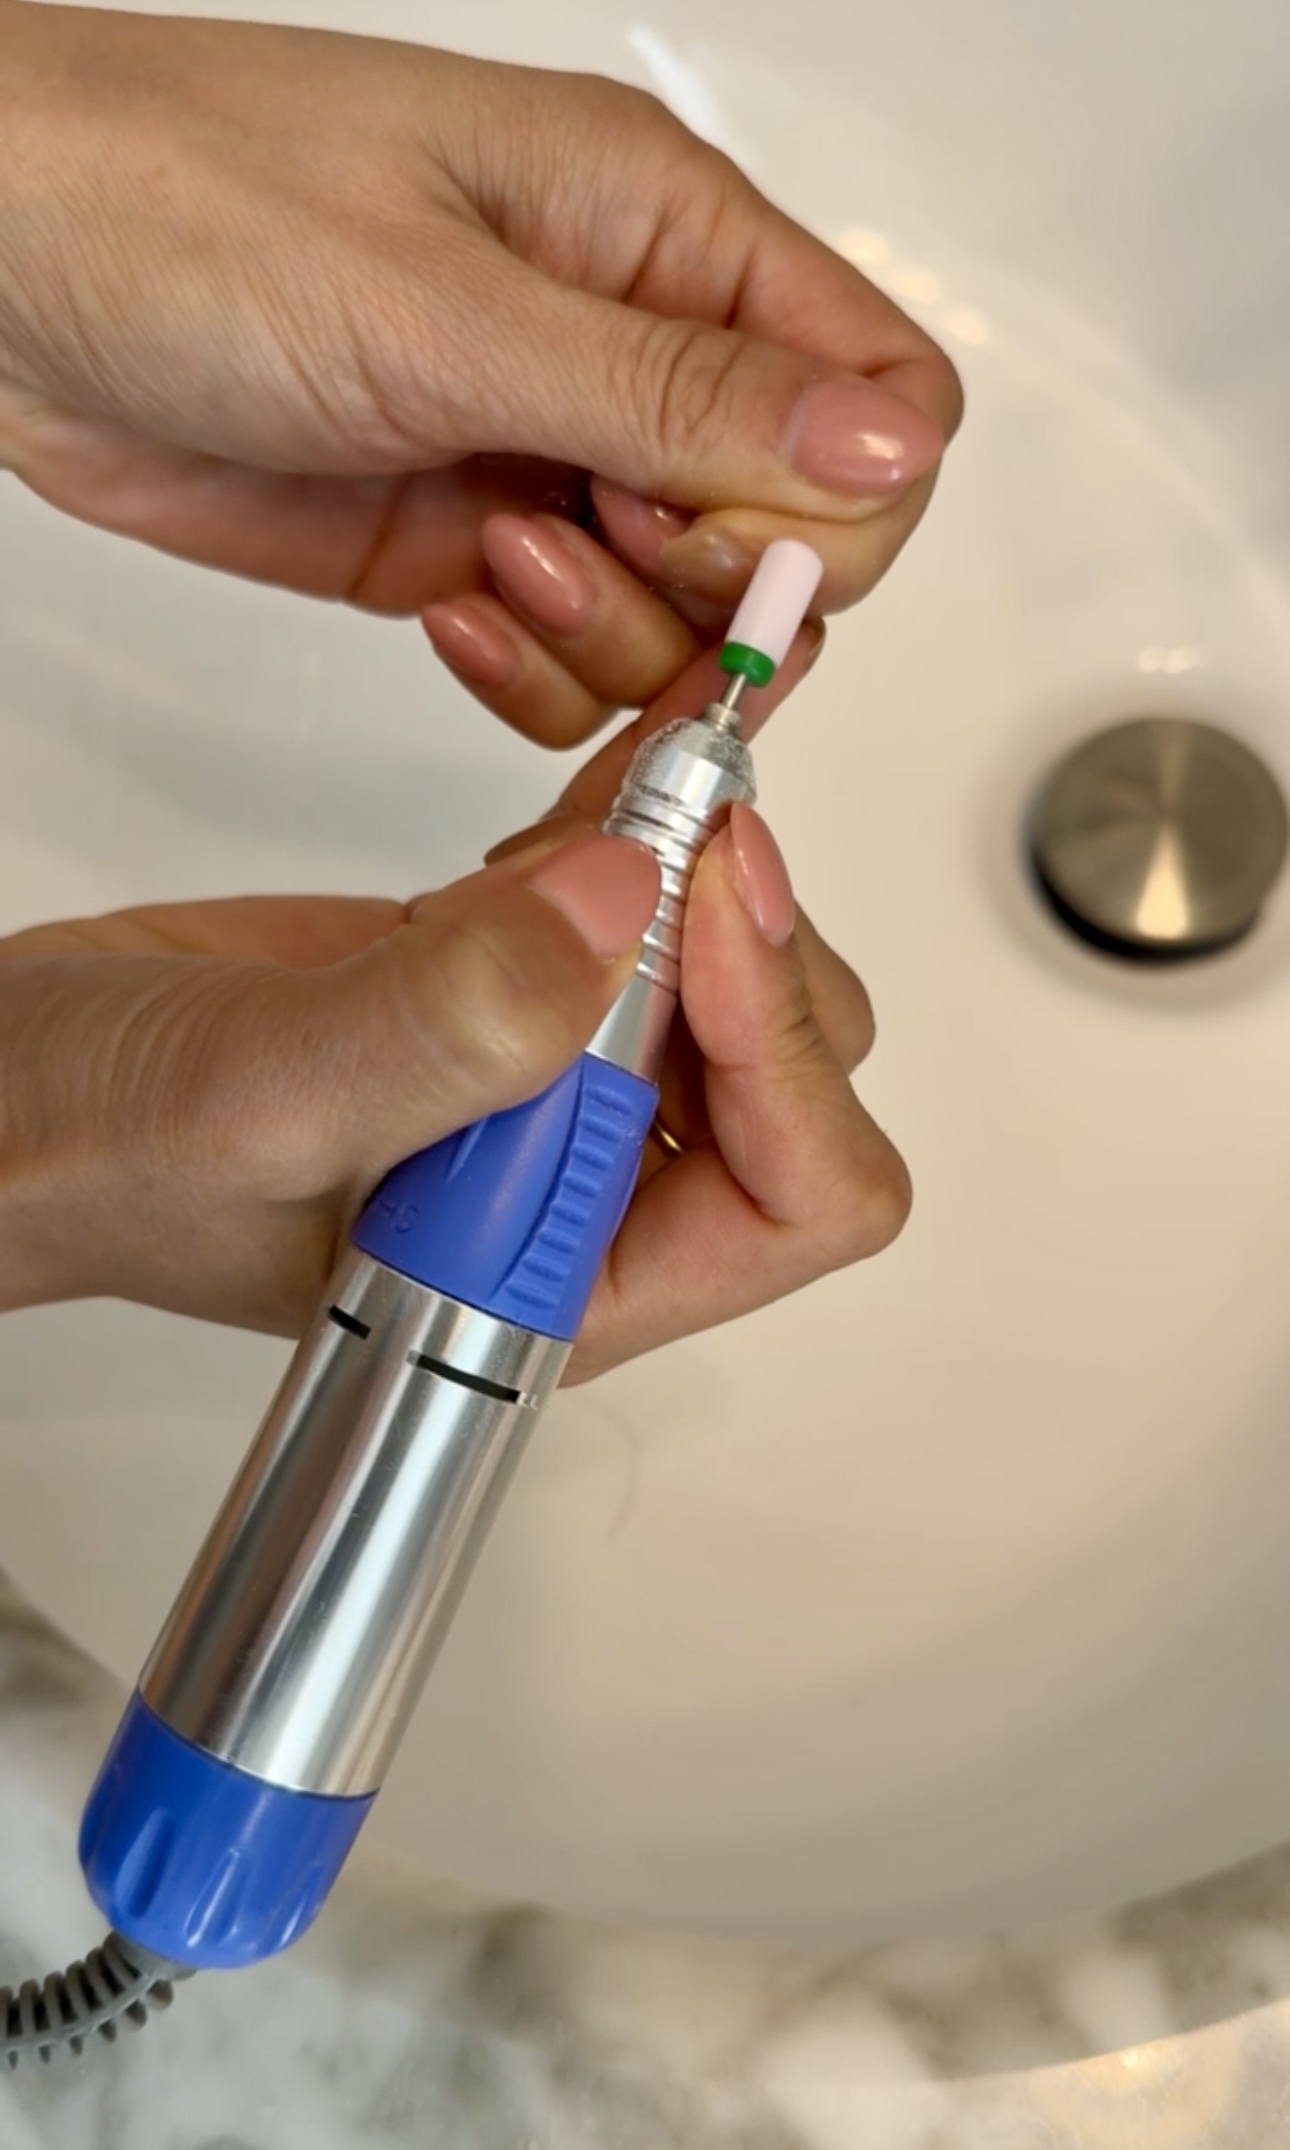
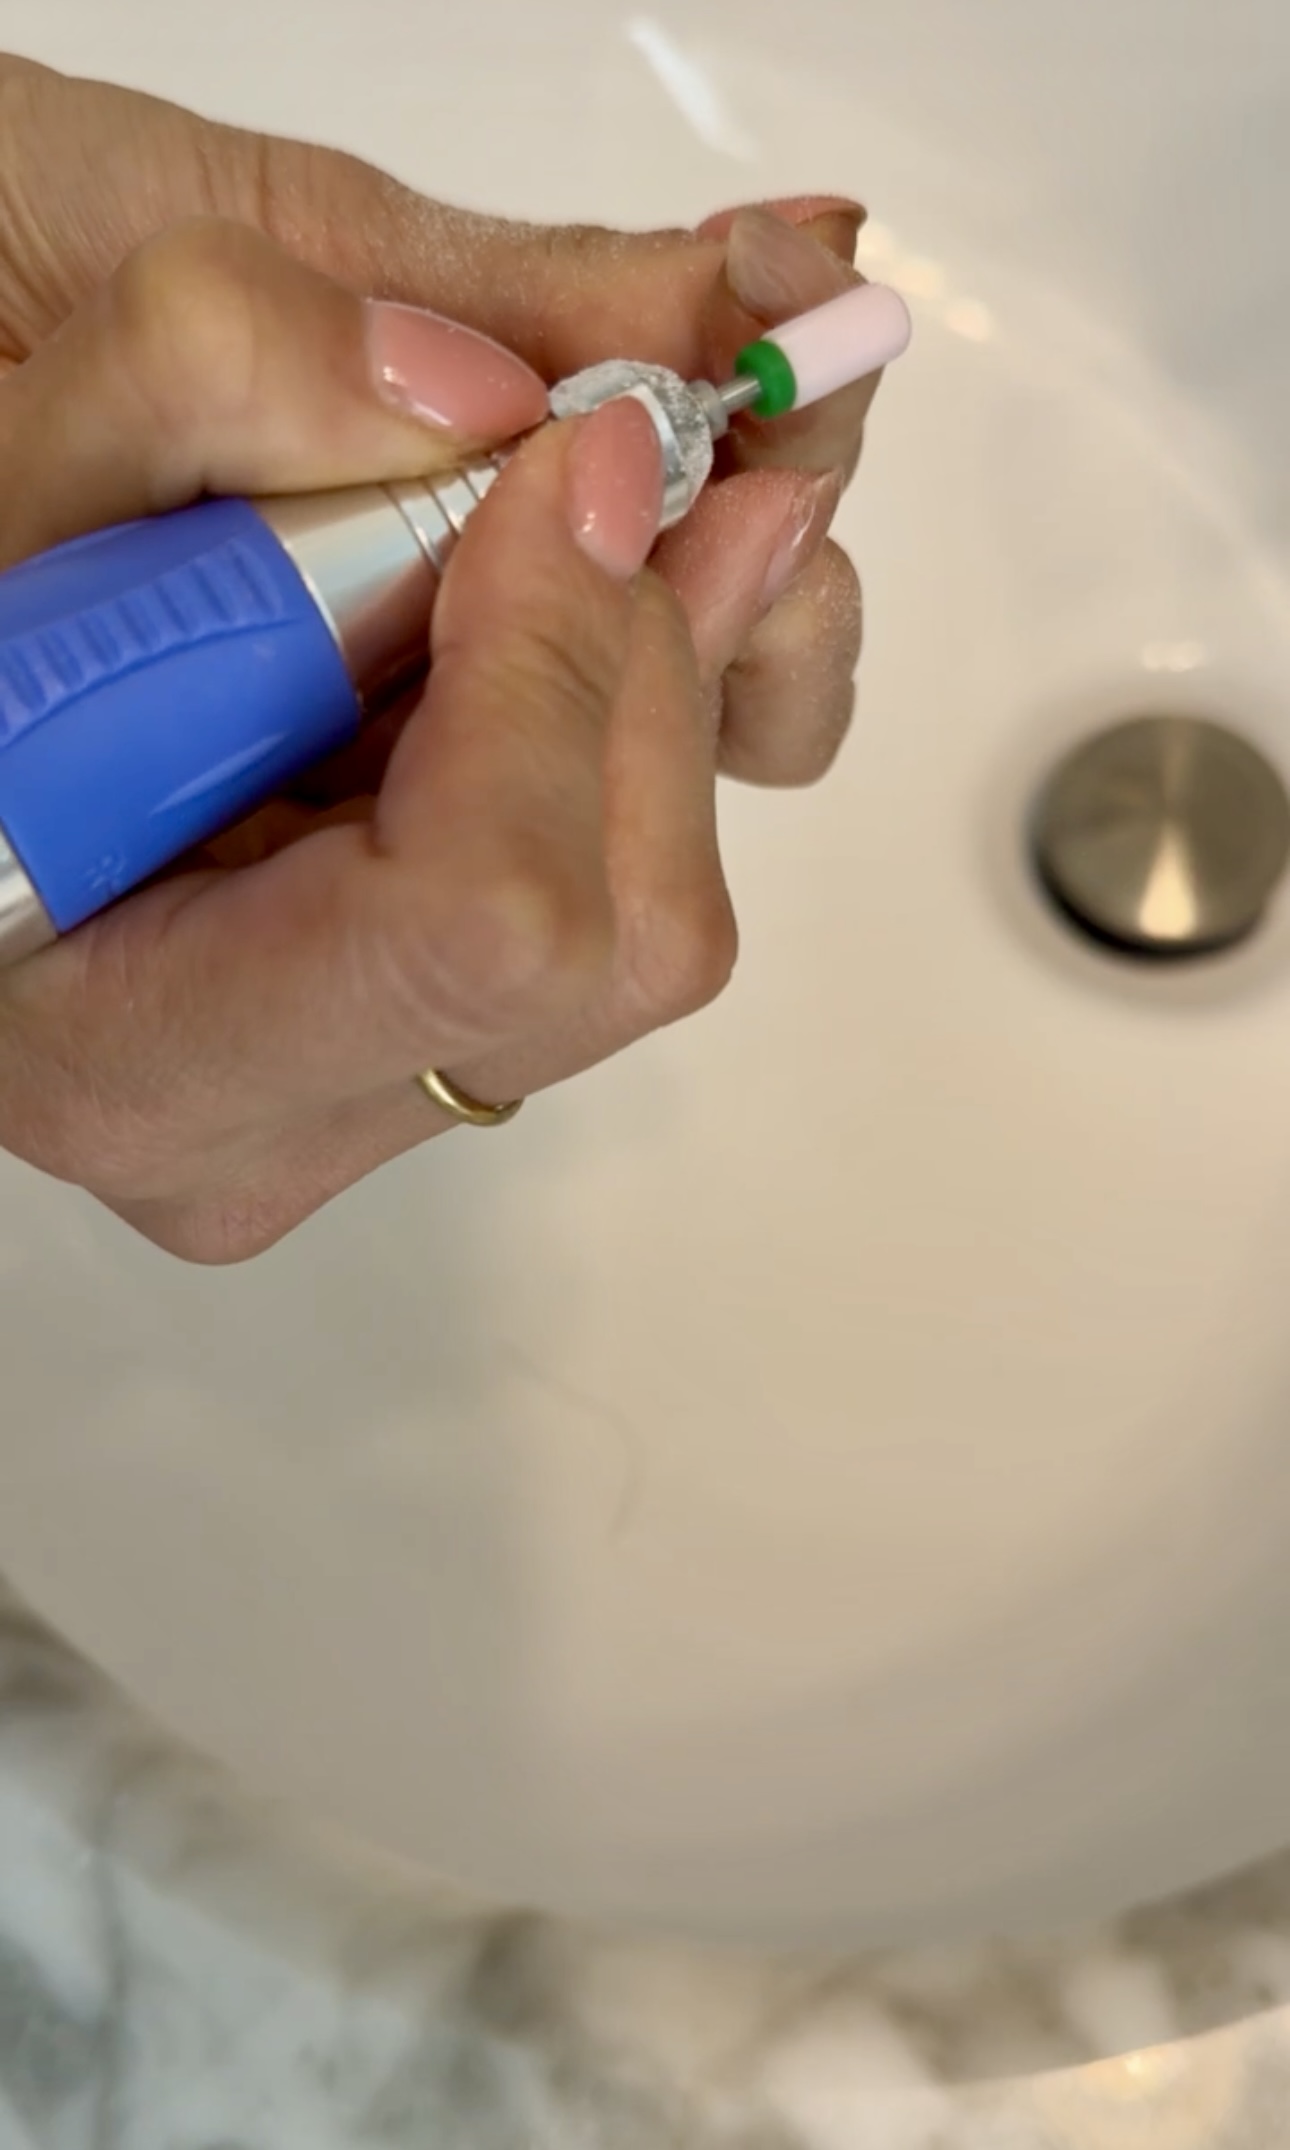
The drill is the most expensive thing you’ll buy when it comes to doing your nails. But, it will last you so long and you’ll definitely need it if you change colors a lot.
The handheld piece has a ceramic blade that can go both forward and backward depending on what you need. You can change the speed of the drill as well!
Removing old gel
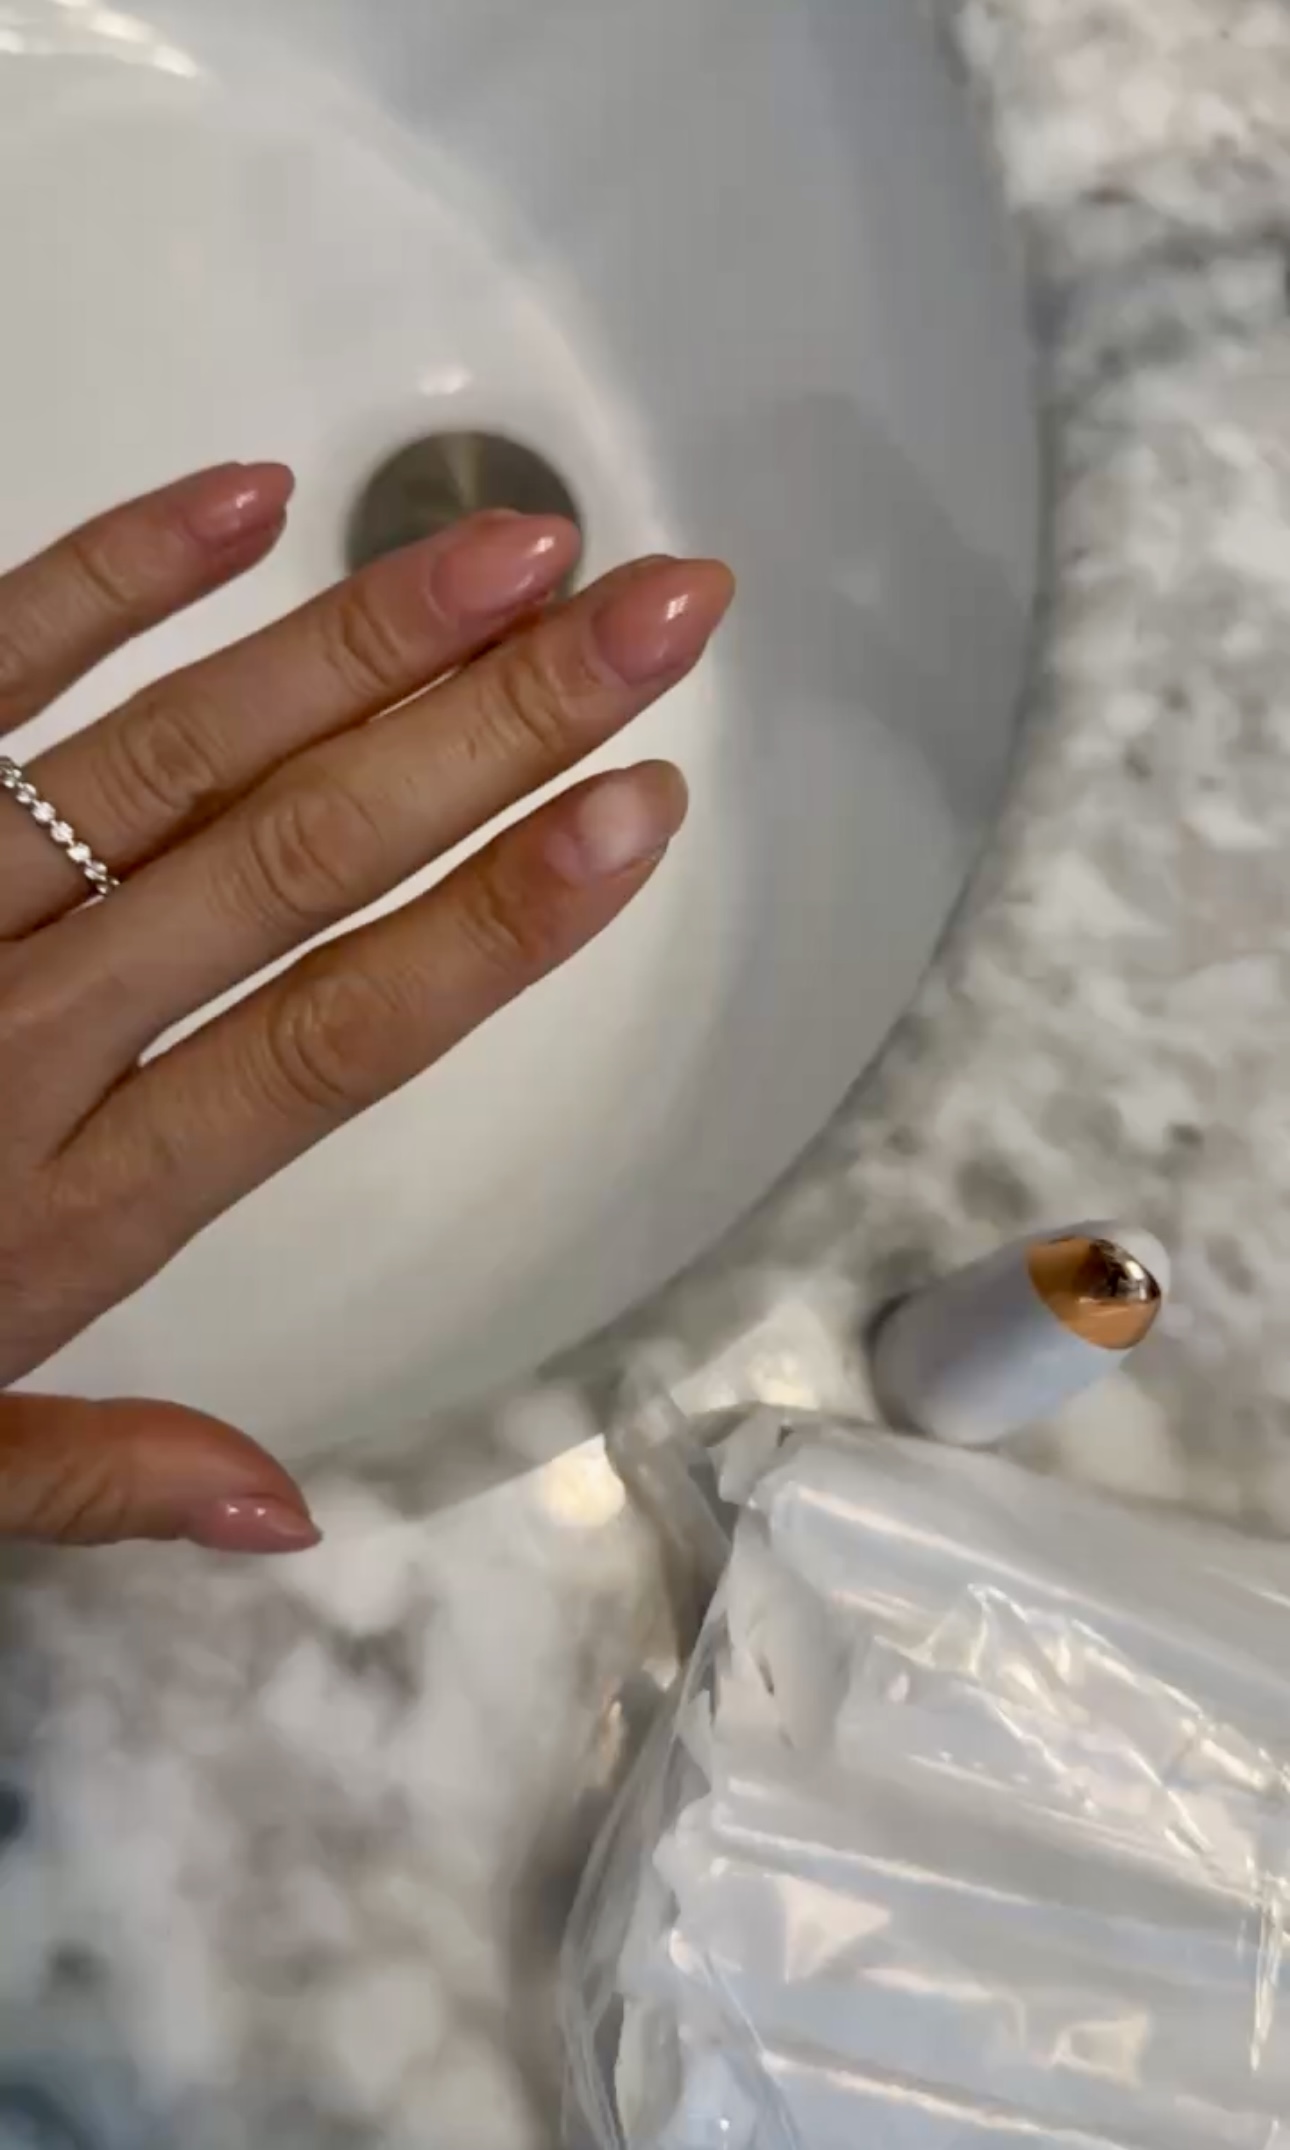
To remove old gel, turn on your drill and lightly roll over the gel. Every once in a while, it will get a little warm, but it never gets too hot. Take a break if you ever need to!
Shaping your nails
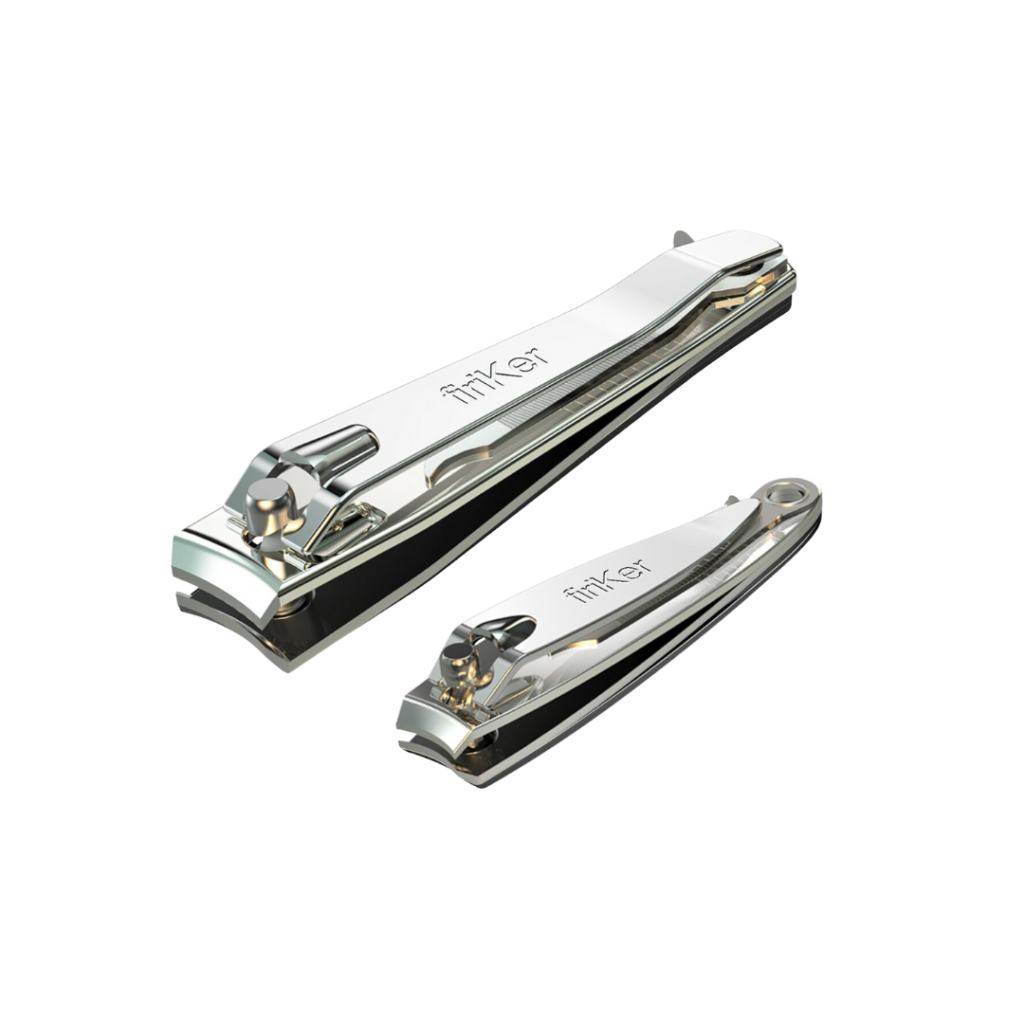
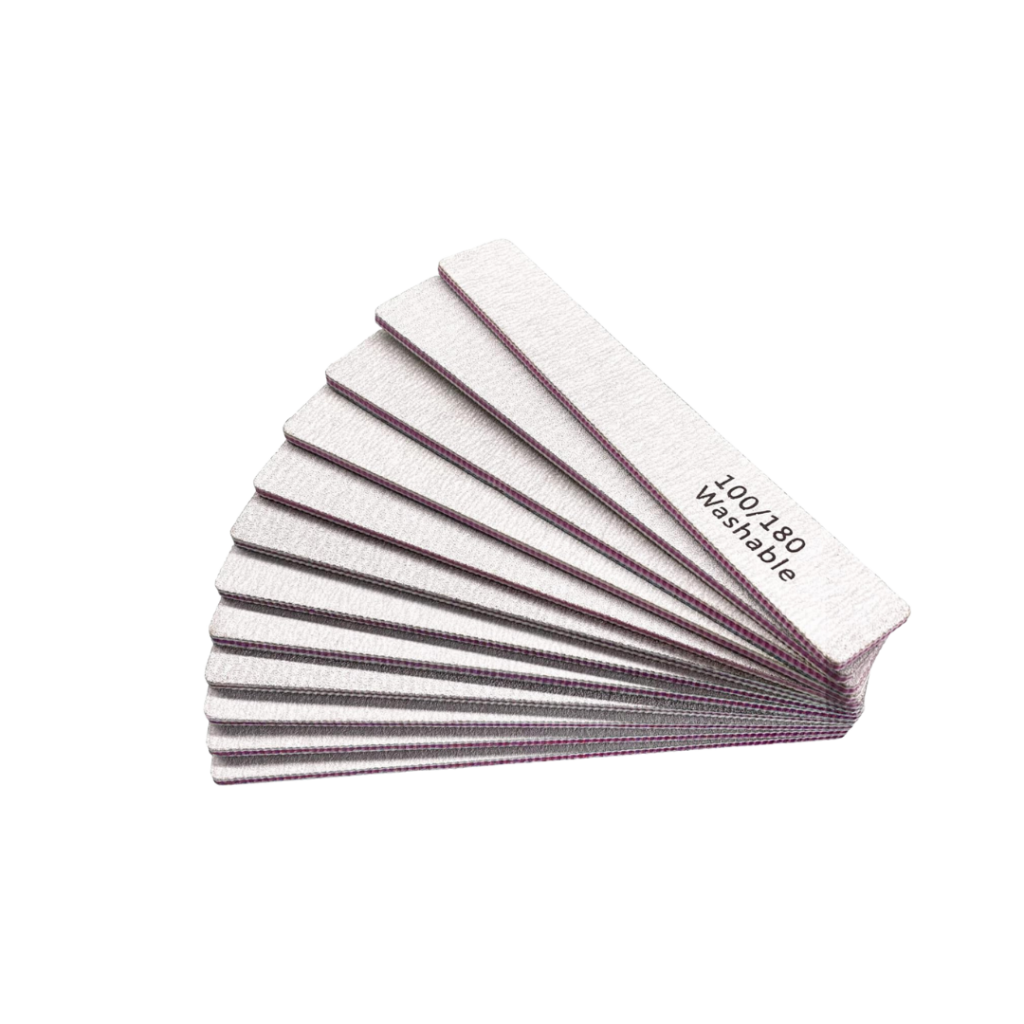
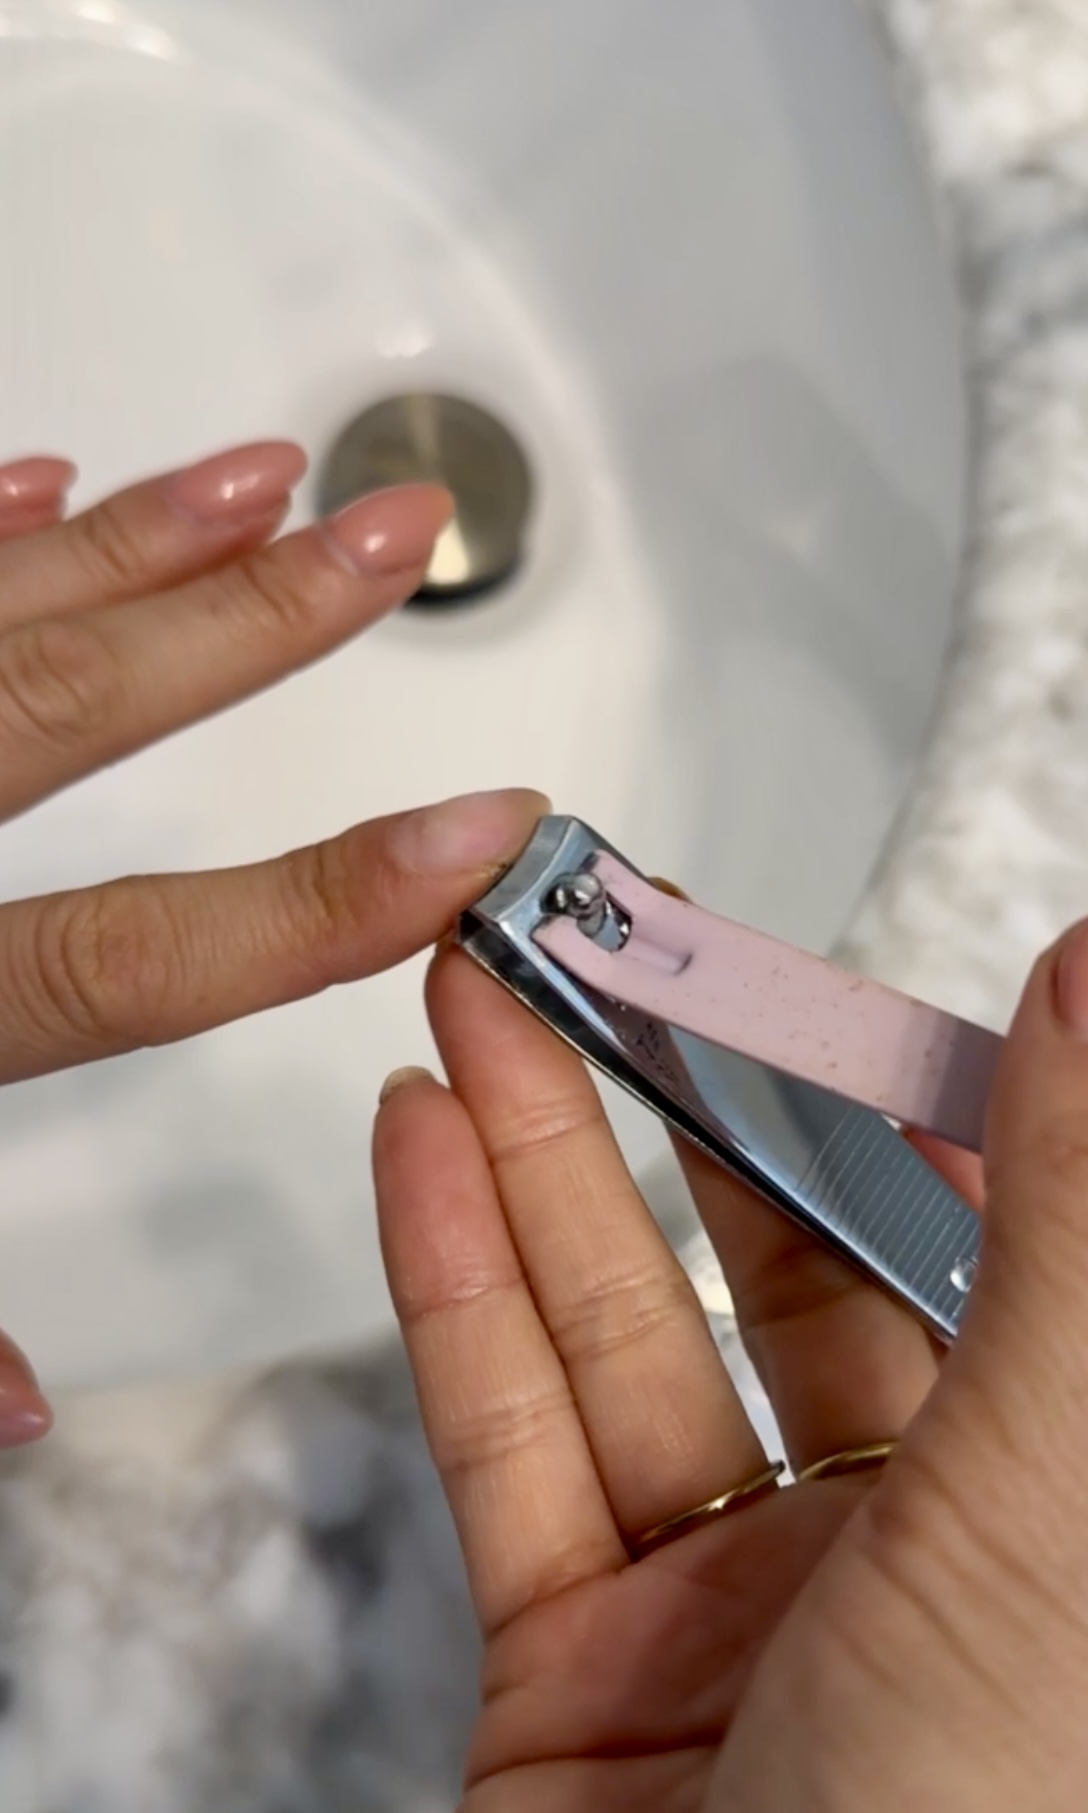
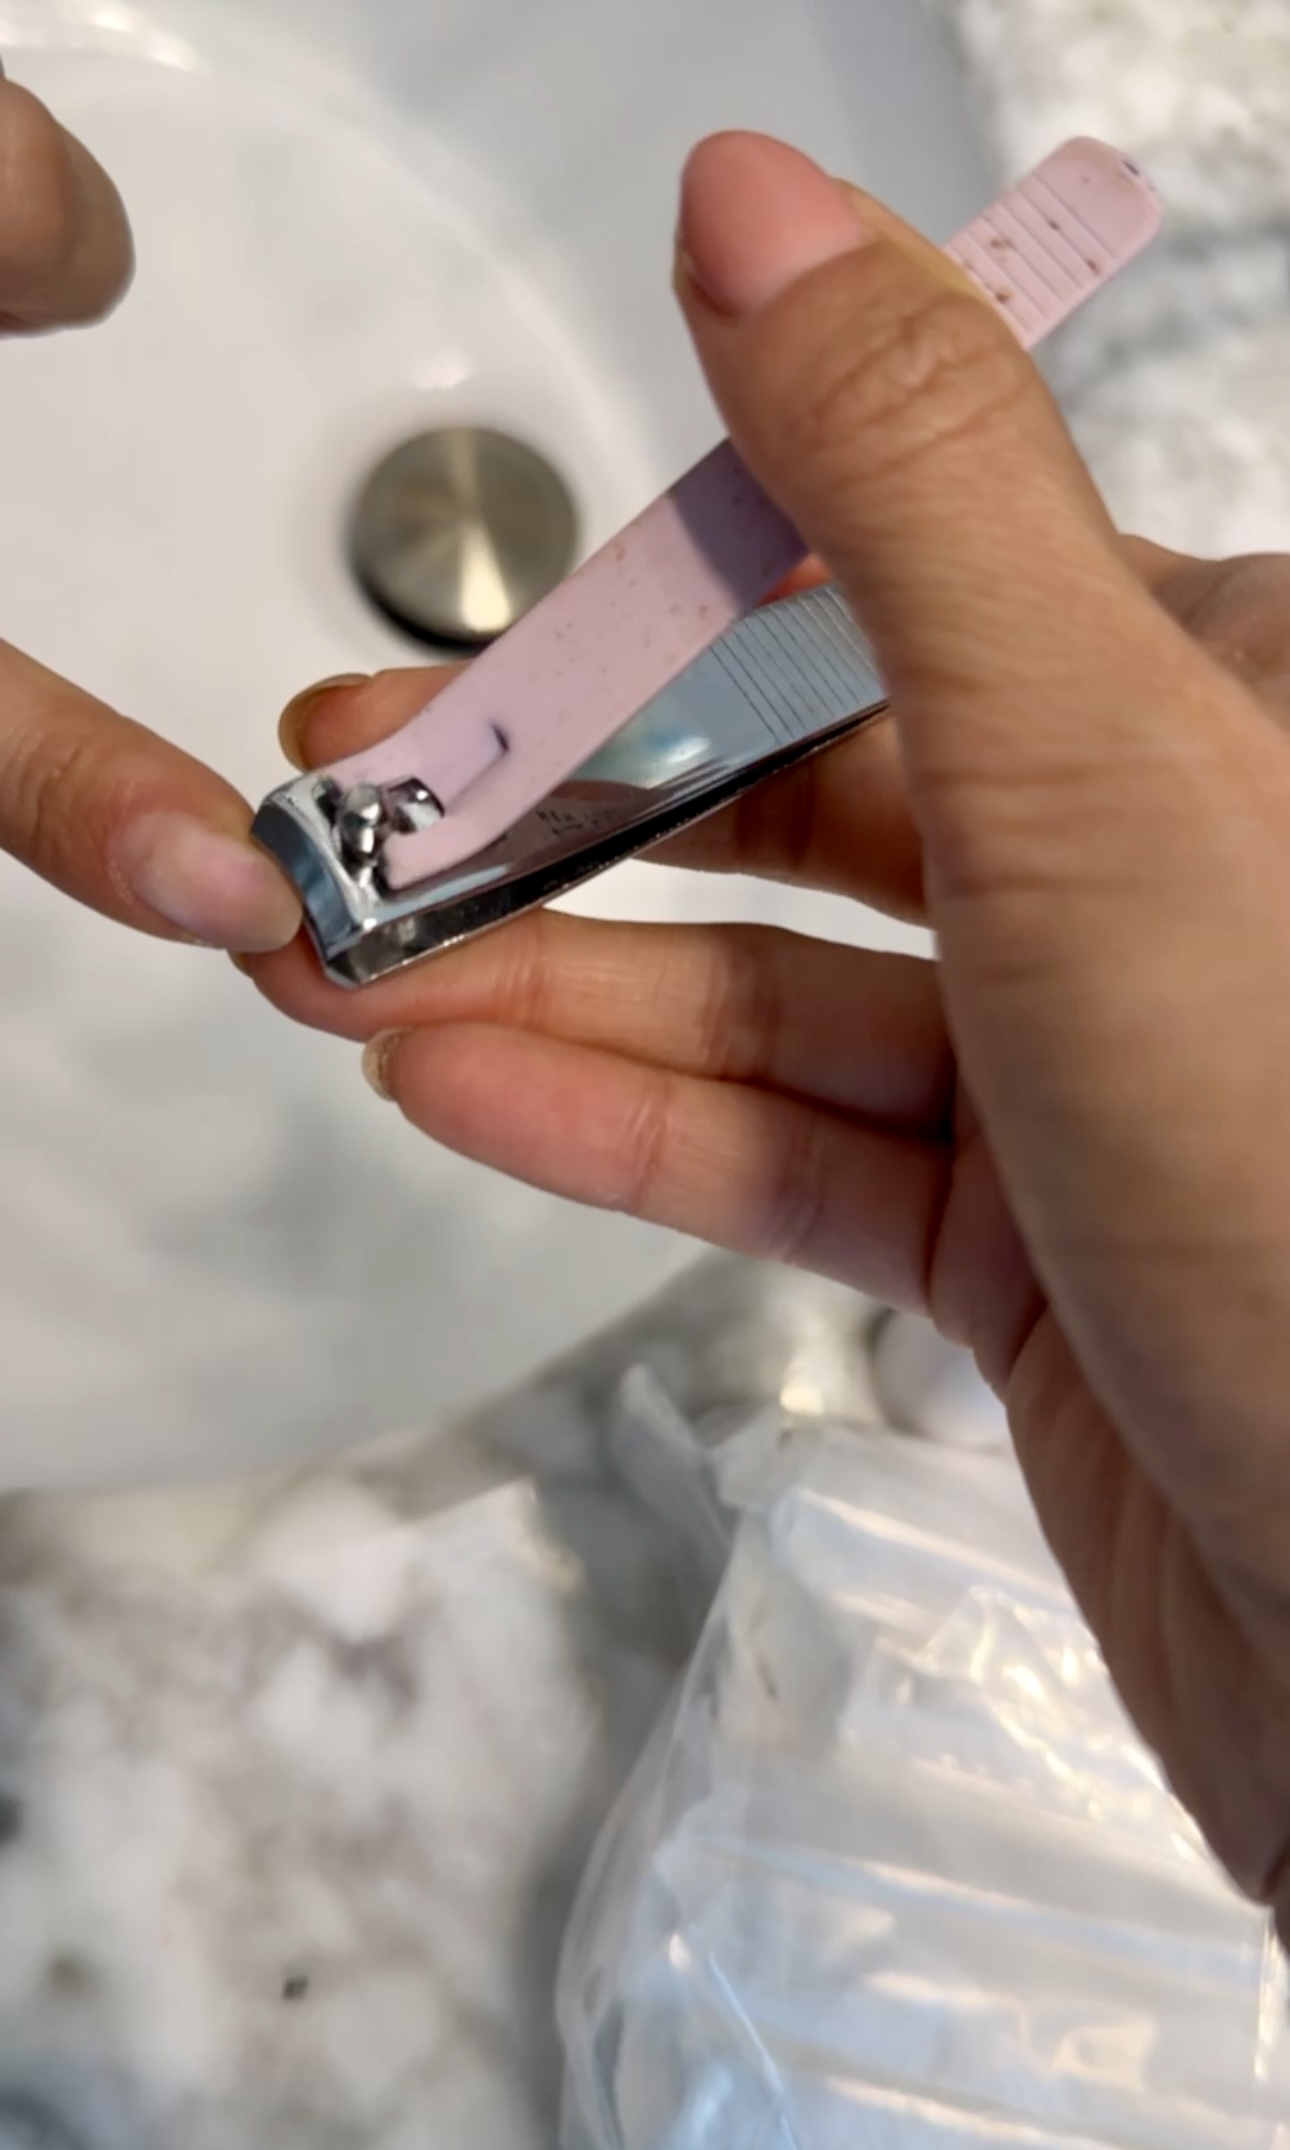
I had rounded nails before, but now I want more of an almond shape. So, I took off the sides with my clipper so there was less work for the file to do. Then, I took my nail file and softened the edges.
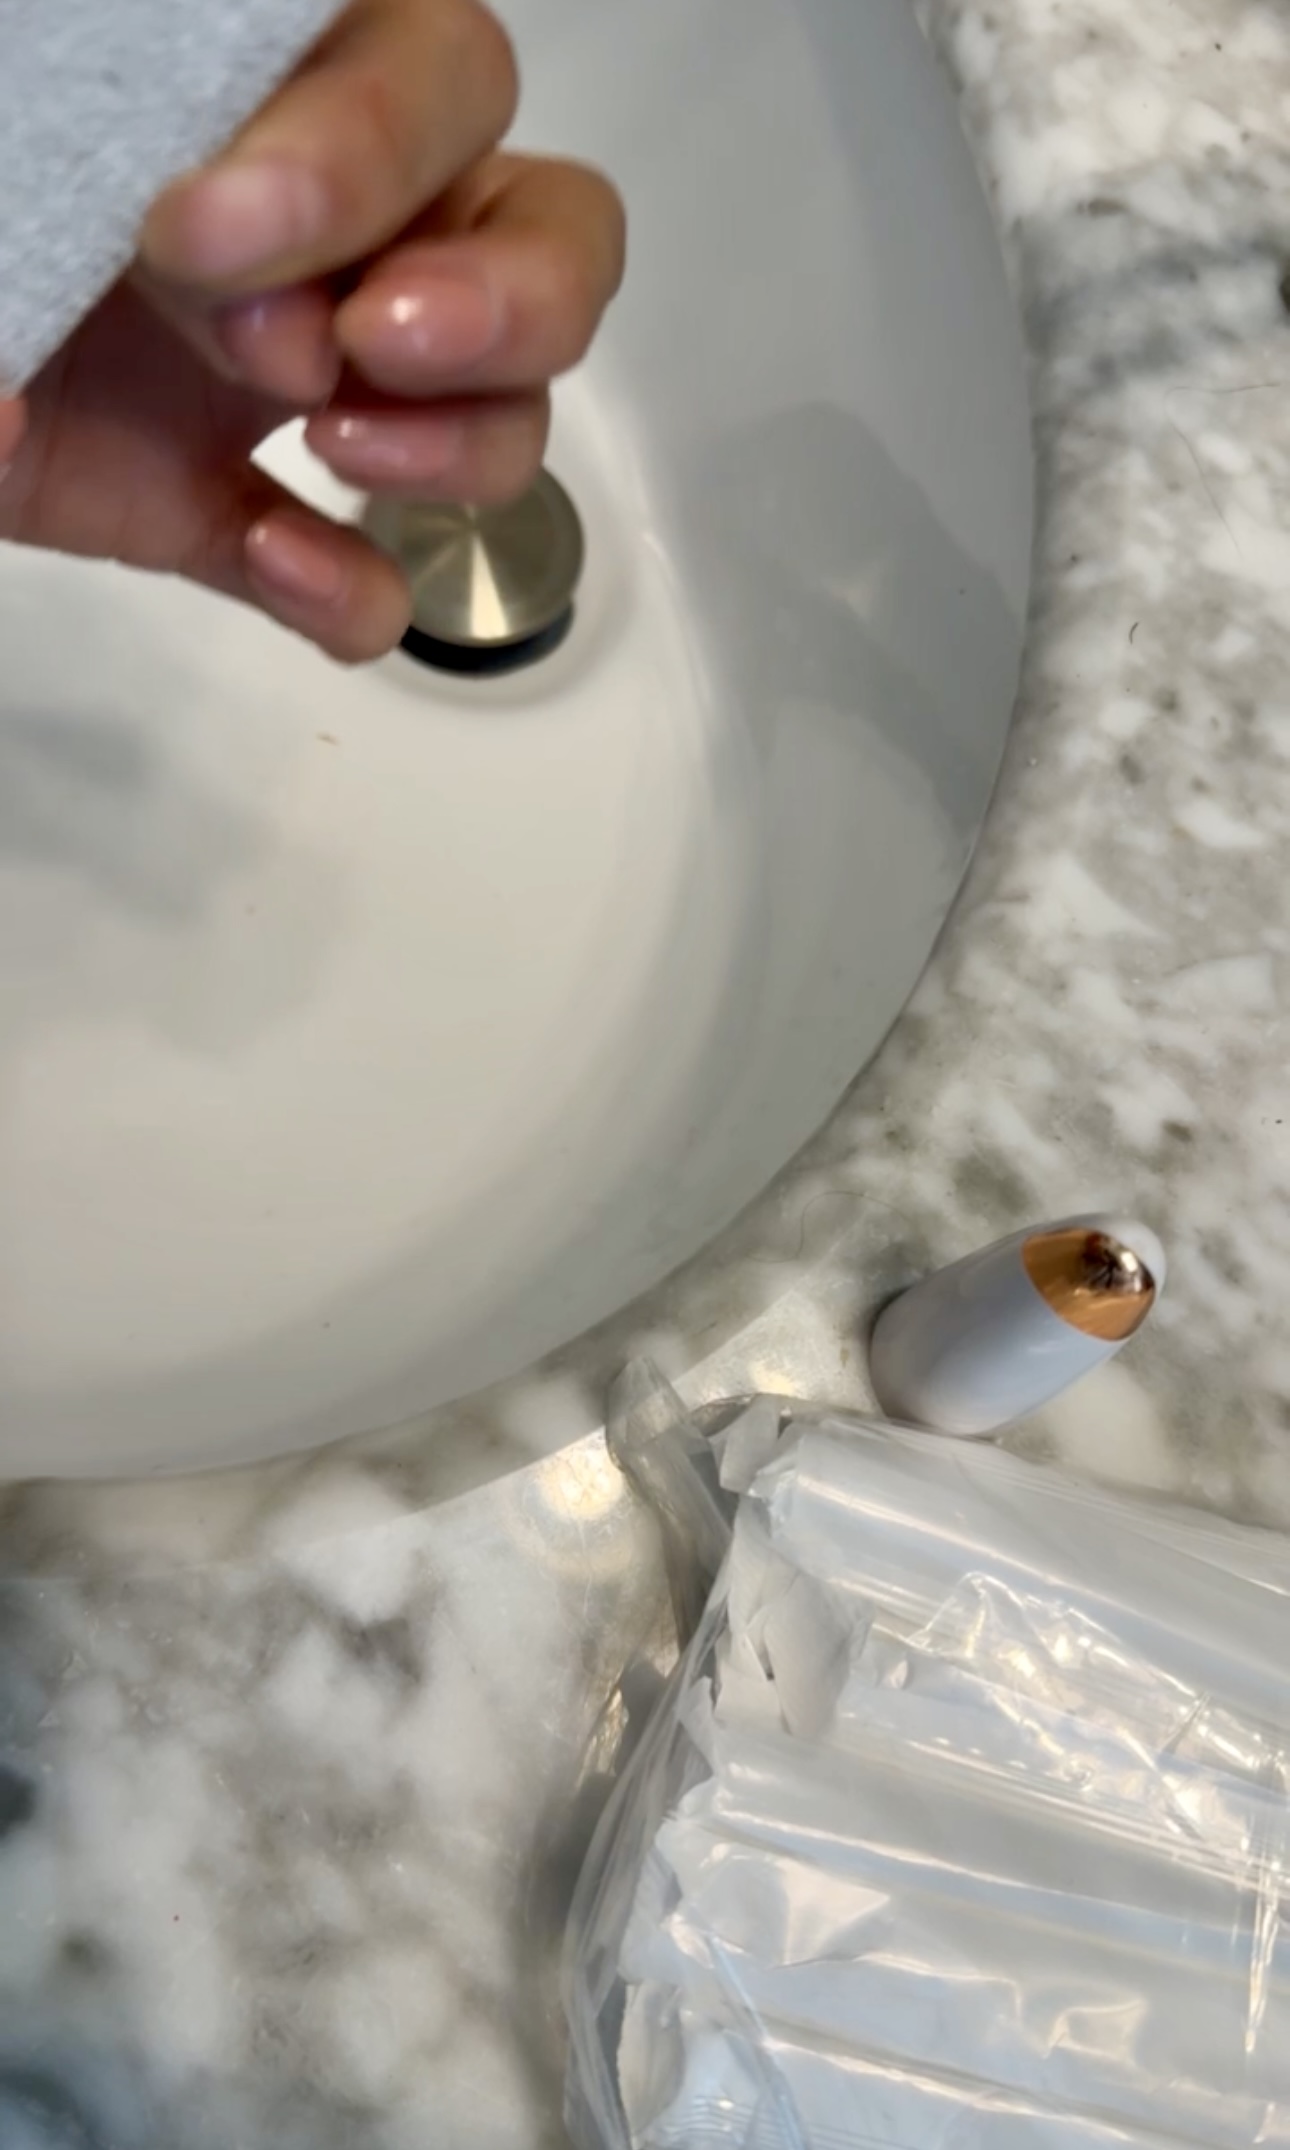
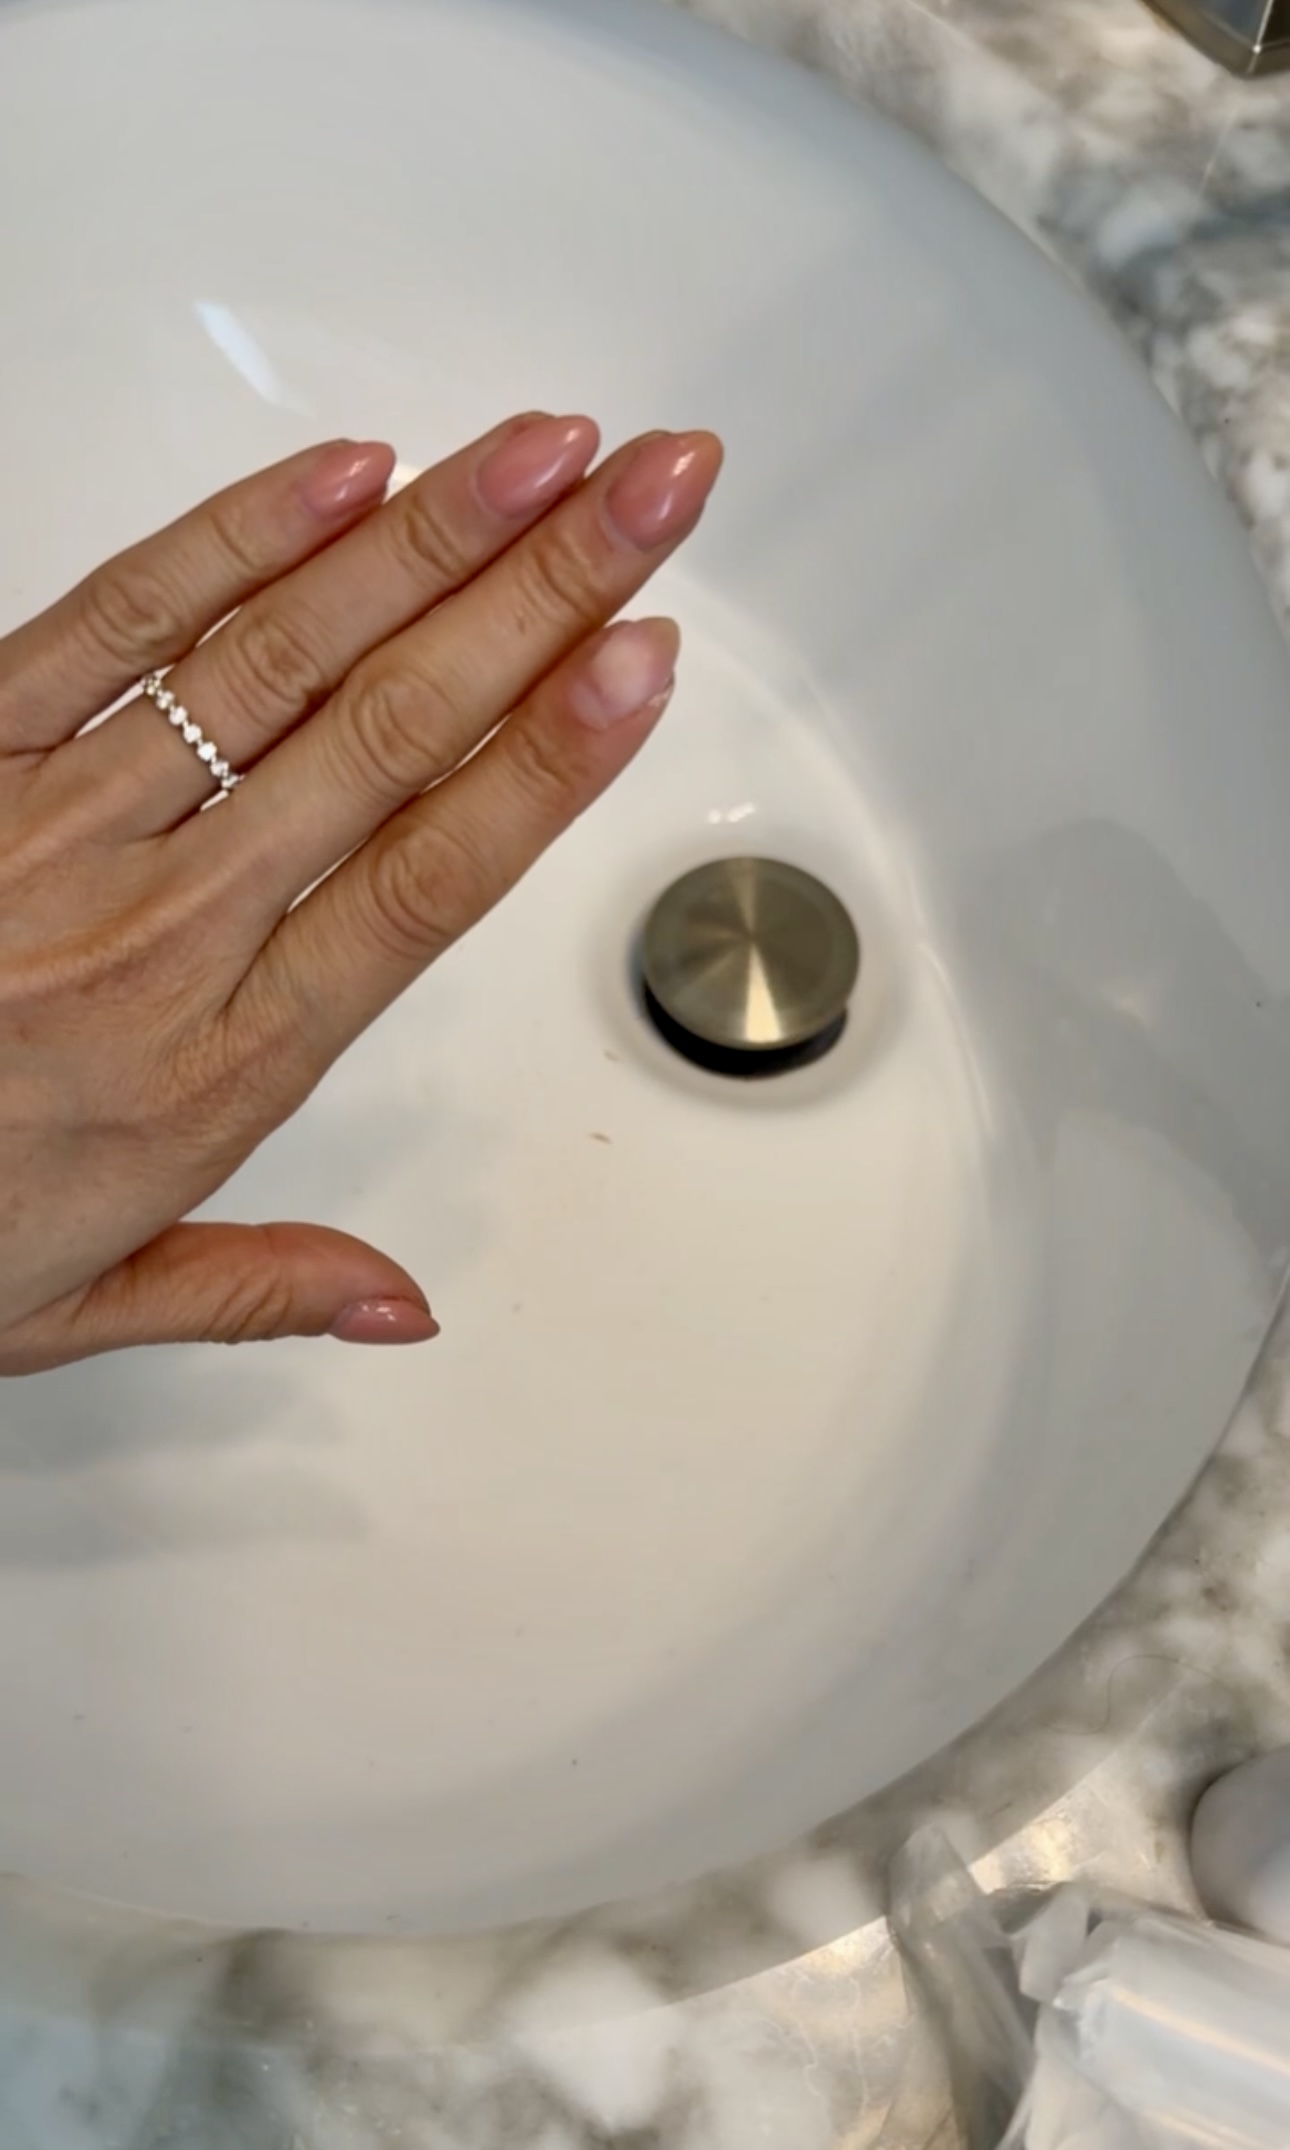
Nail Prep
To prep my nails for gel, I started by pushing back my cuticles and cutting off any excess. Then, I took my file and scuffed up my nails. You don’t want to file it too much because that makes it smooth. I just did a couple of passes over my nail to give it some texture to give the gel something to stick to.
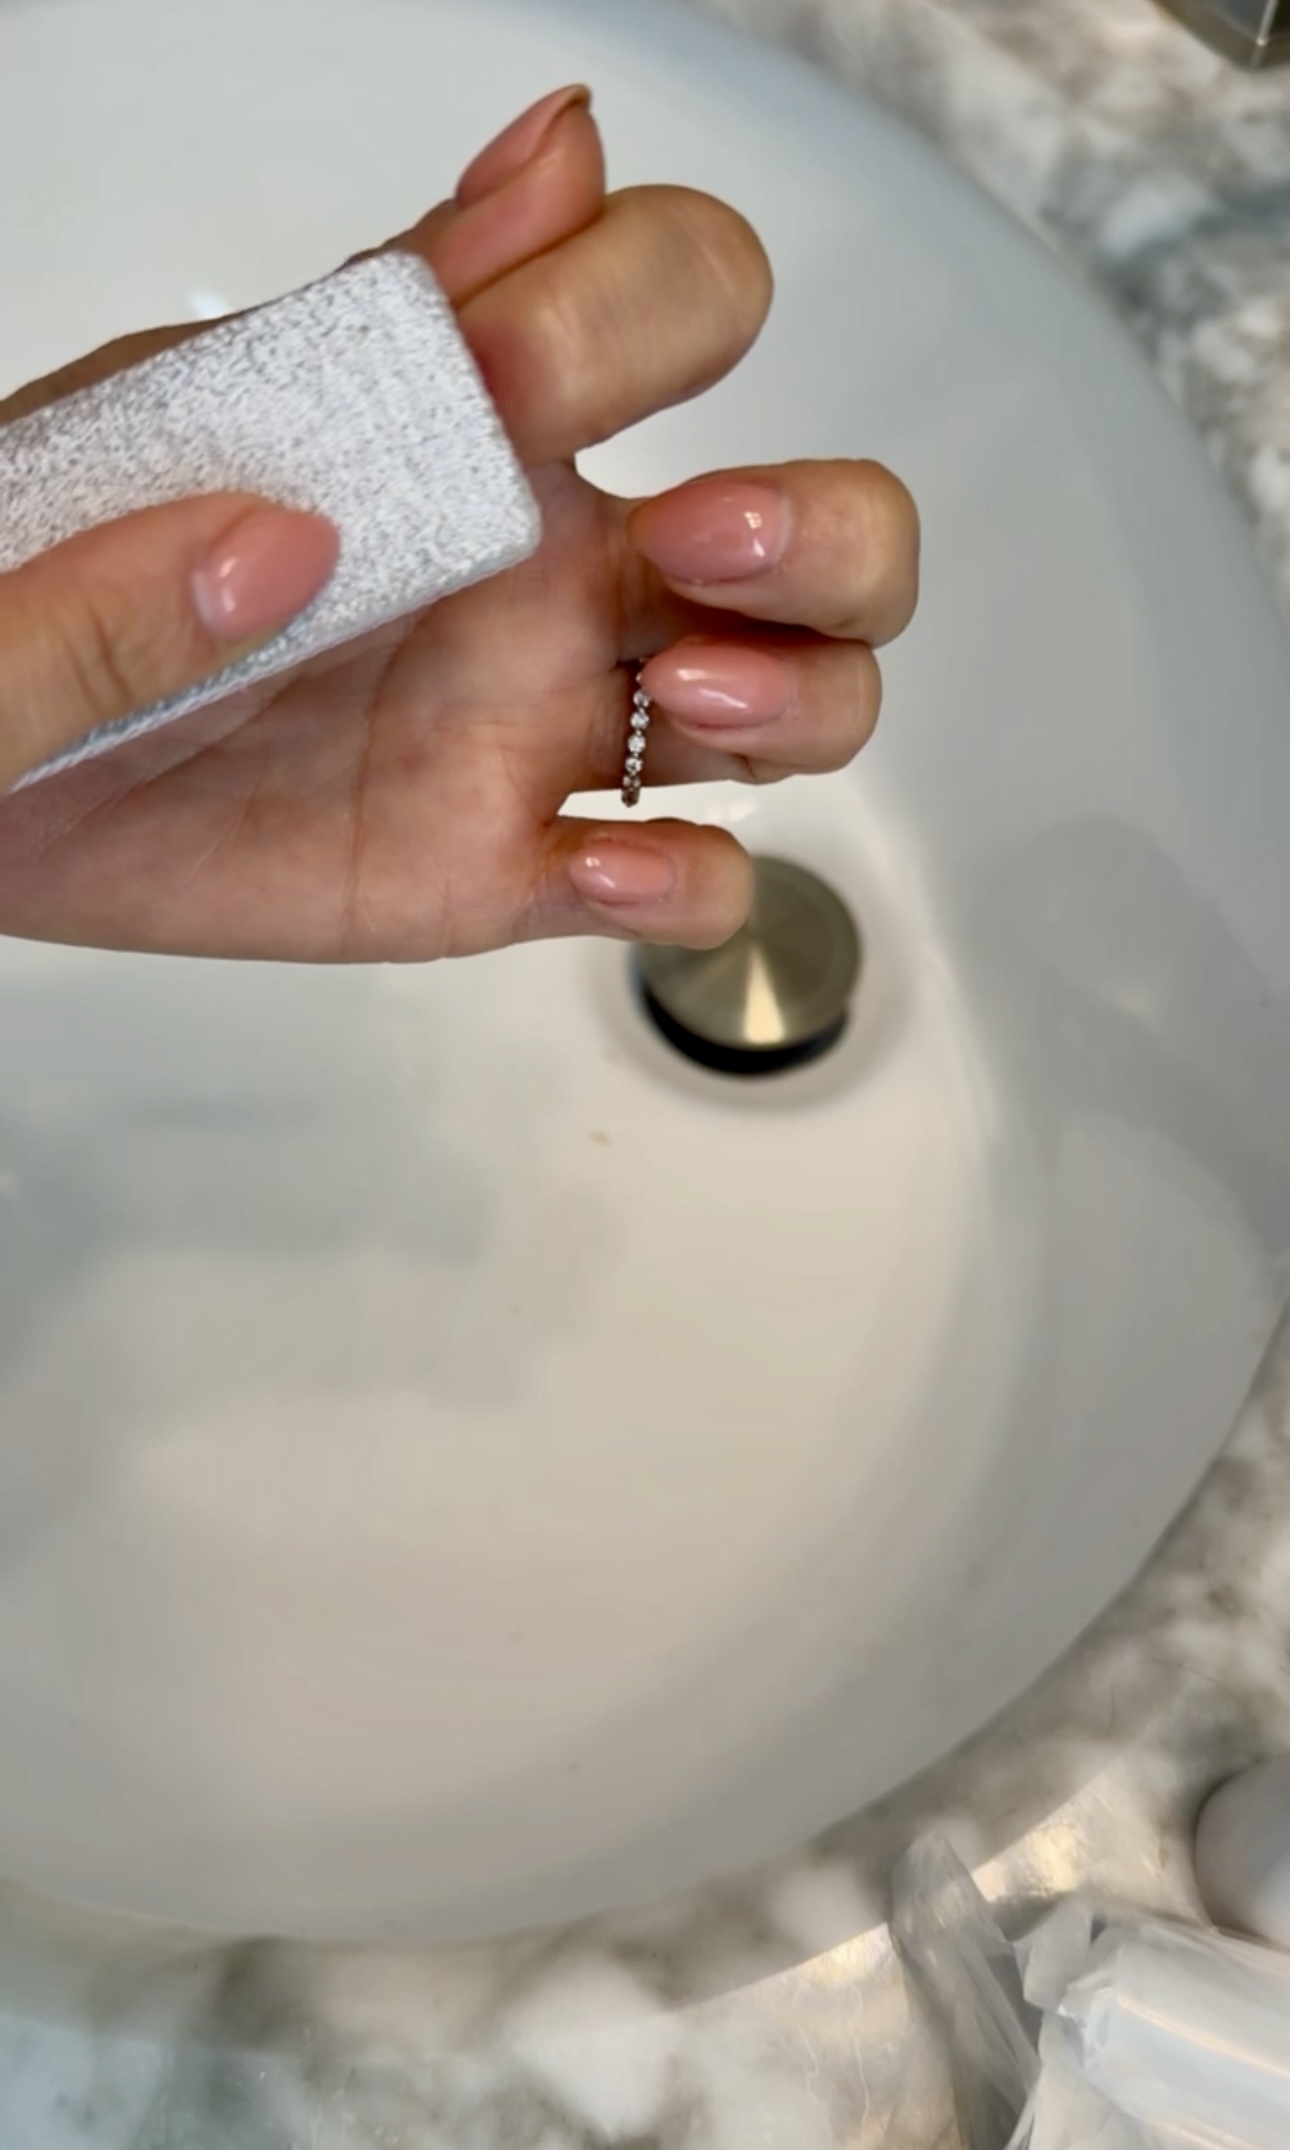
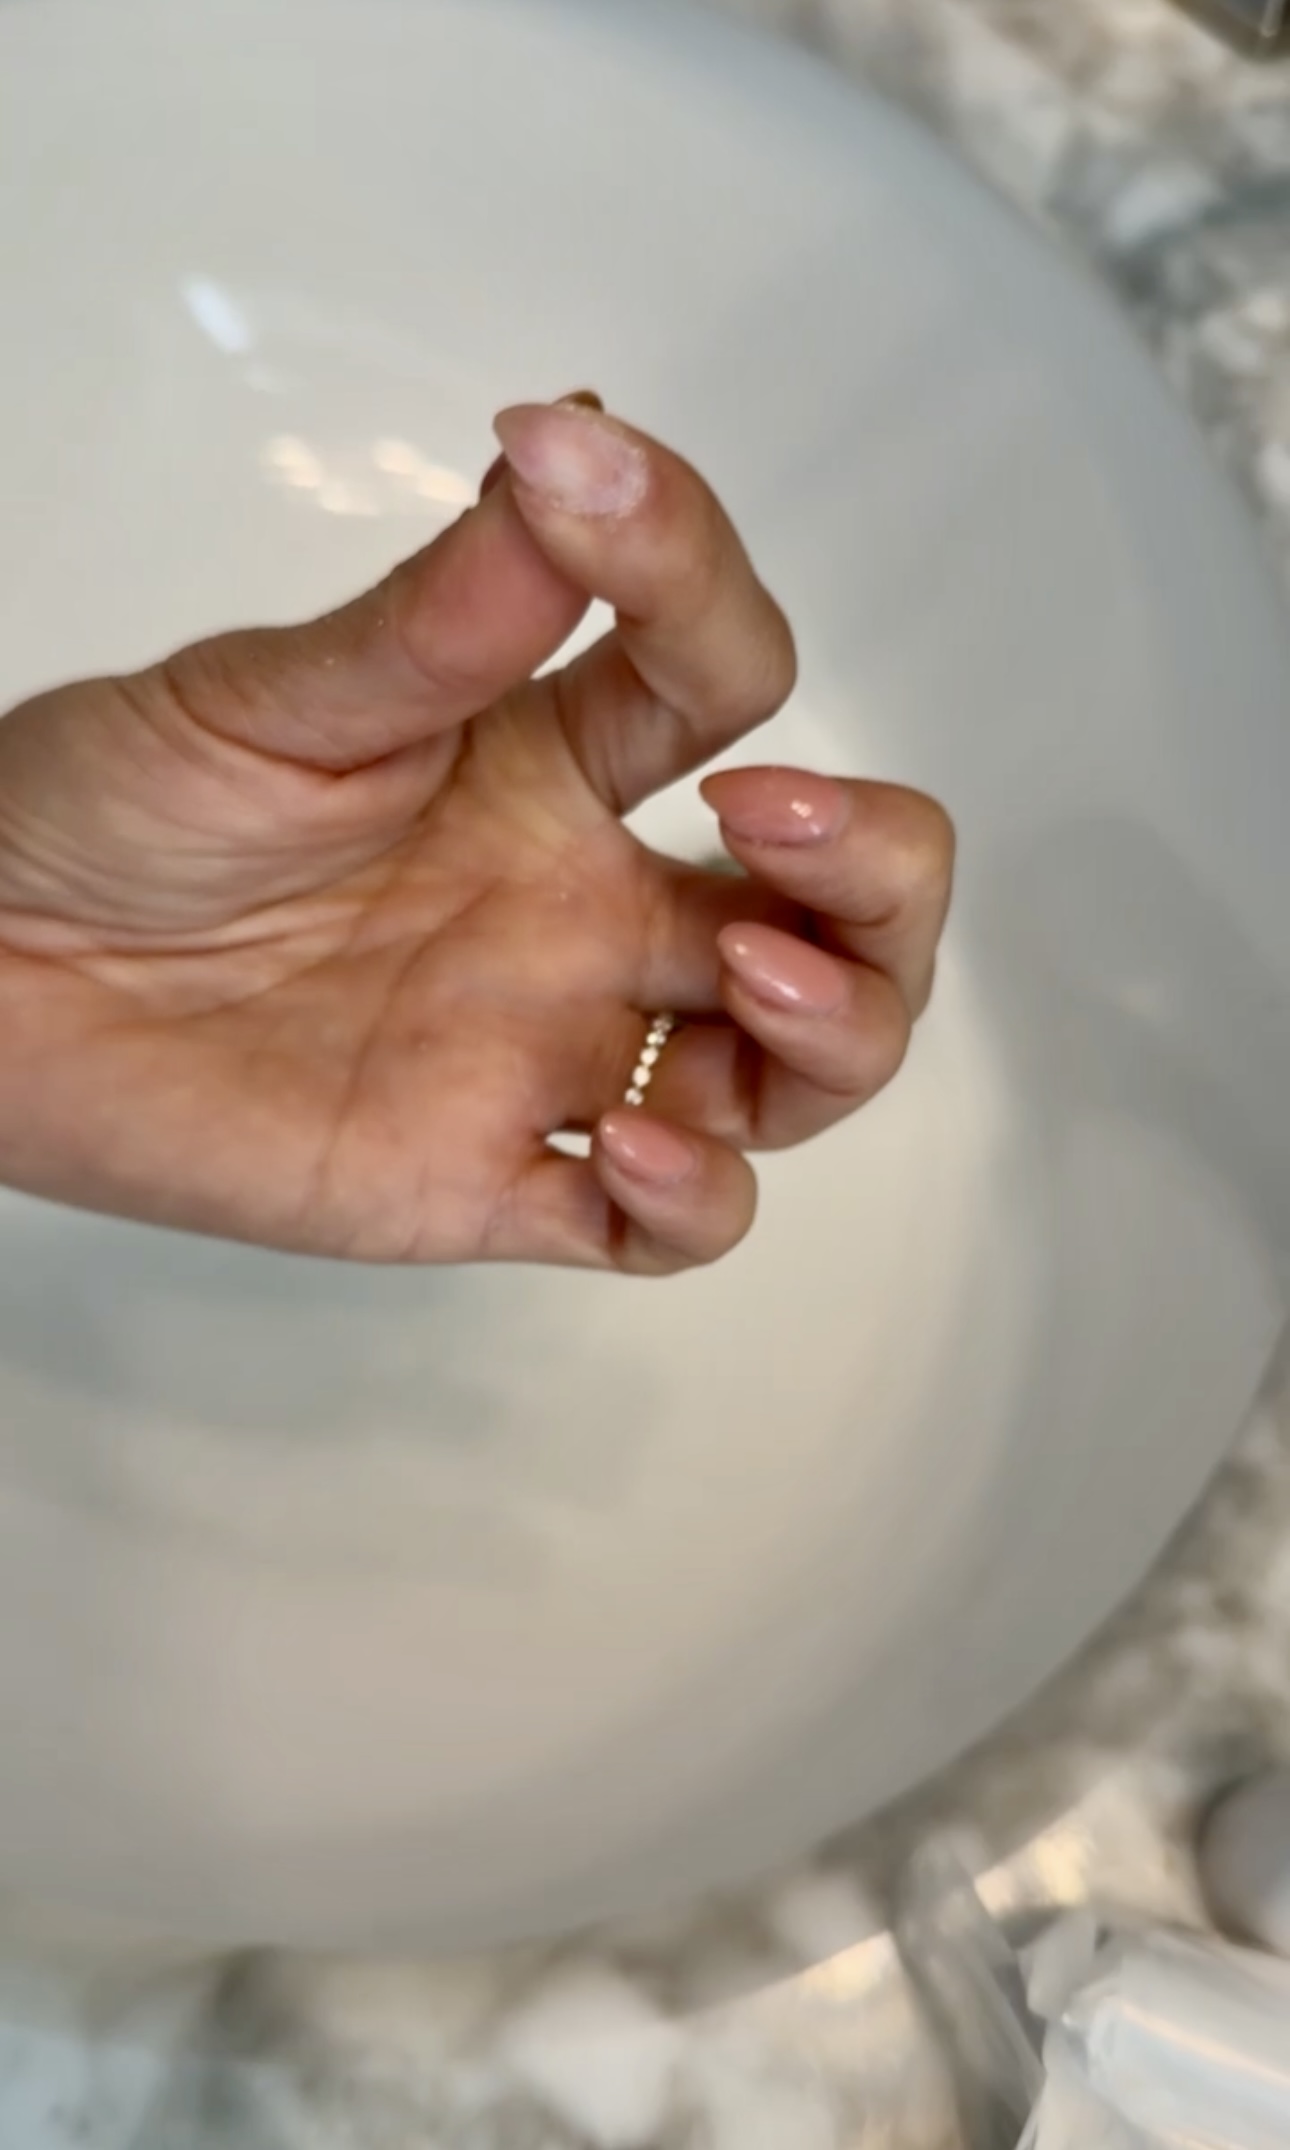
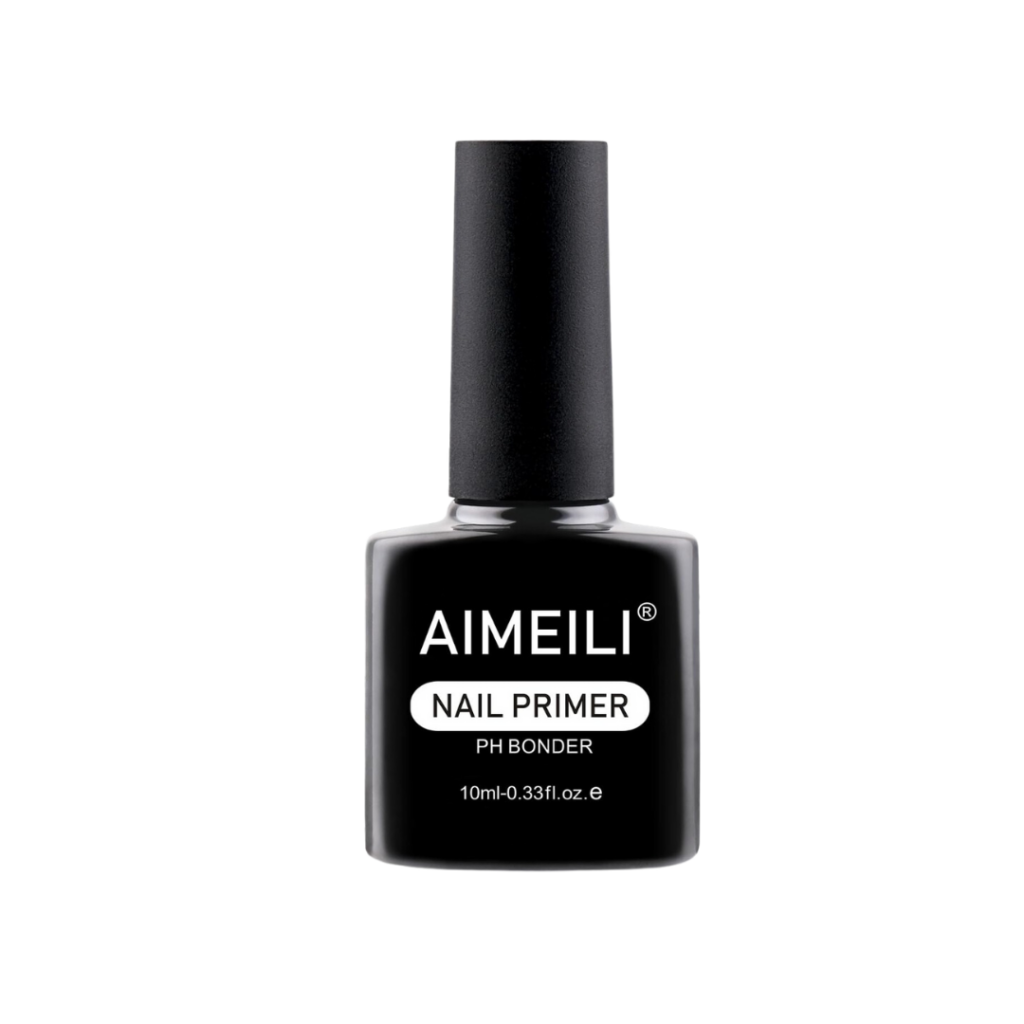
I don’t always use a primer, but if you really want a secure bond nail primer is great. I put a base coat on and cure it for 60 seconds.
Painting
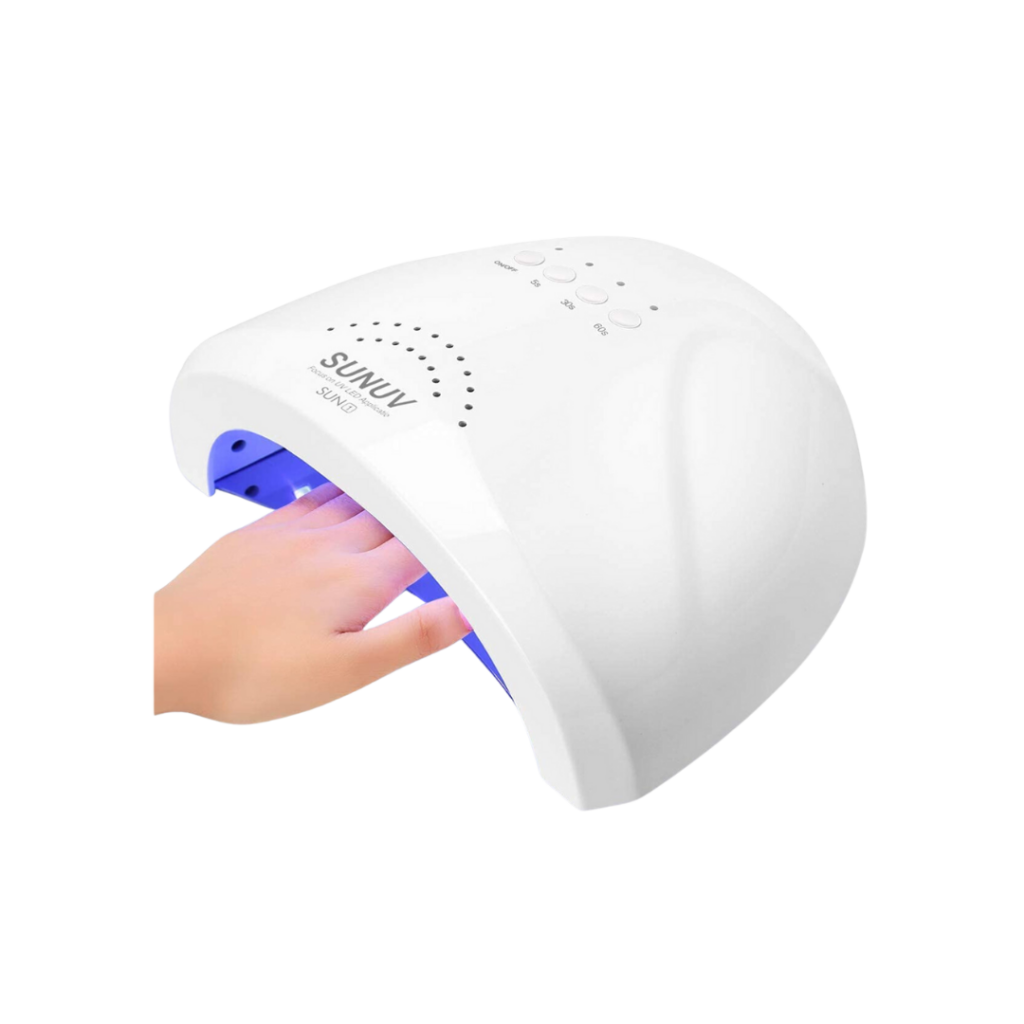
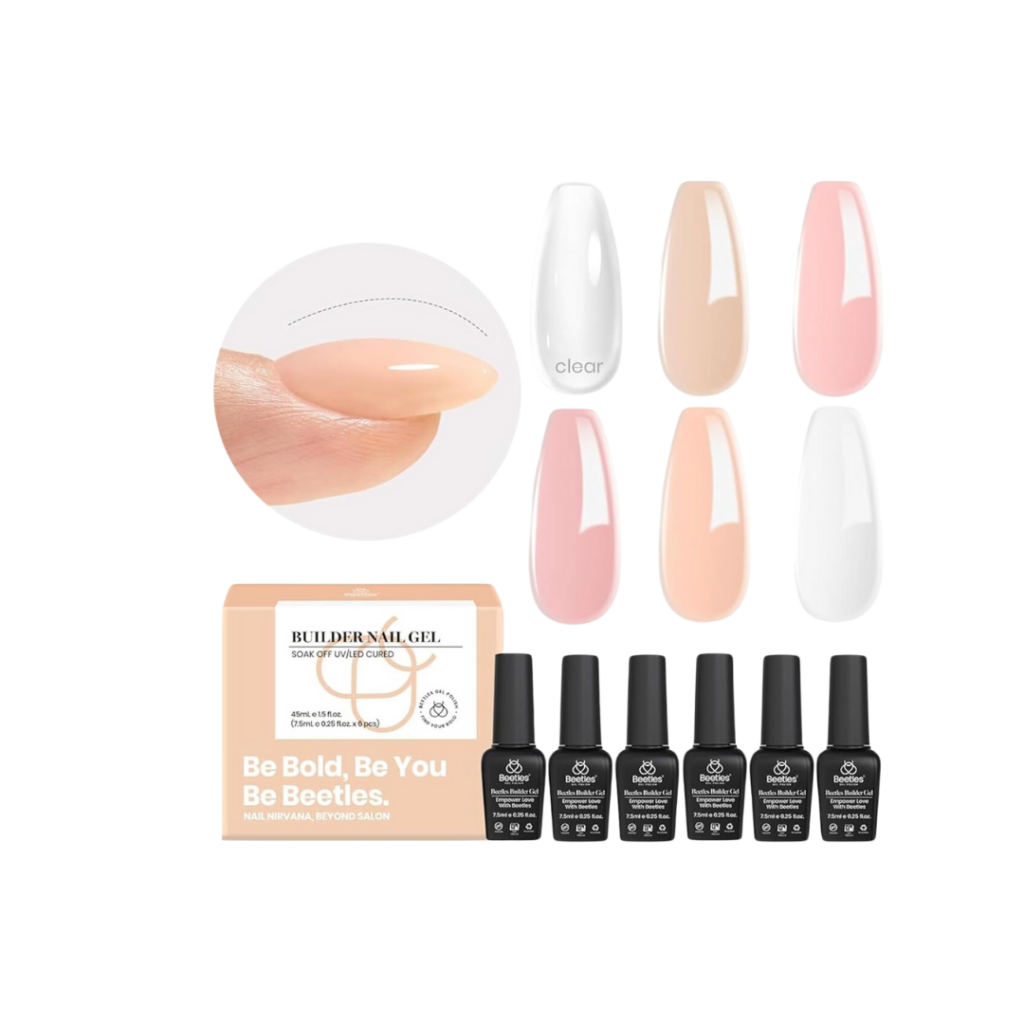
I use a builder gel which is harder than regular gel. I love how sturdy it is! (It’s different than regular gel polish. Gel polish is much thinner.) The first coat is a light coat of the builder gel painted all the way to my cuticle. Then, I put it into the UV lamp for 60 seconds.

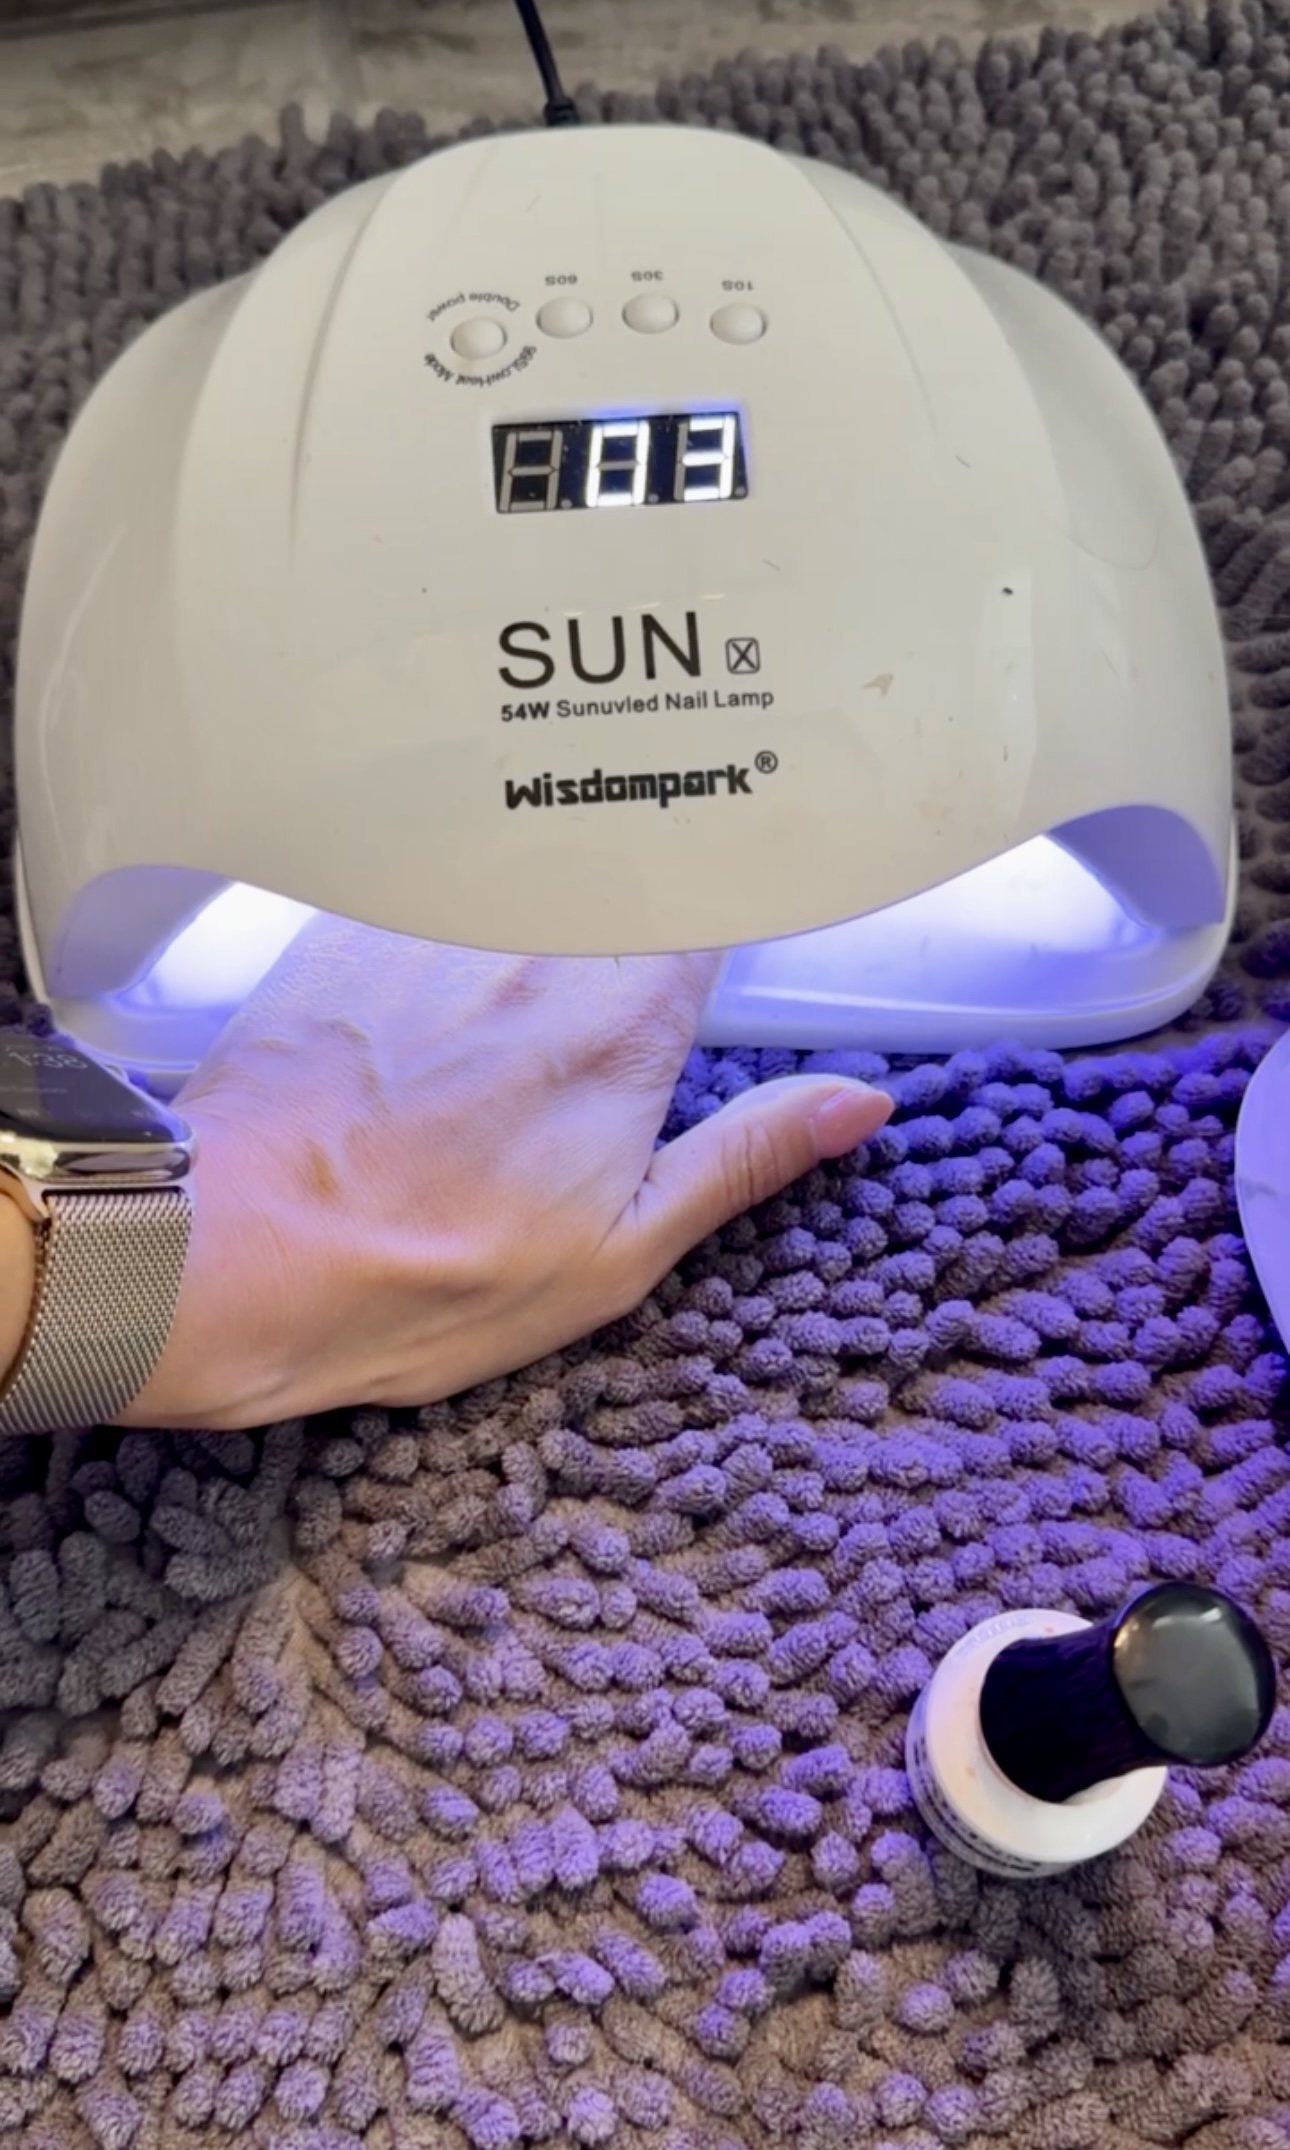
Next step is the actual “building” part. I apply a light coat of the builder gel and then get a bigger blob and let it sit on top of my nail. Then, spread it out evenly with my brush. Builder naturally settles pretty easily so you pretty much just let it do it’s thing and then make any adjustments! I make sure to cover the edges of my nails as well so it lasts longer.
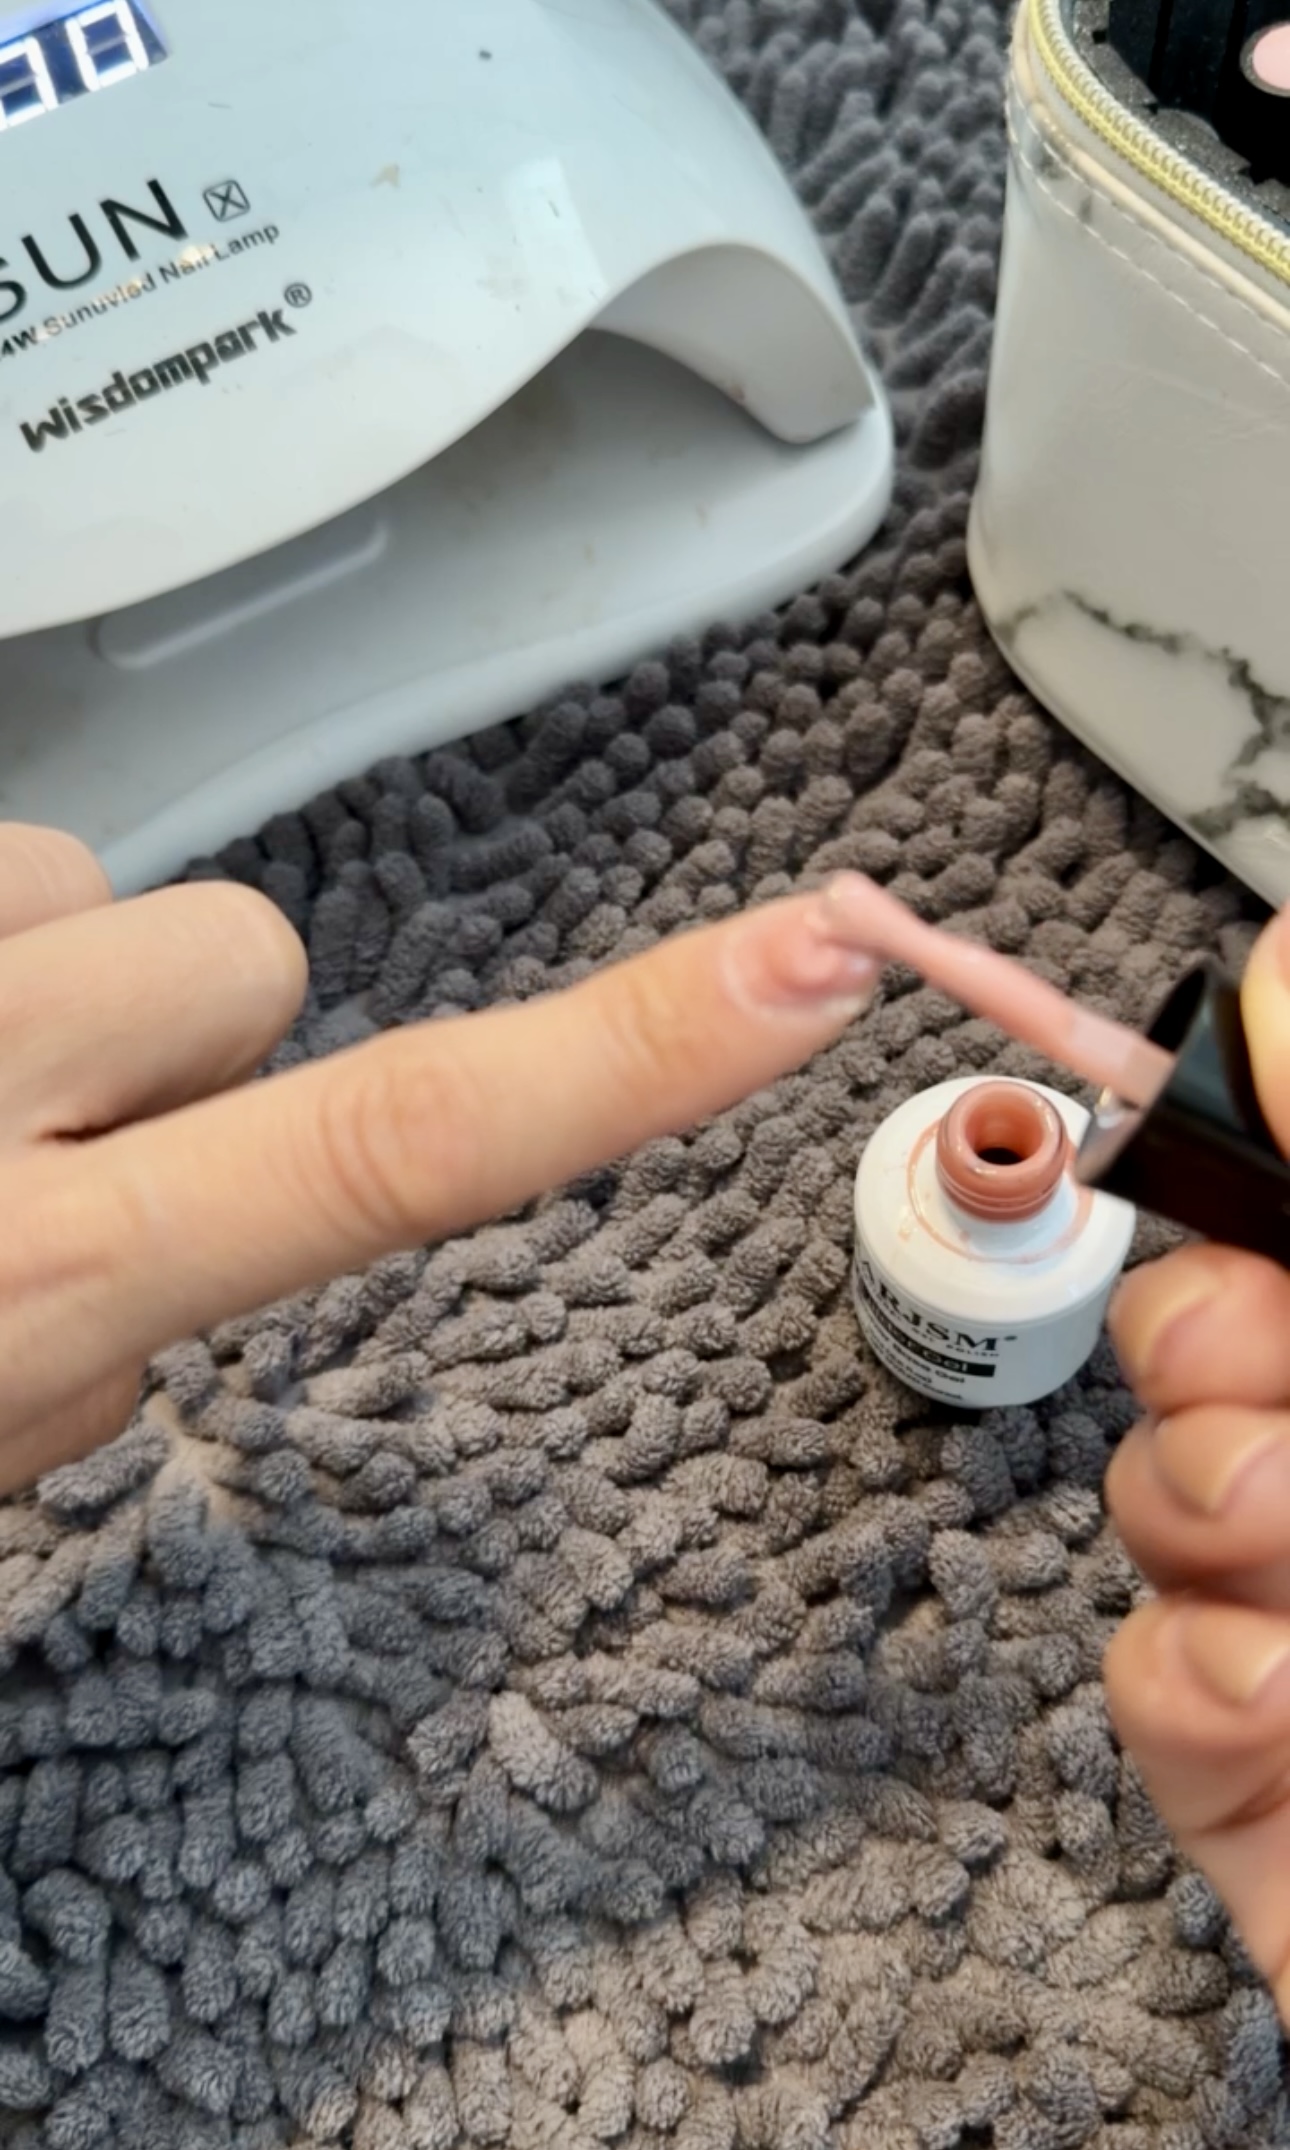
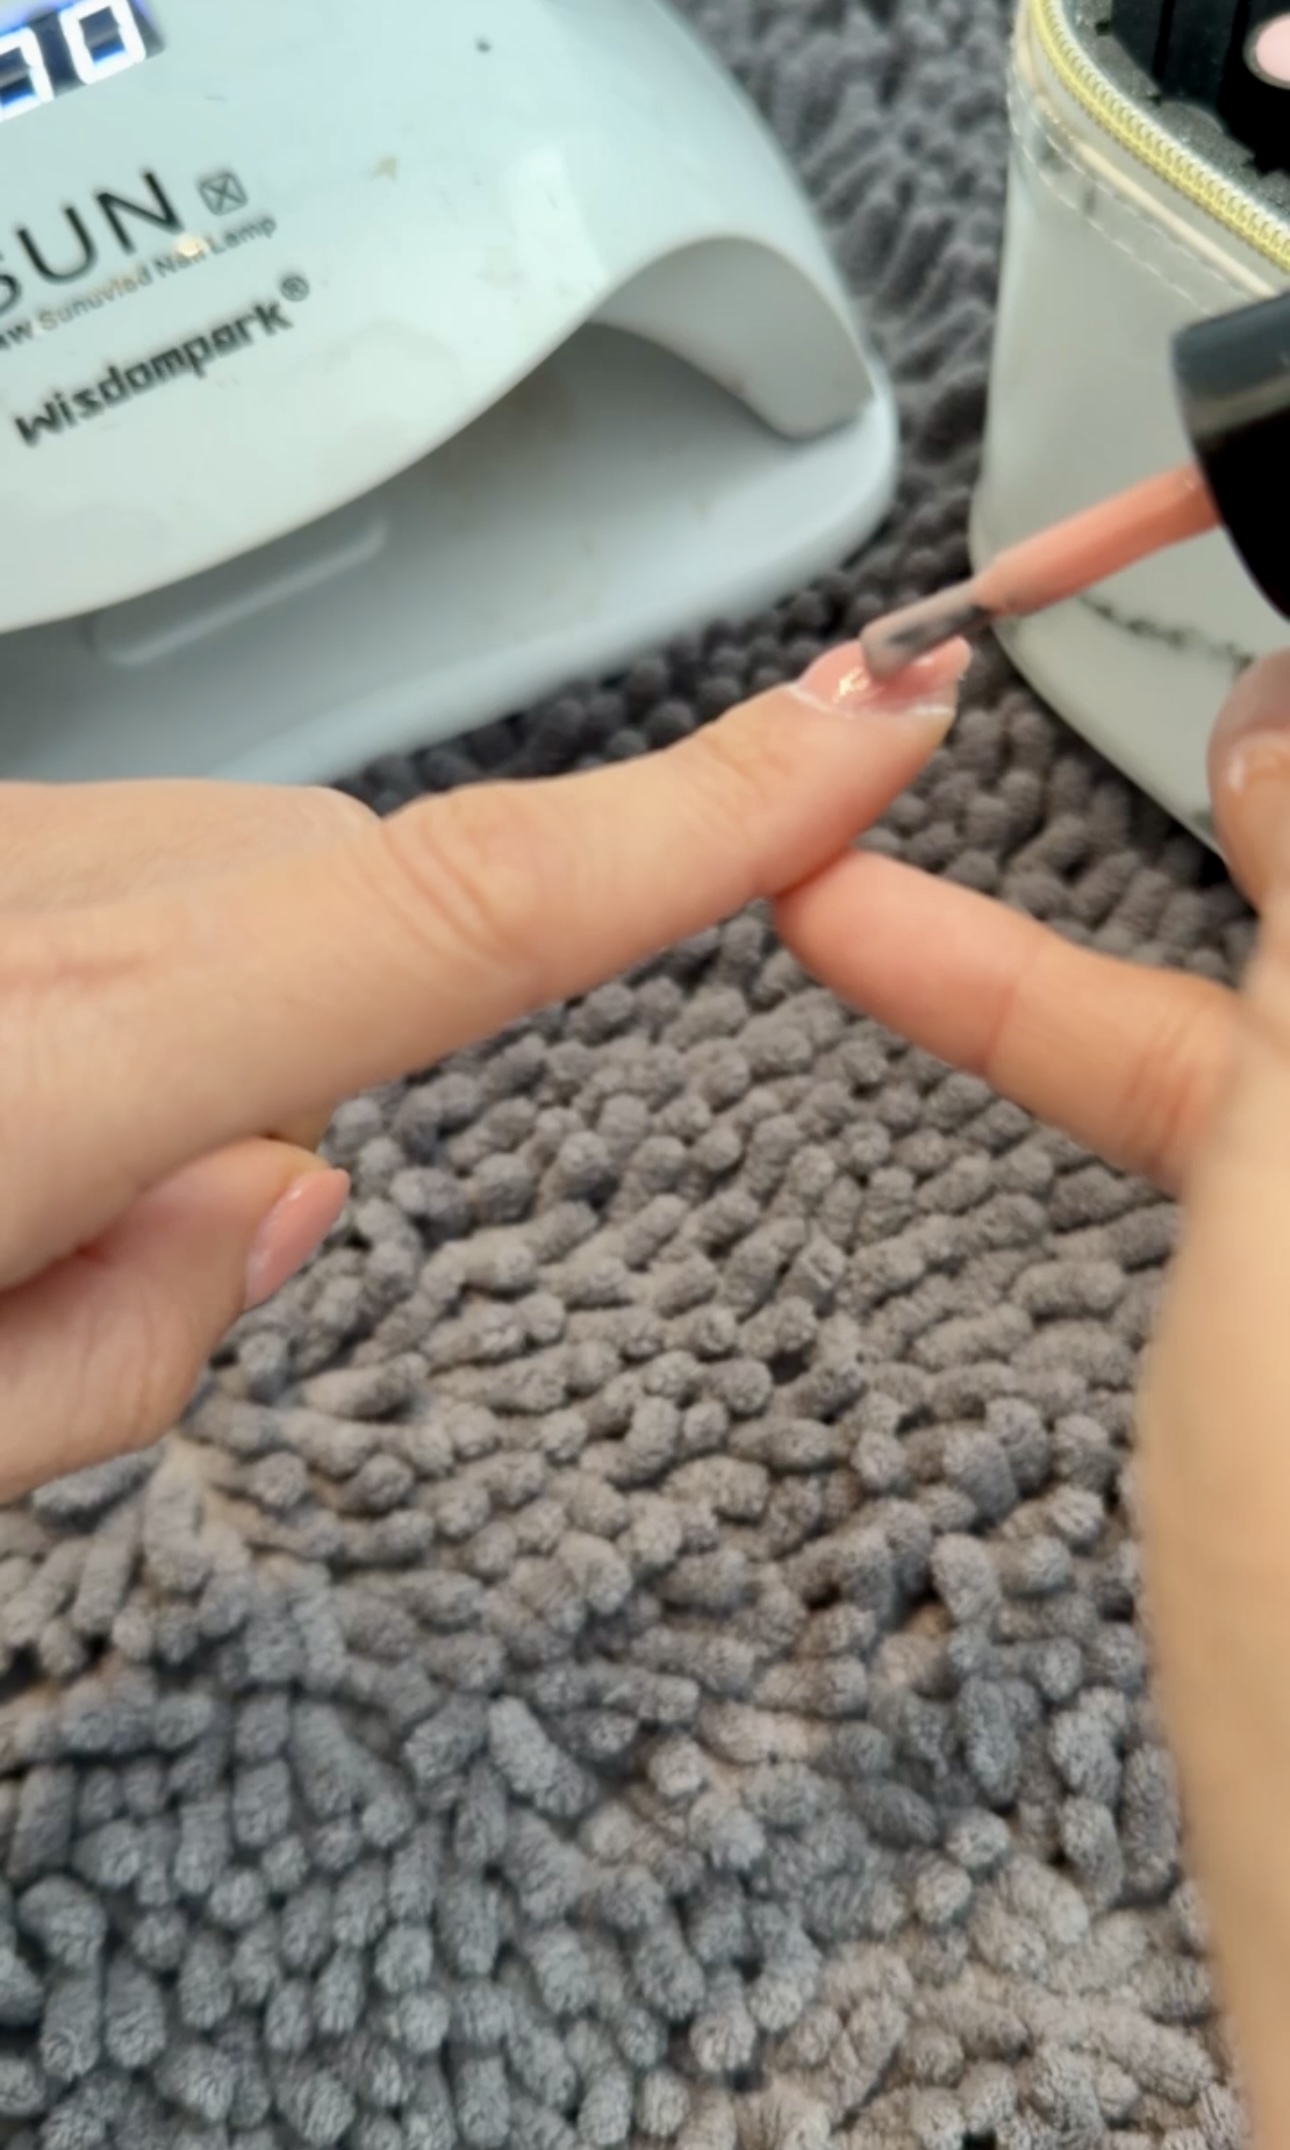
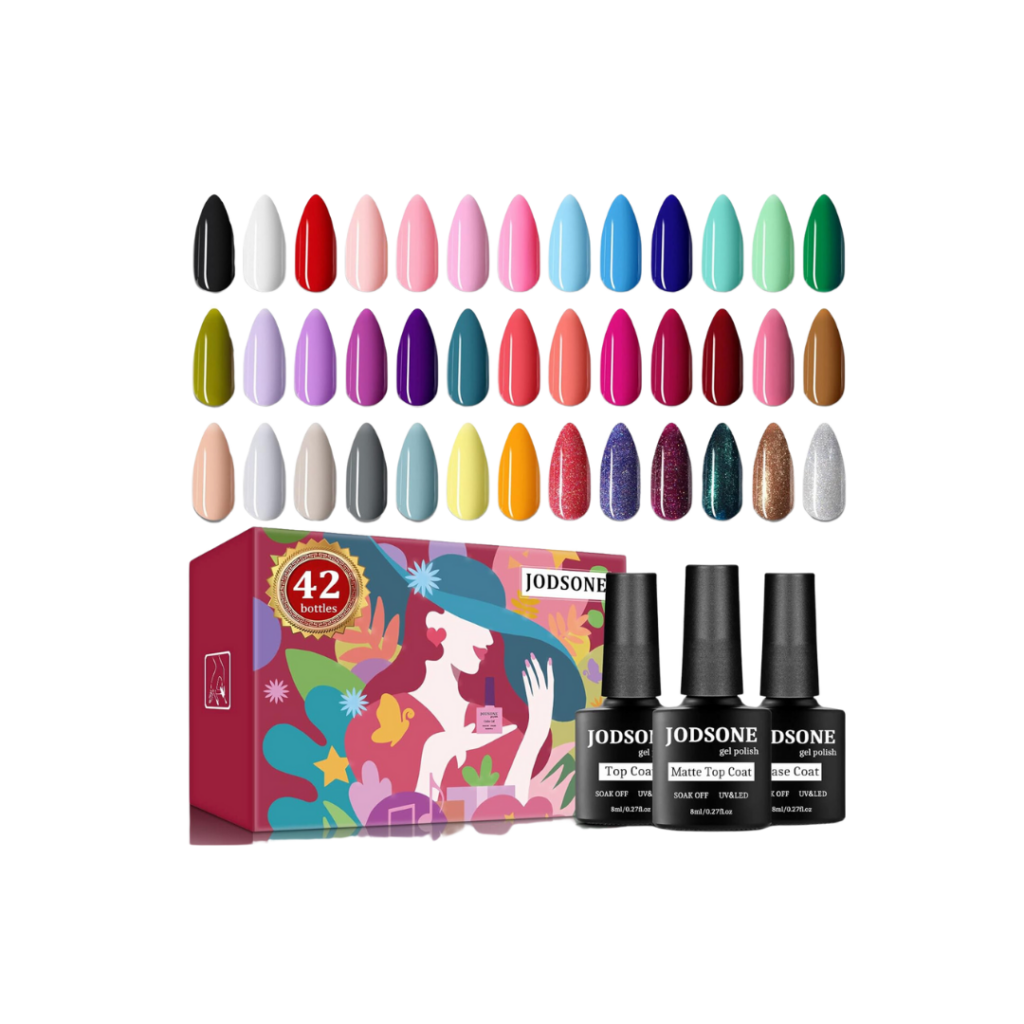
After your builder gel base is set, you can choose a regular gel color and paint it on like the builder gel!
Top Coat
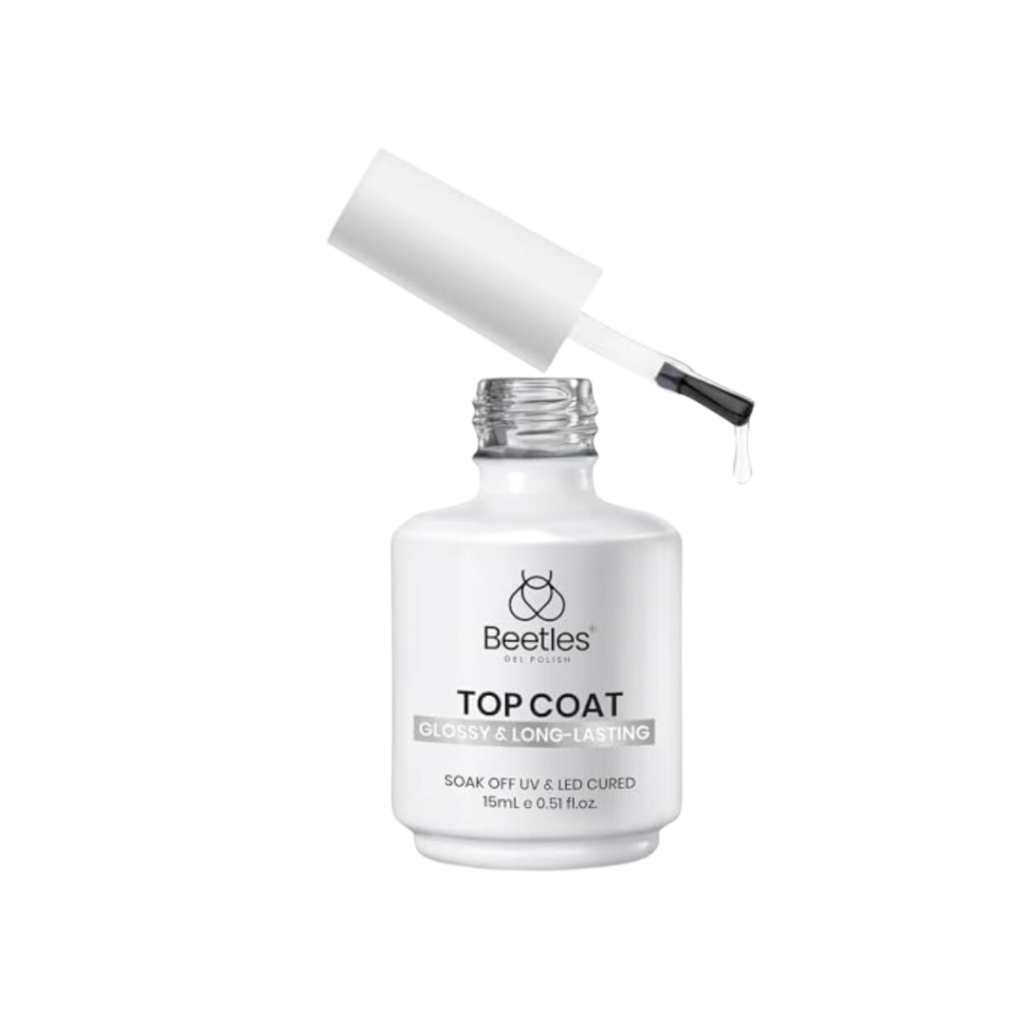
You literally just brush on this top coat like polish, cure it for 60 seconds, and that’s it! It’s so easy!
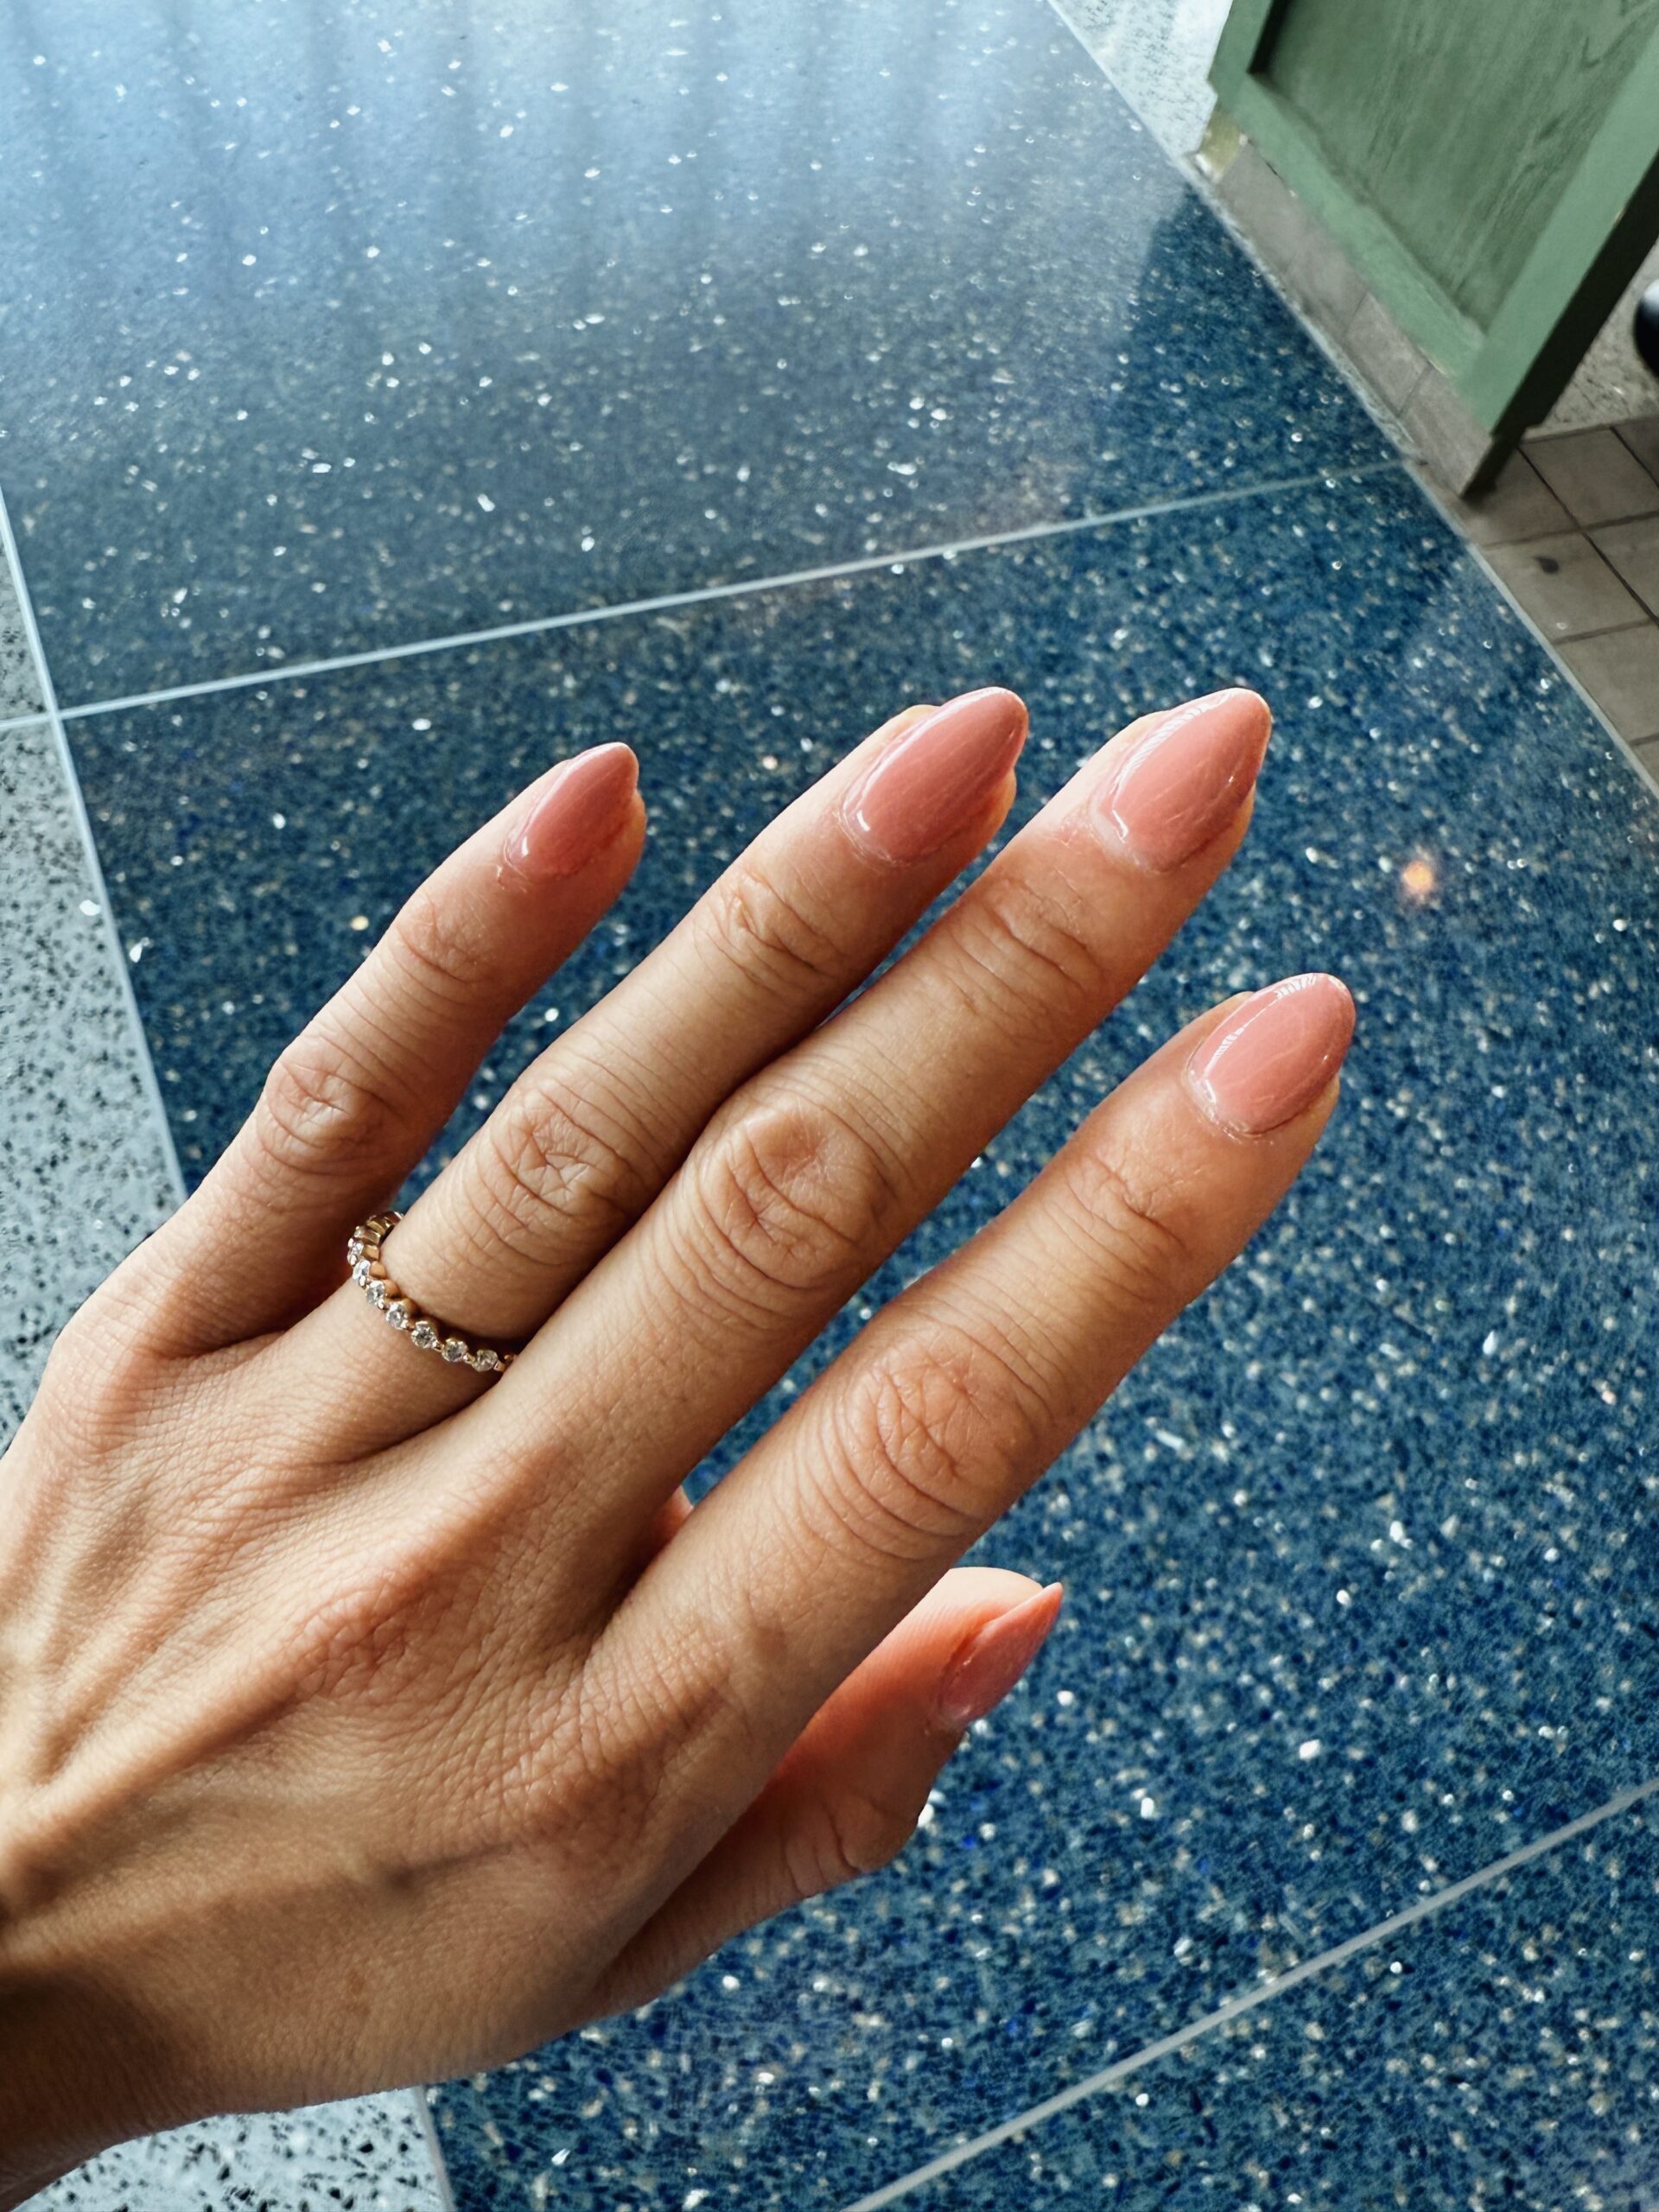
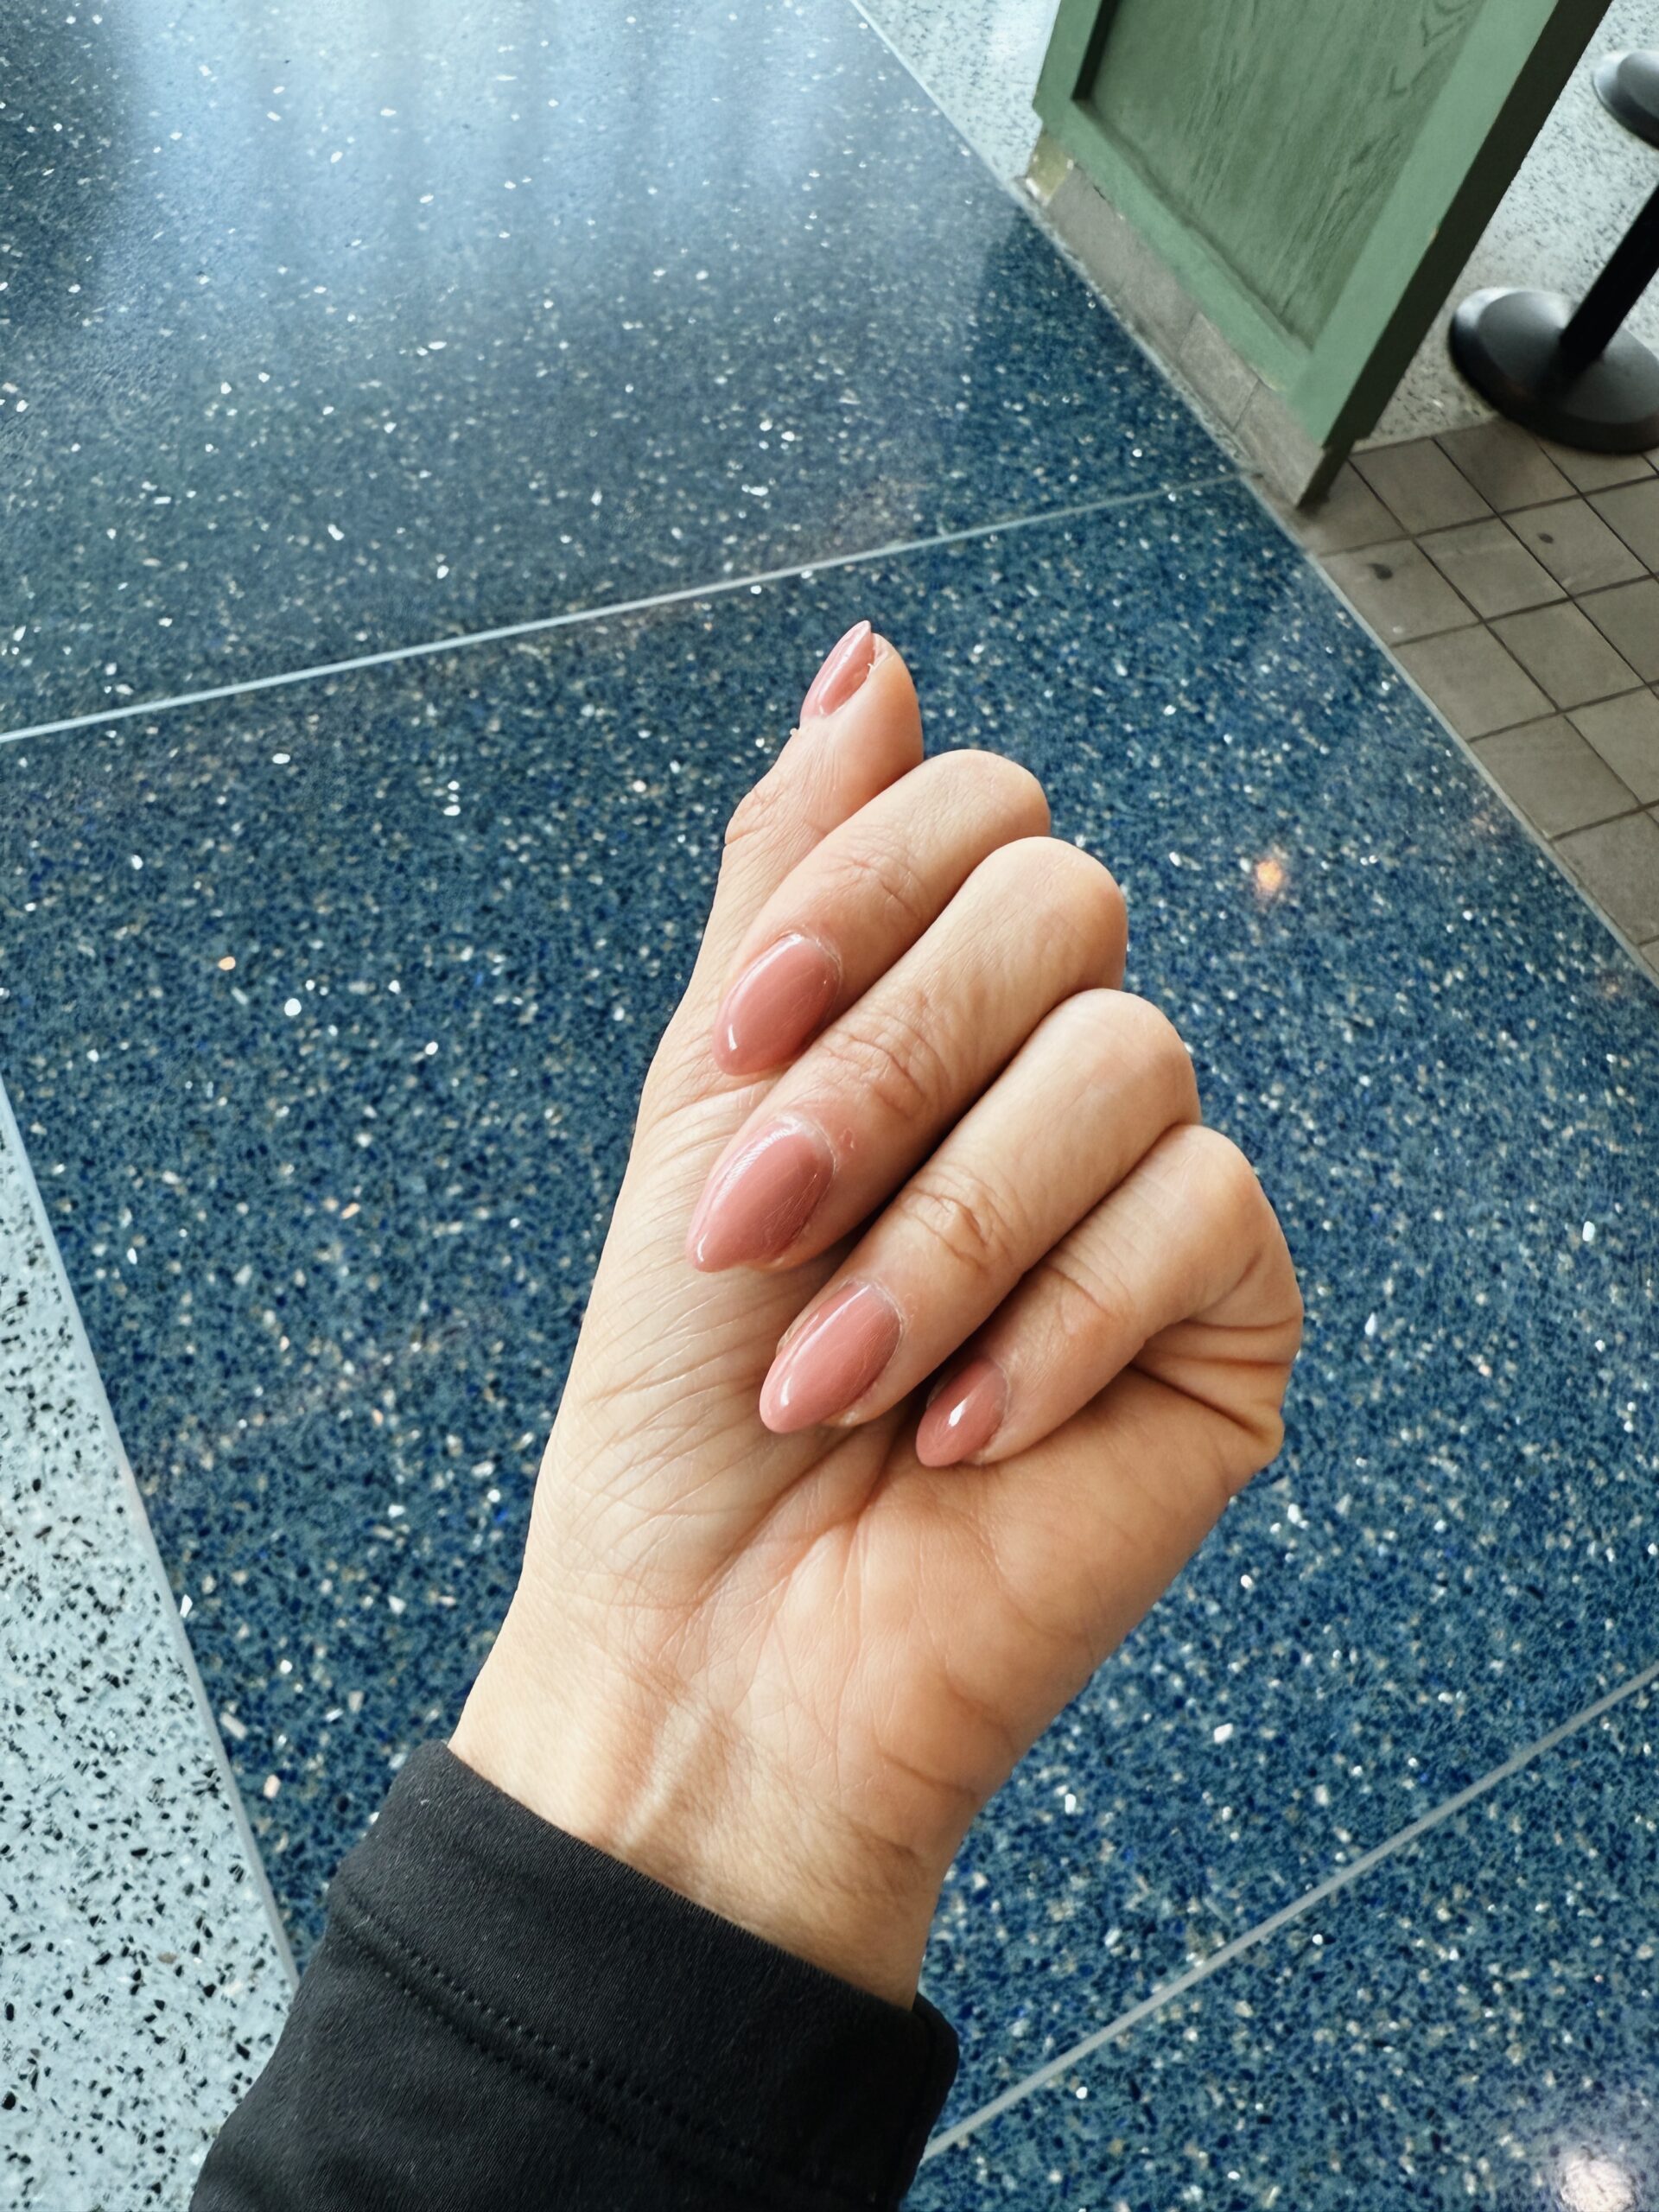
If you want to do a gel manicure with just regular polish instead of the builder gel, you can follow the exact same procedure with just the gel polish instead!
Here’s everything I use for my at home gel manicure tutorial:
