Hi
I'm Bong
I'm just a girl who likes to DIY anything and everything. More than that, I love teaching people - especially women - how to pick up power tools and create the home of their dreams. Stop waiting for someone else and starting Doing It Yourself. I'll show you how!
diy projects
diy school
life hacks
categories
must have products
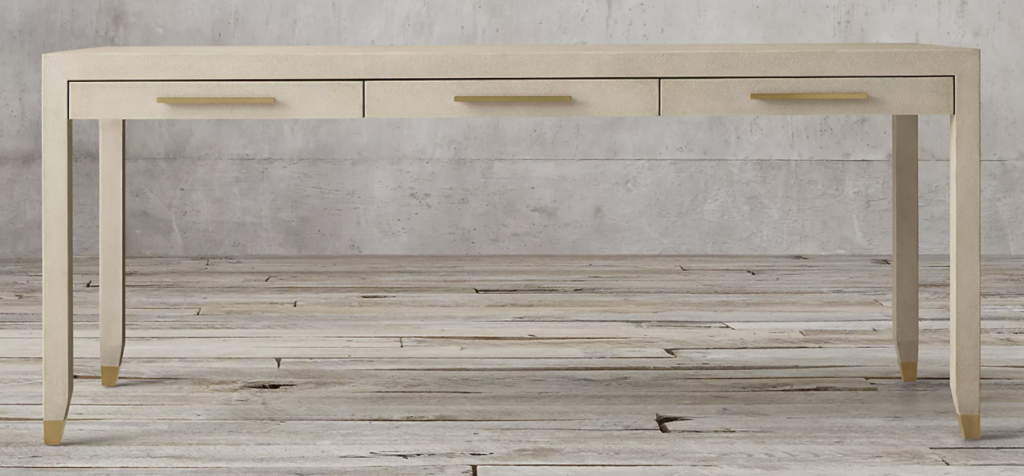
The office desk I want to recreate is from Restoration Hardware. It’s beautiful but it’s about $2,100 and I don’t really want to spend that on a desk, especially when I can DIY it! I am thrilled to teach you how to re-create this office designer desk dupe and save money during the process.
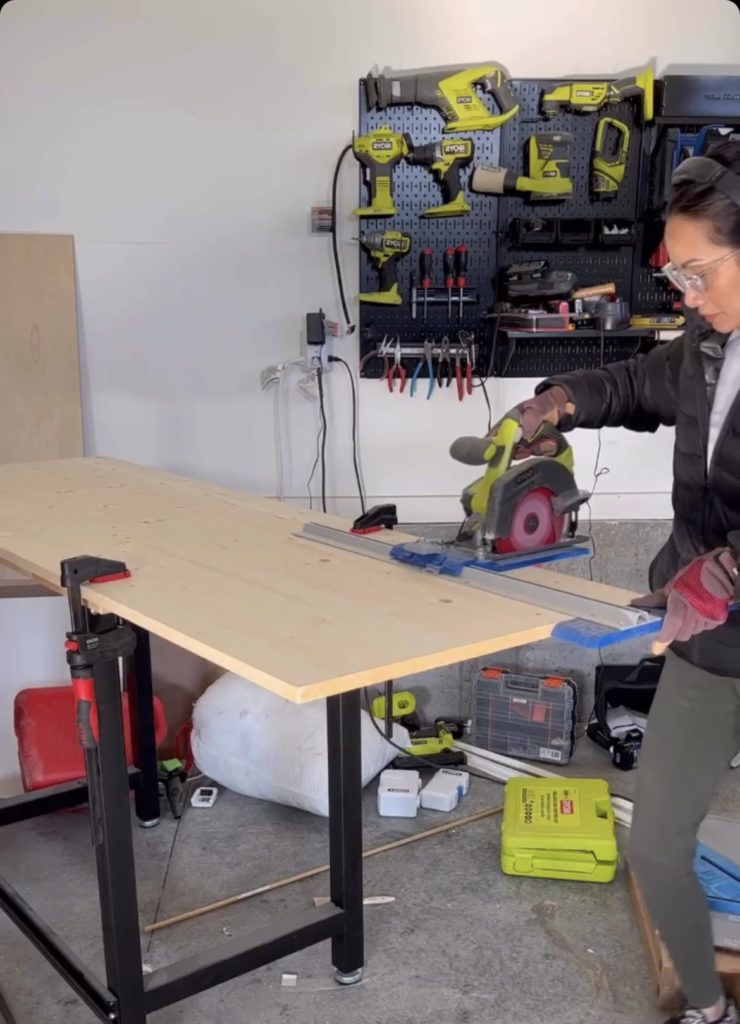
To begin this project I started trimming my wood. The project panel is 24 x 72″ long and it is just a little bit too long for me so I am trimming it down to 60”. I will use my circular saw with my Kreg Jig guide to cut my wood. Typically, I do this step on the ground however, I couldn’t find my insulation foam board. So I clamped my desk to my work tabletop.
After trimming my project panel, I began working on the table legs. I am doing tapered legs, as you can see from the photos the restoration hardware table has tapered legs. I’ve never done tapered legs before so this step is new to me as well.
The first step is creating a jig or a guide. By creating a jig; you will ensure that all four table legs will cut the same. The jig consists of three parts: the first part is the side piece where the wood piece rests. It is 1.5” because my wood piece is 1.5”. The back and the bottom are scrap pieces. You can use whatever you have available.

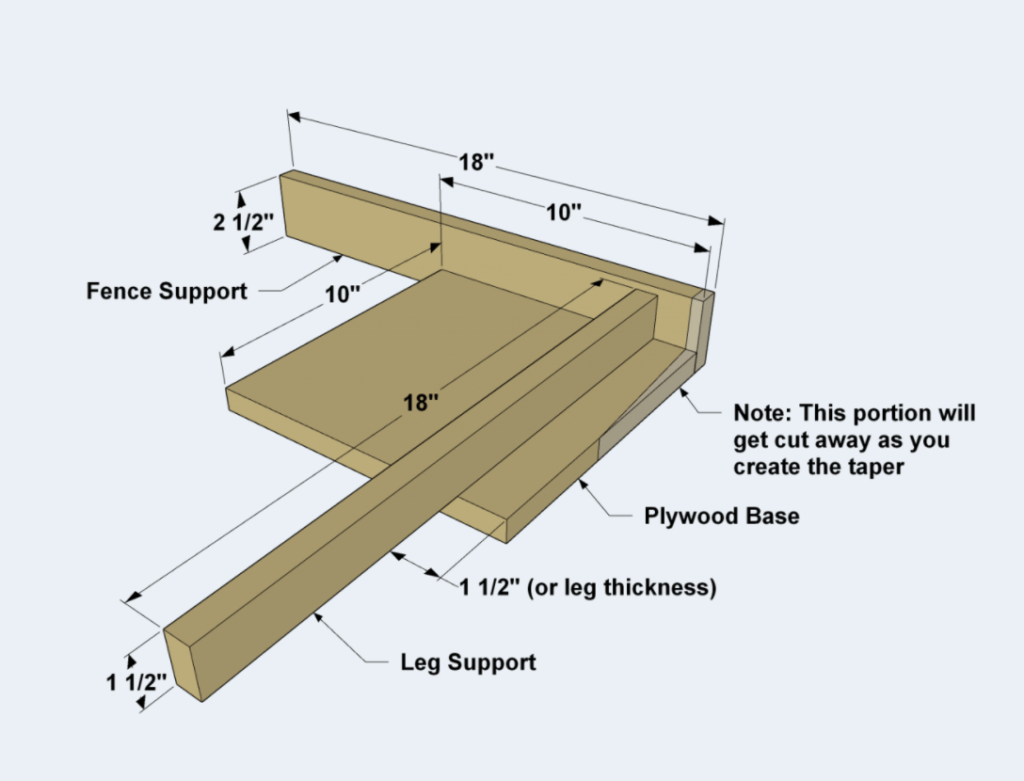
Once I have my side piece in I begin to clamp it down and then nail it into place. It doesn’t have to be screwed into anything because the jig is only temporary. I will then bring it over to my miter saw, I clamp the miter saw, I also clamp the leg to the jig to saw and leg to jig. On your very first cut, the saw is going to go through your leg and your jig. Leave your jig there; for the rest of the cuts, only add or remove the legs, you will get your tapered cut, and each leg will be the same.

Then I had to decide where I wanted my legs so I put my table upside down. I decided to make the legs between 1/2” and 3/4” away from the edge. I marked the exact measurement on my multi-mark tool (link tool). The mark was exactly 5/8” from the edge of the table. Then I marked it around all four corners and cut the middle part that goes in between the two legs.
Make sure you take the time to measure everything properly. Even though I have experience in DIY, we all make mistakes. While I was cutting the middle part that goes in between the legs I accidentally cut it too short and had to re-cut and measure. It never hurts to double or even triple-check your measurements before you cut your wood!

Once I cut all my pieces I began making pocket holes. Pocket holes are holes made for specific screws. These holes keep screws hidden and provide additional strength. I use my Kreg Jig to create all my pocket holes and it is so fast and easy to use! Some tips I recommend when making pocket holes are to always use wood glue to ensure it is secure. I also recommend adding this tool to your collection, it will make sure all of your covers are square and line up properly. I will have another blog coming out soon where I talk about pocket holes, however, if you are curious about the process I have an IGTV linked on my Instagram in my Teach Me Tuesday stories.
Once I cut all of my pocket holes, and glued everything together; I began to attach all of my pieces with screws. This created three pocket holes going into each leg on each side as well as pocket holes along the table edging connecting to the tabletop. I used wood glue along every surface that attaches to something else.

After the table was put together and sturdy, I began to sand with 120 grit and 220 grit. After I sanded the desk, I wiped it with a tack cloth. My next step is to begin the staining process!
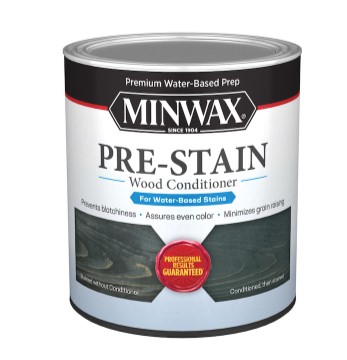
I started with my favorite water-based pre-stain from MinWax. I opted for a water-based pre-stain since the stain I picked for my desk is also water-based. If you are using an oil-based stain you will want to use an oil-based pre-stain. One of the most important things when using pre-stain, stain, or a topcoat is to stir your can, do not shake! Shaking will create air bubbles, these air bubbles will then replicate on whatever you are painting and you do not want that.
After I finished staining; I began measuring the legs; because I wanted to paint the bottom of each leg gold. I used Krylon Metalic Gold Spray Paint to paint the bottoms gold. I measured and used tape to ensure clean and even lines for my table.

After the paint has dried it’s time to use the Matte Minwax Polycrylic as my finish. I love this finish because you can choose between matte, satin, or a glossy finish. It does not turn yellow and gives your project a durable finish. Once the first coat has dried, I used a 220 grit sanding block to lightly sand and then a tack cloth to wipe it down.
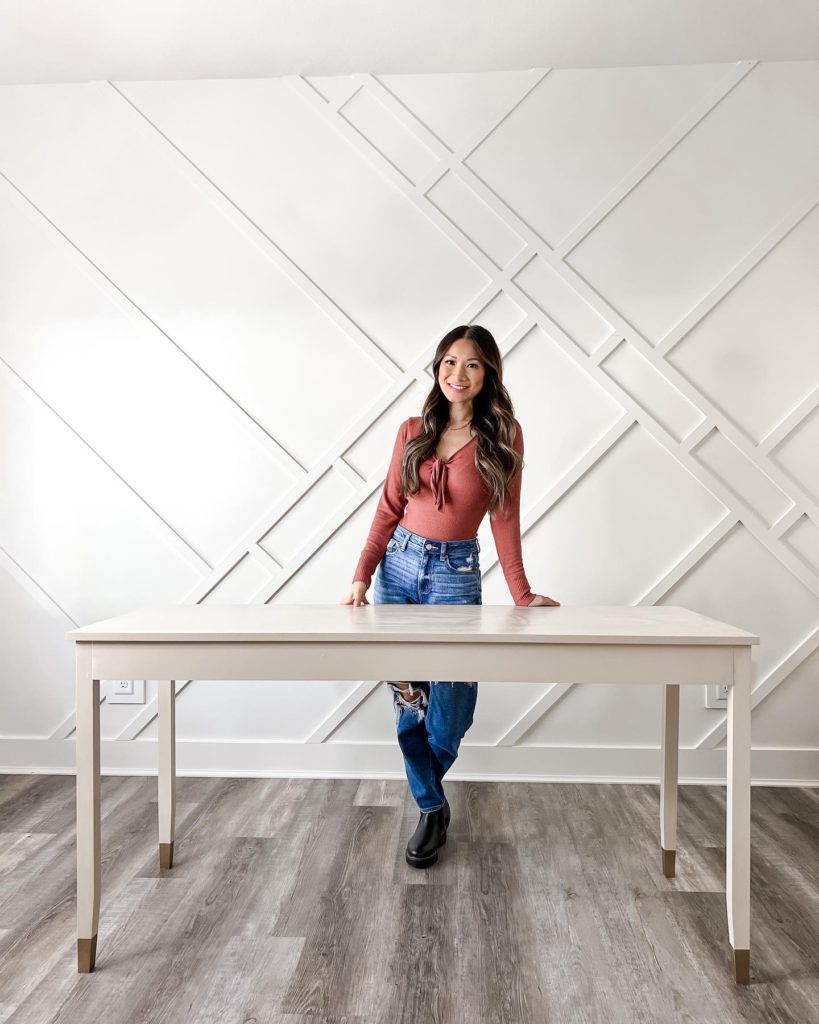
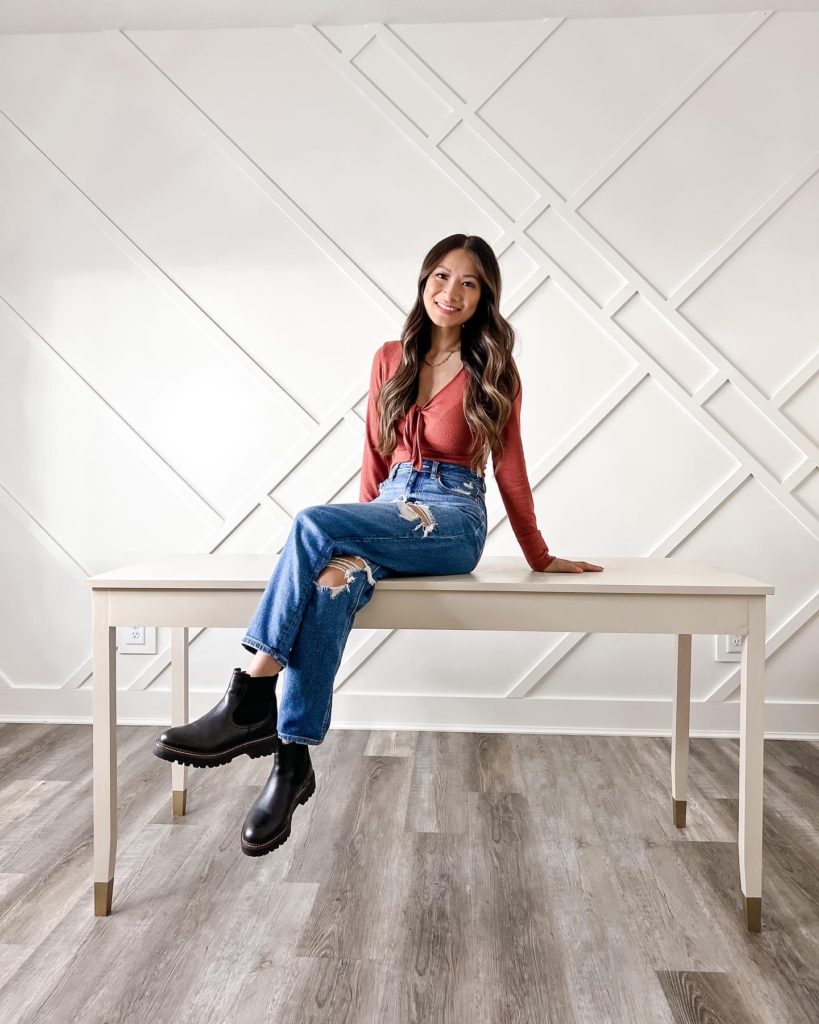
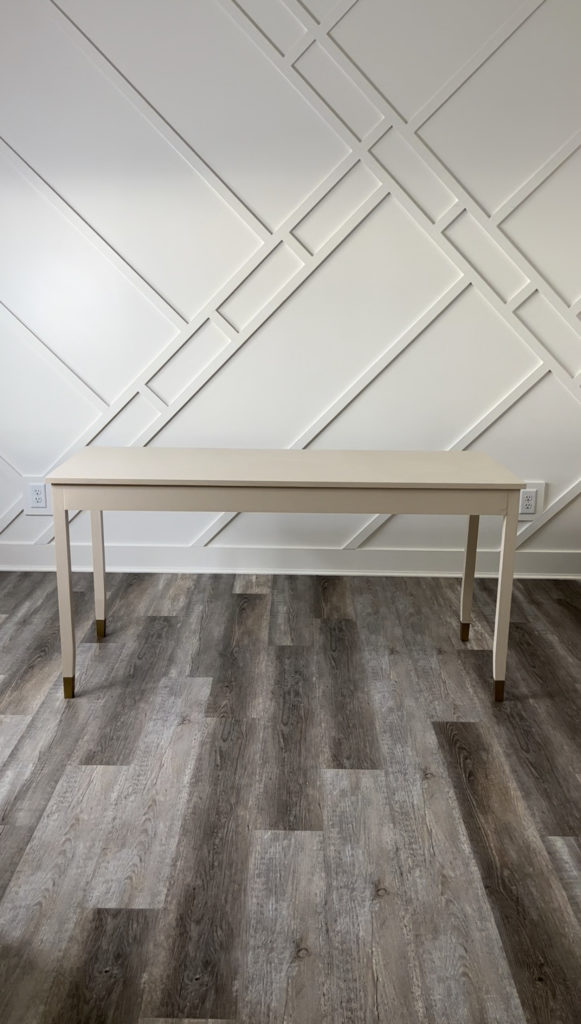
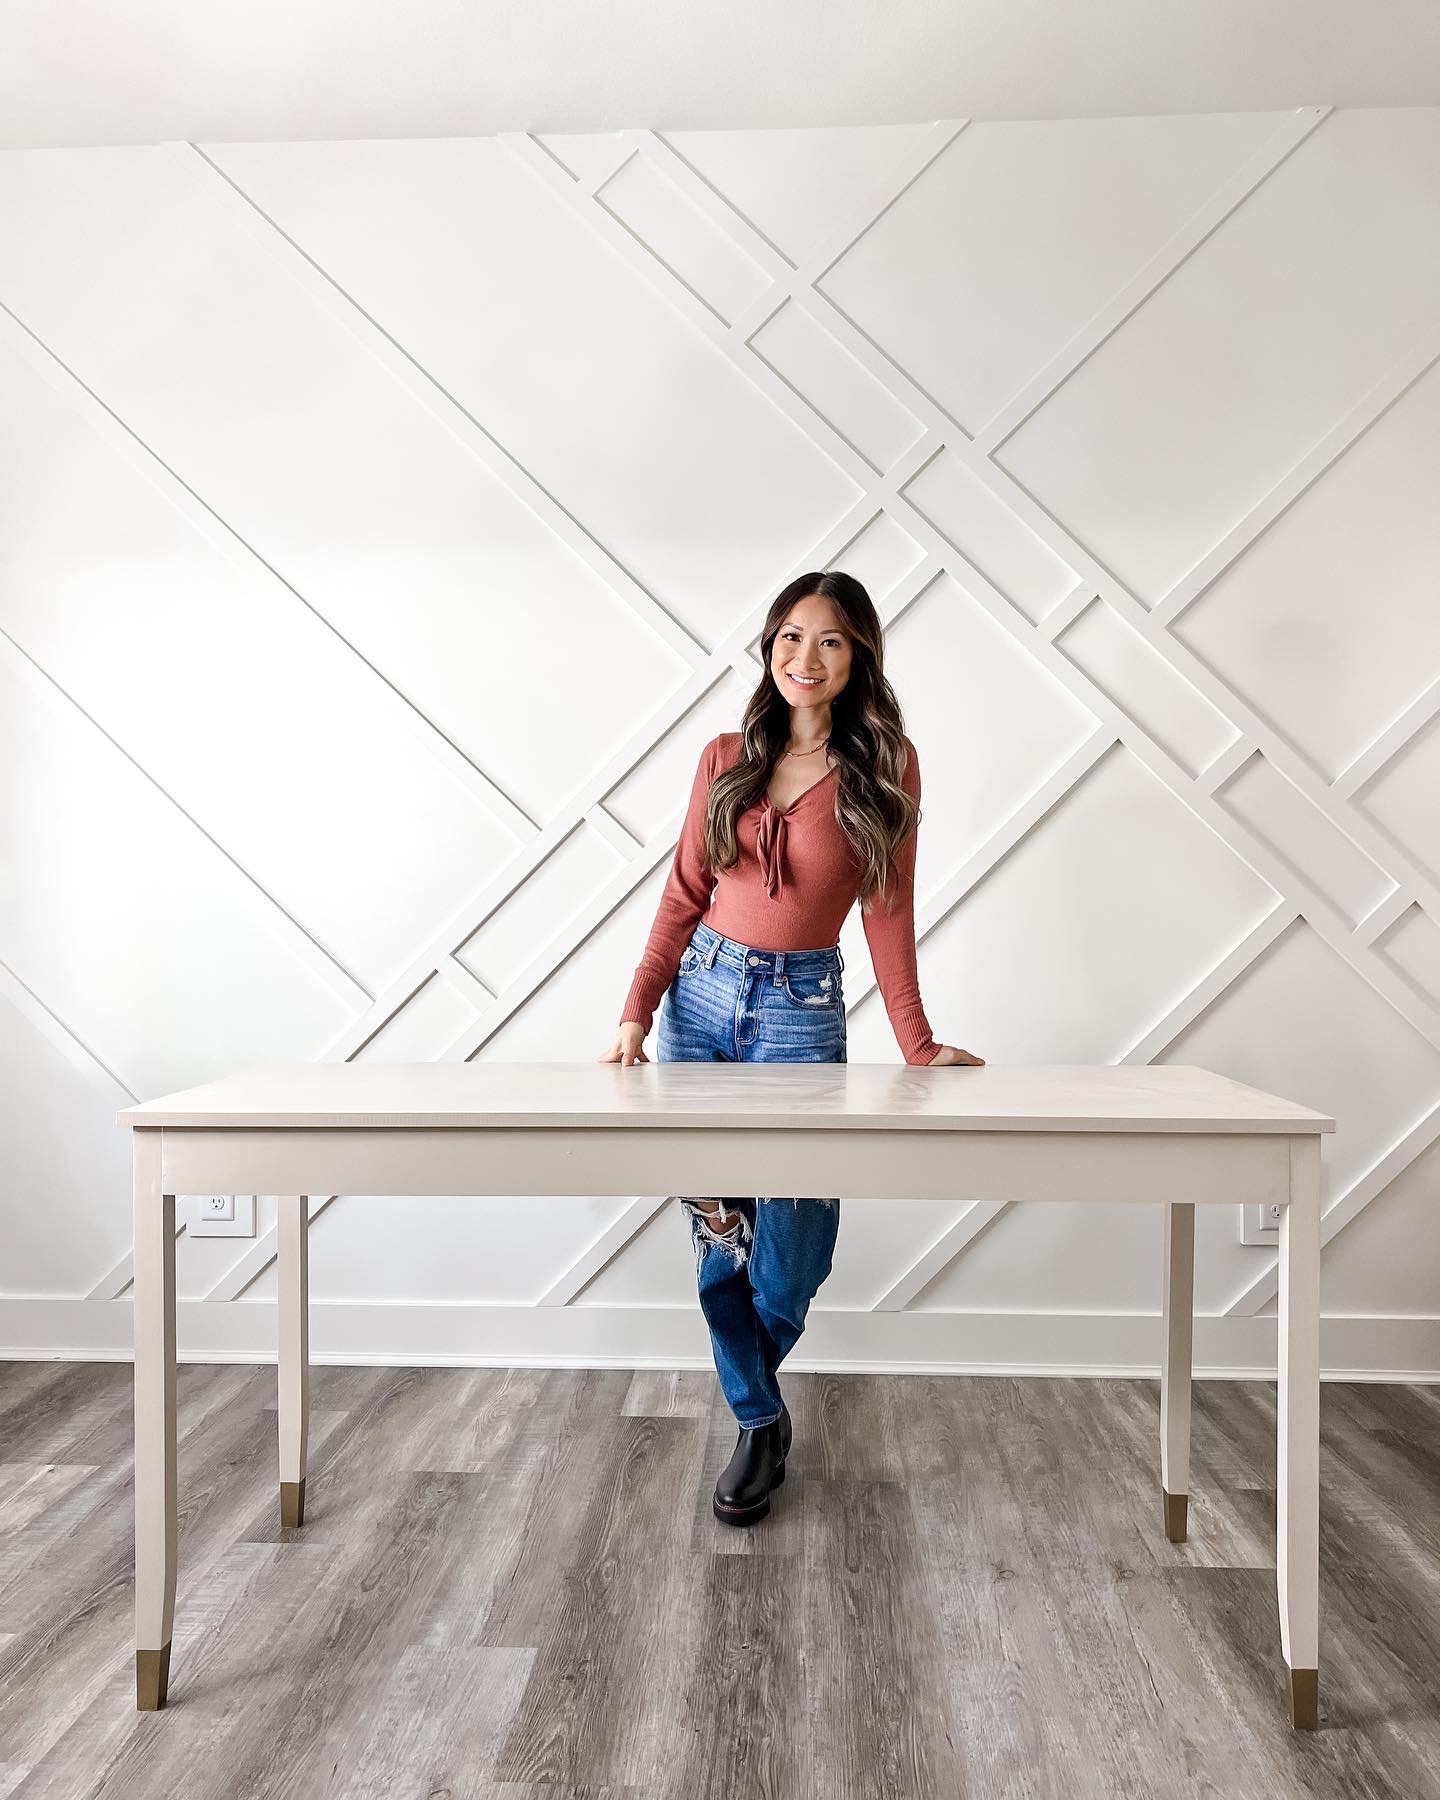
Finally, my desk is complete and I am so happy with the results! Leave a comment if you have any questions!
