Hi
I'm Bong
I'm just a girl who likes to DIY anything and everything. More than that, I love teaching people - especially women - how to pick up power tools and create the home of their dreams. Stop waiting for someone else and starting Doing It Yourself. I'll show you how!
diy projects
diy school
life hacks
categories
must have products
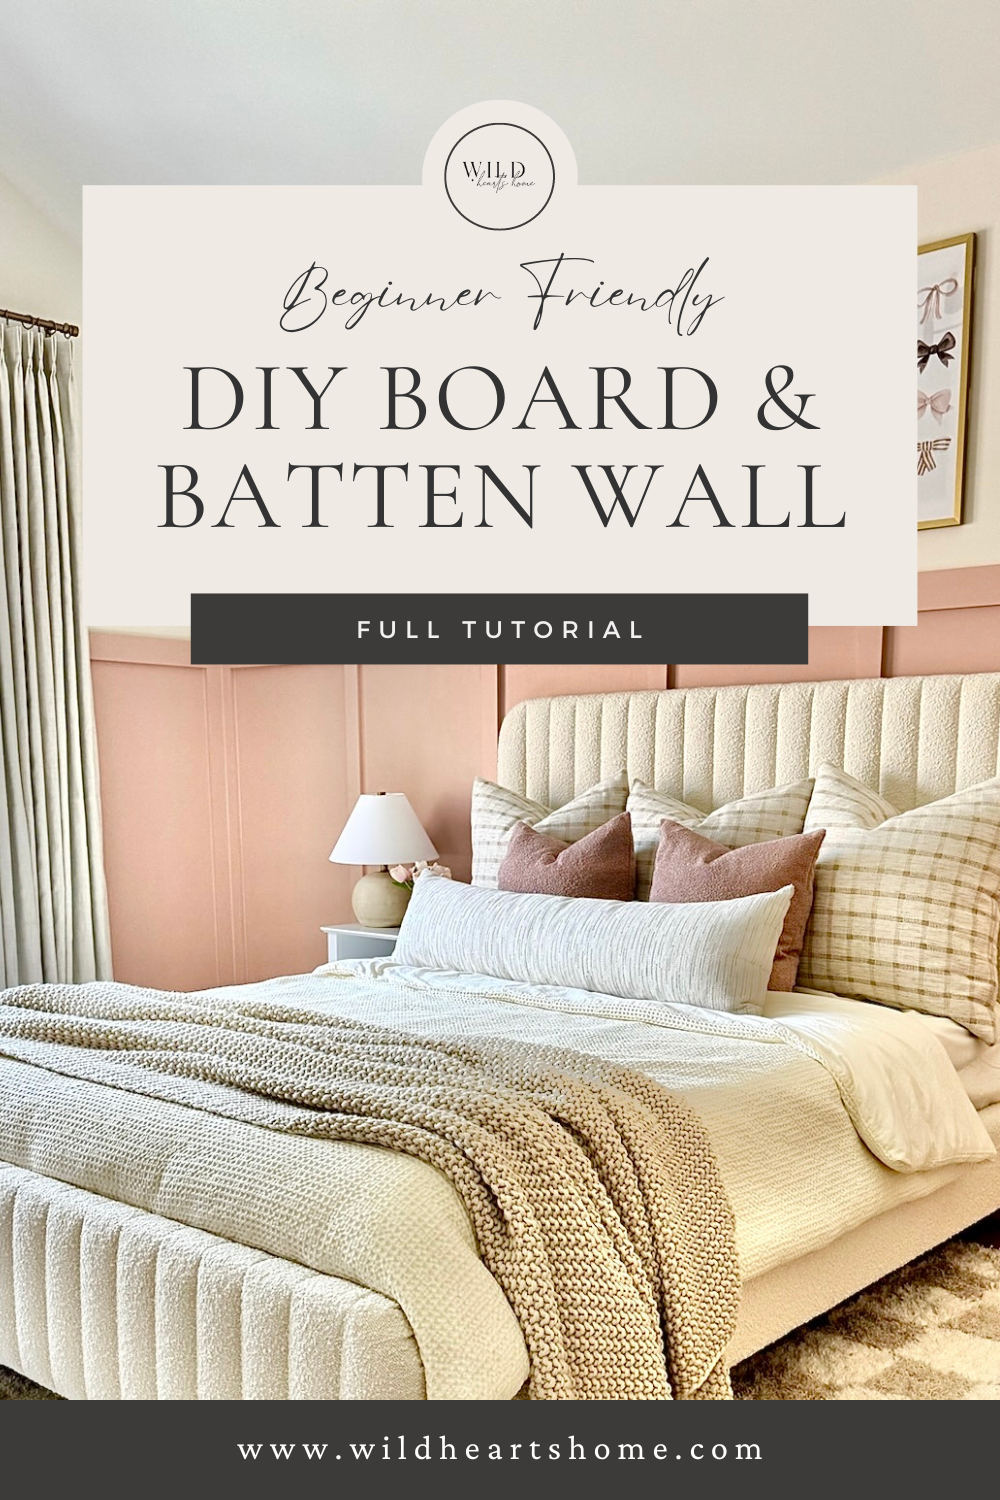
Time to give Tatum’s room a makeover! She helped me design and paint it (for a few minutes😝). We decided on a DIY Board and Batten wall. If you haven’t tried board and batten, it’s such an easy DIY and a great beginner project. Here’s how we did it!

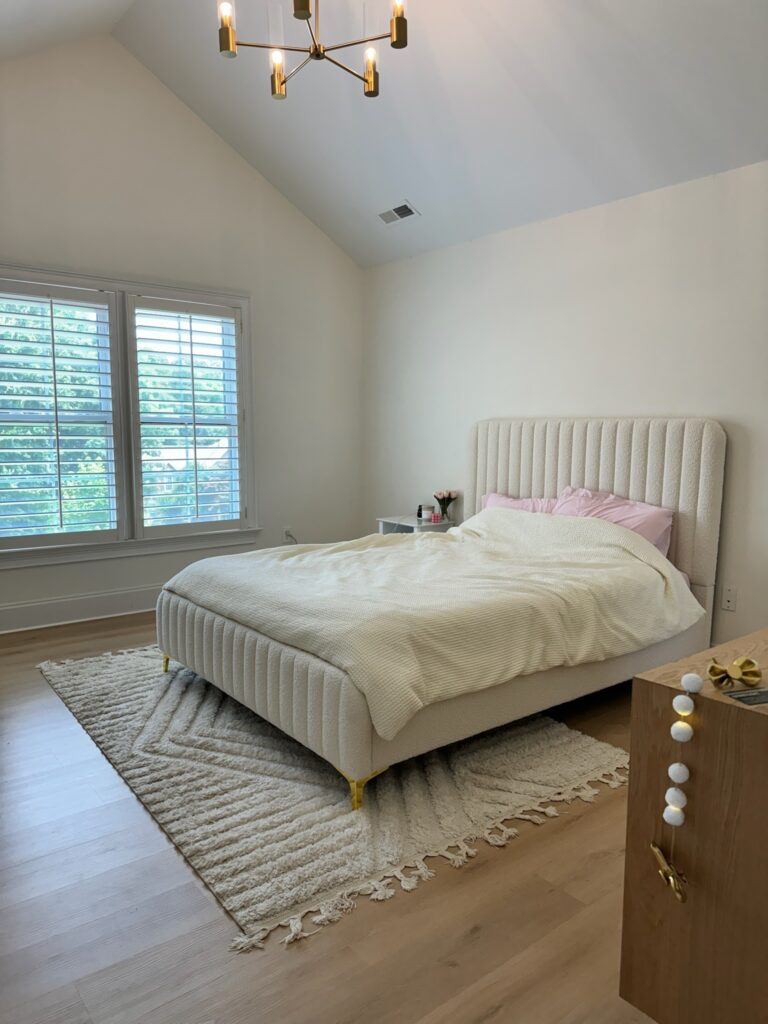
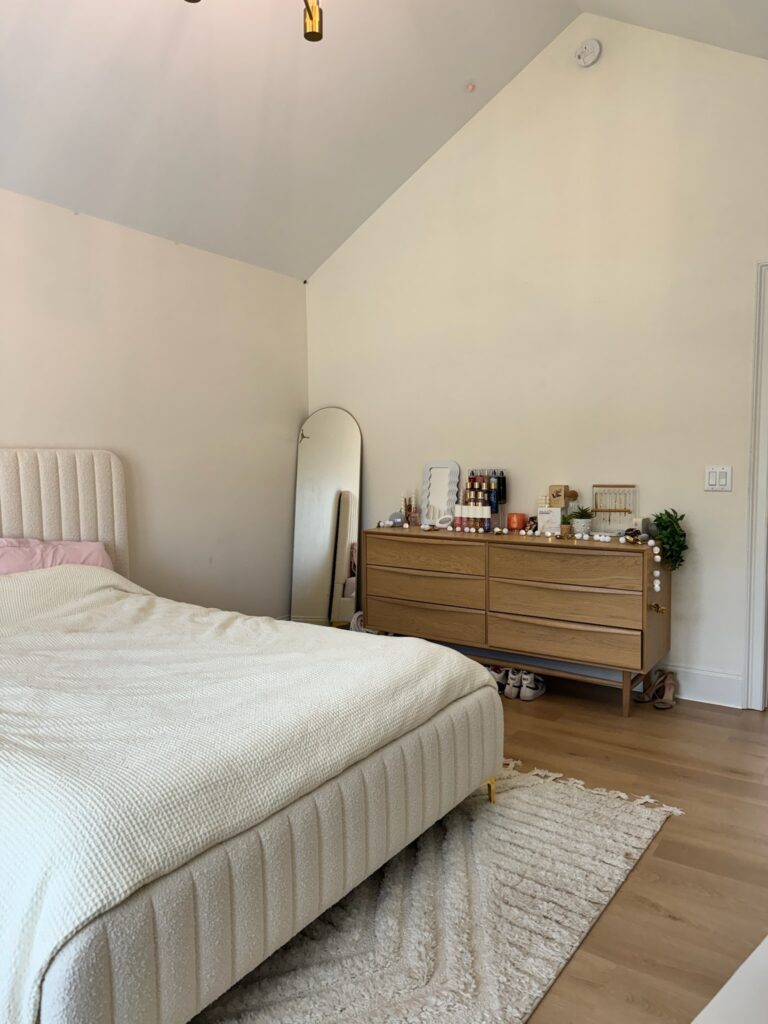
You can see the room is just white and pretty boring right now. We wanted to totally change up this room and give it some character with board and batten walls and some color. Here’s where we started:
Design
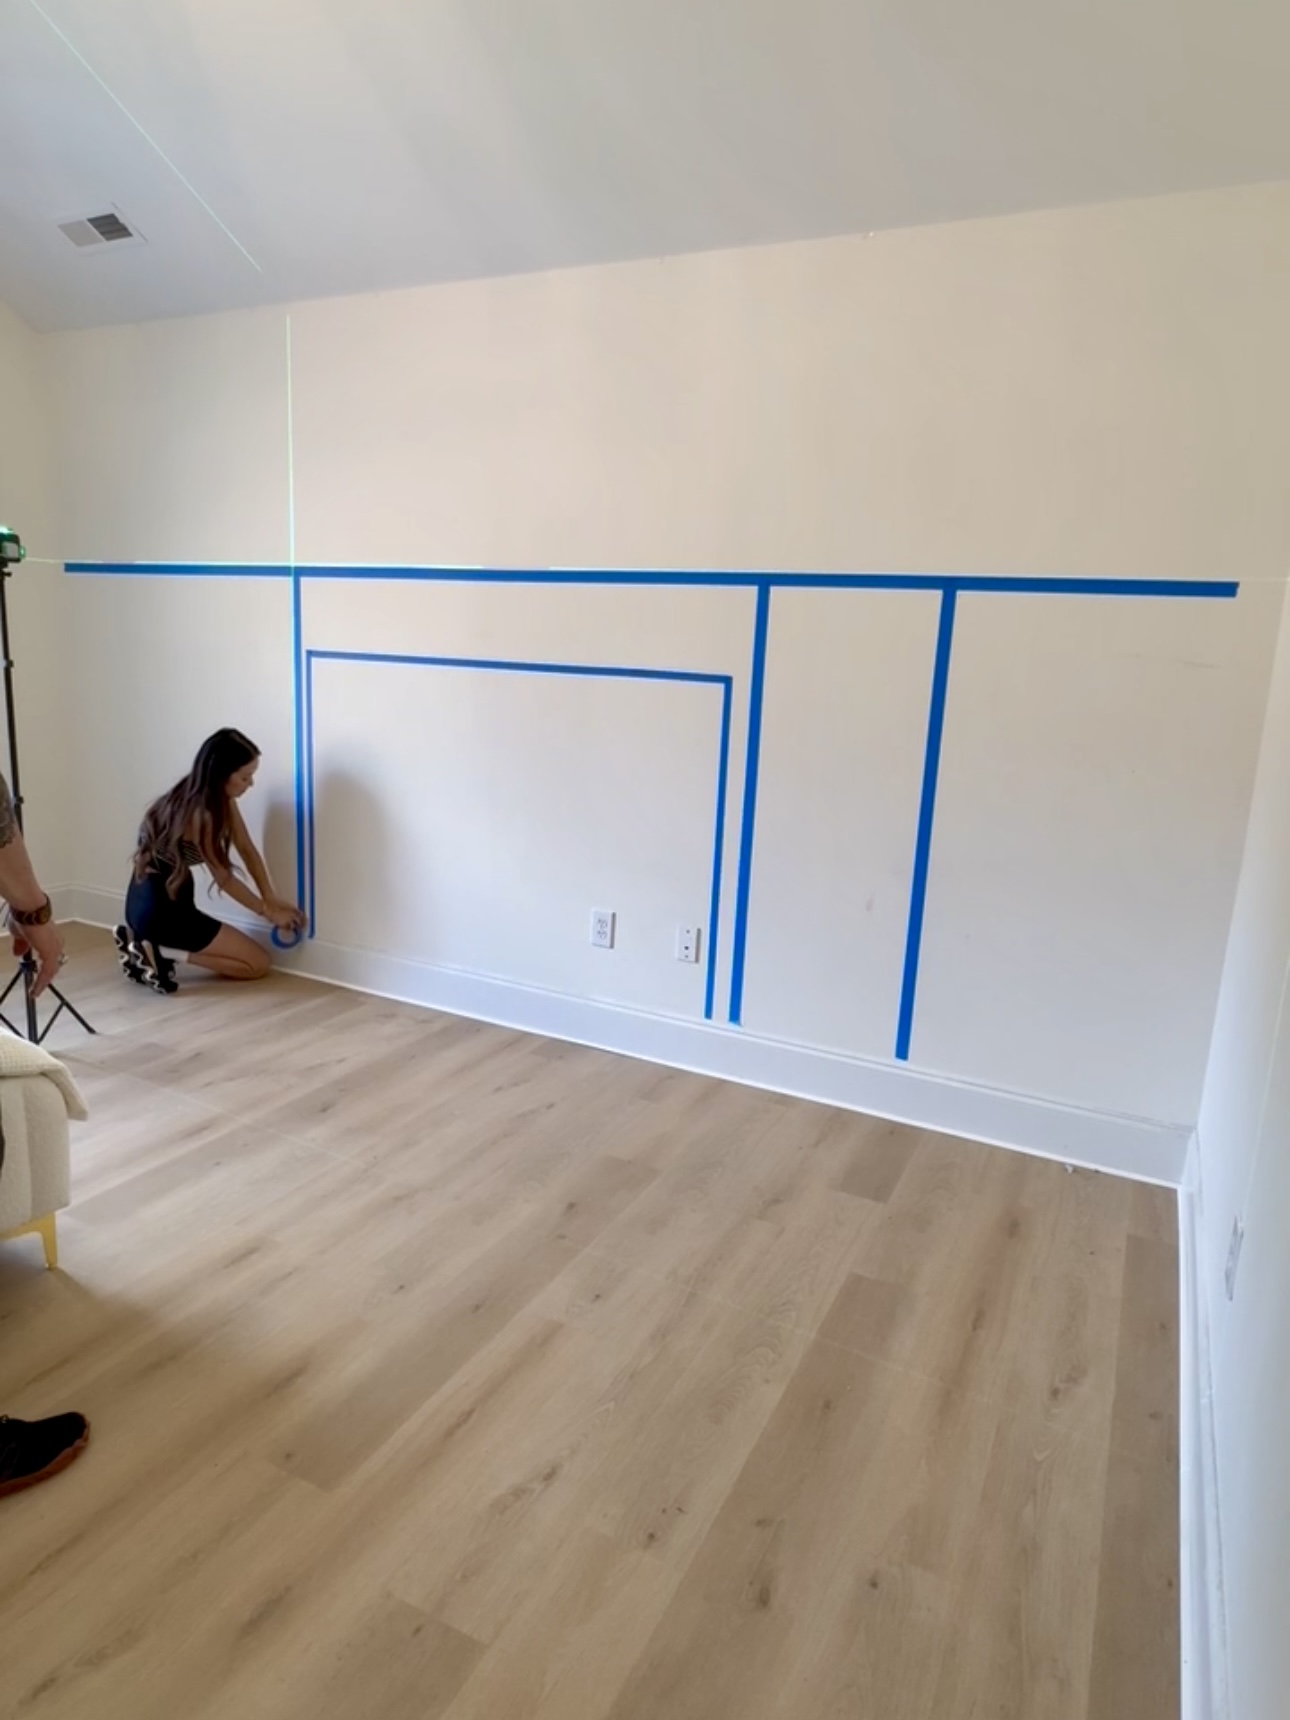
After deciding what height we wanted the design, we had to figure out how many boxes we wanted. I laid out a couple of options so we could decide how big we wanted them. My whole freaking life, I’ve been manually figuring out how many boards and battens I need. But I found this online Board and Batten Layout Calculator that literally changed my life! I won’t explain exactly how the math works, but you input your wall measurements and batten width and they give you options with visuals so you can make the best choice for your space. GAME CHANGER!
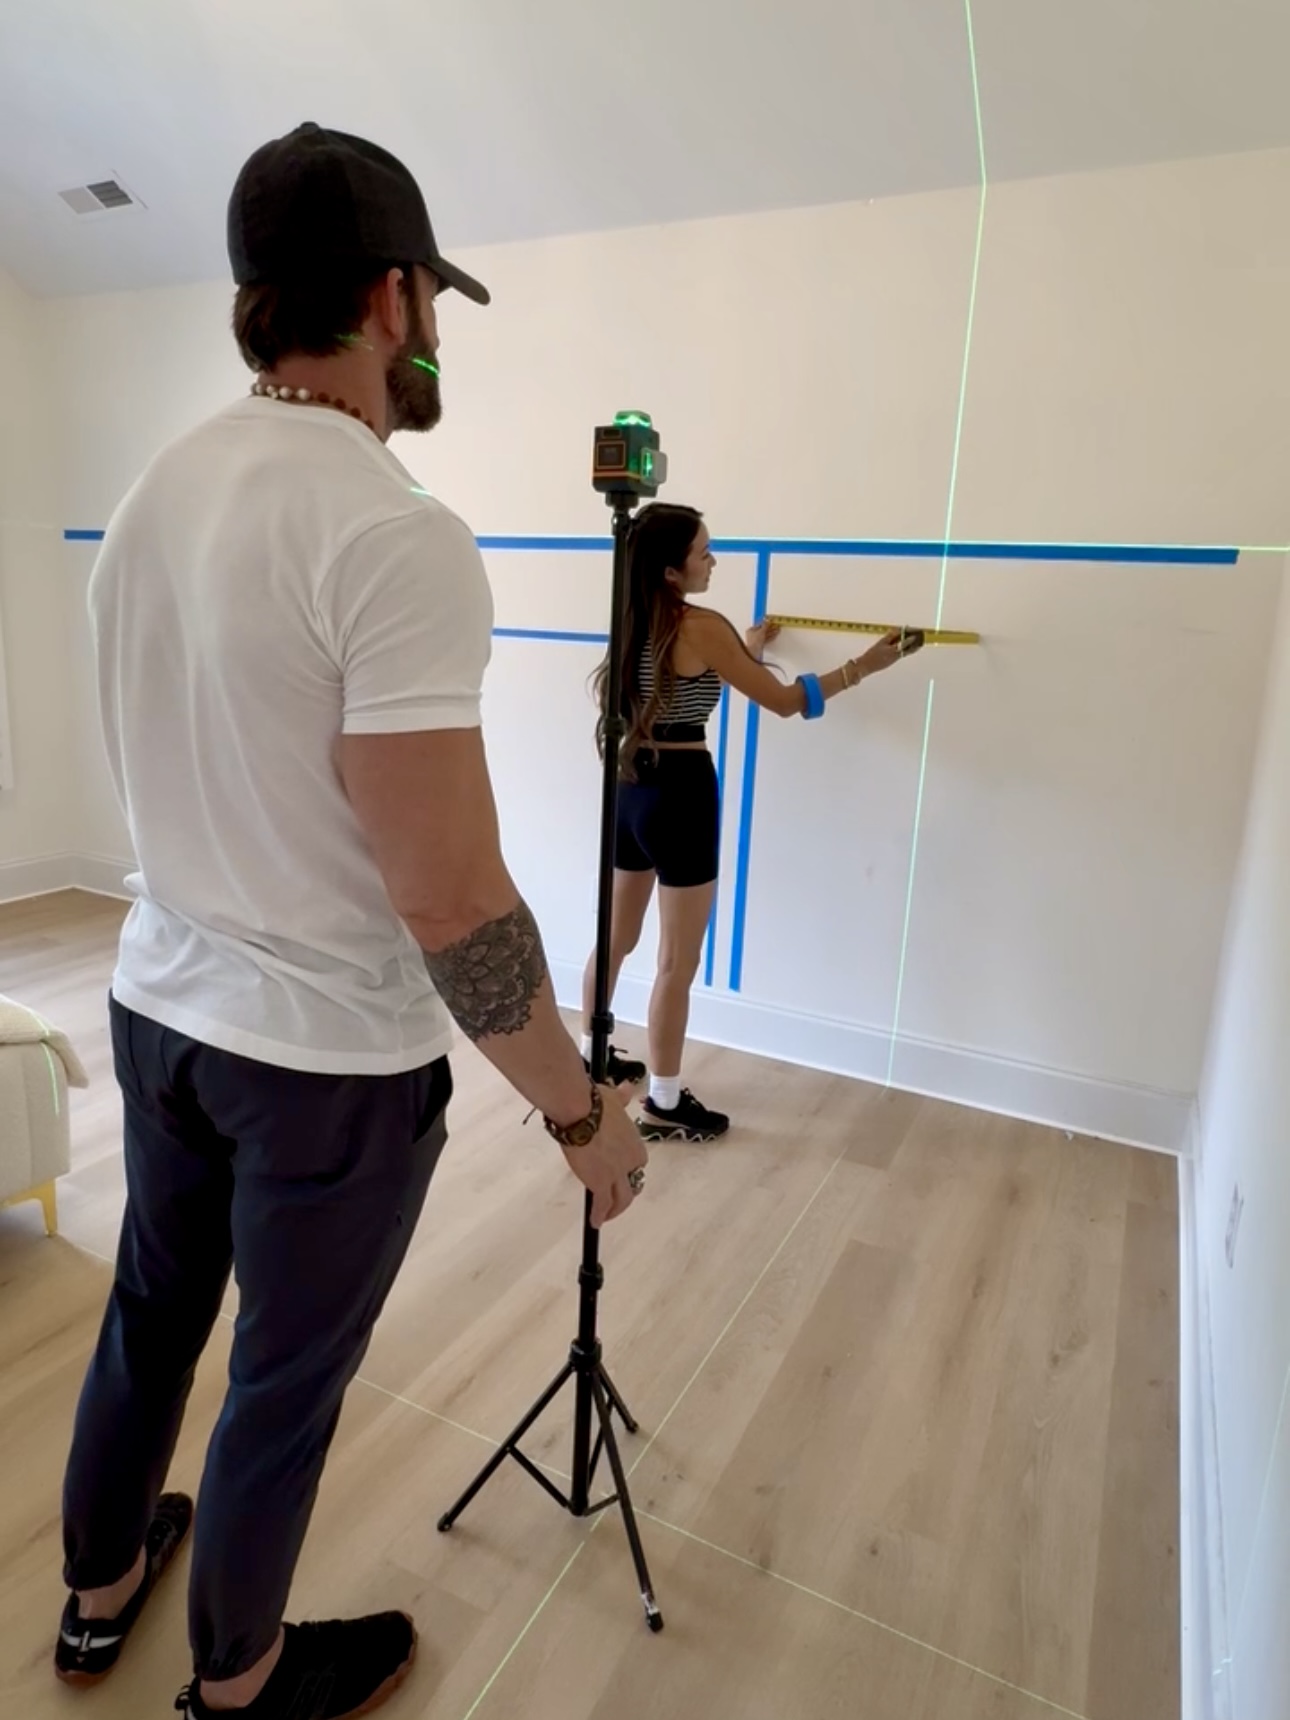
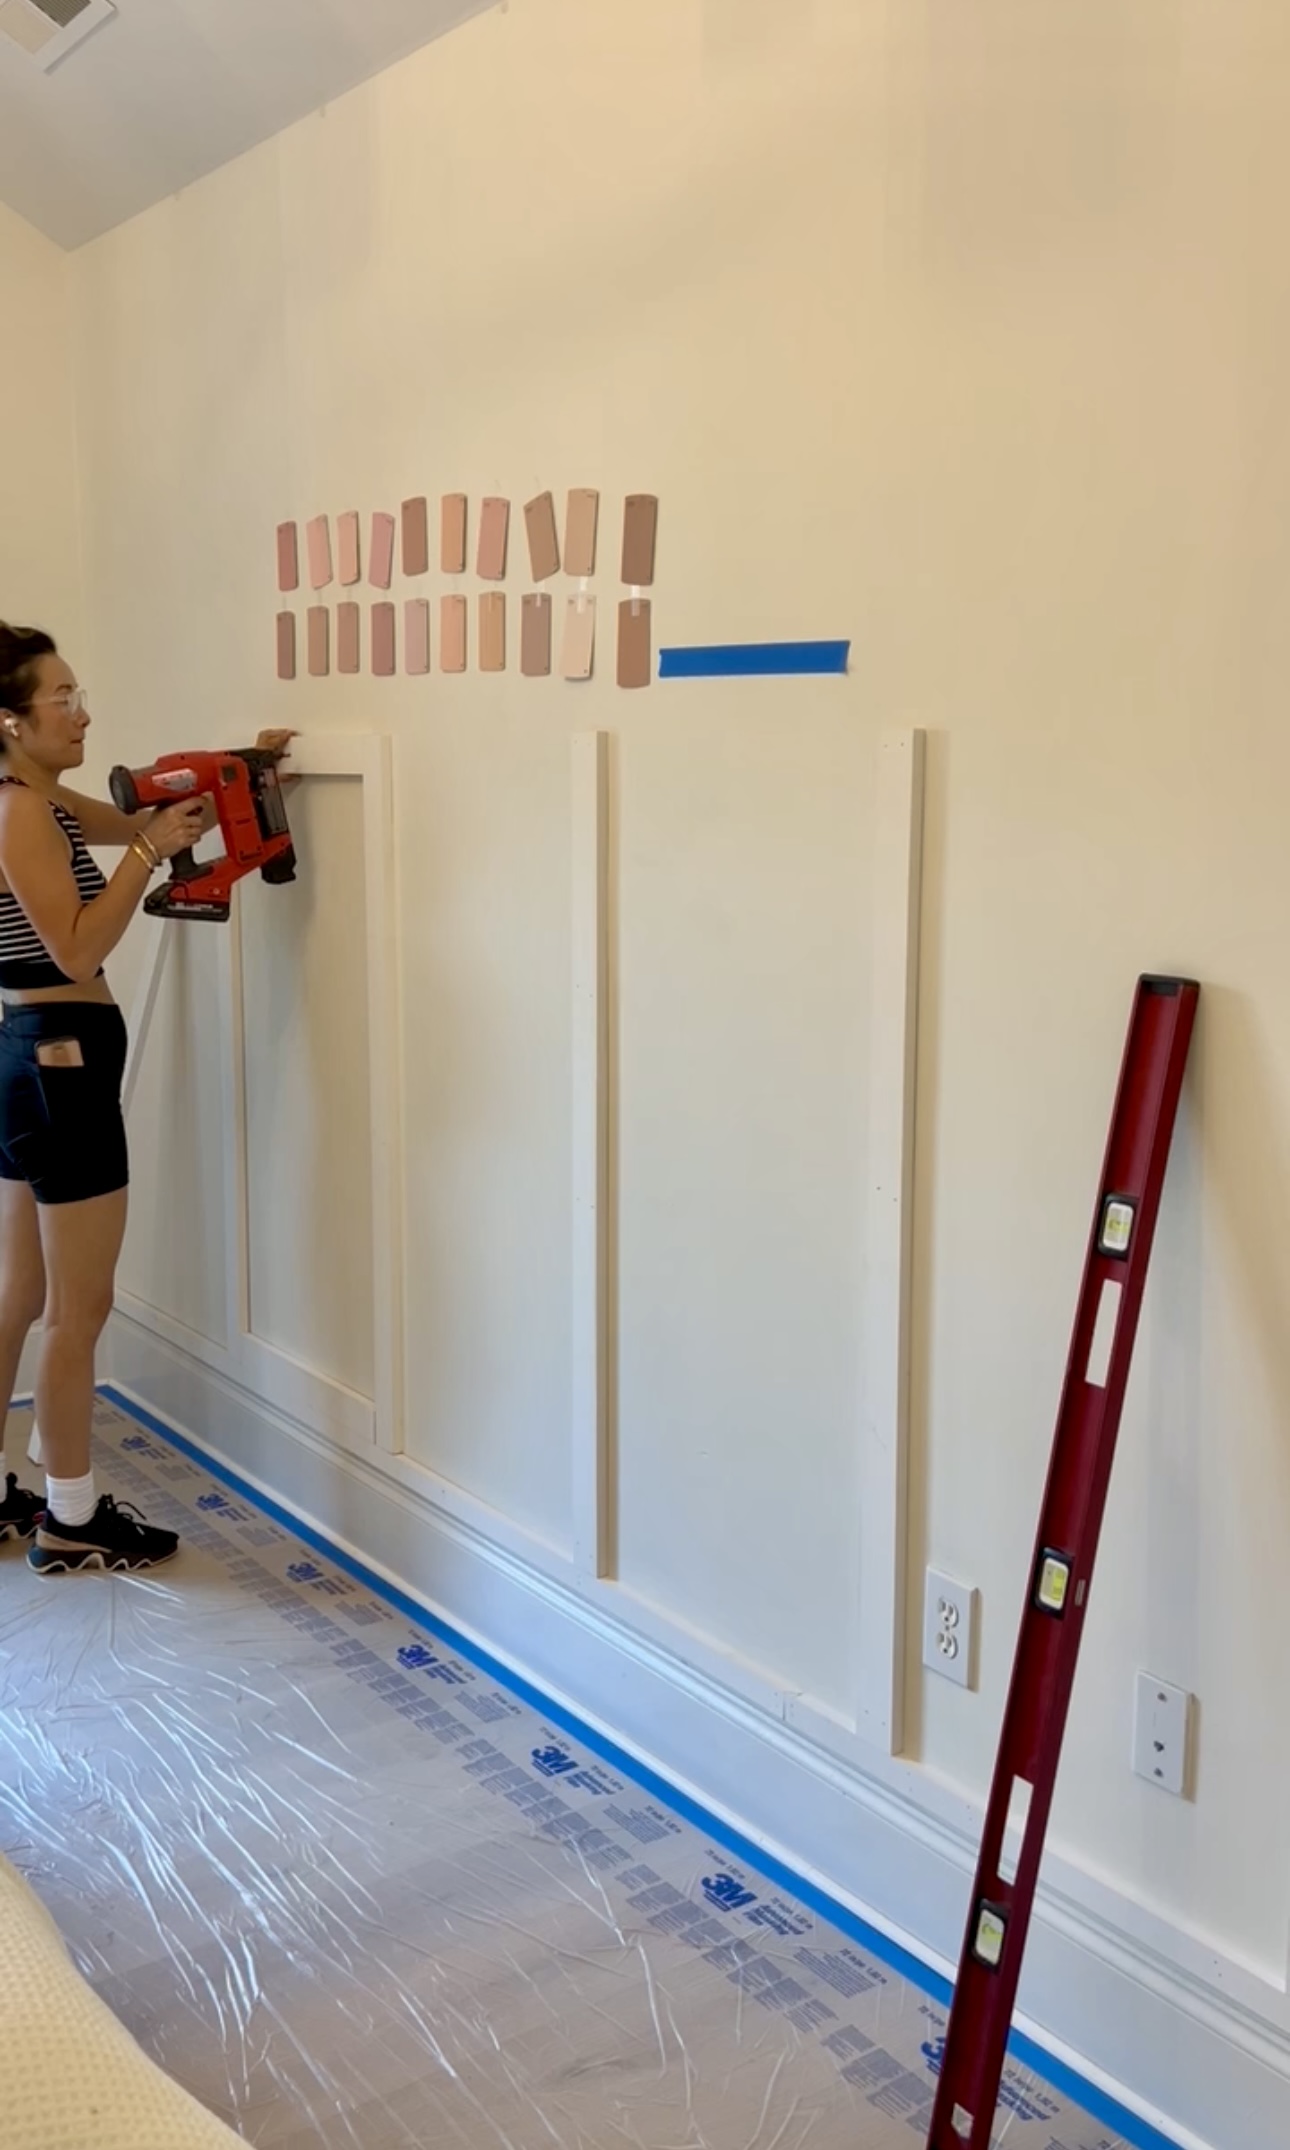
We got out our laser level to tape out our options. We were deciding between 9 skinnier boxes or 8 wider boxes. We went with 8 wider boxes!
Baseboards
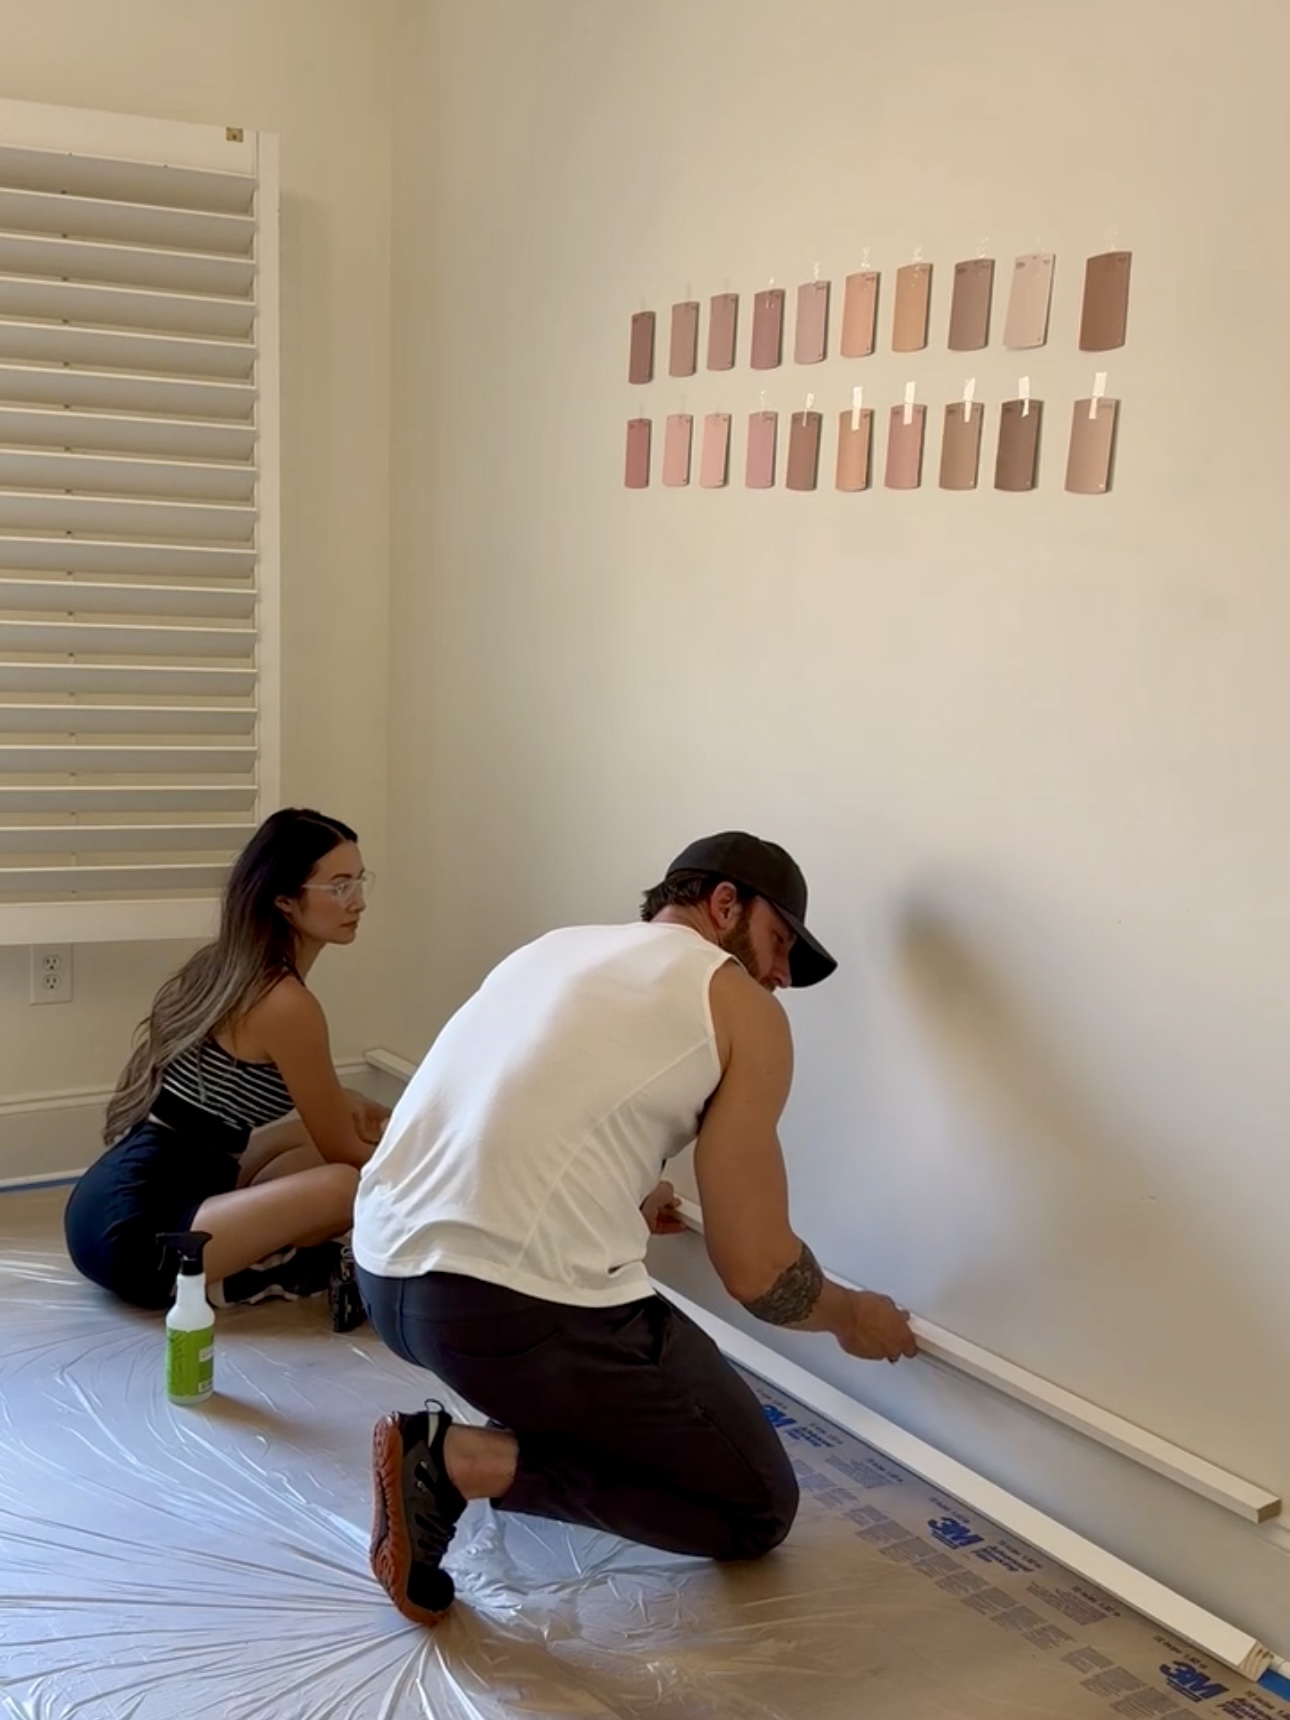
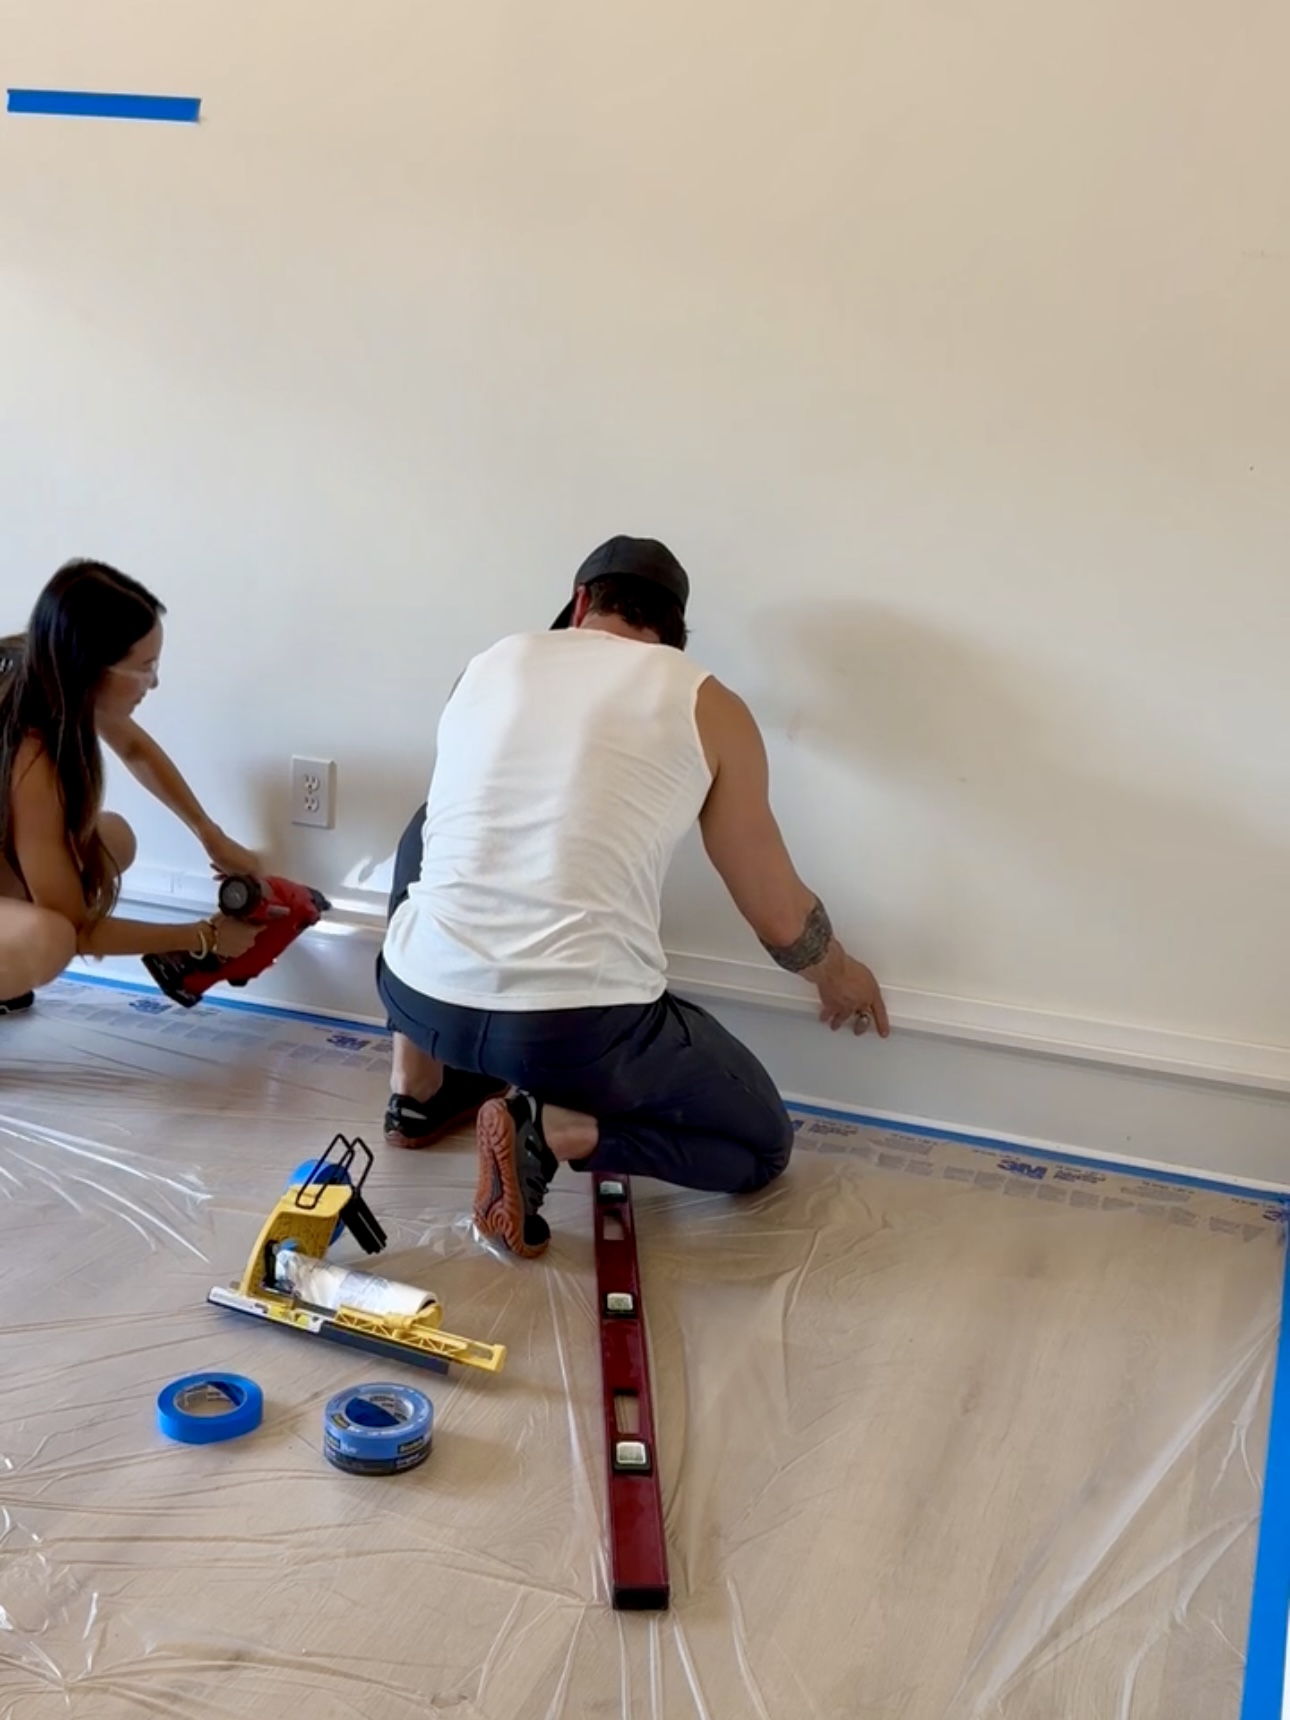
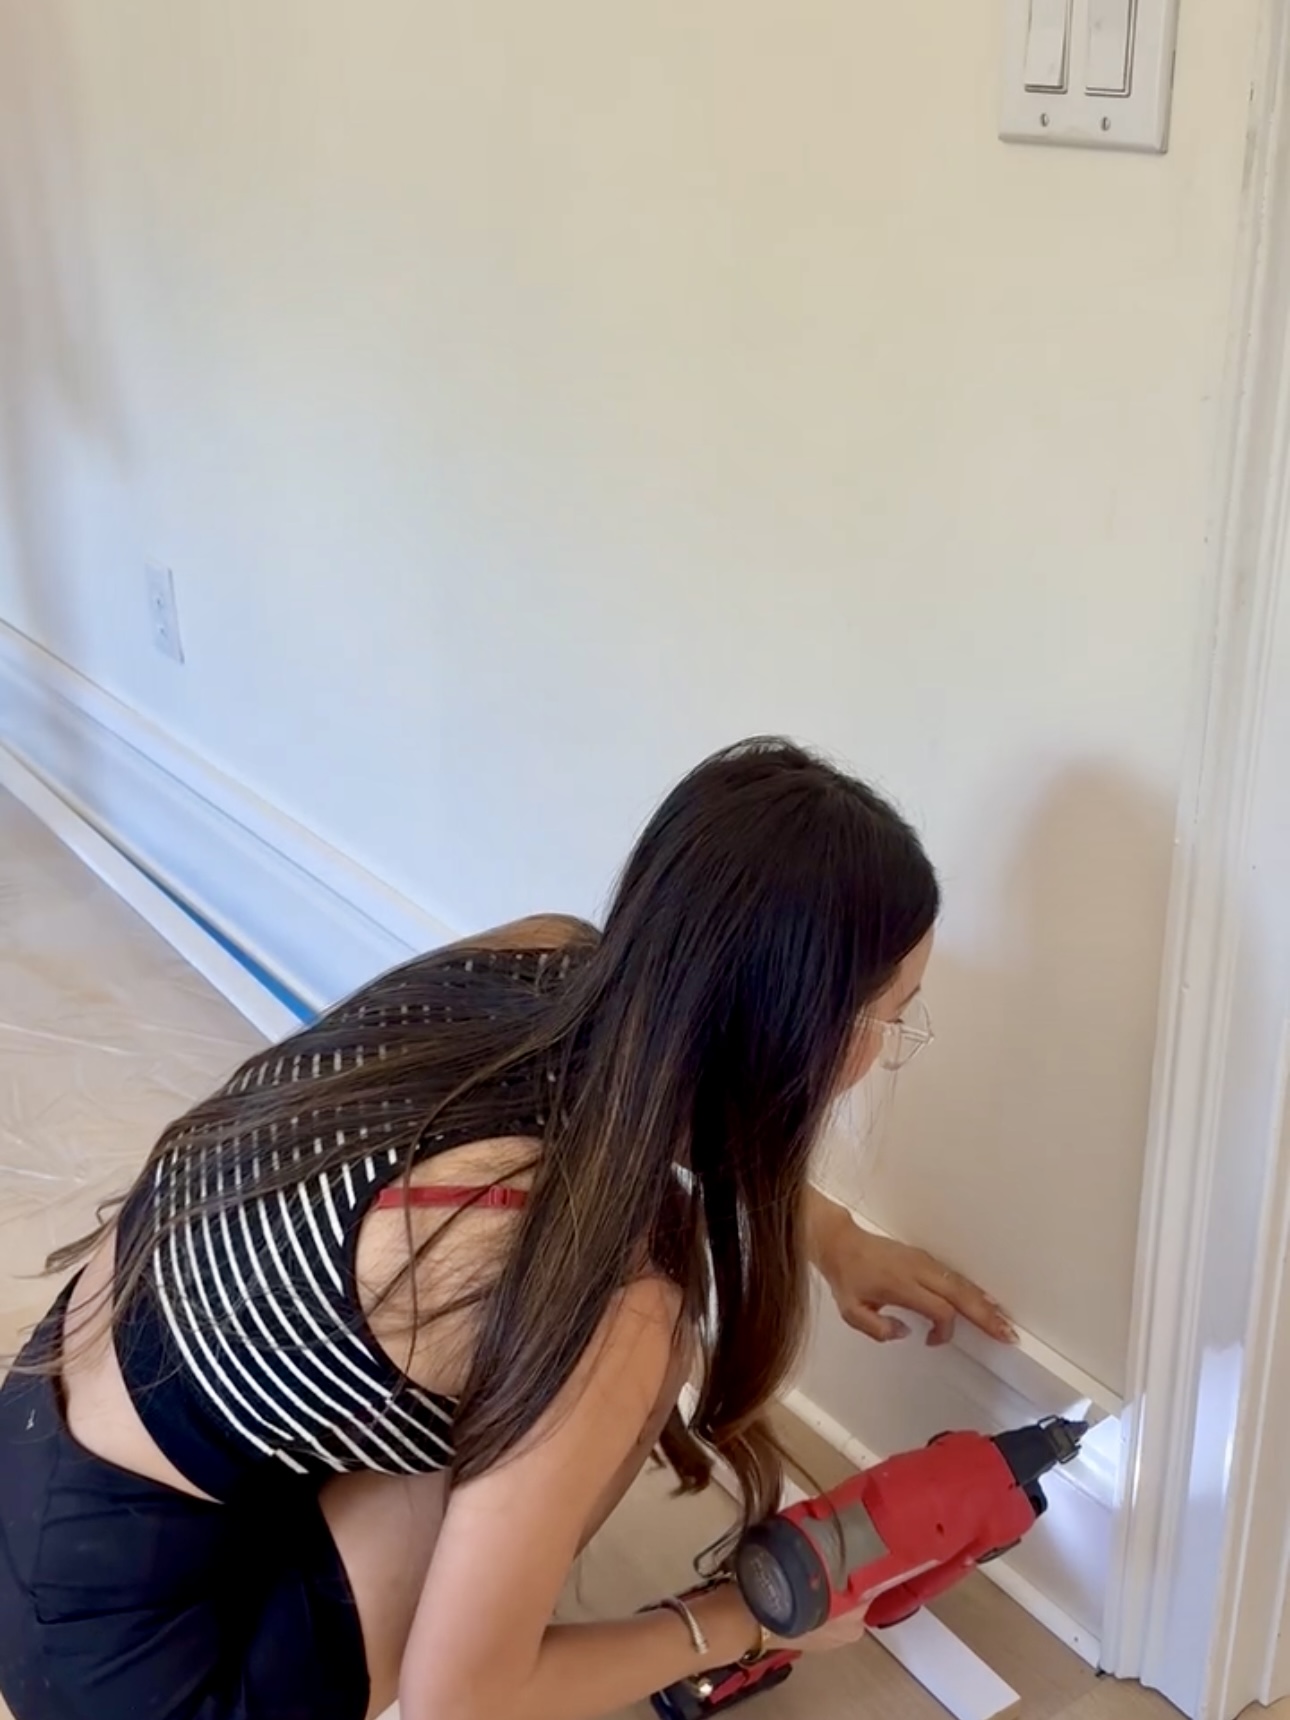
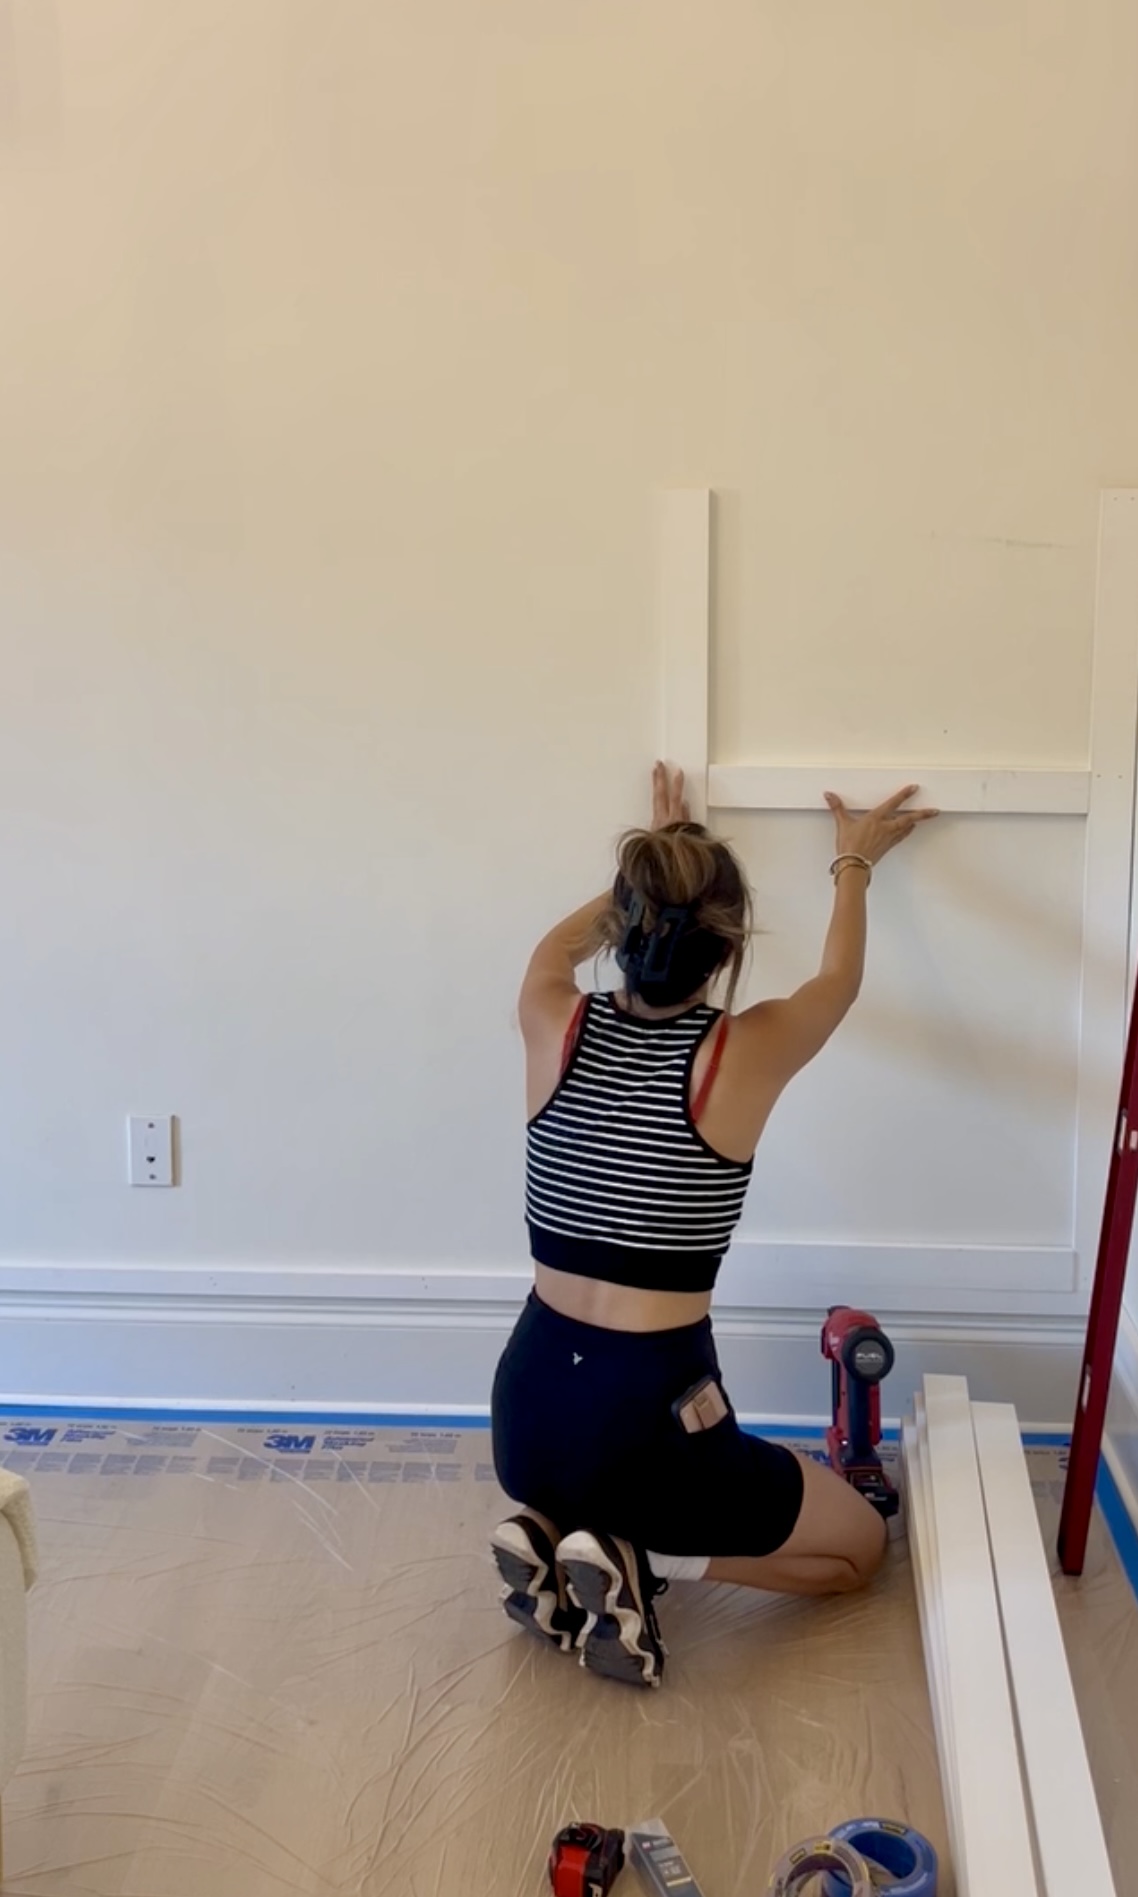
The top of our baseboards are really thin, probably about a quarter of an inch thick. If we were to just put a piece of the board and batten vertically against this, it would stick out way too far. So, we decided to place a piece of 1×2 and inch above the baseboard. That way, when the vertical board is installed, it’ll sit flush against the bigger baseboard illusion we created. Once we paint it, it would look like one big cohesive piece. This is a much better solution than ripping out all our baseboards and buying new ones.
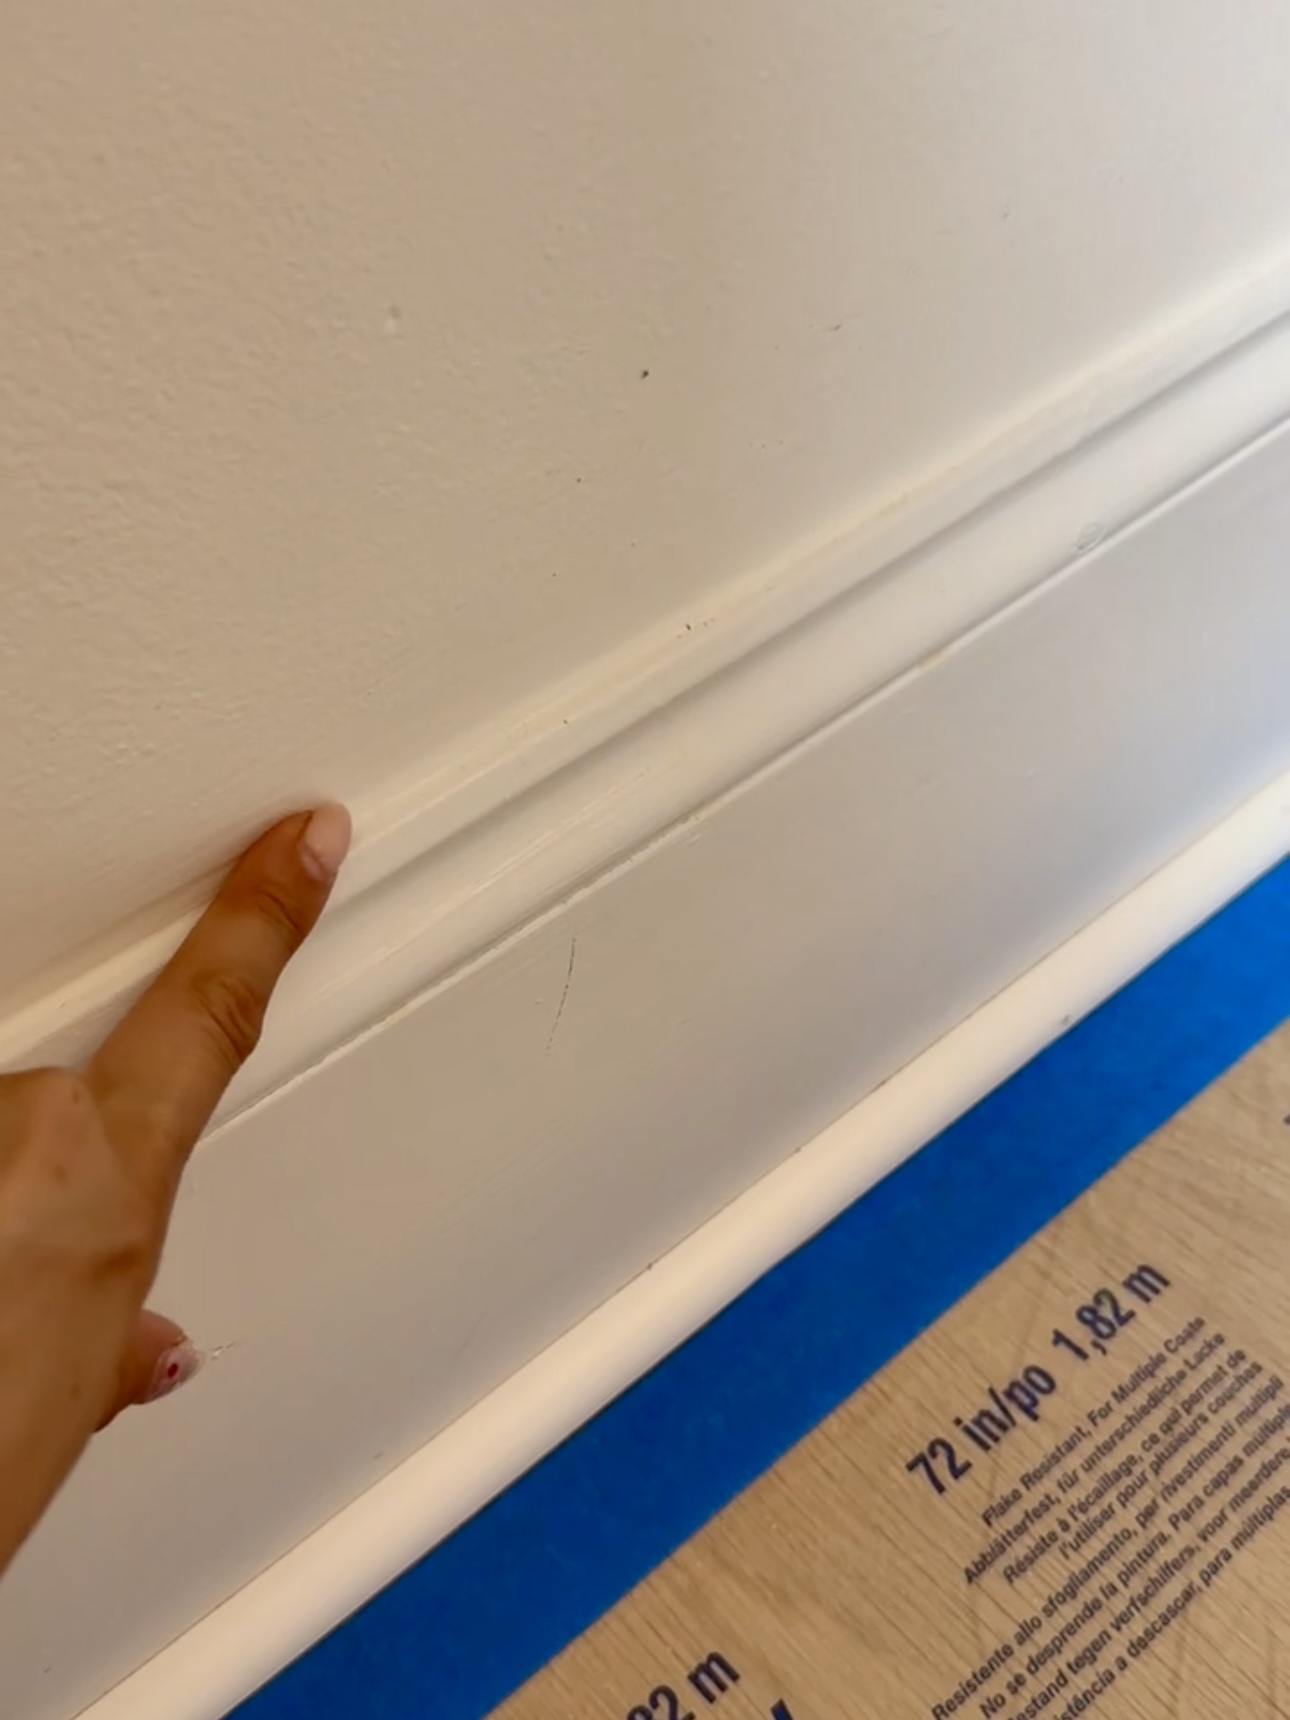
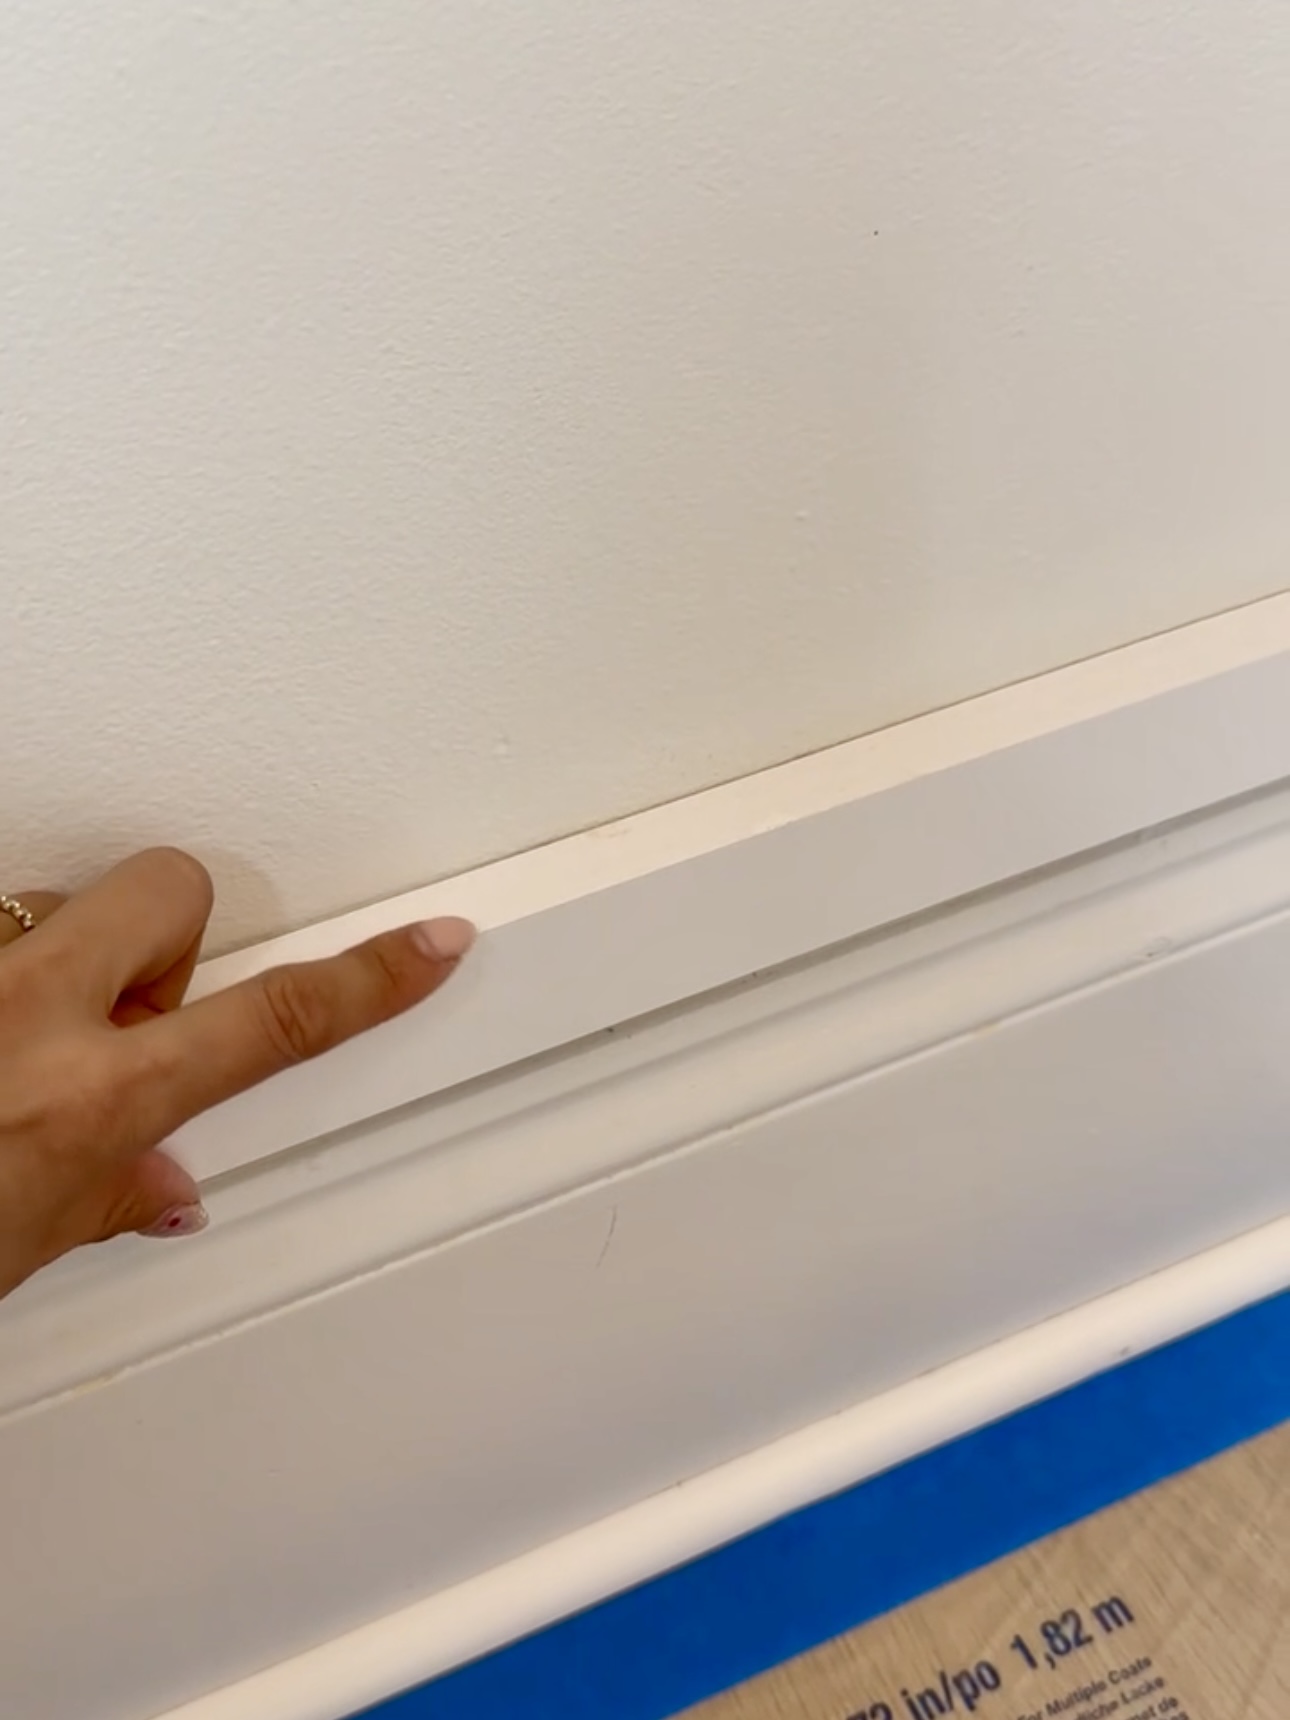
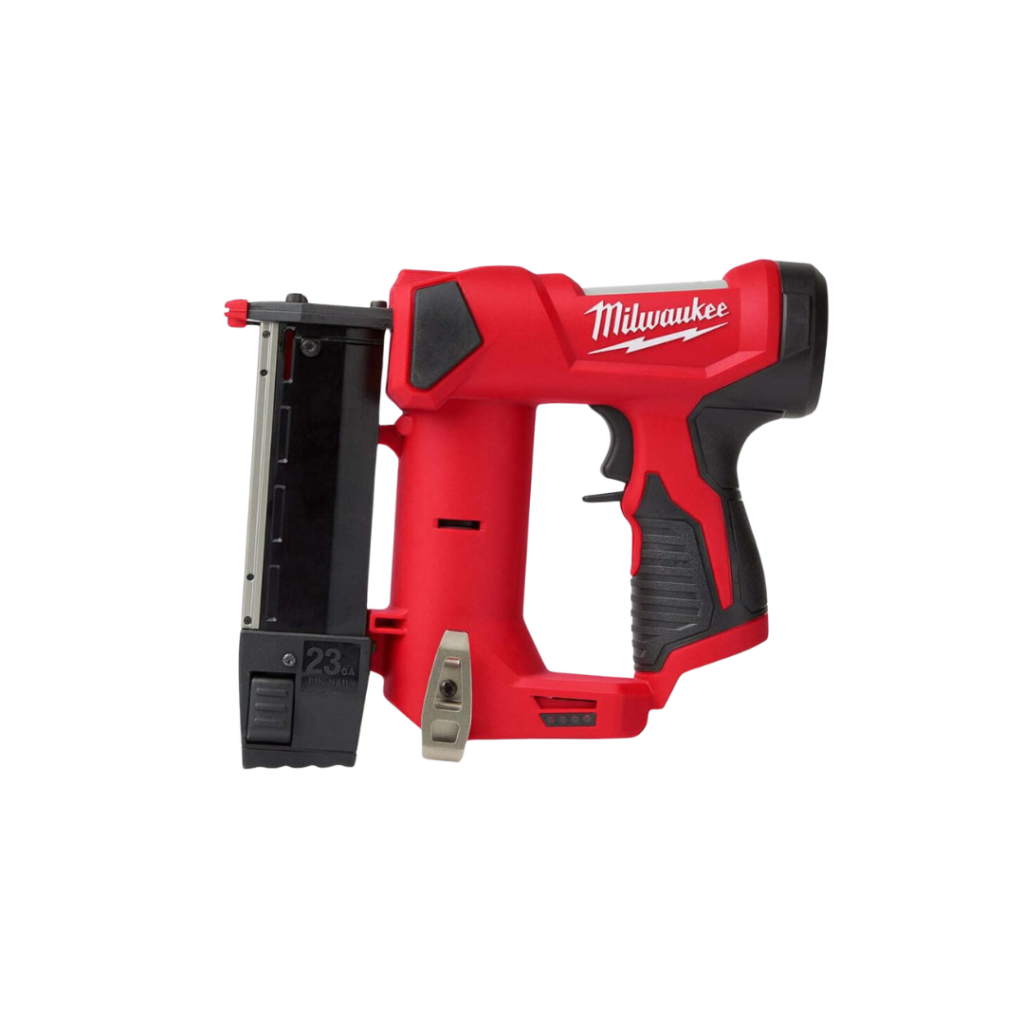
Then, we made our cuts. We cut all the 1×2’s for this baseboard at an angle. That way, when we put a piece up next to it, it’ll look seamless. It’s a lot easier to butt together two angled cuts rather than two straight butt cuts because then you see the crack…and nobody wants to see a butt crack! 😂 We installed the 1×2’s with my Milwaukee brad nailer. I didn’t look for studs to put them in. I just put in two nails every 12 to 18 inches.
Making Cuts
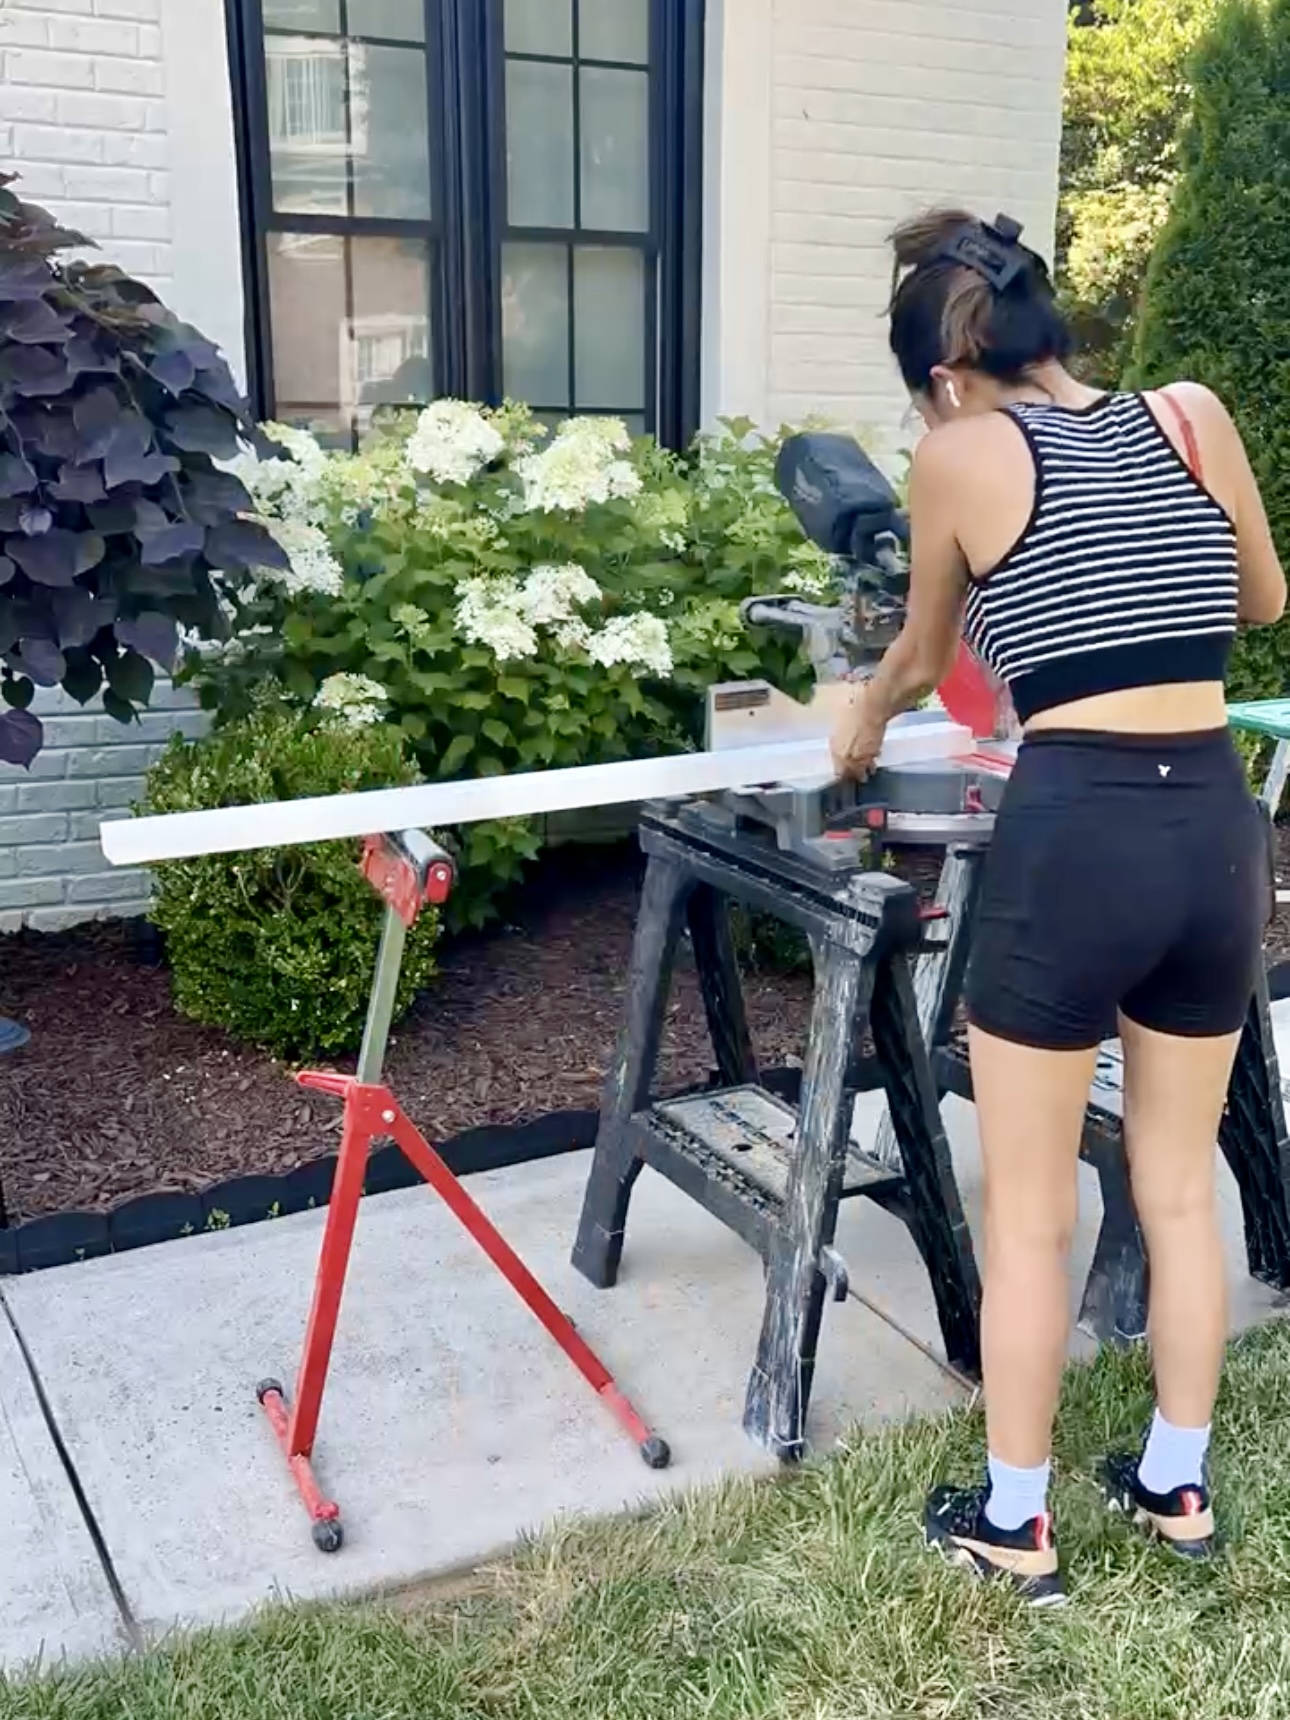
After the baseboards were all ready to go, I cut about 4,287 (not actually but it felt like it) 1×3’s for the actual boxes at 48″ each. I use this rolling saw stand when cutting longer pieces of wood. It’s so helpful!

Installation
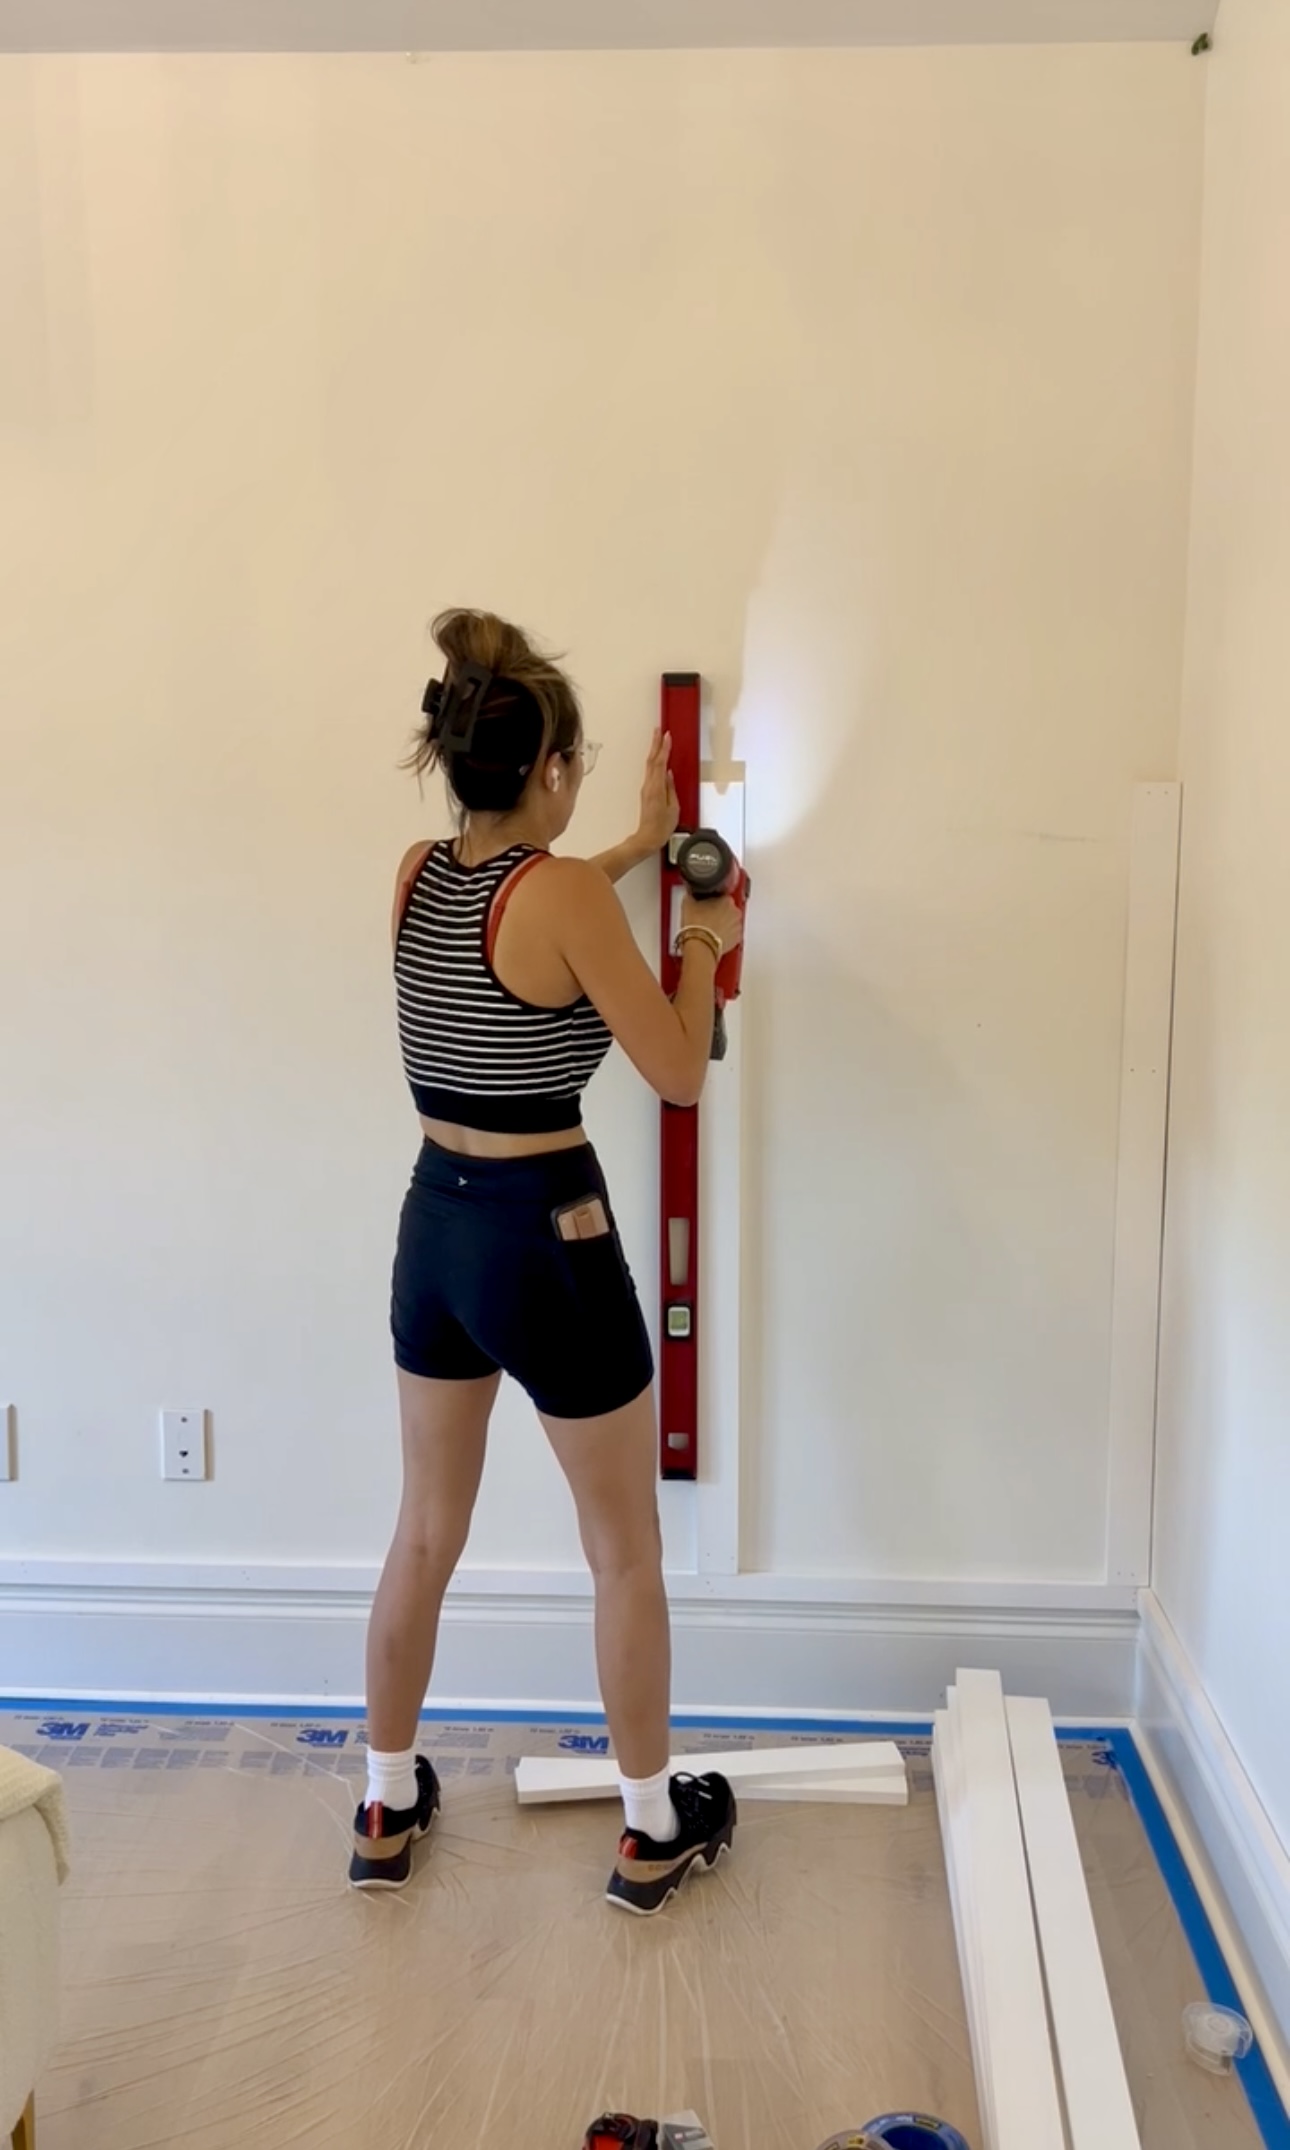
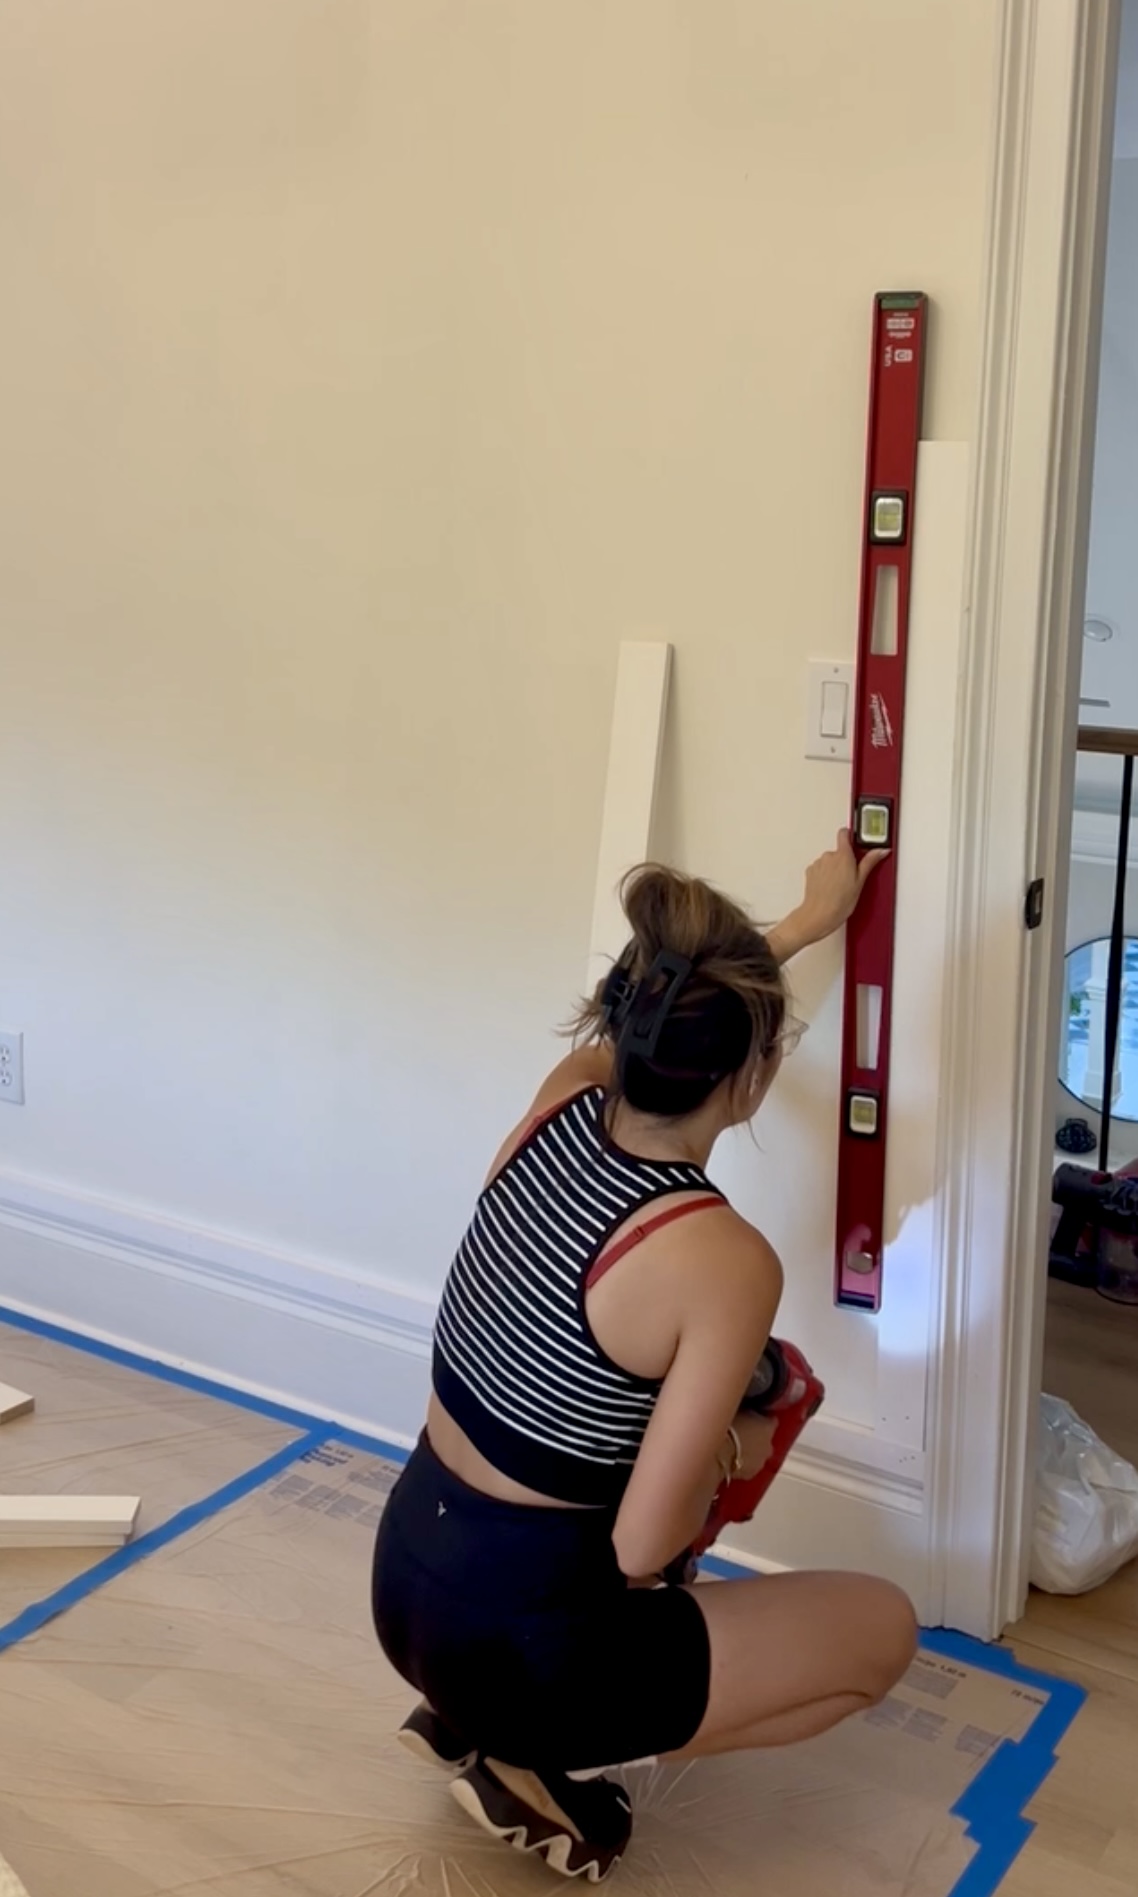
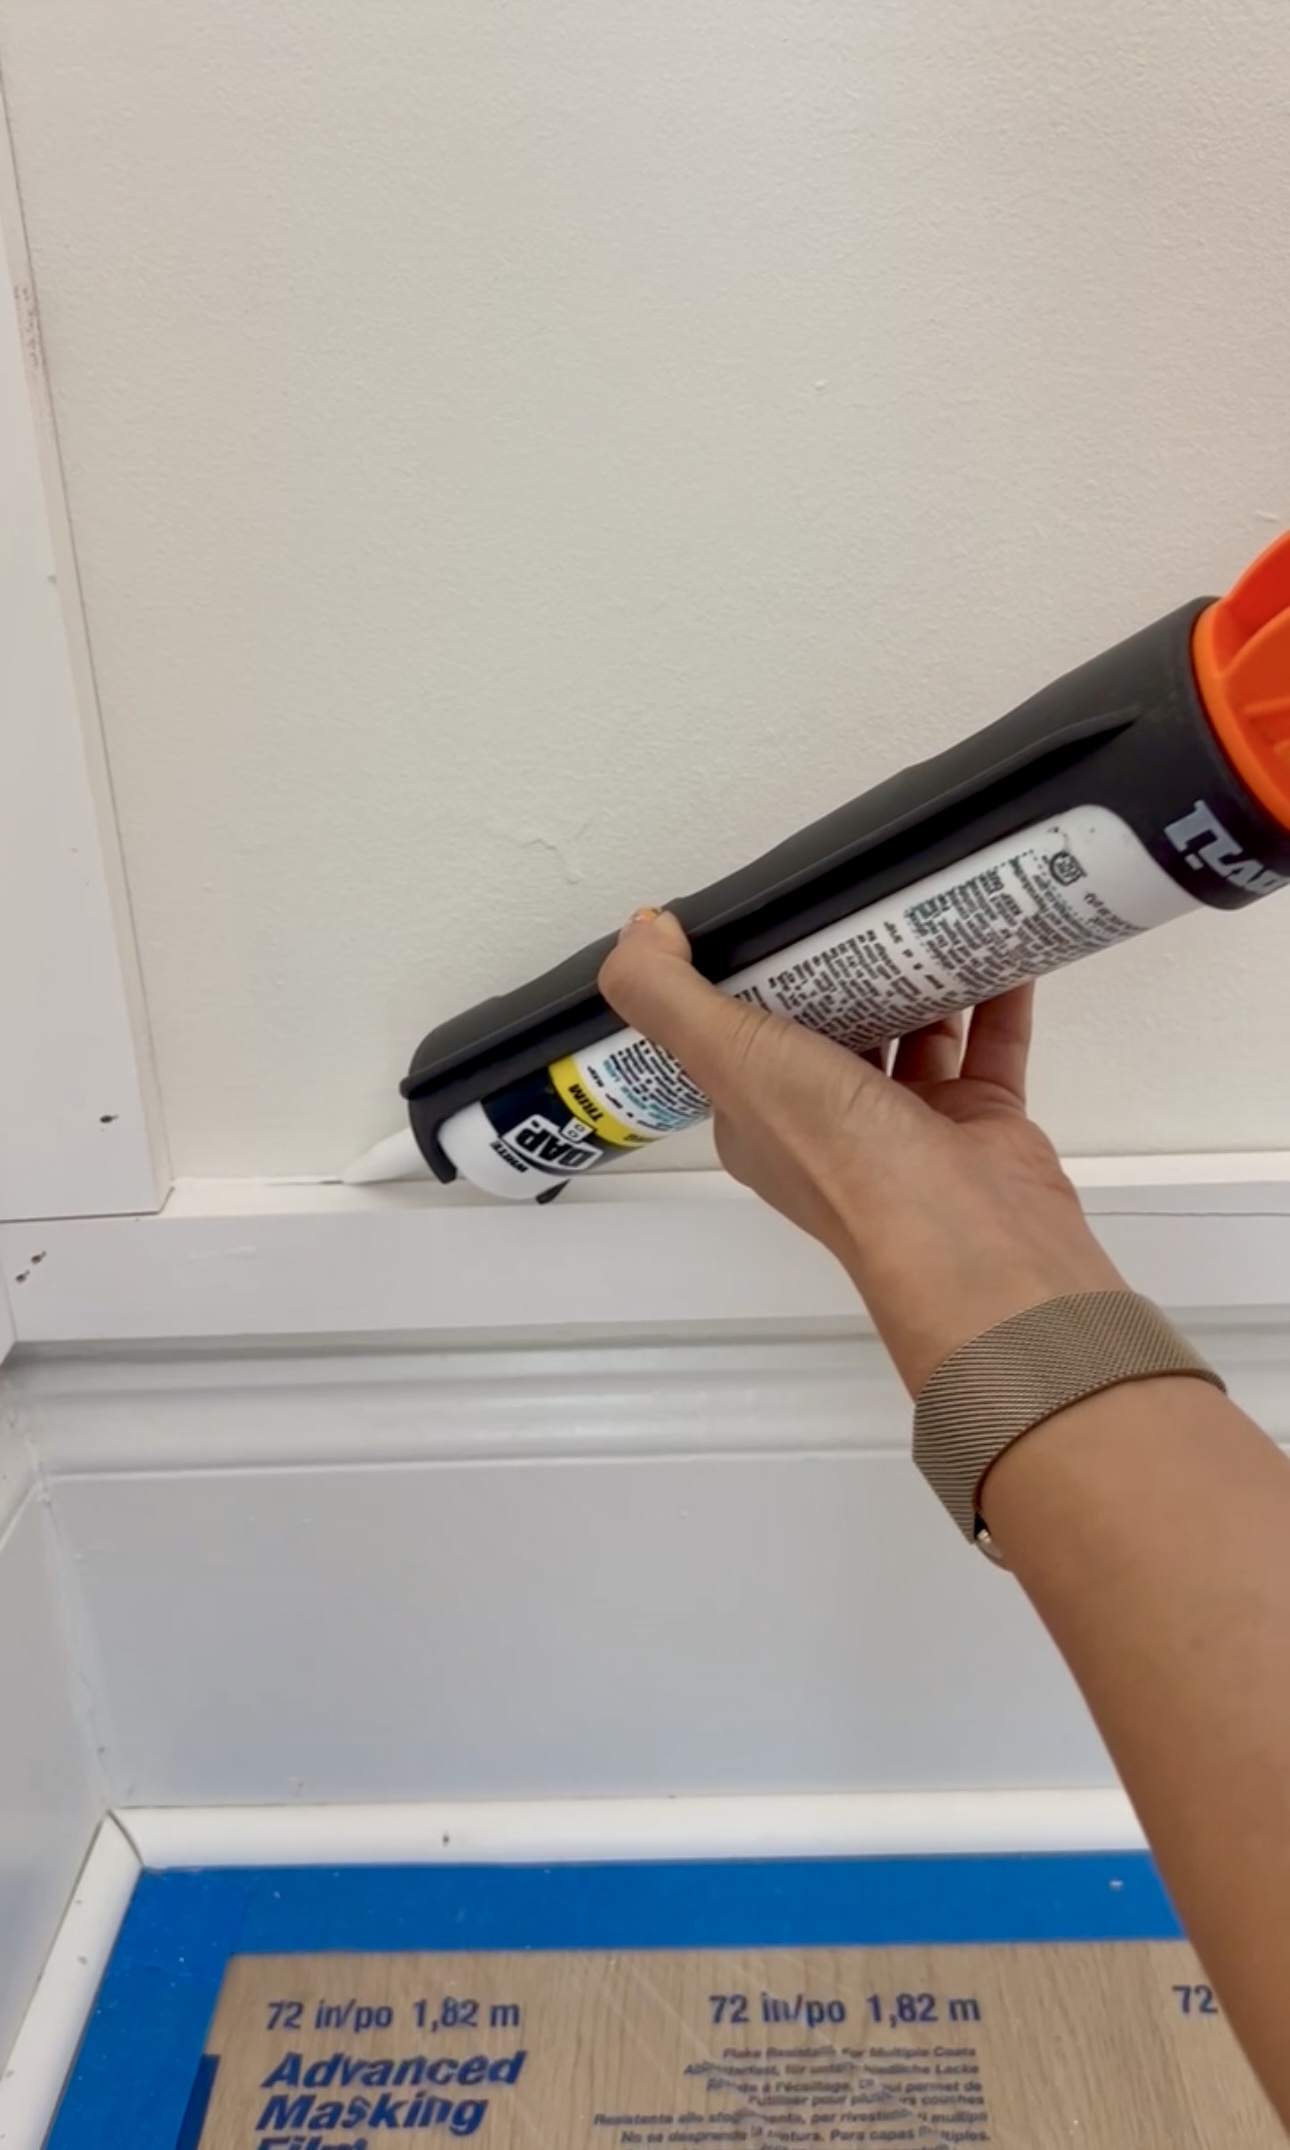
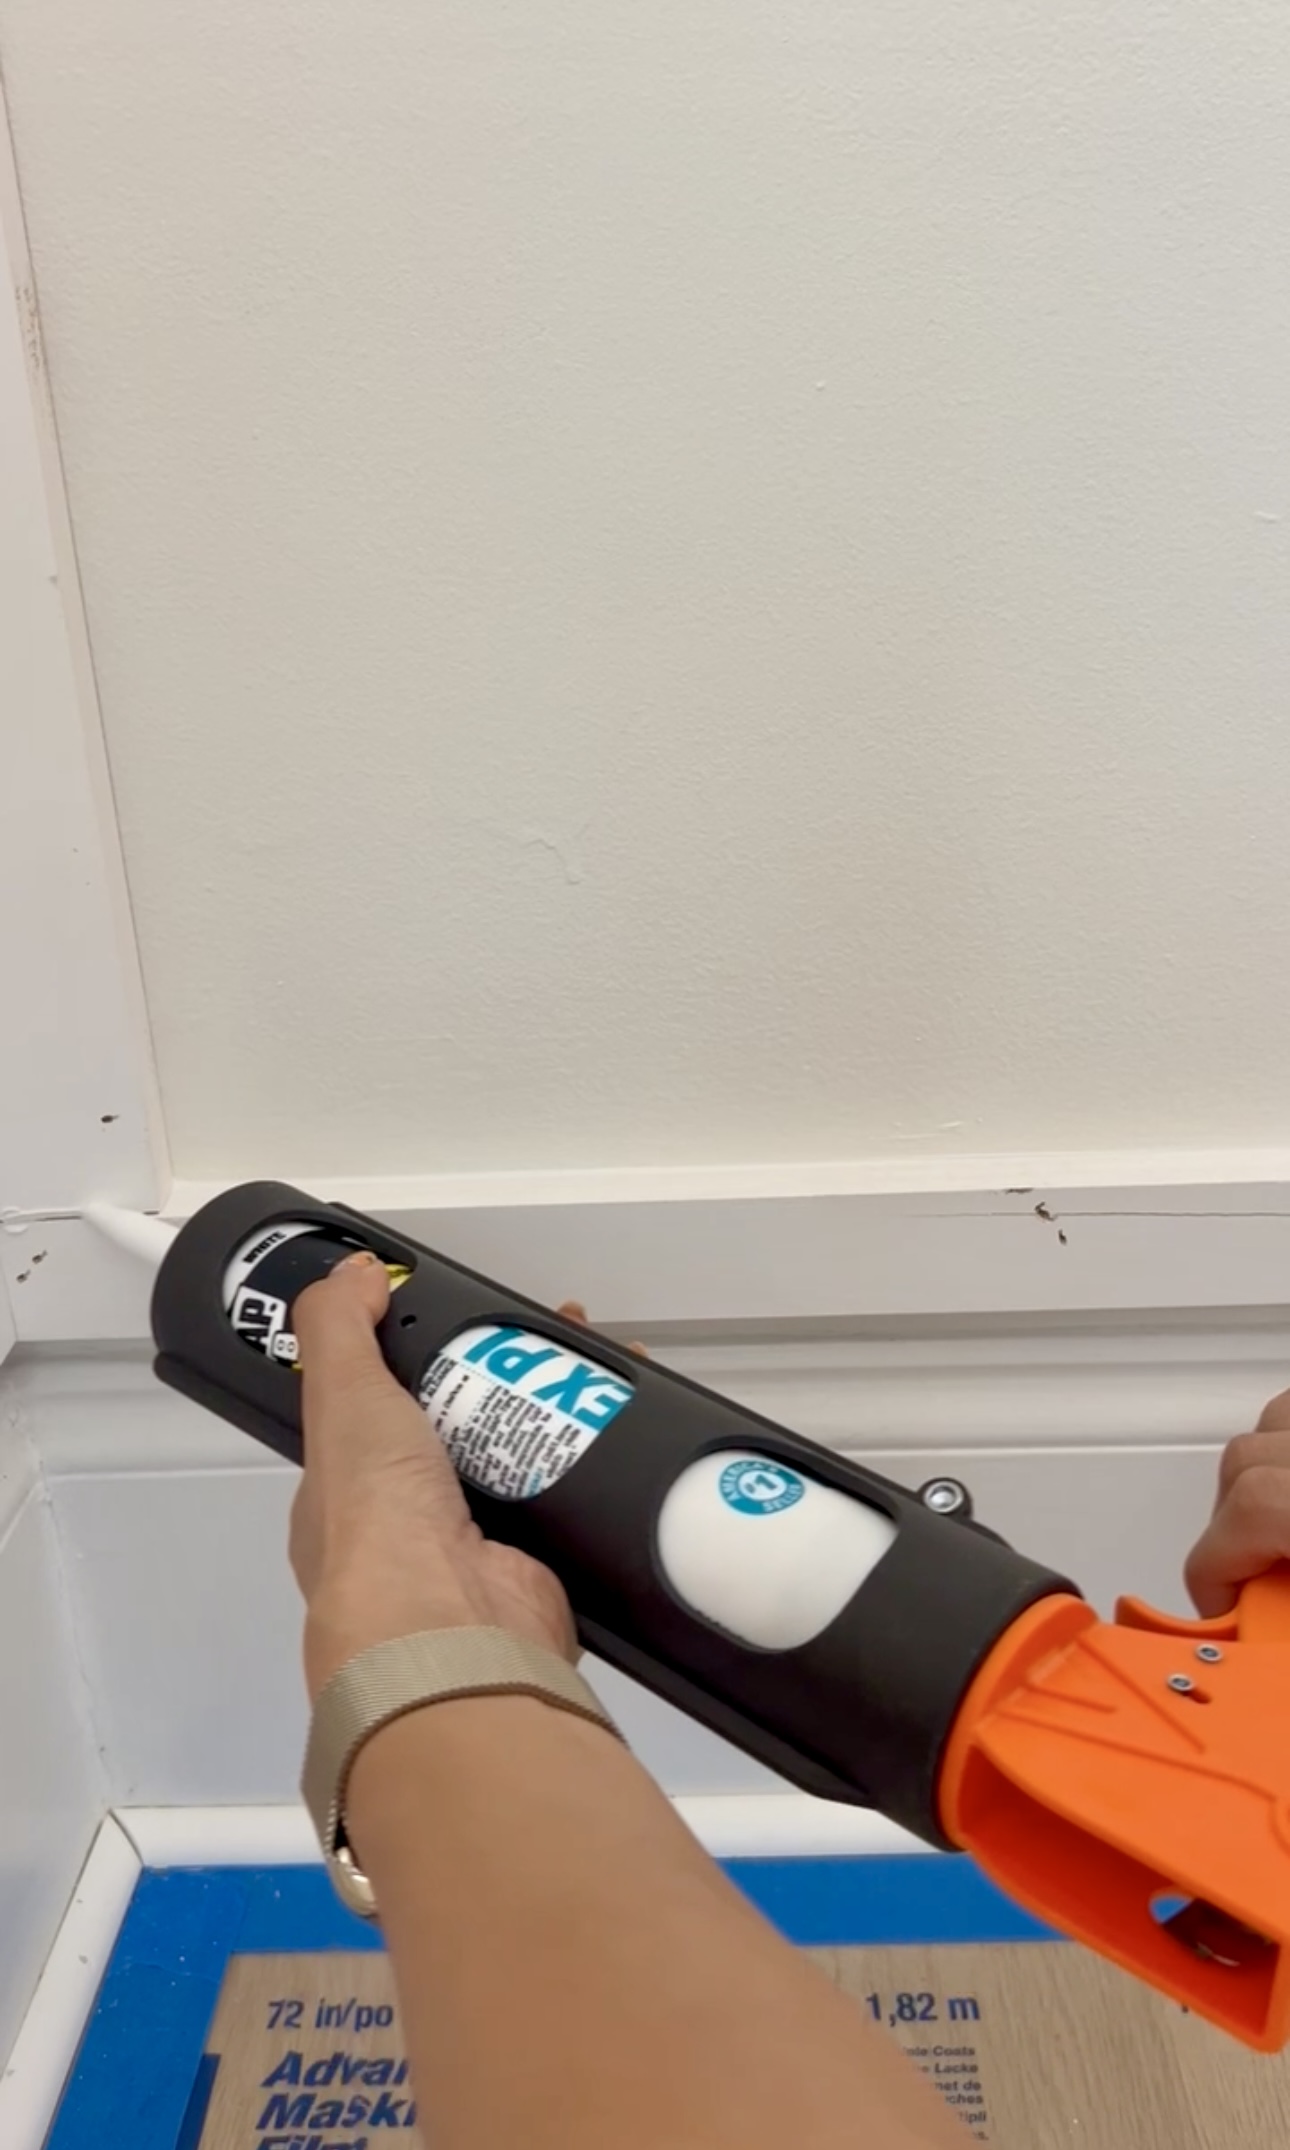
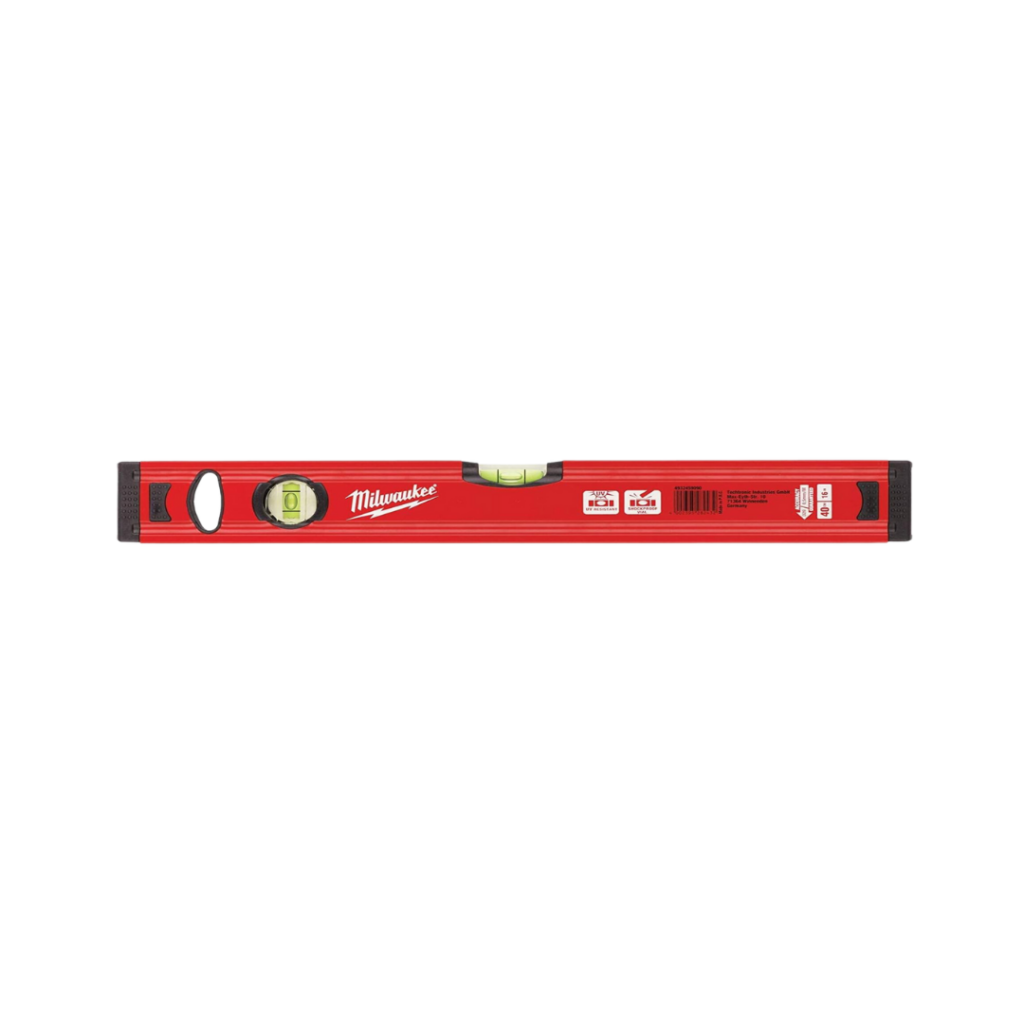
Time to install! Once all my cuts were made, I grabbed my level and my nail gun and started installing these 1×3’s. Along the way, I realized some of the trim in here wasn’t plumb, so I made sure my 1×3 was straight and then filled the gap with caulk.
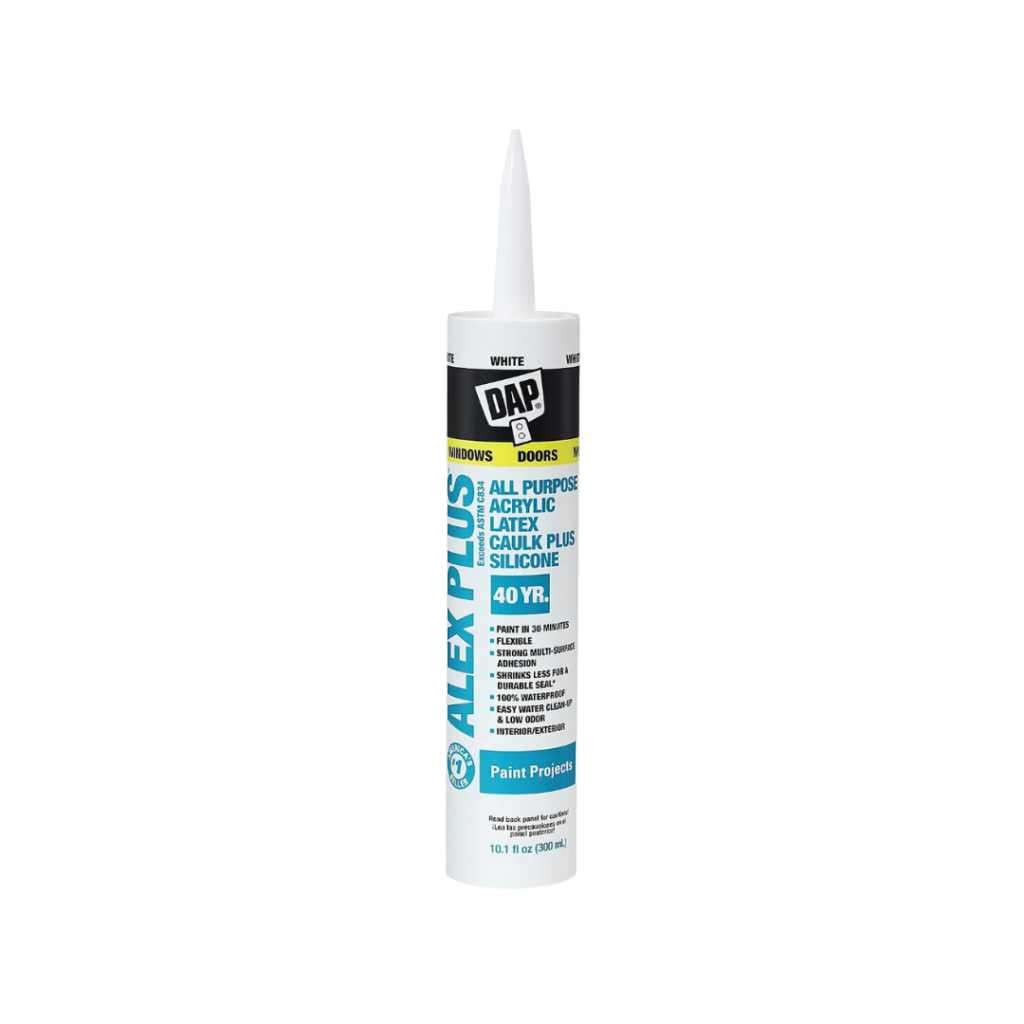
Next, I lined all the visible seams with caulk. This will make the surfaces completely smooth for paint.
Outlets
One of the boards fell right on the outline of an outlet. So, I built a little frame around the outlet to lift it up so the cover can sit on top of the boards. I wanted to boards to come out about 3.5″ out from the board and 6″ along the side. However, I was out of 1×2’s so I used 1×3’s and made them a bit longer and cut them at an angle.
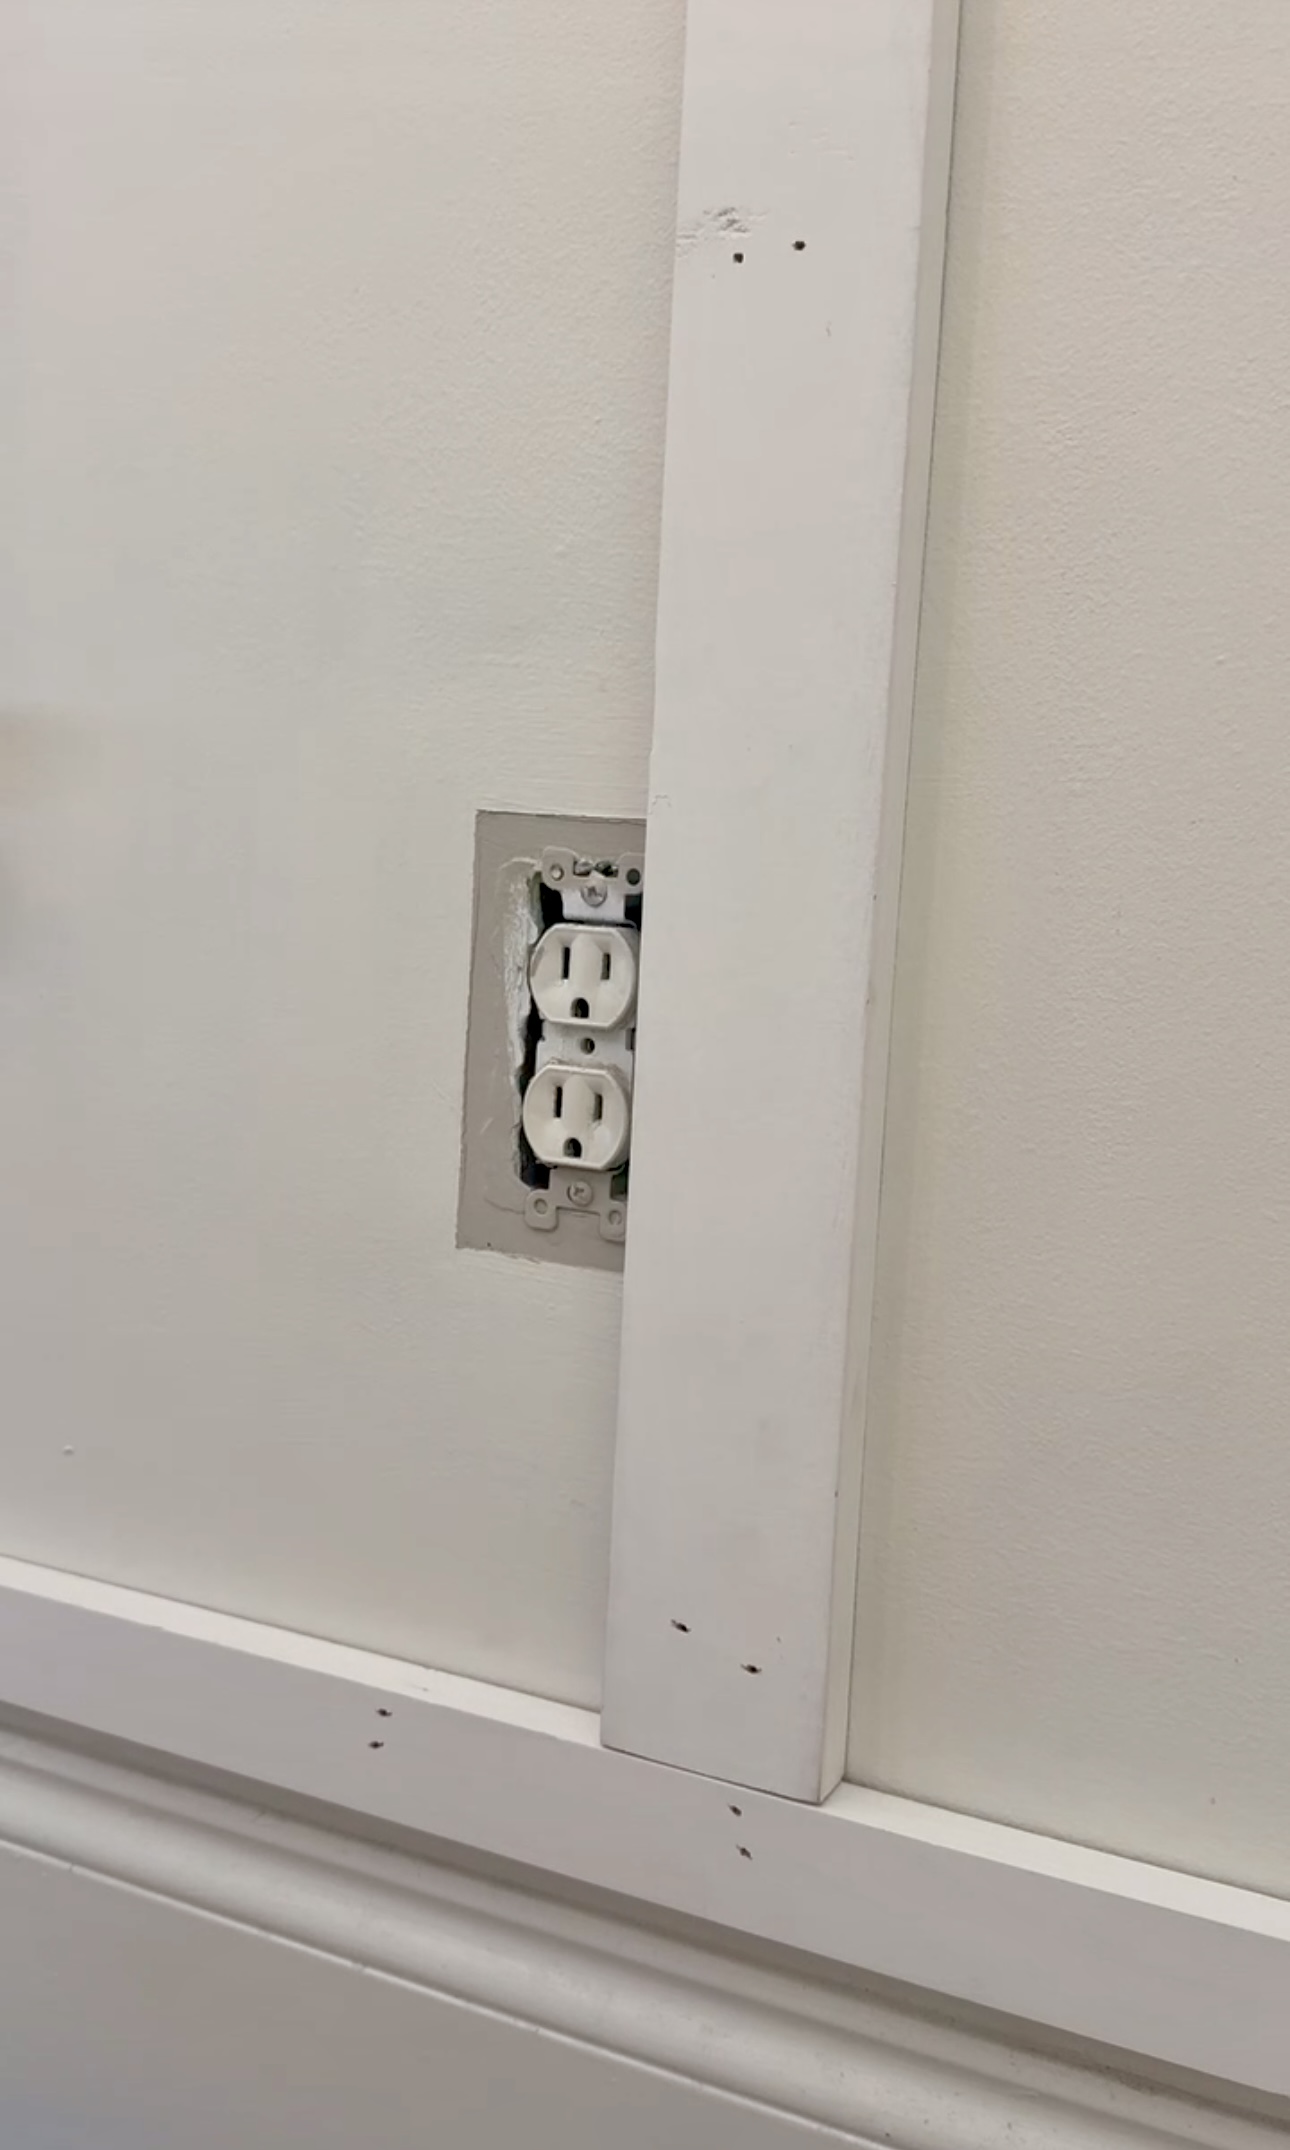
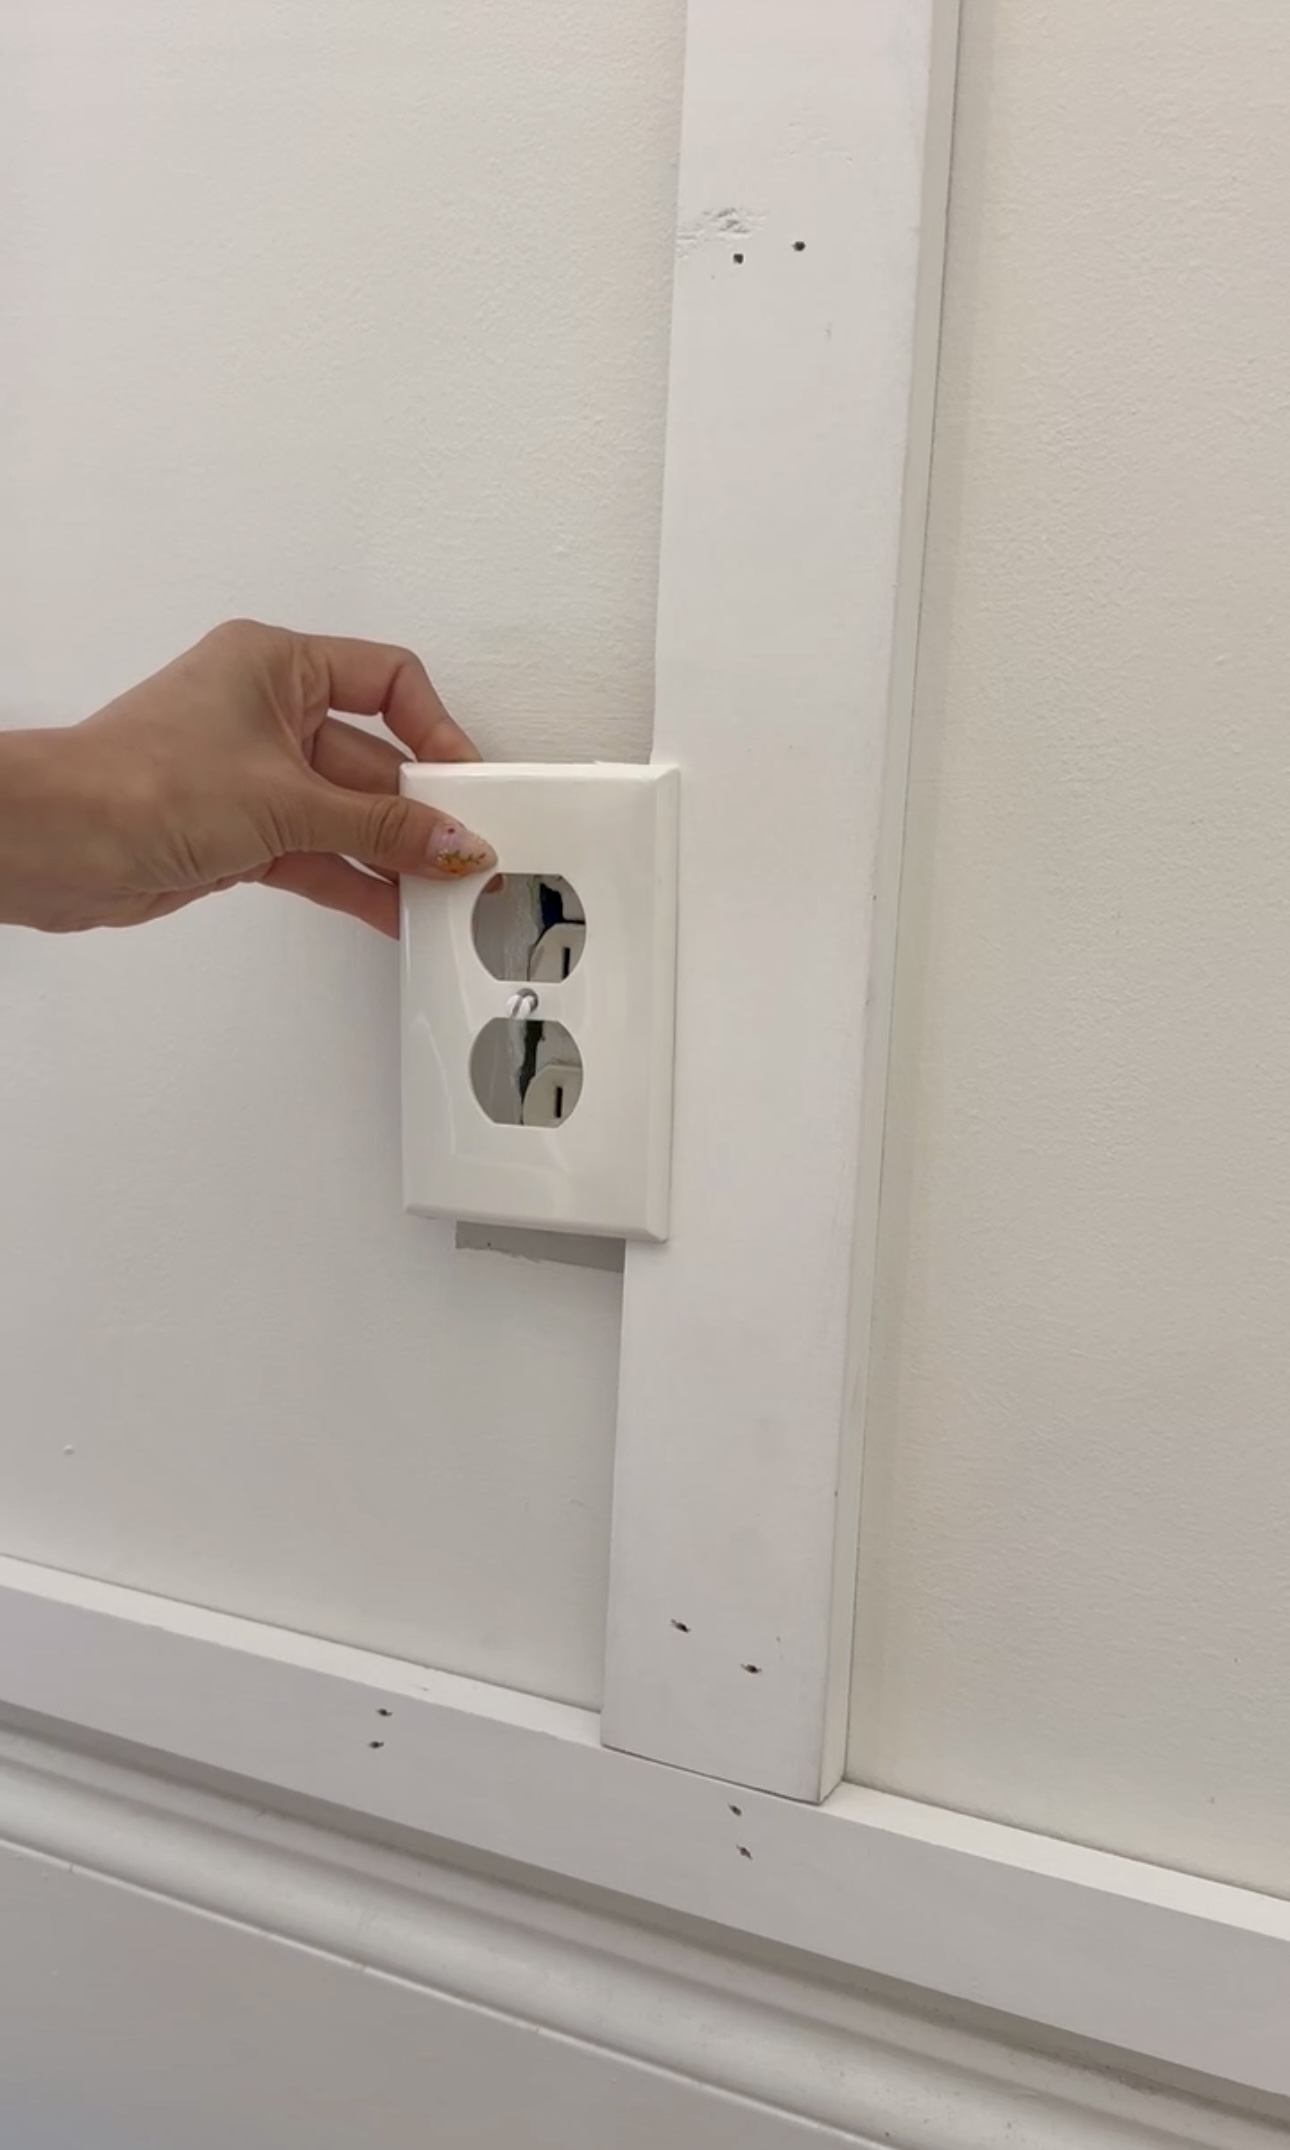
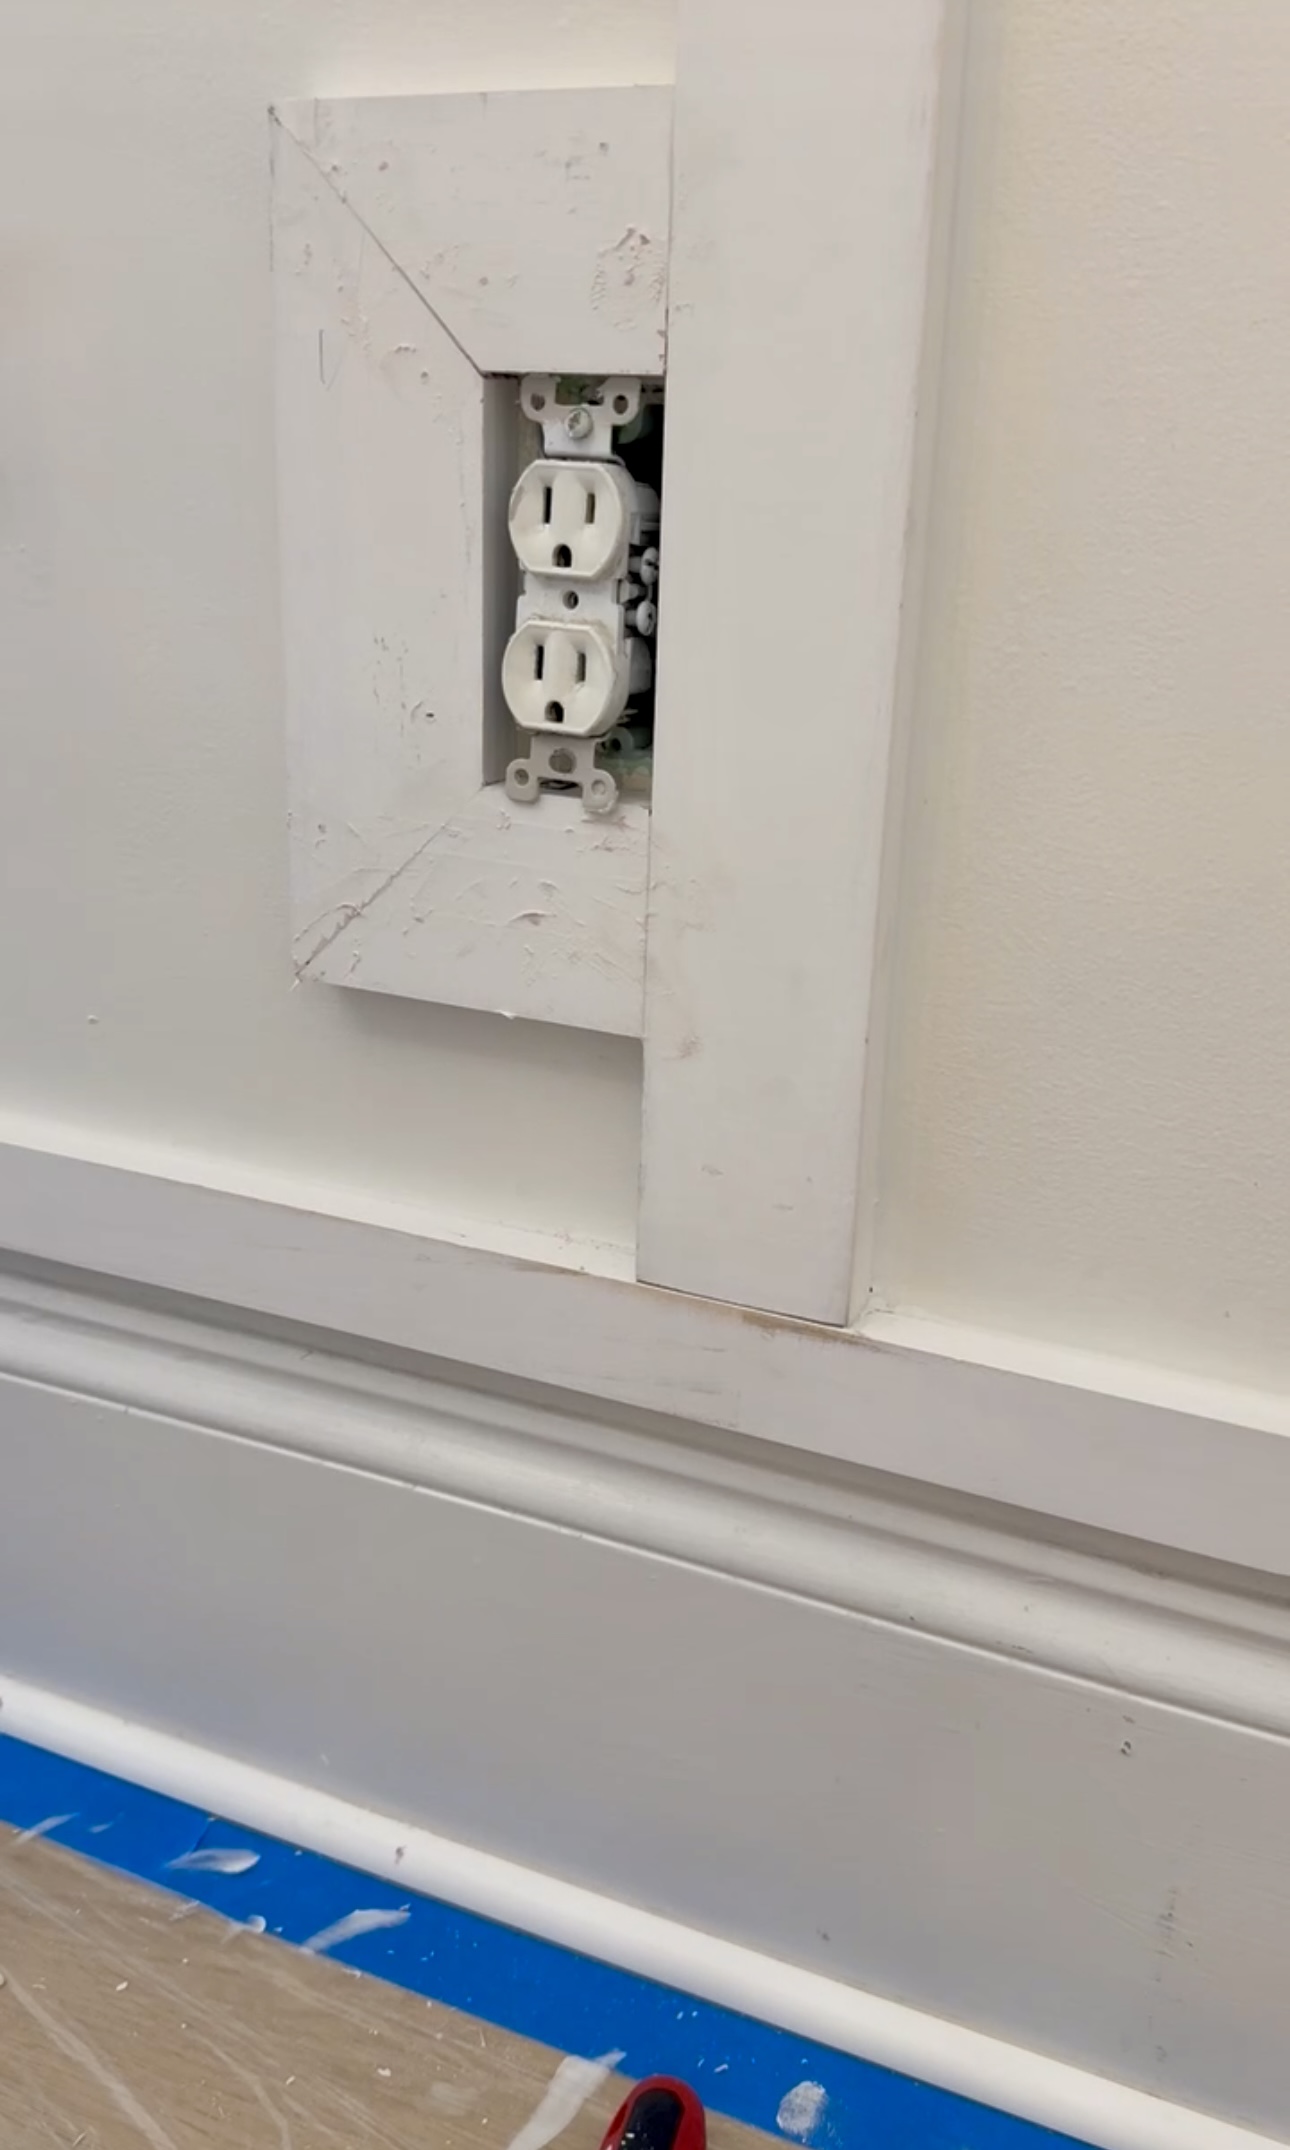
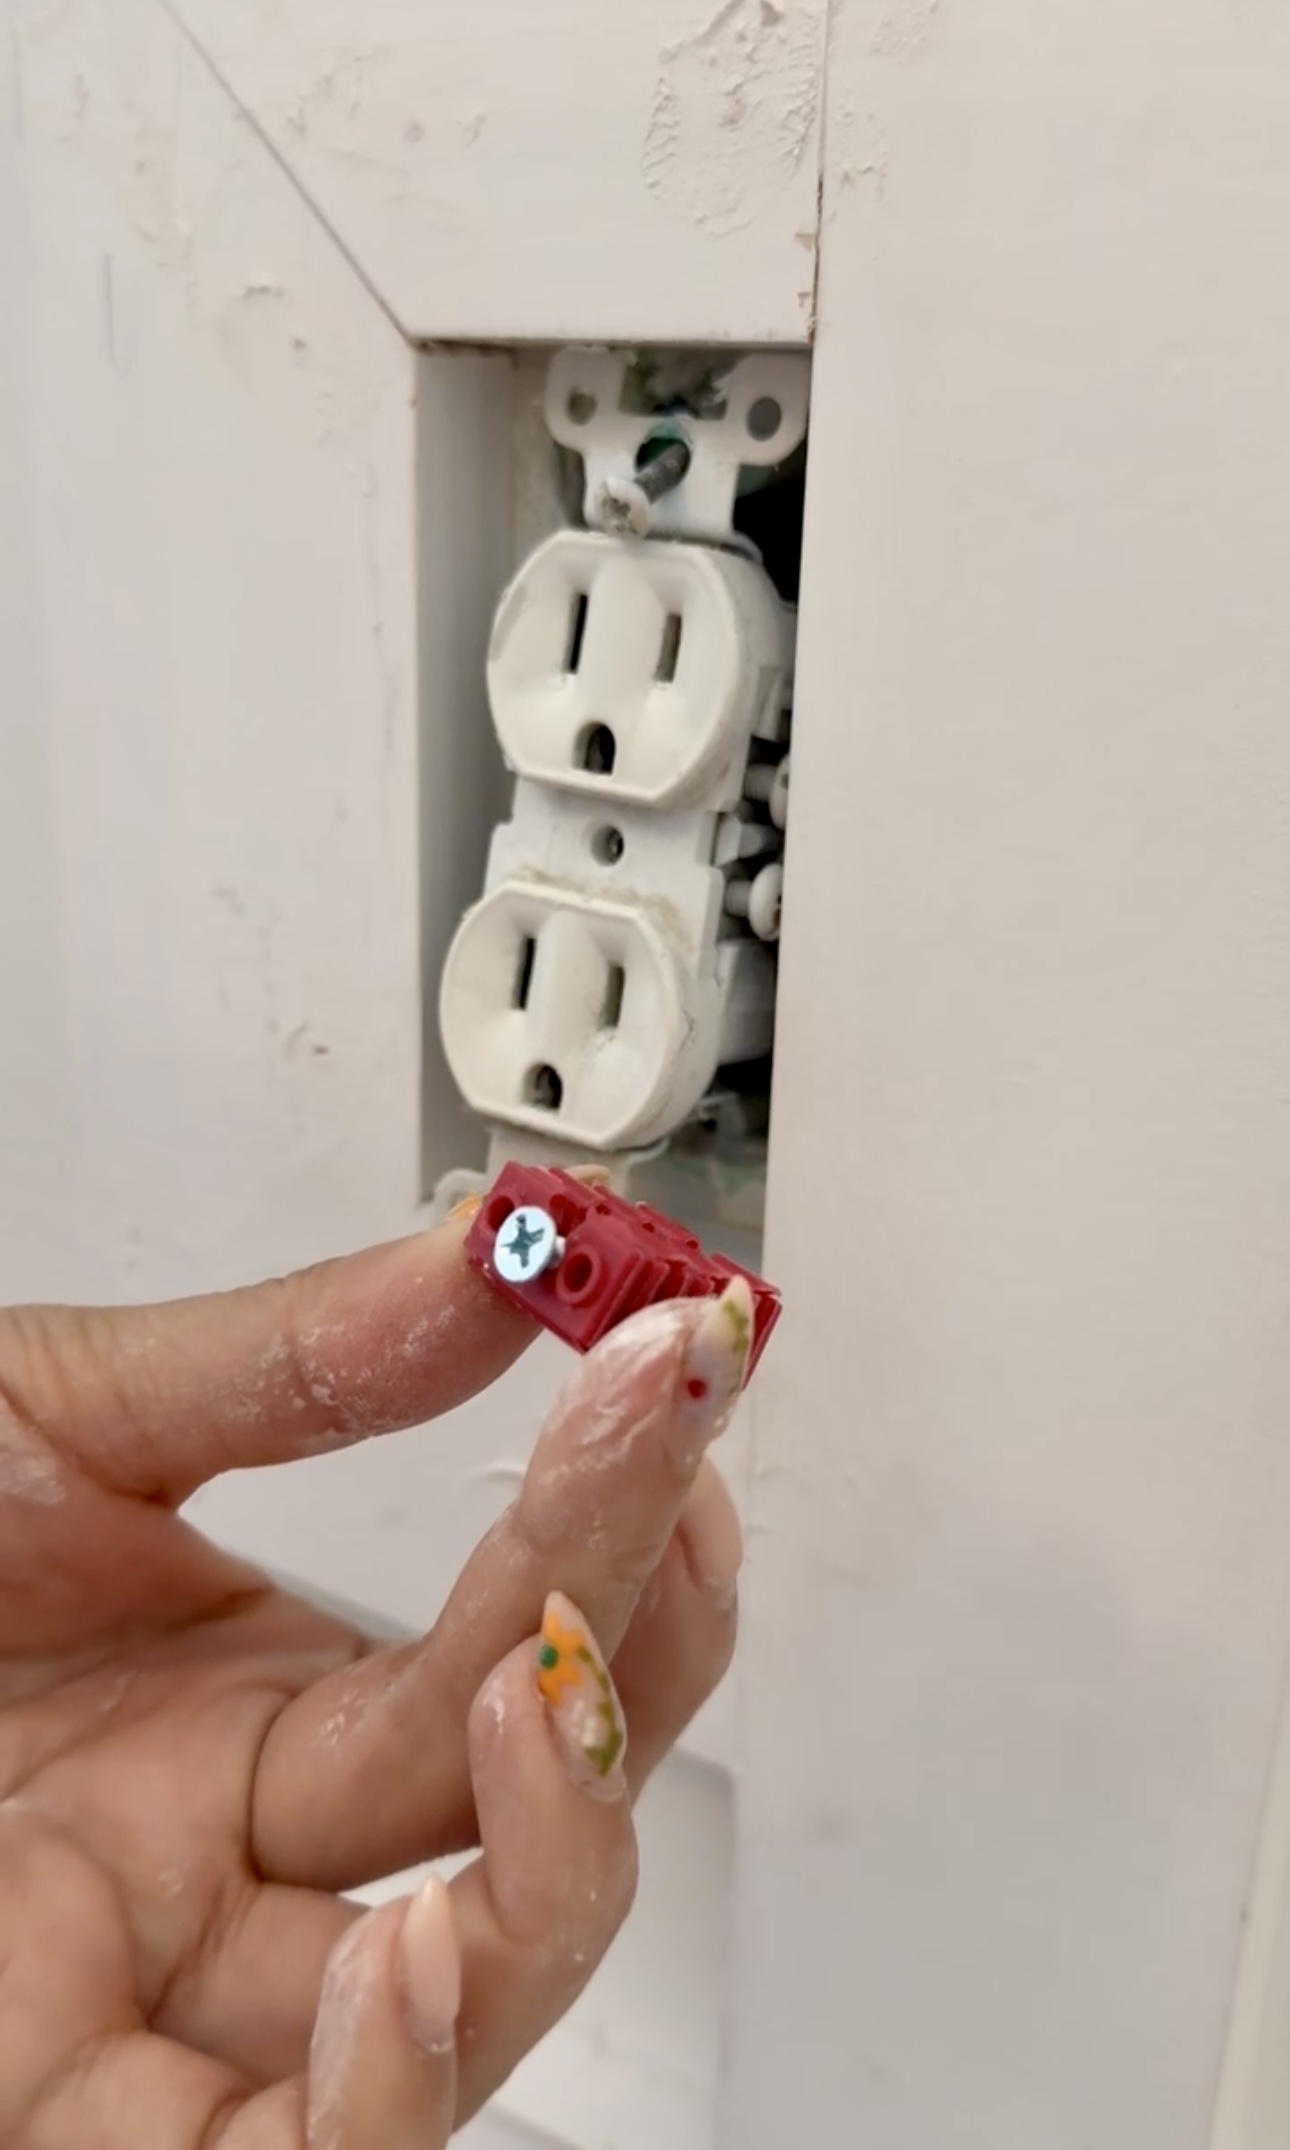
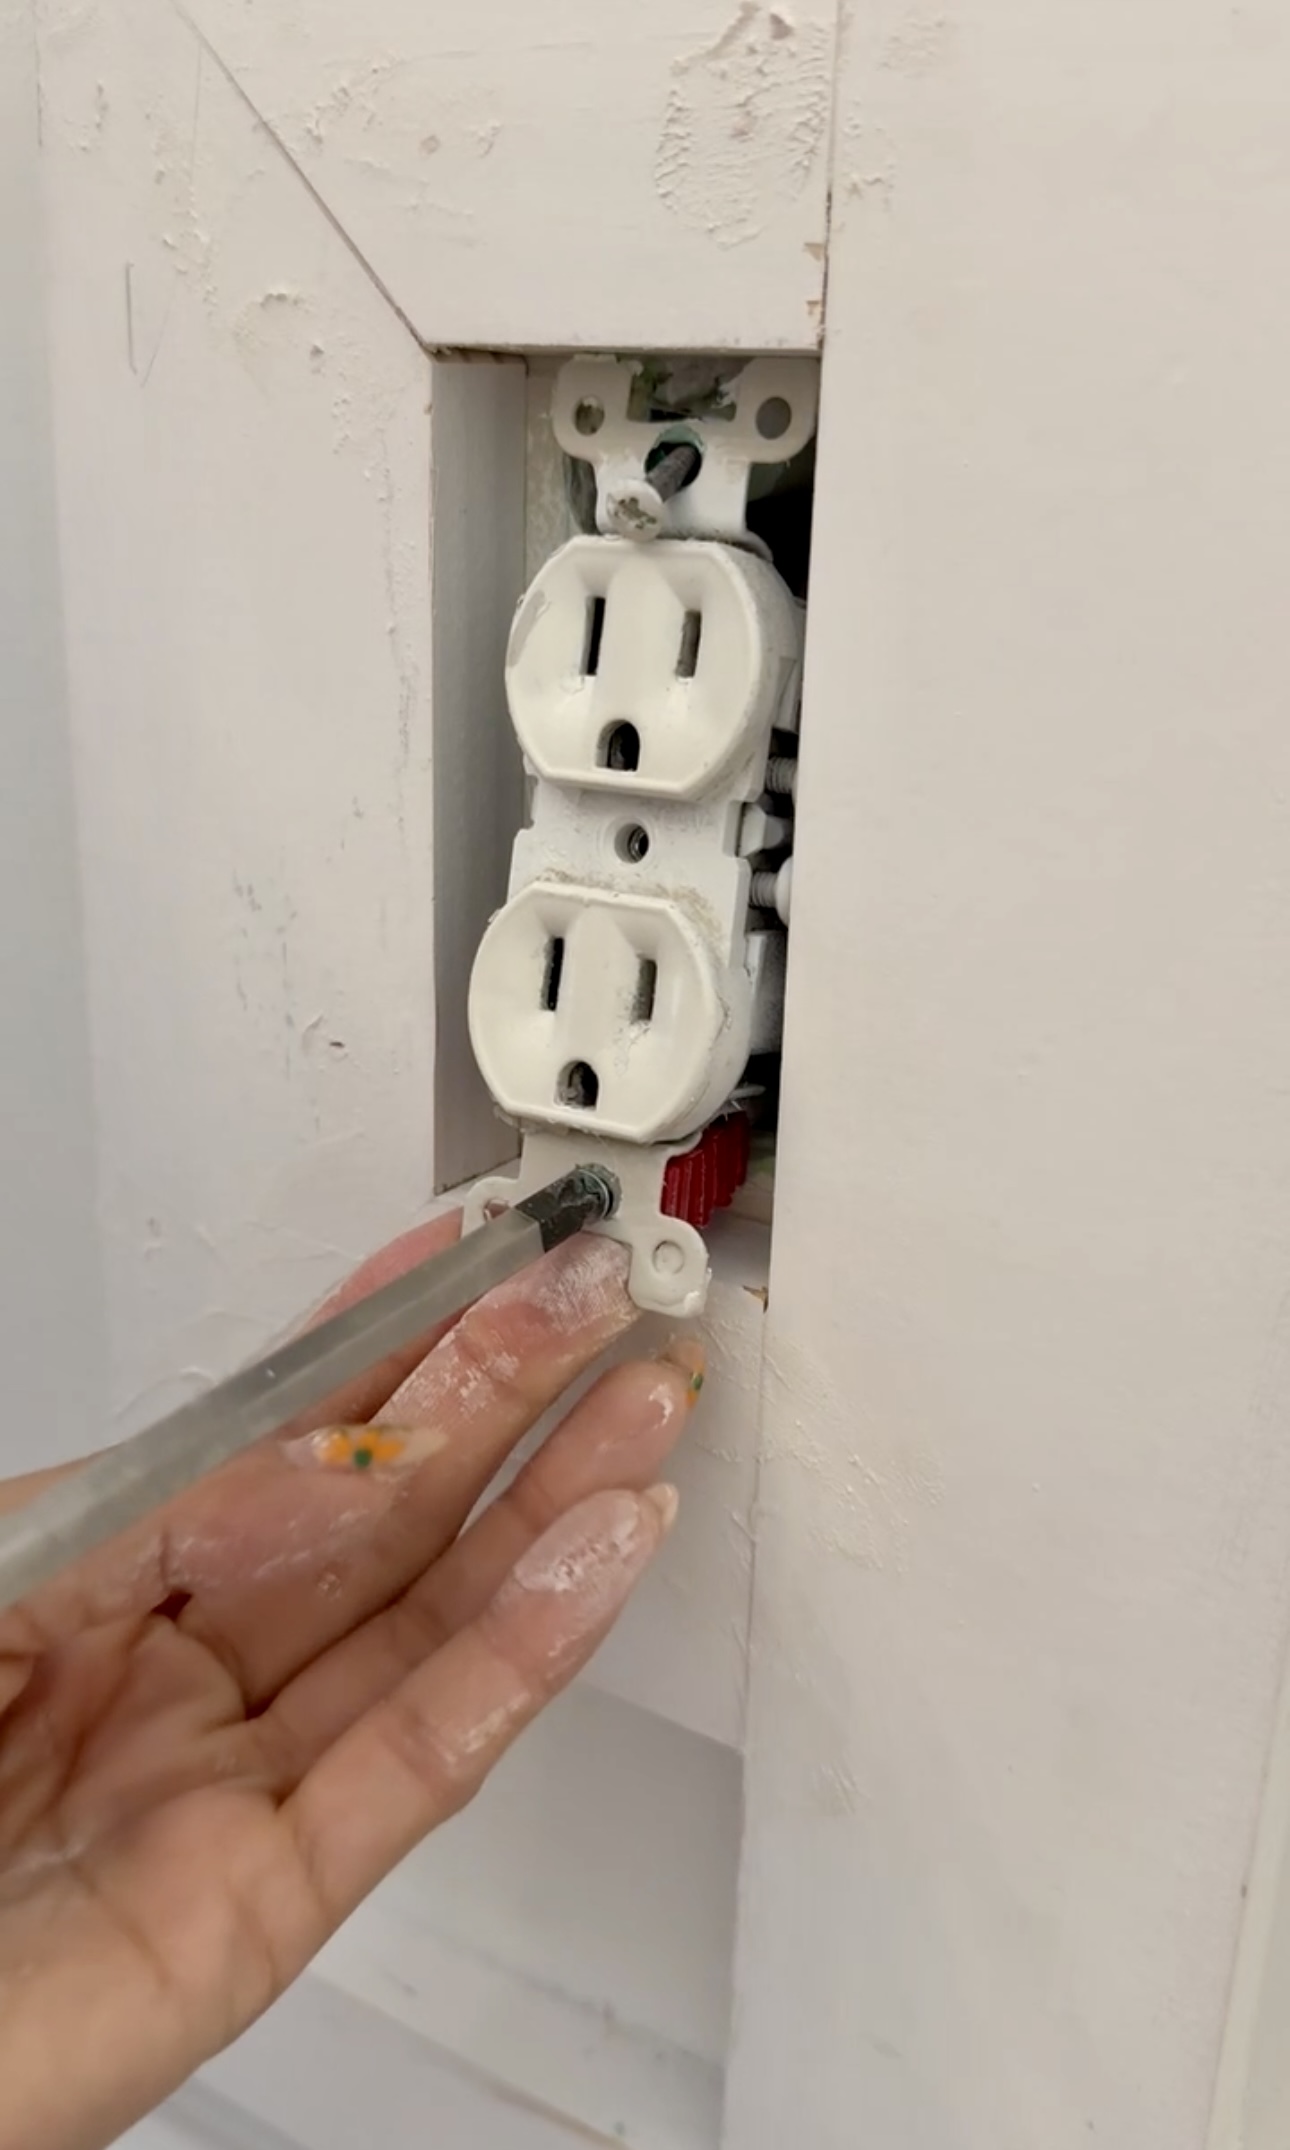
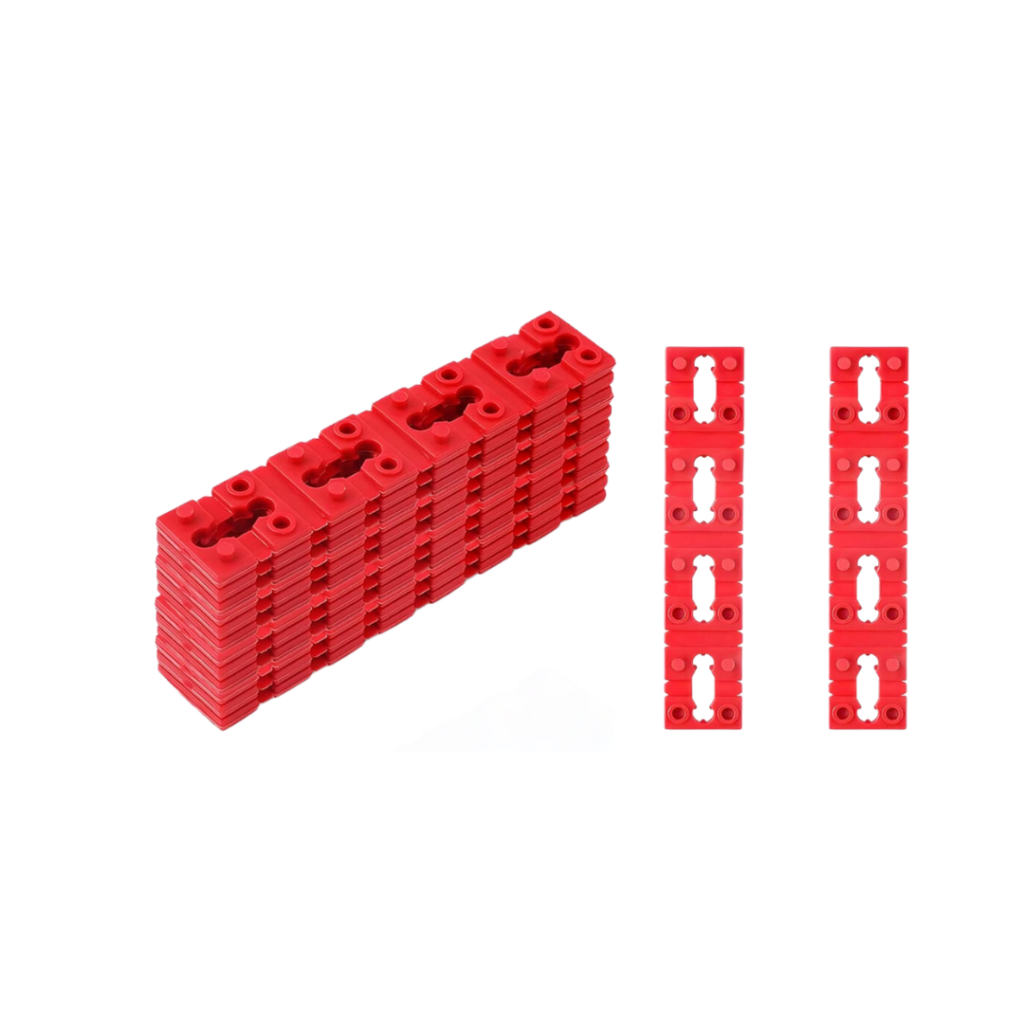
I have these electrical spacers that fold into each other to give the thickness you need to lift an outlet up. I tested them out and needed 7 of the spacers. These are so easy to modify. There were 8 on this strip, so I just ripped one off!
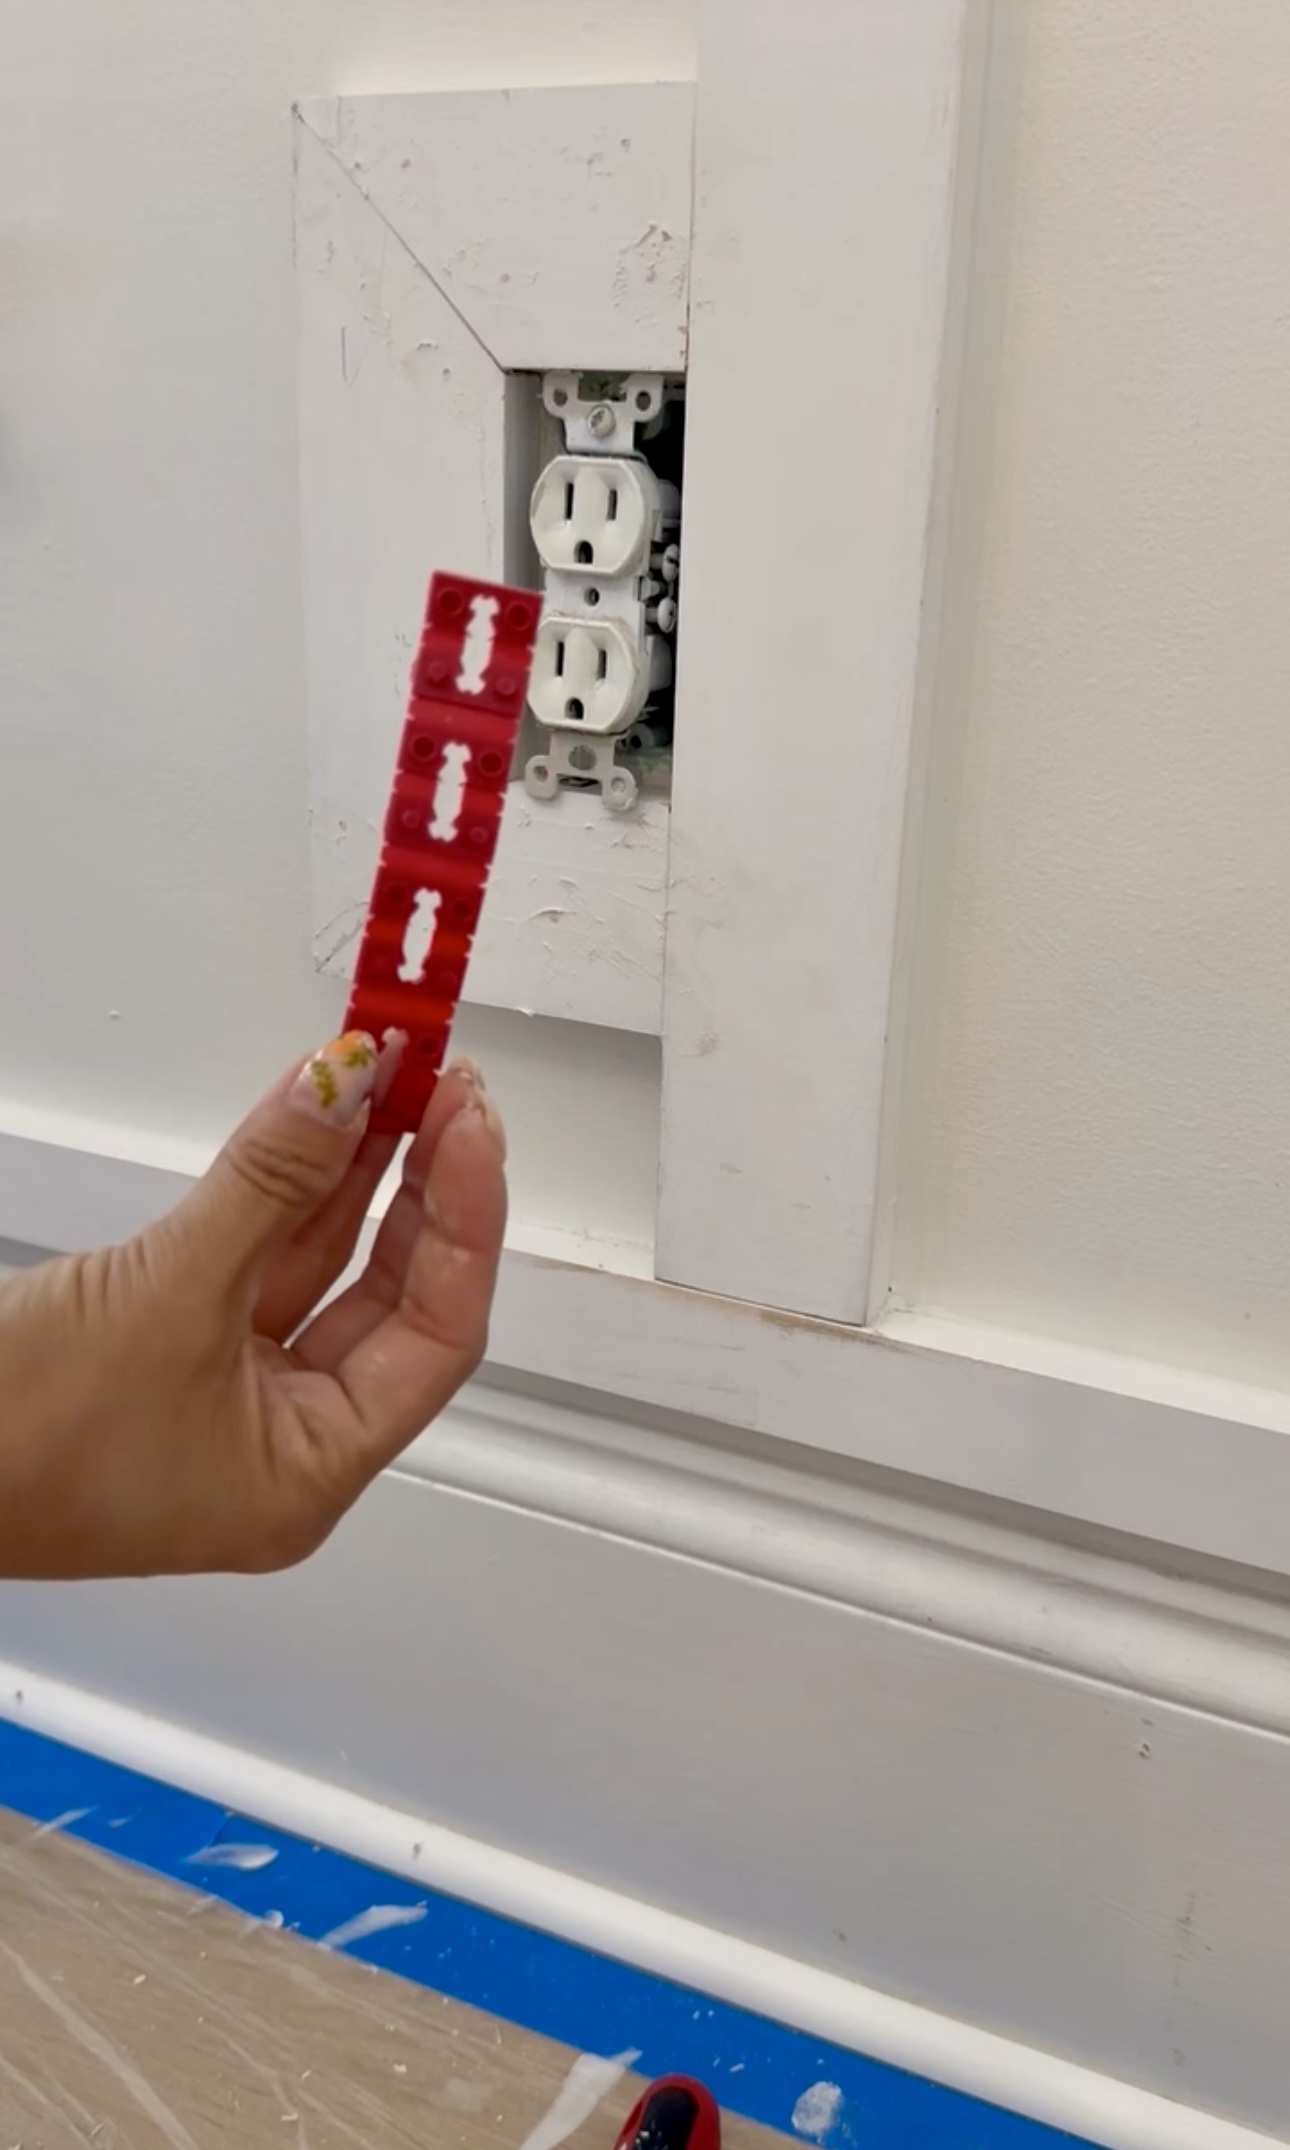
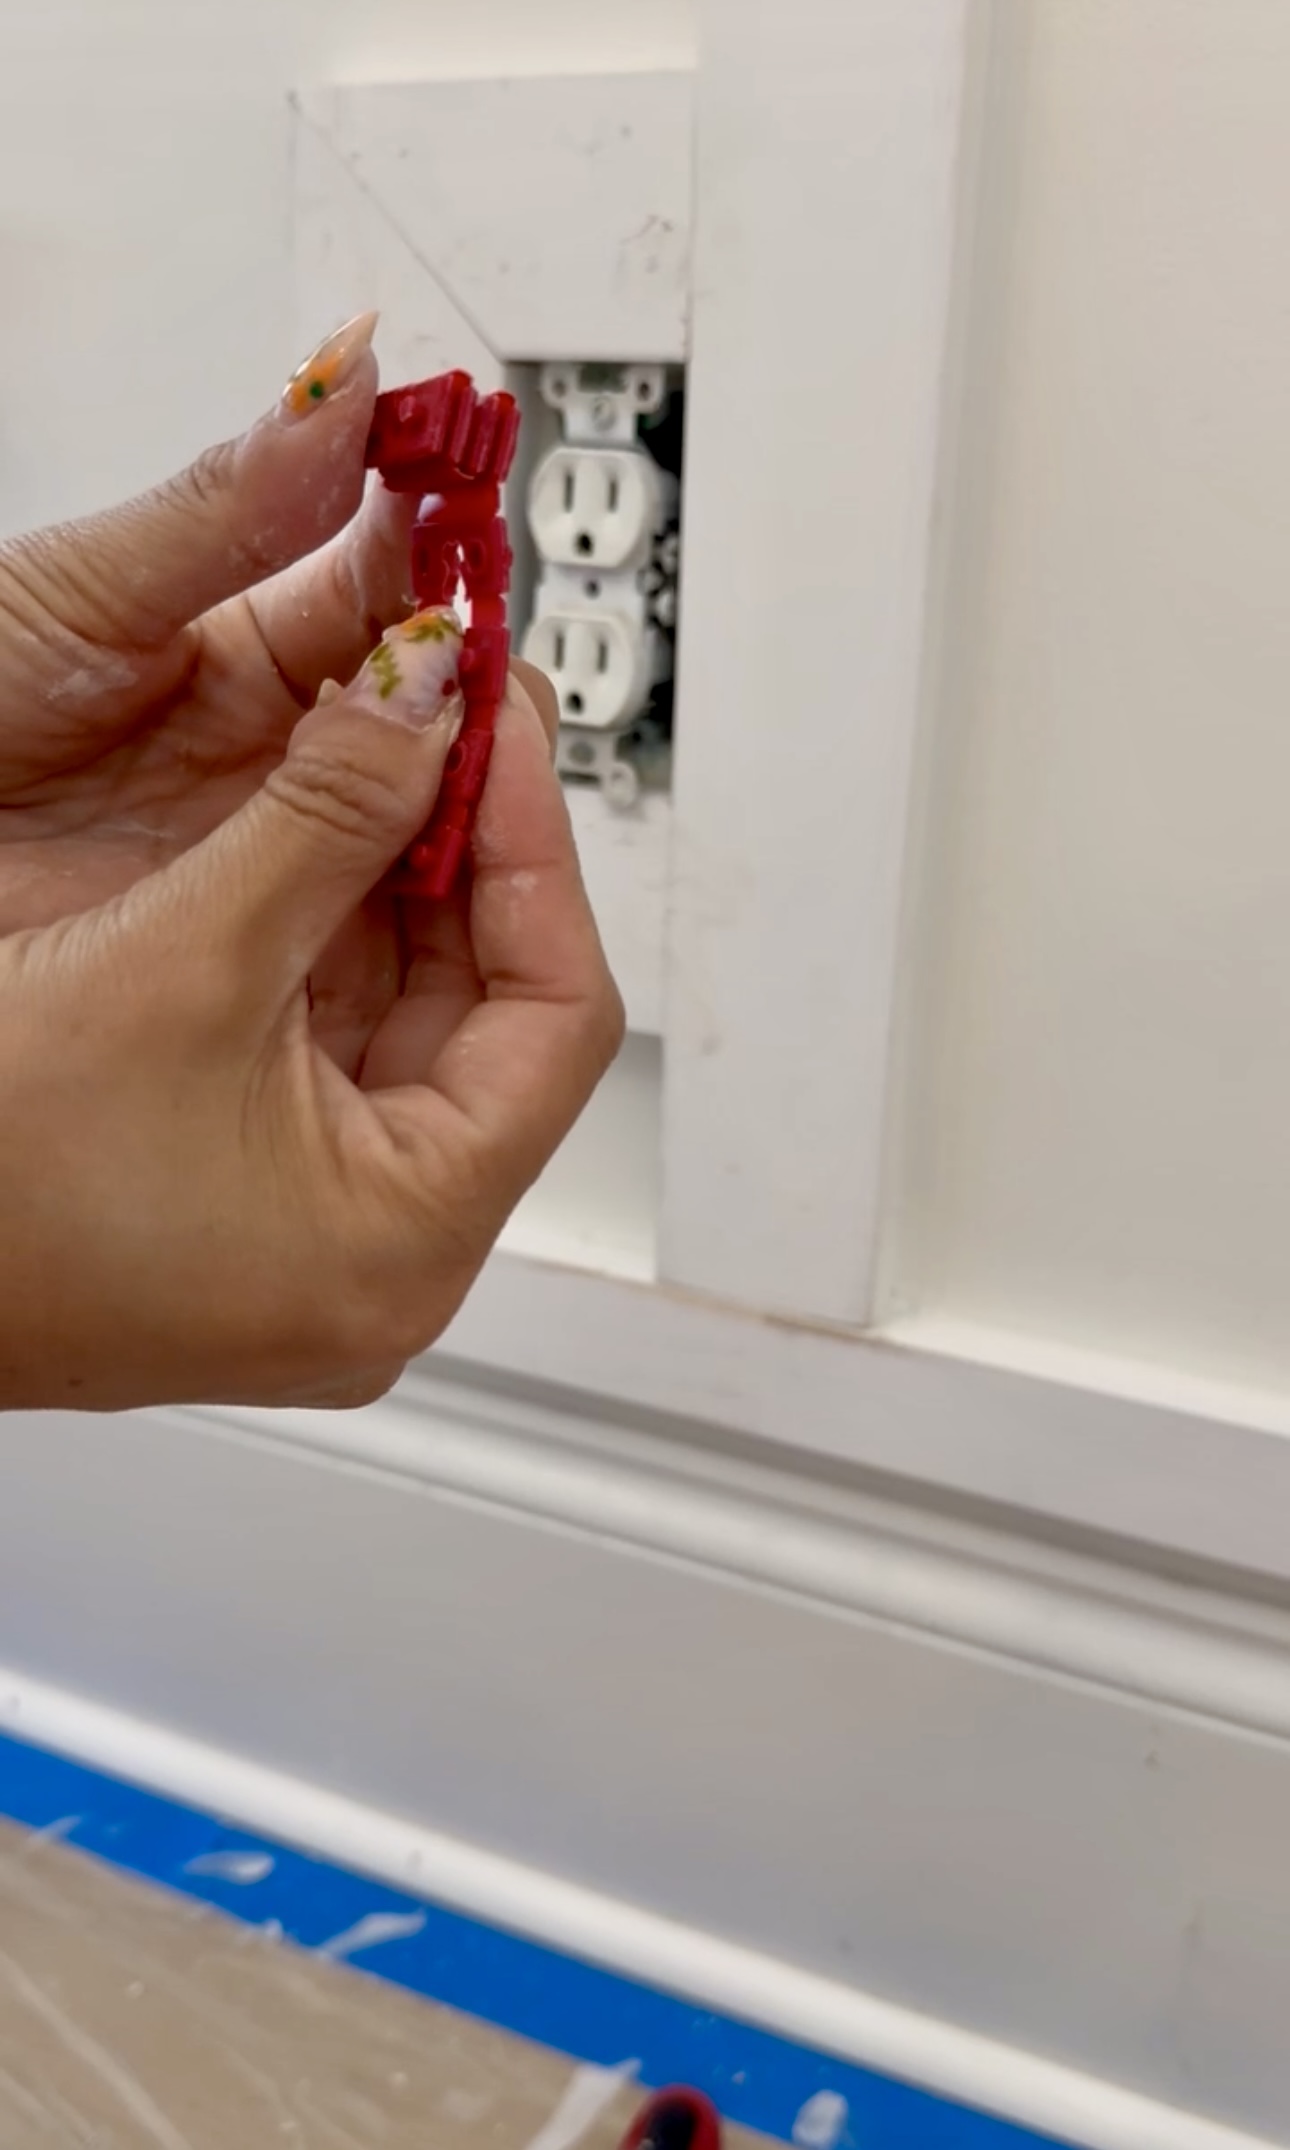
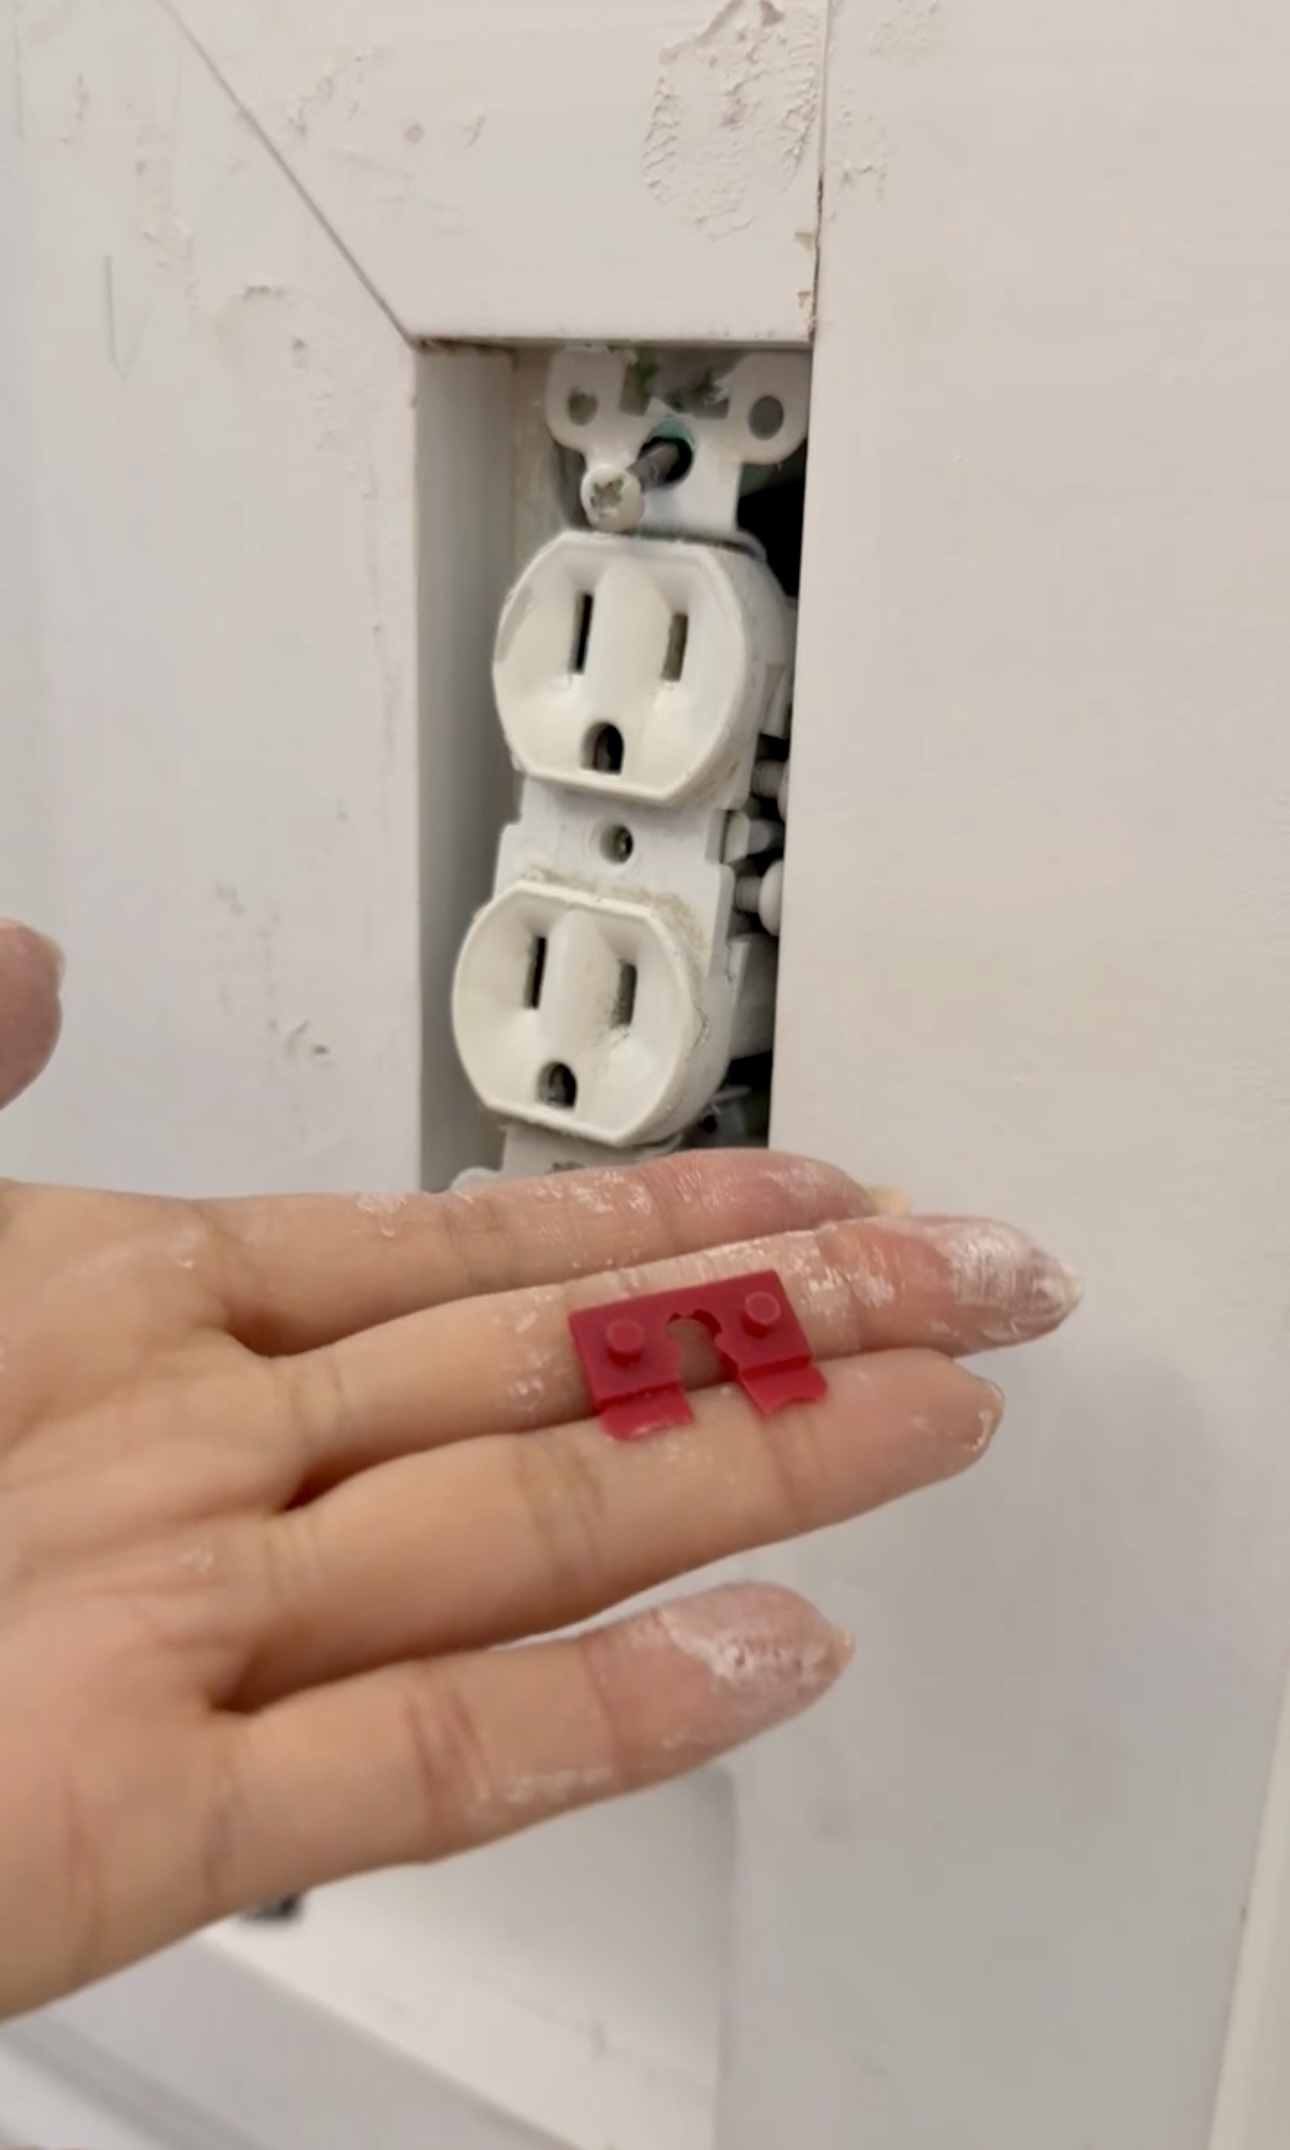
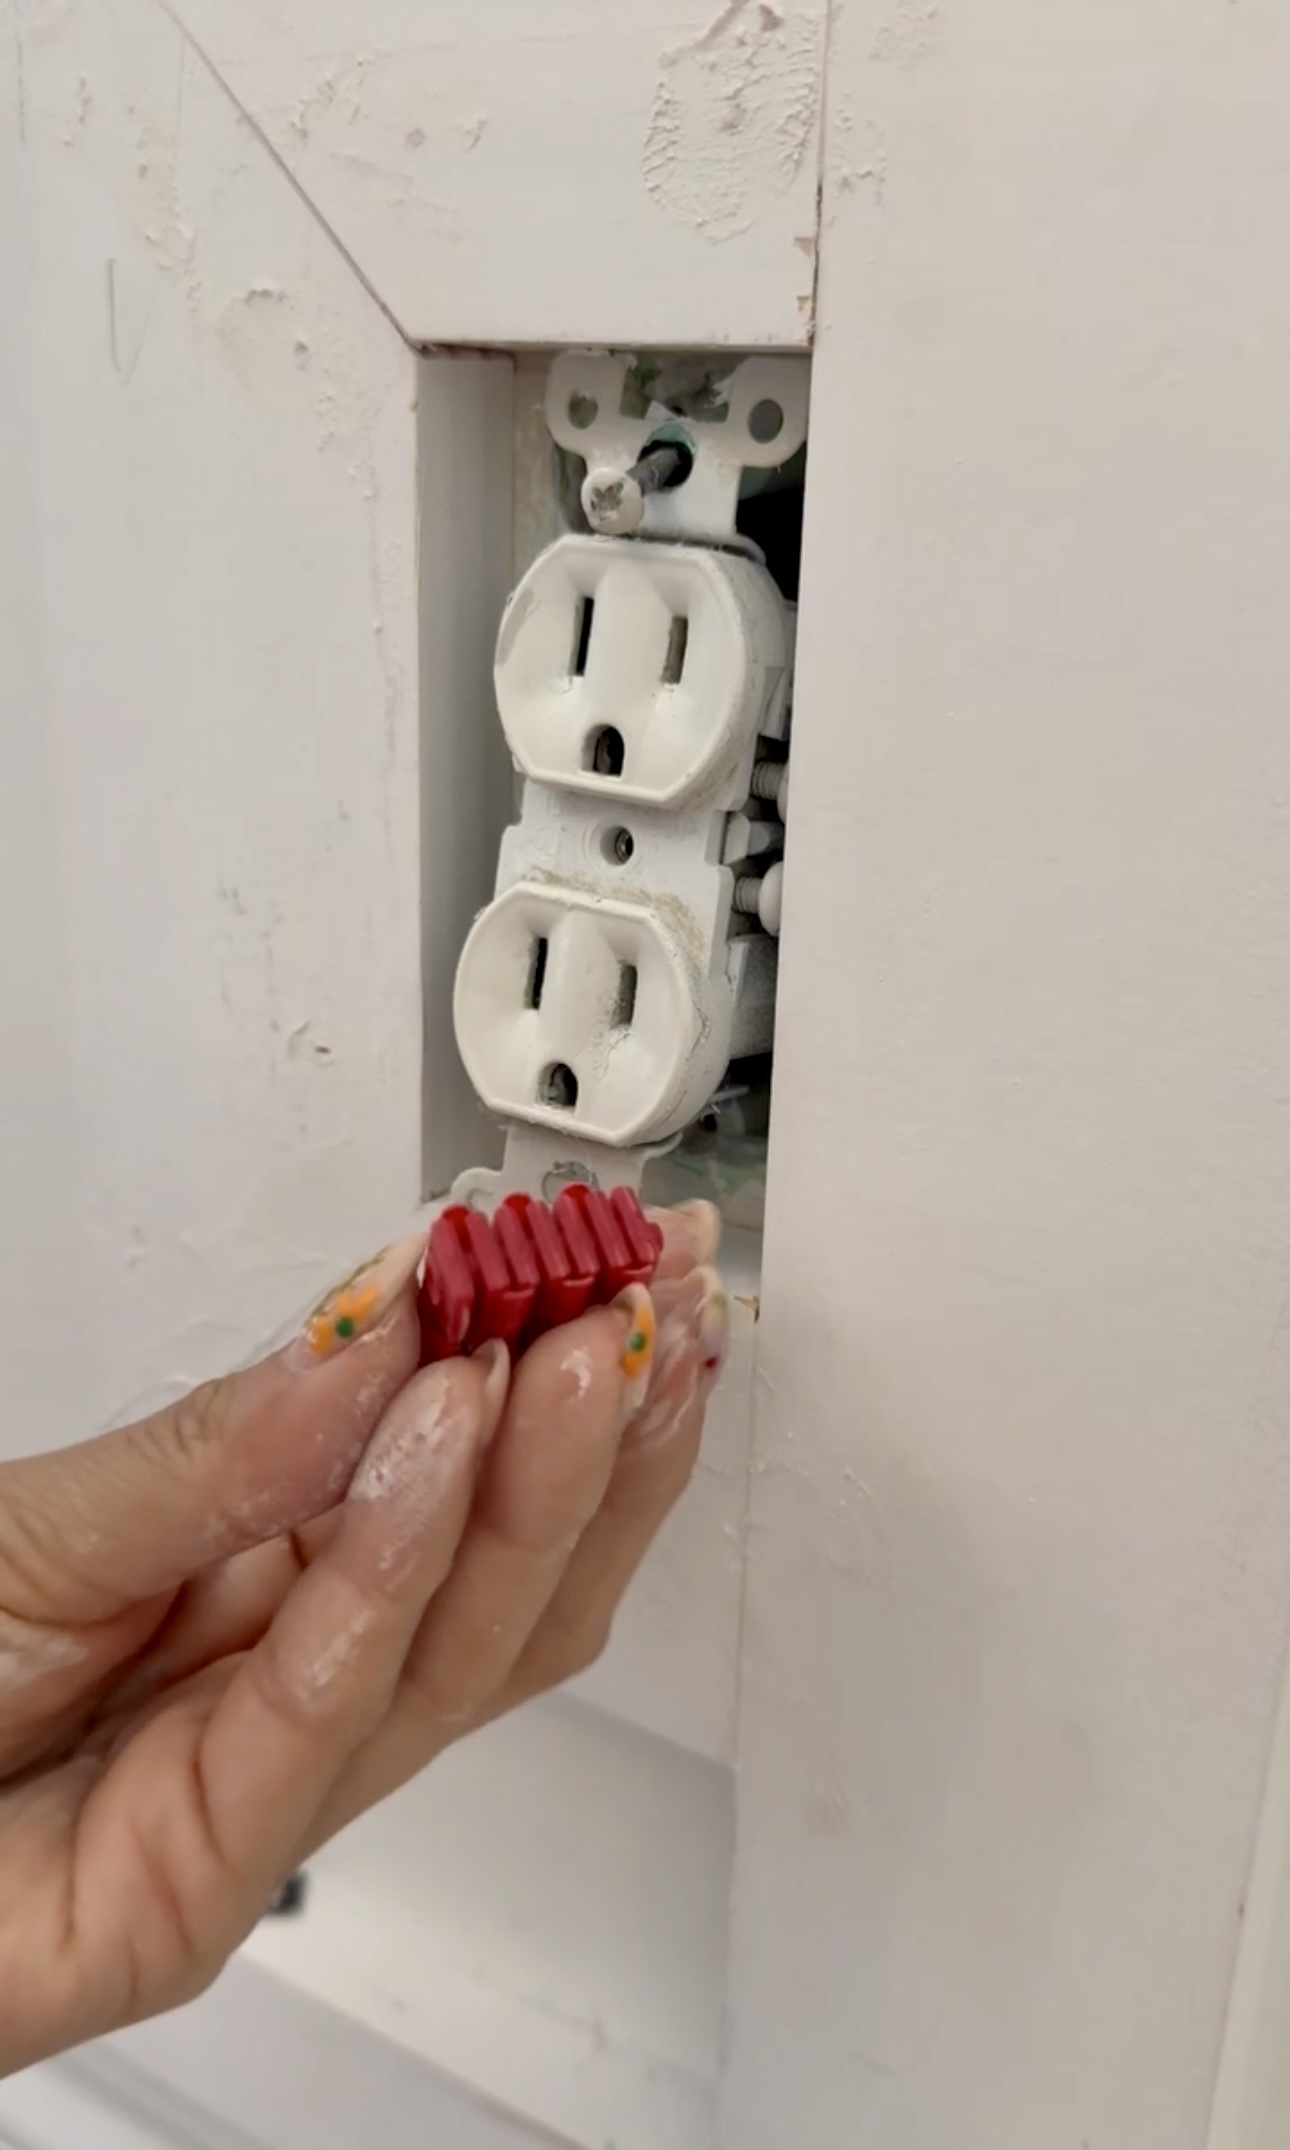
To use these, you put the screw into the hole in the outlet, install the spacer, and screw it in. Easy!
Paint
With all the board and batten installed, time to paint! Tatum picked this color out and painted with me for the first time! The color she chose is Sunwashed Brick in eggshell by Behr. The white is Blank Canvas in matte by Behr.


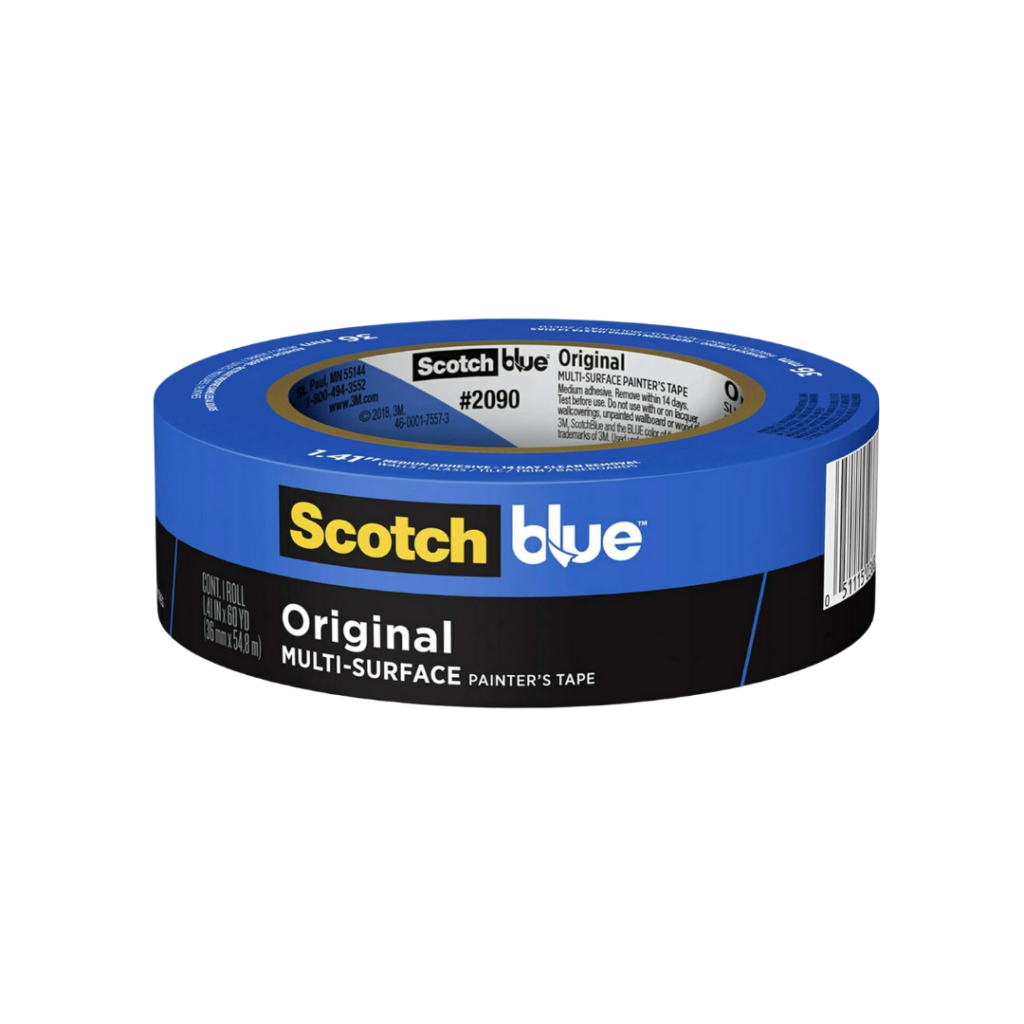
We first taped off the upper half of the wall that would remain white with painters tape. Then, we got painting!
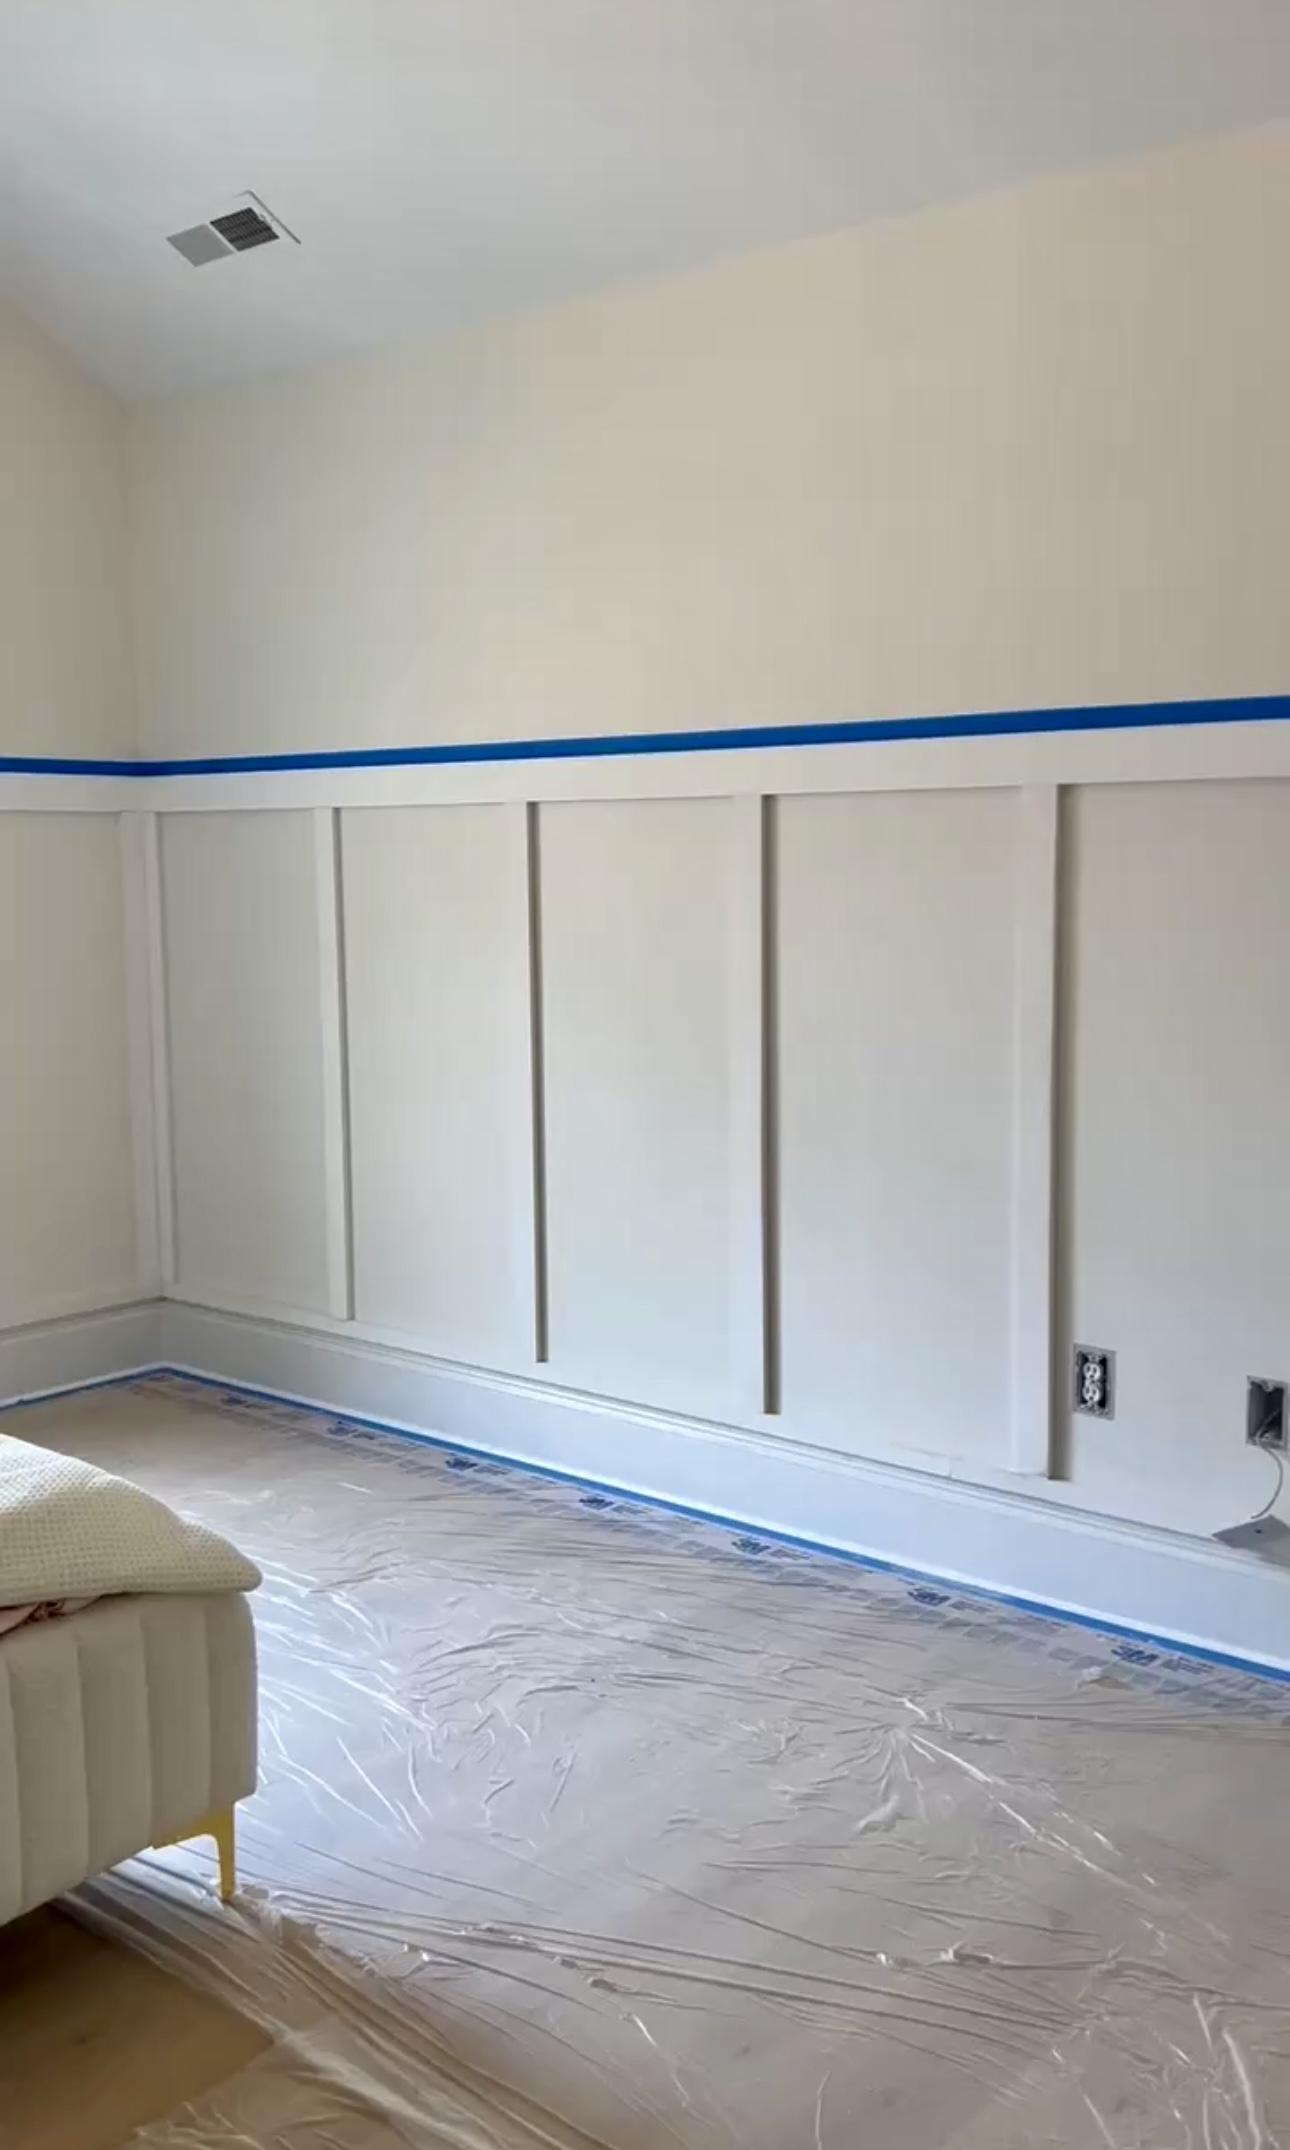
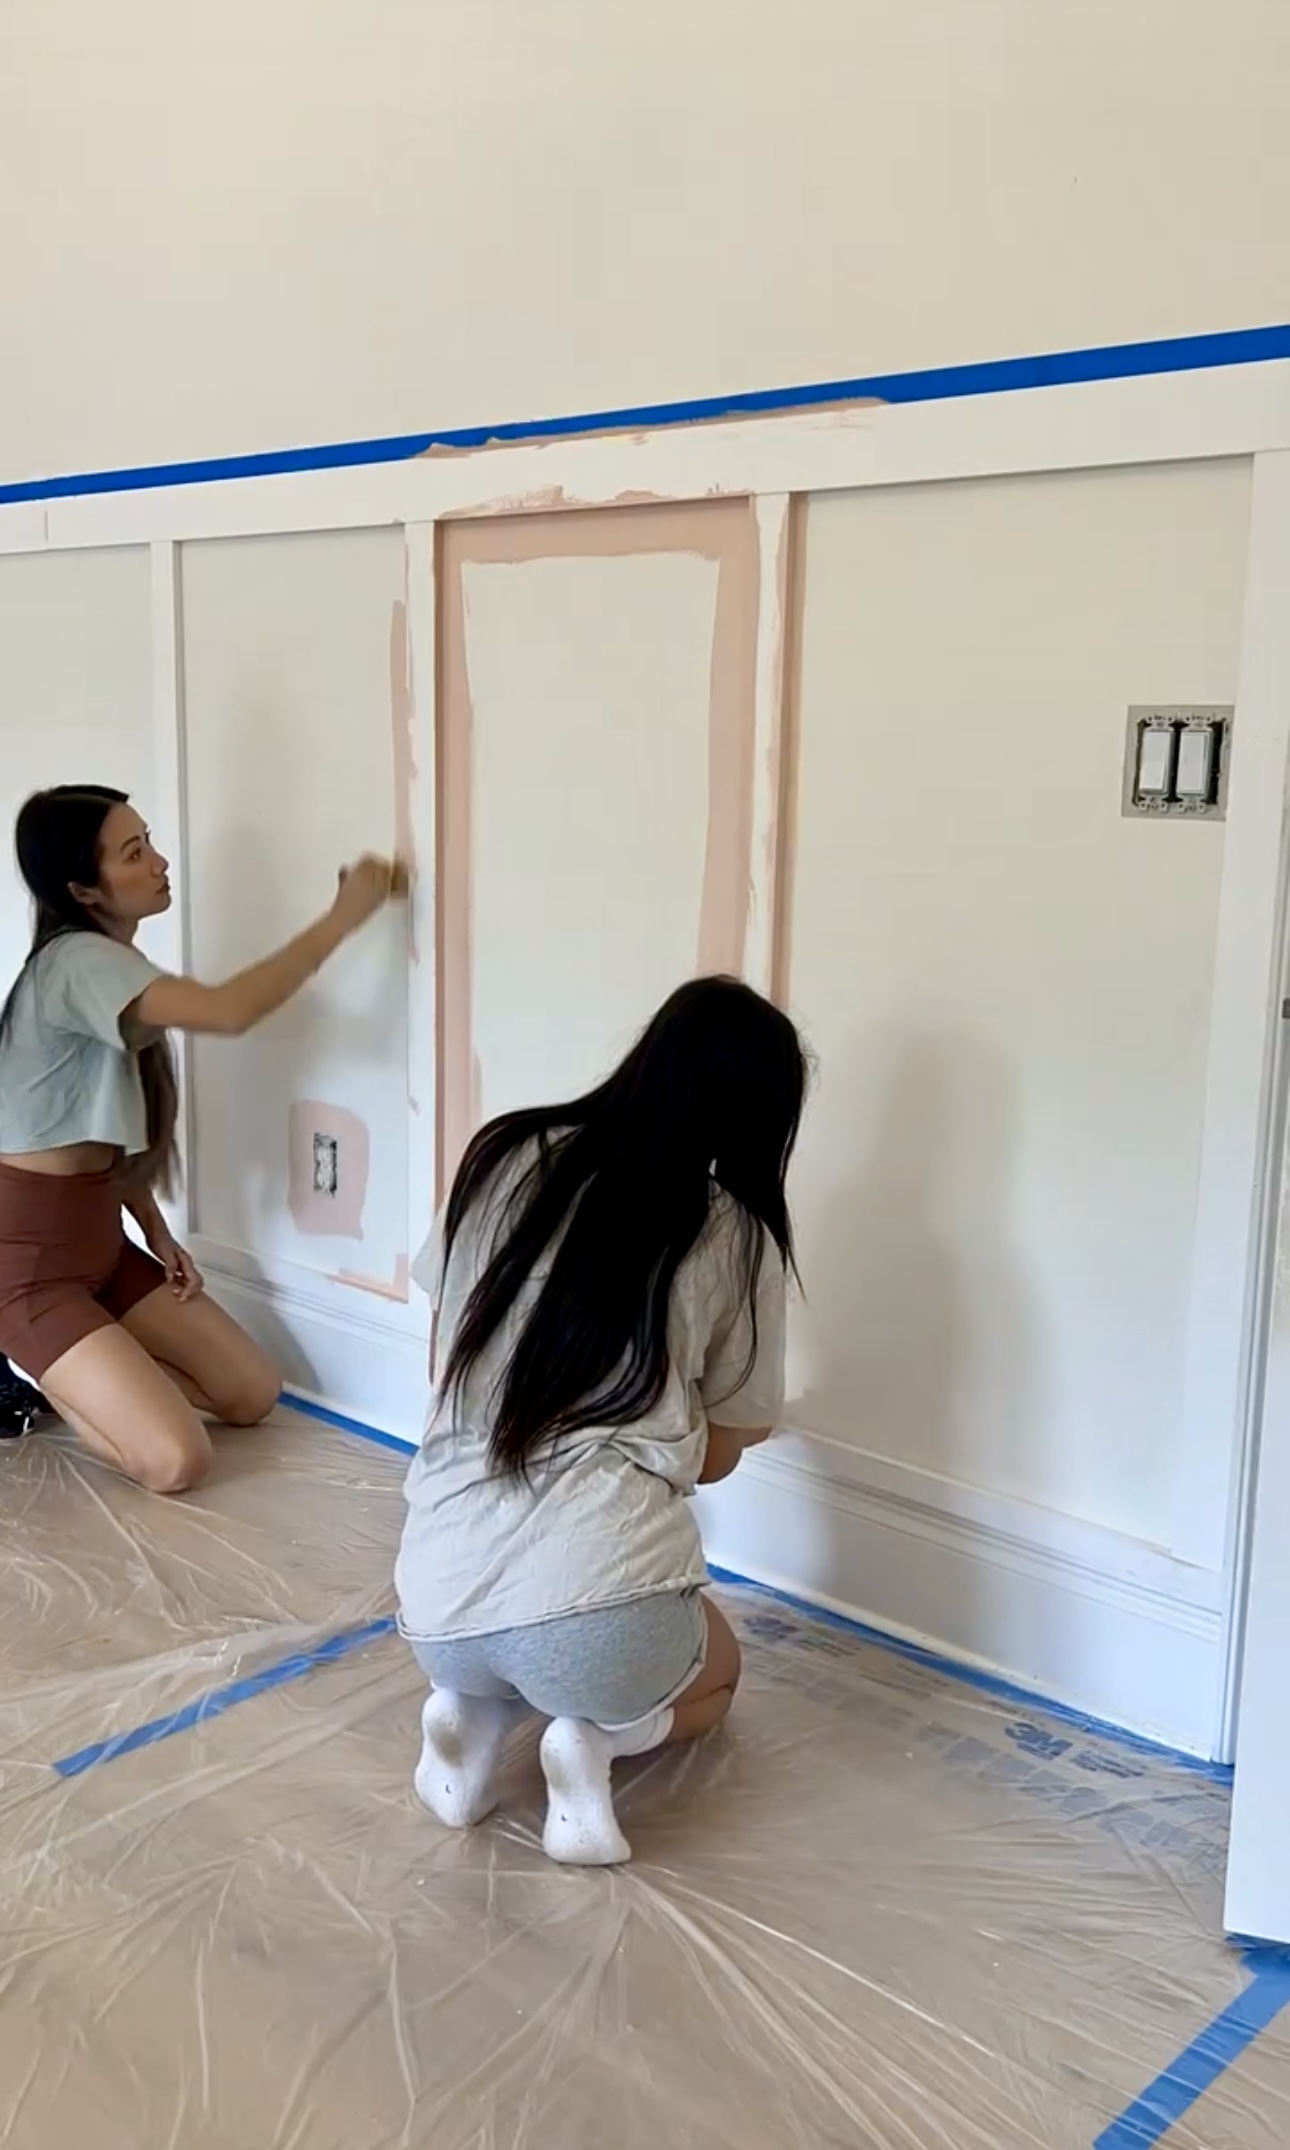
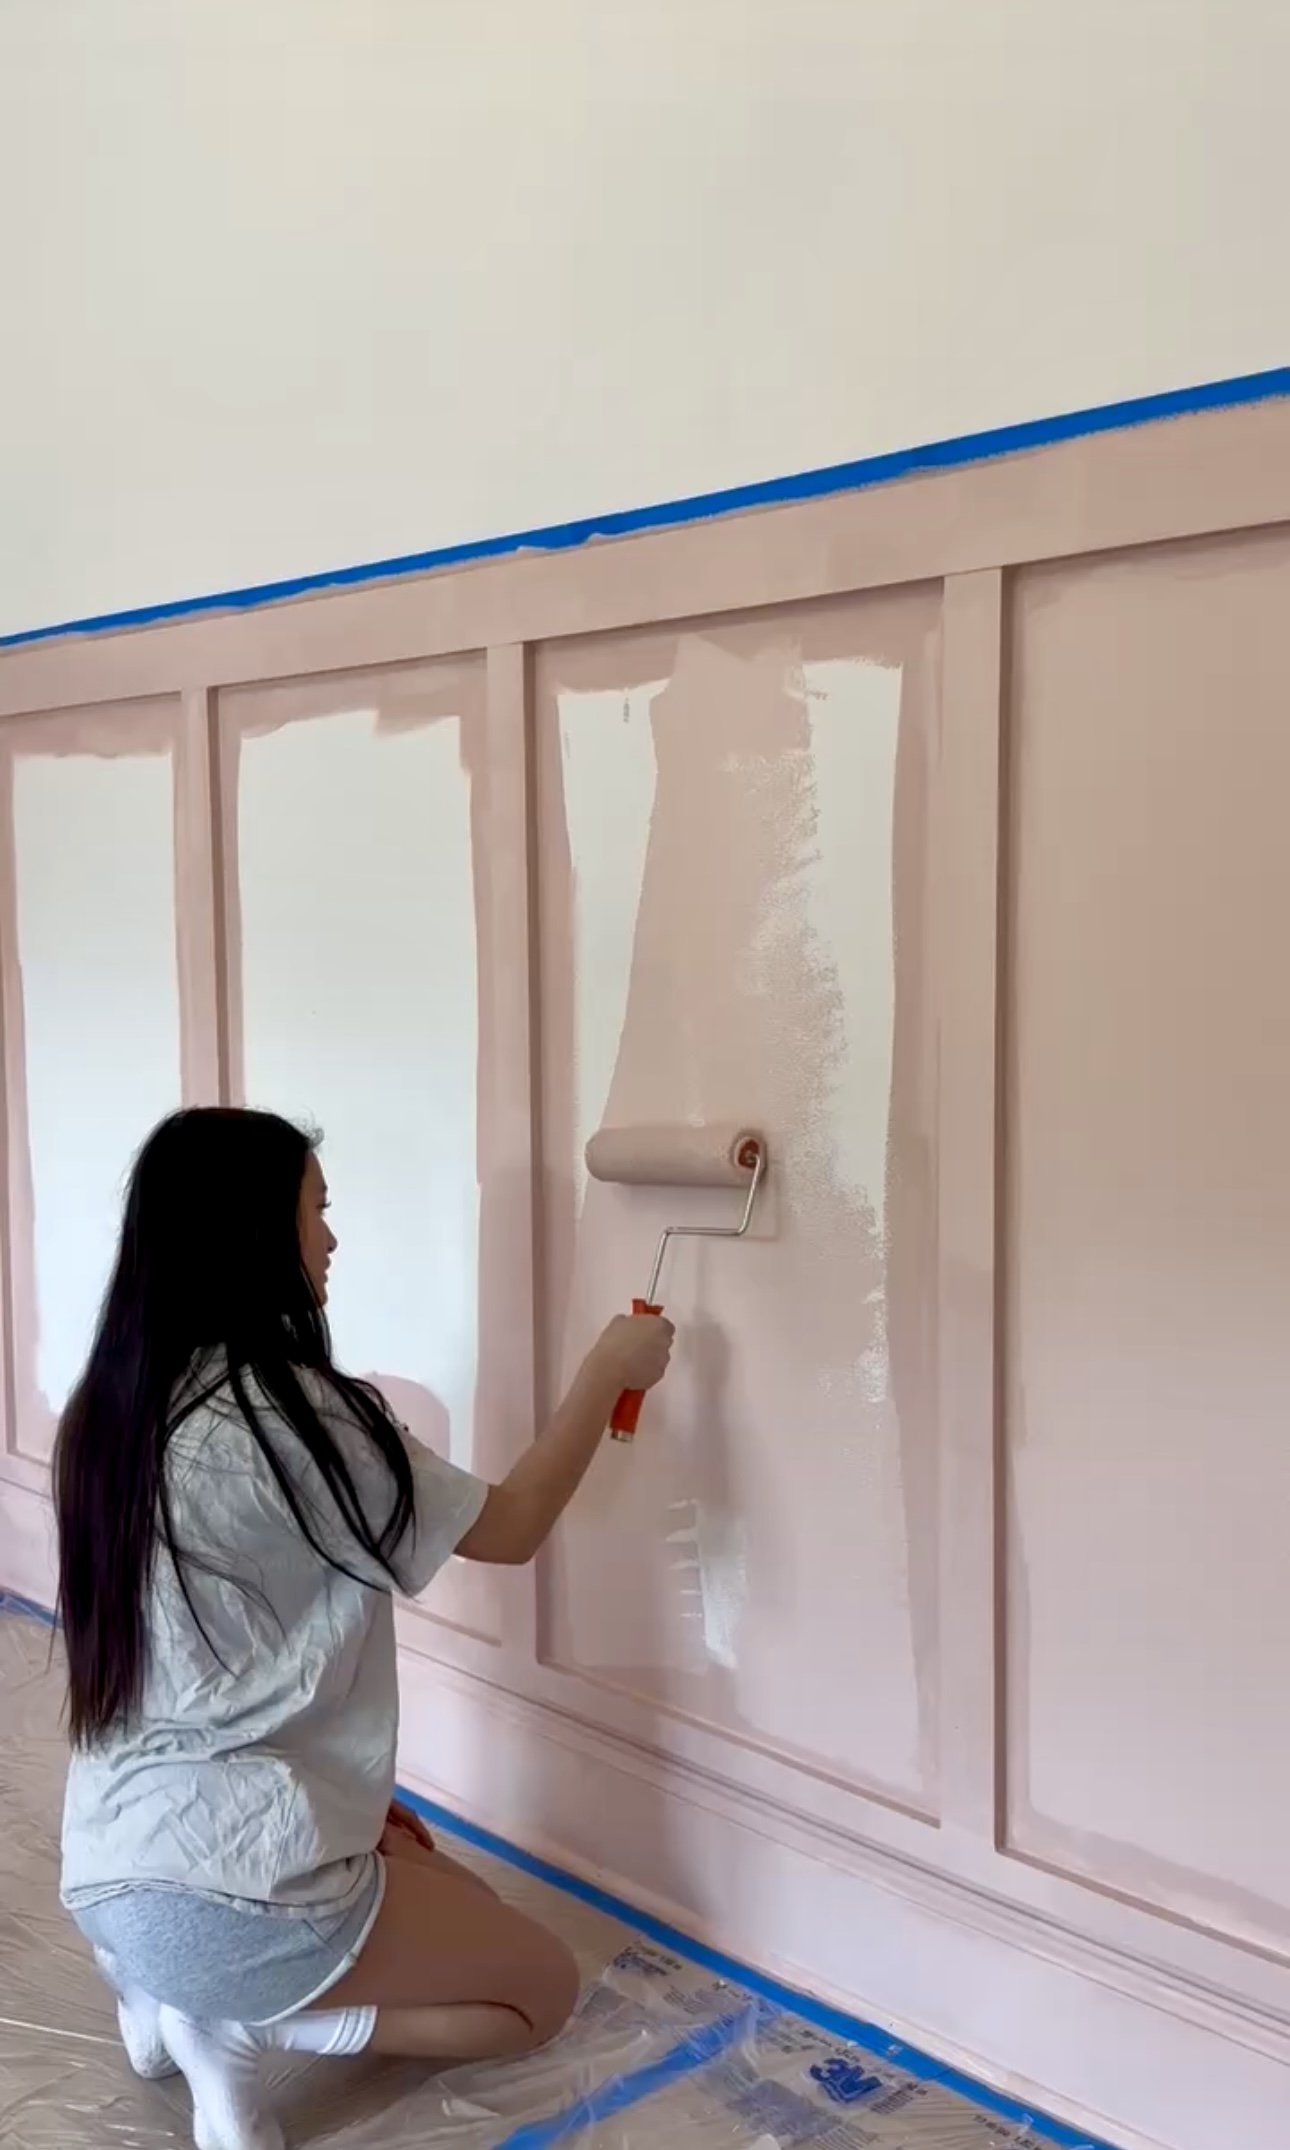
I use the same painting tools on all my projects. You can see everything I use here!
How good does this look?! These DIY Board and Batten walls give the room so much more character and dimension already. I love them!


You can see all the decor and room sources here on this post!
Here’s everything I used for these DIY Board and Batten Walls:
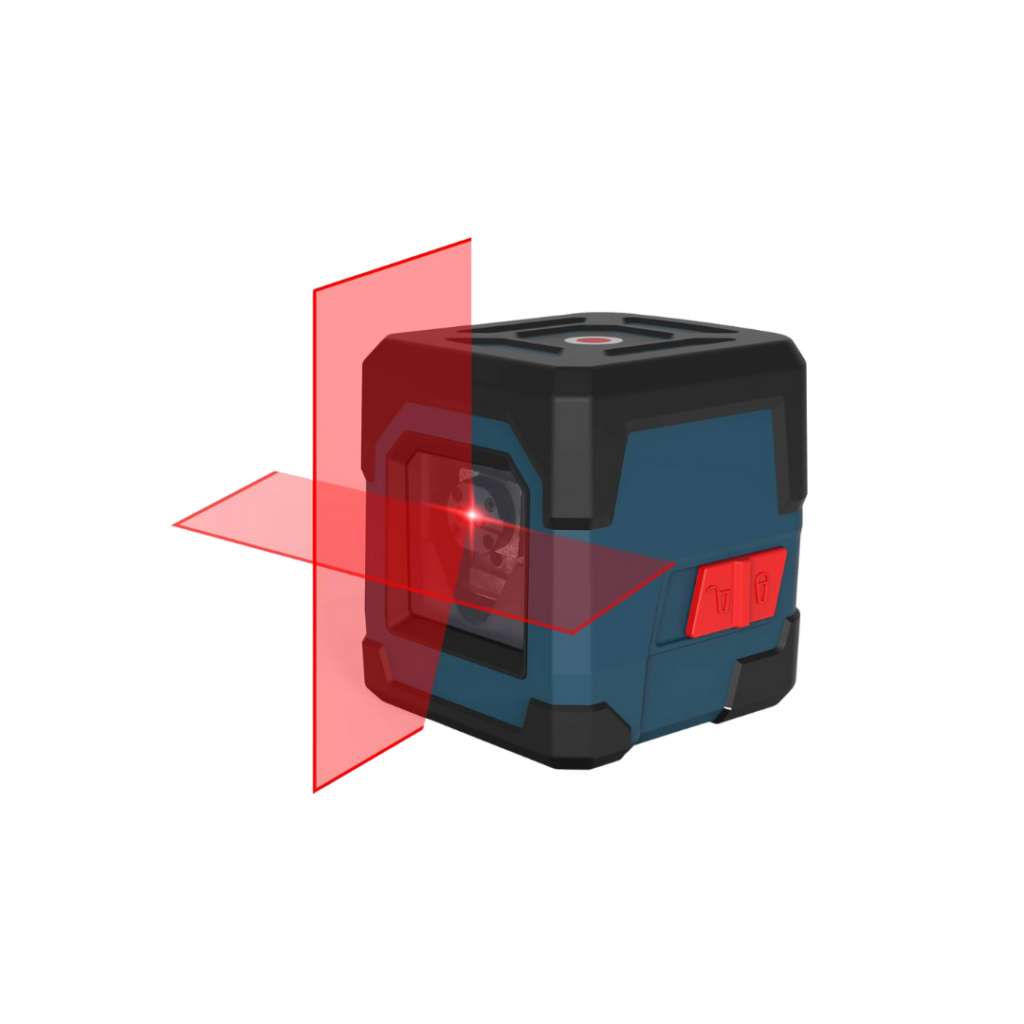



- Laser Level
- Brad Nailer
- Rolling Saw Stand
- Miter Saw
- Level
- Painter’s Tape
- Outlet Spacers
- DAP Caulk
- Calk Gun
- All paint tools
