Hi
I'm Bong
I'm just a girl who likes to DIY anything and everything. More than that, I love teaching people - especially women - how to pick up power tools and create the home of their dreams. Stop waiting for someone else and starting Doing It Yourself. I'll show you how!
diy projects
diy school
life hacks
categories
must have products
In this post, I’ll show you exactly how I made our DIY Foyer Picture Molding. I’m so excited! Have any guesses on how many days it took us to do this? Stay tuned..
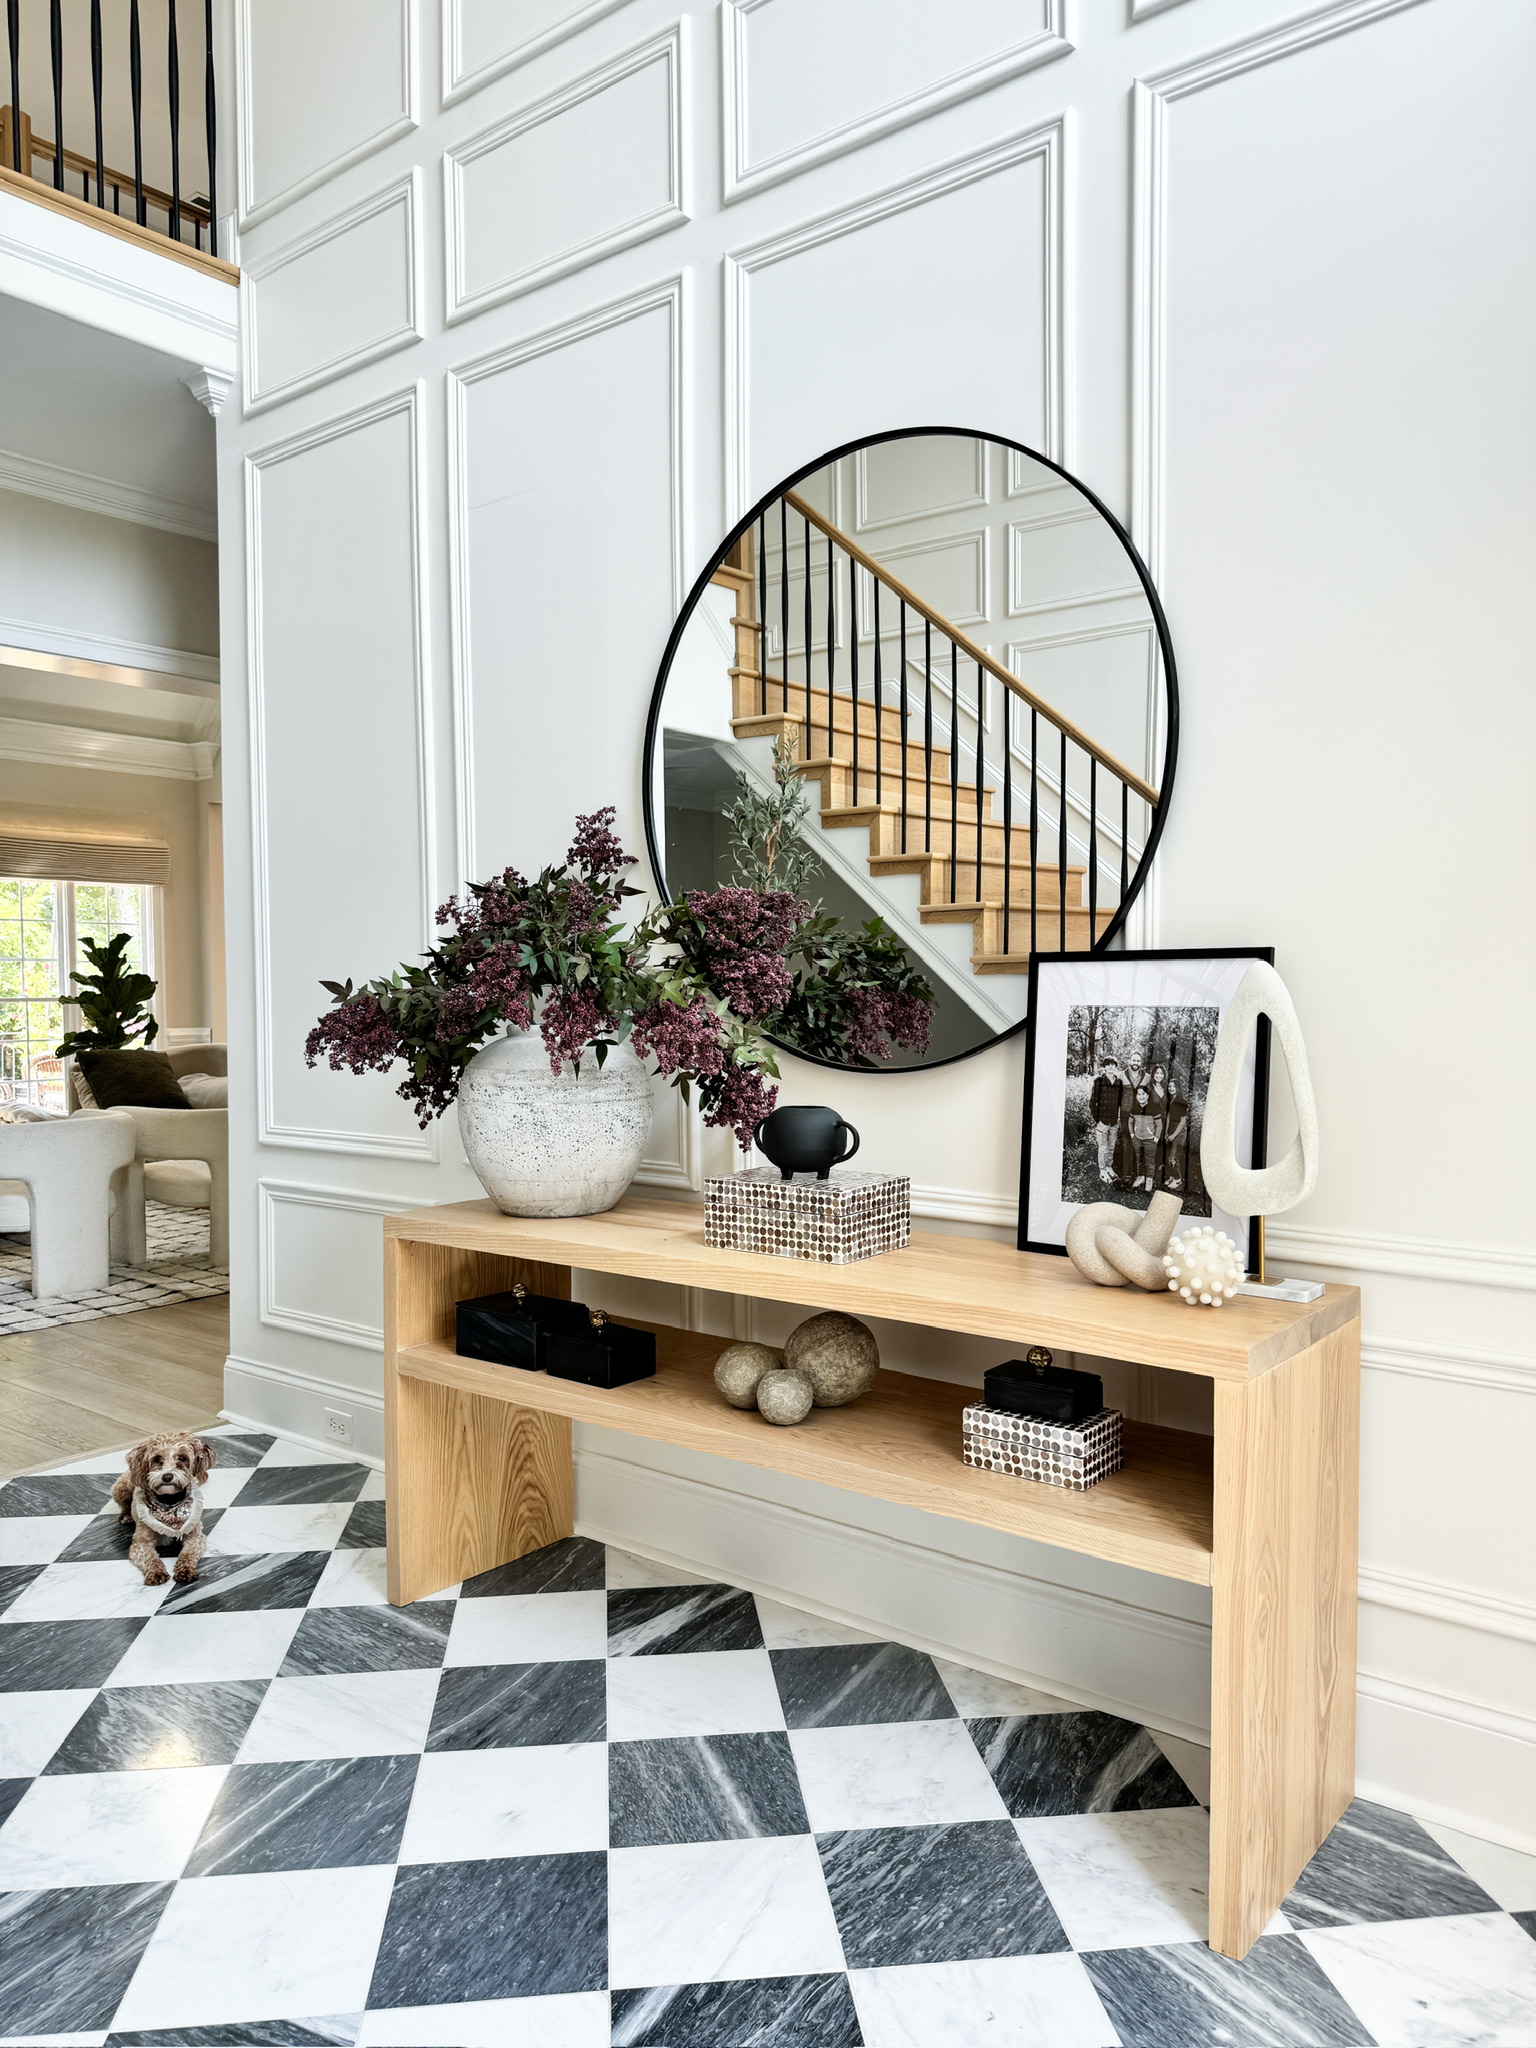
This space used to be open. It used to open into our formal dining room which is now our laundry room. We closed it off but it’s such a huge wall and it just looked super boring. I built the console table in here , which I love. You can see that whole process here in this blog post. But, we still wanted to spice the space up.


We planned to do picture molding all the way up and going with a few different sizes on this empty wall and on the wall with the stairs as well.
First things first, we had to remove everything from the space. Including this console table which I built! You can see the full instructions in this blog post.
I used my laser measurer (which is one of my favorite tools) to measure the width and the height of the wall. This would help me decide exactly how many boxes I wanted and what sizes. Then, I taped out my options because I love to visualize what I’m going to build.


I had to make some changes to my plans because of the empty ledge above our front door. I wanted the boxes to line up with that so it looked smooth and cohesive.
After everything was cleared out and we decided our layout, TJ brought in the scaffolding. The only time I need a man for DIY is when it’s time to carry the heavy stuff 😝
I did a ton of math for all of the box measurements and gave TJ a cut list. I’m pretty proud of myself for paying attention in geometry. Who says we don’t use math when we’re older?! We needed 20 to 40 of each size. He cut every piece on our miter saw at a 45 degree angle, because each piece would create a frame.


We found it would be easier to make the frames first and then install them as a whole piece. So we made those with a glue and activator kit. You spray the activator and let it evaporate. On the other end, you apply the glue and push the two pieces together pushing them together and down. Hold for 12 seconds, then you’re good to go!


Then, we installed the frames with our brad nailer. We of course made sure they were level before we secured them. We had to get all the way up to the ceiling – it was so high. I made TJ nervous every time I climbed up there 🤣 This was definitely a two person job. We used 1 1/2 inch nails because it’s pretty thick. We needed the nails to go through the trim and the drywall.


I had to cut these really deep and confusing angles for the frames going up the staircase. This part is a bit advanced. If you’re a beginner DIY-er, this part isn’t for you. I had to cut a 70 degree angle but the miter saw doesn’t have that. So I made a 45 degree fence and then turned the saw to 25 degrees (since 70 – 45 = 25). Once it was set to 25 degrees, I put my piece right along the 45 degree angle piece I had. So when I cut down, it cut along that angle and made my 70 degree angle. Make sense? You have to be really careful doing this. I had tons of clamps set up to make sure my template piece wouldn’t move.


Paint
After we secured all of the frames, we caulked and prepped for paint with wood filler (which is my favorite part).


Behr Marquee paint is my absolute favorite. The coverage is amazing. I used my Handy Paint Pail (please sponsor me🤣) and started painting. I used a small brush for the frames and then a roller for the empty spaces. Since this wall is massive, TJ and I both painted at the same time. You can find all my paint supplies here.

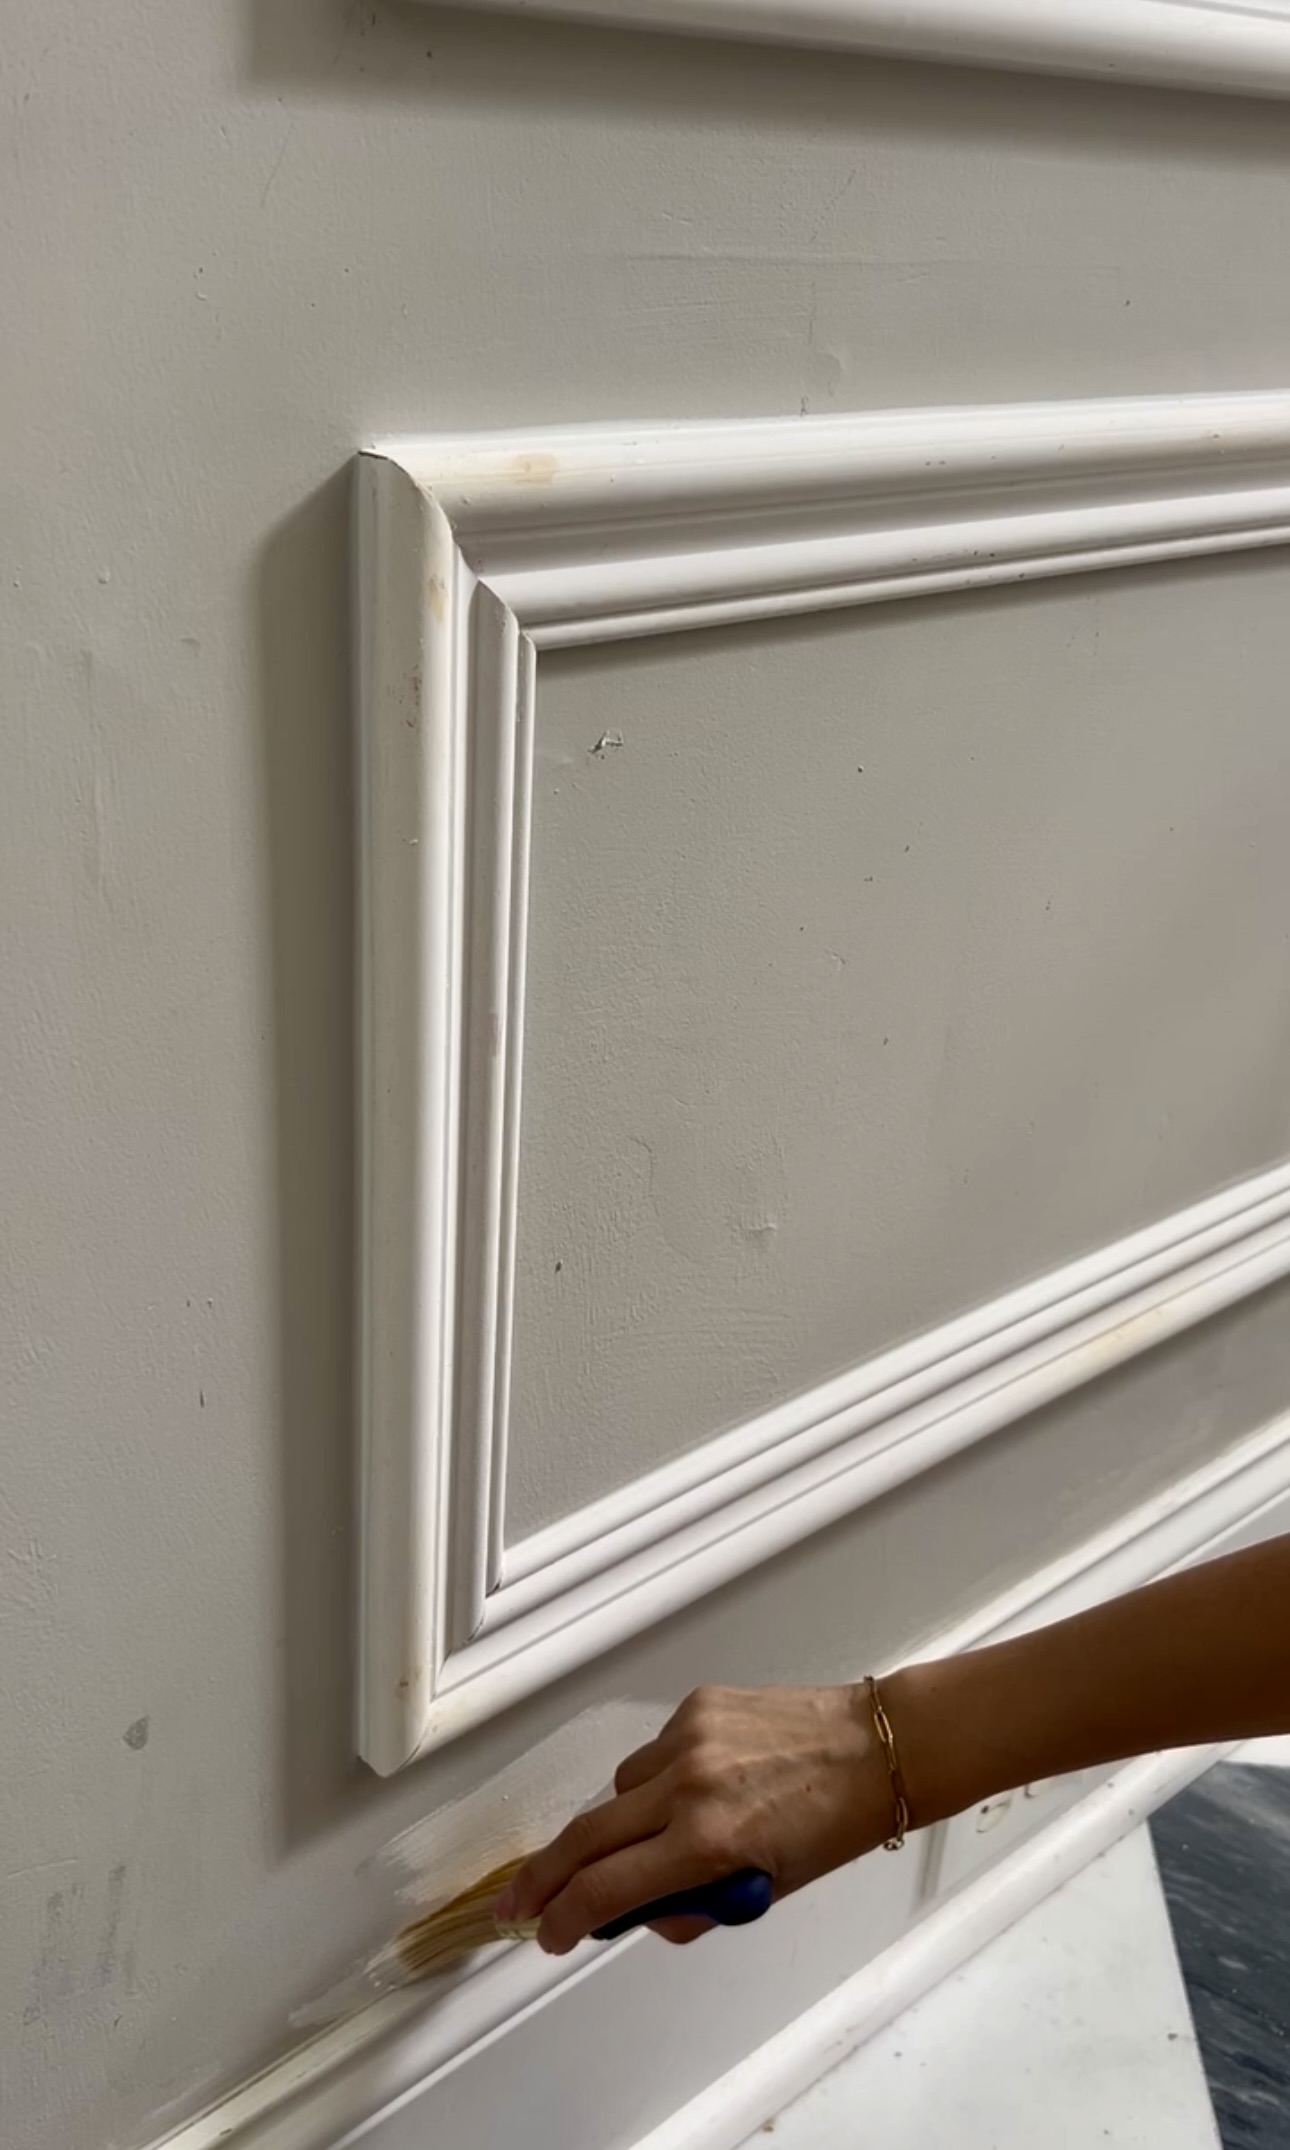

Because setting up the scaffolding isn’t easy, we had to do all the steps one section at a time. This meant attaching the frame, filling nail holes, caulking, and painting.
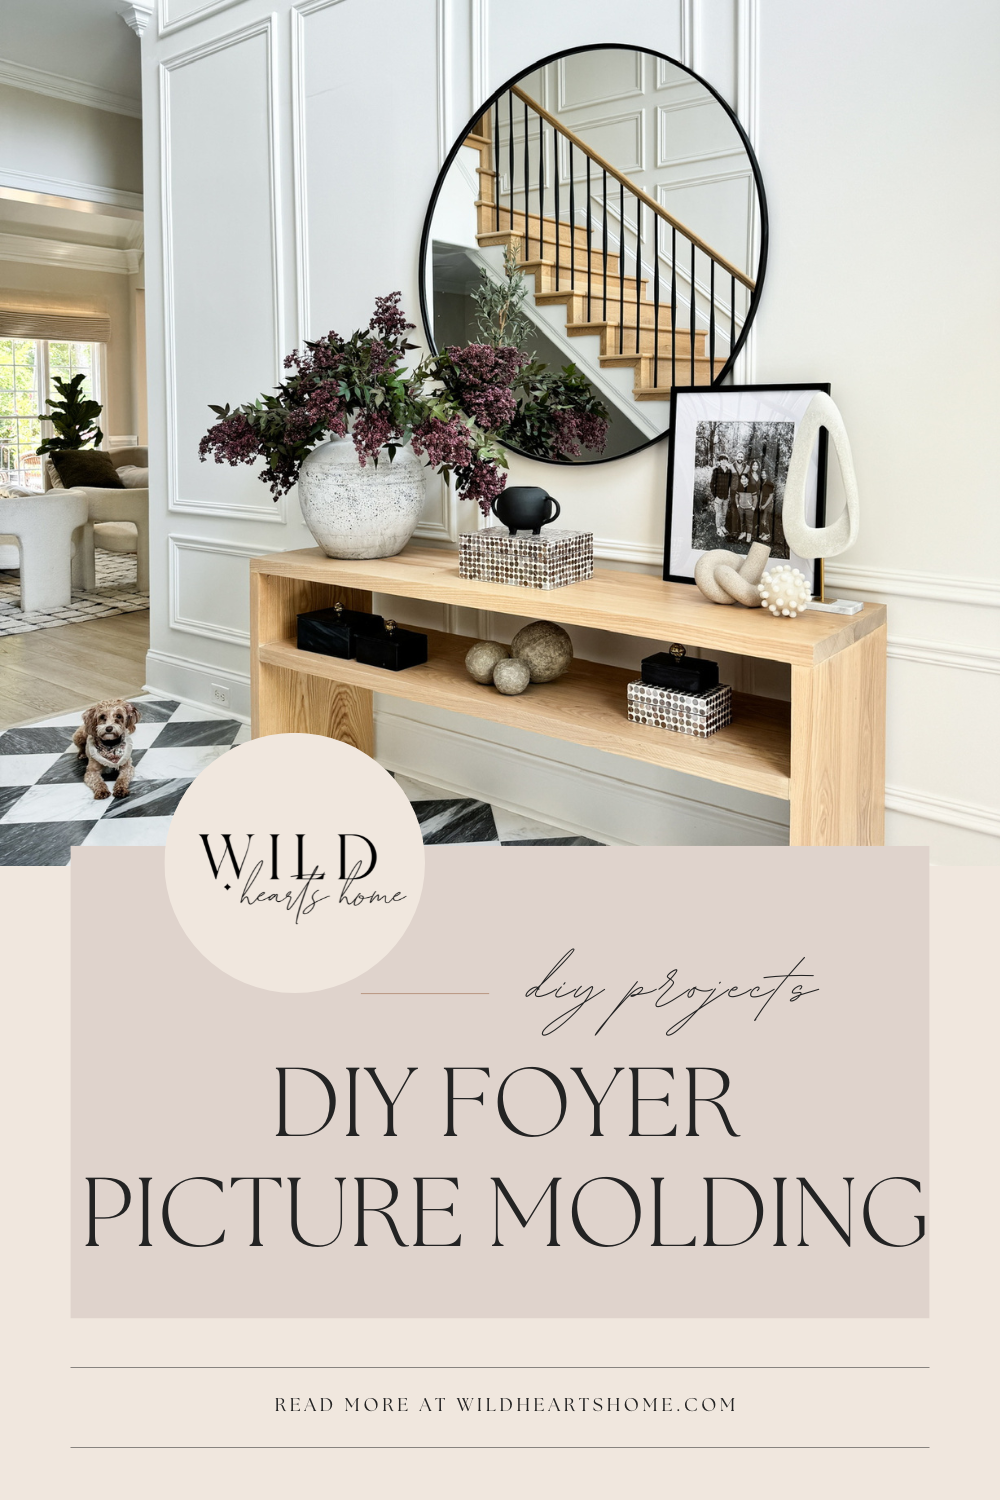
Look at this! This is now the foyer of my dreams. I had a vision for this home when we bought it 2 years ago but I never thought it could look this good✨
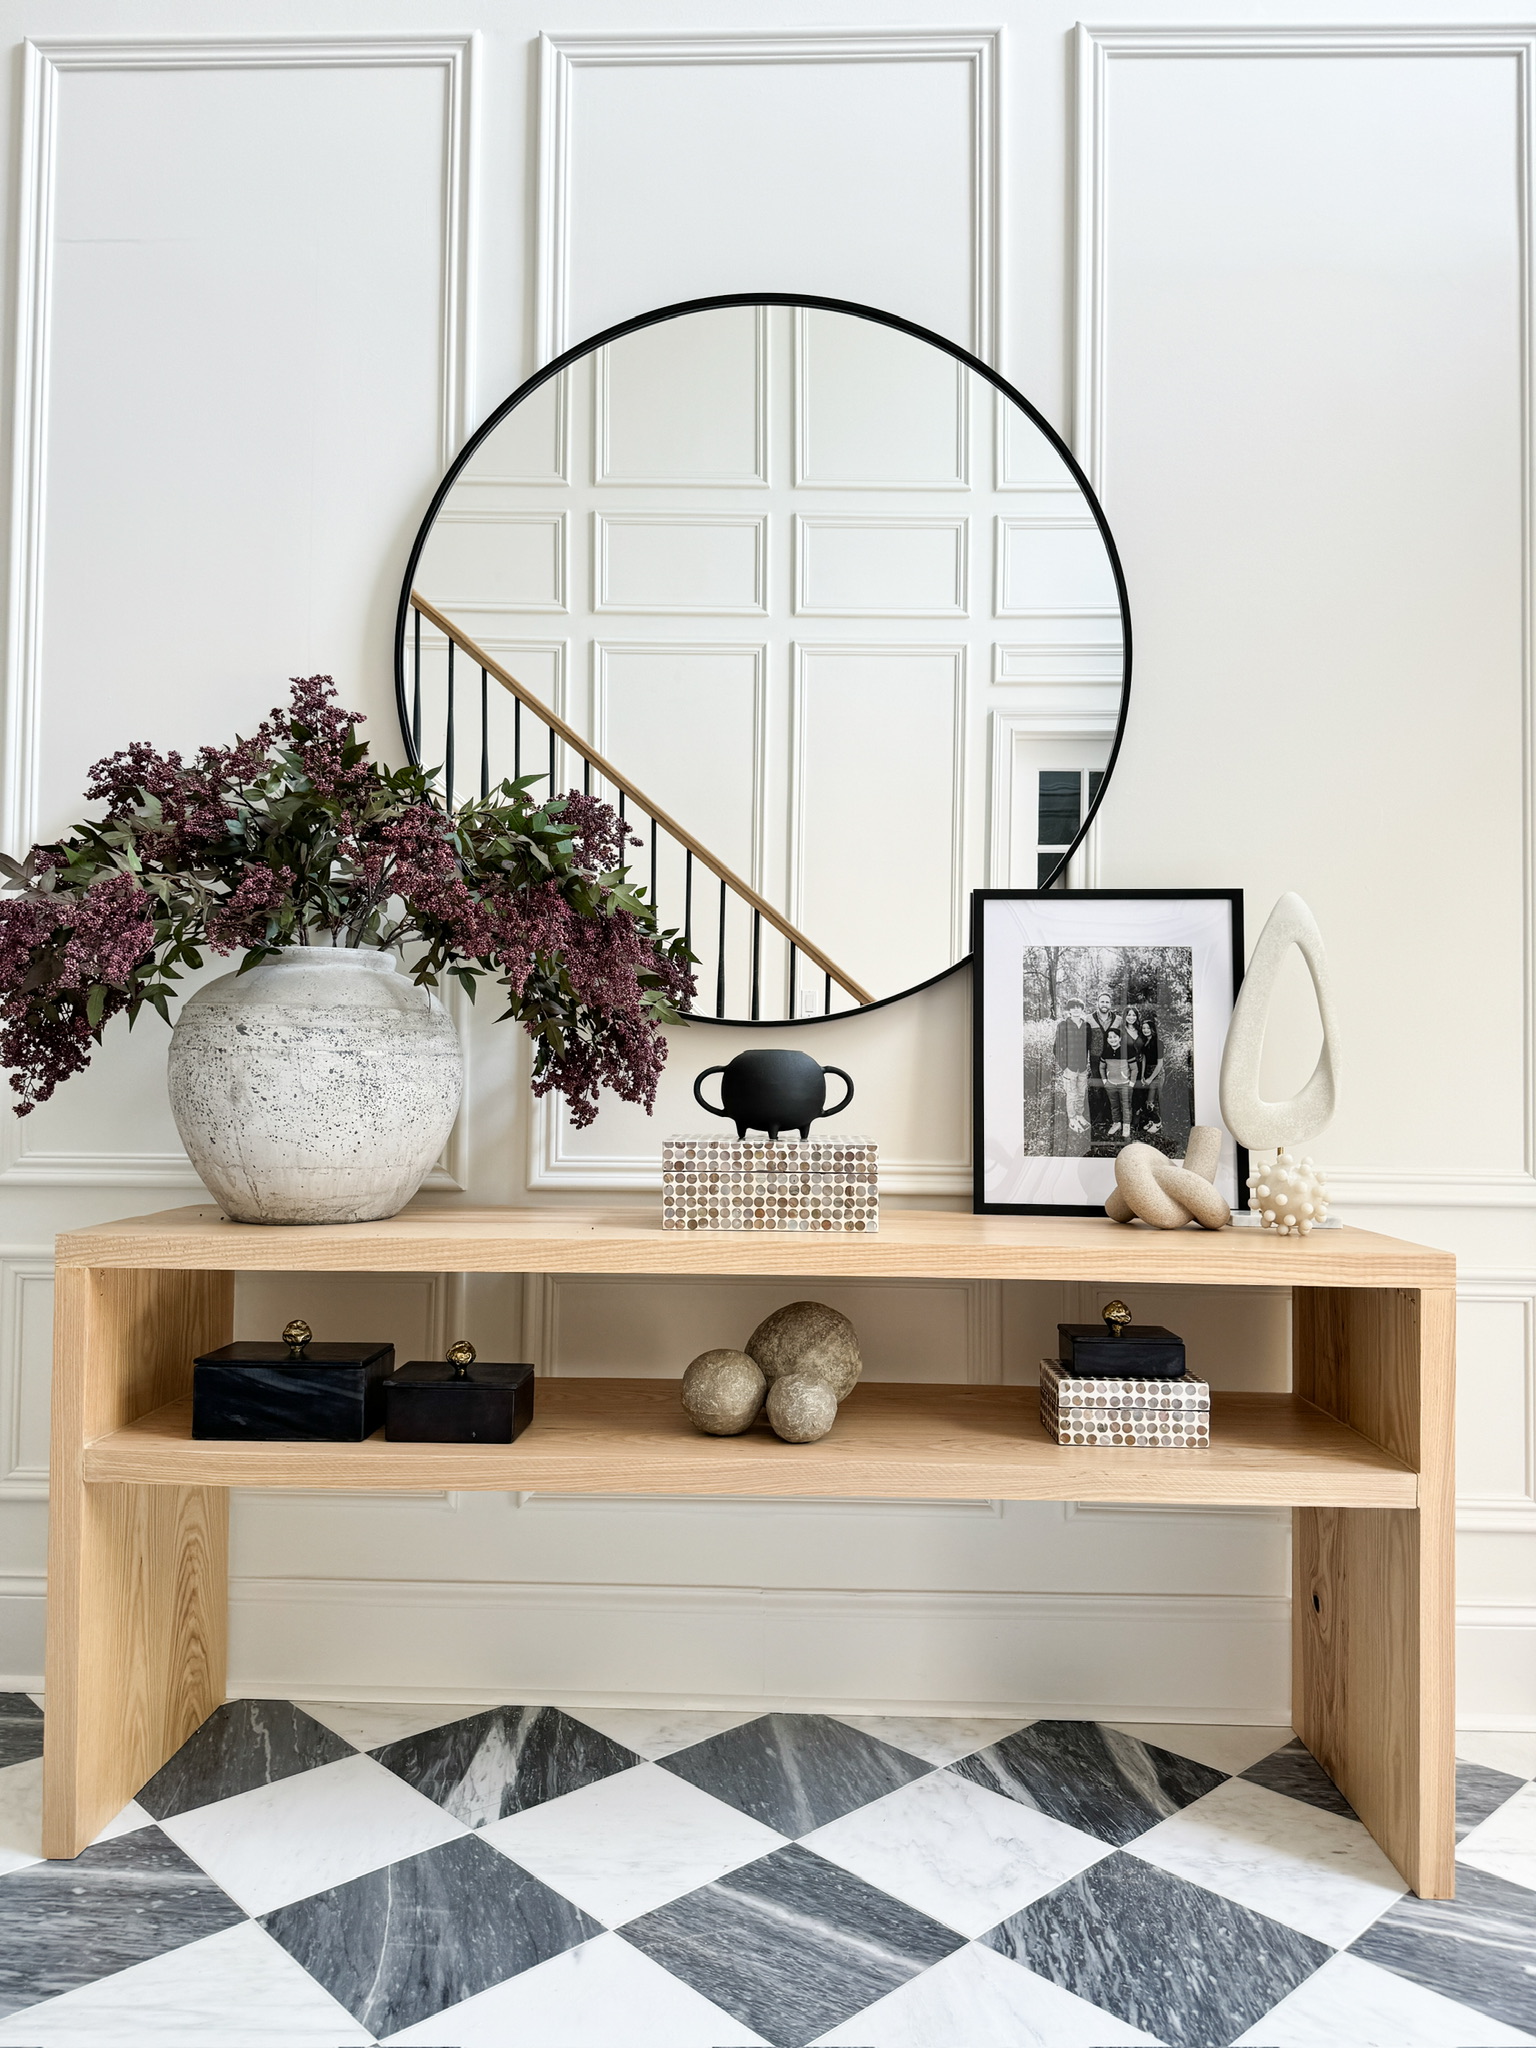
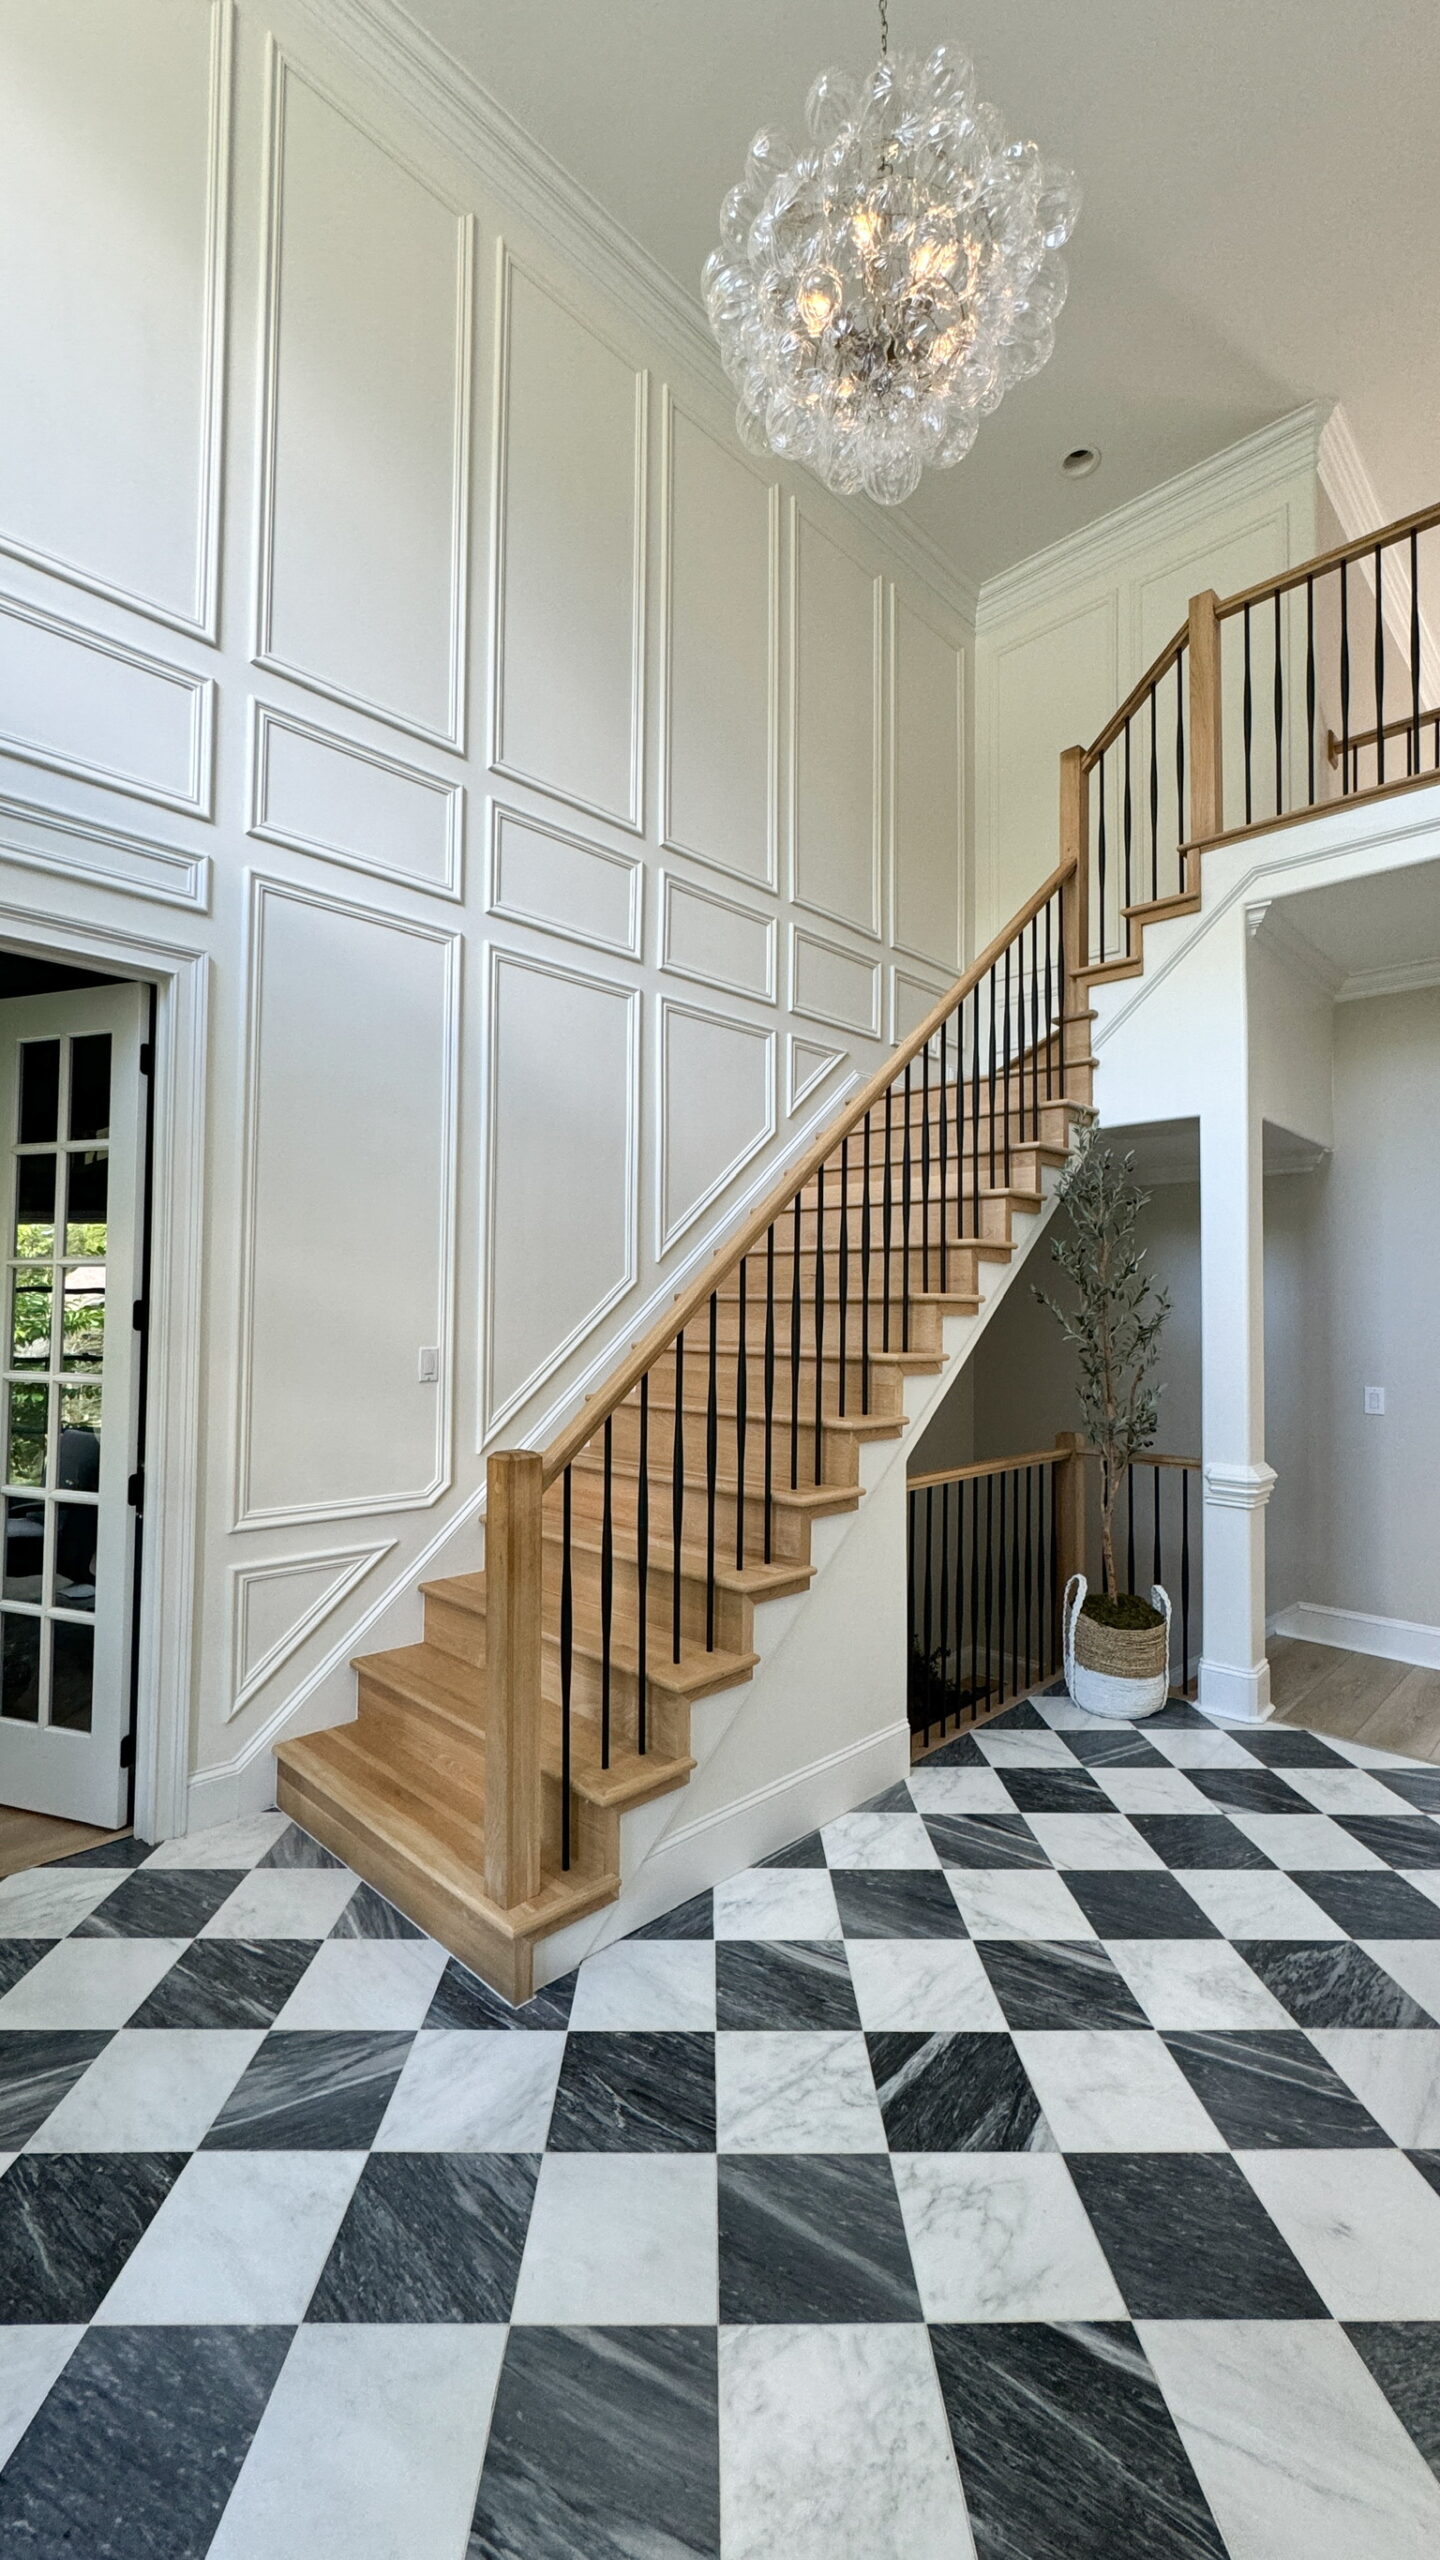
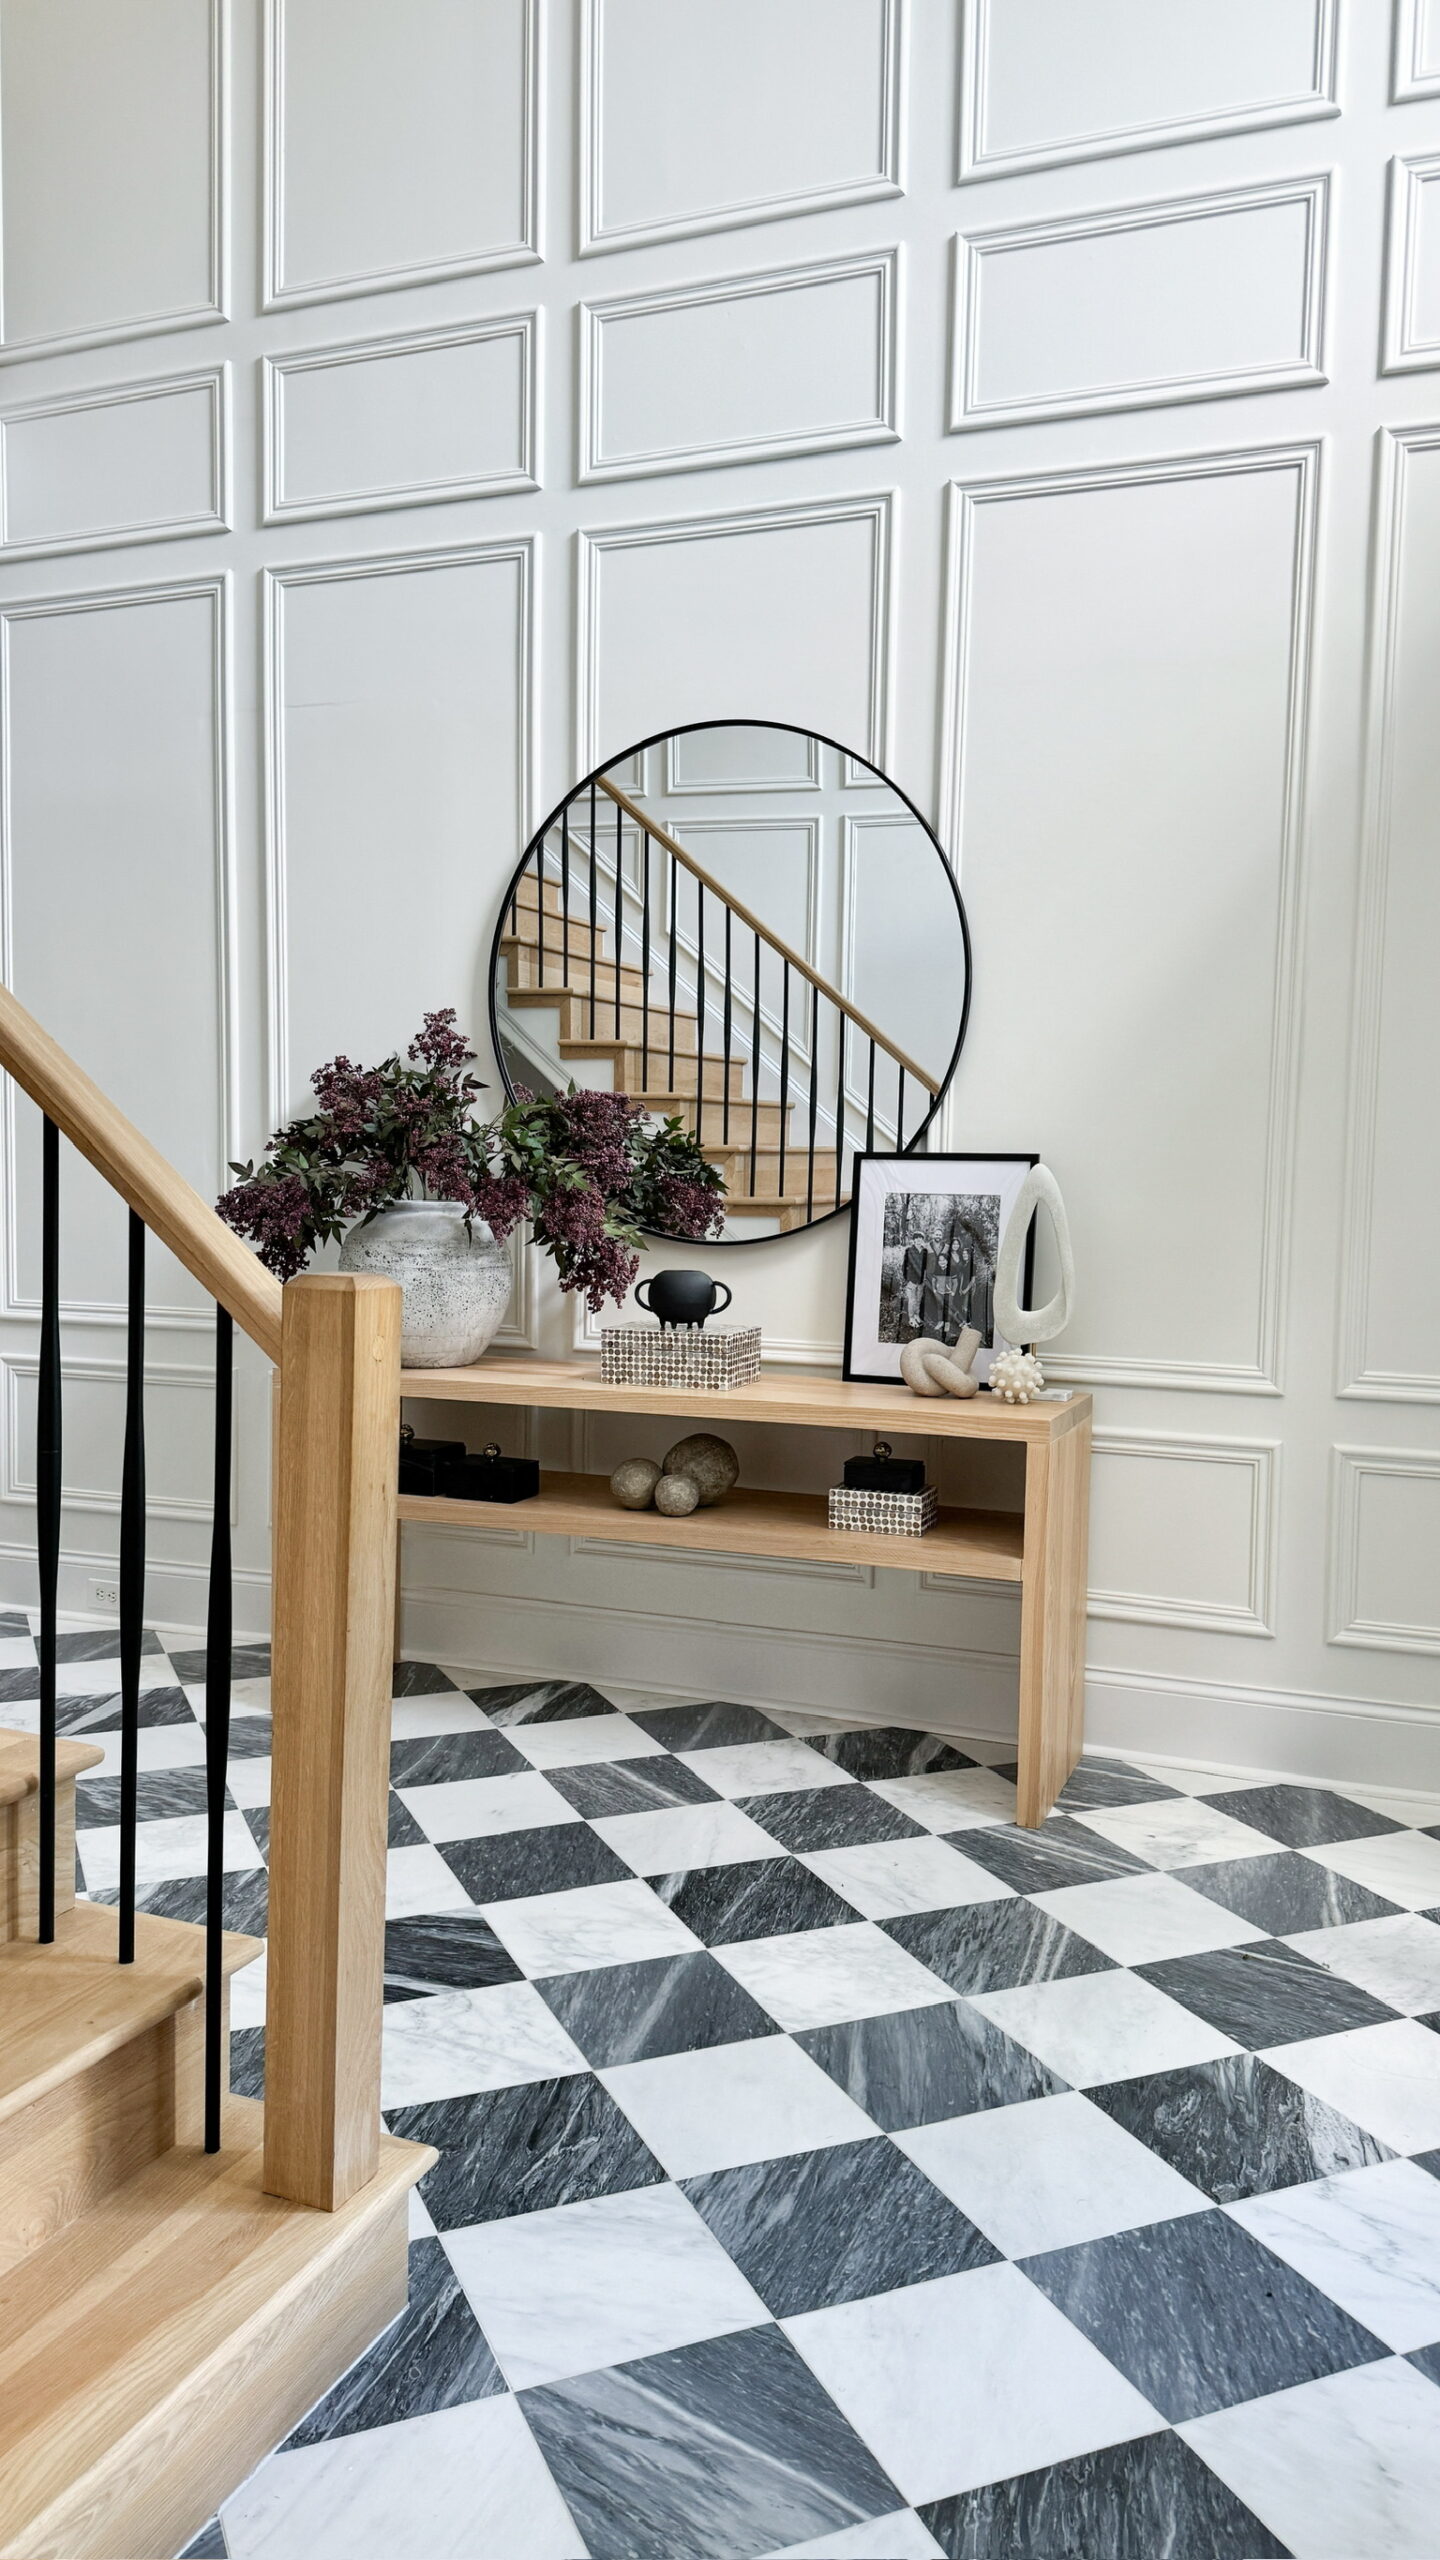
Is it okay if I say that I’m really proud of us? Of what we did with our own two hands? Because the truth is, I really am! Check out these before & afters.


I hope you’ve learned a thing or two following along with our projects. But mostly, I hope you found the courage to pick up a tool and make your own home beautiful too.❤️
Here’s all the decor I used in our foyer:

- Stone Terracotta Vase
- Artificial Purple Dusty Berry Bush
- 48″ Round Mirror
- Small Black Vase
- Mother of Pearl Box Set
- Knot Sculpture
- Black Marble Box Set
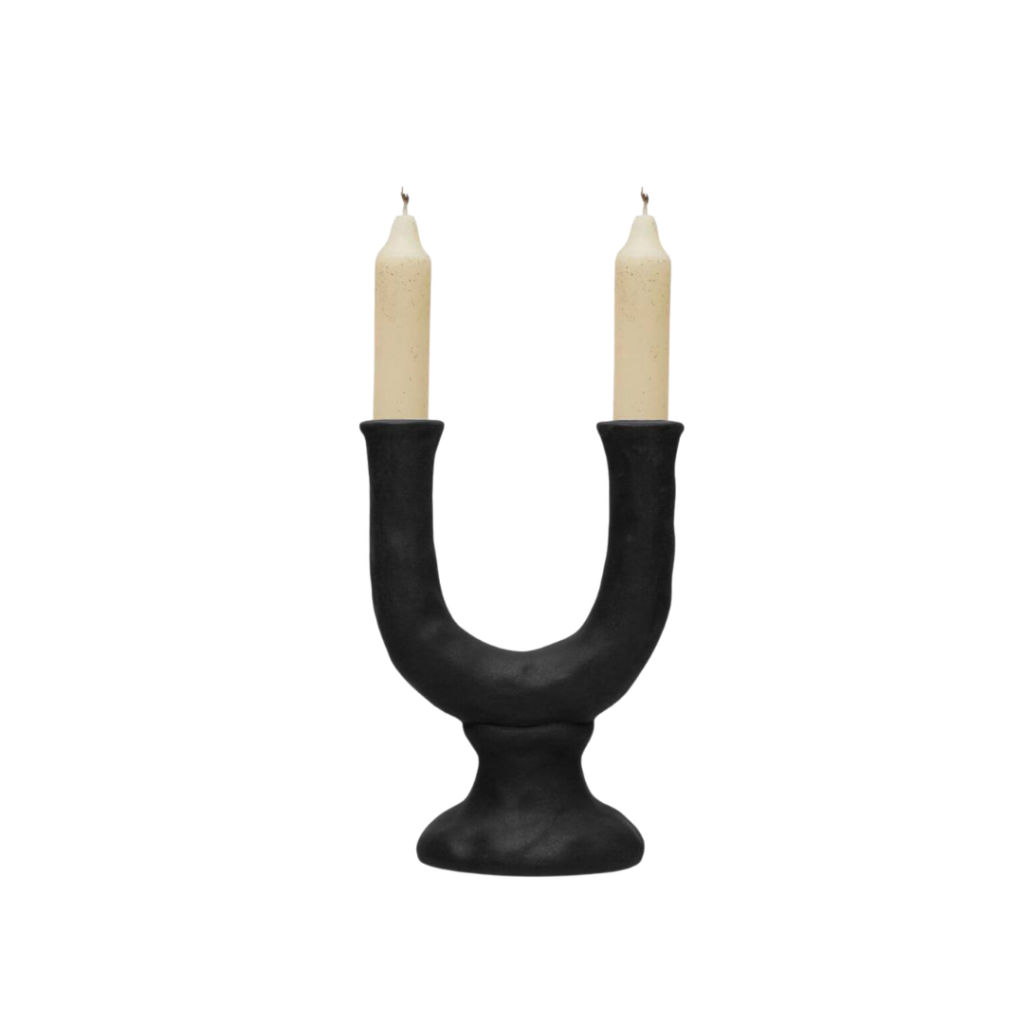
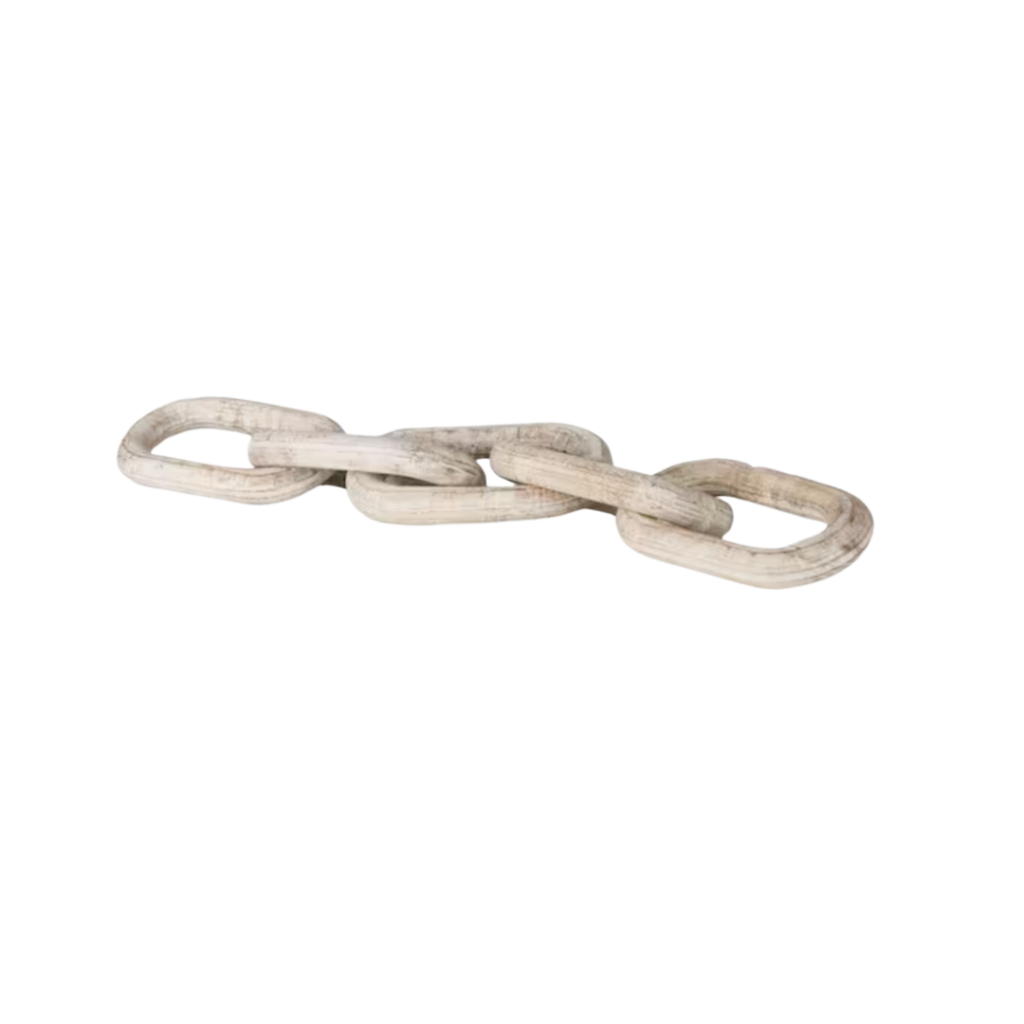
Additional Foyer Decor
(all images are clickable)
Materials
Tools
- Laser Measurer
- Miter Saw
- Brad Nailer
- Level
- Scaffolding
- Paint Supplies



Another amazing transformation. It looks amazing and really adds to the wow factor of your foyer. Thank you for your content and attention to detail, I have used your tutorials so many times. Thank you for sharing and being real.
Wow thank you so much! I’m so glad they’ve been helpful❤️