Hi
I'm Bong
I'm just a girl who likes to DIY anything and everything. More than that, I love teaching people - especially women - how to pick up power tools and create the home of their dreams. Stop waiting for someone else and starting Doing It Yourself. I'll show you how!
diy projects
diy school
life hacks
categories
must have products
Today I am going to show you how to DIY LED lights. I recently added LED lights in my son’s room and I wanted to show you how I did it! This DIY project is very simple and easy. Even if you’re not experienced in home DIY, this DIY LED lights project would be a great place to become more familiar with DIY! My son, Kyson, wanted simple led lights, nothing crazy or childish. I was not looking forward to this project because I’m not a fan of LED lights.
Maybe I’m just old, but I swear it gives me such a headache! But Kyson really wanted LED lights (I guess that’s what teenagers are into now.) I planned for weeks how I could make his room fun and modern while honoring his wishes. I was looking forward to a simple project, so this project consisted of changing out some paint and installing the lights, nothing crazy.
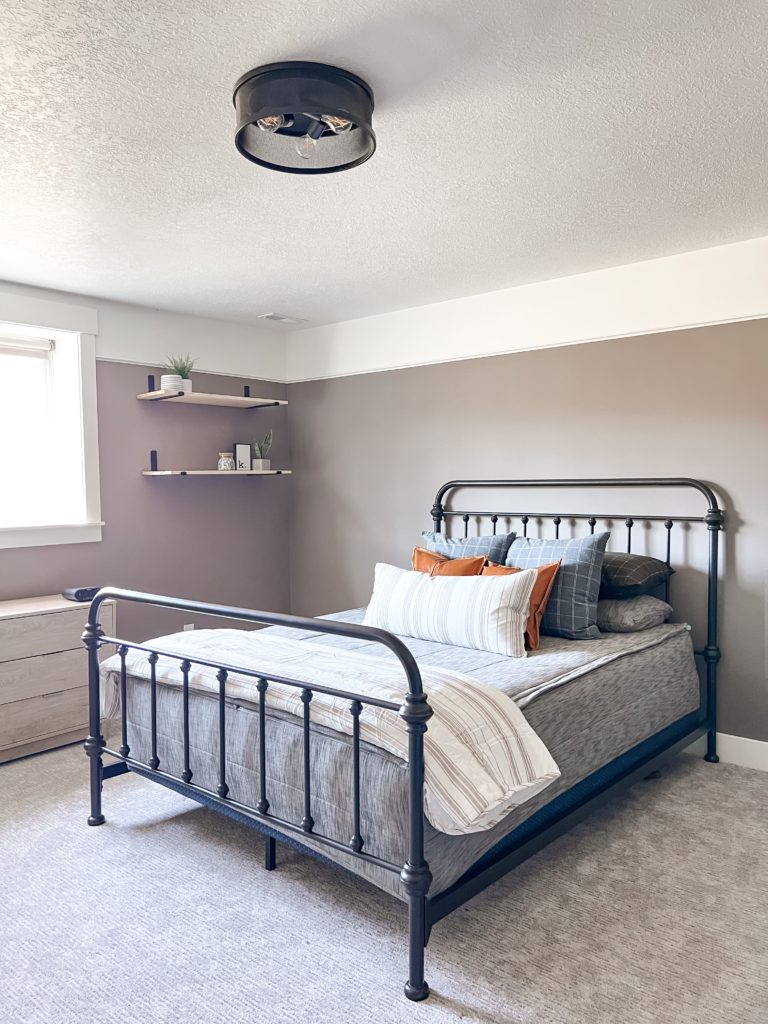
First I moved Kyson’s bed away from the wall and removed any additional clutter before starting my project. I used PVC molding to line my walls and give the LED lights a ledge to sit on creating a nice glow against the wall. By adding the PVC molding the LED lights would not show from the bottom, and would only be visible from the top creating a glow. I loved this idea so much more than just applying the strips to the wall, giving the lights a clean look.
When choosing the trim I wanted to choose something very simple because I knew the lights would add a nice pop of color, even though the room is for Kyson I didn’t want to stray too far from a sophisticated, modern look. To create straight lines with the PVC molding, I used my laser level. Even though setting up the laser level can take a few minutes, it gives your DIY project a professional look and saves you time in the end.
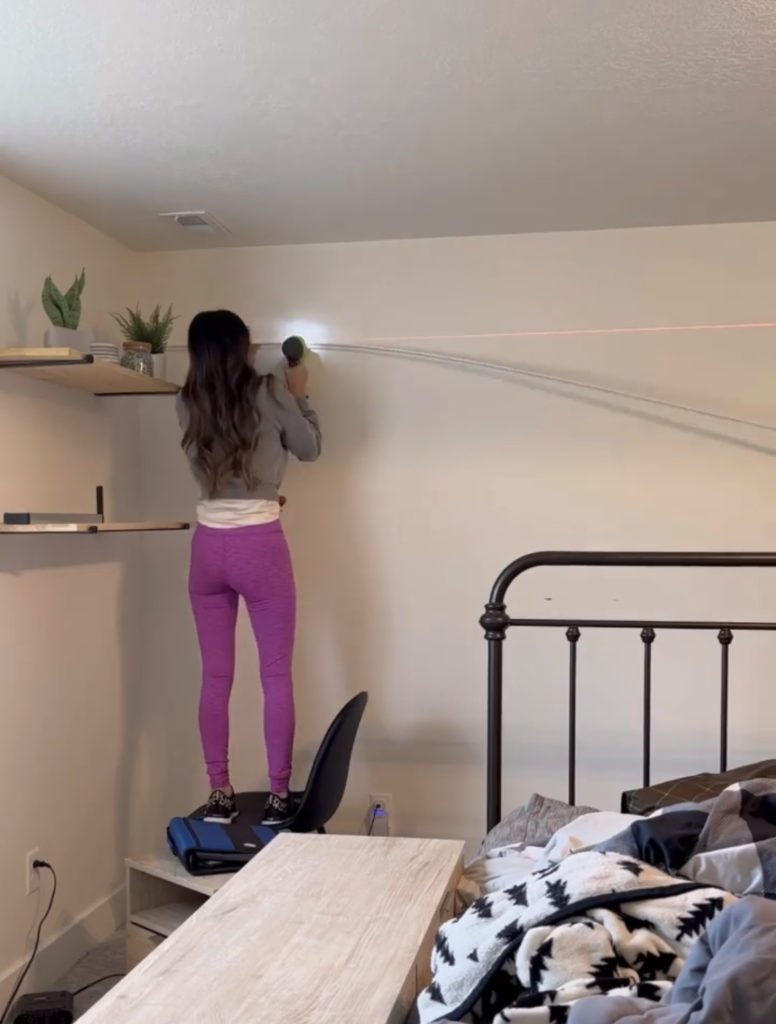
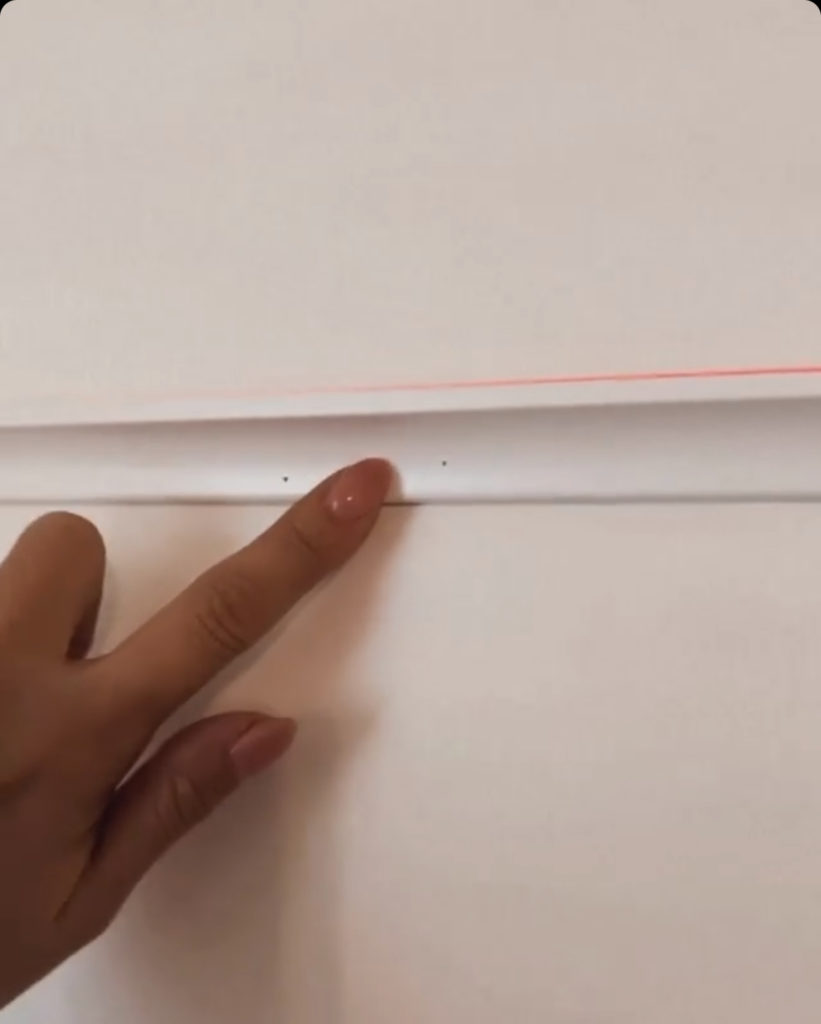
After I finished installing the PVC molding I caulked and painted the trim. I planned on having the PVC ledge and the ceiling the same color and painting the remainder of the wall (insert paint color/brand). For this project, I bought a new 23 gauge pin nailer. I was so excited about this tool because the holes were so small that I didn’t have to fill them in. This eliminated taking the time to fill in the holes and saved me so much time in the long run. Plus, I’ve been wanting one of these bad boys for a long time!
Once I finished hanging up the trim I checked to make sure we had enough LED lights. I love the brand of LED lights I bought, they have over 60k reviews and come on a roll with 65 feet. The lights come with a remote which has so many different settings and colors to choose from. These lights can turn any space into a nightclub, so if that is what you are looking for this is the best product for you! Some other flash options are a slow flash or slow fade and so many different color options.
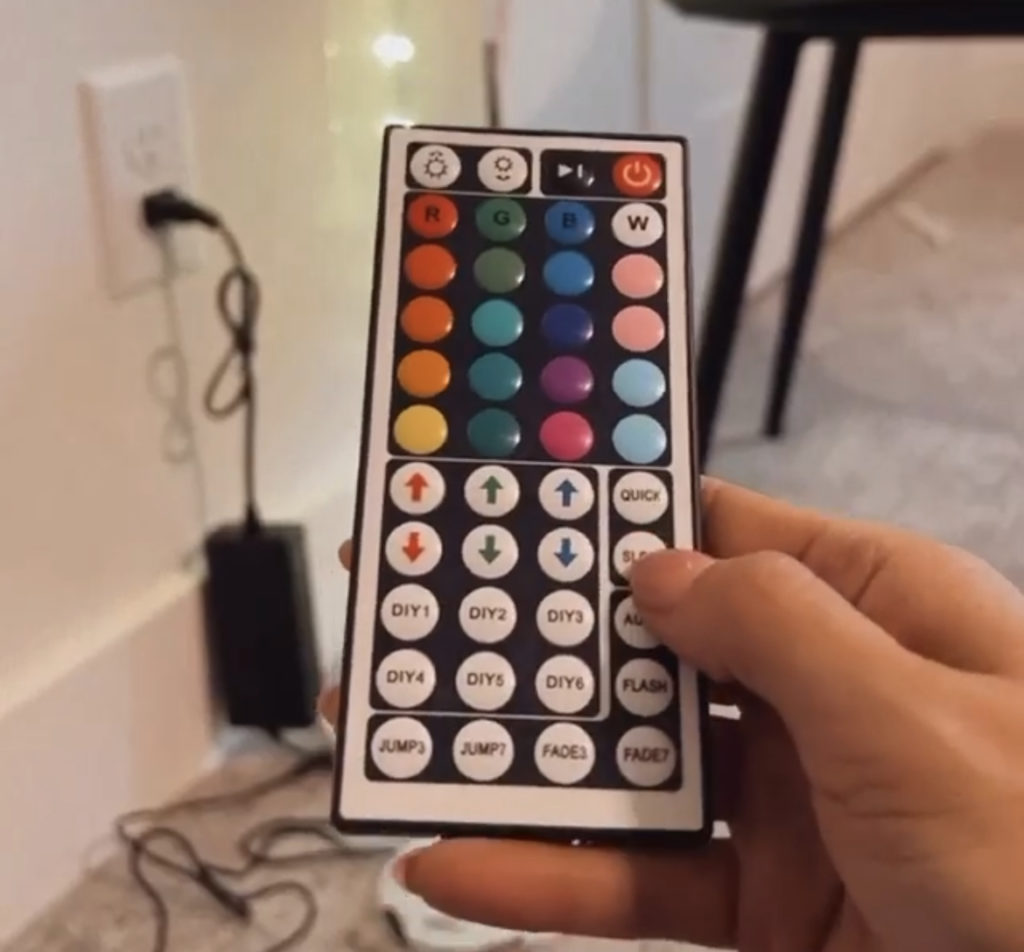
Another perk about these lights, is that they come with adhesive on the back that pulls off like tape. You can cut the strips into smaller pieces that connect. Not all LED light brands offer all of these features so I definitely recommend these! Having the built-in sticker was a time saver for sure.
When cutting and installing the lights, I had a hard time figuring out all of the features because there were no instructions. So, if you are interested in purchasing these same lights; I wanted to break down how to cut and connect the lights. At the end of each strip, there is a black connector with four prongs. If you do not want to cut your lights, you can insert the end of the black connector into the corresponding connector of the strand of lights.
If you need to make a section of lights shorter and want to hide the bulky black connector you will need to take some extra steps. First, grab one of the additional white connectors that come with the LED kit. You will notice that on this connector there are four metal prongs inside the small box. Then, look at your light strip until you find a section with four metal copper strips with letters on both ends of the copper reading G, R, B. You will want to cut down the middle of the copper lines where the black scissors are. It is important that the copper is fully under the metal prongs so the lights work properly.
Next, take the other side of the connector and your second strip. You will need to connect this side just like you did with the other side. Remember to line up G,R,B on this side as well! Once you have inserted both sides correctly, snap the connector shut so that it is secure. Now, you can make your lights longer and hide the bulky black connectors.
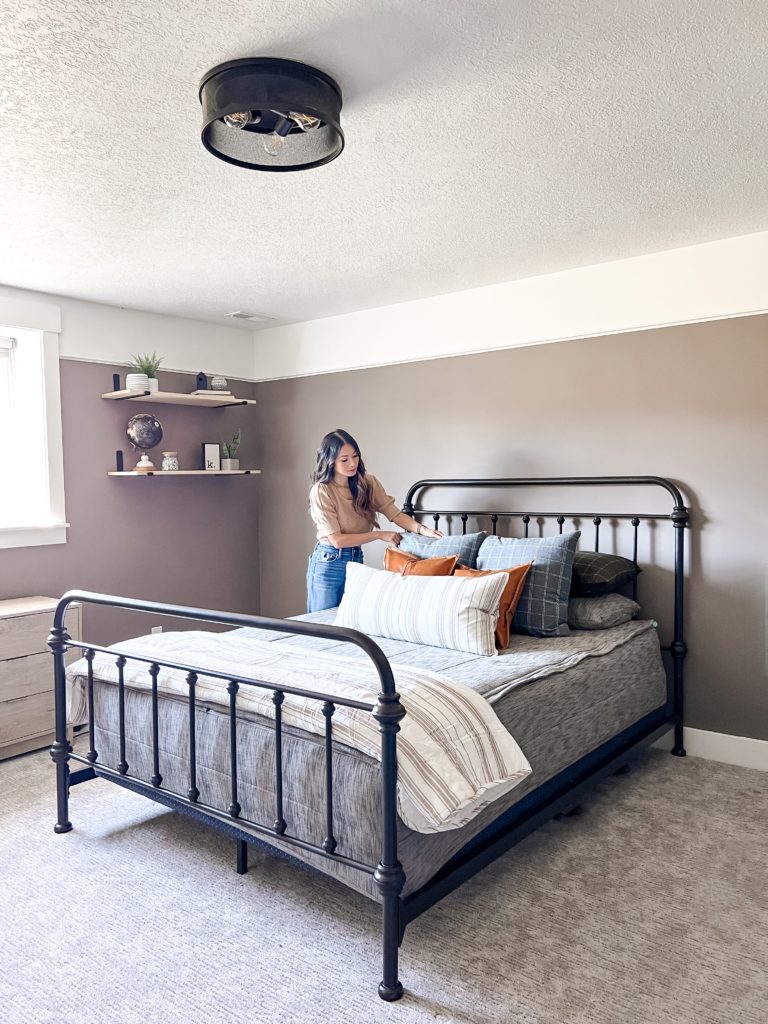
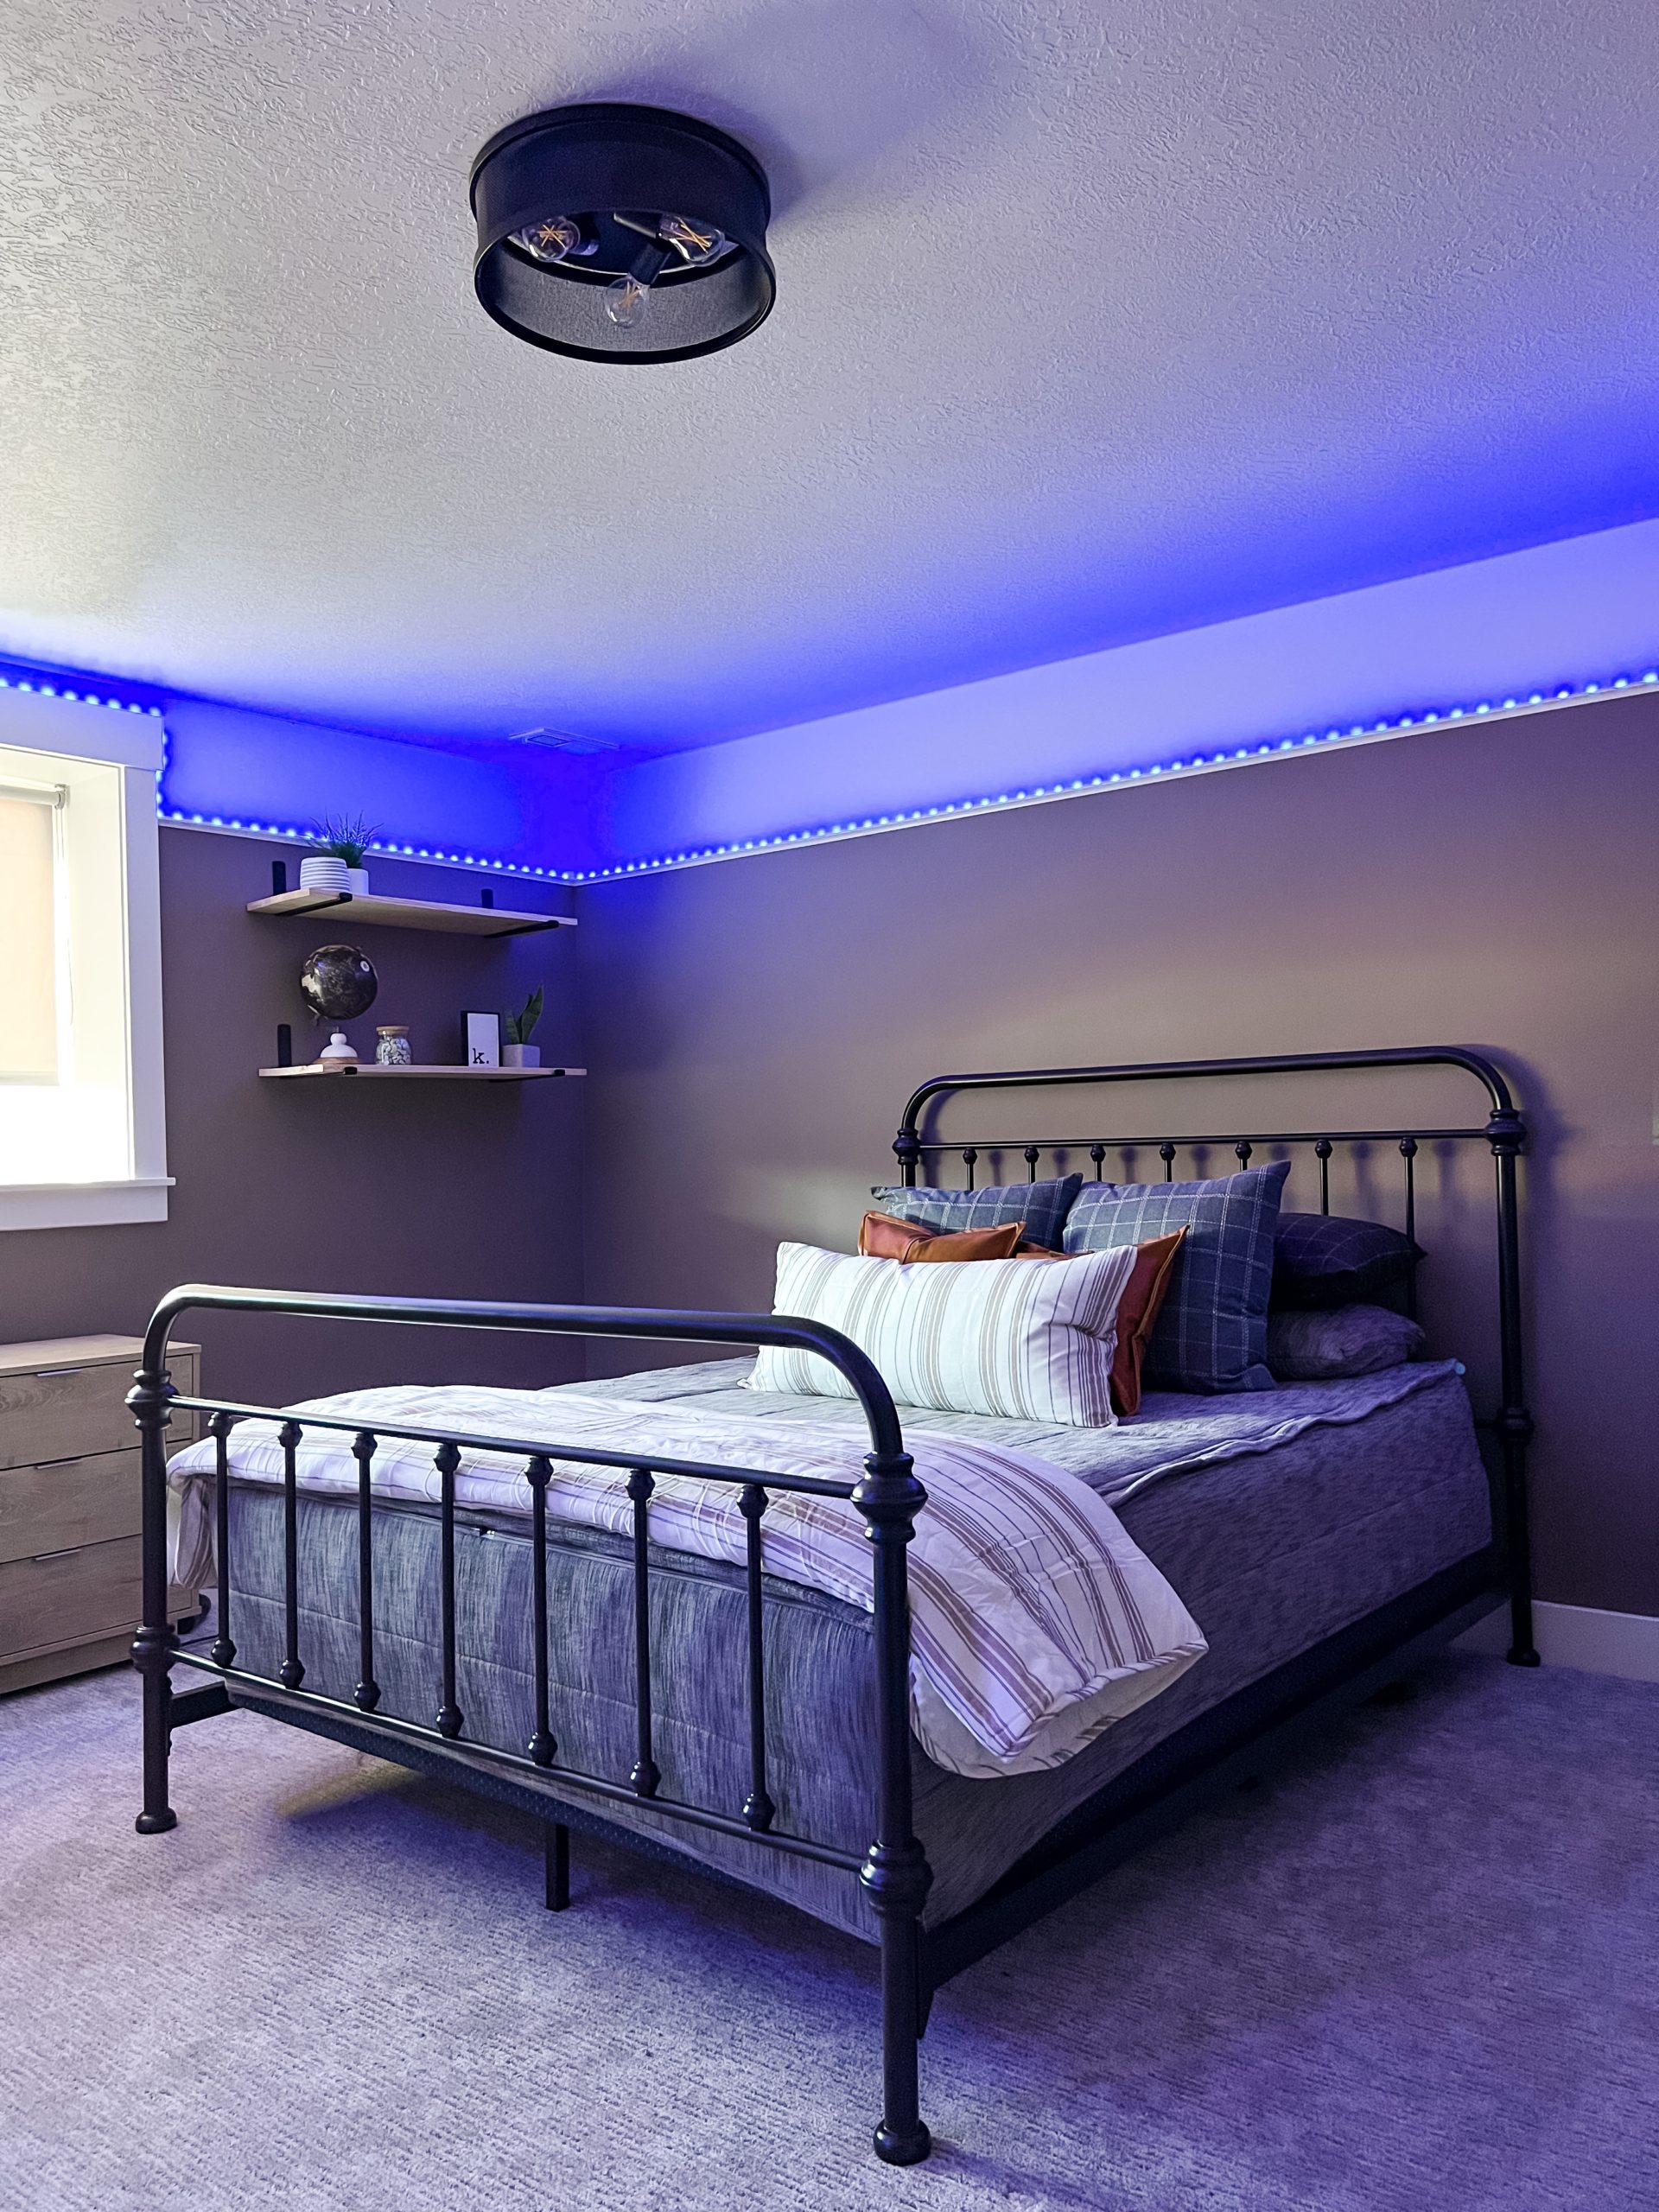
I am so happy to have finally finished Kyson’s room! This DIY LED lights was so easy and I am so happy with the results. One of my favorite parts is when the the room is clean and the lights transforms into a teenager’s space. This makes Kyson and me both happy with his room design. And that’s all I could really ask for.
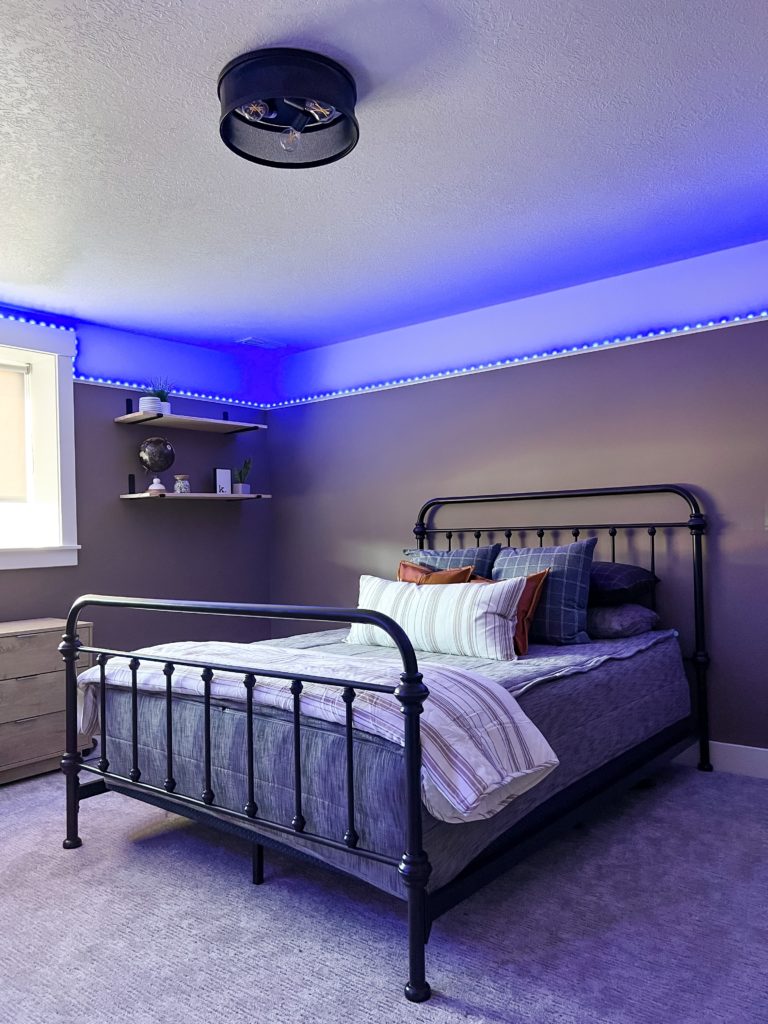
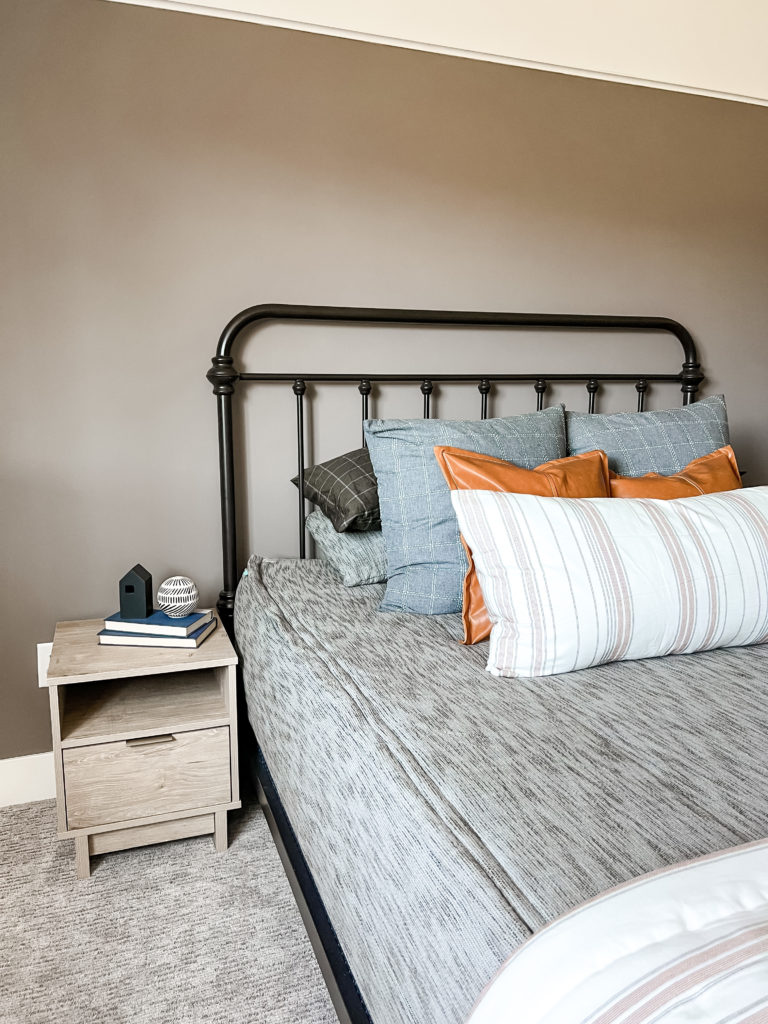
I almost forgot! We got Kyson new bedding from Beddy’s and he loves them! Now he actually makes it bed – well zips it anyway! Use my code WILDHEARTSHOME and take 15% off. This is the Tweedstorm Luxe with the Prep School Bundle. I’m telling you everything is top-notch quality. This bedding will last him years! Beddy’s is always coming out with new prints and bundles too. Check out all their designs here.
If you guys have any questions, leave a comment. I always love hearing from you!



Did you have to have lights running up a corner to get them up?
What color is the paint?