Hi
I'm Bong
I'm just a girl who likes to DIY anything and everything. More than that, I love teaching people - especially women - how to pick up power tools and create the home of their dreams. Stop waiting for someone else and starting Doing It Yourself. I'll show you how!
diy projects
diy school
life hacks
categories
must have products
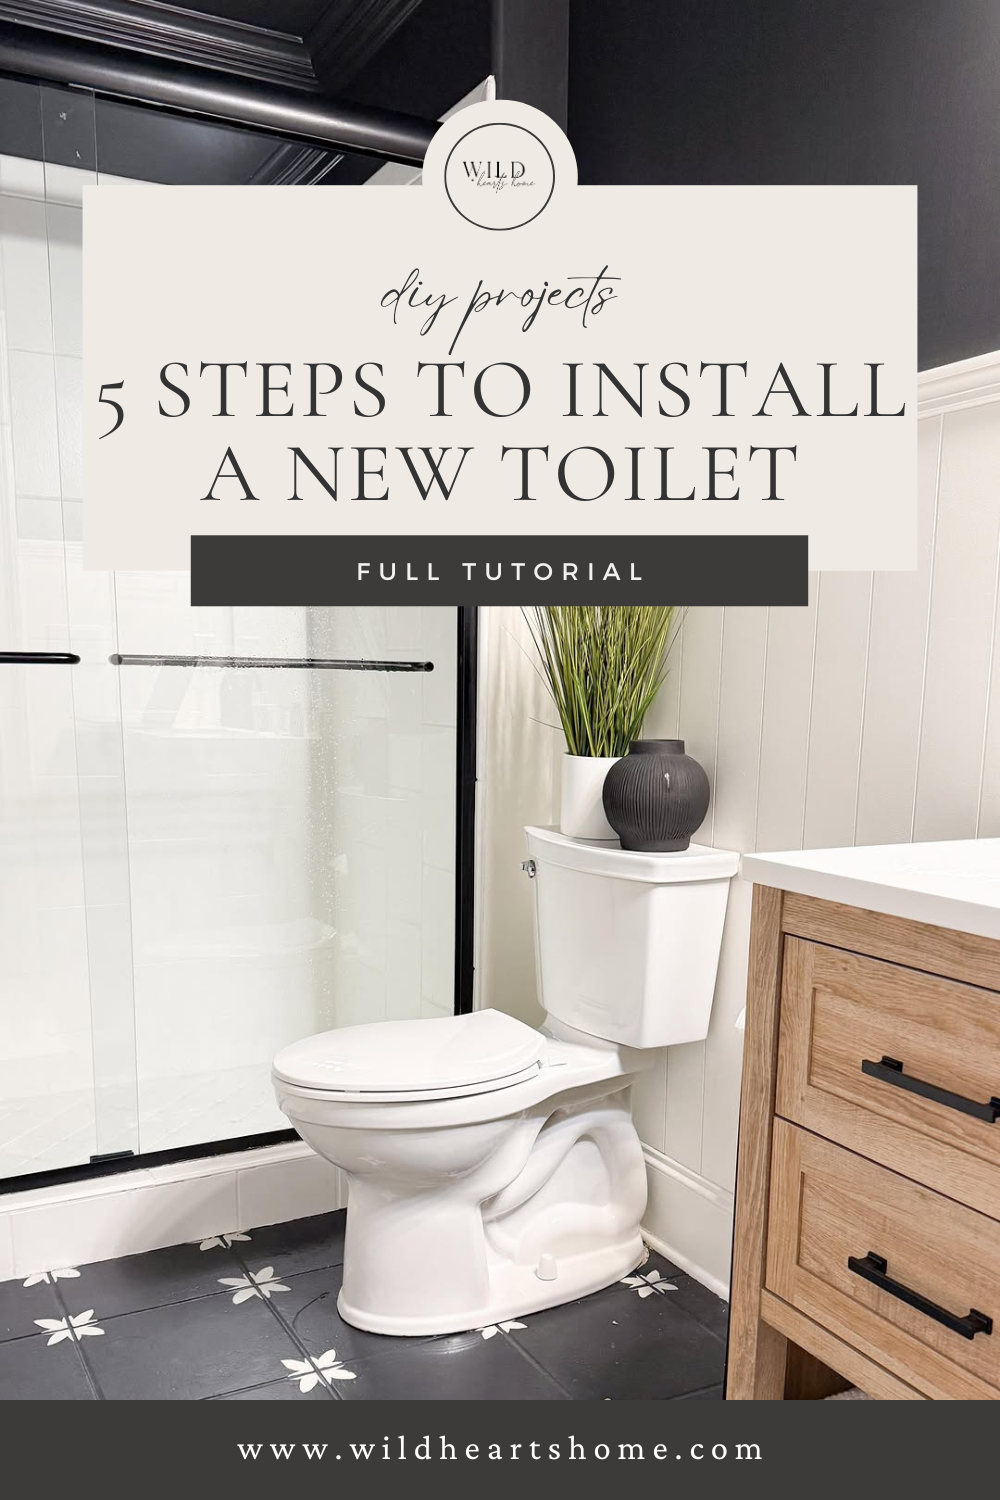
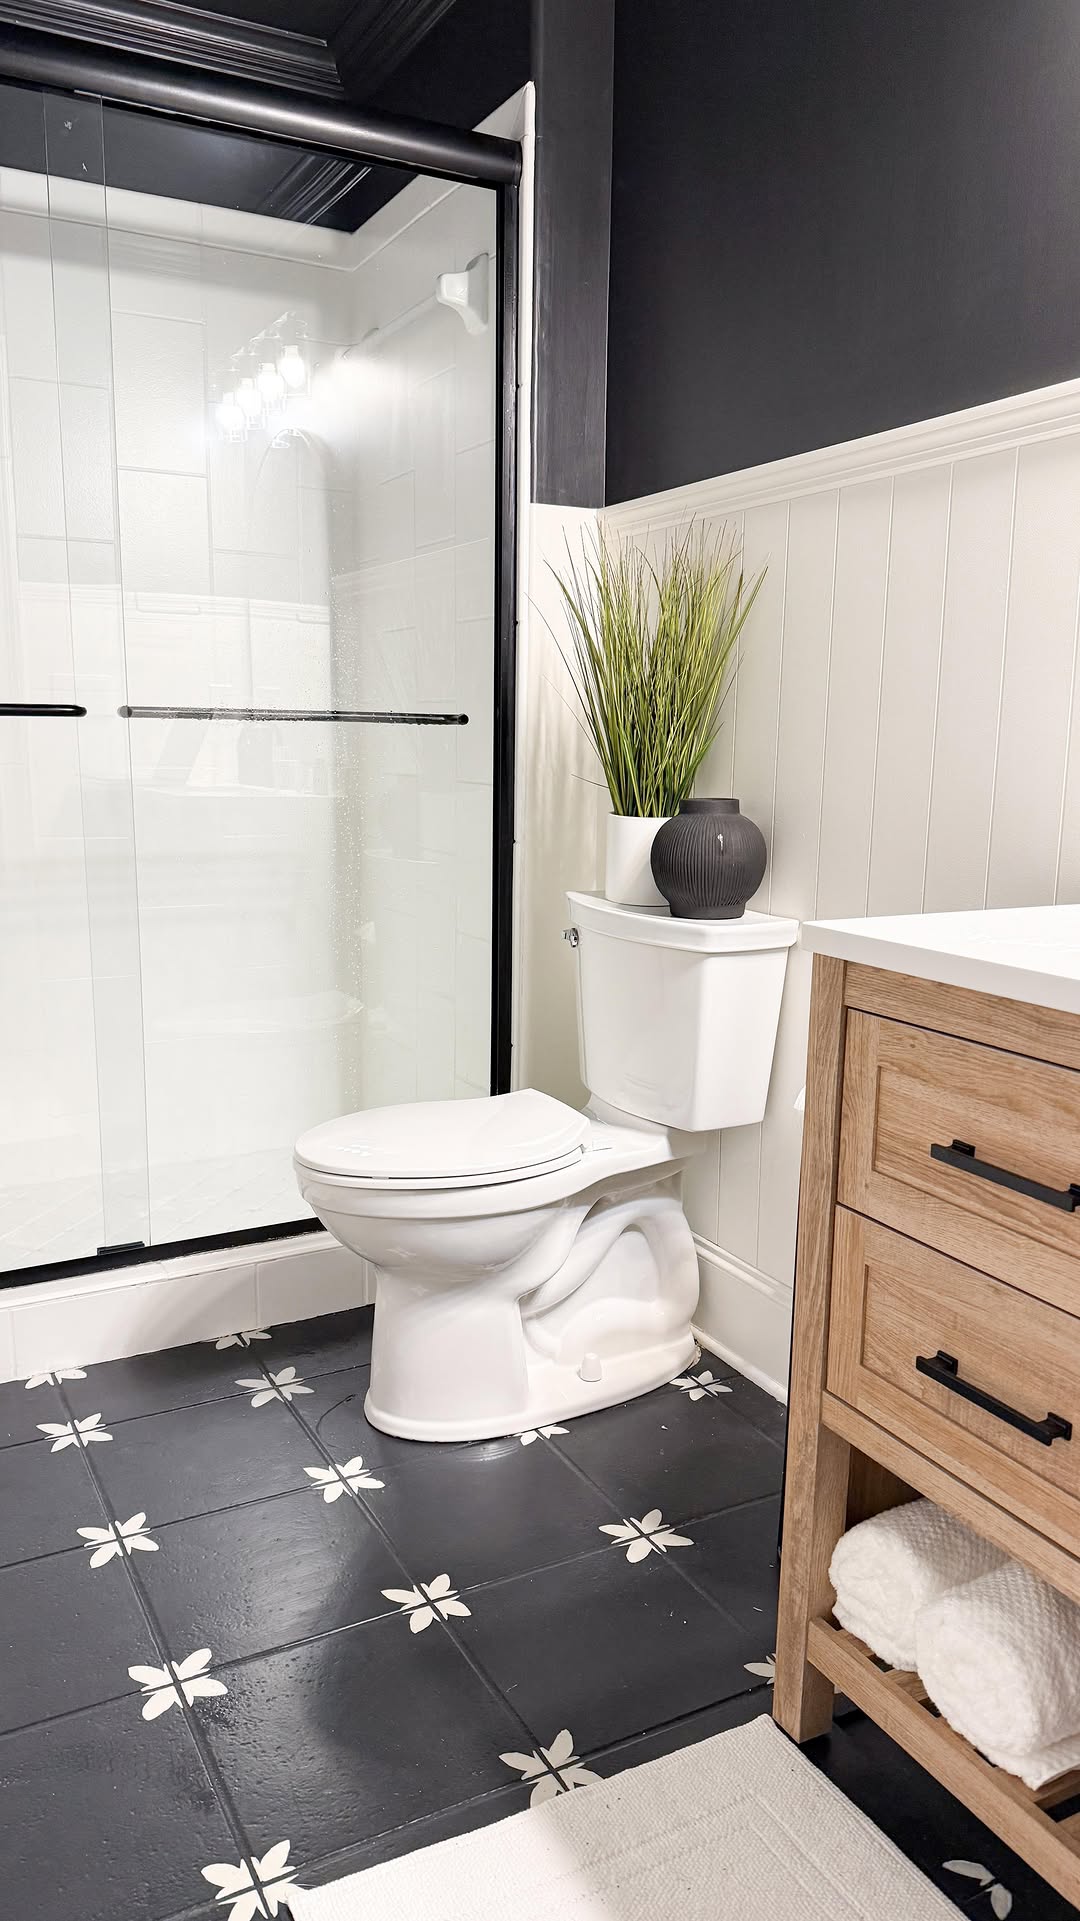
Do you guys remember when I redid this guest bathroom? Well, it’s time for me to change out the toilet down here. It’s old, dated, and it’s been here forever. Changing out a toilet is a lot easier than you think! Here’s your one stop guide to you DIY toilet installation!
1. Cut Off the Water
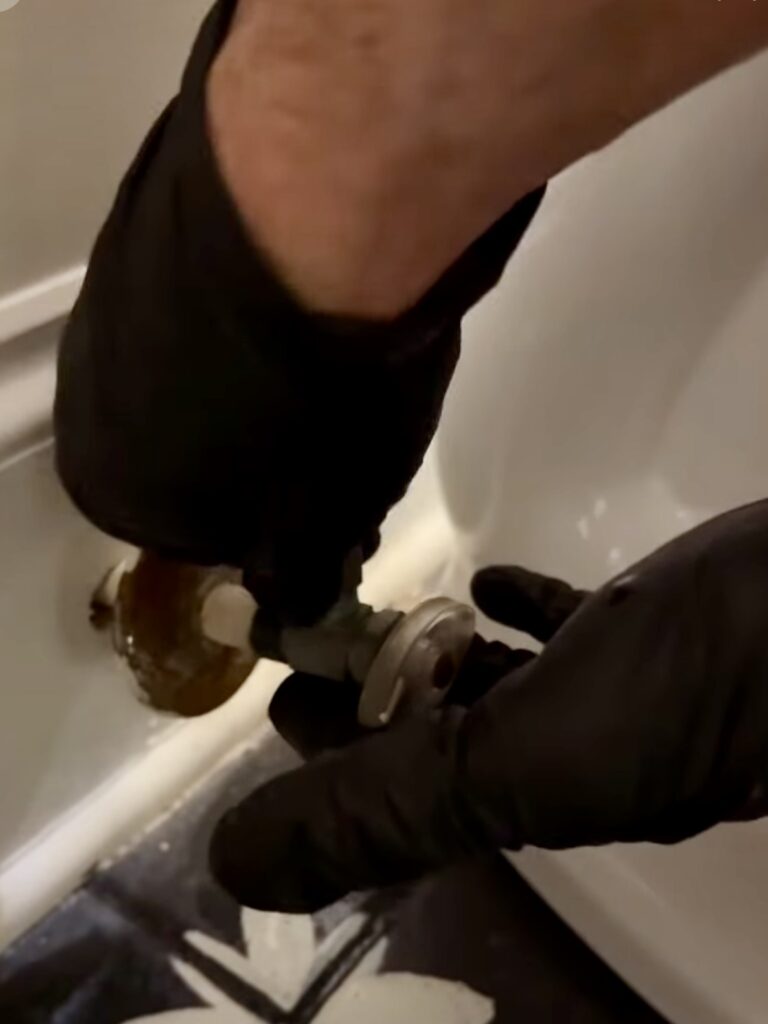
First up, head down to the water valve to cut off the water so no more water is running into the the toilet. Righty tighty, lefty loosey! (So turn it to the right🤣) Then, flush the toilet to drain the water that is in the toilet when you start. There will always be some residual water in the tank and in the actual toilet. It’s important to take the toilet apart and dump all the water out so you don’t spill when you give it away or toss it. You can use a huge sponge and a bucket to get the rest of the water out. Definitely wear gloves for this…it gets pretty gross!

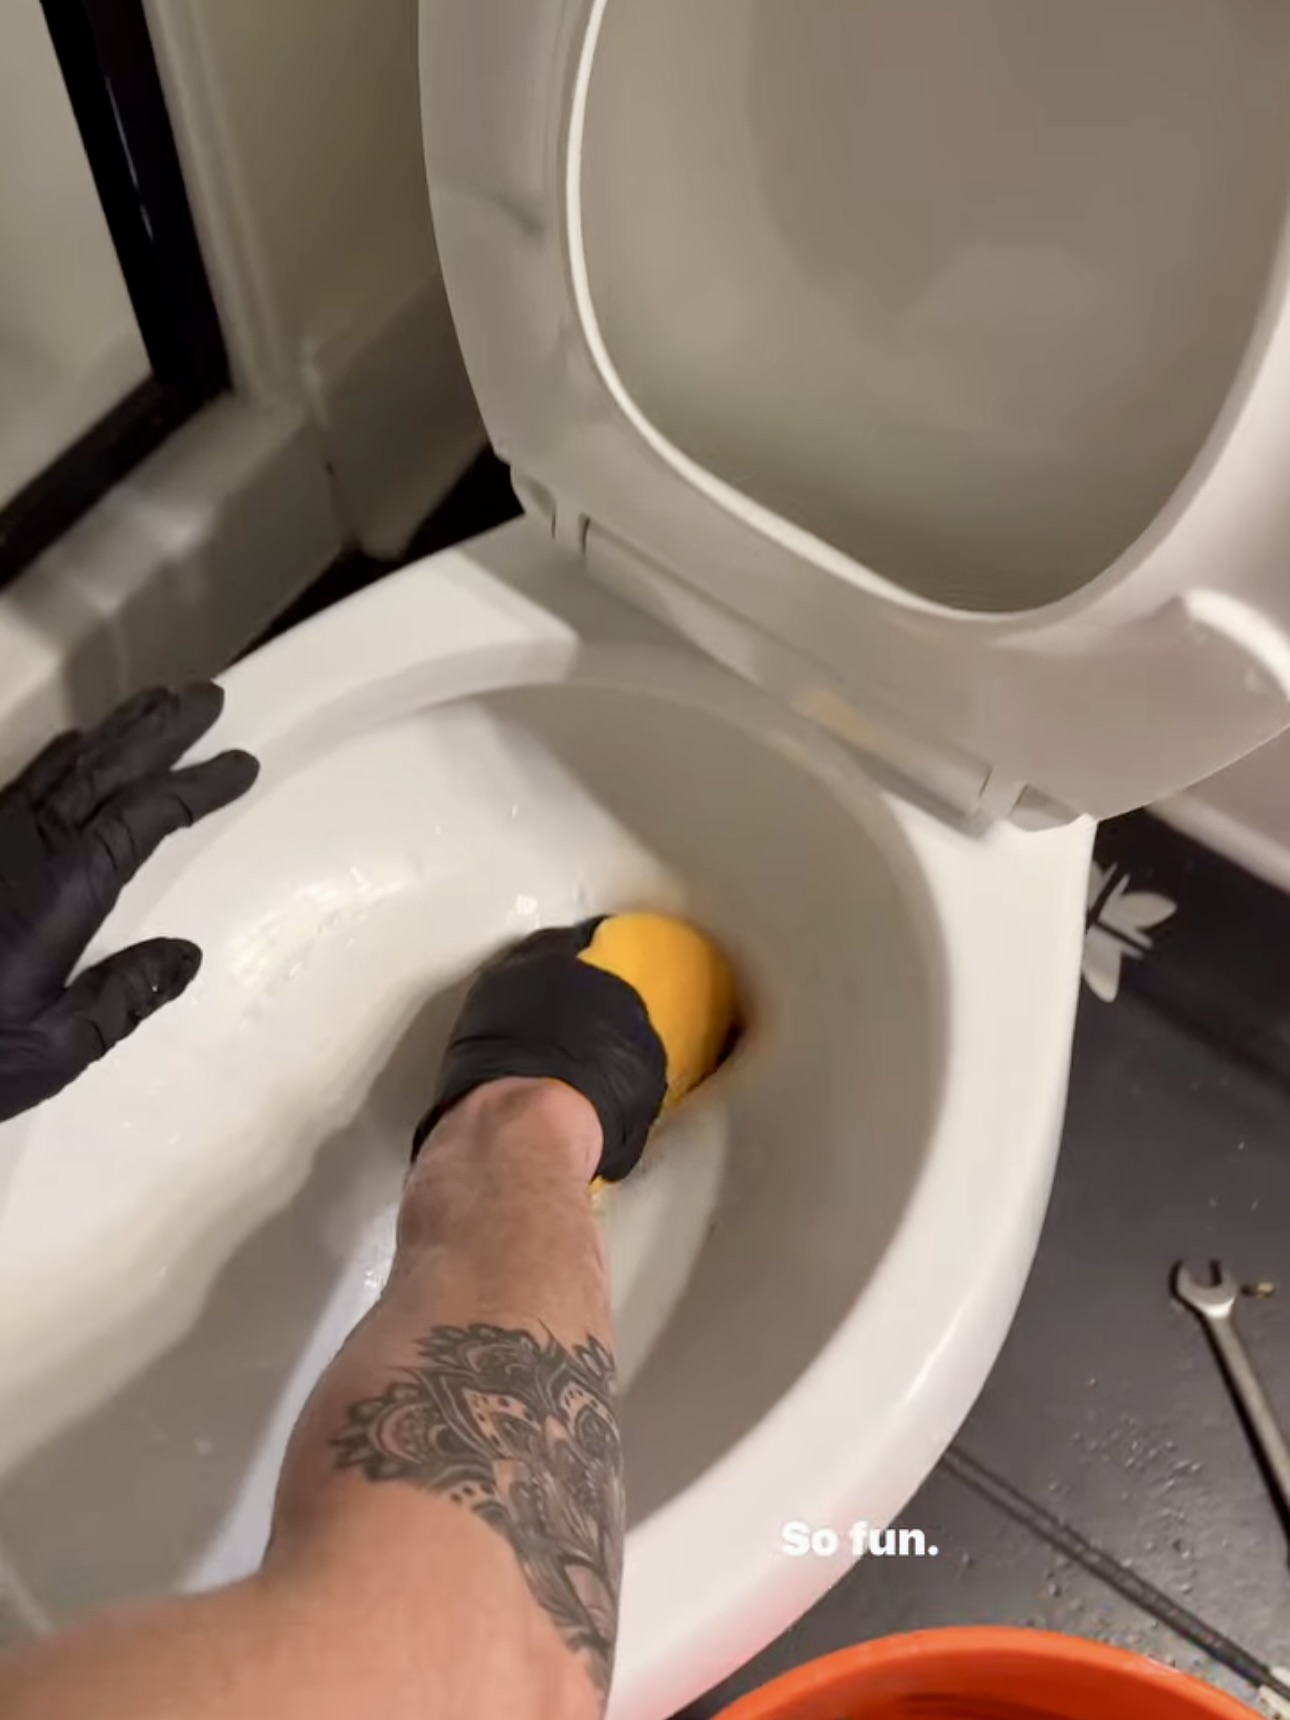
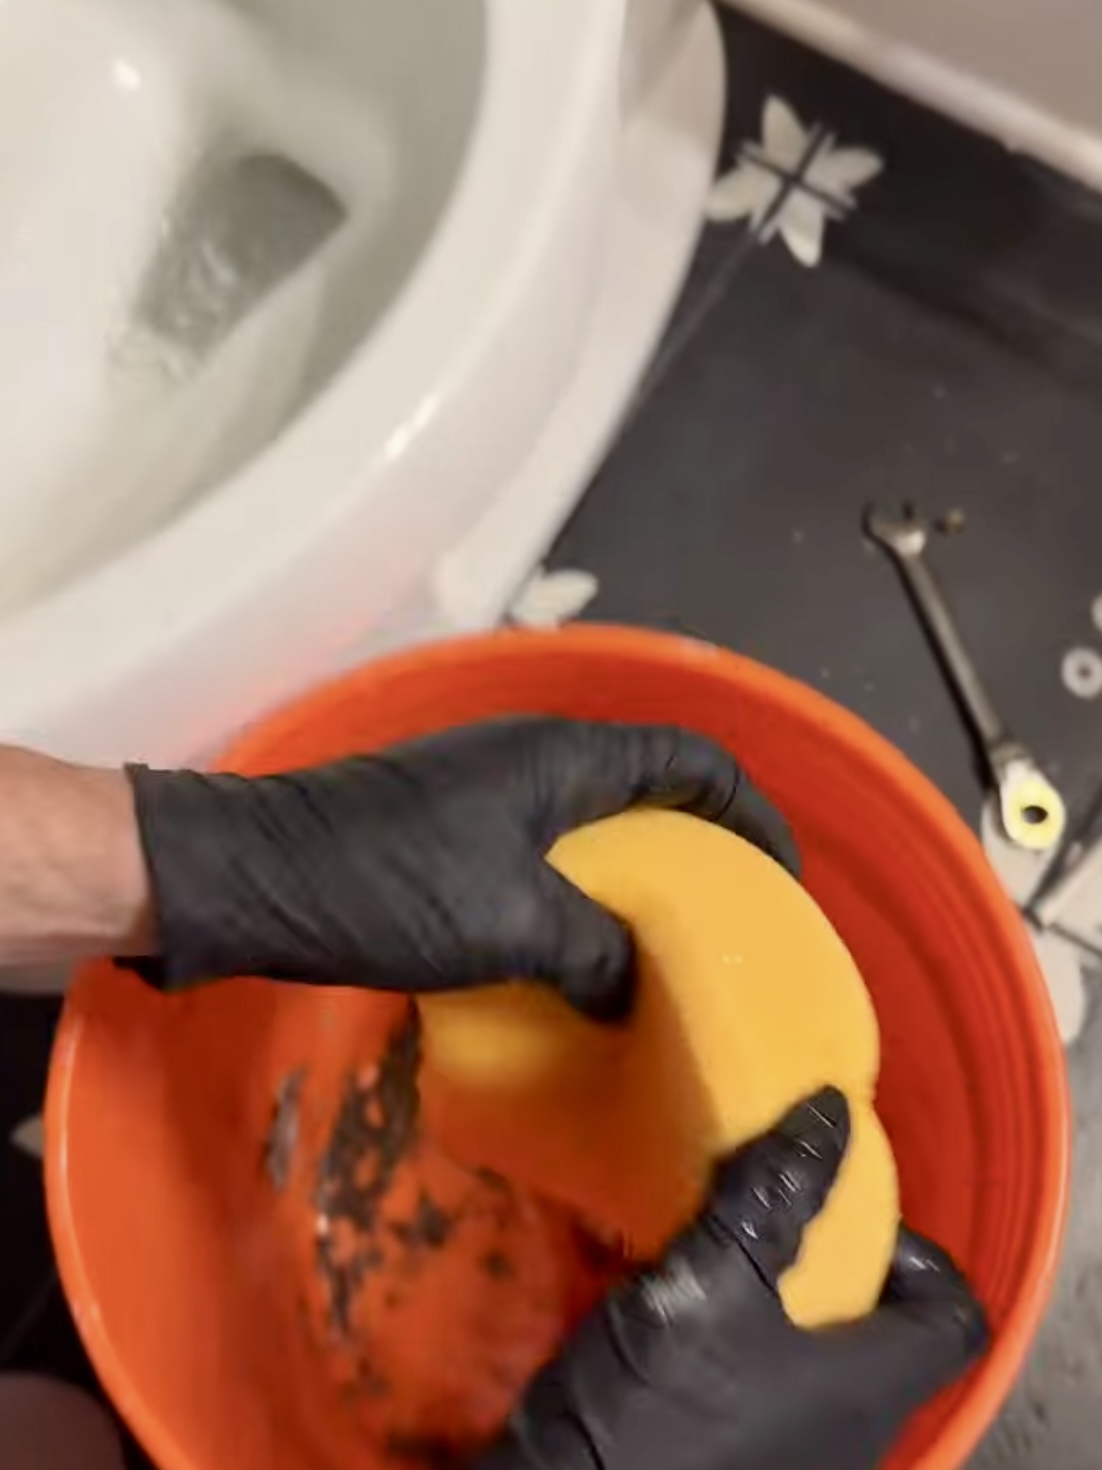
Next up, TJ took apart the water line with a wrench.

2. Remove the Toilet from the Ground
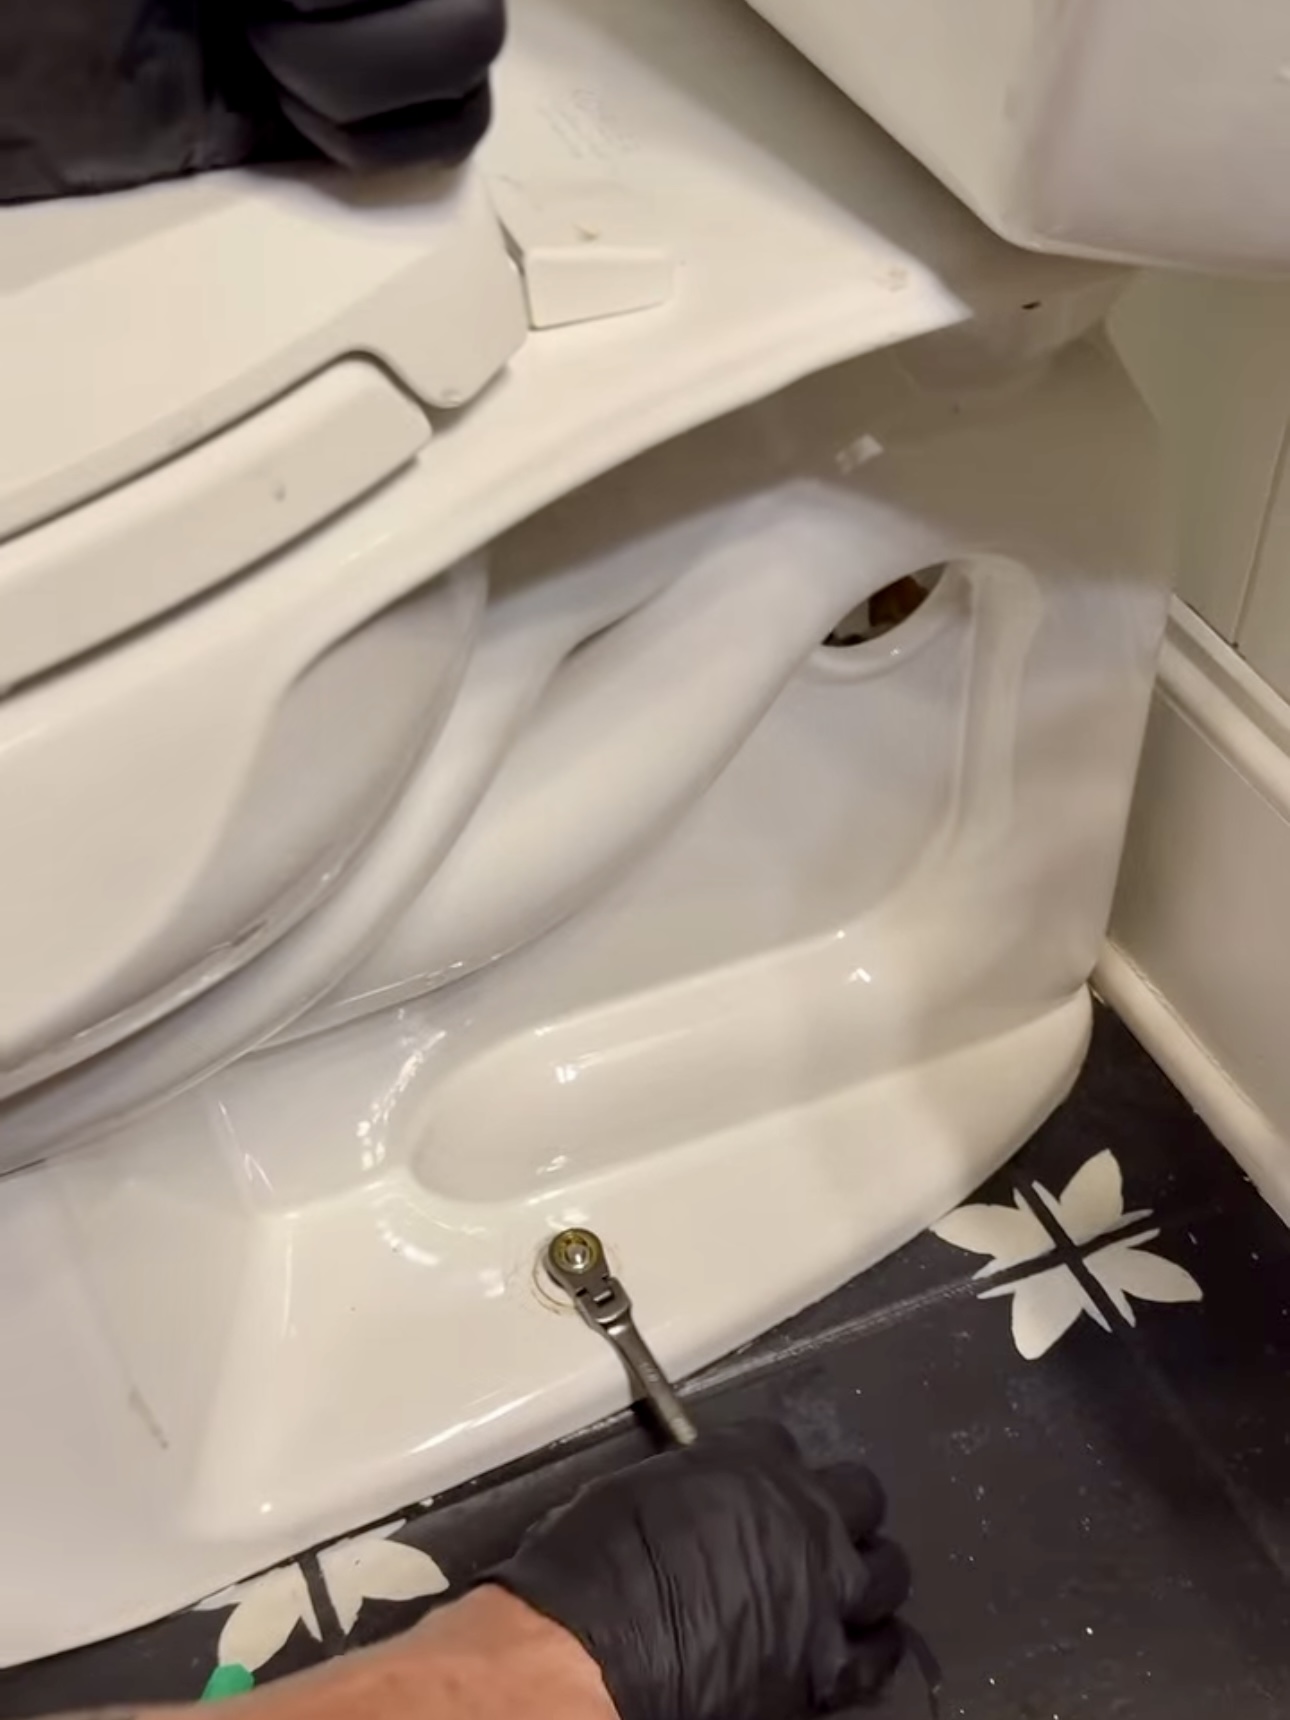
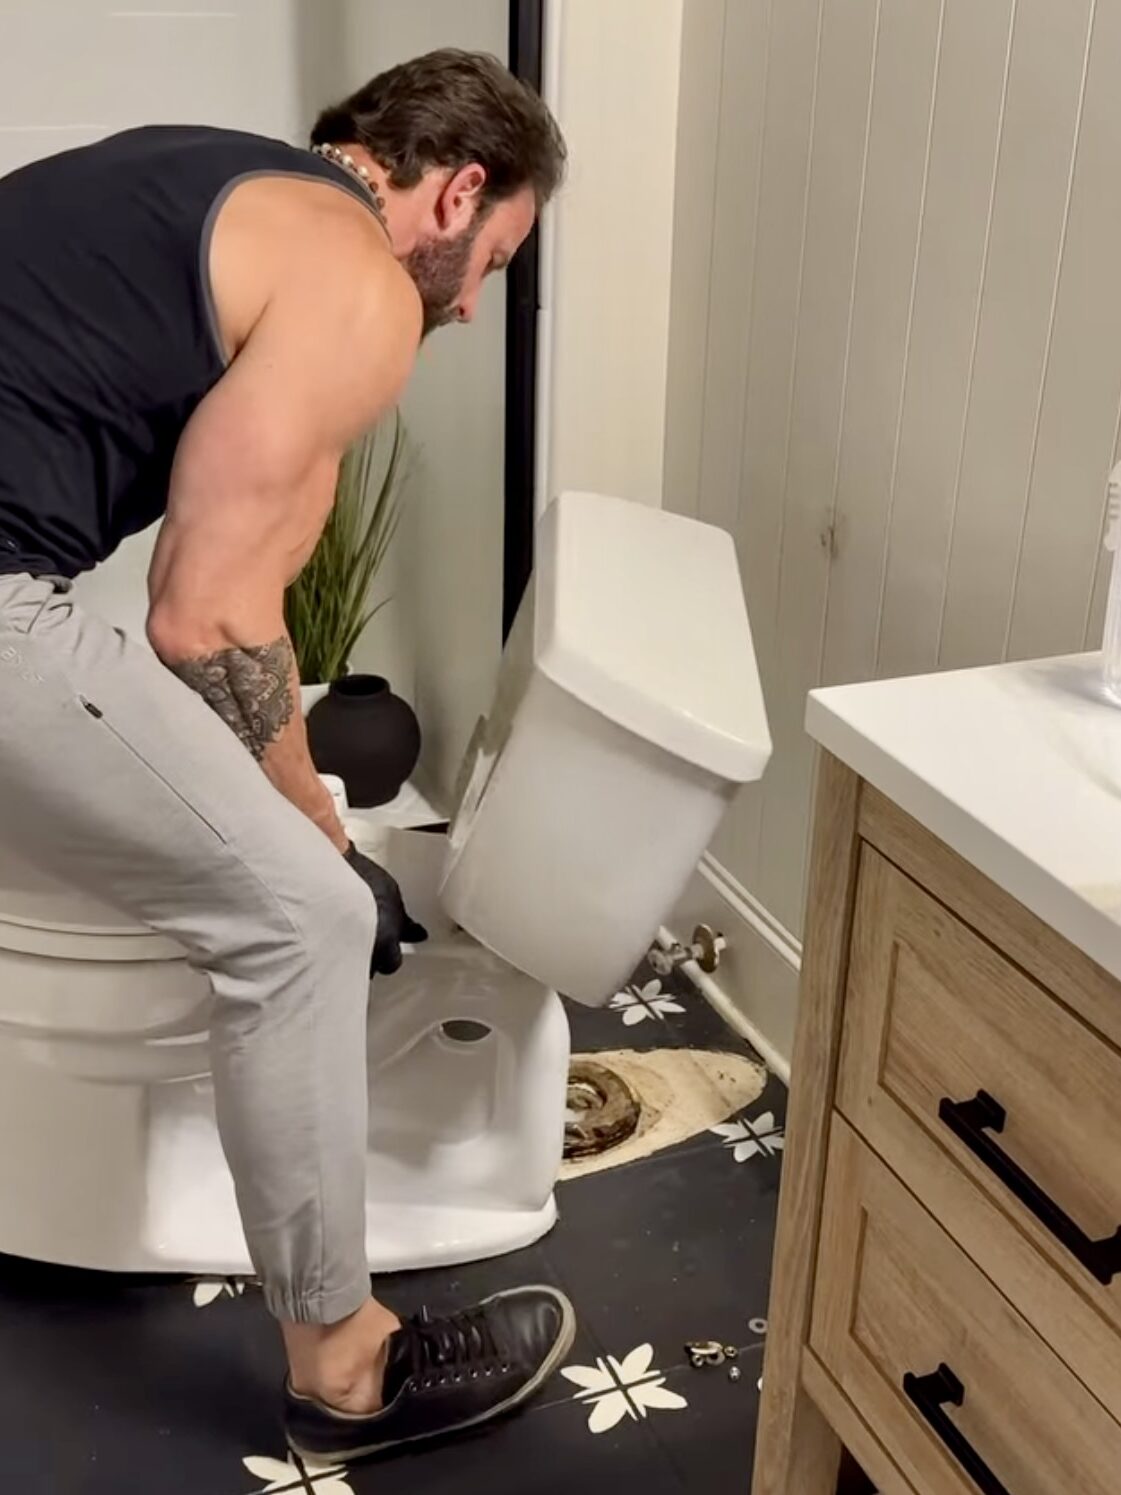
You’ve seen these little covers at the base of your toilet, right? Just pop those off and use a wrench to take off the bolt that secures the toilet to the ground. There is one screw on each side. Remove these and then lift the toilet straight up to remove it from the ground!


3. Replacing the Wax Ring
This part is pretty gross. You have to remove the wax ring from the floor. Ours was very “well loved.” We used a knife for this…one that would go straight to the trash after this. You basically just cut through the wax ring and pry it off.


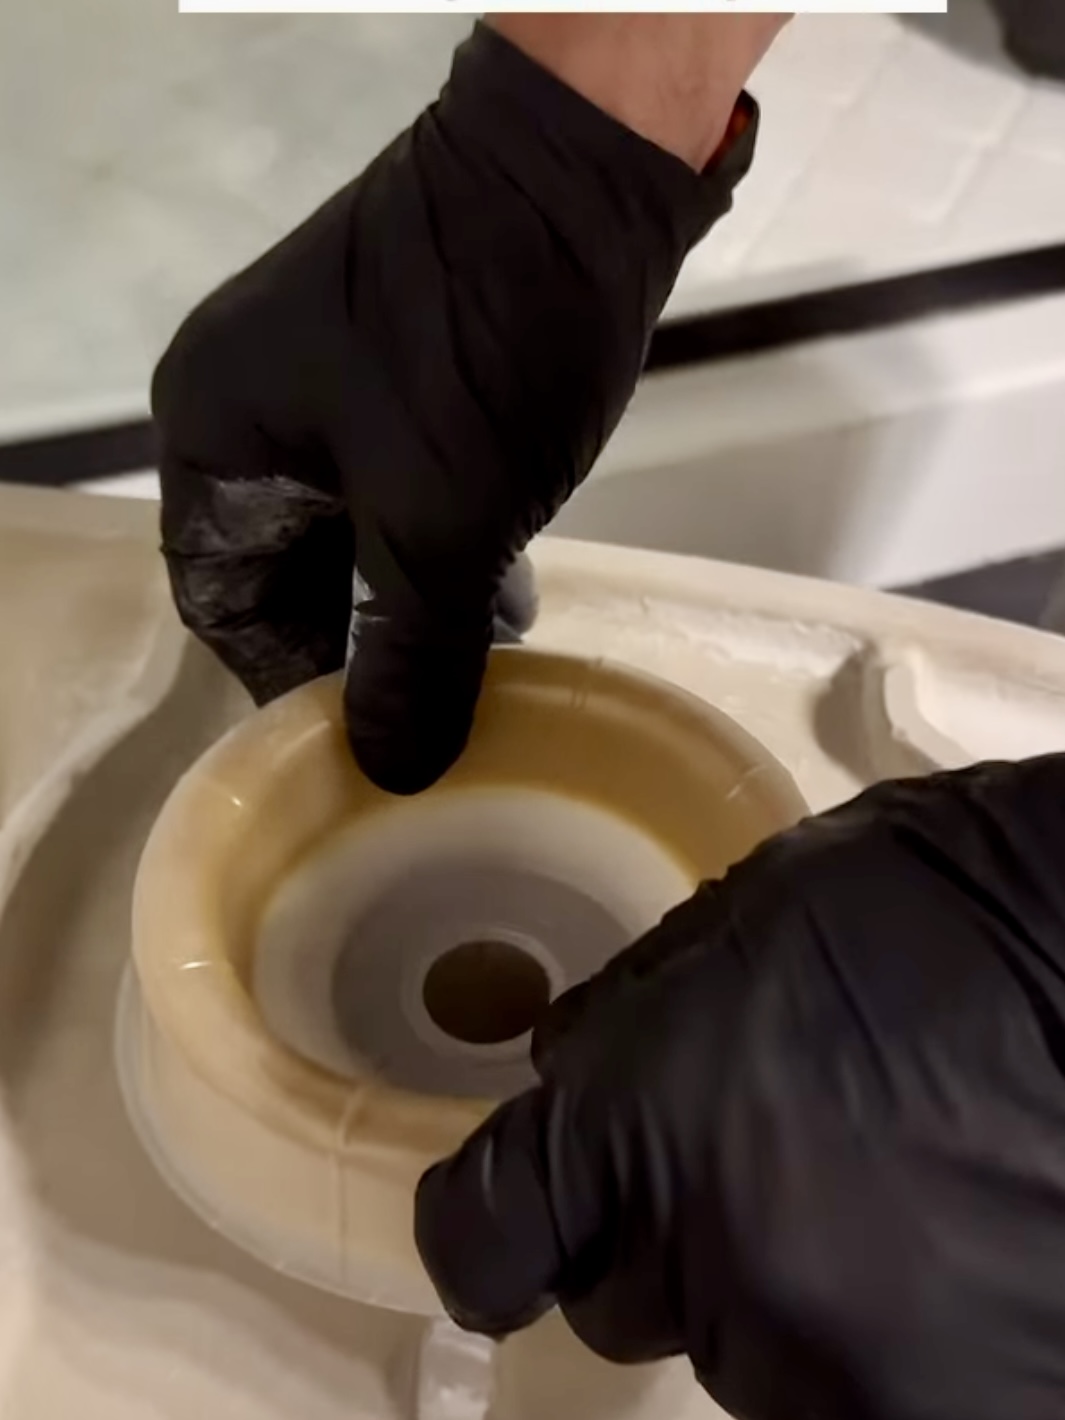
Your new toilet will come with new bolts. You’ll insert the new bolts and to the base, per the instructions! Then you install the new wax ring which gives the toilet a water tight seal. You stick the new wax ring onto the bottom of the toilet. Next, you flip the toilet over and press it into the ground so it aligns with the bolts you just installed.


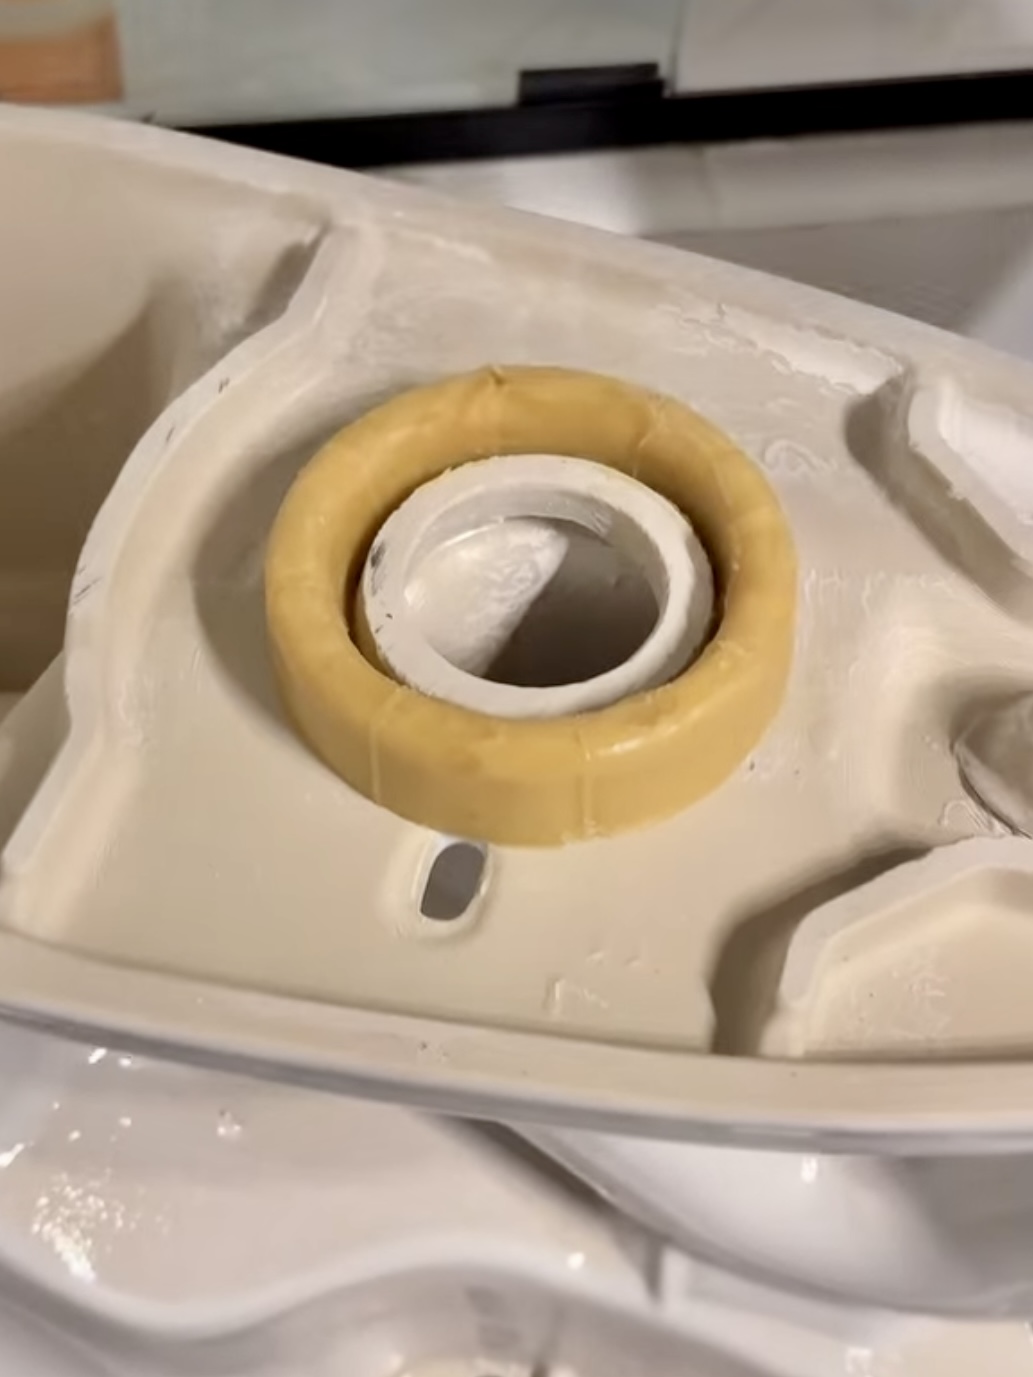
4. Securing the New Toilet
Once the new bolts are attached on the outside as well, you can pop those plastic covers back on. Then apply the tank-to-bowl gasket that comes with your new toilet onto the tank to secure the two to each other.


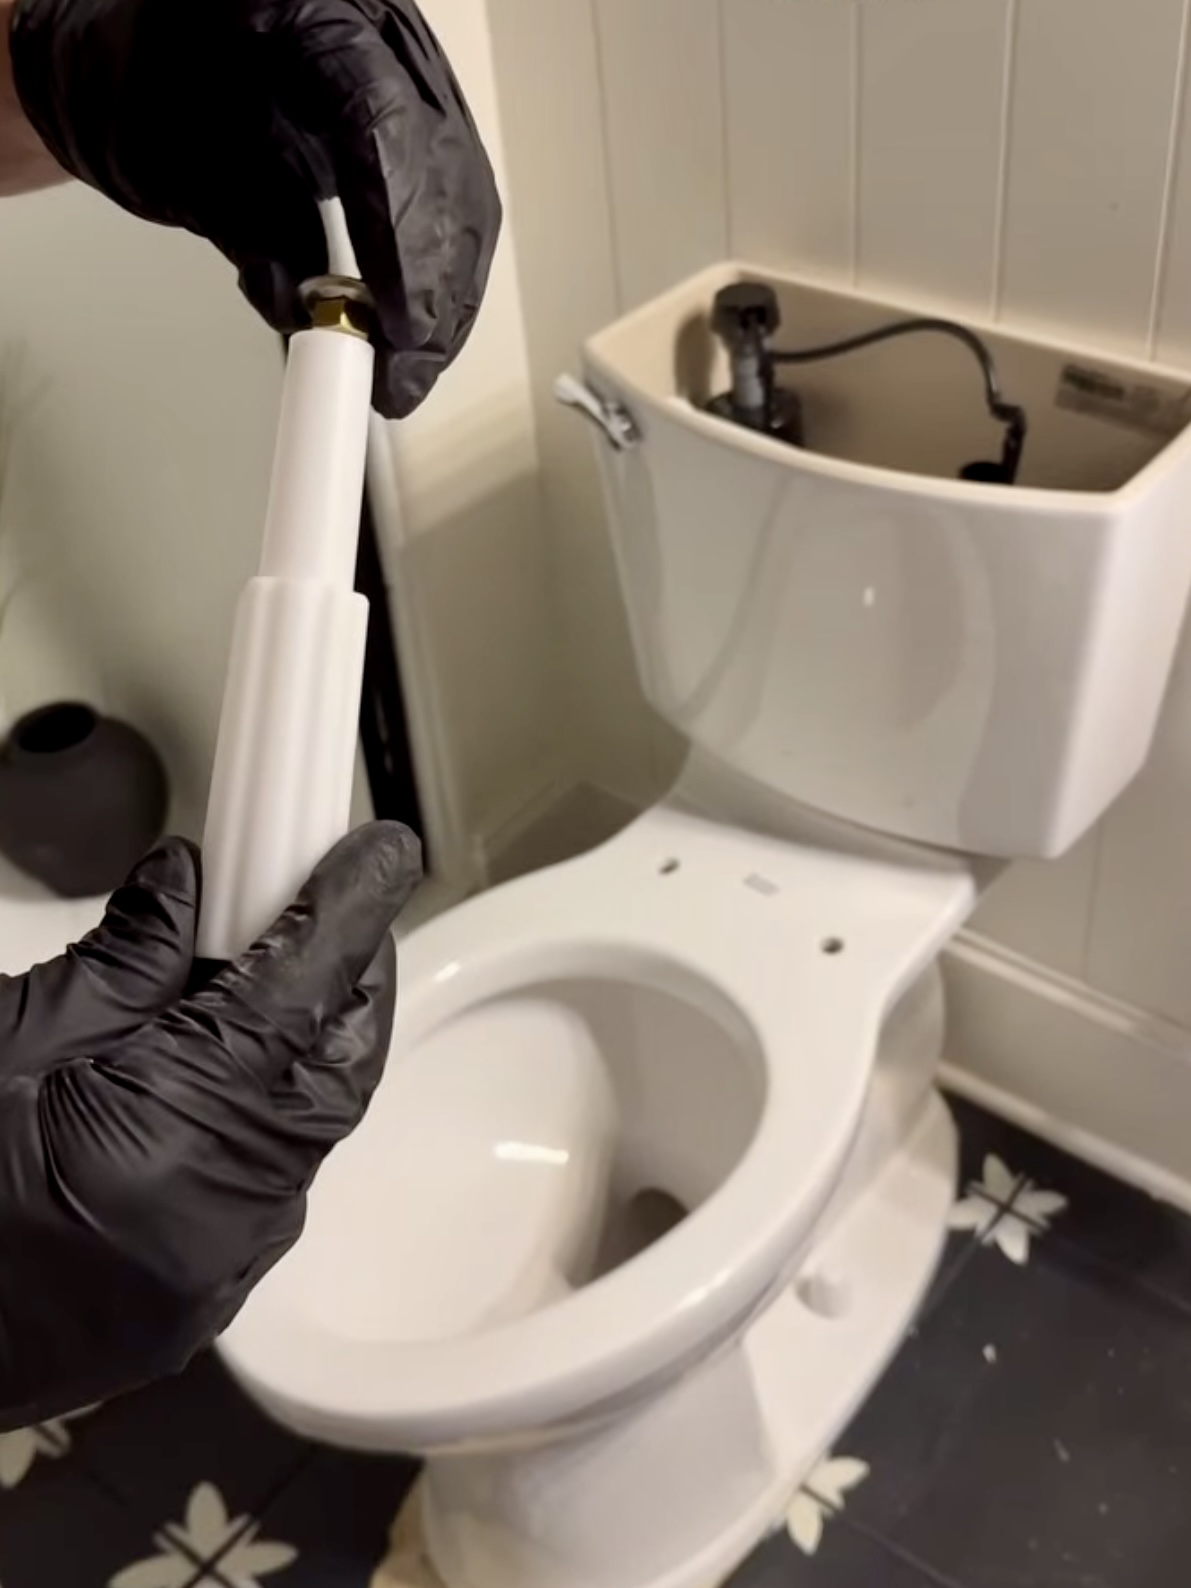
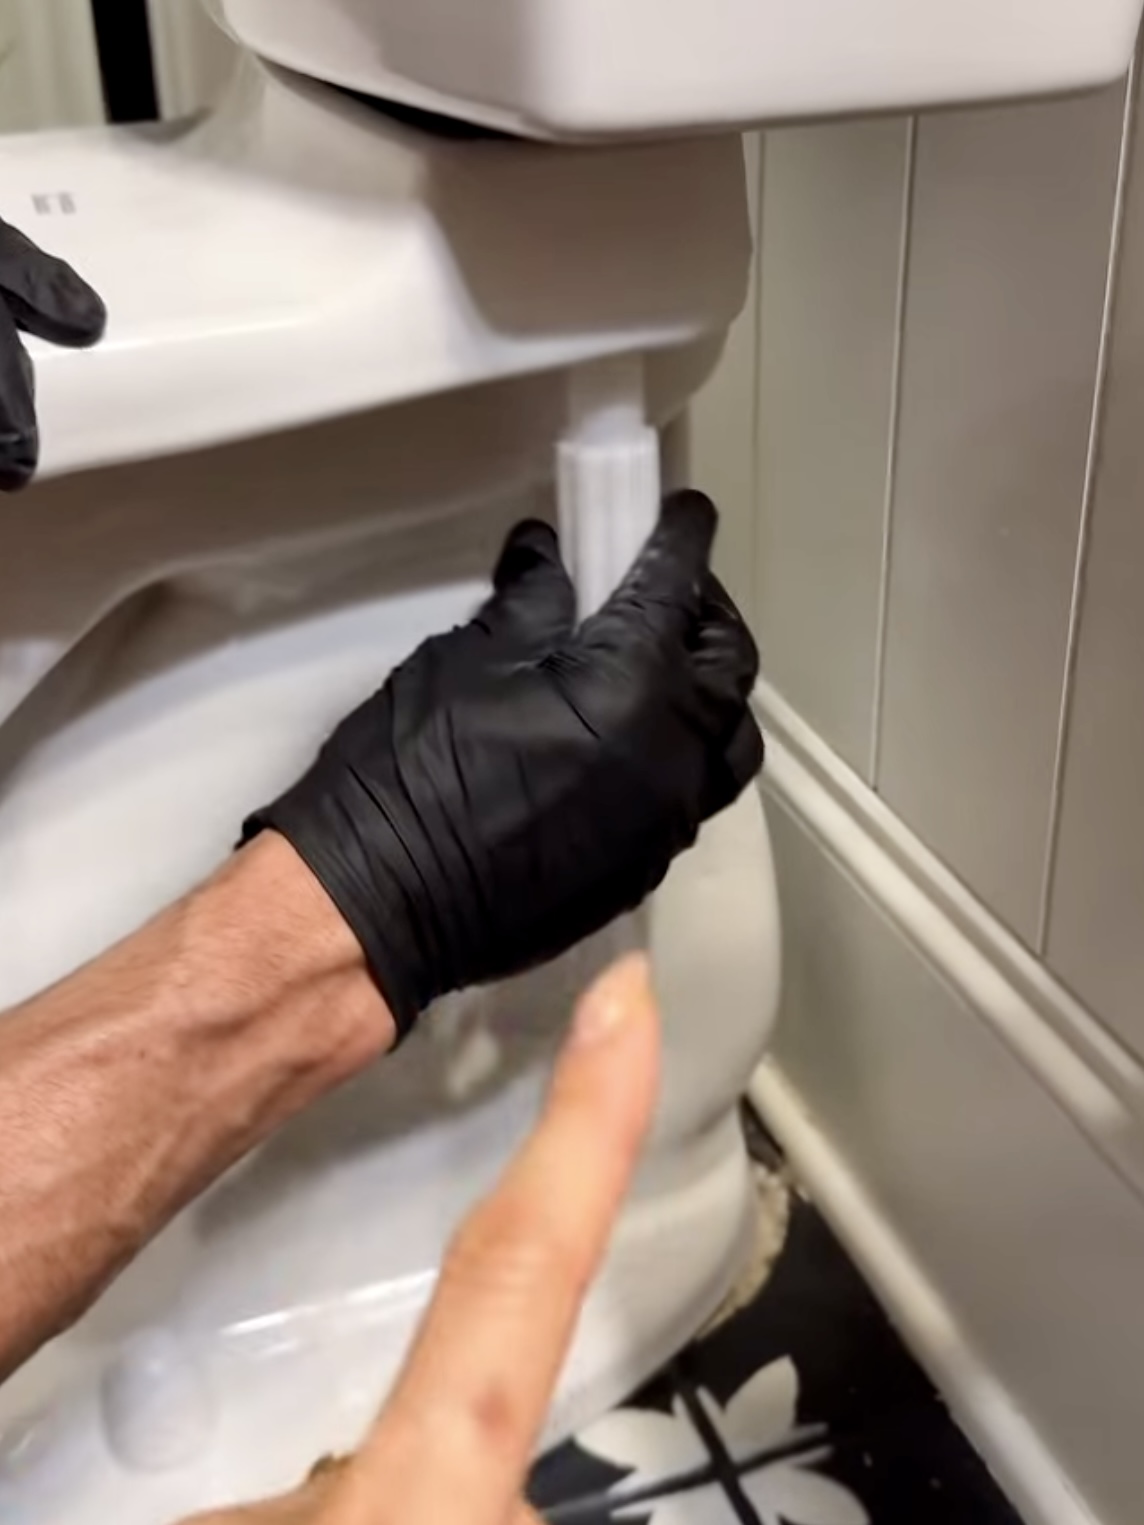
Our toilet came with this installation tool that helps us install the nuts we need to install underneath the tank. You really won’t be able to get a wrench underneath there – so this tool is really helpful. Next, you install your new toilet lid! It’s so easy. You just line it up and screw it in with the provided screws.
5. Reconnecting the Waterline
Then you reverse our first steps to connect your new toilet back to the waterline. Attach the actual waterline, then turn the water back on. Once the water is turned back on, the tank will automatically fill back up and you’re good to go!
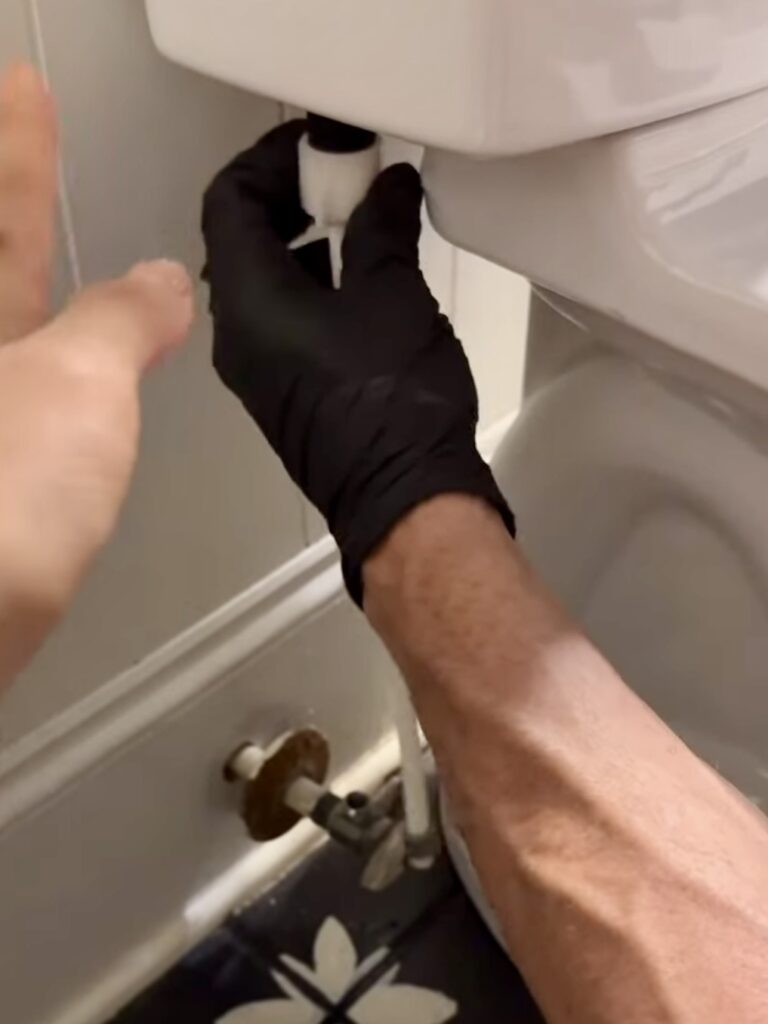
I’m so glad we installed the Champion Toilet from American Standard. I’ve done enough toilet plunging in my life – I deserve a break 😂 With raising 3 kids, having a clog-free toilet is a game changer. It gives me peace of mind I need – no more messy clogs. Just one less thing to worry about in our busy family life!

Materials
- Large Sponge
- Bucket
- Gloves
- Butter Knife (one you will never use again)
- Champion Toilet from American Standard
Tools
