Hi
I'm Bong
I'm just a girl who likes to DIY anything and everything. More than that, I love teaching people - especially women - how to pick up power tools and create the home of their dreams. Stop waiting for someone else and starting Doing It Yourself. I'll show you how!
diy projects
diy school
life hacks
categories
must have products
I am so excited about today’s project. We are in my room, and this wall is getting a little makeover. I’m putting these faux bricks in here from Ninth & Vine. I am so excited! These are faux bricks and they are so easy. I should be able to knock this out in 2 days. The best part is, it has a super sticky adhesive tape, so I don’t really even need my nail gun. It is basically an awesome peel and stick. I’m going to take y’all along and show you how to install them to create a faux brick wall!
I started by removing everything away from the wall. Okay, so the board looks like it has staggered pieces on one end and on the other. The bottom has a lip and the top does not. The reason for the lip is that you stack them on top of each other and it kind of locks them into place. So when you’re first starting out, in the corner you need a straight line. You will go to your saw, hand saw or miter saw, and you are going to cut in 7½in from the edge. So basically where the first brick ends, that is where you’re going to cut it. Then you will take the part that has the lip and put it on the bottom and flush it to the corner of the wall and your baseboard.
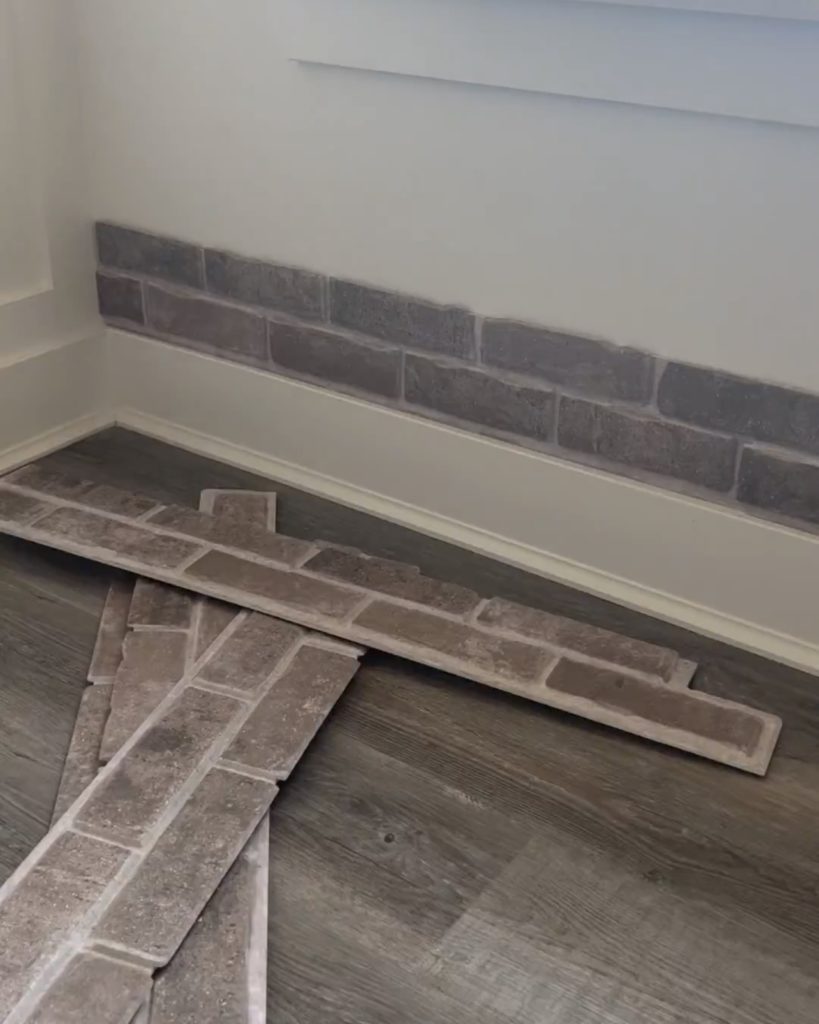
You’re going to want to make sure that this is level first and then you go across your wall. So the first thing I’m going to do is see how level the baseboard is so I can potentially sit the brick on it. It is actually level for my wall. Before you start laying down the bricks you want to make sure you wipe down your wall and that it is clean.
Now all you’re going to do is peel off the sticker. It is really sticky so do a dry fit first then you will take the sticker off and stick it on. Once that piece is up, you are going to roll it on using this roller. It is made for laminate flooring. You just use it to roll across the board and make sure it’s pushed in. Next, you’re going to take your next piece and you will slide it to the side of your brick already on the wall. It should fit snugly in.
We have the first row down and I want to show you how the second row works. I’ve gone ahead and cut off 7½in on the left side. The bottom lip sits right onto the lower panel and that’s it. Now we’re getting ready to do the third row and it’s a little more tricky because of the windowsill. I’m going to cut down and across the brick panel. I’ll take some measurements and use my jigsaw to cut it out.
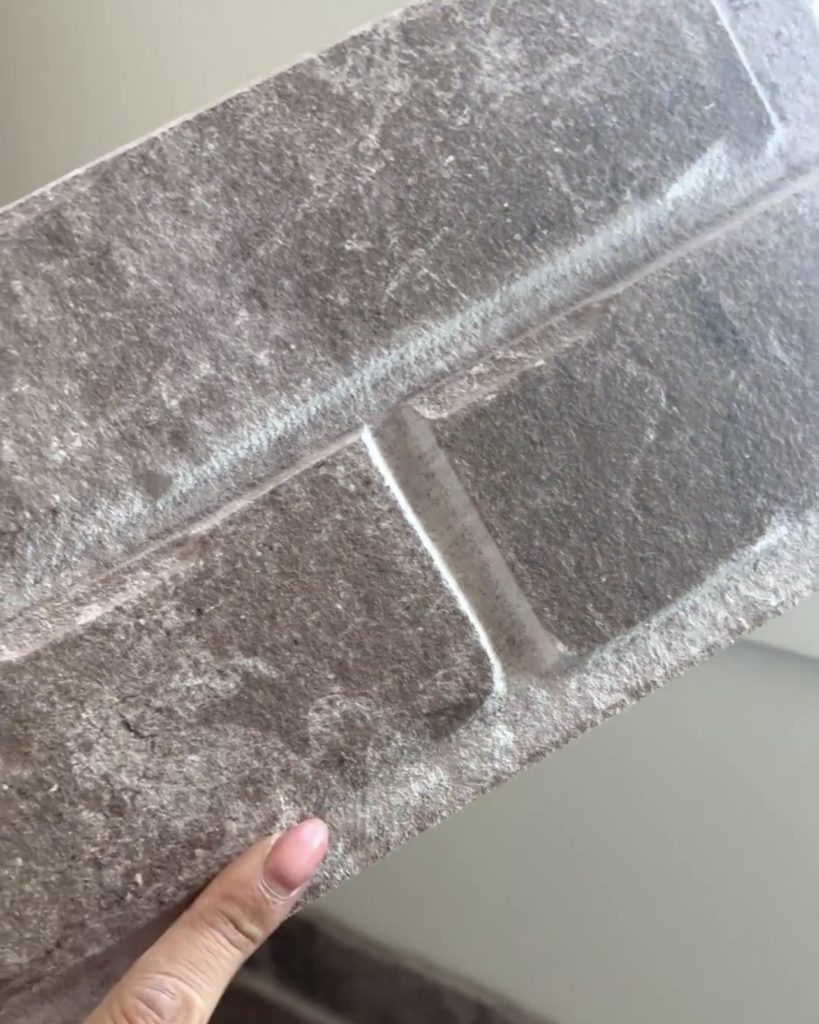
A quick side note, some people were asking why we didn’t do it from top to bottom. It’s just the way this board is made; it is meant to start from the bottom up. You want your boards stacked on top of your first because the lip is again on the bottom.
When you are cutting the boards be careful because after I cut this with a jigsaw and it kind of broke. But you can always feel this back in. It should be fine, but of course, I went on to put this brick on the wall to see if it was a fit and it was not even close. I did not do a good job of measuring apparently! Okay, so I figured out what the problem was. I had measured the right side of the window, but the window was not level. So I had to go back and redo my measurements. I recut the board and after a dry fit it first, it fits much better.
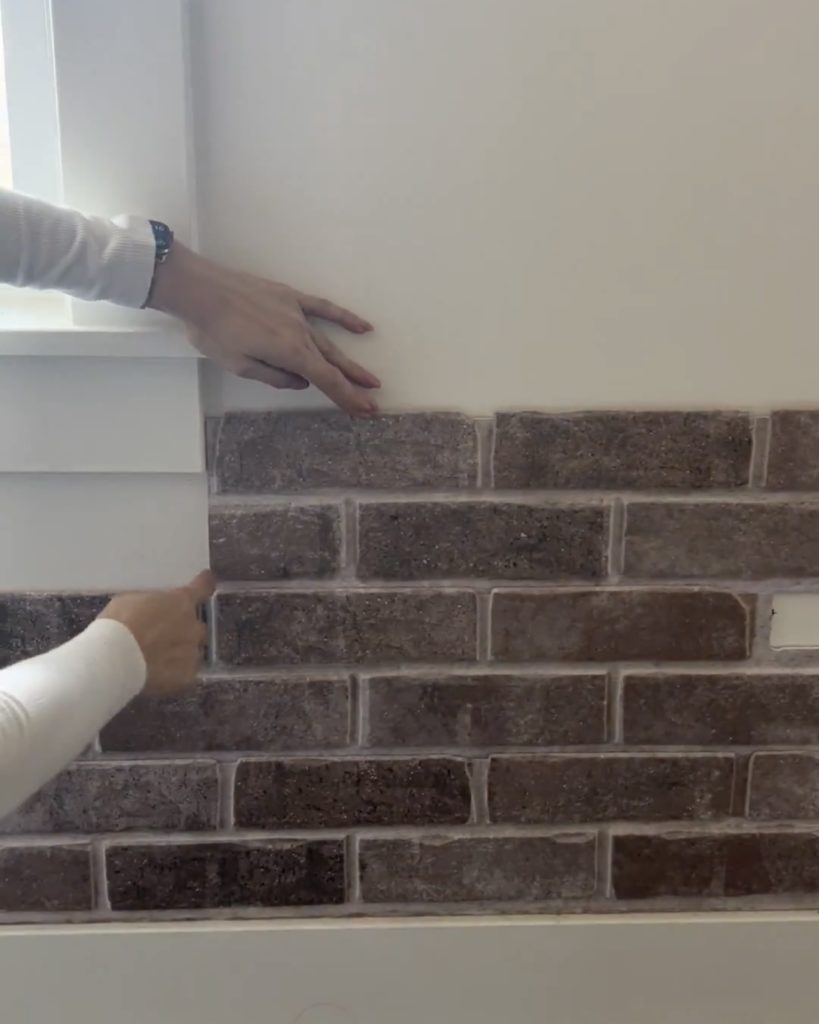
So we just continued measuring, dry fitting the boards, sticking them, and using the roller until we had covered the entire wall. I want to show you guys how I mark my pieces to cut so I’m not walking back and forth. There will be three rows already on the wall and then three more that I’m missing. They are all teeny tiny bit different because walls aren’t always even. So I marked where it needs to be cut, and because this one goes on the bottom, I’ve kept it at number one. I always put an x on the side that is garbage so I don’t get confused later and make sure that my miter saw is on the right side of that line. That’s just a little tip. It helps when you’re cutting pieces to keep everything organized.
I wanted to show you guys that sometimes when you put these bricks on and roll them as tight as you can; they’re still pieces that will stick out. This is due to the curvature of the wall. So grab a brad nailer and just put a few nails in to keep it down, and it’s not noticeable at all.
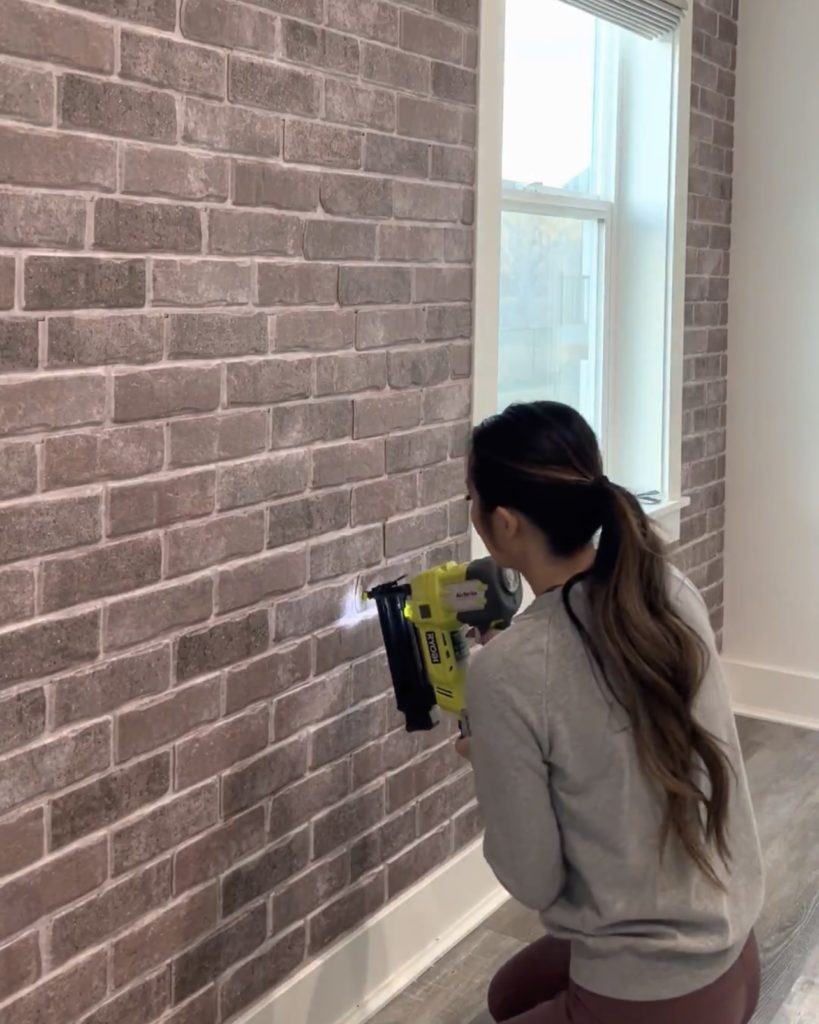
Now I’m on my last row, it will probably be the hardest. I’m going to have to use my jigsaw and just cut straight through the bricks. I’ve done some measurements, and it’s not like it will be a whole brick, so I will have to cut through it.
And now I want to talk a little bit more about the product. The color I used was the Hampton color and it’s a lighter color, grayer with some taupe. Several people were asking if it was paintable. I don’t see why you couldn’t paint it. They do make different colored brick so you wouldn’t even have to. Their white is very popular.
Another concern was if you can see the seams. From a normal distance, you cannot see the seams at all. If you come closer, probably like a foot away, you can see where there is a panel. But even that close it is hard to see them. They also have an option on their website with some tips; if you want to fill in the seams so they’re less noticeable. You can buy a sanded ceramic caulk to fill it in and they have the colors to match each brick.
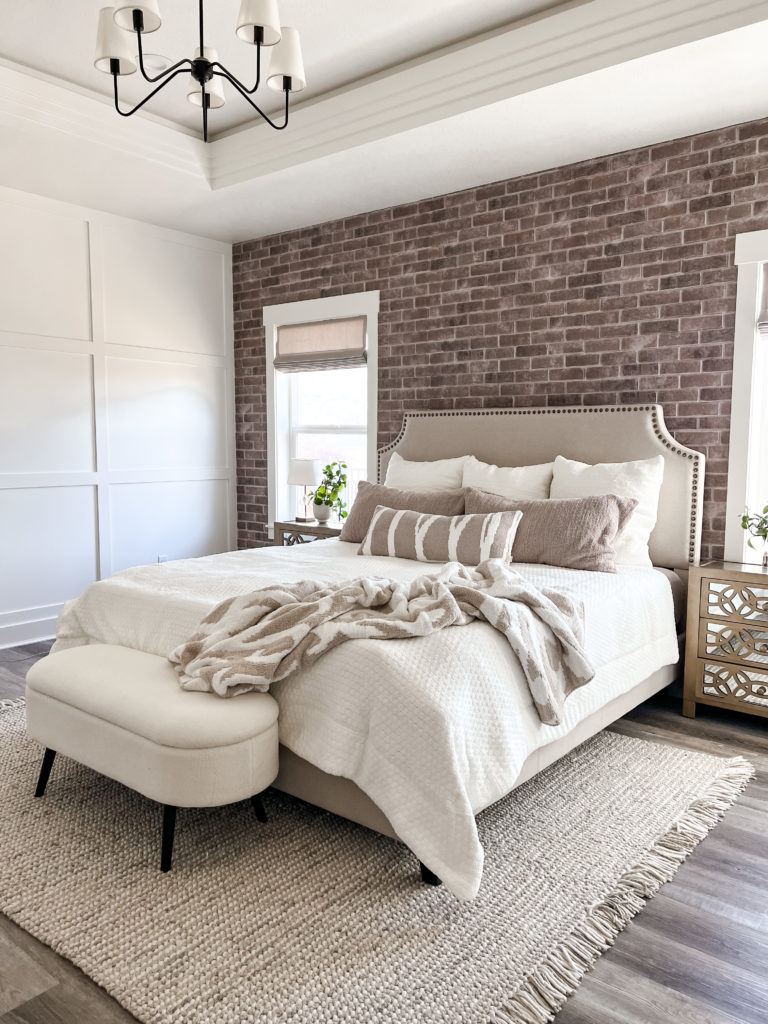
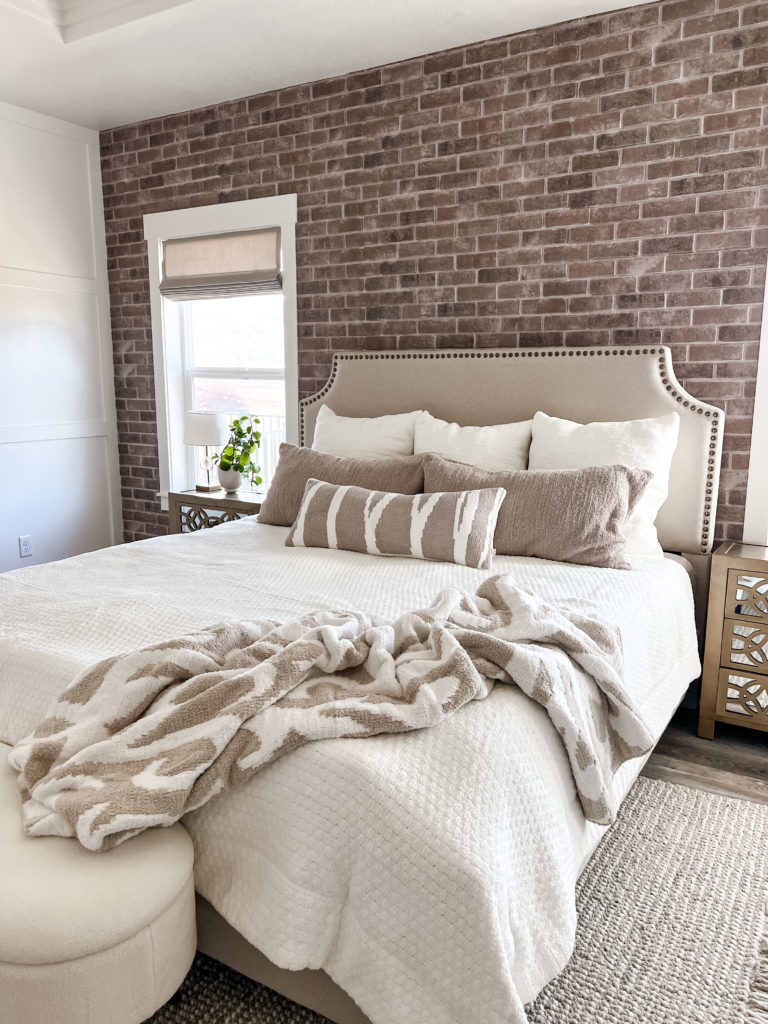
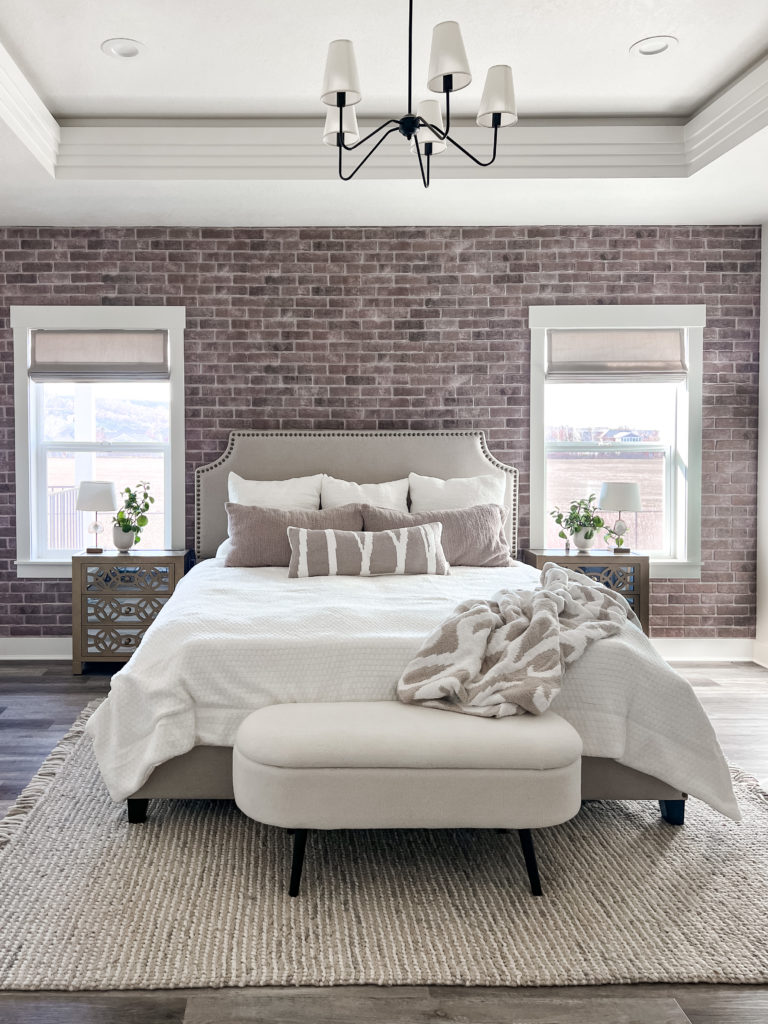
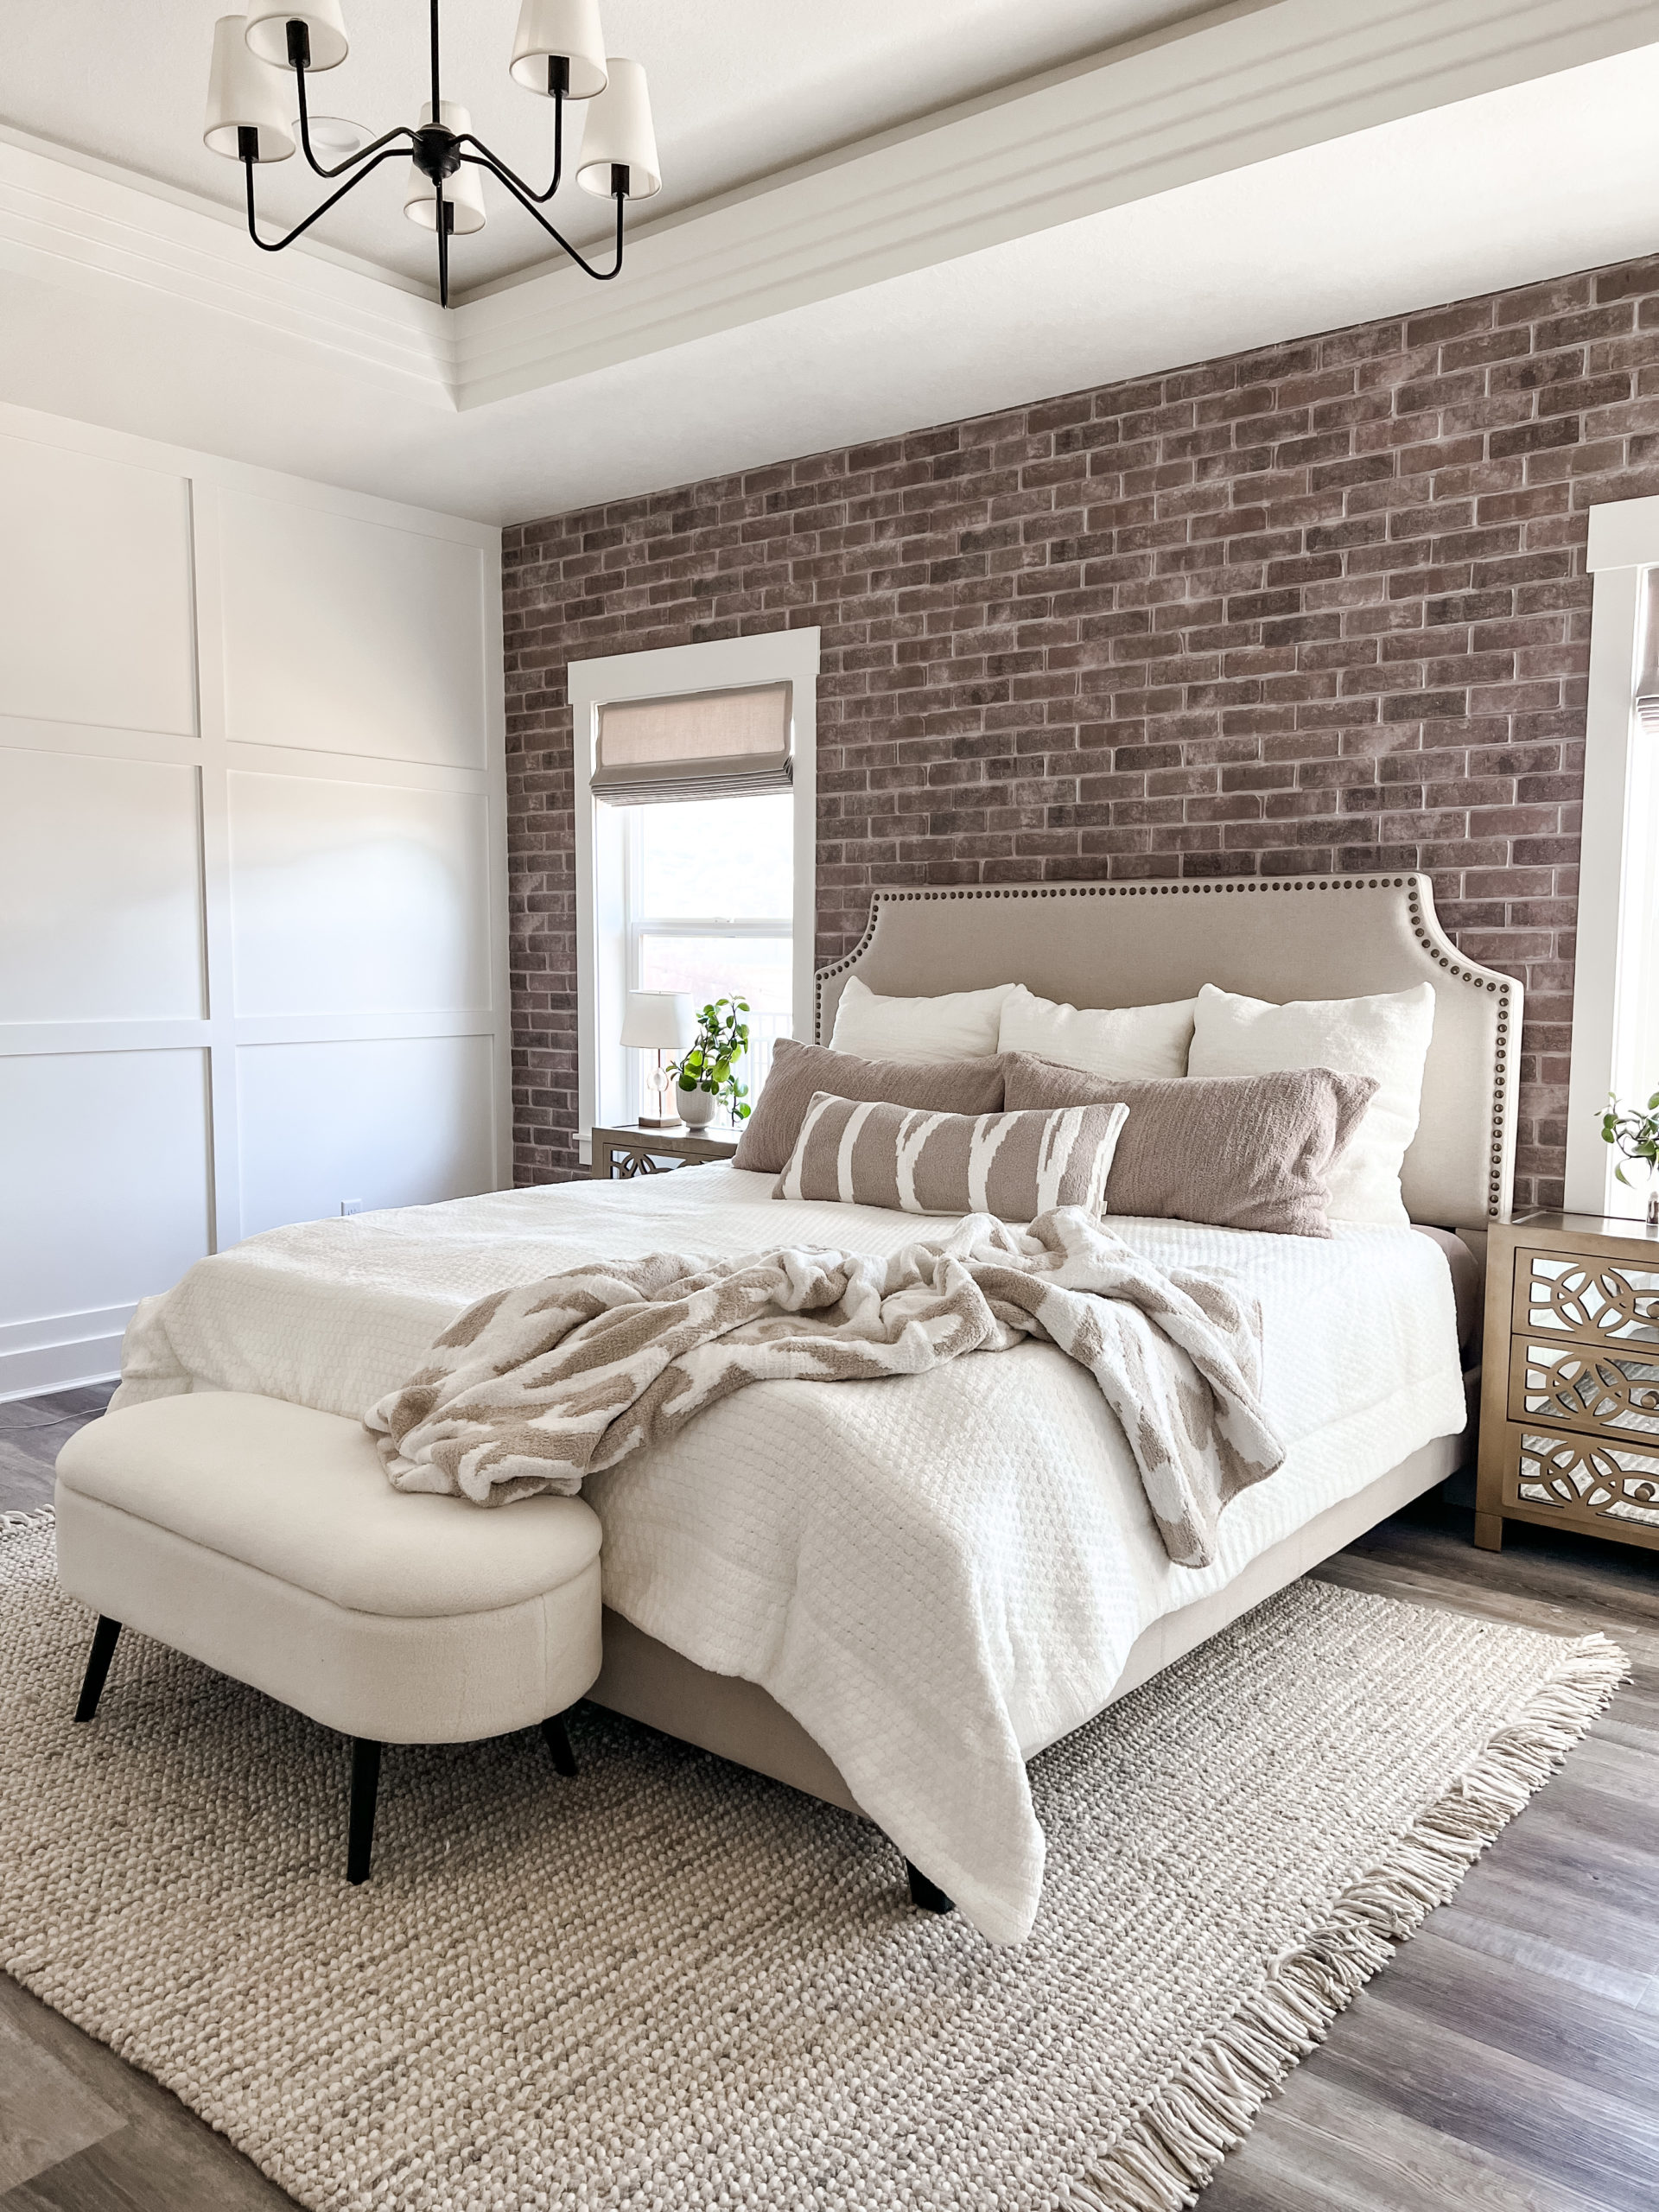



This is stunning, I love it! How did it hold up over time? Did any of the strips come down?
I don’t live there anymore but it’s not going anywhere! That stuff was so sticky!