Hi
I'm Bong
I'm just a girl who likes to DIY anything and everything. More than that, I love teaching people - especially women - how to pick up power tools and create the home of their dreams. Stop waiting for someone else and starting Doing It Yourself. I'll show you how!
diy projects
diy school
life hacks
categories
must have products
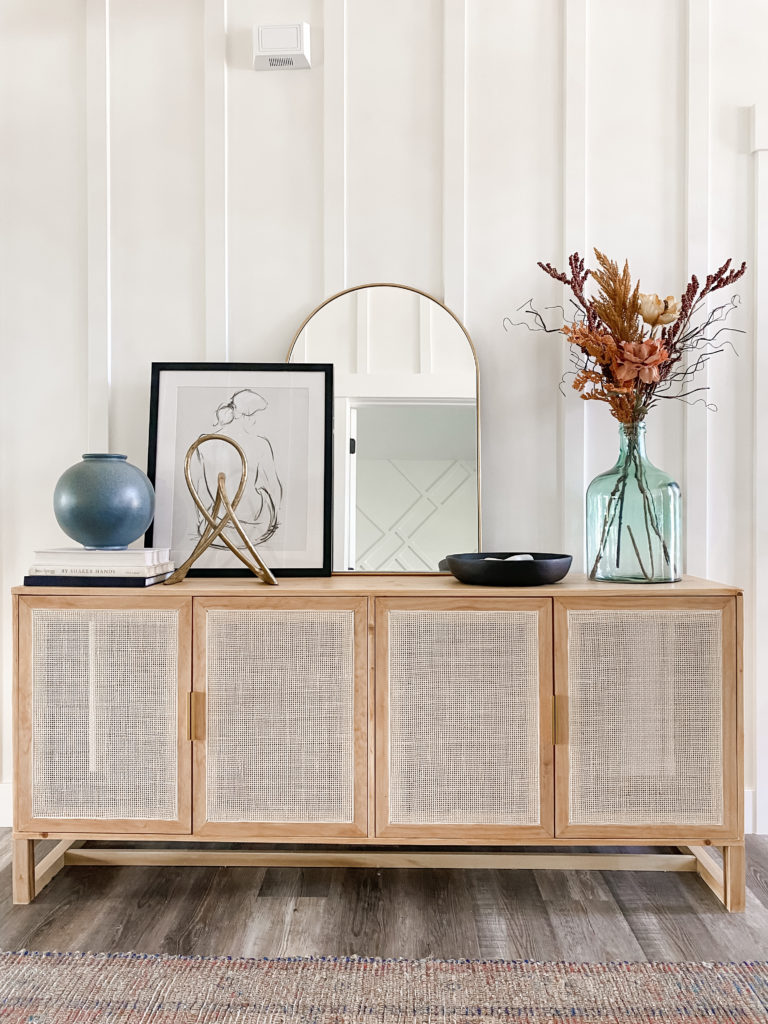
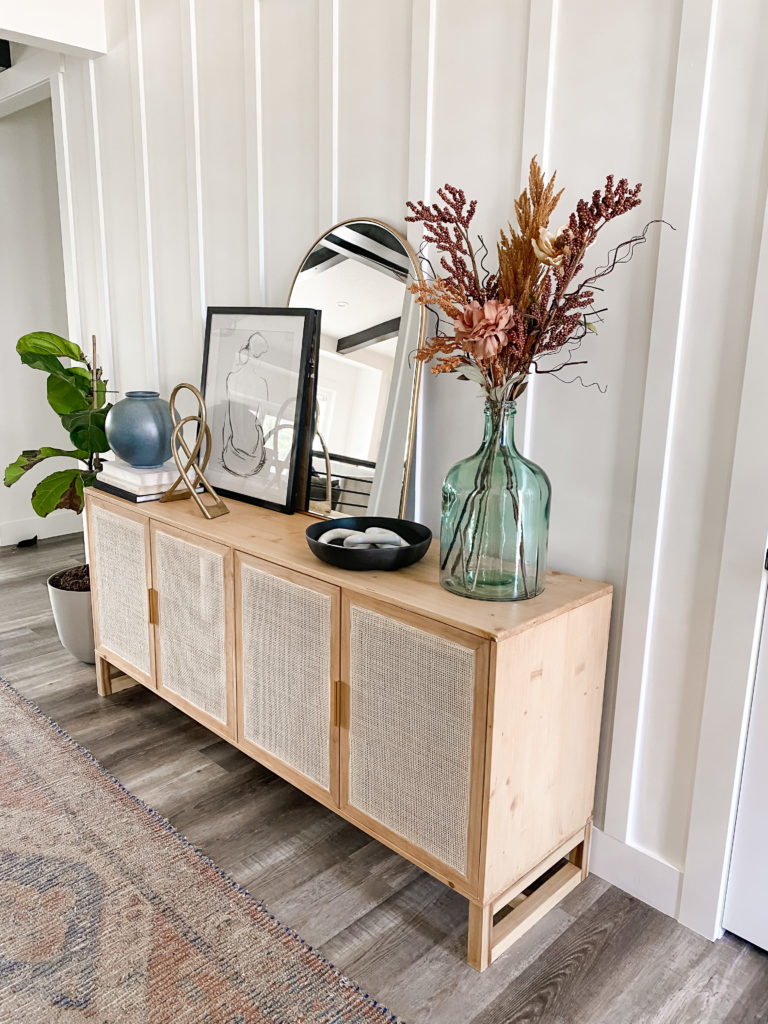
Hey DIYers! Today I wanted to teach you how to install hardware while creating my built-in console. Changing out your hardware can enhance your cabinets and DIY projects.
The hardware I will be using is slightly different from typical hardware because it does not sit on the front but sits on the back of the cabinets. However, it is not that different because you always screw in your hardware through the back.

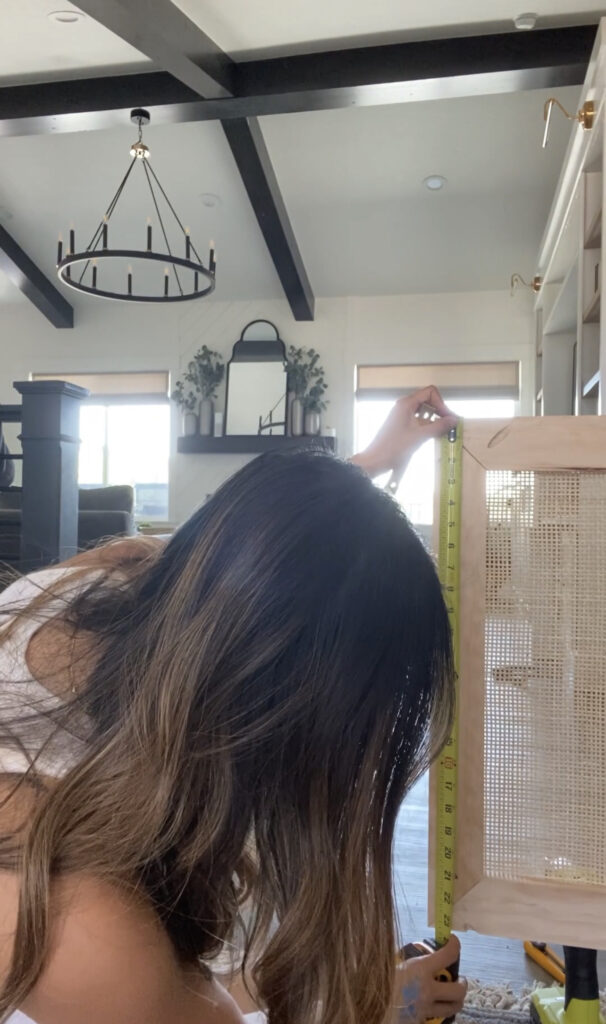
First, you will need to measure a few parts of your cabinet. Begin measuring the top of the door to the bottom of the door as well as measuring the hardware. When measuring the hardware, you must measure from the top hole to the bottom hole. For example, my cabinet door is 23 ½ inches tall, and my hardware is three ¾. I will be placing my handle in the middle. I need to find the center of the door, which is 11 ¾. Once I marked 11 ¾ on my door, I placed the hardware on the door and marked both holes. Next, I am marking the top and bottom of my hardware. This will make sure it lines up exactly when I place it on the door.
When I pick a drill bit for a pre-drill whole, I will choose one that is a tiny bit smaller than the actual screw. If you pick one that is too big, the screw will fall out, but if you choose one that is too small, your screw might have a hard time fitting in, defeating the purpose. Then it is time to start drilling! I will then drill into both holes I marked on my cabinet. I always like to screw the first one in lightly until I have the second one screwed in, and then I go back and tighten them.
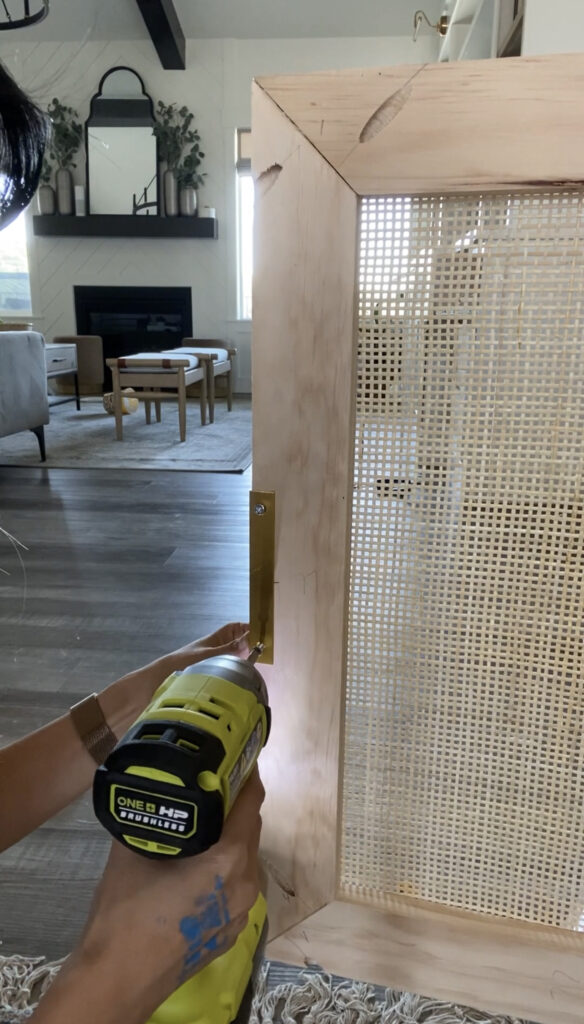
And there you have it, brand-new hardware for your cabinets! But, of course, the most important thing about this project is ensuring you have all the measurements correct! Now you know how to install hardware for your next DIY project!

