Hi
I'm Bong
I'm just a girl who likes to DIY anything and everything. More than that, I love teaching people - especially women - how to pick up power tools and create the home of their dreams. Stop waiting for someone else and starting Doing It Yourself. I'll show you how!
diy projects
diy school
life hacks
categories
must have products
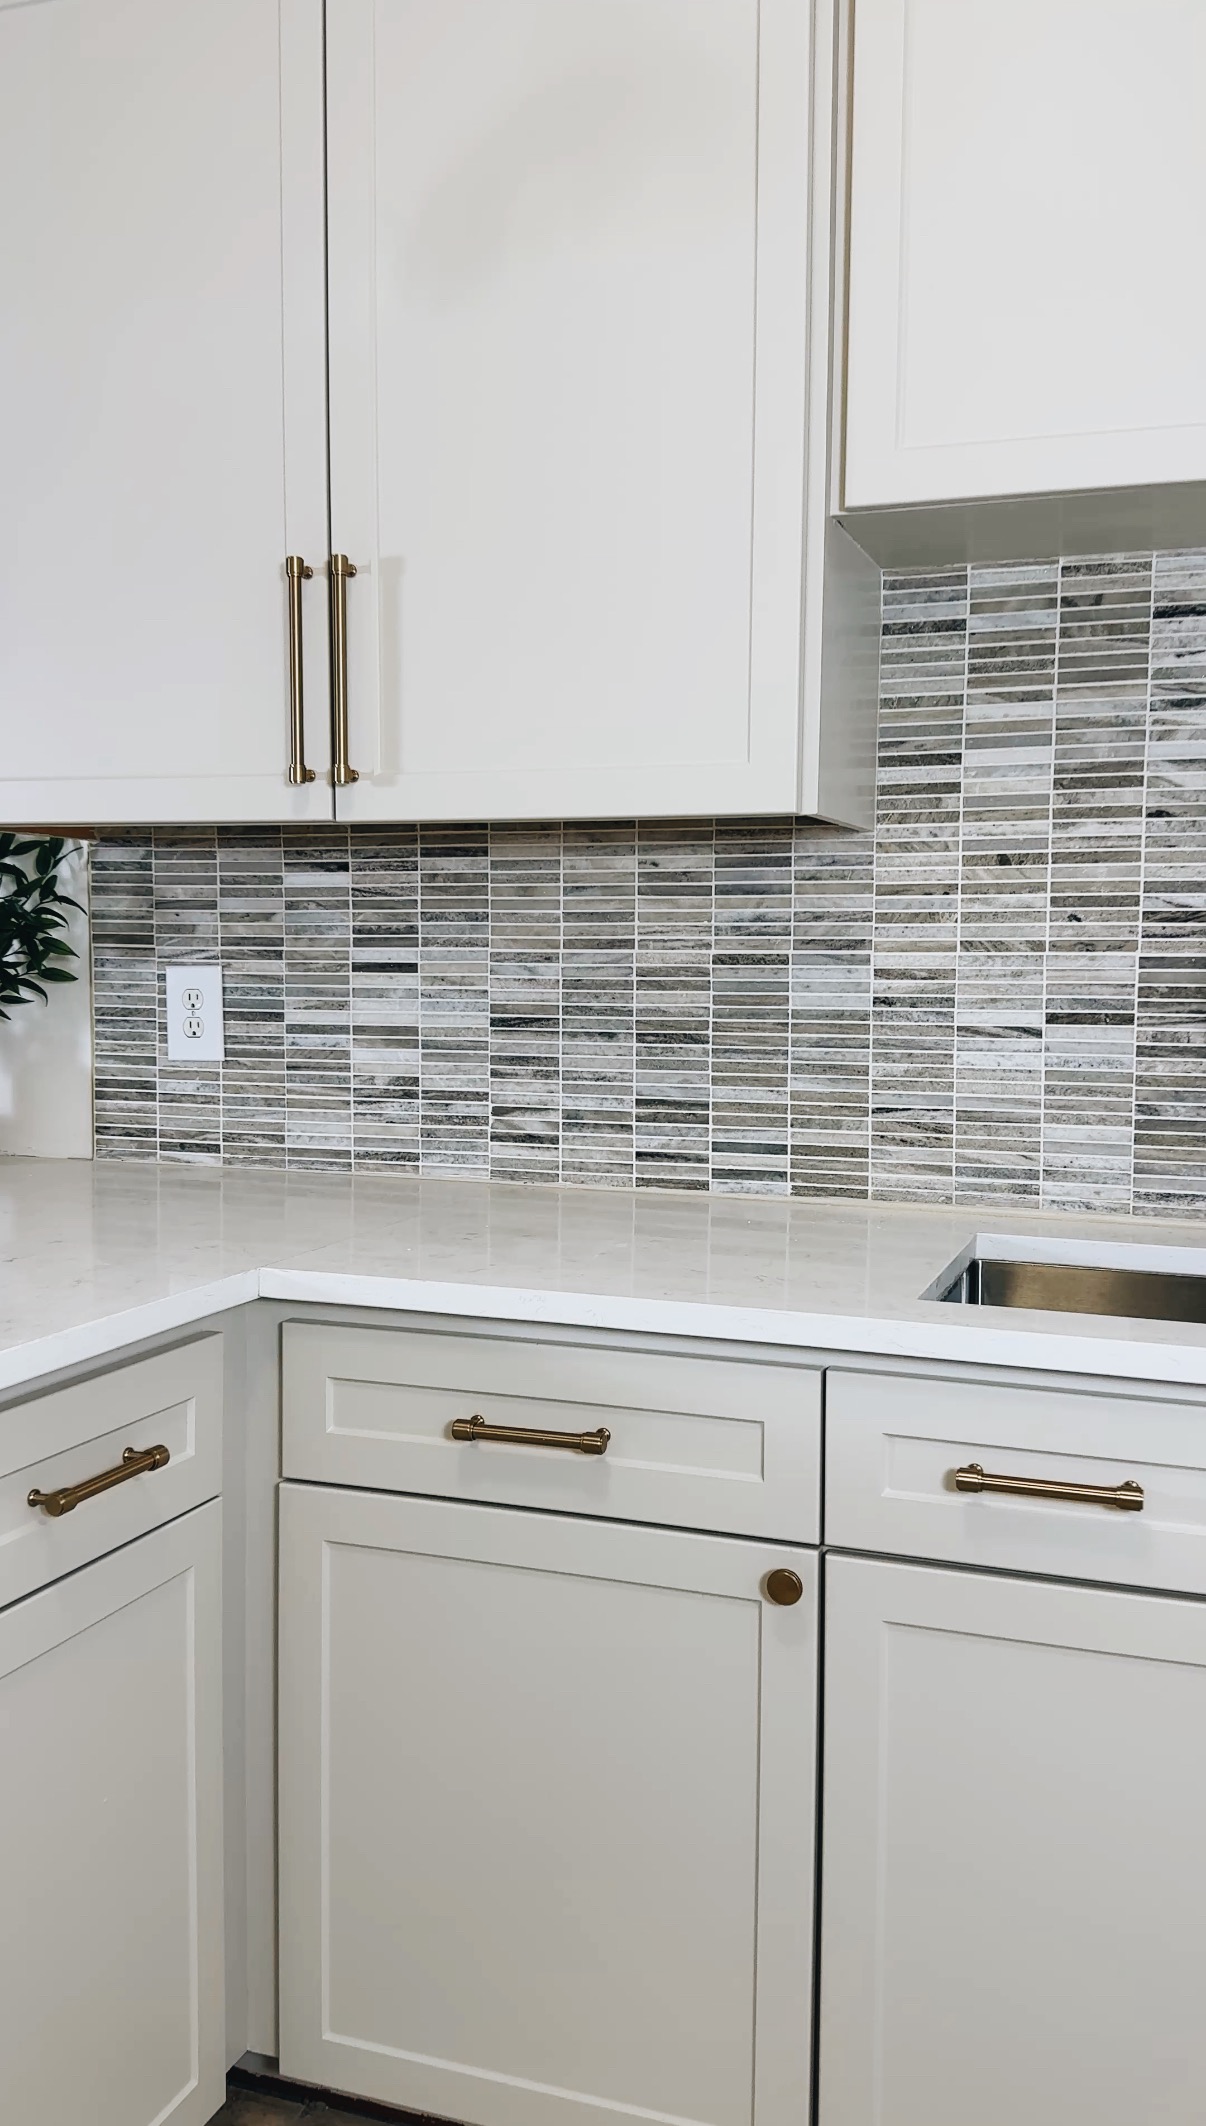
Here we are with the kitchen Reno pt II! It’s time to finish my kitchen! I am using Lily Ann Cabinets because they come with a kitchen design, so you don’t have to worry about it. I am using these panels to cover up the sides of my cabinets because you can see two on top of each other. This will allow the whole piece to look cohesive.
So the first step is to adjust my table saw, which is 11¼”, and then I’ll rip the whole thing through.
I used some Loctite construction adhesive all over the sides of my cabinets. Make sure to dust off the cabinet piece to eliminate all that sawdust. Then I put the board into place with a clamp at the top and heavy weights at the bottom. It looks like one piece of furniture, and I’m so happy.
I am also adding a filler piece on the cabinet’s side to close that gap. Once again, I used my Loctite construction adhesive and then my rubber mallet to get it in there securely.
I am working with Hewn Flooring for my whole kitchen and living room, and I am so excited. It will look so good, and I just got my samples, so I Can’t wait. So stay tuned to see my flooring come together.
Next, we finally got my granite island put together. It took a team of us to carry it from outside, upstairs, and then onto the counter, but I am thrilled with how it turned out. We also got the granite countertops all set up as well. It was so satisfying to rip the plastic covers off.
Our kitchen island is a Calacatta quartz, and the color is called “Dolce.” I bought it from my local place here in Charlotte, and it looks gorgeous.
After hours and hours of researching and scouring the internet, I finally found my perfect sink hardware. It is the Signature Hardware “Hurston Faucet” and it was exactly what I wanted. It has the bridge style with two handles and the best part is it has a pull-down faucet. I also have a reverse osmosis, which is a filtered water spout. They also sell a matching soap dispenser that is connected to under the cabinet and then a button for my disposable. The sink is also from Signature Hardware and it is stunning. It is 33” and super deep. I also got the brass drainage system.
Next, I am going to tell you about my toe kicks. These little quarter-inch strips go under the cabinet, so you don’t see the separations in the cupboards. Not only is this an aesthetic thing, but it also saves you from spending hours cleaning groves and trying to get in those little gaps between your cabinets. I am attaching it with some brad nails every 12″. It would help to have a miter saw to get it to the correct length.
Next up is my shelving. A little nervous because I had to drill into the tile, which I’d never done before. I bought a Bosch drill bit kit and am using a 1/4″ bit, and I will drill slowly and then put anchors in.
I want to talk about drill bit sizes for a second. So the kit I am using comes in four different sizes. Since I needed to use an anchor, I used a 1/4″, and then for the part that goes into the stud, I will use the 1/8″. I am making sure to put holes in the studs and as an anchor to ensure they are secure. Now about the shelves. They are from a small business, Shelf Expression, and are gorgeous. Mine are maple, but they have so many different woods. This shelf has been routed out and has a french cleat which is better than the rods that come straight out that wear out over time.
I finished drilling my holes and screwed my screws into the french cleat. When placing your cleat, make sure you have it on the right side up and that everything is level. Next, I wedged the shelf on the cleat, making me use my muscles. A few predrilled holes at the bottom provide a few tiny black screws to secure the shelves into place. These bad boys aren’t going anywhere. The weight limit on my shelf is 200lb because they are 10″ deep.
I love how all these little projects look and complete the perfect kitchen for my family and me.


