After wrapping up the cabinet doors, drawer fronts, and a brand new countertop (more about that here in this blog post), we’re finally ready to move on to one of the most satisfying parts of this kitchenette makeover — the backsplash. And yes, we actually prepped properly. Everything’s wrapped and ready to go. Growth, right?
Planning the Tile Layout
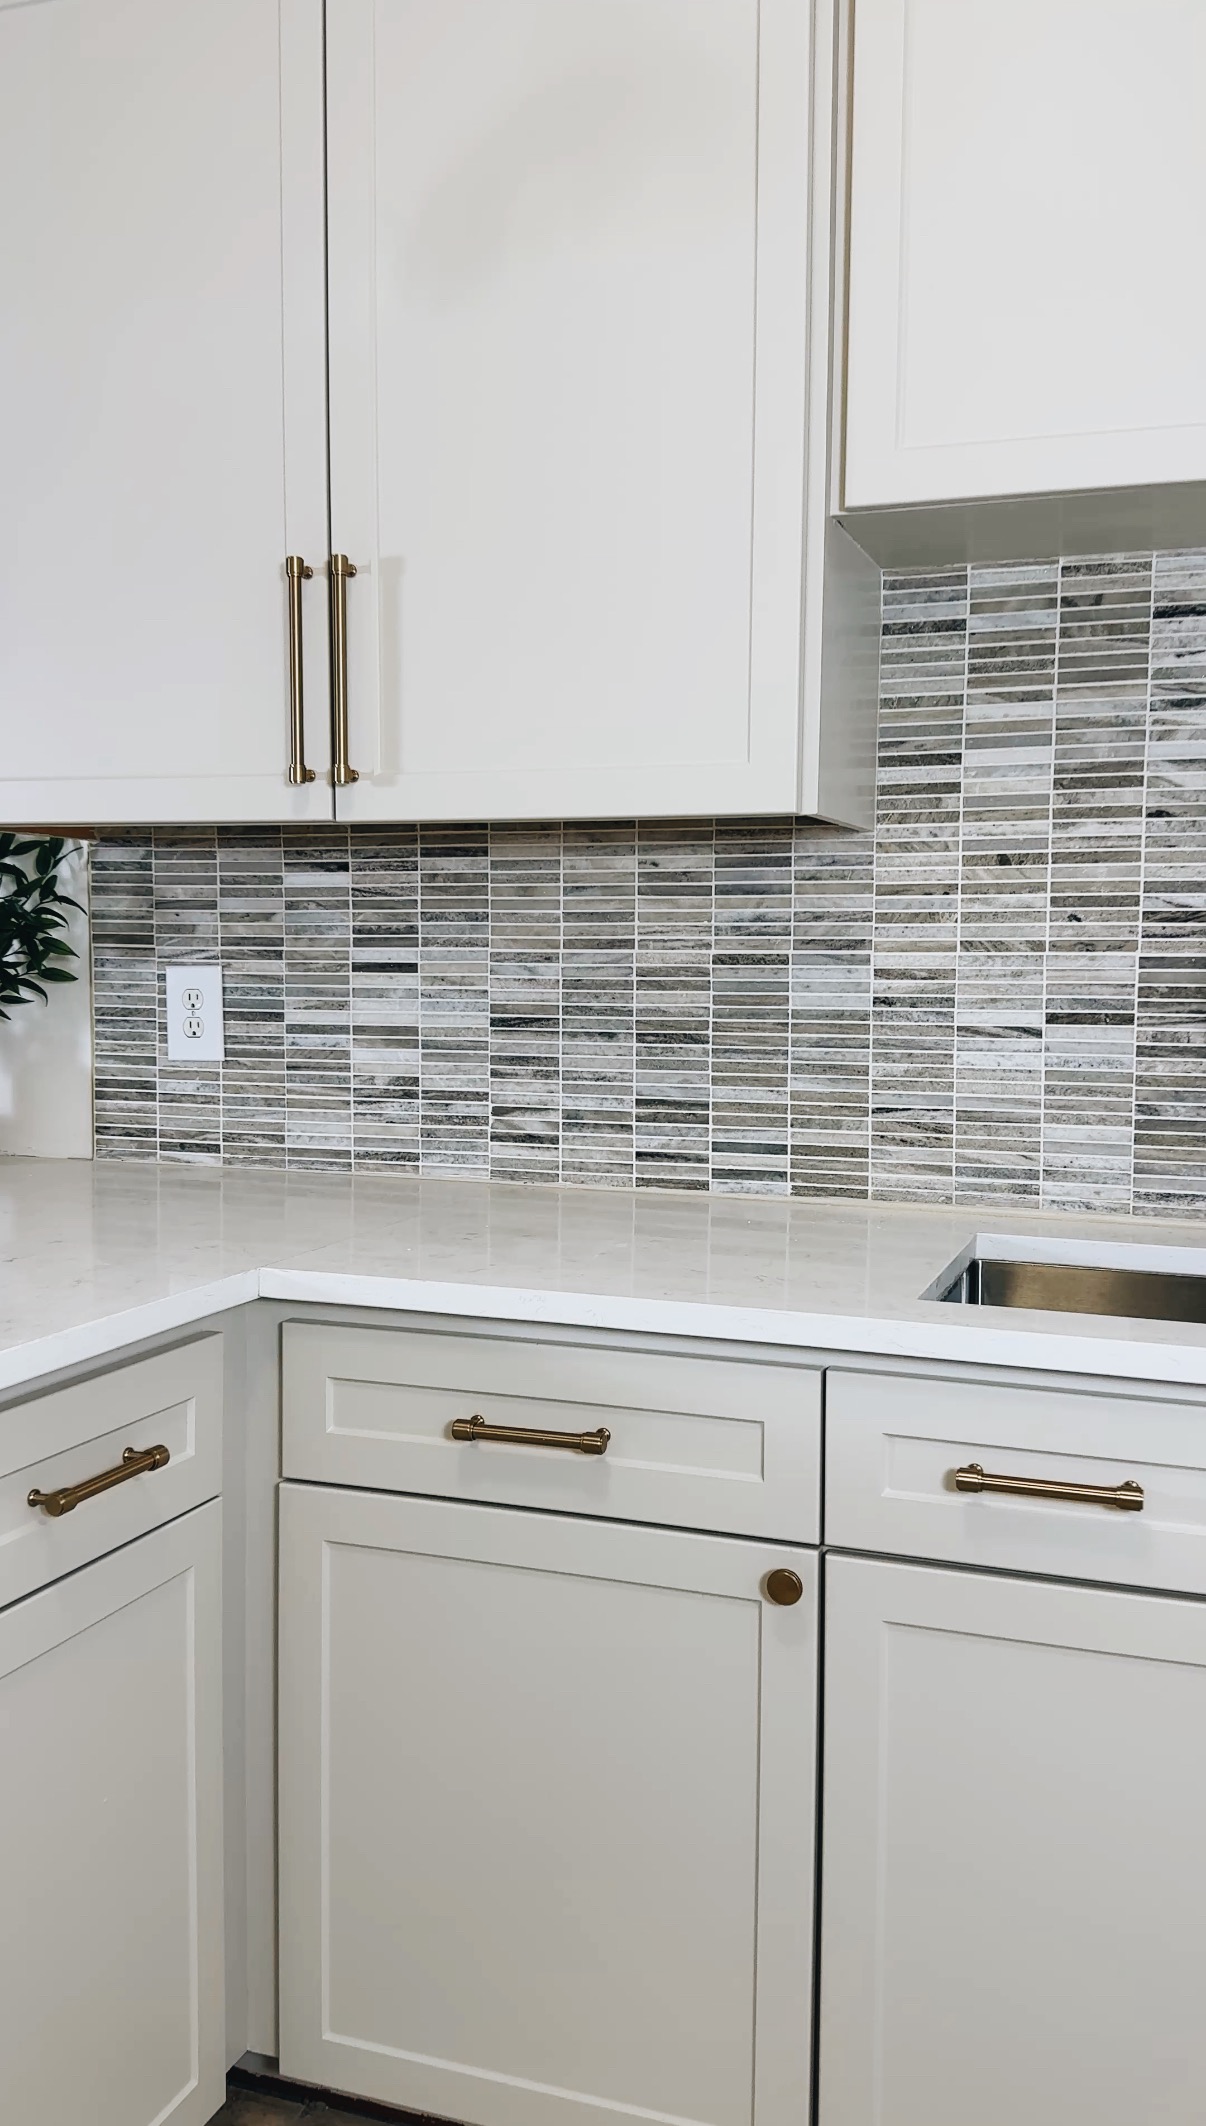
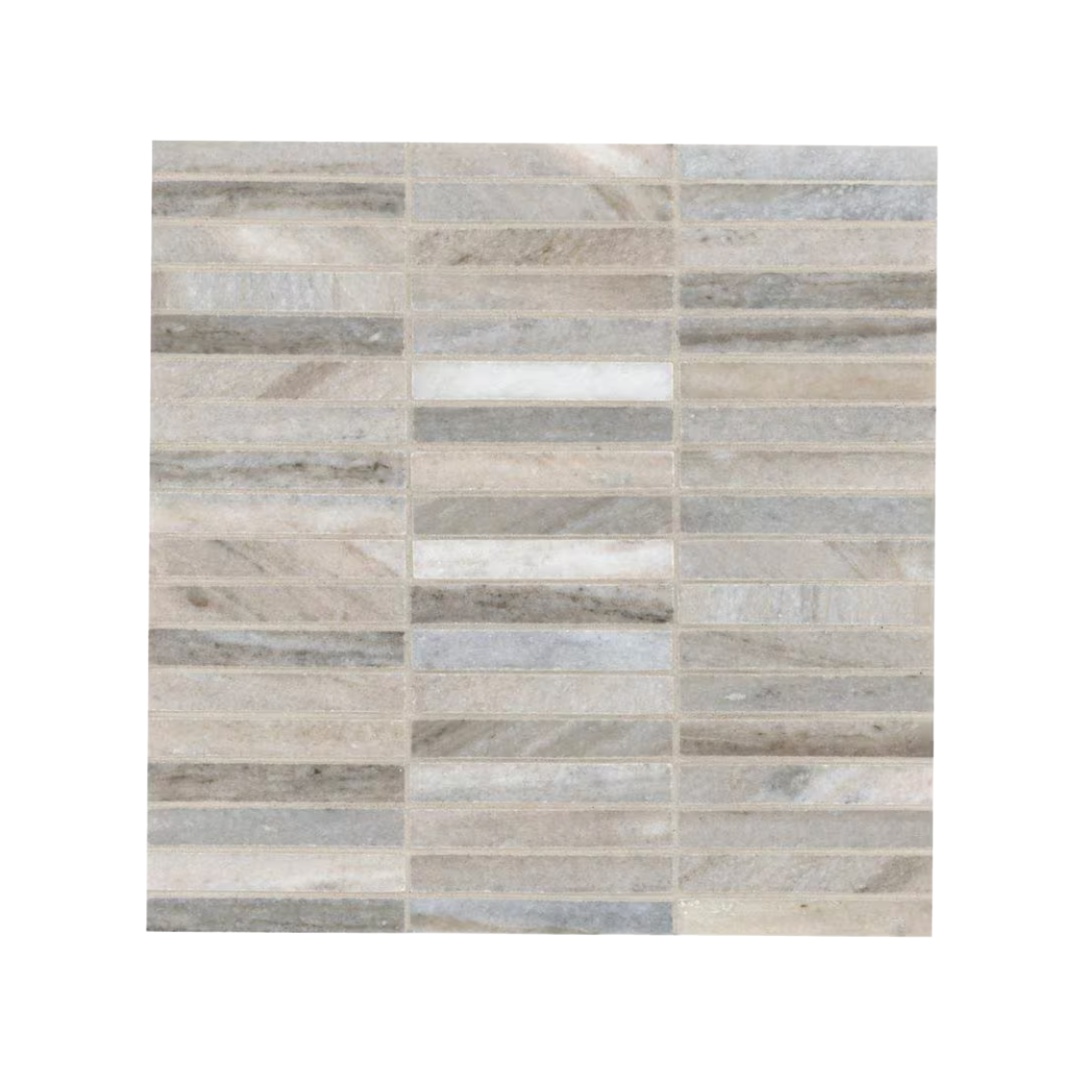
We’re using 12×12 Polished Marble mesh-backed tile sheets for this project. These are super convenient because they’re already lined up and easy to cut. The wall we’re tiling is 101 inches long, which means we can fit eight full 12-inch sheets side by side. That leaves us with six extra inches at the end. Instead of letting that awkward sliver land in a visible spot, we decided to shift things so the tiny one-inch edge lands in the corner where it’s out of sight. It’s a small detail, but it makes a big difference in the final look.
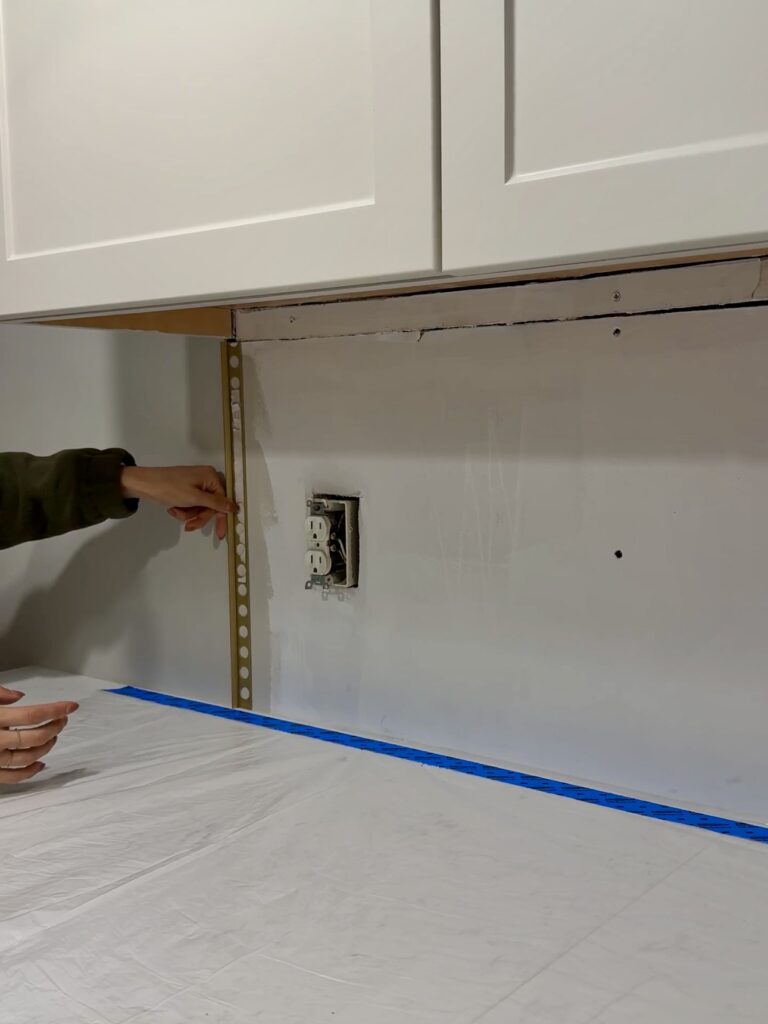
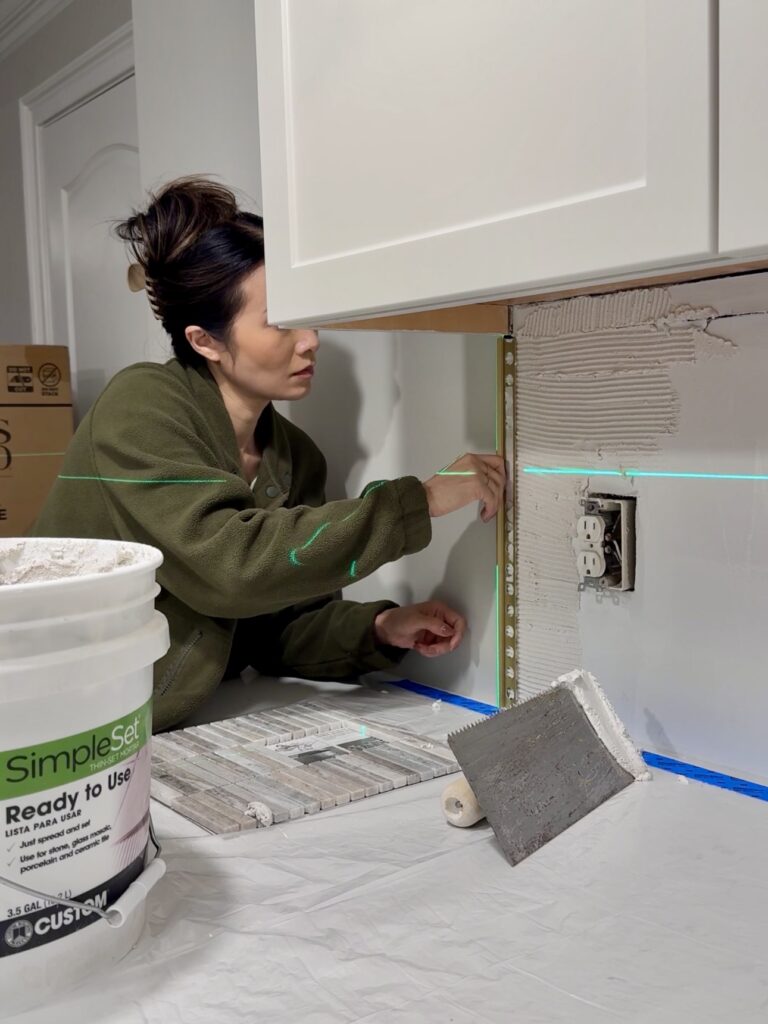
Installing the Schluter Edge
To get a nice, finished edge where the backsplash ends, we’re using a schluter trim in a brushed brass color. This ties in nicely with our cabinet hardware and gives everything a clean, polished look. We cut the trim to size using a miter saw, and then attached it to the wall with mortar. It’s a simple step, but one that really elevates the whole project.
Setting the Tile
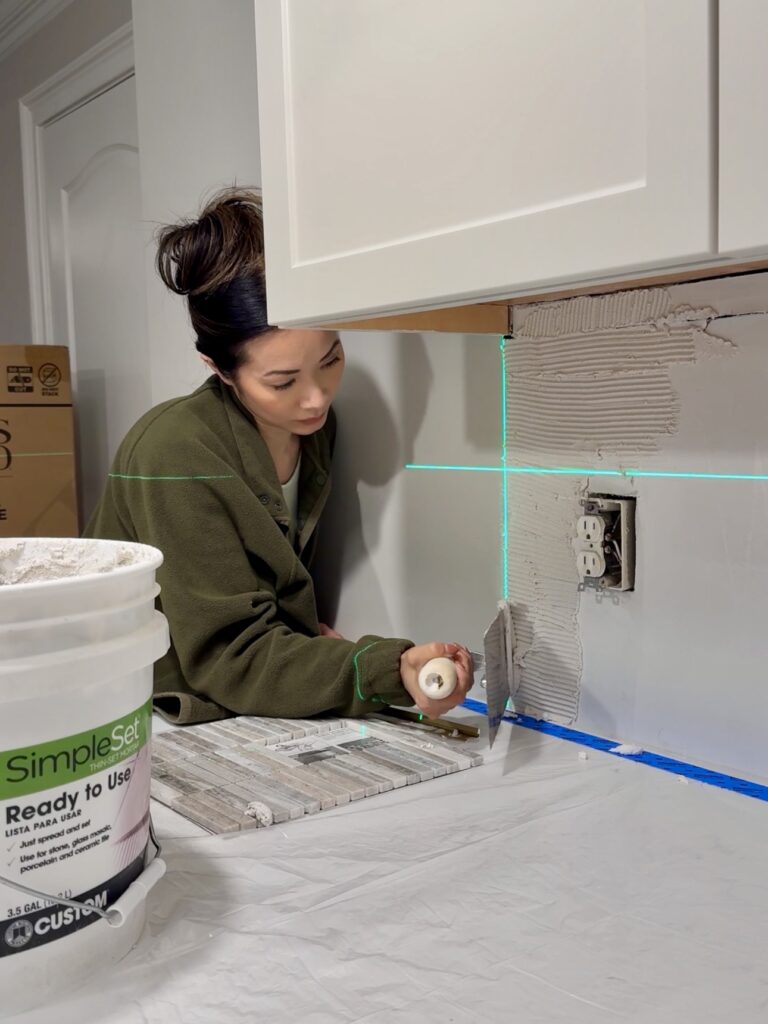
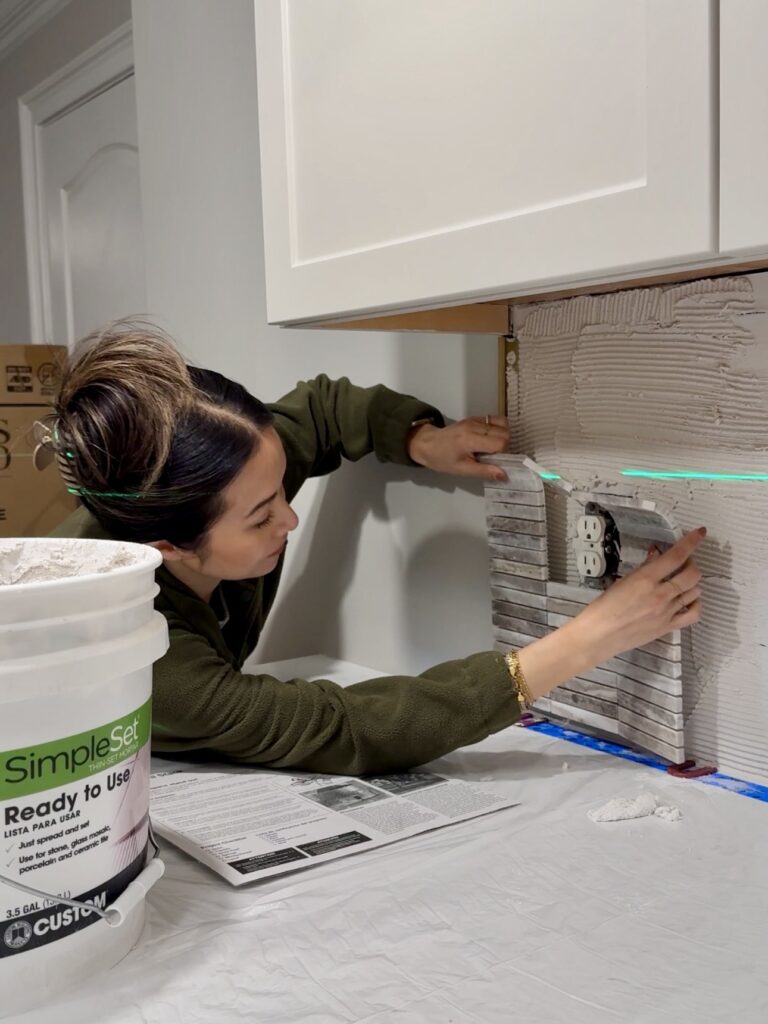
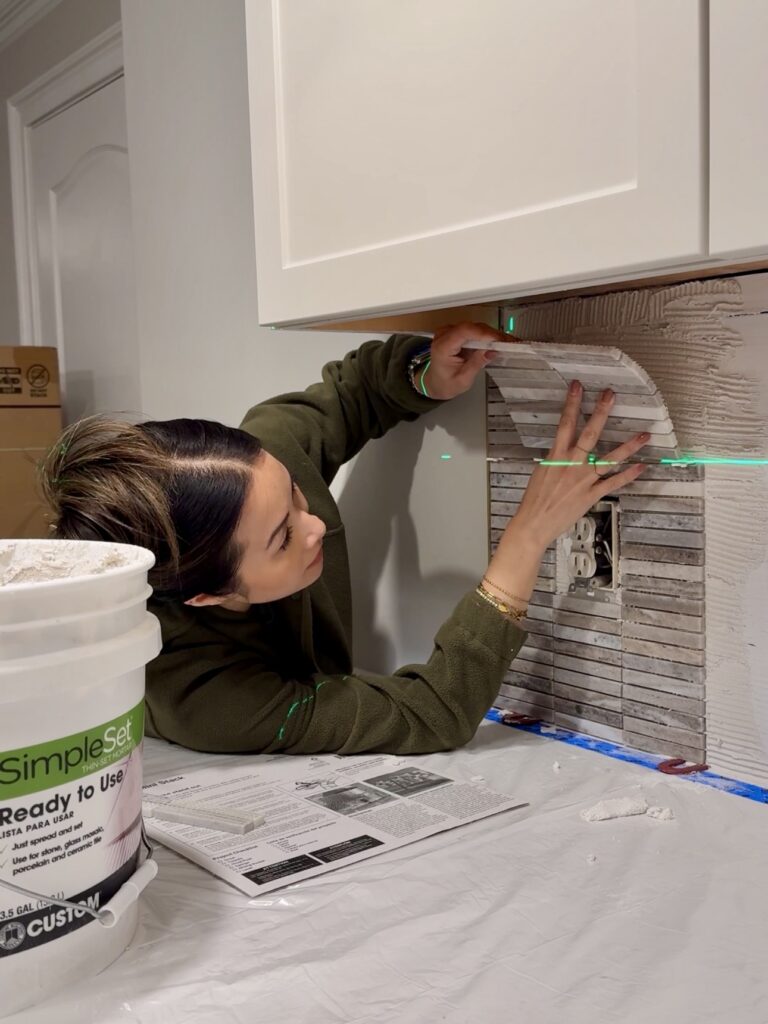
One of the first tiles needed to be trimmed down to fit under the upper cabinets as well as around an outlet. I measured from the bottom up, leaving a small gap. Since these are mesh-backed sheets, trimming was easy — I just used a utility knife to cut through the mesh and removed the extra rows of tile from the top.
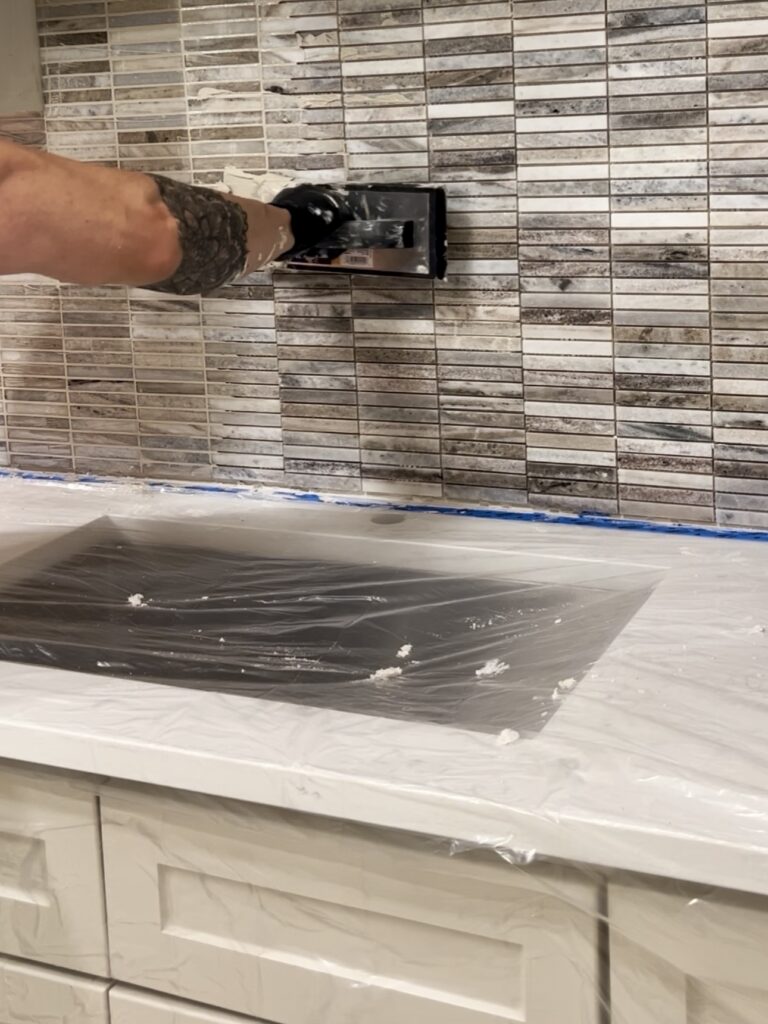
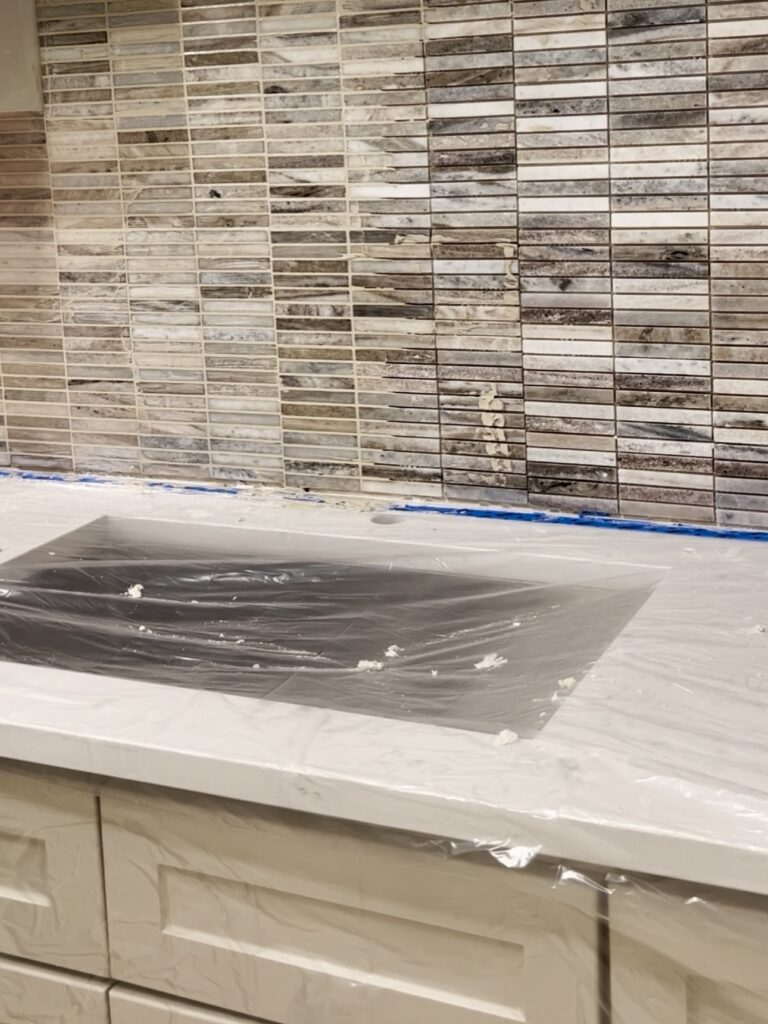
With the trim in place and the cuts made, it was time to tile. We applied mortar to the wall using a notched trowel, starting at the bottom and working our way up. We made sure to use our laser level to make sure all our tiles lined up. Pressing the tiles into place is a bit of a workout (my arms definitely felt it), but once everything starts going up, it’s incredibly satisfying. The space immediately starts to look more finished.
After everything was dried and set, we applied grout in the color Bone over our new backsplash! I love this color.
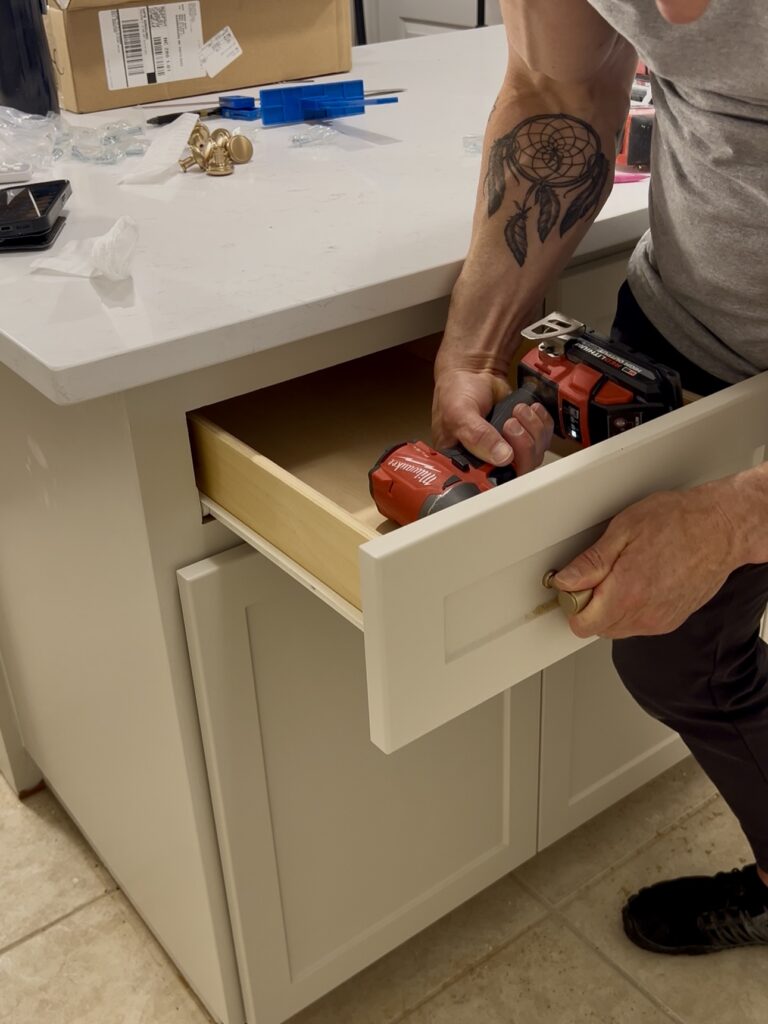
Choosing the Hardware
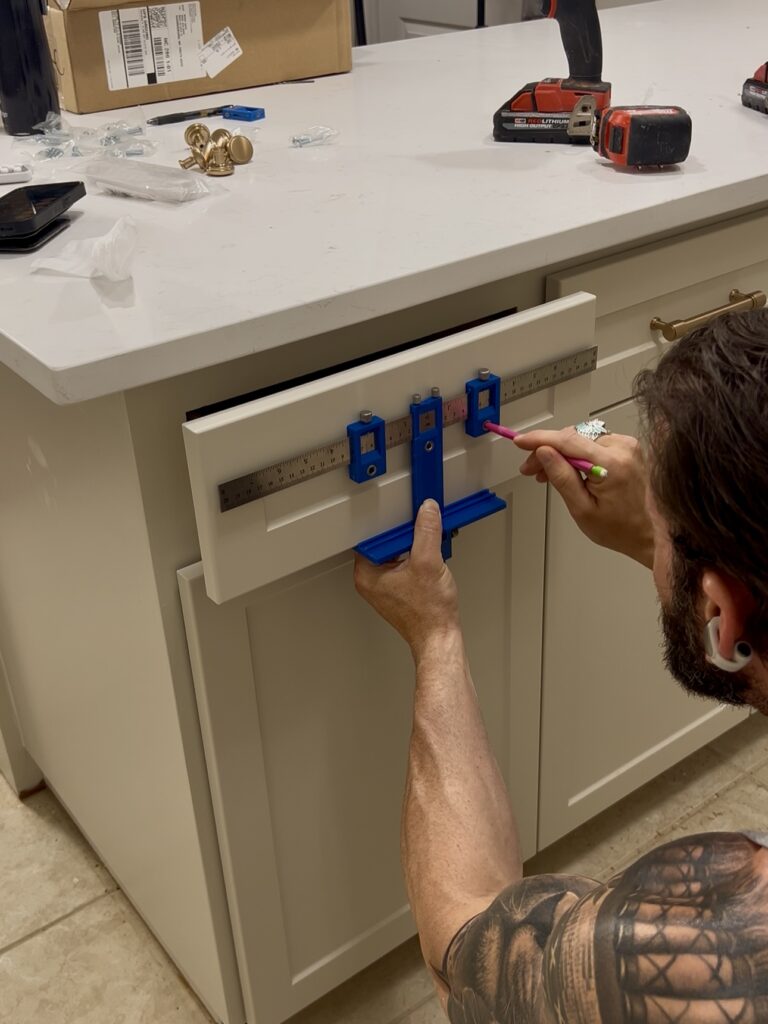
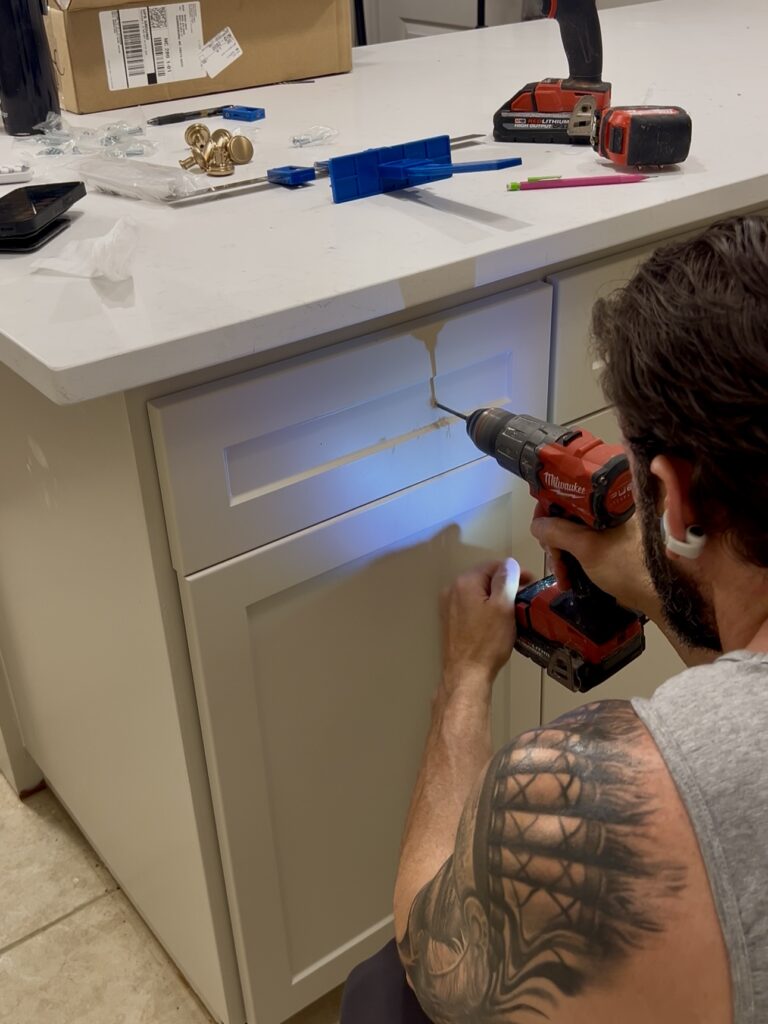
For hardware, we chose a mix of knobs and pulls to keep things interesting. The tall cabinet doors are getting longer pulls that suit their size, while the corner cabinets are getting classic knobs. The upper drawers will have mid-sized pulls. Mixing things up like this keeps the design from feeling too repetitive and adds a custom look to the space. I always say, hardware is the jewelry of a room. This hardware is perfect!
I’ve shared this tool a bunch of times, but this hardware jig is a life saver. We use this any time we have to install hardware. It ensures everything is even and level!

We’re almost done with the kitchenette! All we need is new paint and flooring. Stay tuned!