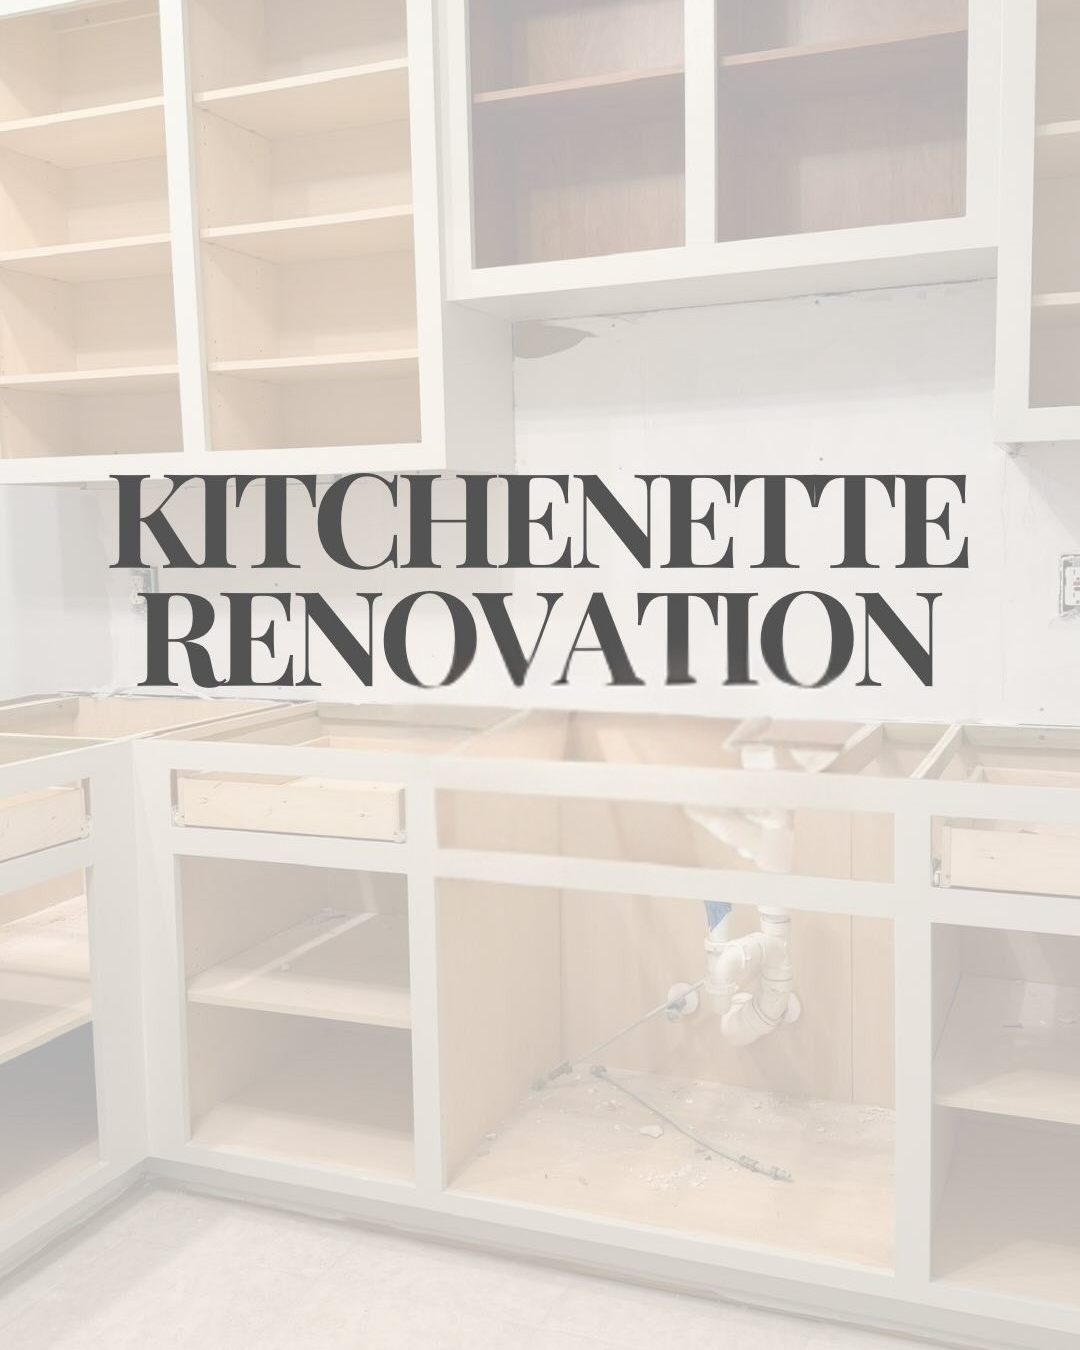
I’m so excited to finally kick off this next project with you all—our basement kitchenette renovation! This space has been stuck in the 90s for far too long, and it’s time for a much-needed refresh. Just like our upstairs kitchen transformation, this one will be a journey, but I’m thrilled to bring you along for every step.
How It Started
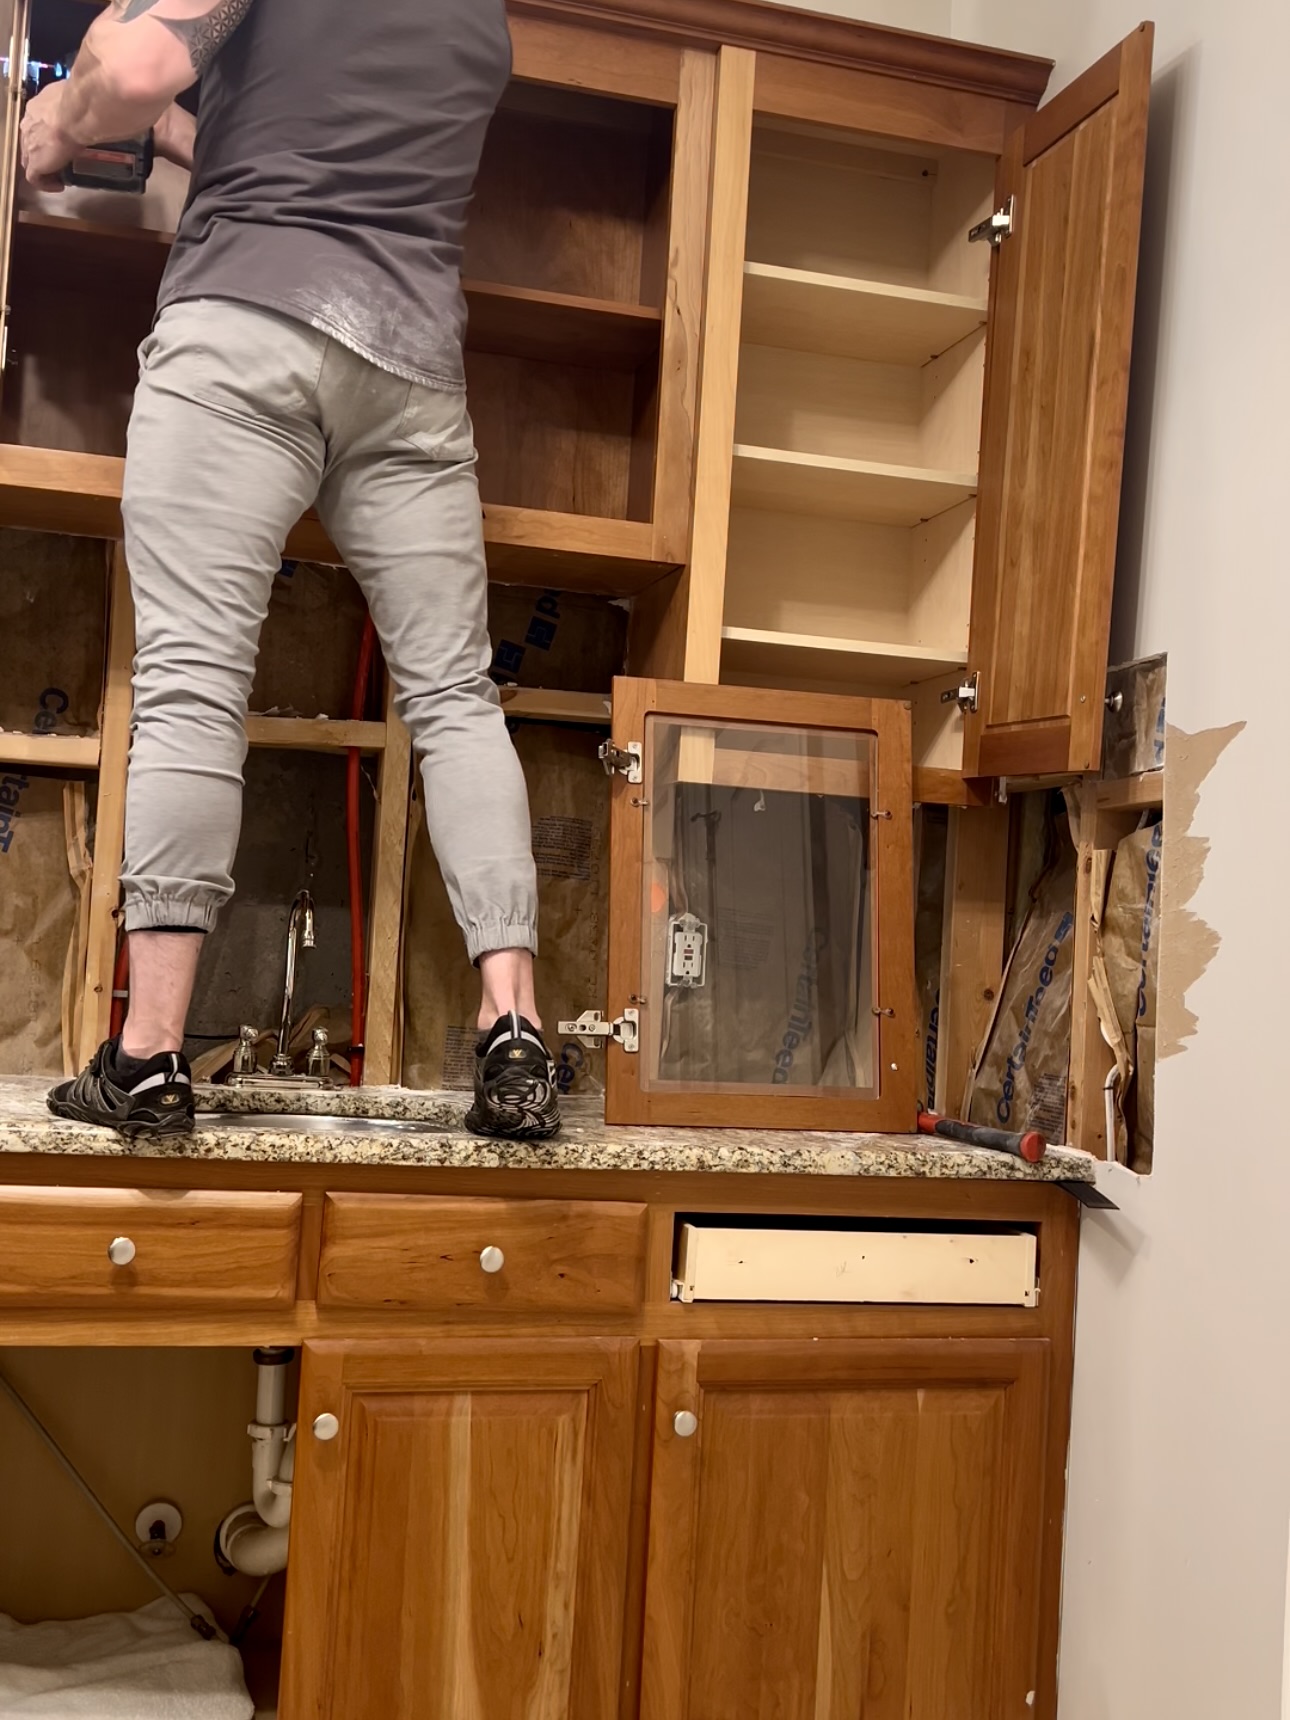
Let’s start with what we’re working with. The current setup features orange-toned cabinets (yes, the same ones we had upstairs before our last renovation), brownish-tan granite countertops, and backsplash tiles that I can’t even begin to describe. It’s dated, mismatched, and just not functional for how we want to use the space.
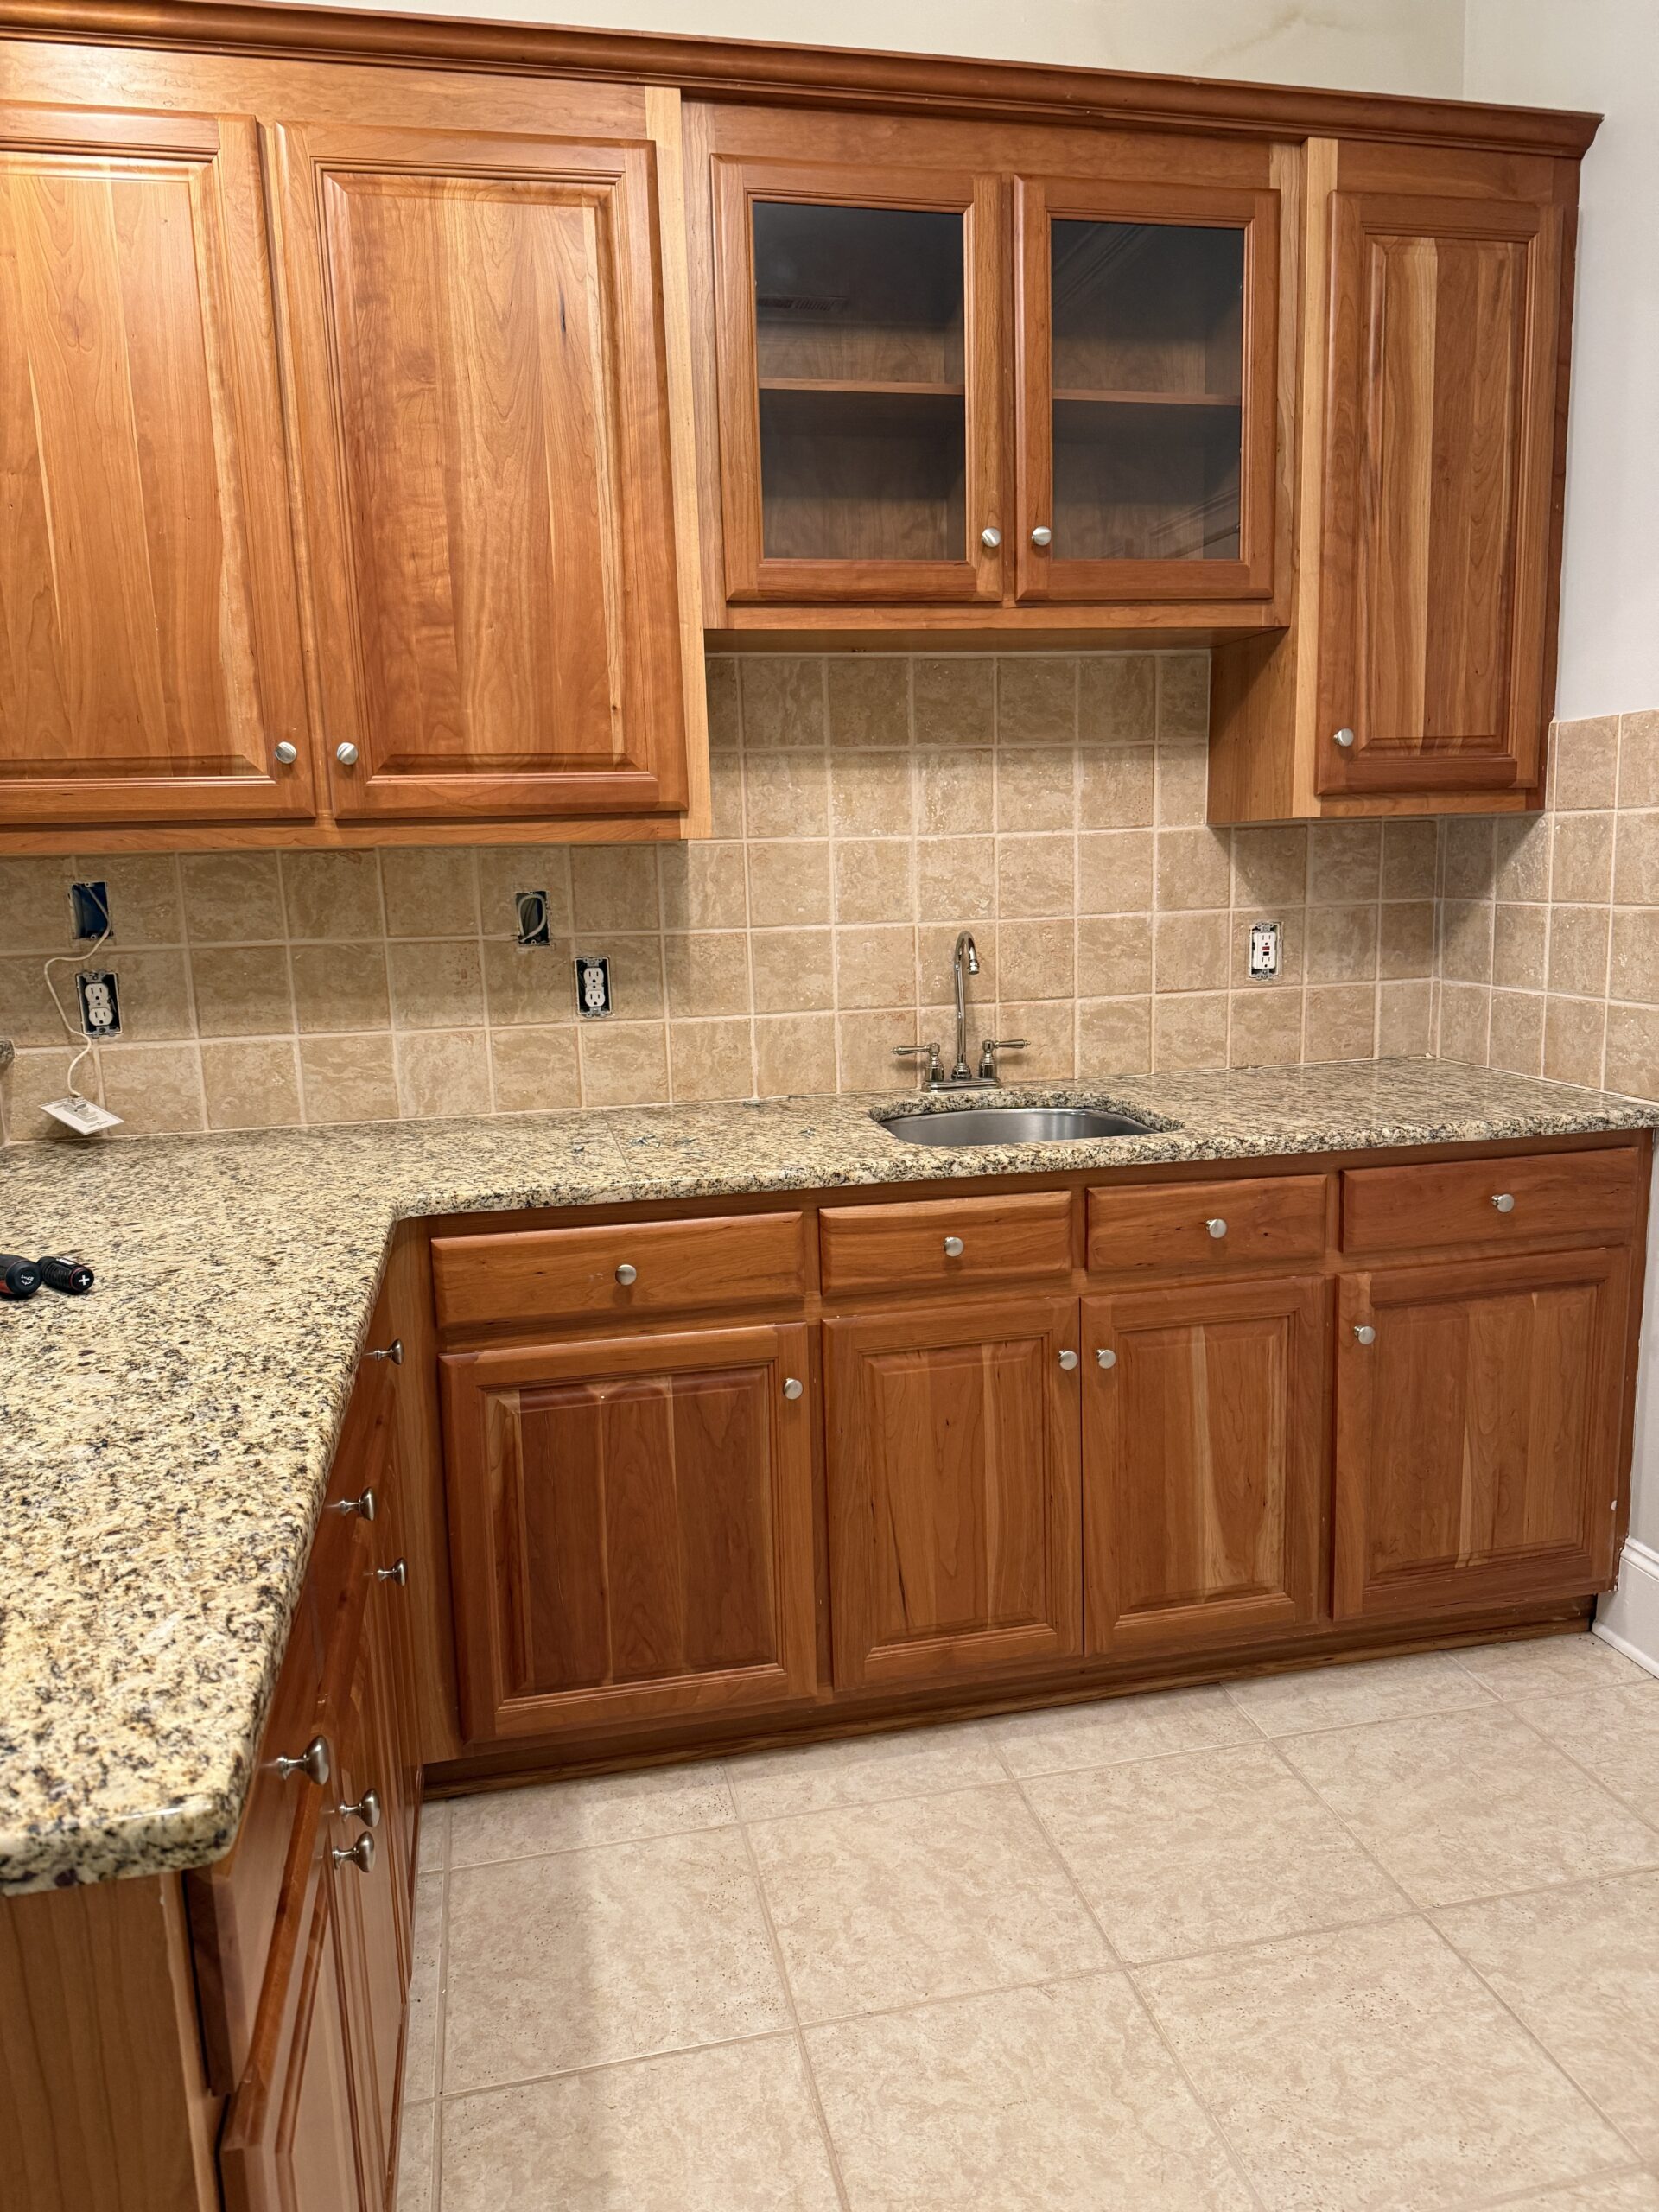
We’re not doing a full gut job, but we are making major changes. Think of it as a facelift rather than reconstructive surgery. The plan is to replace all the cabinet doors, paint everything, remove the countertops and backsplash, and ultimately give this space a cleaner, more modern vibe.
Demo
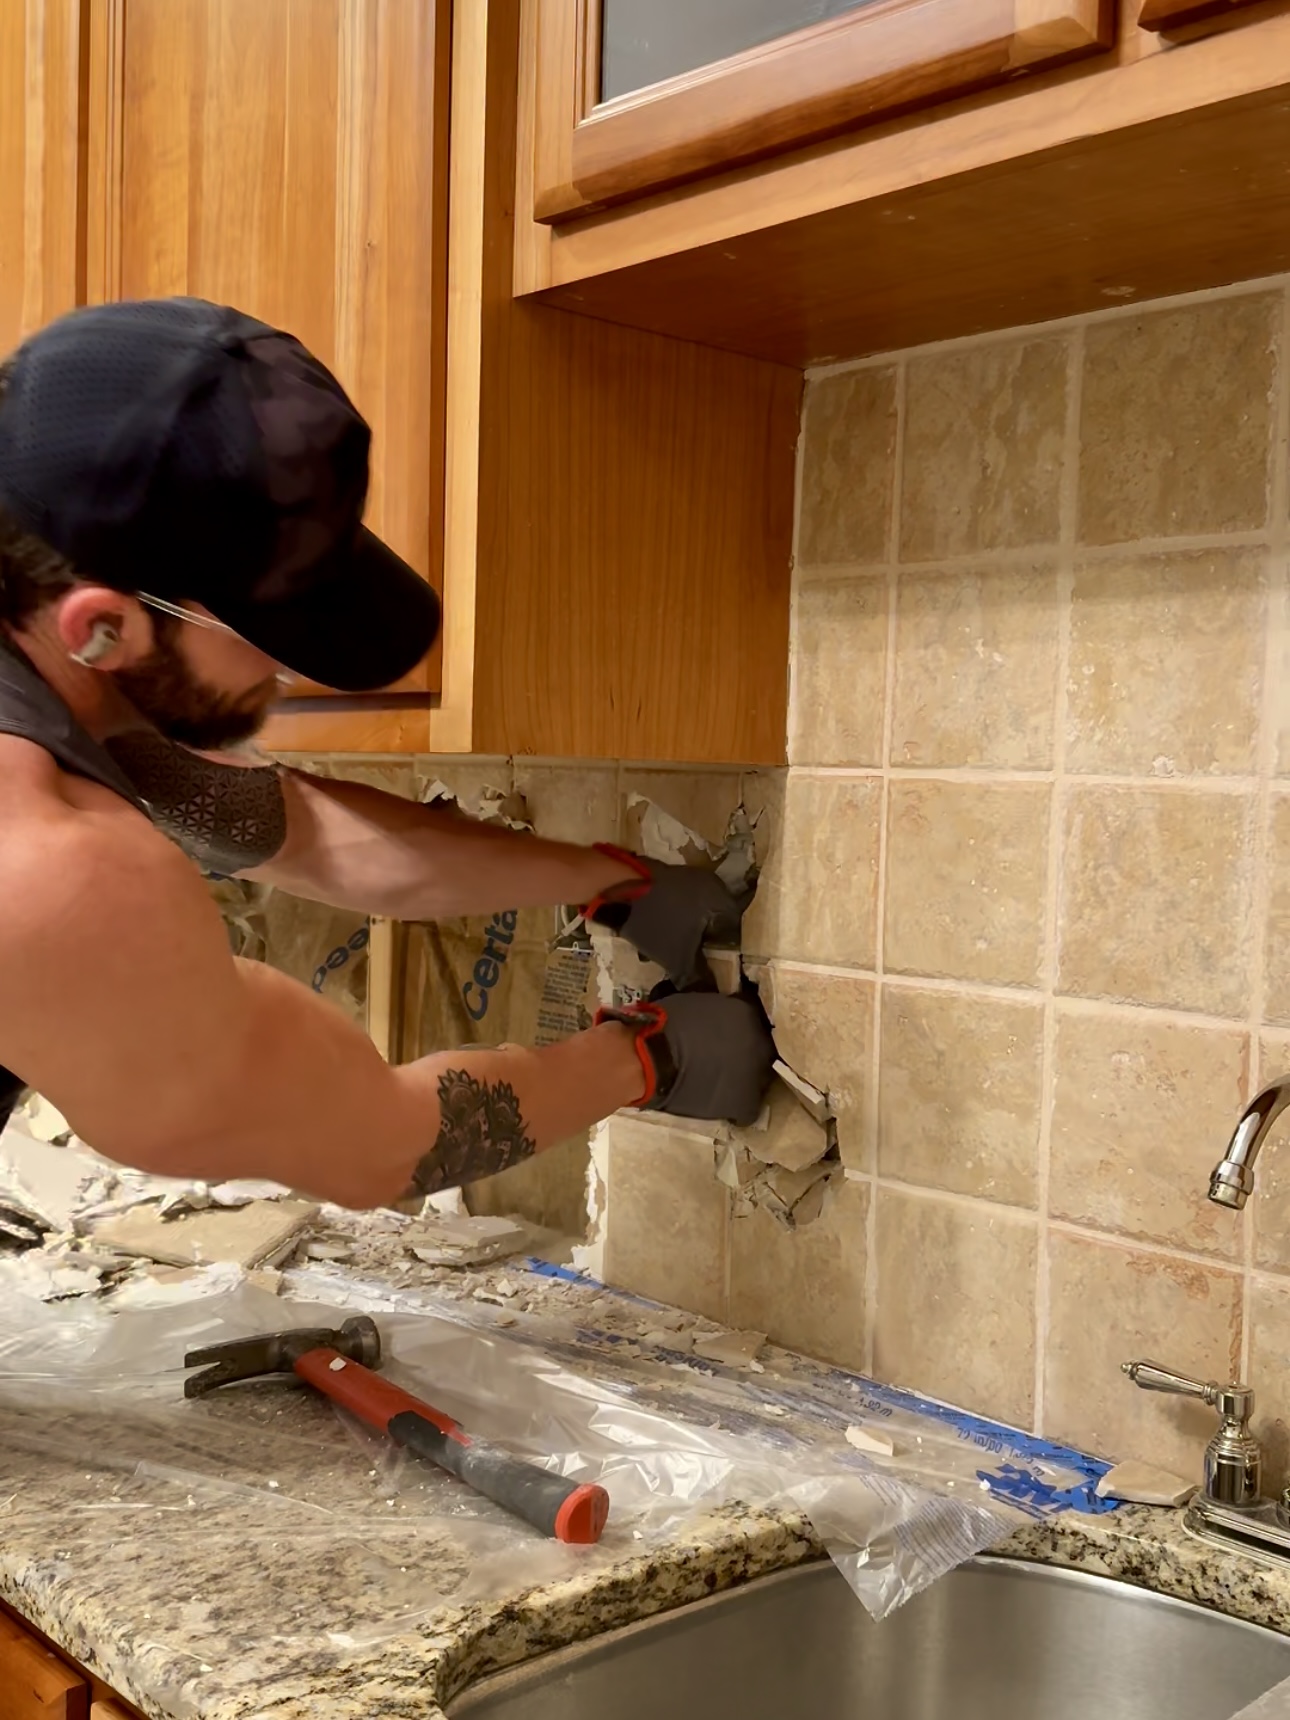
Once we cleared out the clutter, it was time to get started. We started by demoing the backsplash tile. With a hammer, we started chipping away at it piece by piece. There’s something sooo satisfying about breaking the tile off this wall. I removed all of the drawer and cabinet fronts to make way for new ones!

Upper Island Tier Demo
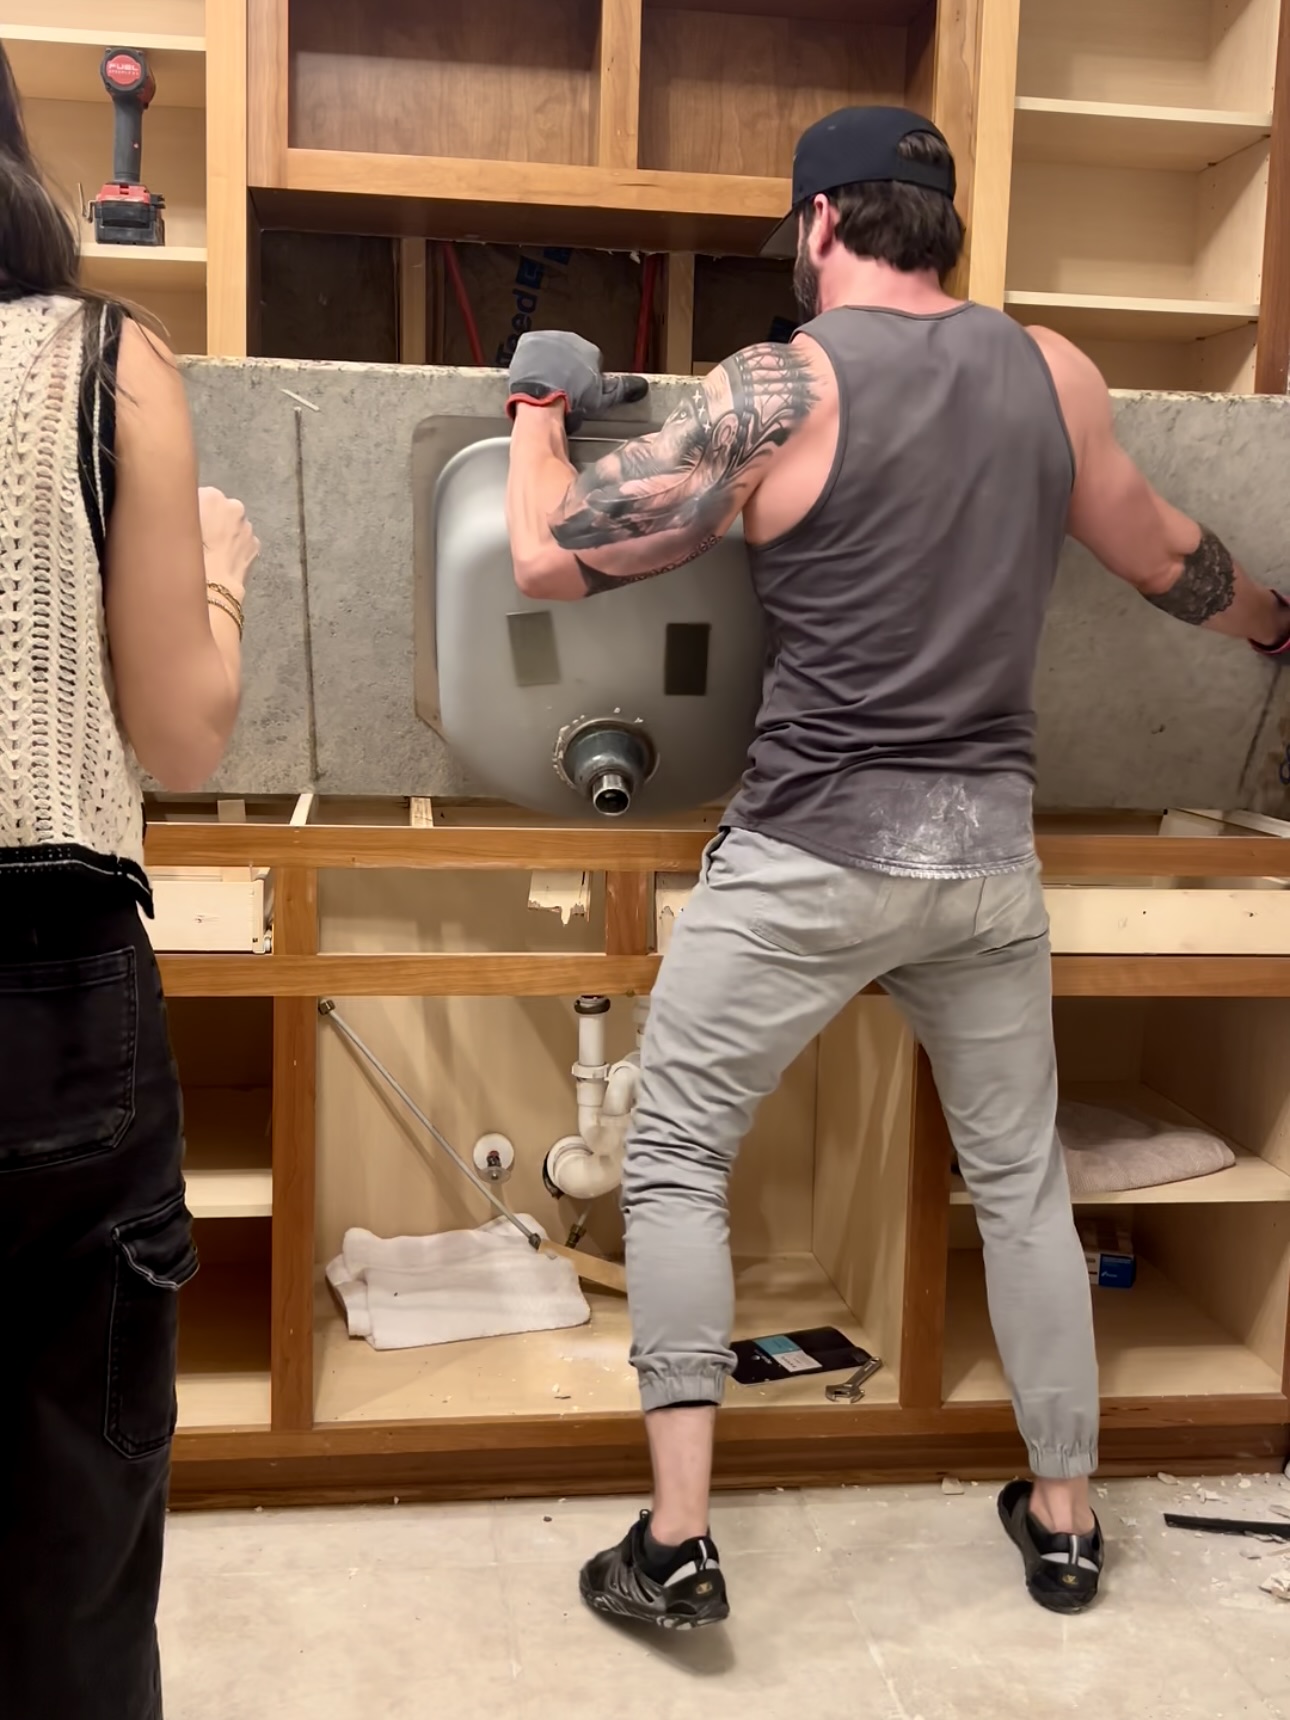
The big structural change we’re making is cutting across the raised countertop section to create a seamless, flat surface. That two-step counter design is so 90s, and this one change is going to make the whole space feel fresh and modern. To remove the granite countertop, we wedged some shims underneath the existing countertop and it pretty much just popped right off!
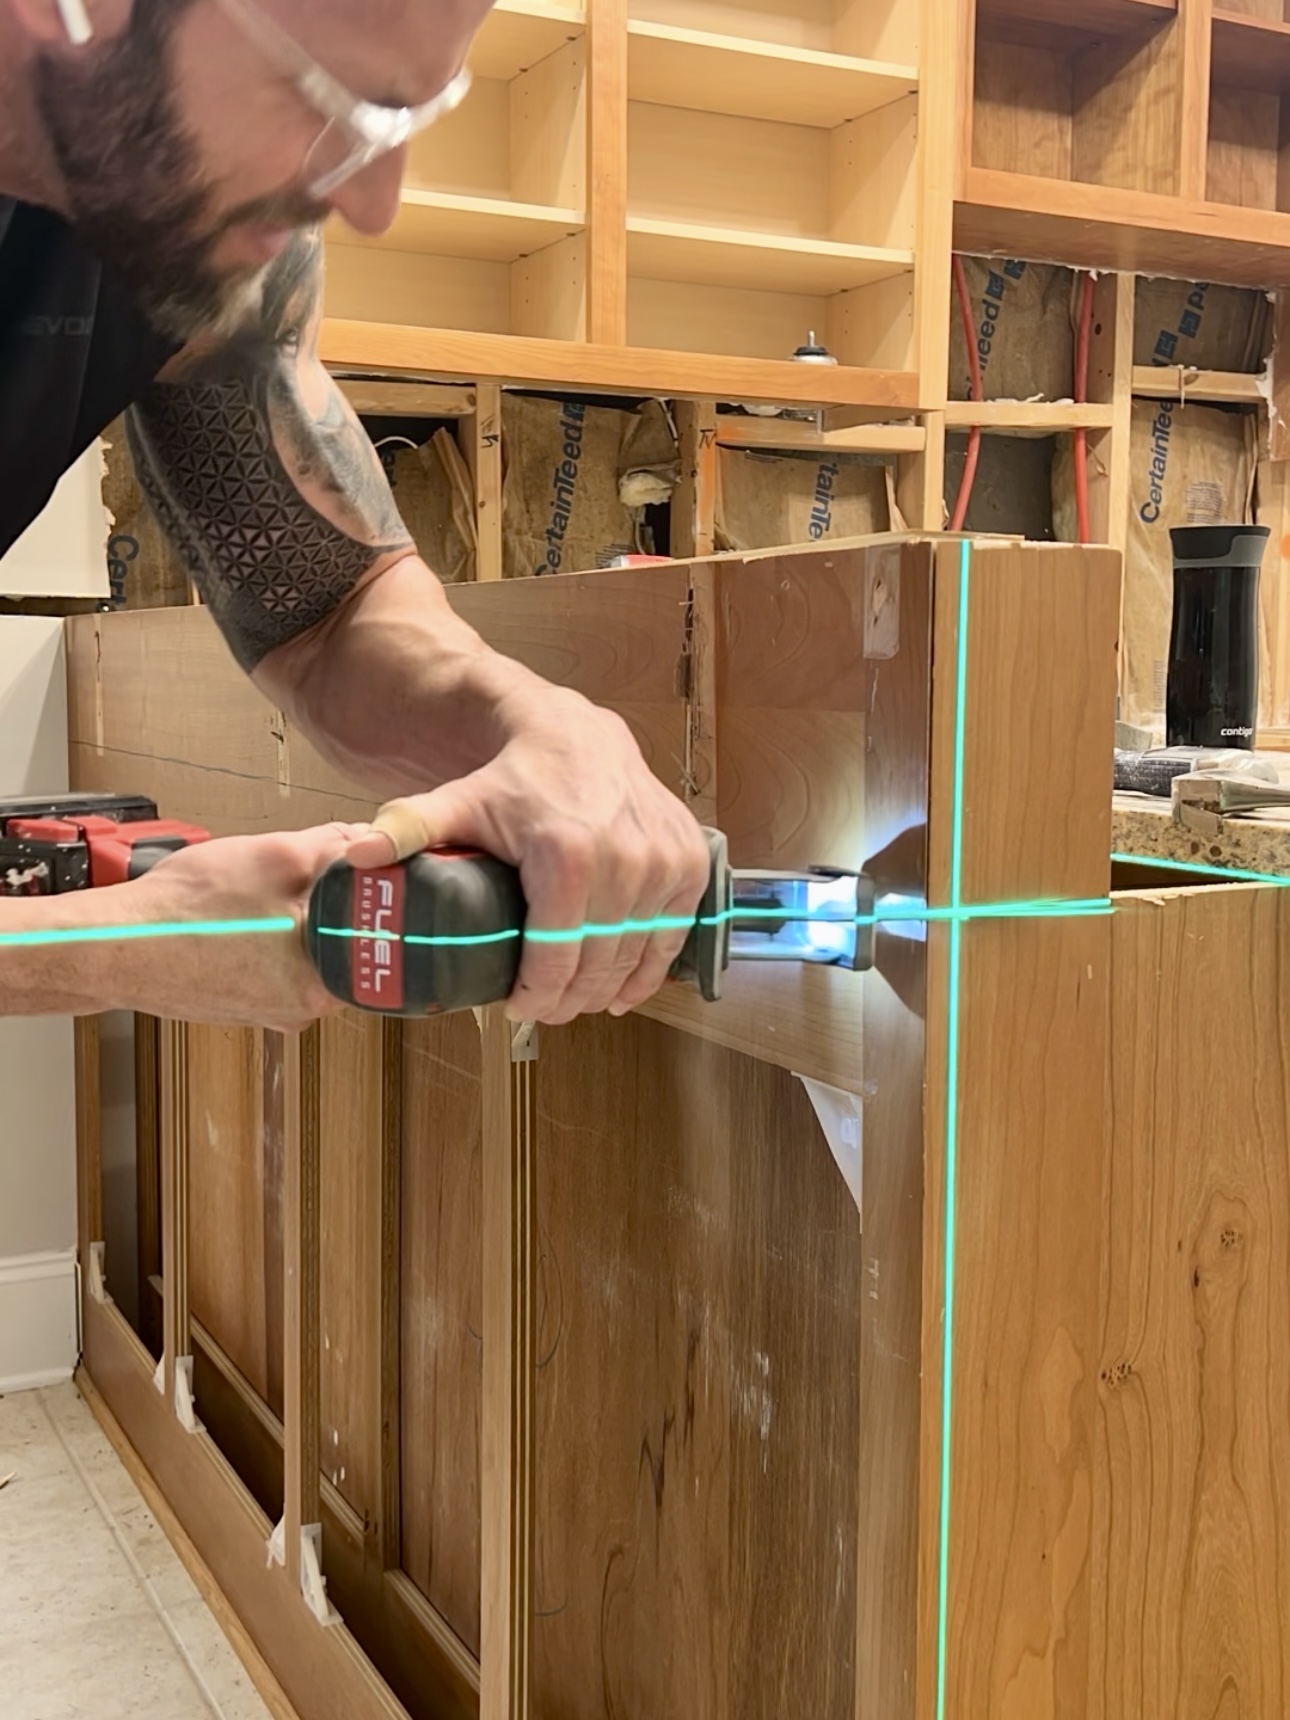
Next, we had to cut off the upper tier of the island to make it flush with the lower countertop. We used a laser level and a marker to draw a guide line across the cabinetry, and then it was time to cut. We used a reciprocating saw.
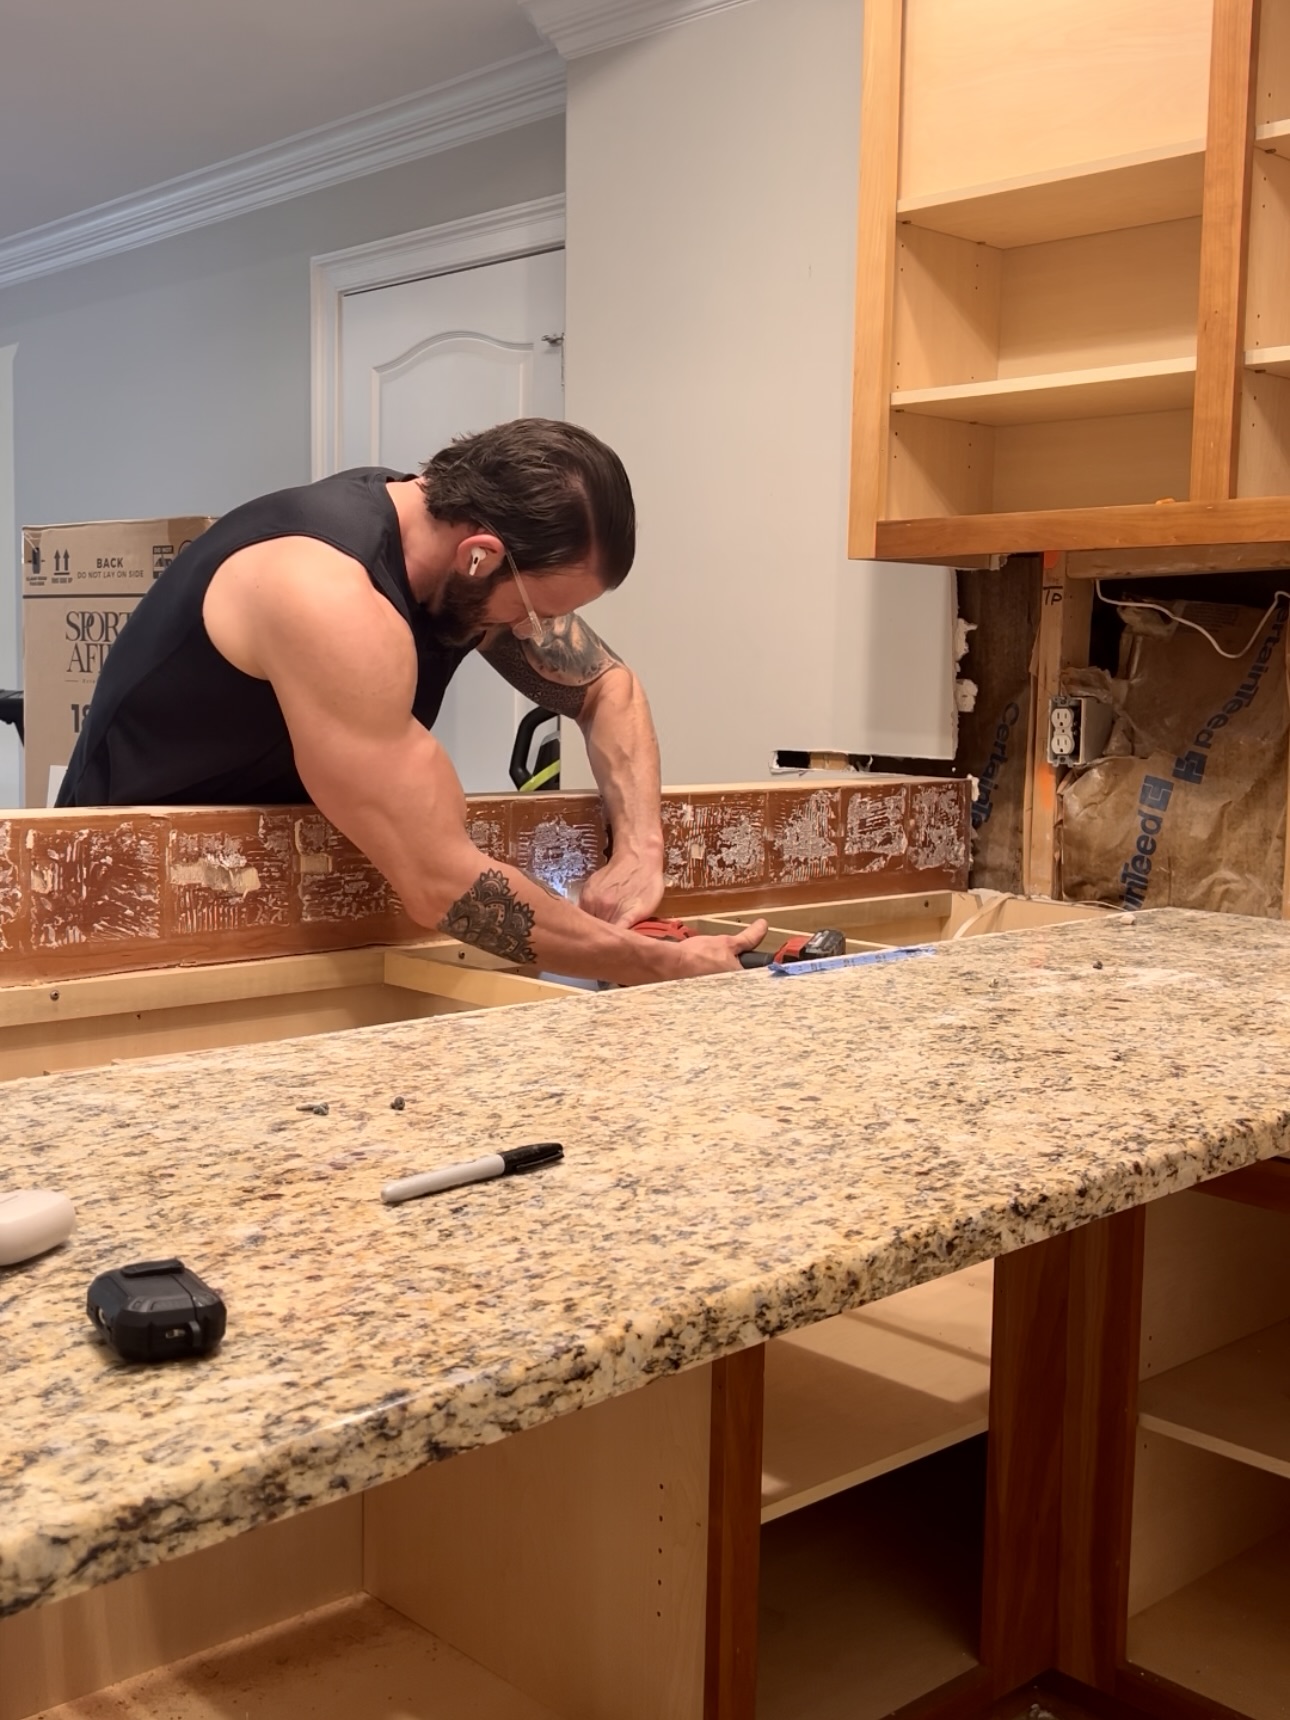
And wow… even just removing that one piece made such a huge difference. The space instantly felt more open.
Drywall Installation
Next up, we started prepping for drywall. The plan is to eventually install a new backsplash, so we needed to patch everything up properly. We also removed some extra outlets (there were way too many), then got to work putting up new drywall sheets. TJ cut them to size with our reciprocating saw and installed them with a drill and screws.
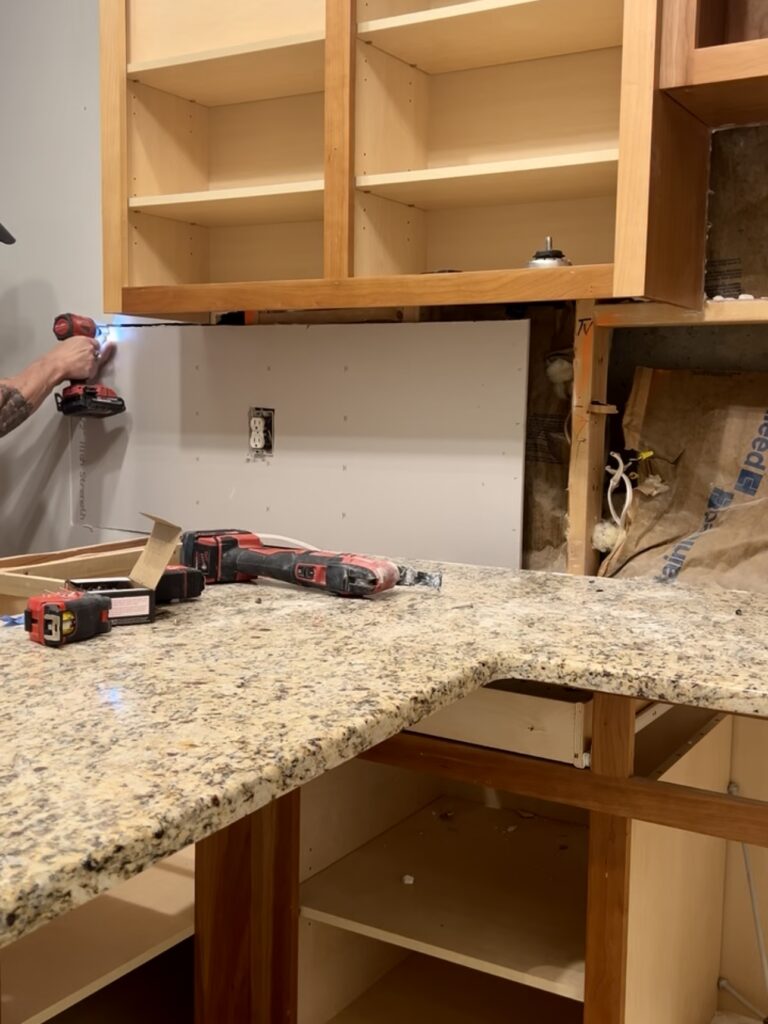
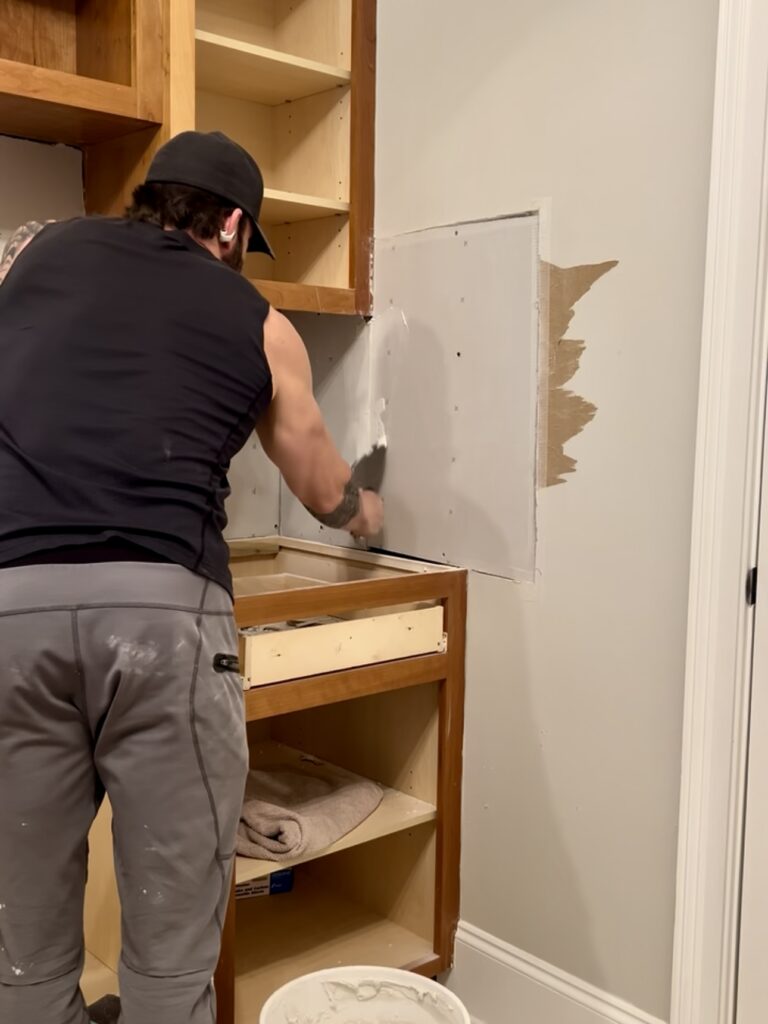
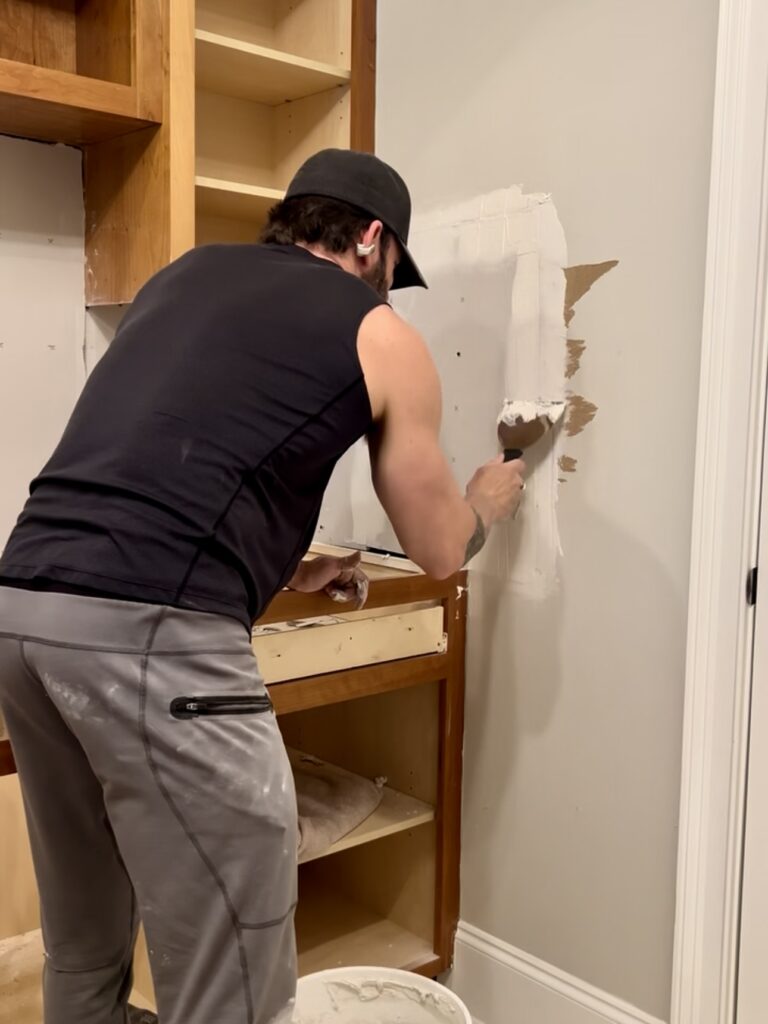
The drywall phase took a few days. You put up the first layer of joint compound, let it dry, sand it, then repeat with the second and third coats. If you’ve never patched a hole in drywall, check out my DIY 101- Drywall Repair blog post!
Here’s everything you need for drywall repair or installation:
Paint
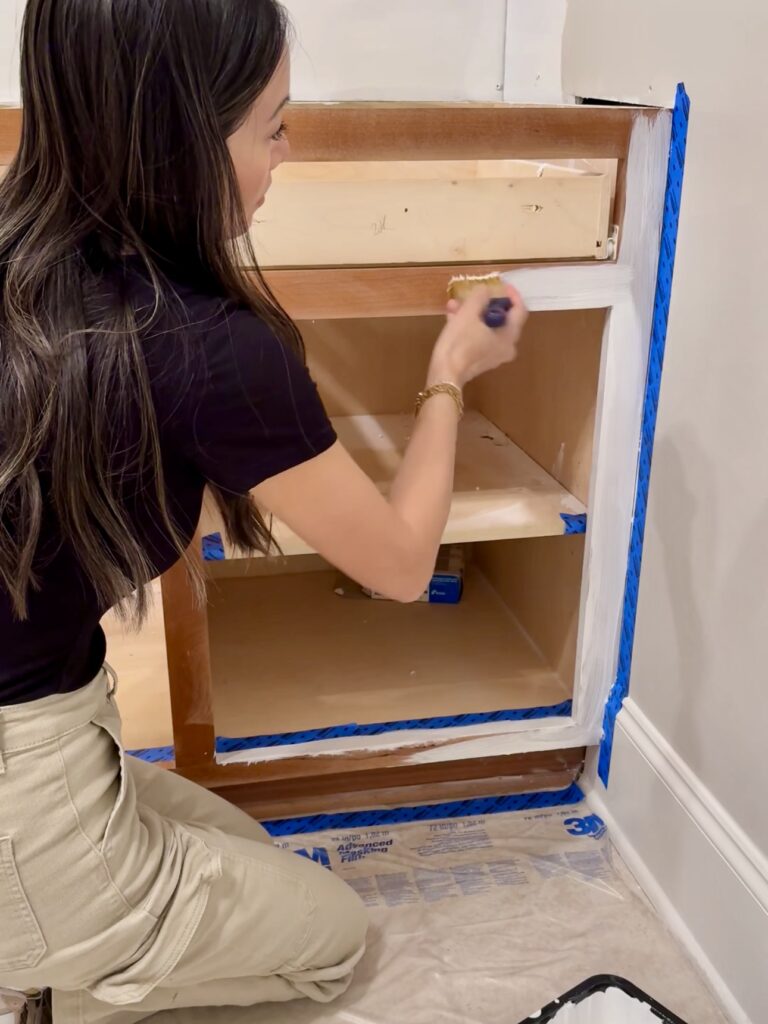
After the final sanding, it was time to prime. A quick tip if you’re DIYing—always prime over joint compound before you paint. Paint won’t adhere properly without it, and you’ll end up with uneven results. I used an angled brush to apply primer. Then I started my first coat of paint – using the Sherwin Williams Emerald line.

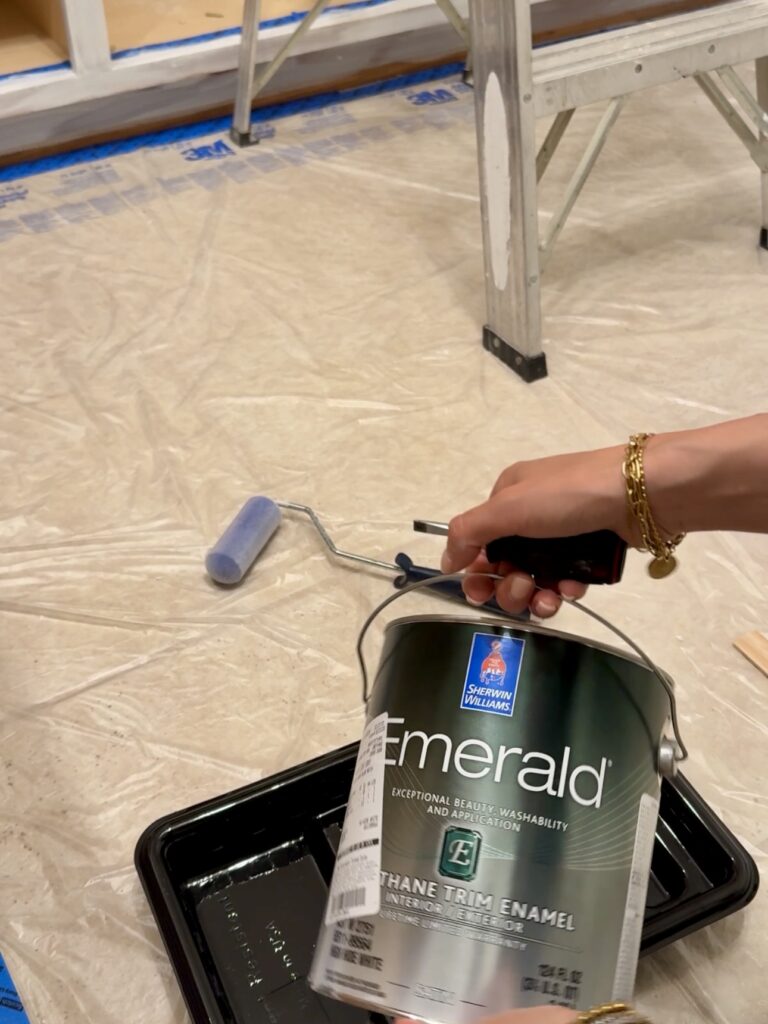
Here are all my paint tools:
New Countertops
We had new countertops installed down here. It was about $1500 to have this installed. It made such a huge difference! The quartz brightens up the space so much. It’s called Bianco Carrera.

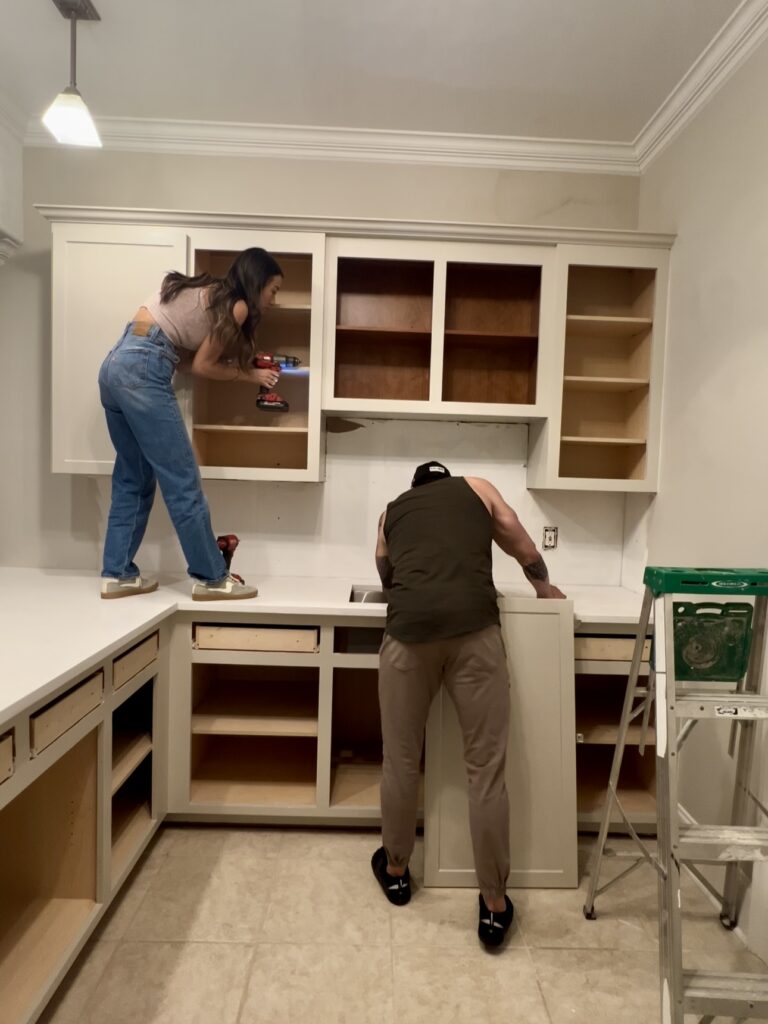
Cabinet Doors & Drawer Fronts
I used Front + Center for my Mudroom a couple years back. I built the space myself and then ordered the doors factory painted! I decided to use them again for this kitchenette makeover! We got the color “Clay” for the cabinets & drawers down here. The cabinet doors came with soft close hinges which is the best! All the pieces come labeled as well so you know exactly where everything goes. So easy!
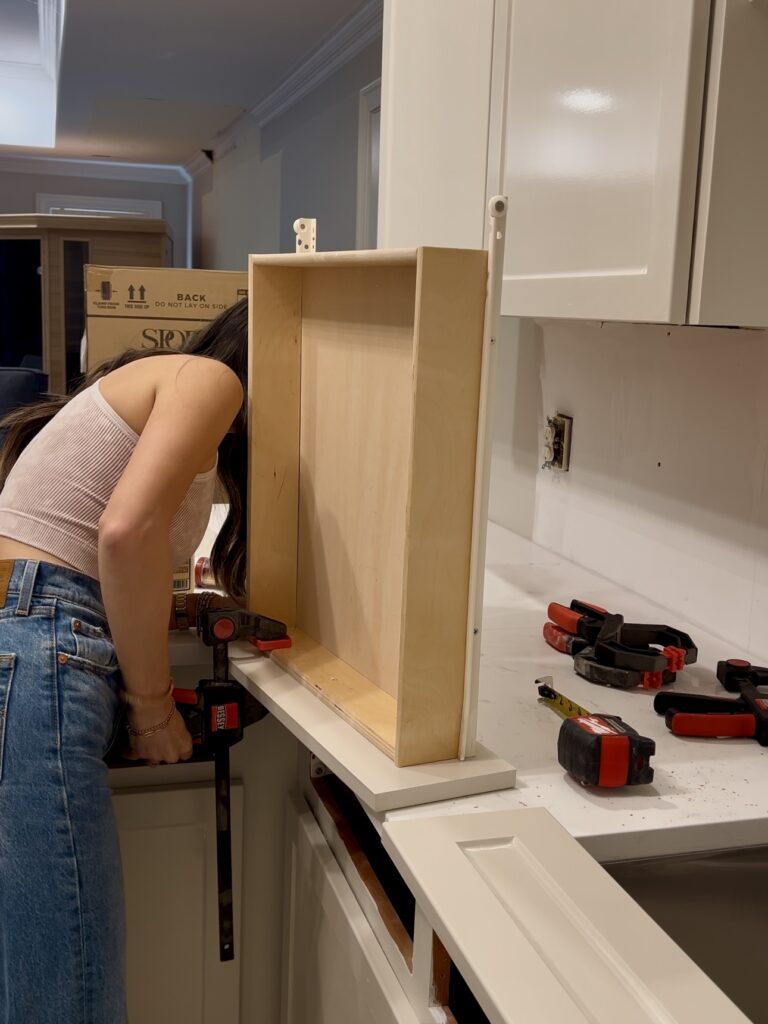
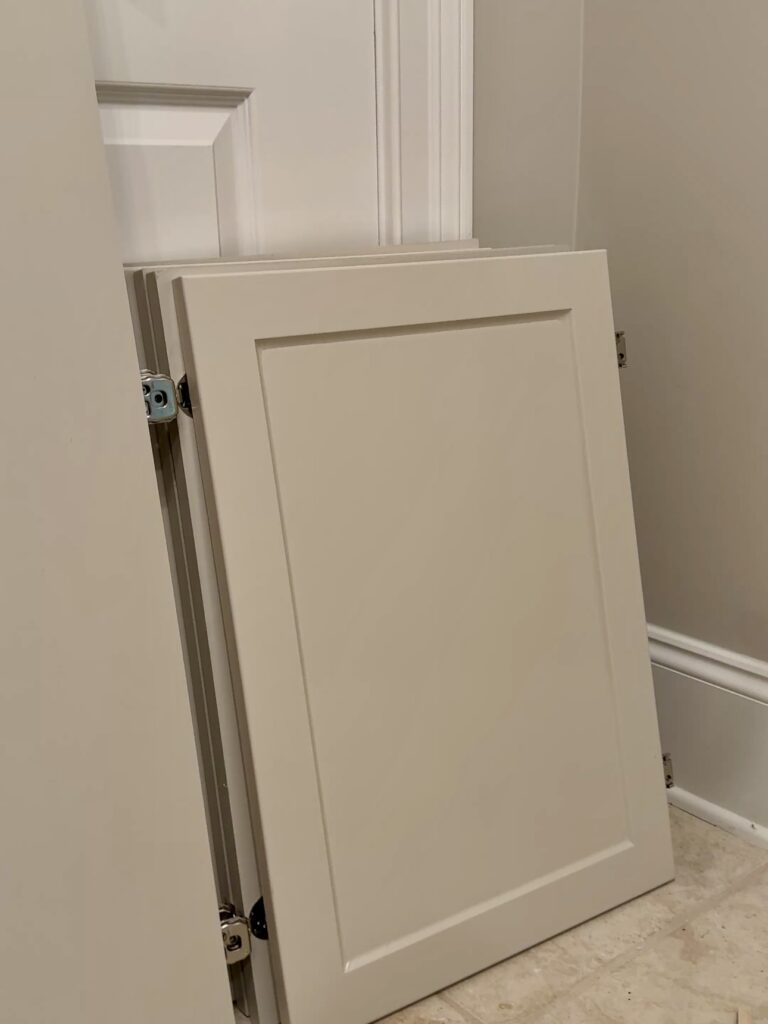
The hinges go in with two screws each – super easy!
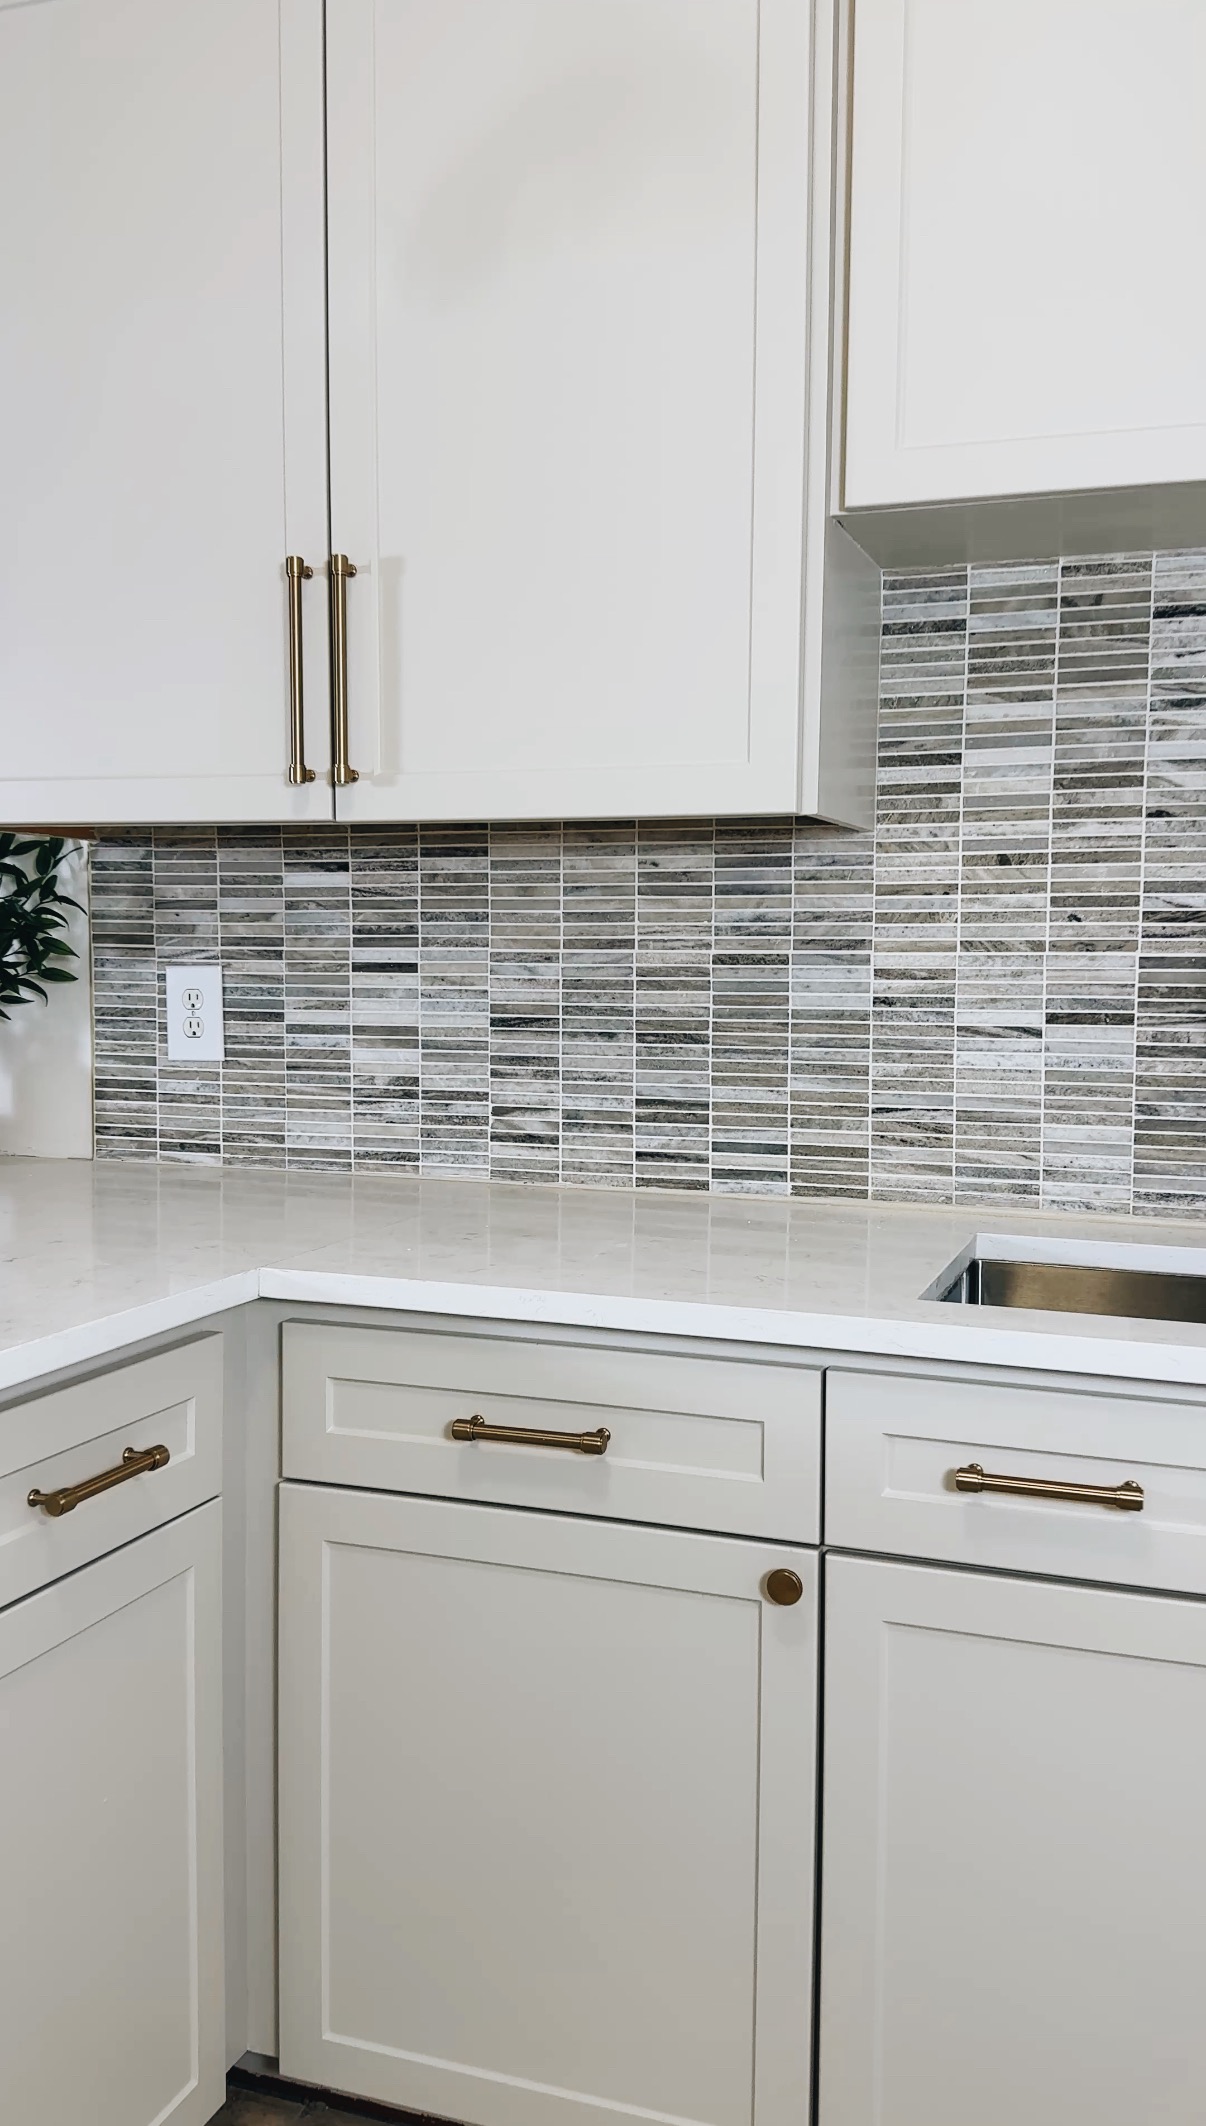
Next up, we’re working on the backsplash…I am SO excited for this next part!