Hi
I'm Bong
I'm just a girl who likes to DIY anything and everything. More than that, I love teaching people - especially women - how to pick up power tools and create the home of their dreams. Stop waiting for someone else and starting Doing It Yourself. I'll show you how!
diy projects
diy school
life hacks
categories
must have products
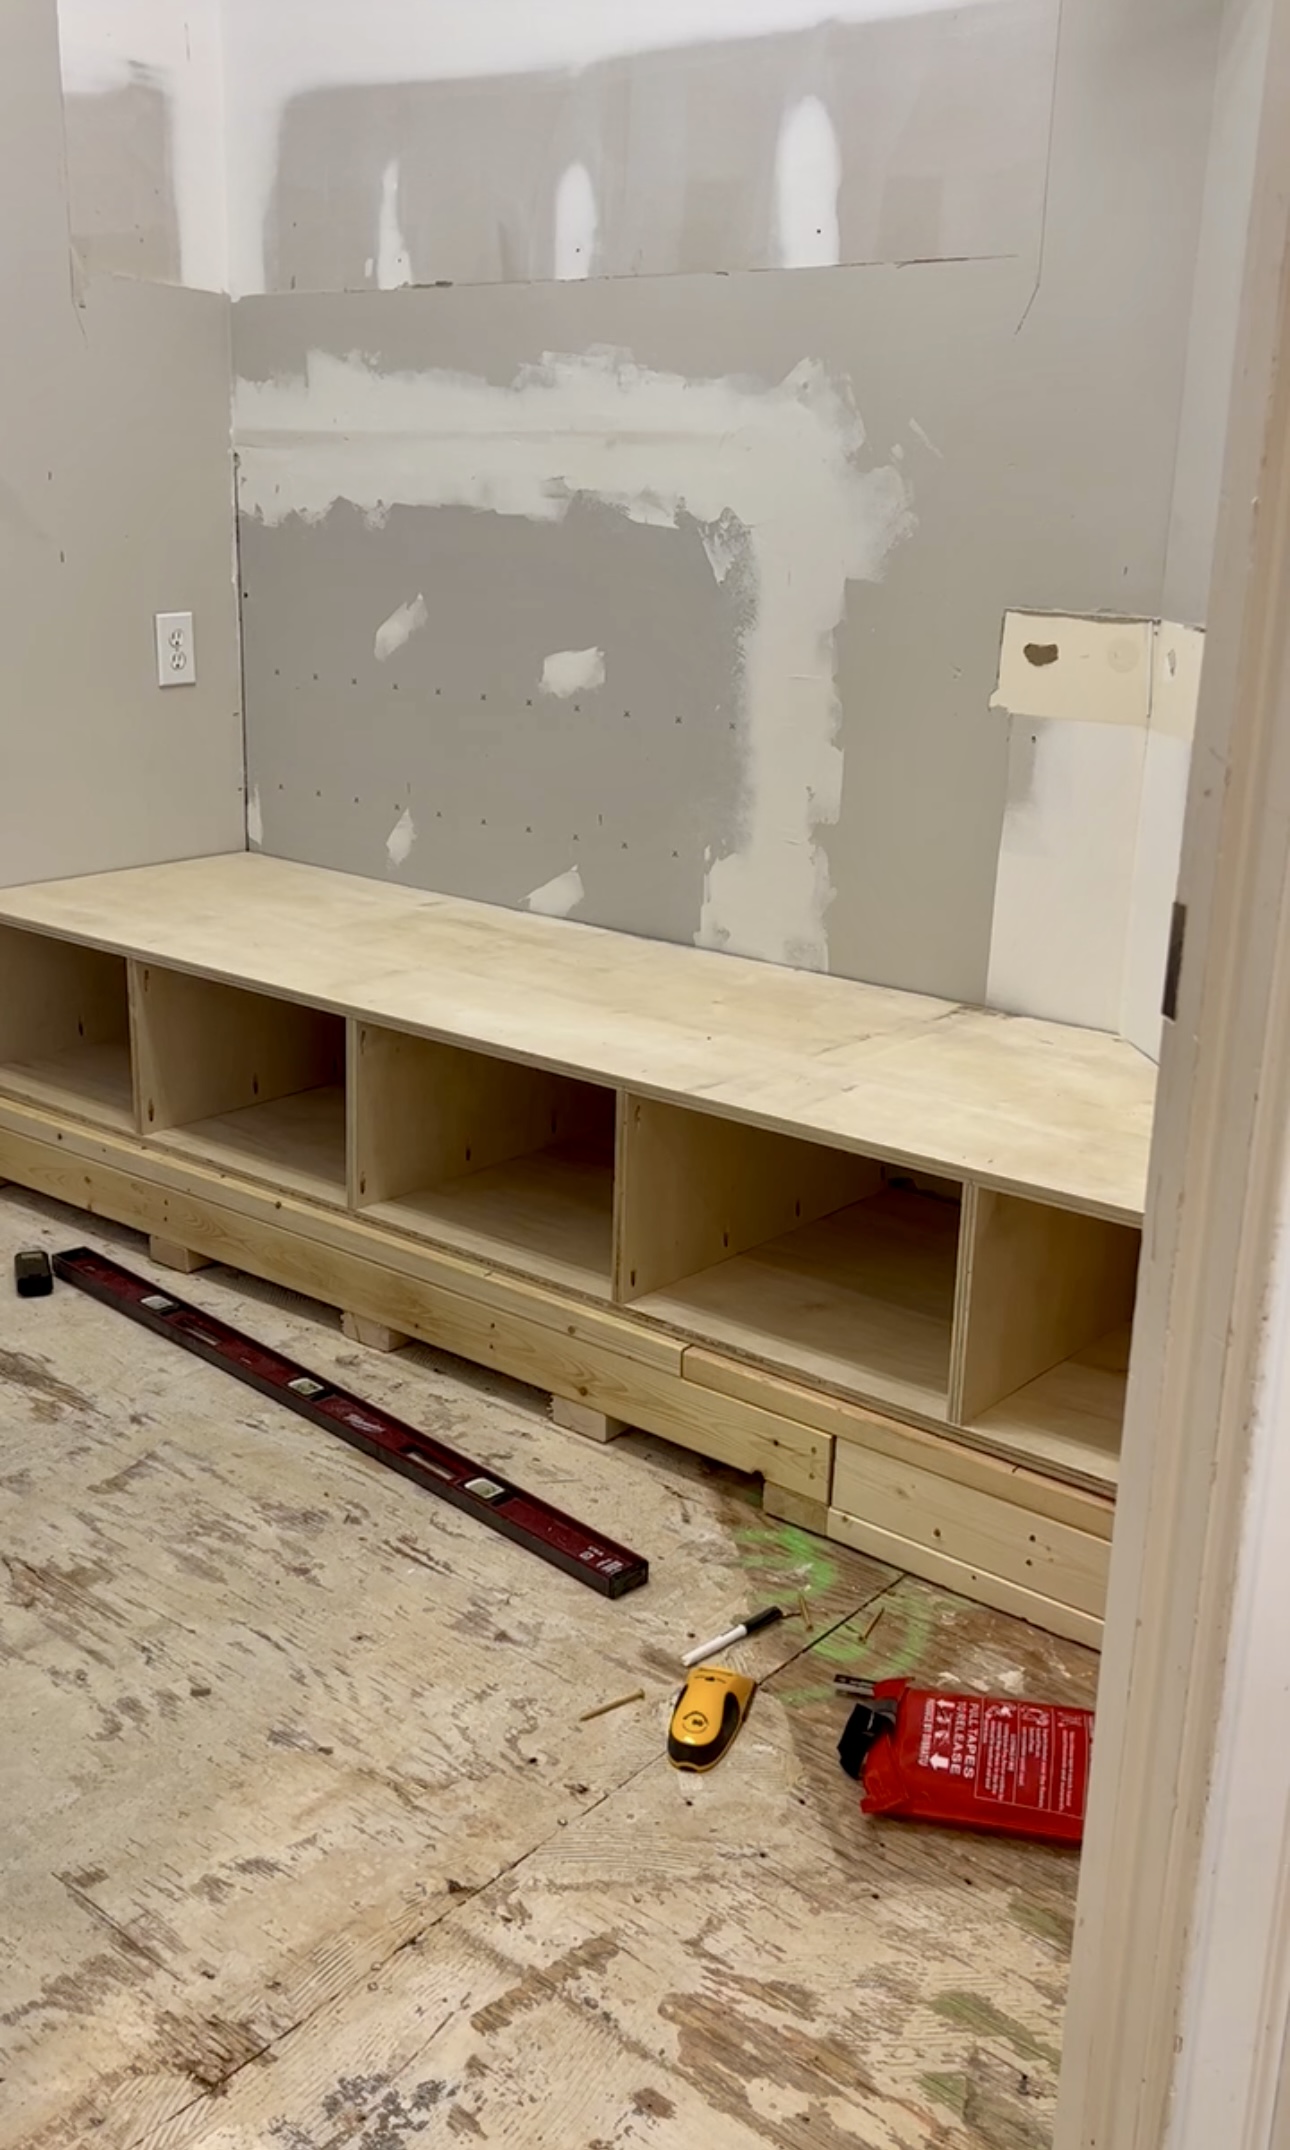
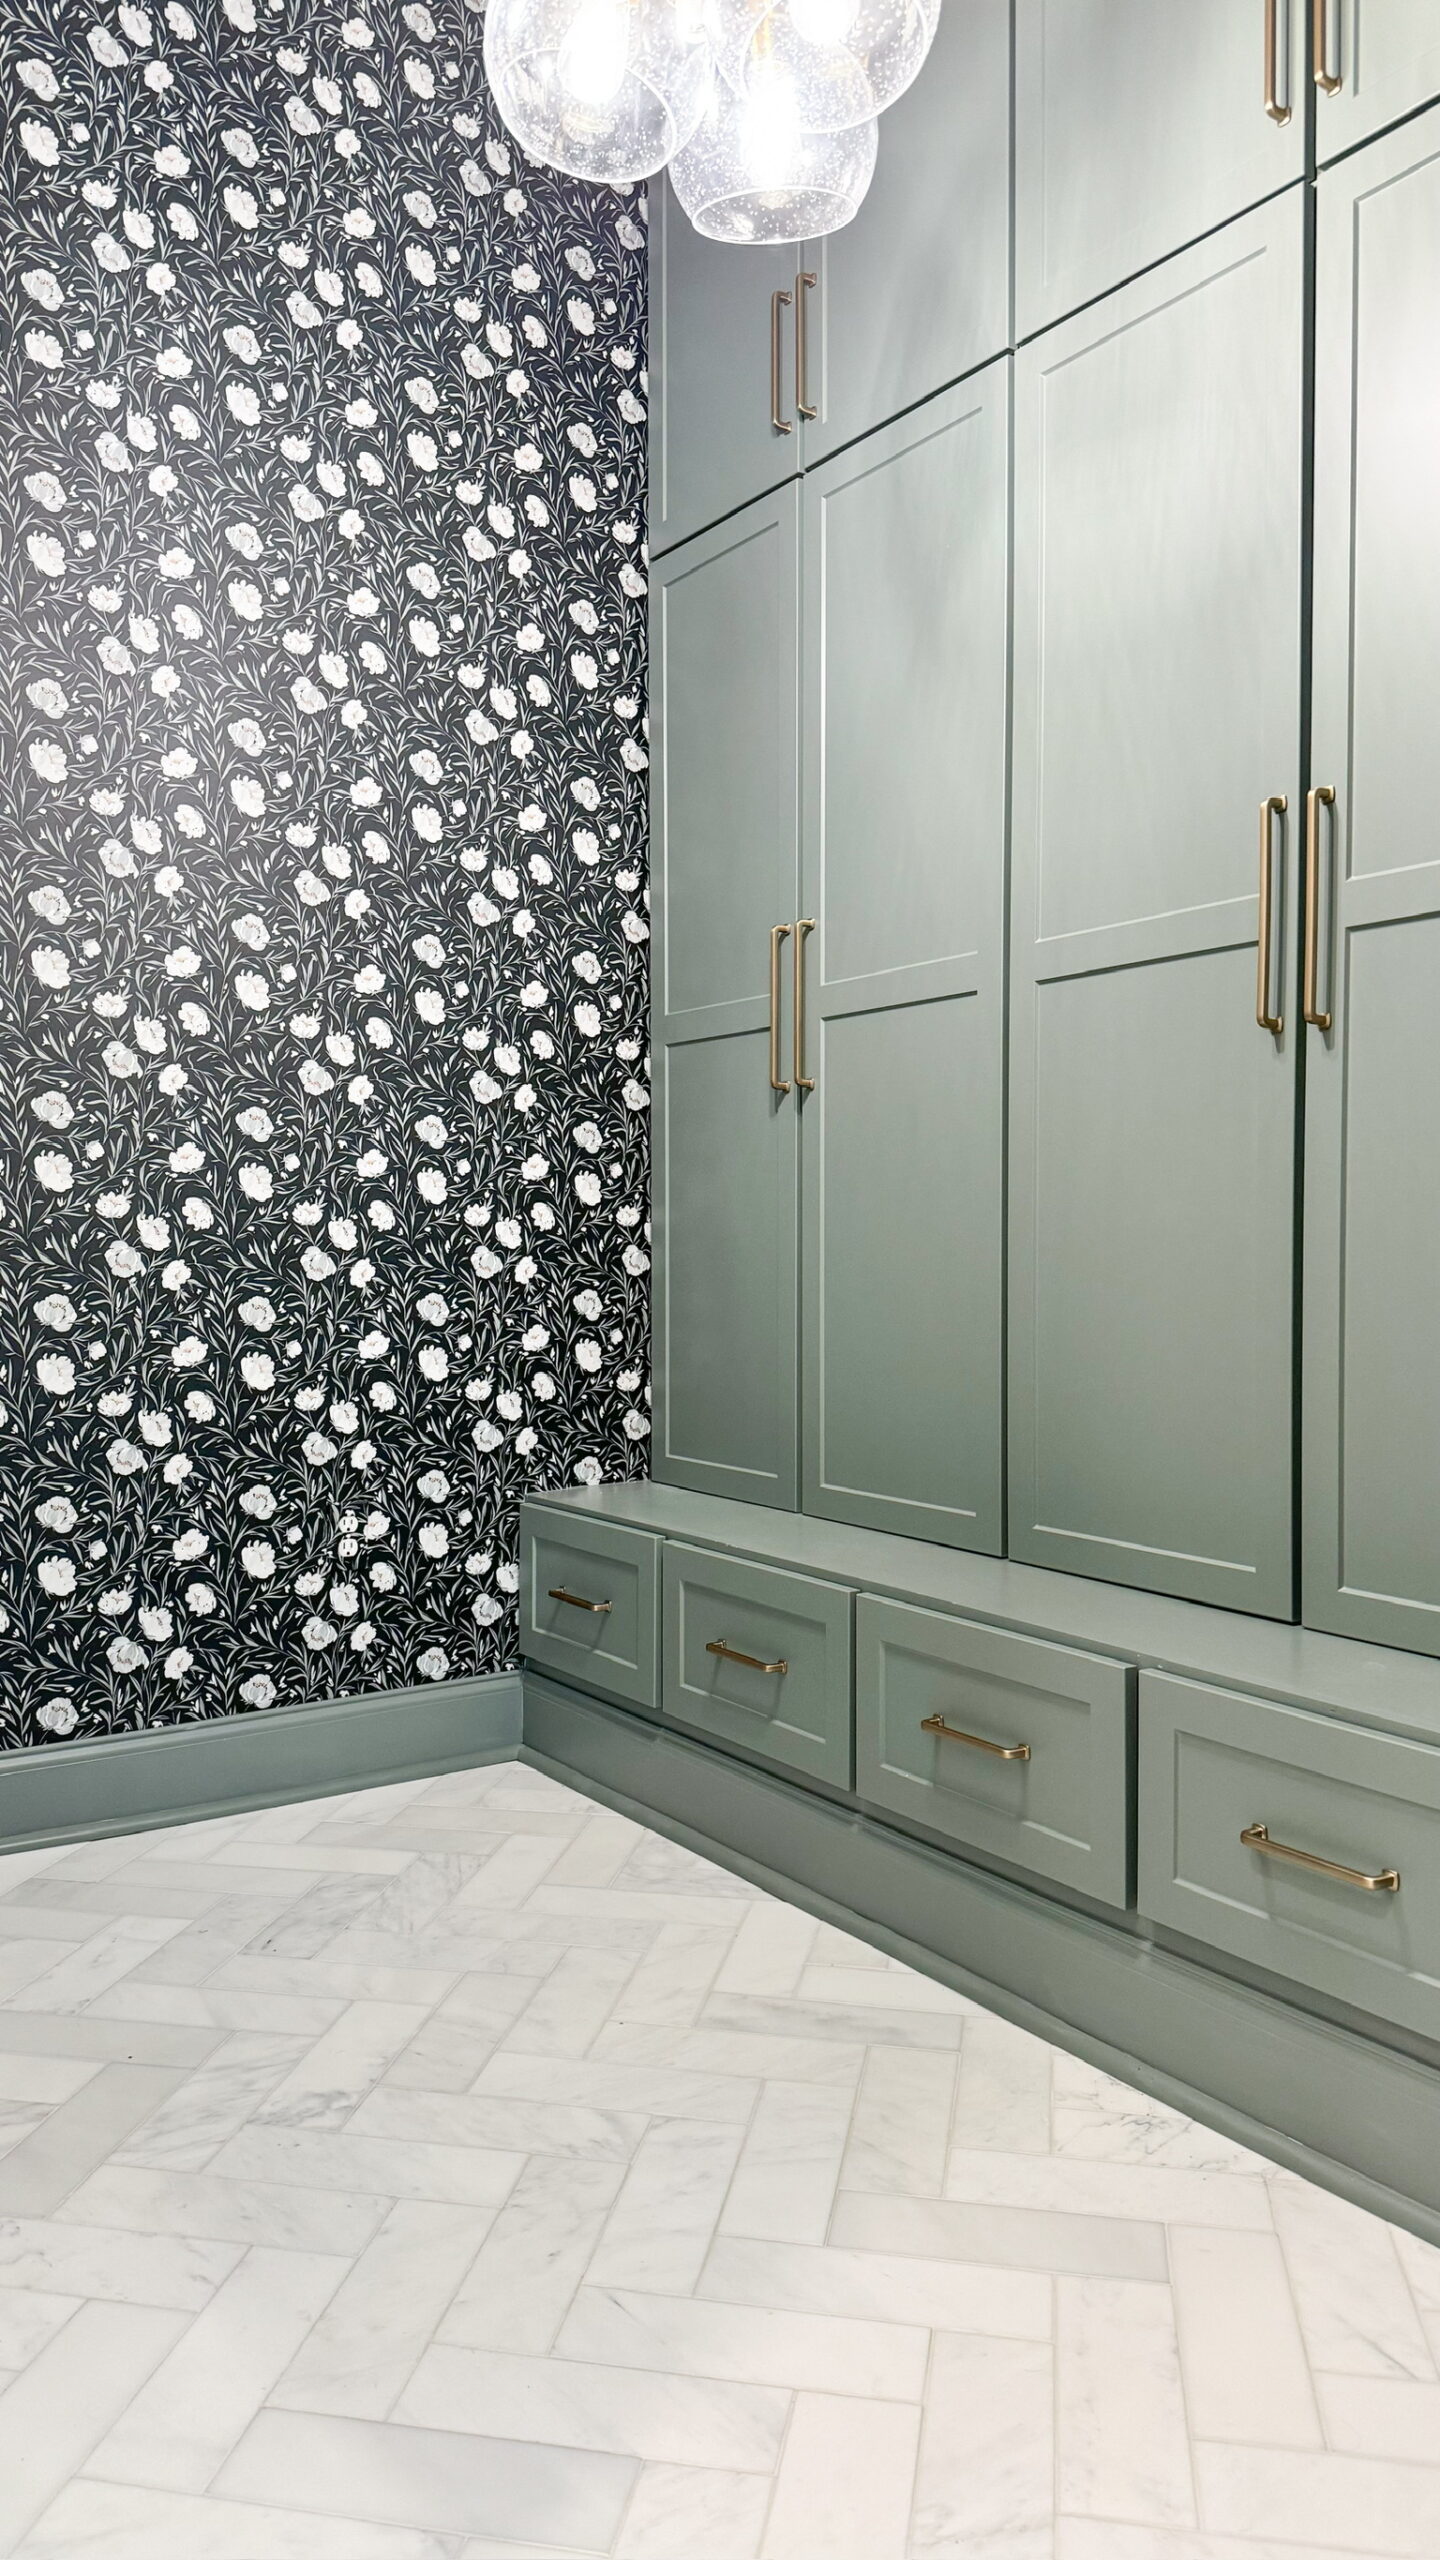
I am turning my outdated and way-too-small laundry room into a mudroom with lockers for all of my kids’ things. So this is basically two projects in one because I’m moving my laundry room to the other side of the wall and creating a huge walk-in laundry room over there. Stay tuned for that post!
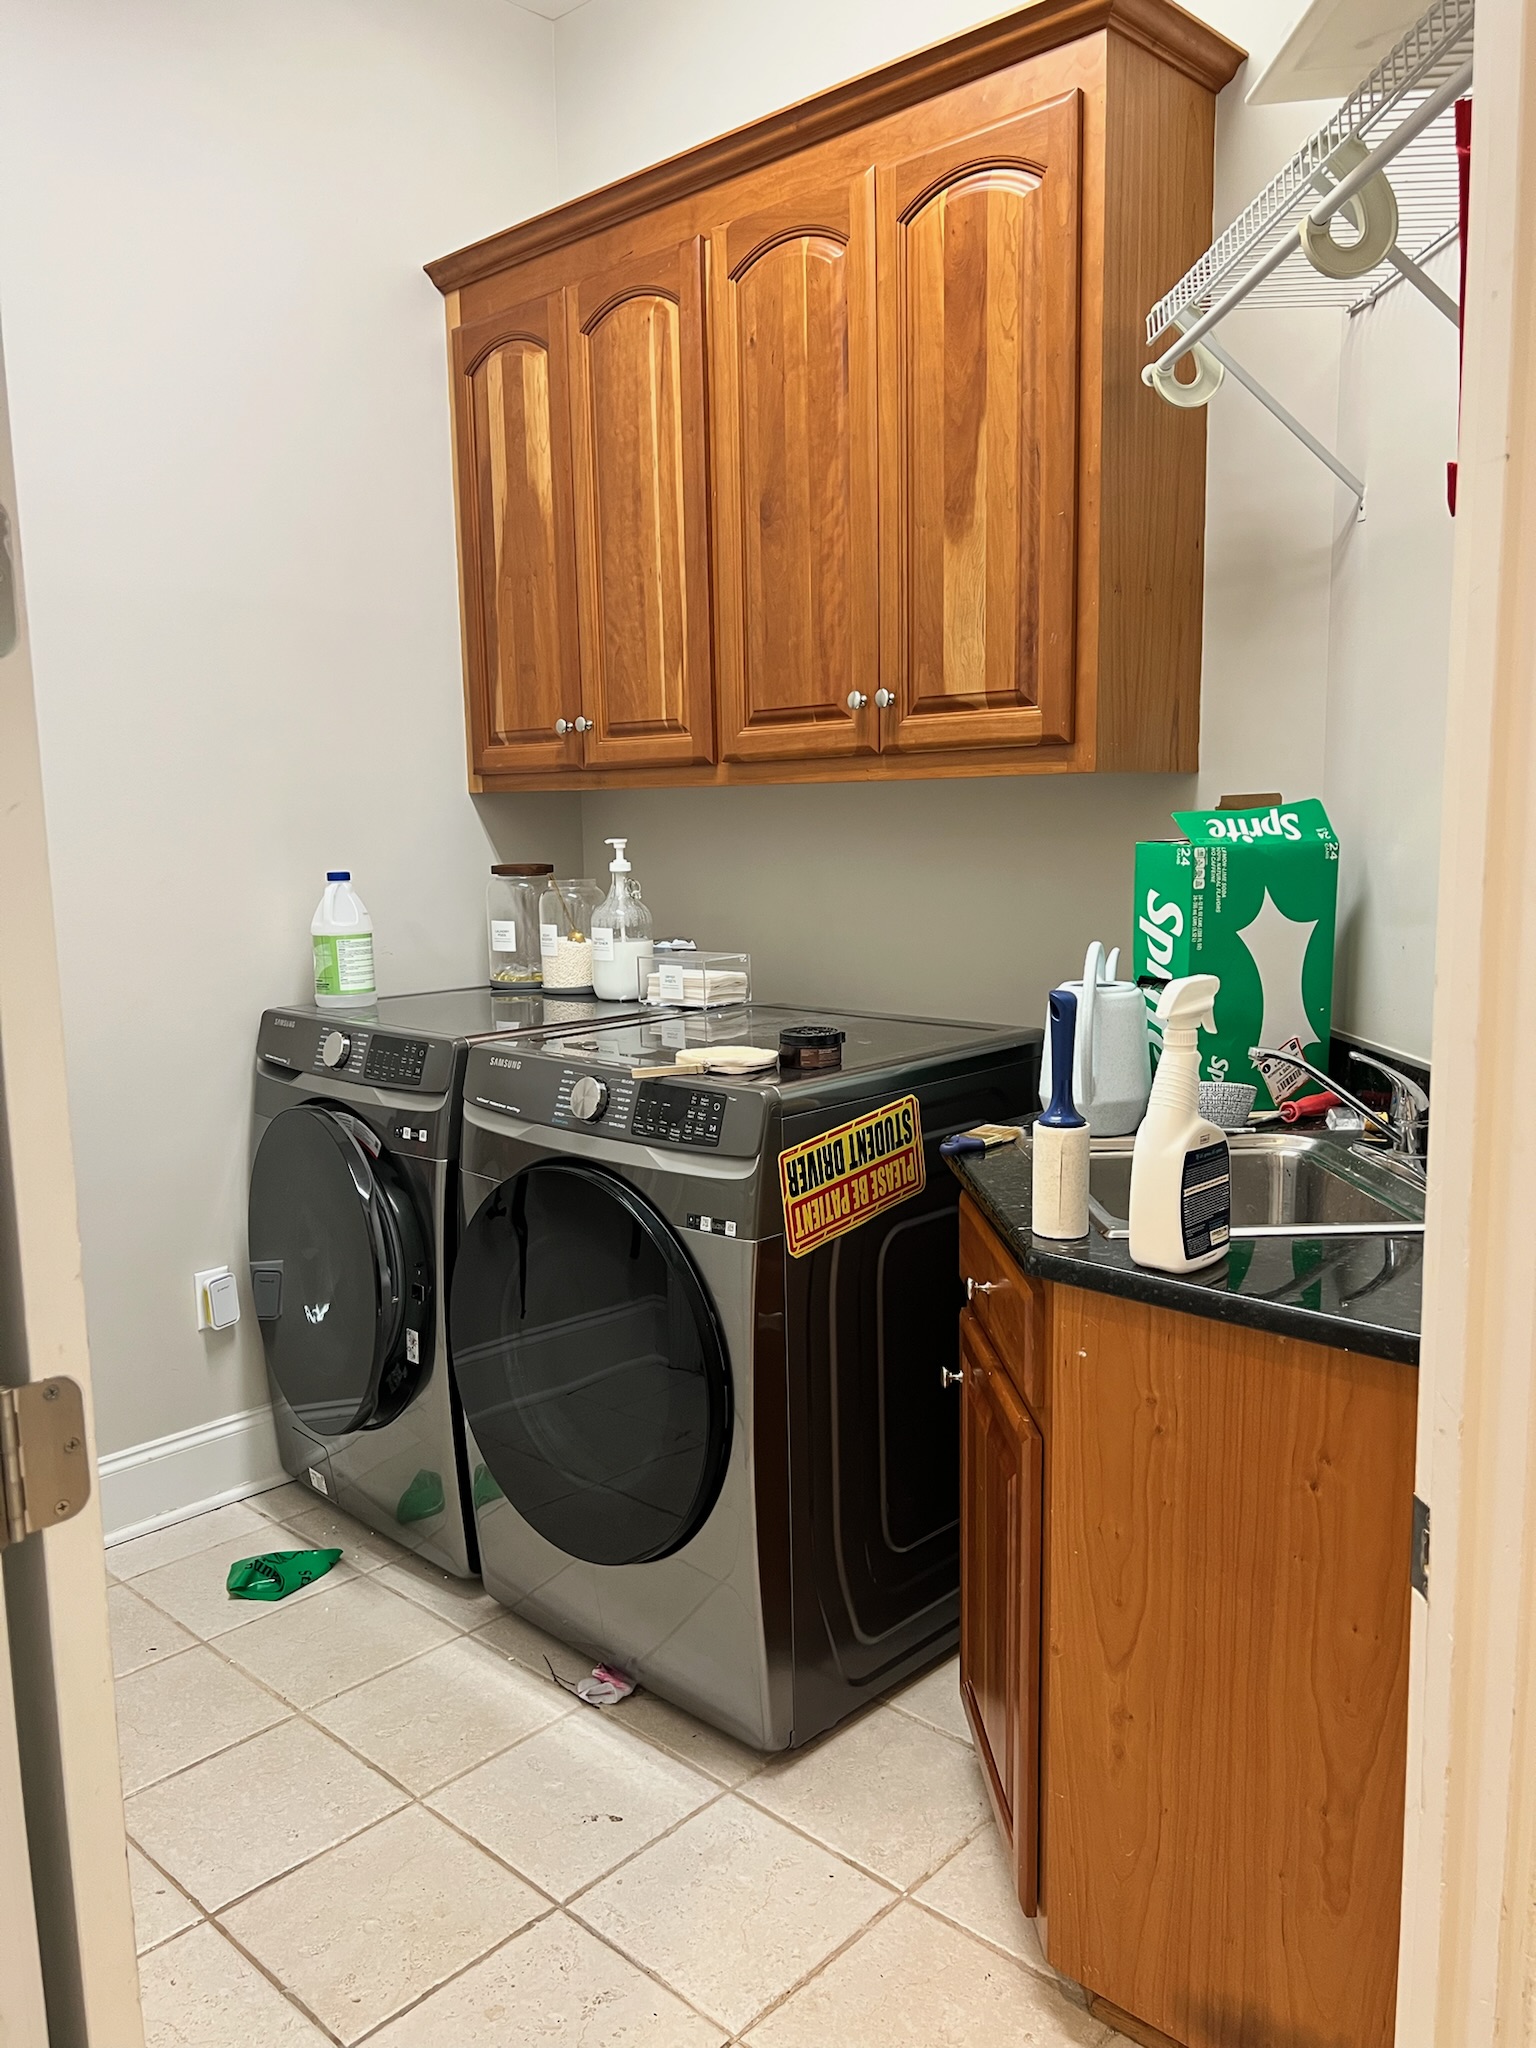
Here’s what it looked like before we started! It was right off of our garage and with laundry hampers on the ground, it was a super tight squeeze to get in. I knew when we moved in, I would change this space but I wasn’t sure how until now.
Demo
So first I need to remove all the cabinets and drywall so I can hook up my washer and dryer on the other side of this wall.
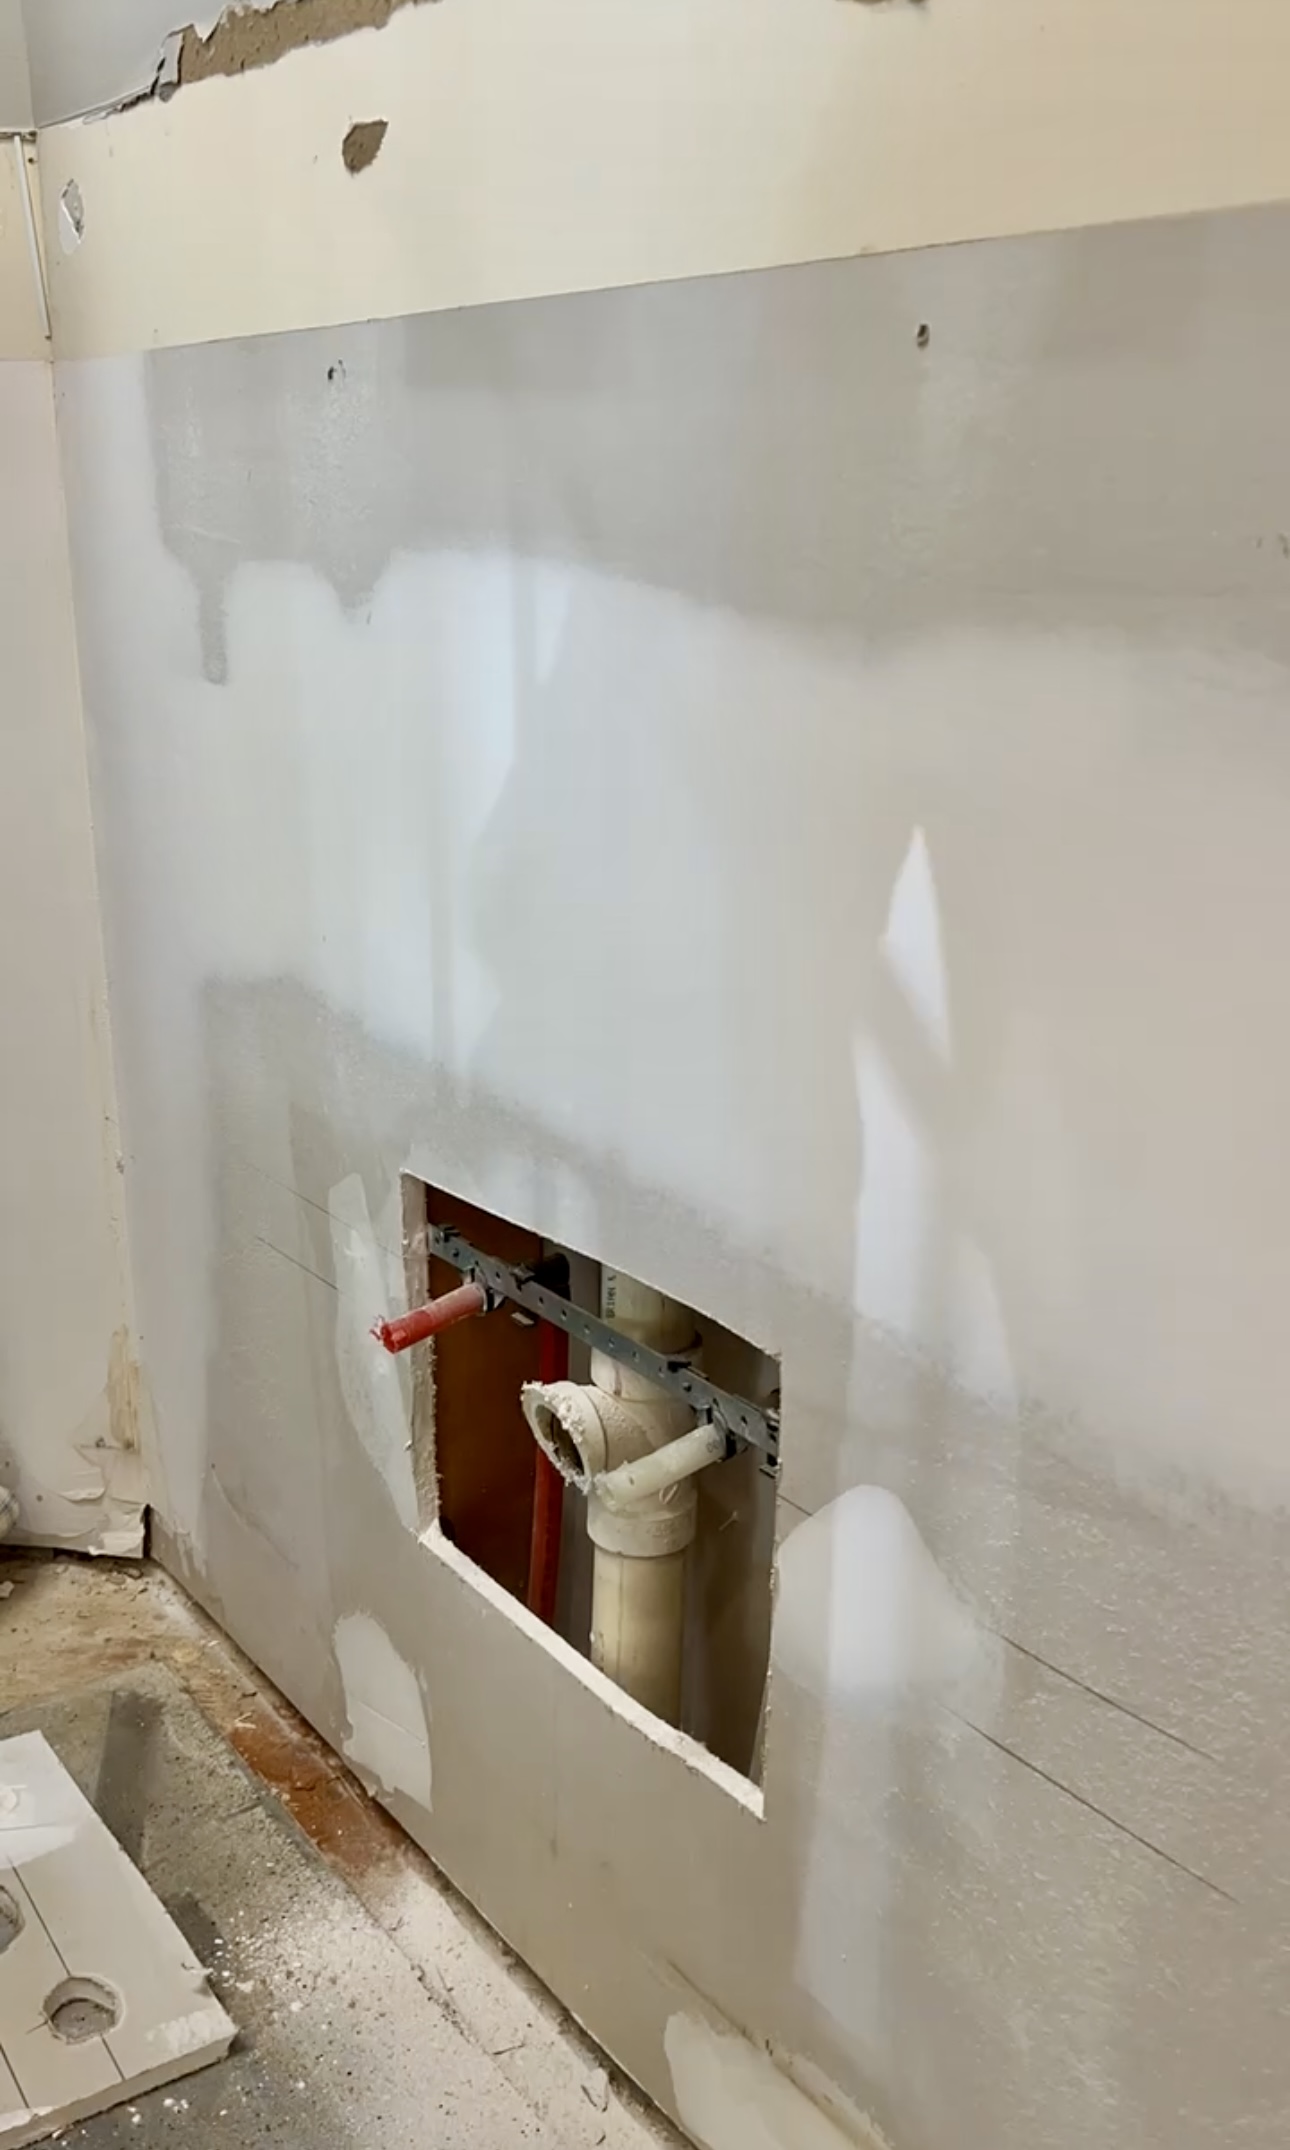
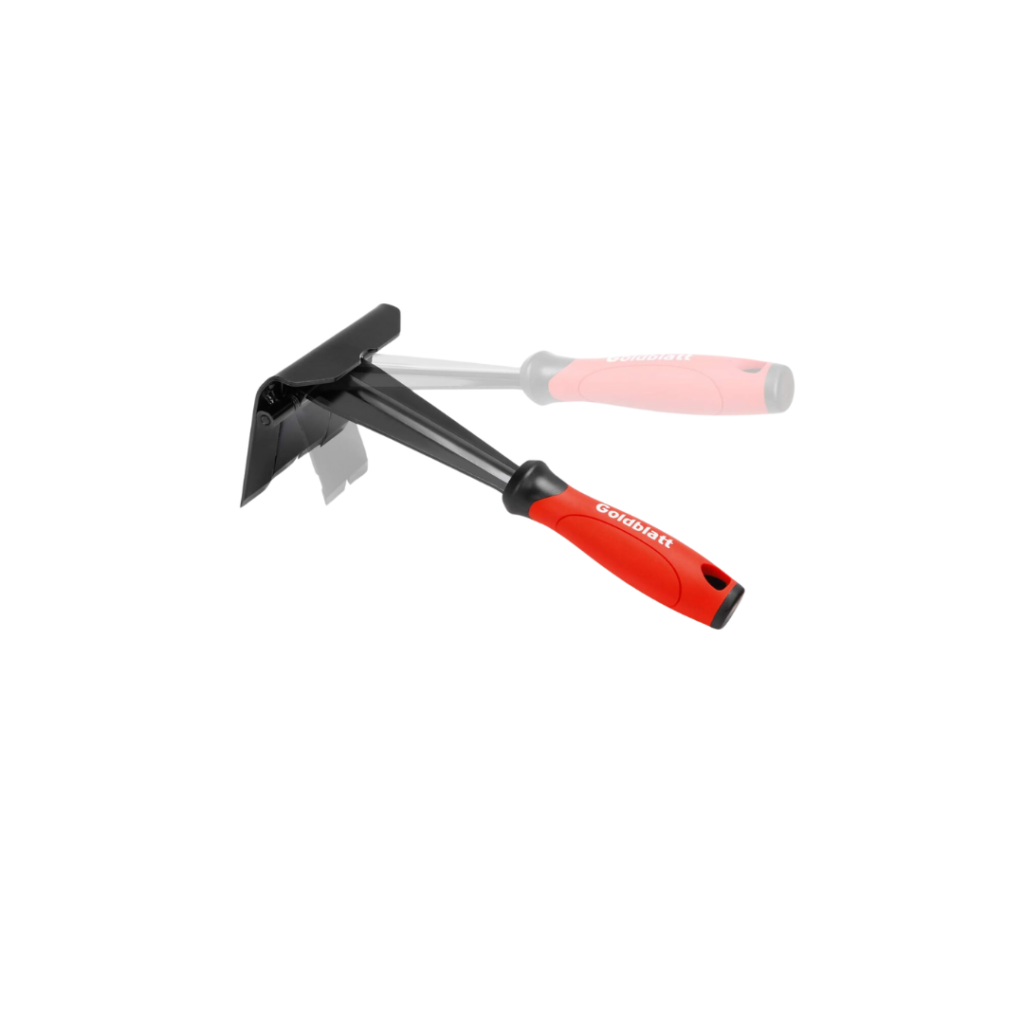
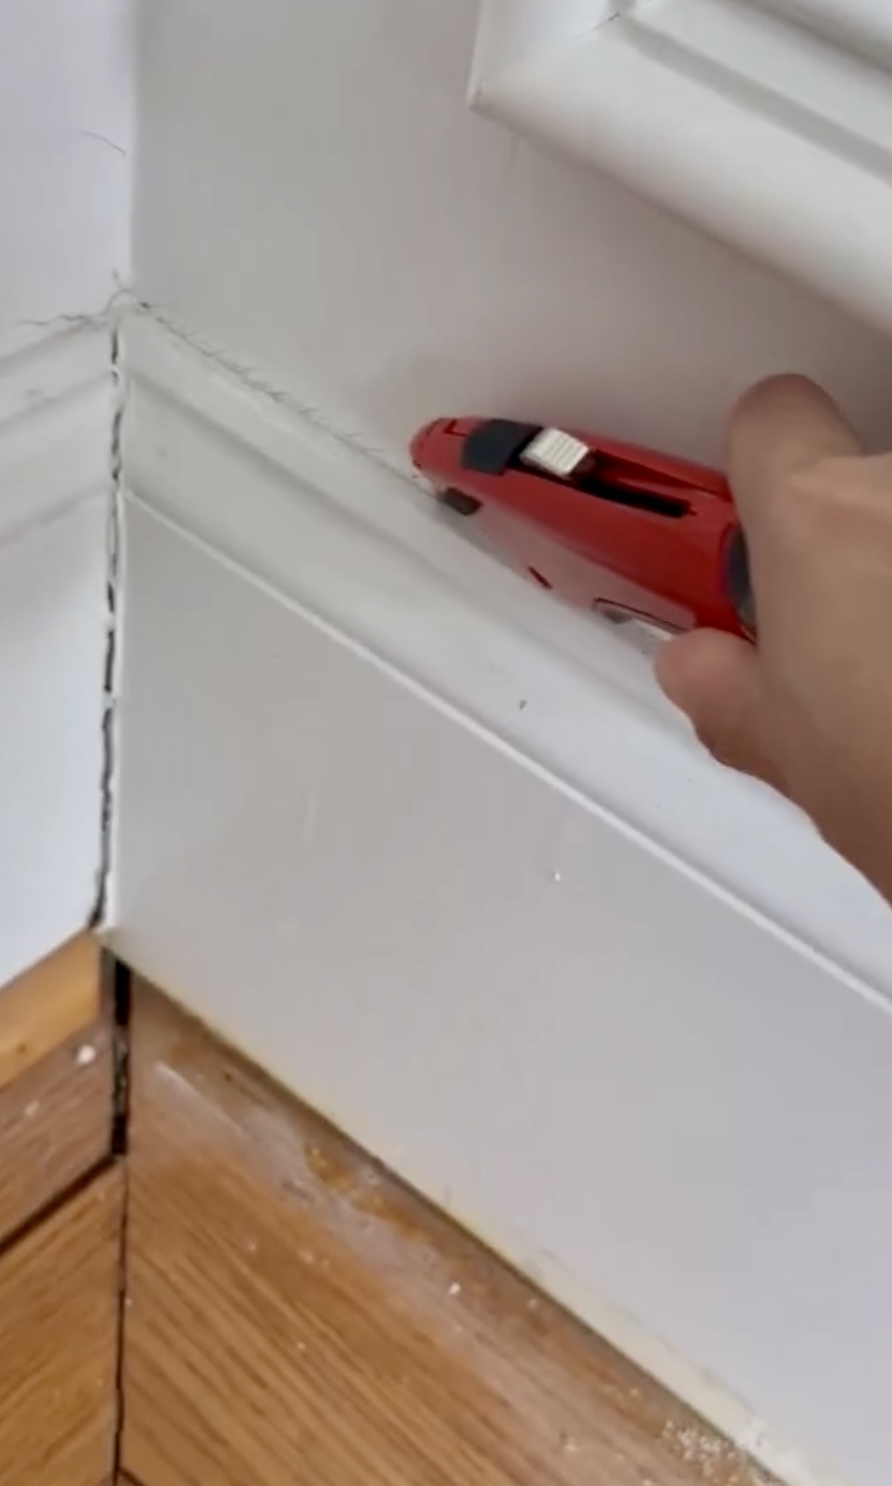
I share this tool every single time I have to remove trim or baseboards because it is just that amazing. So I removed the trim and used a knife to cut above the baseboards to remove the caulk before using my tool again.
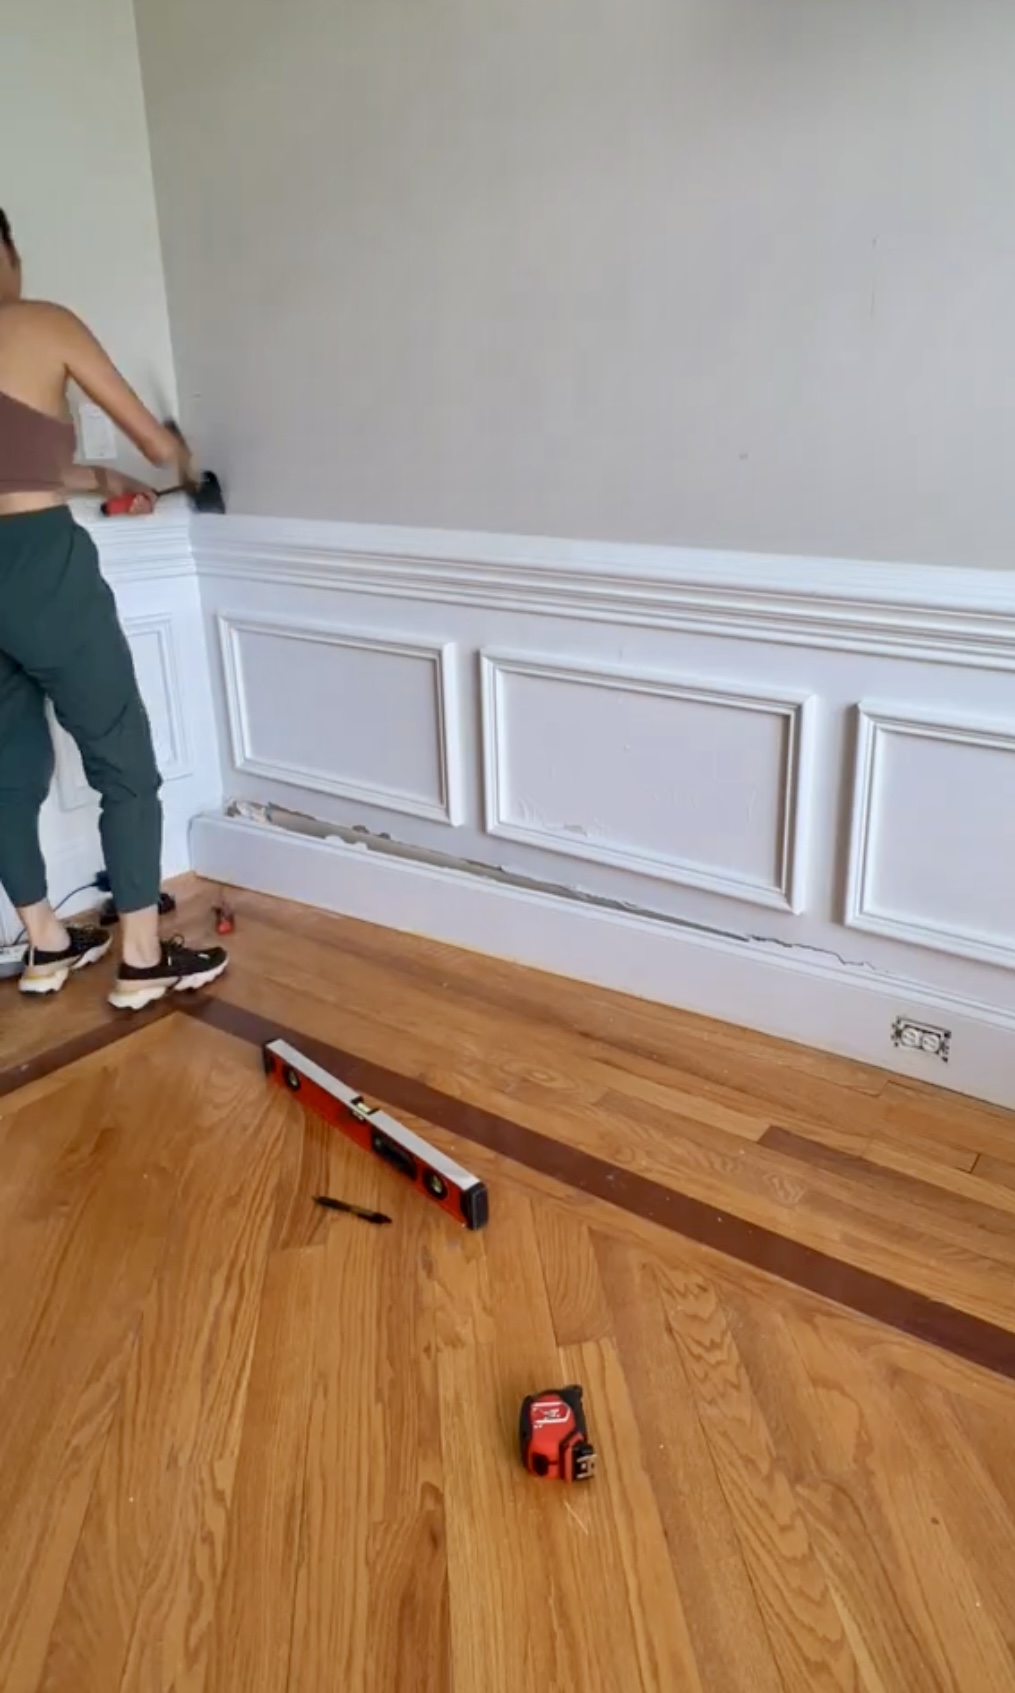
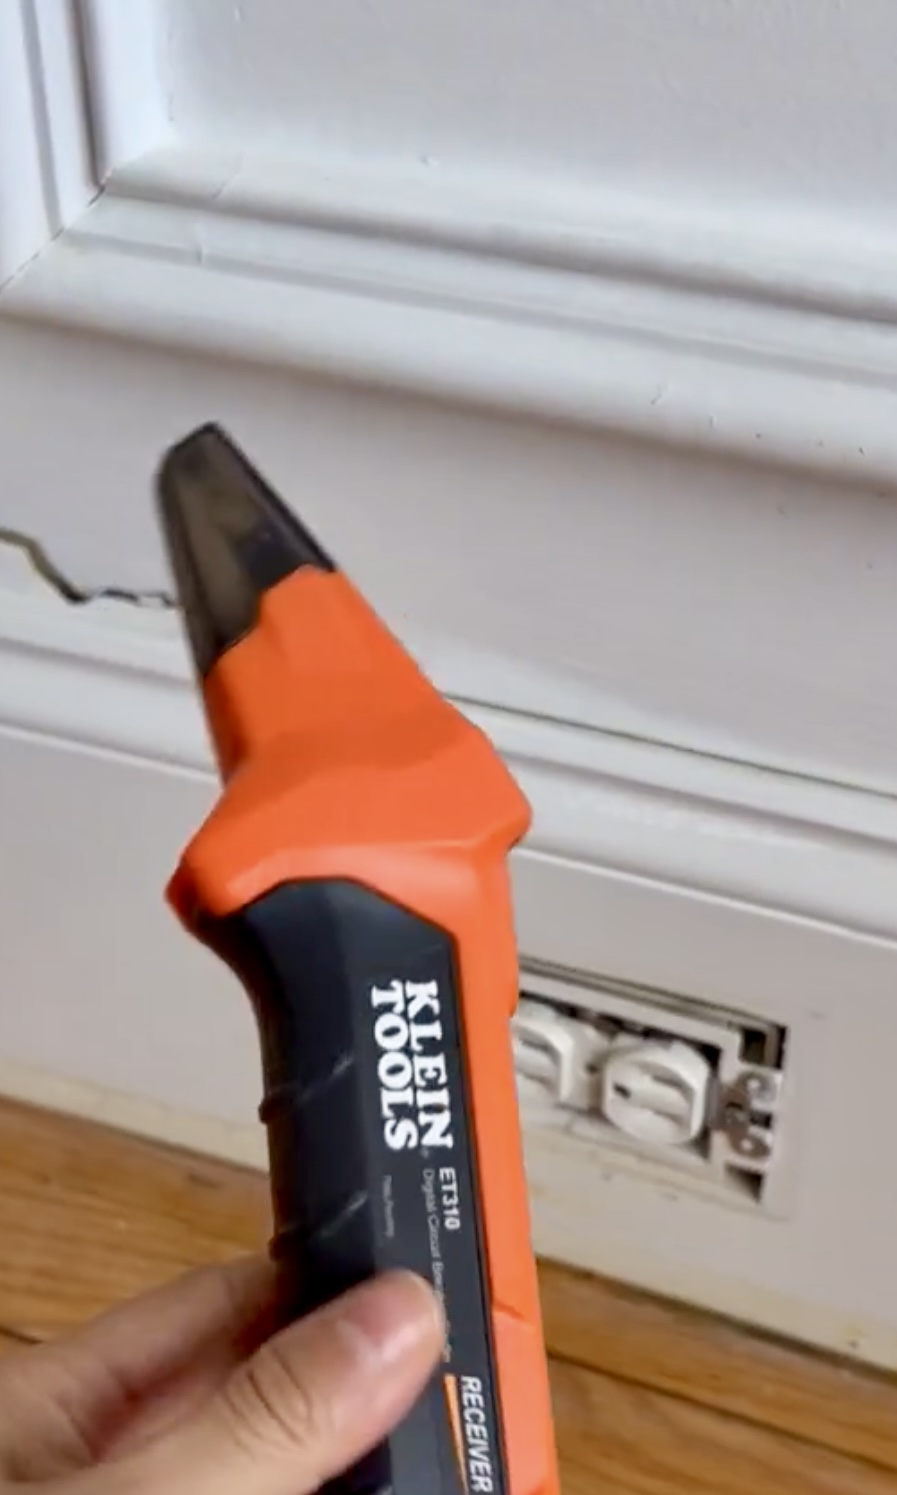
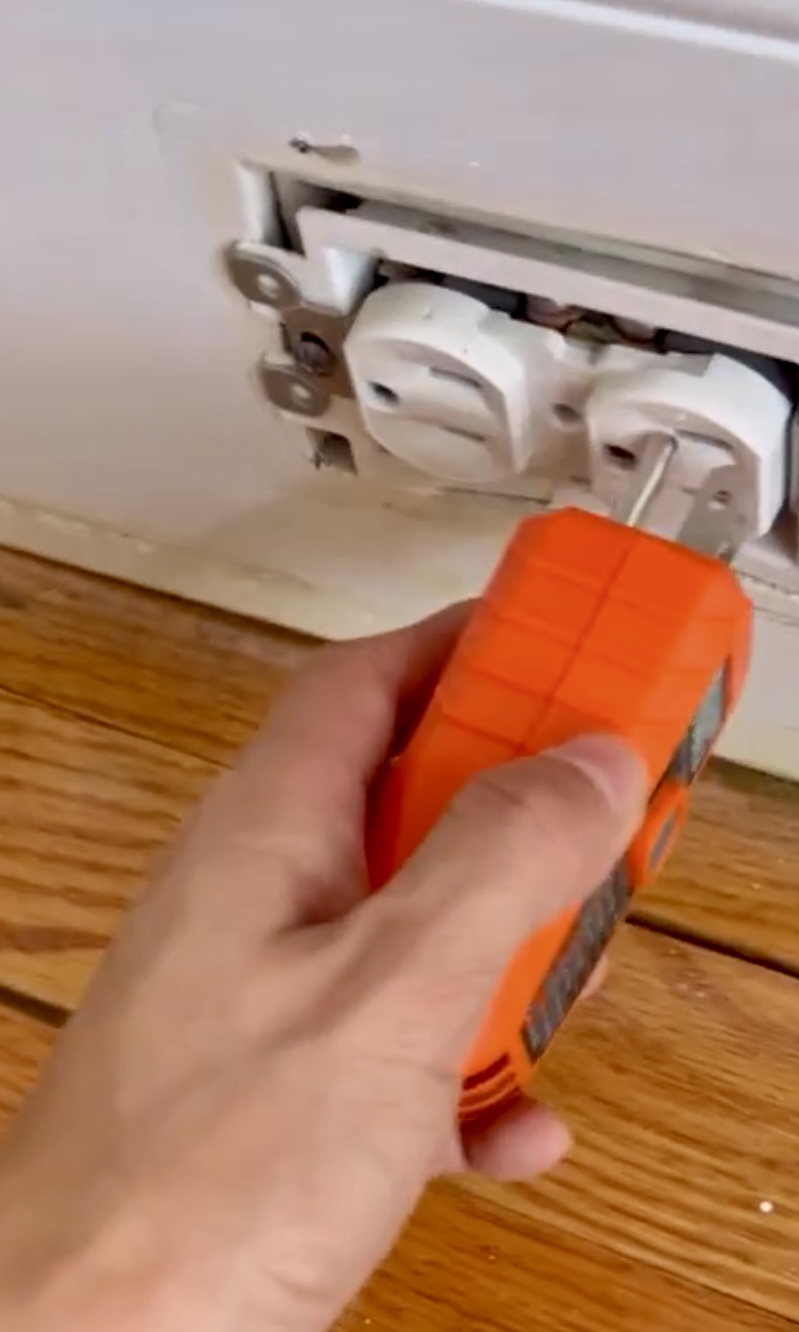
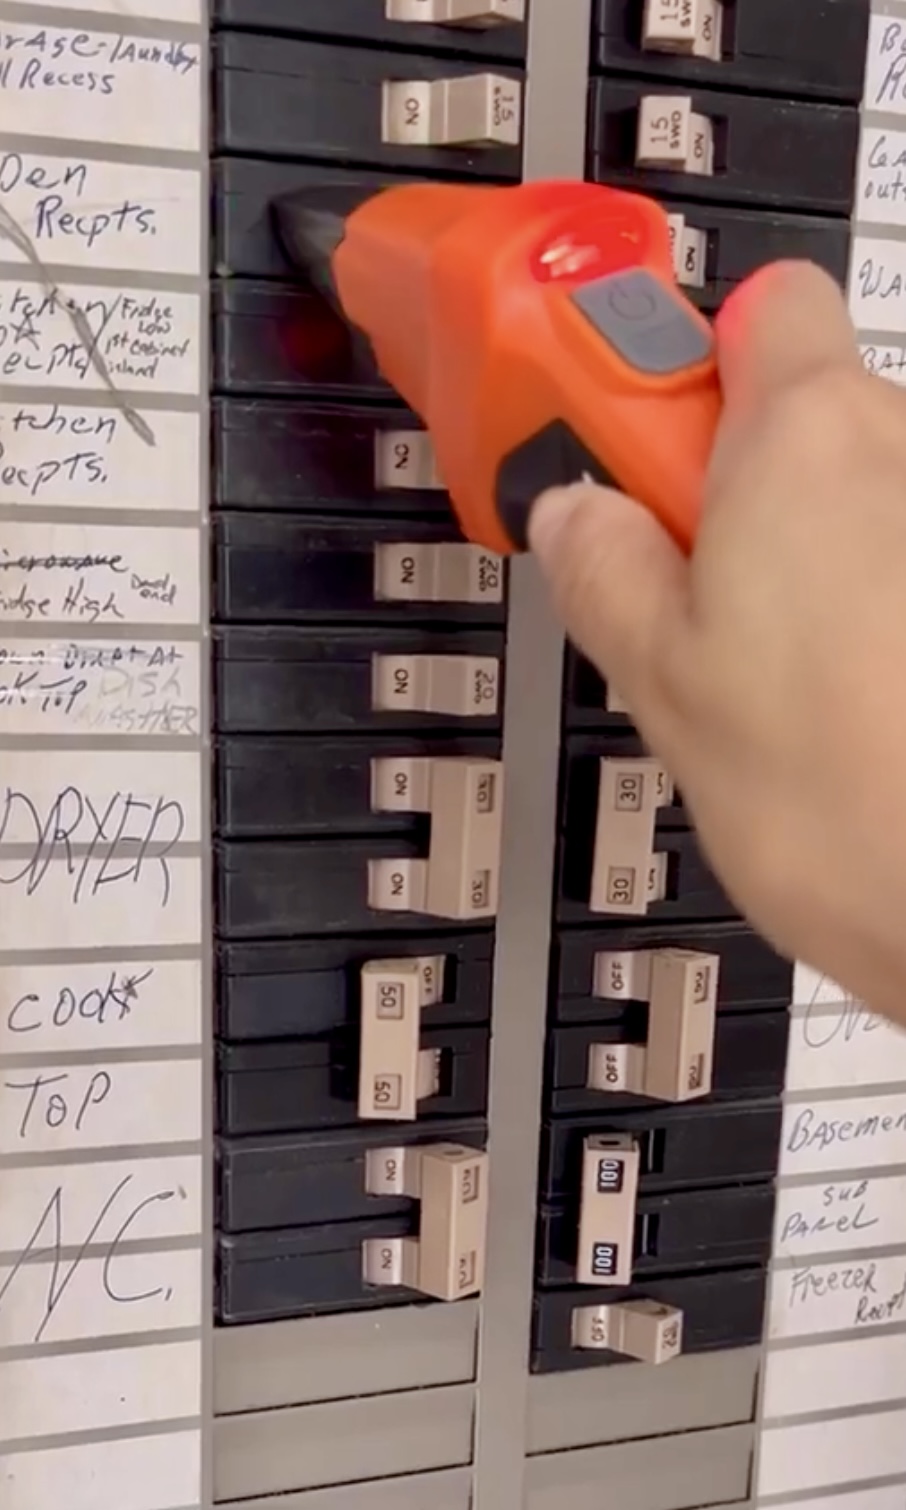
So, we have an outlet in the middle of the baseboard that we need to turn off. I have no idea which breaker correlates to it so I use this handy tool and plug in one end into the outlet and take the other half with me to the breaker. At the breaker, I basically scan it until it lights up for the correct switch. It saves me lots of time running back and forth and ensures I turn off the correct breaker. Plus, no more yelling across the entire house “if is off yet?”
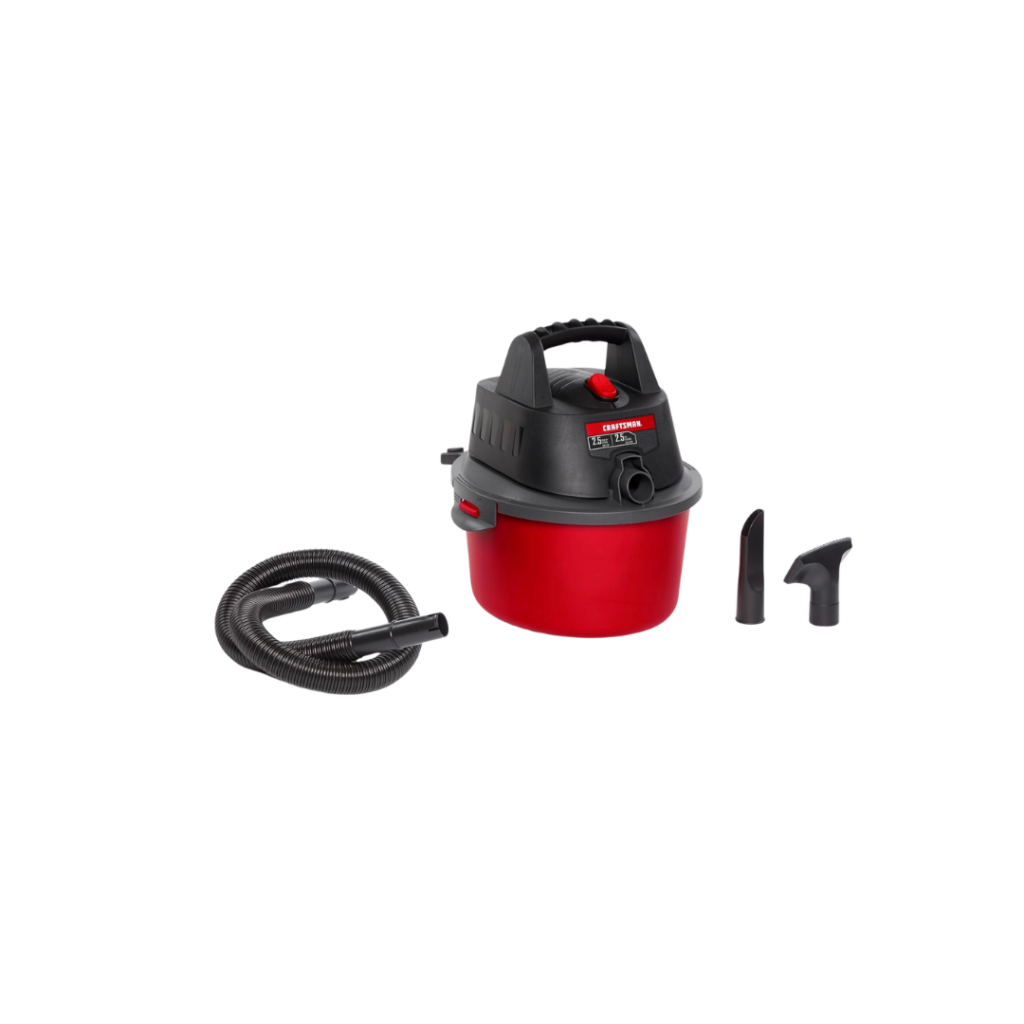
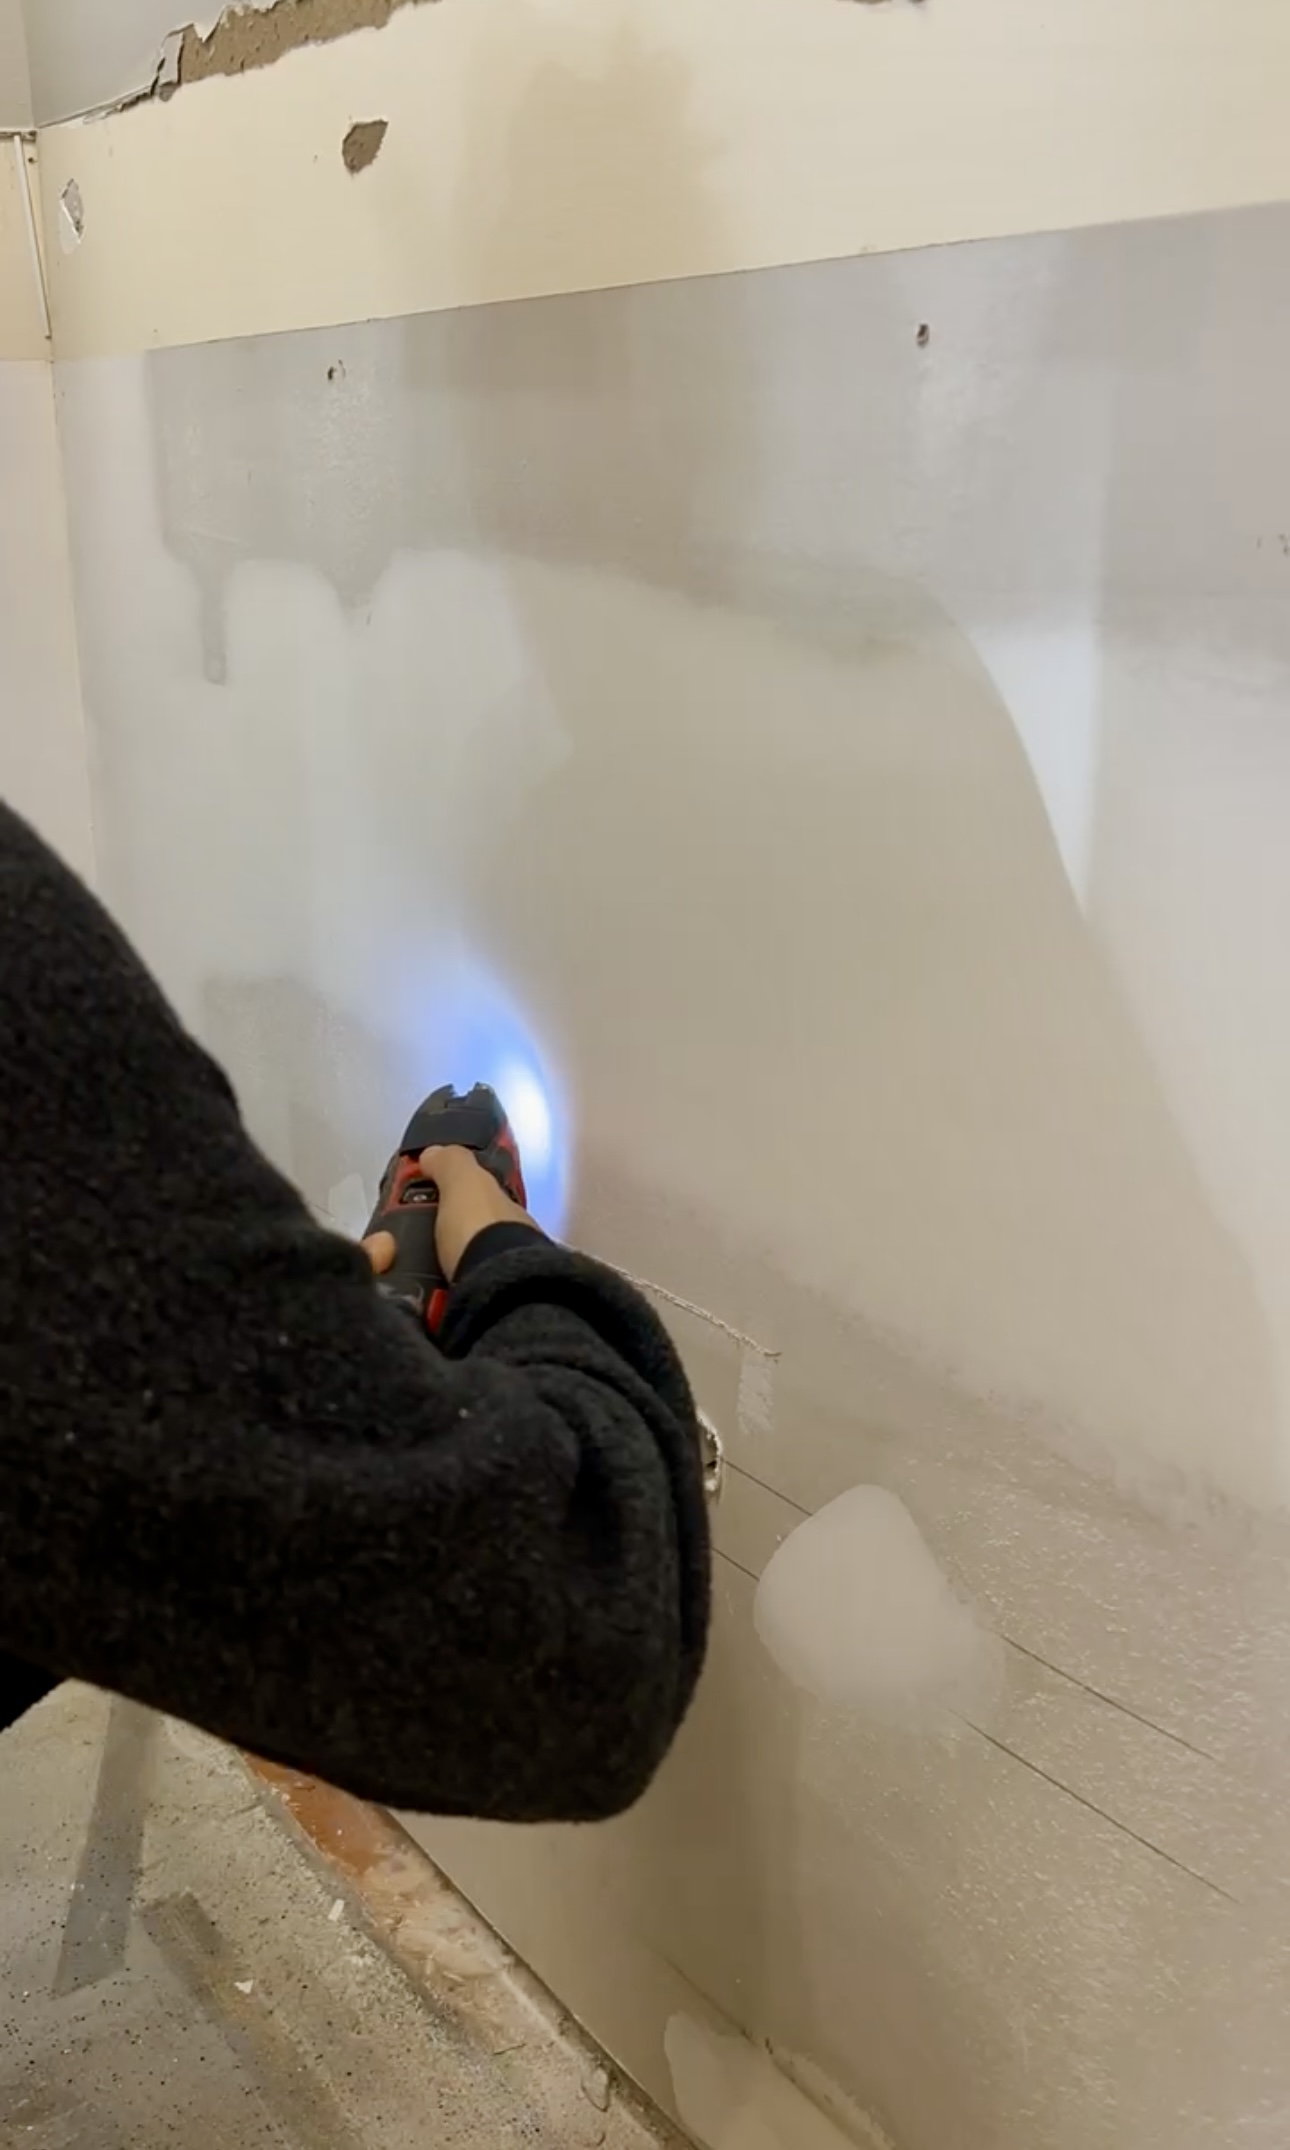
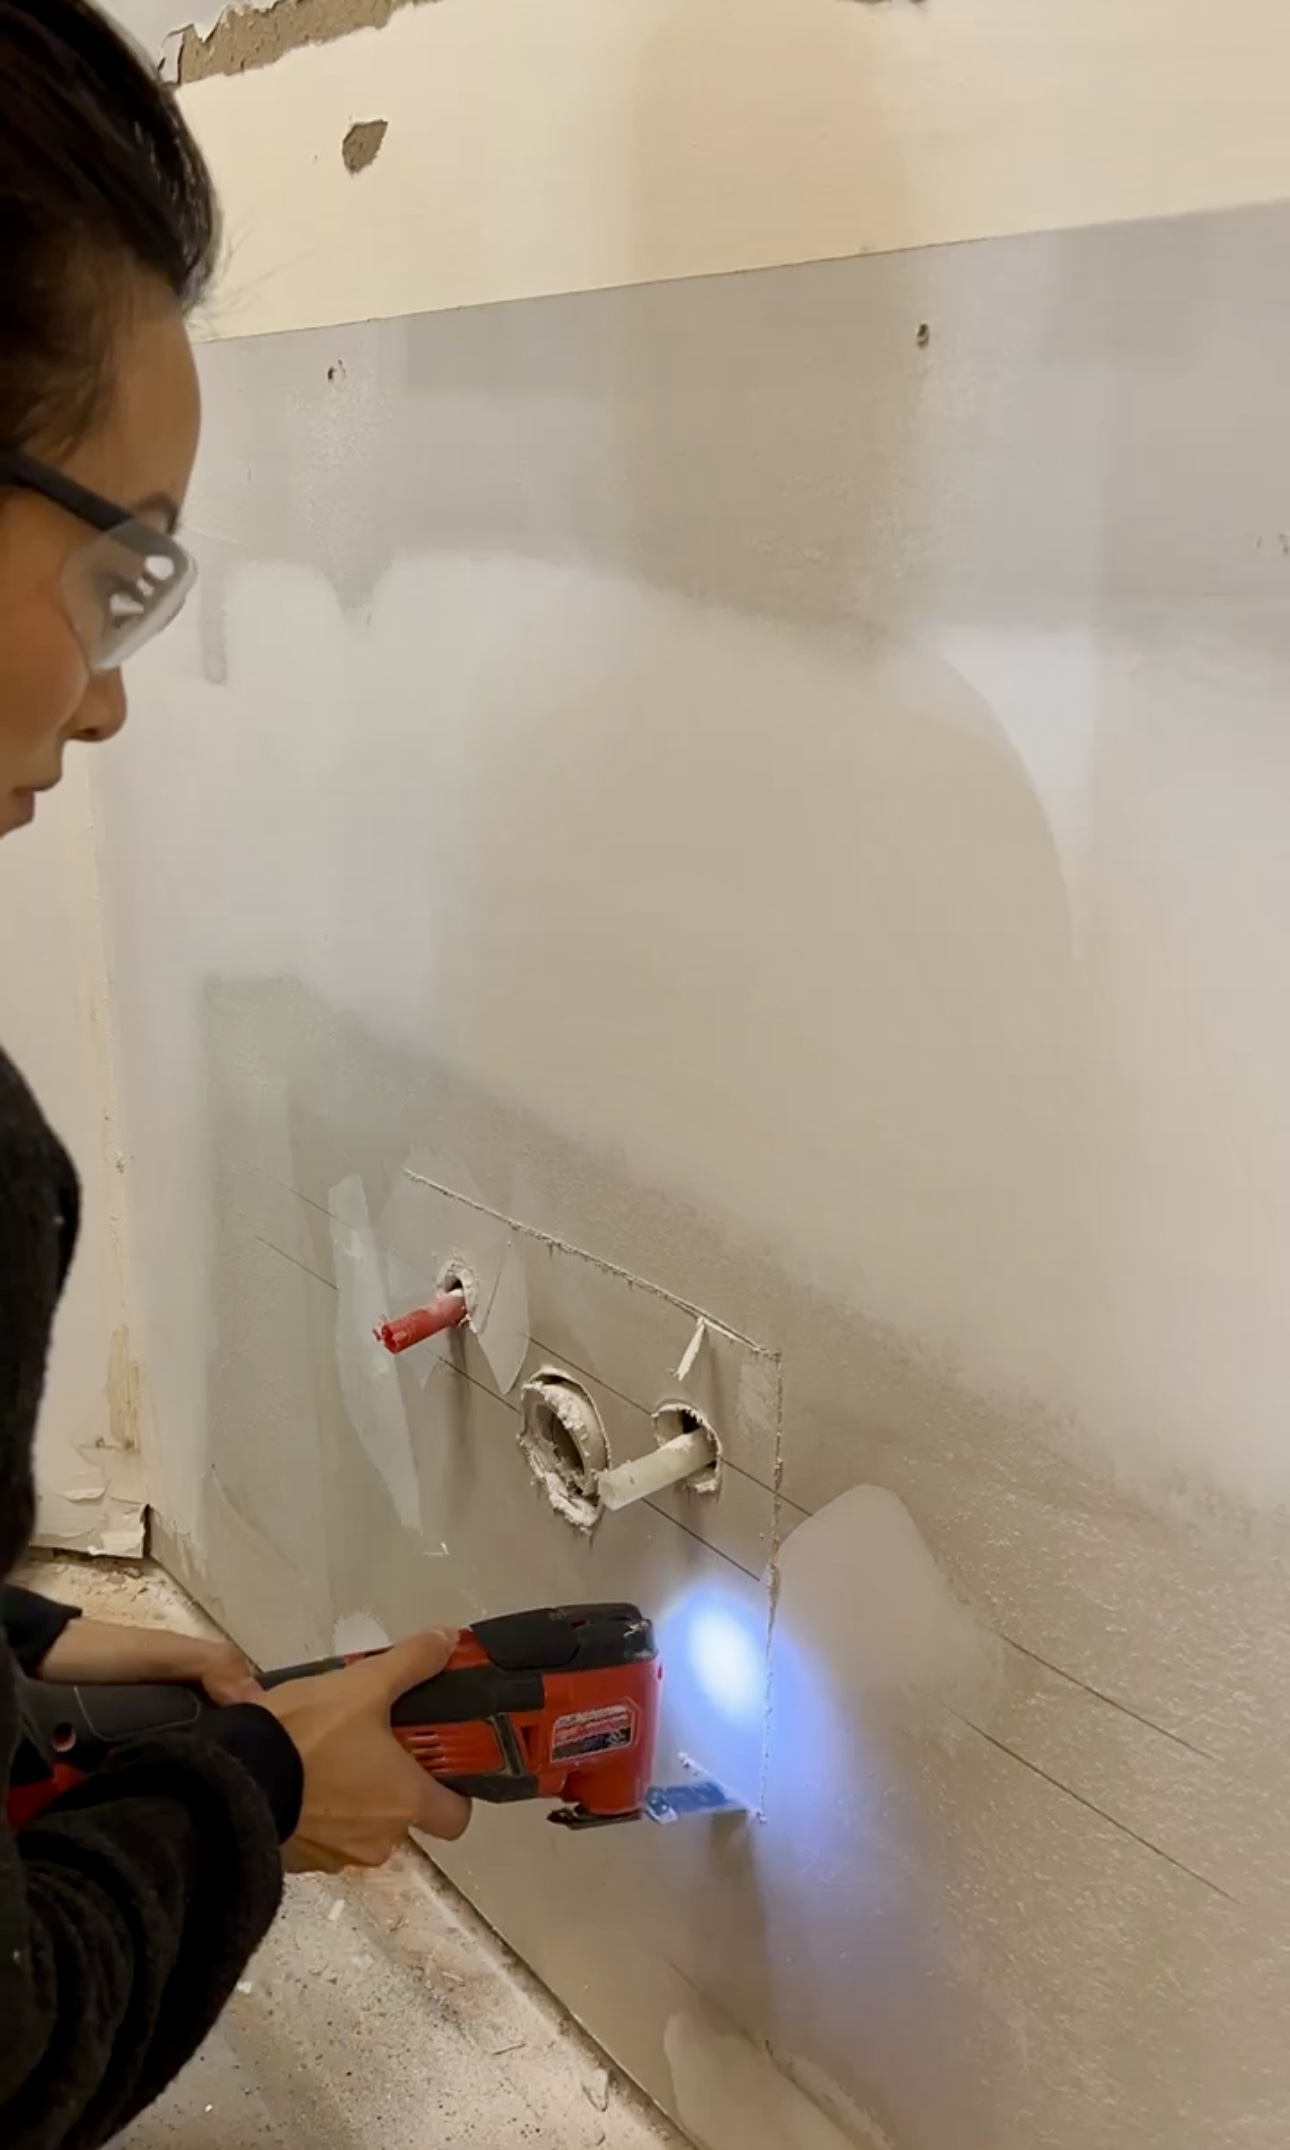
You can remove drywall in a couple of ways. Here I used an oscillating saw and to help with the dust I followed along with a shop vac. Remember I already marked on the wall where the studs were so I can cut around them. After pulling off the drywall we went into the “old” laundry room and had to remove everything in there as well. The plumbing from where the sink is will get blocked off because we don’t need it here in our mudroom. We will later add a line in the other room for a sink.
Upon removing the cabinet, we found a bunch of mold so I am going to remove all the drywall and replace it with new sheetrock. The good news is that for the dryer vent, it just needs to be flipped onto the other side of the wall.
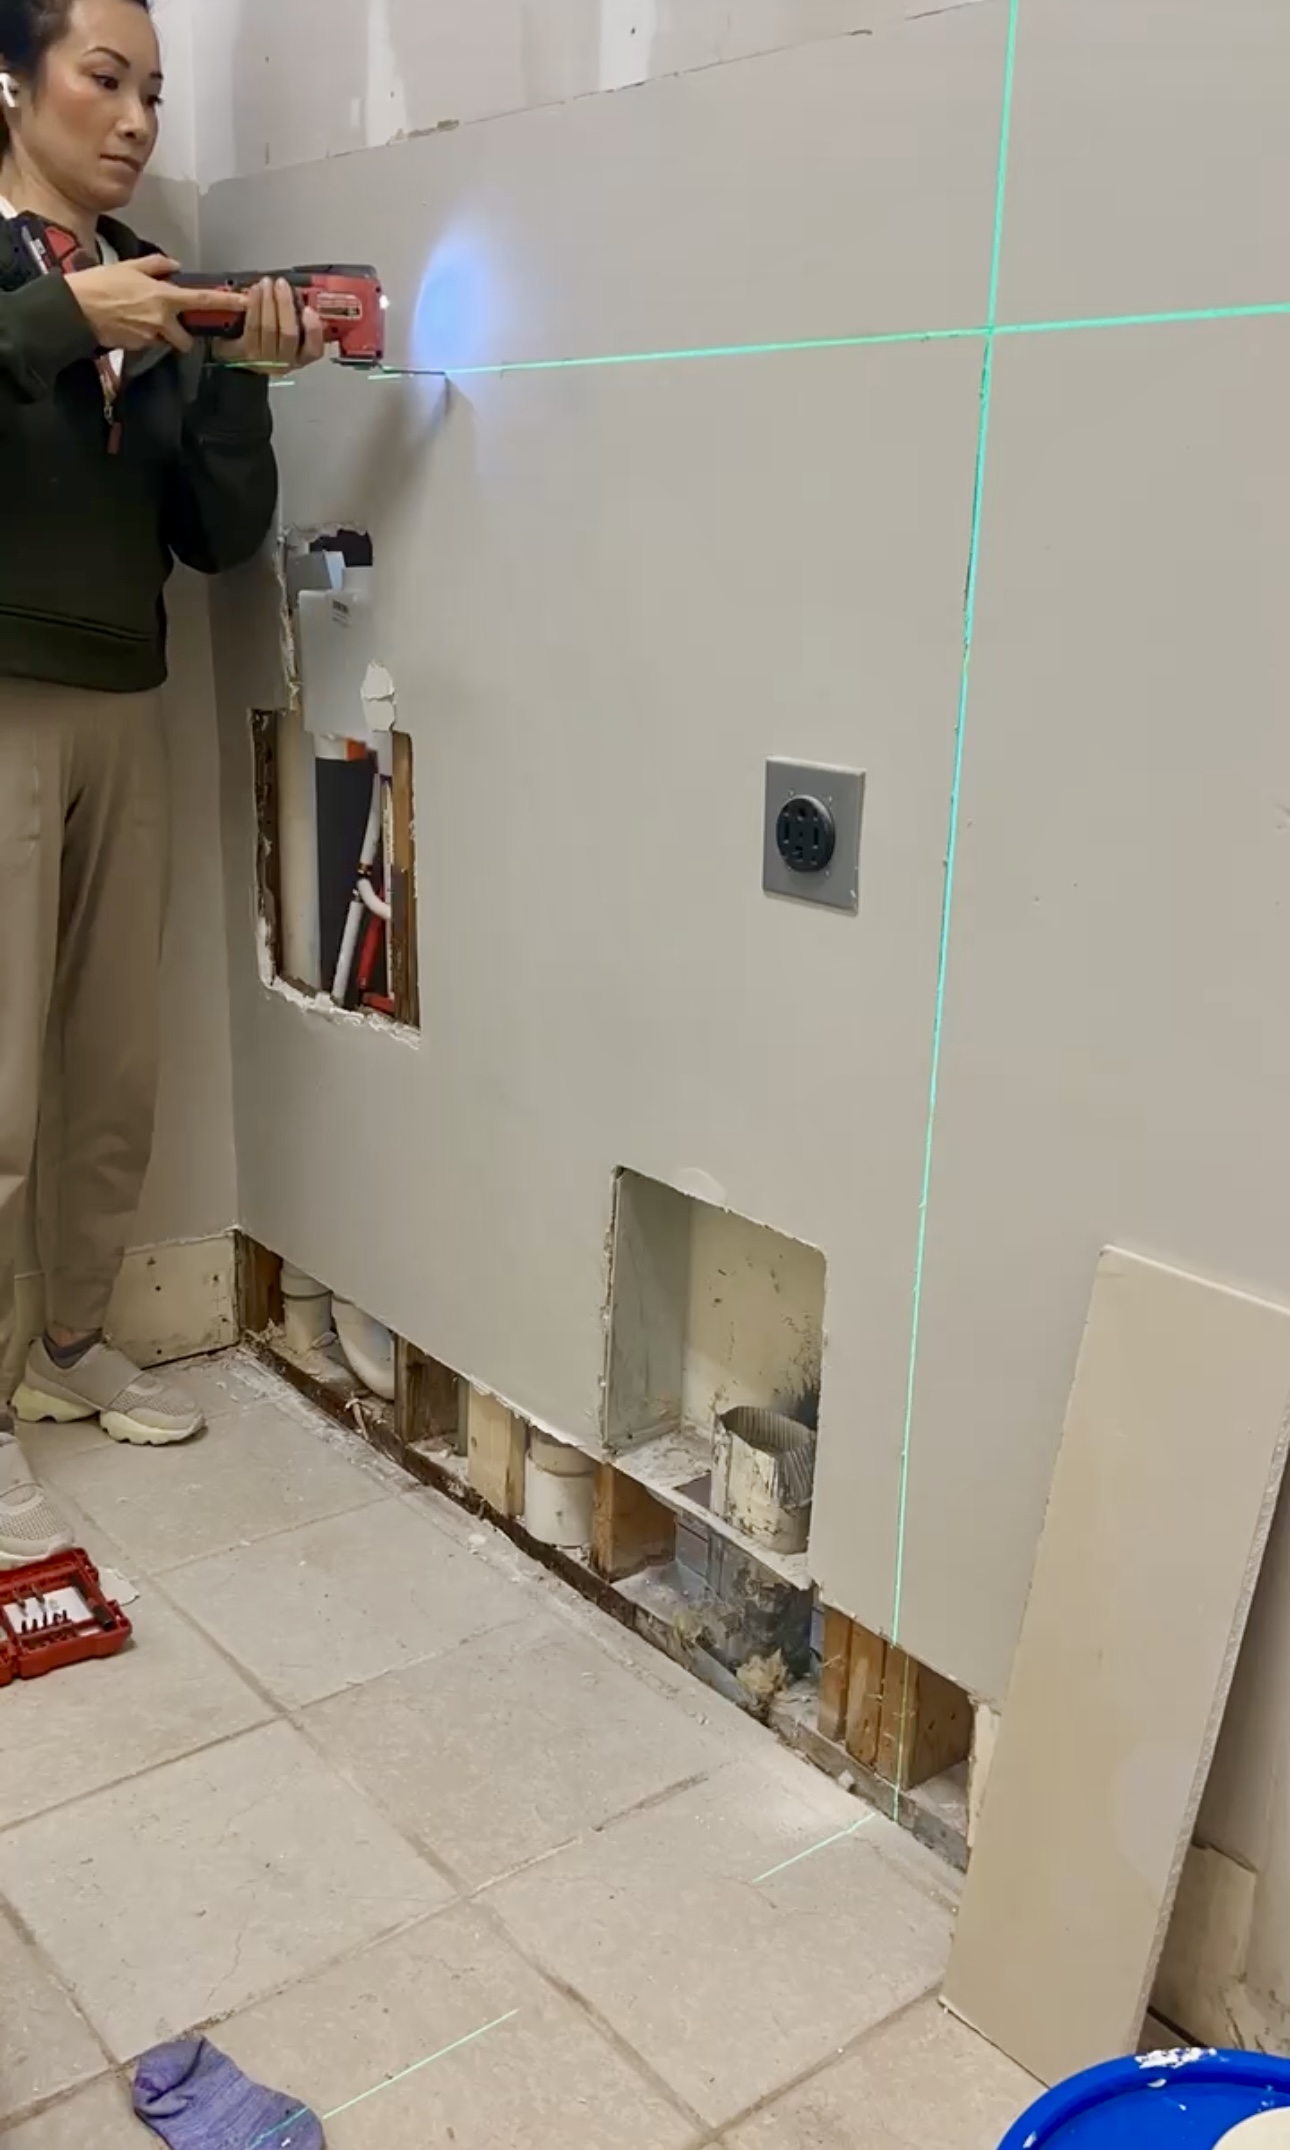
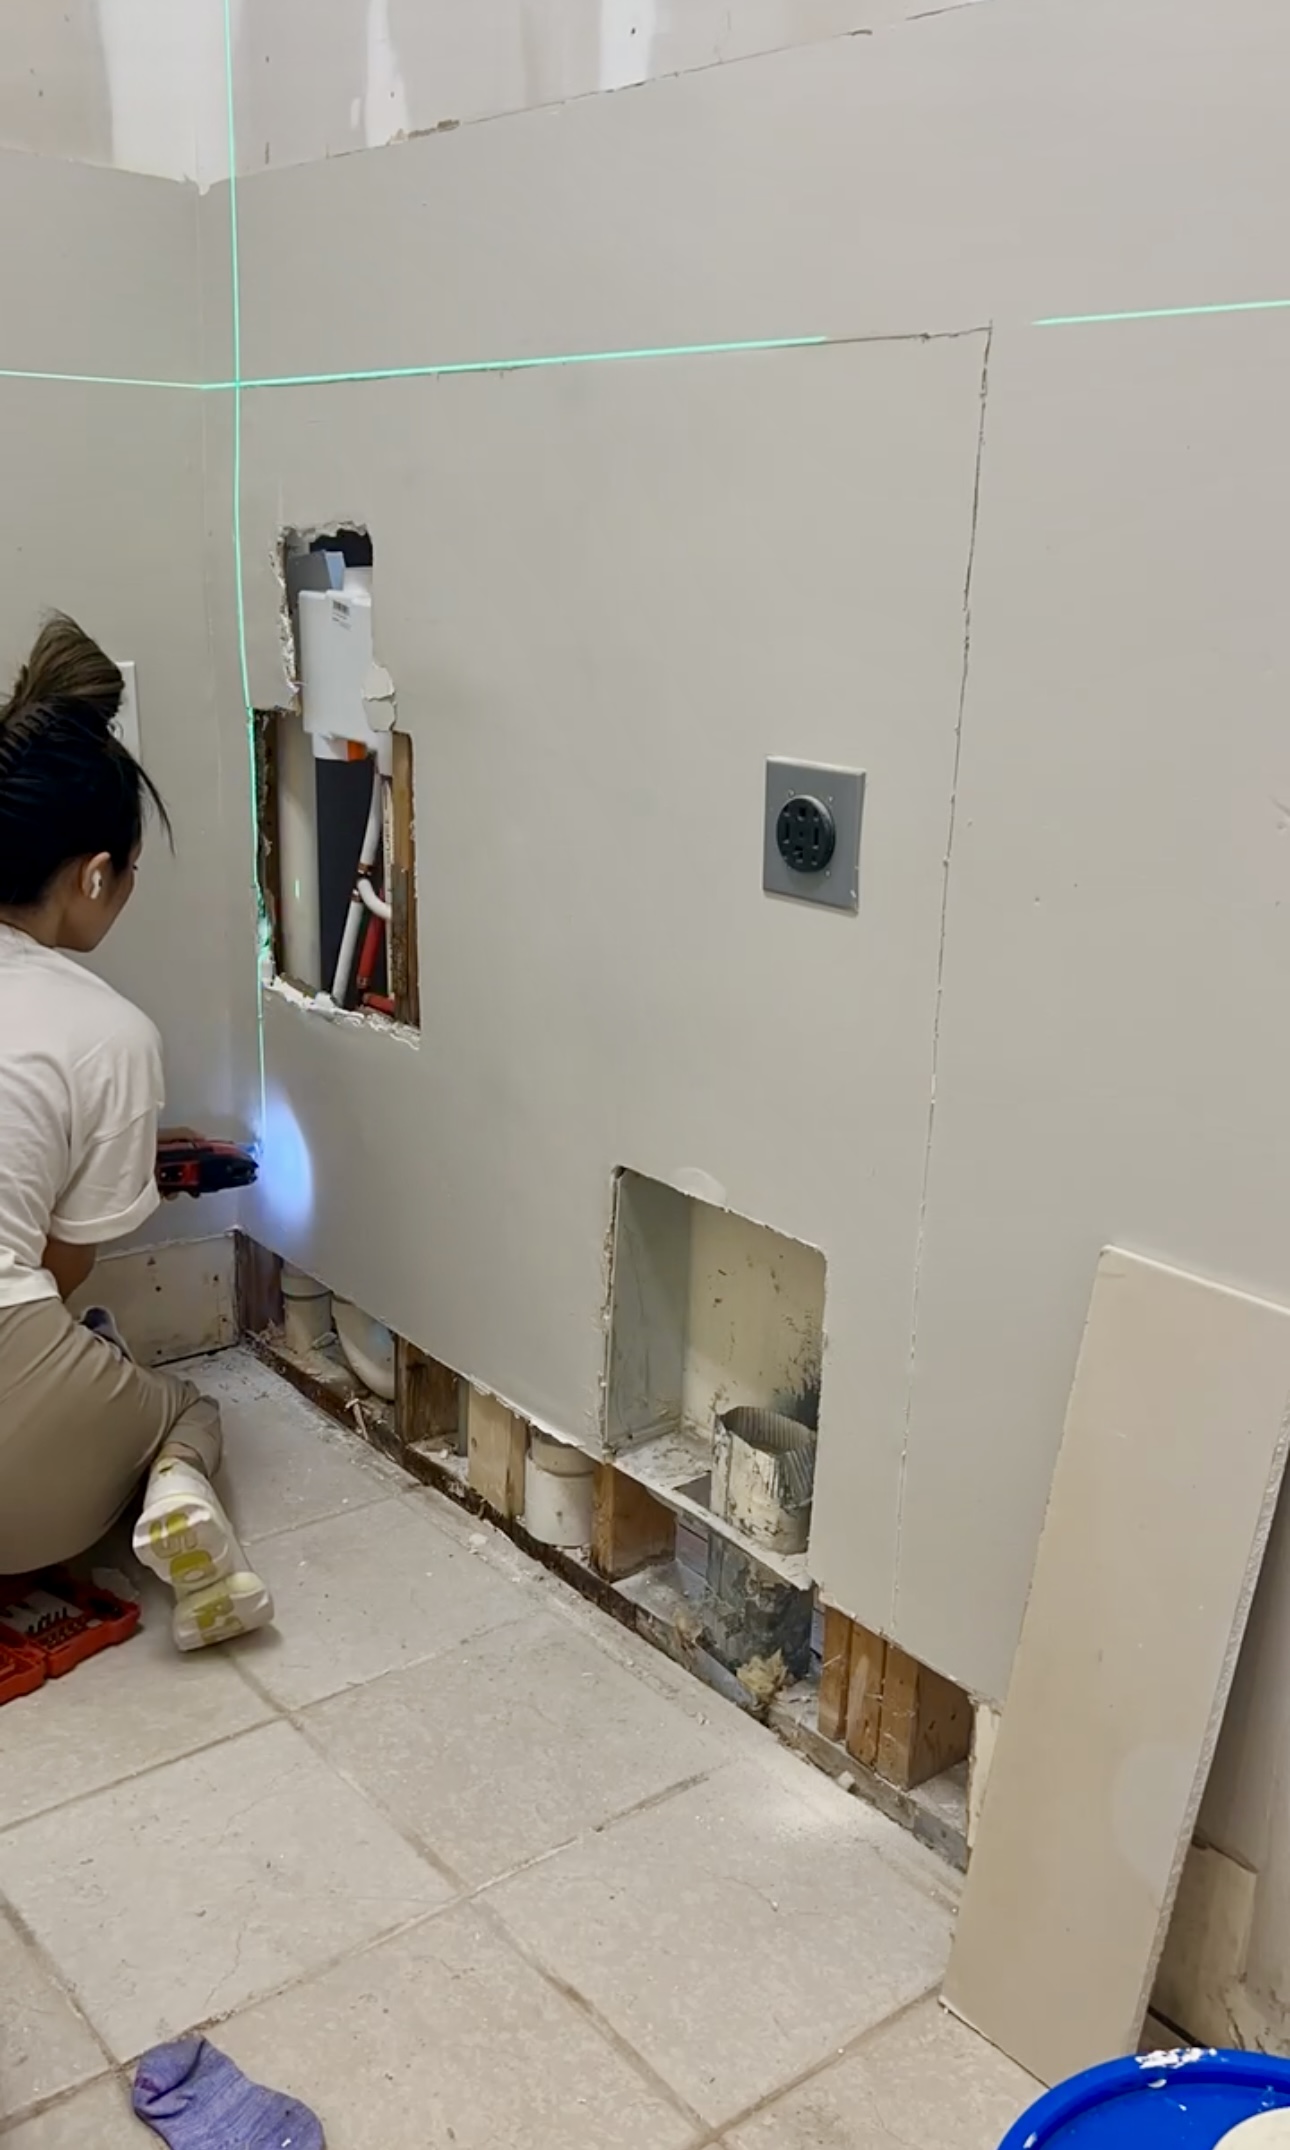
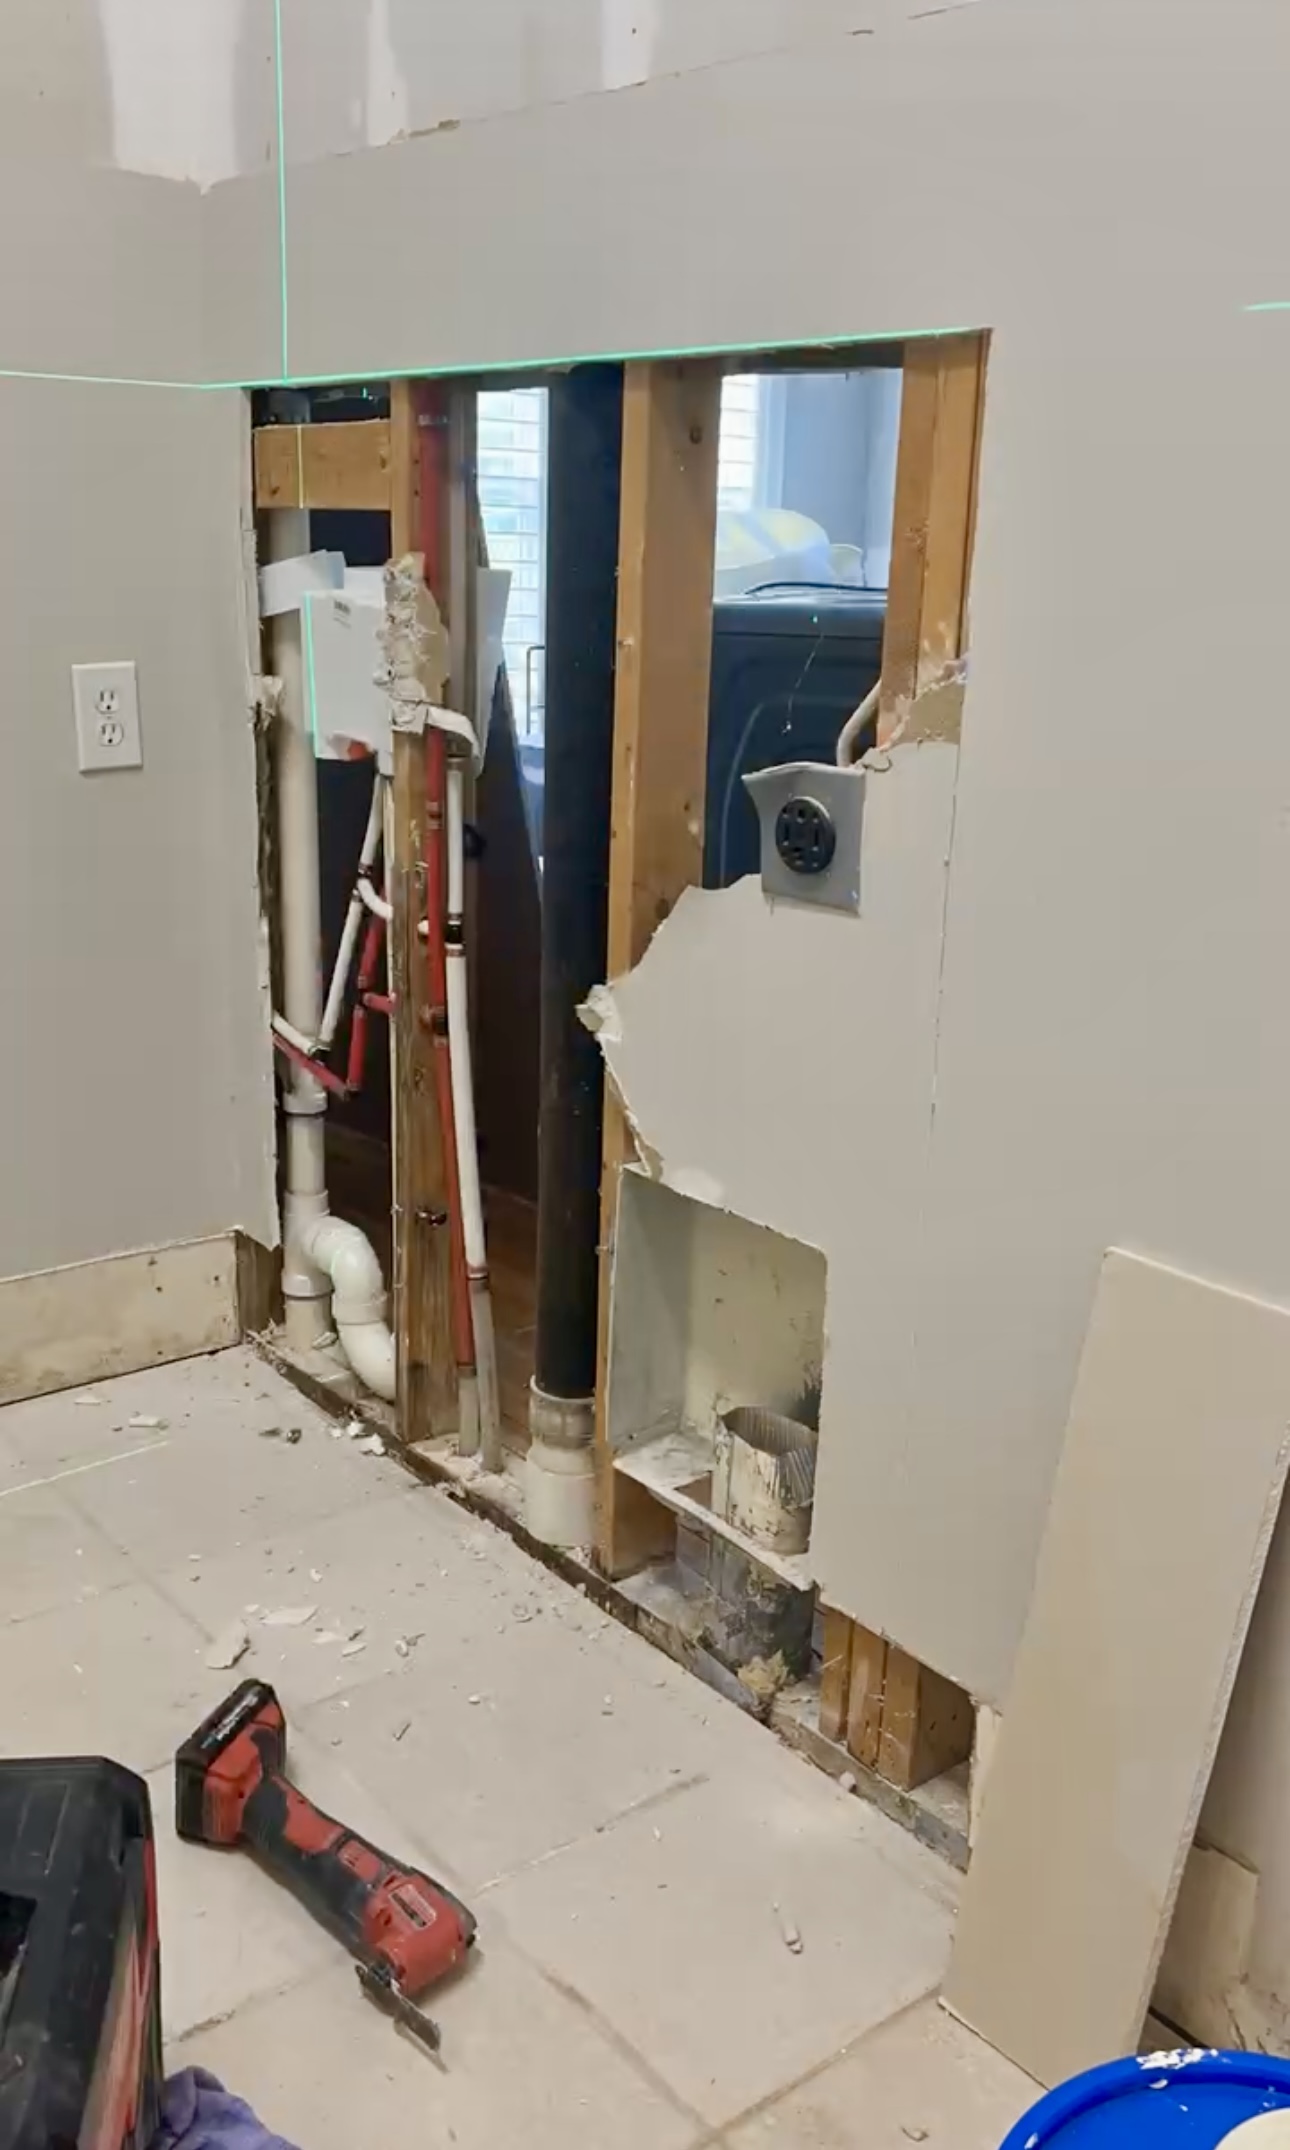
I bought a 2×2 piece of sheetrock at Home Depot which is great when you just need a small amount. I ended up cutting out a large piece of drywall because it was pretty moldy.
Tile Removal
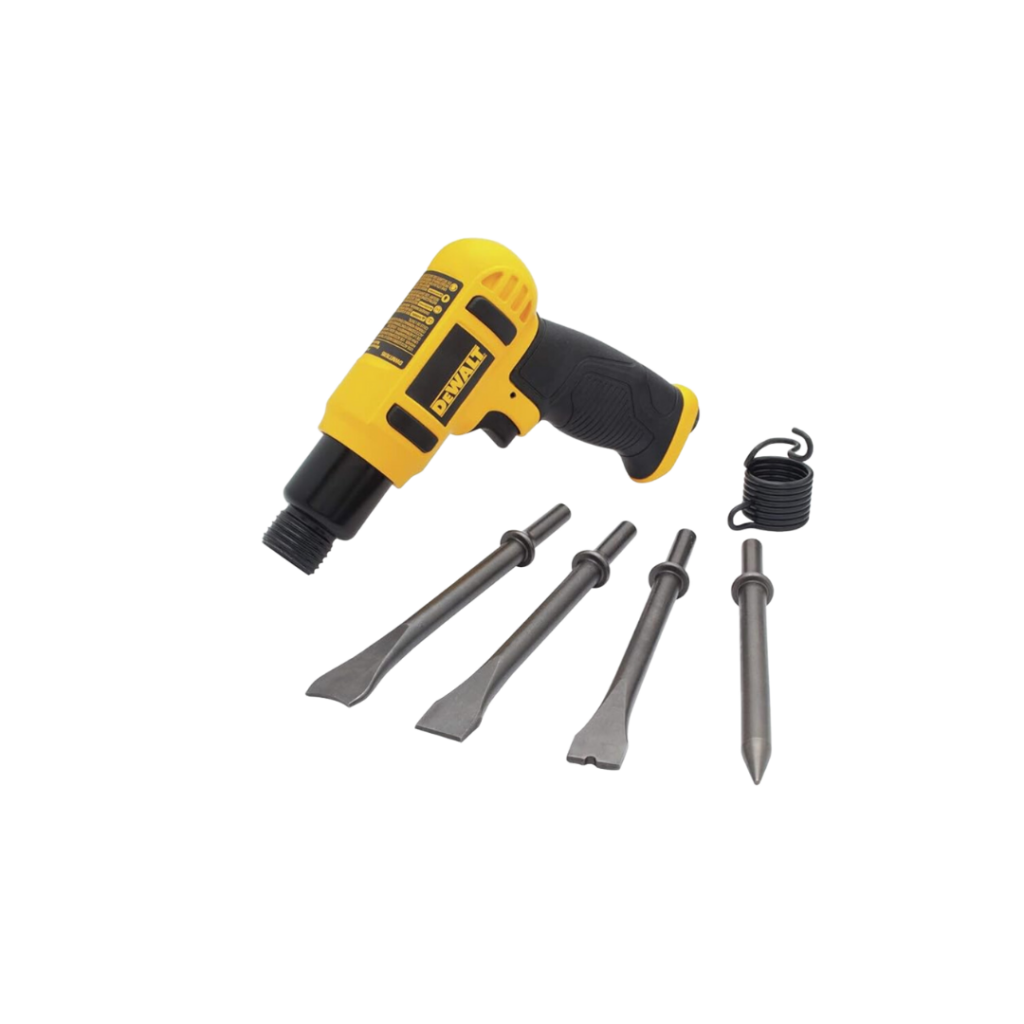
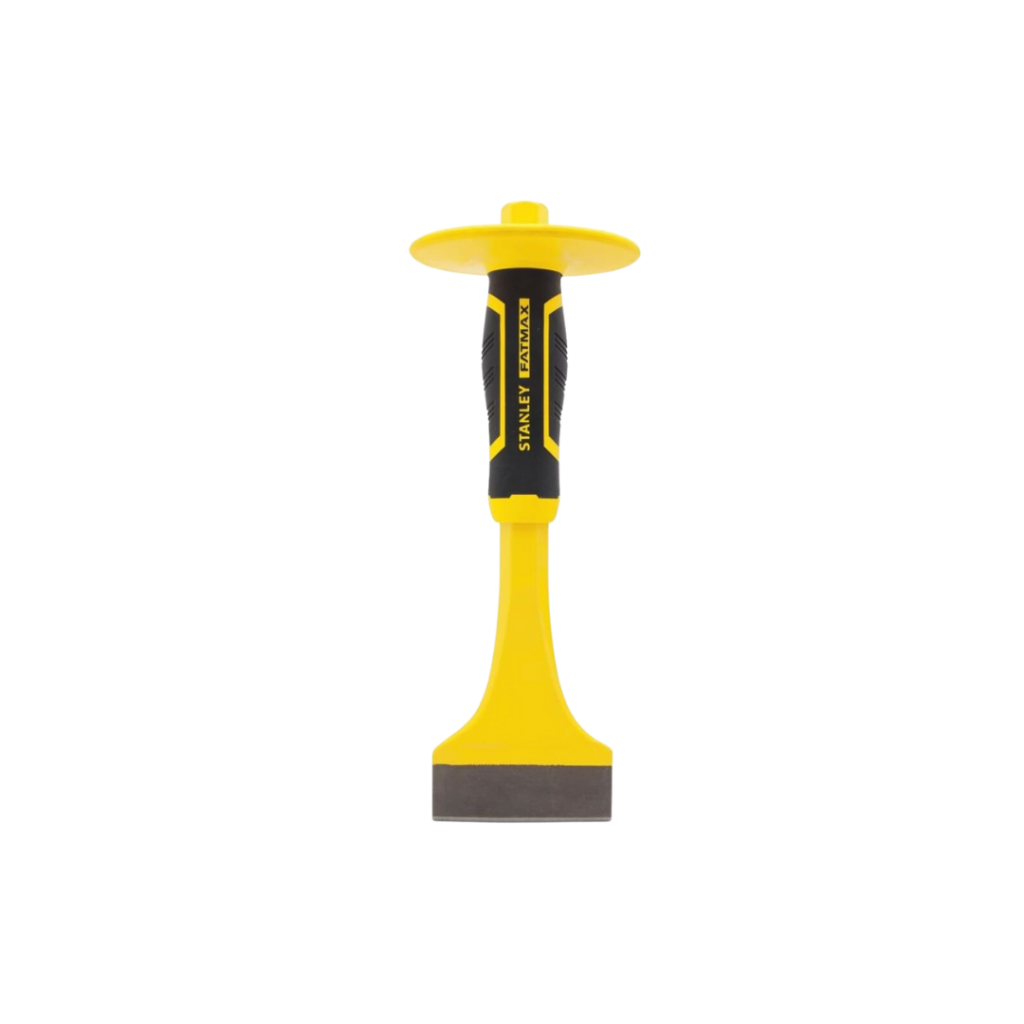
Next, I removed the tiles on the future mudroom floor. I used a battery-operated floor tile chisel and a handheld lever that you use with a hammer. The battery operated is obviously much easier but it is possible to do it by hand. Make sure to wear gloves and eye protection!

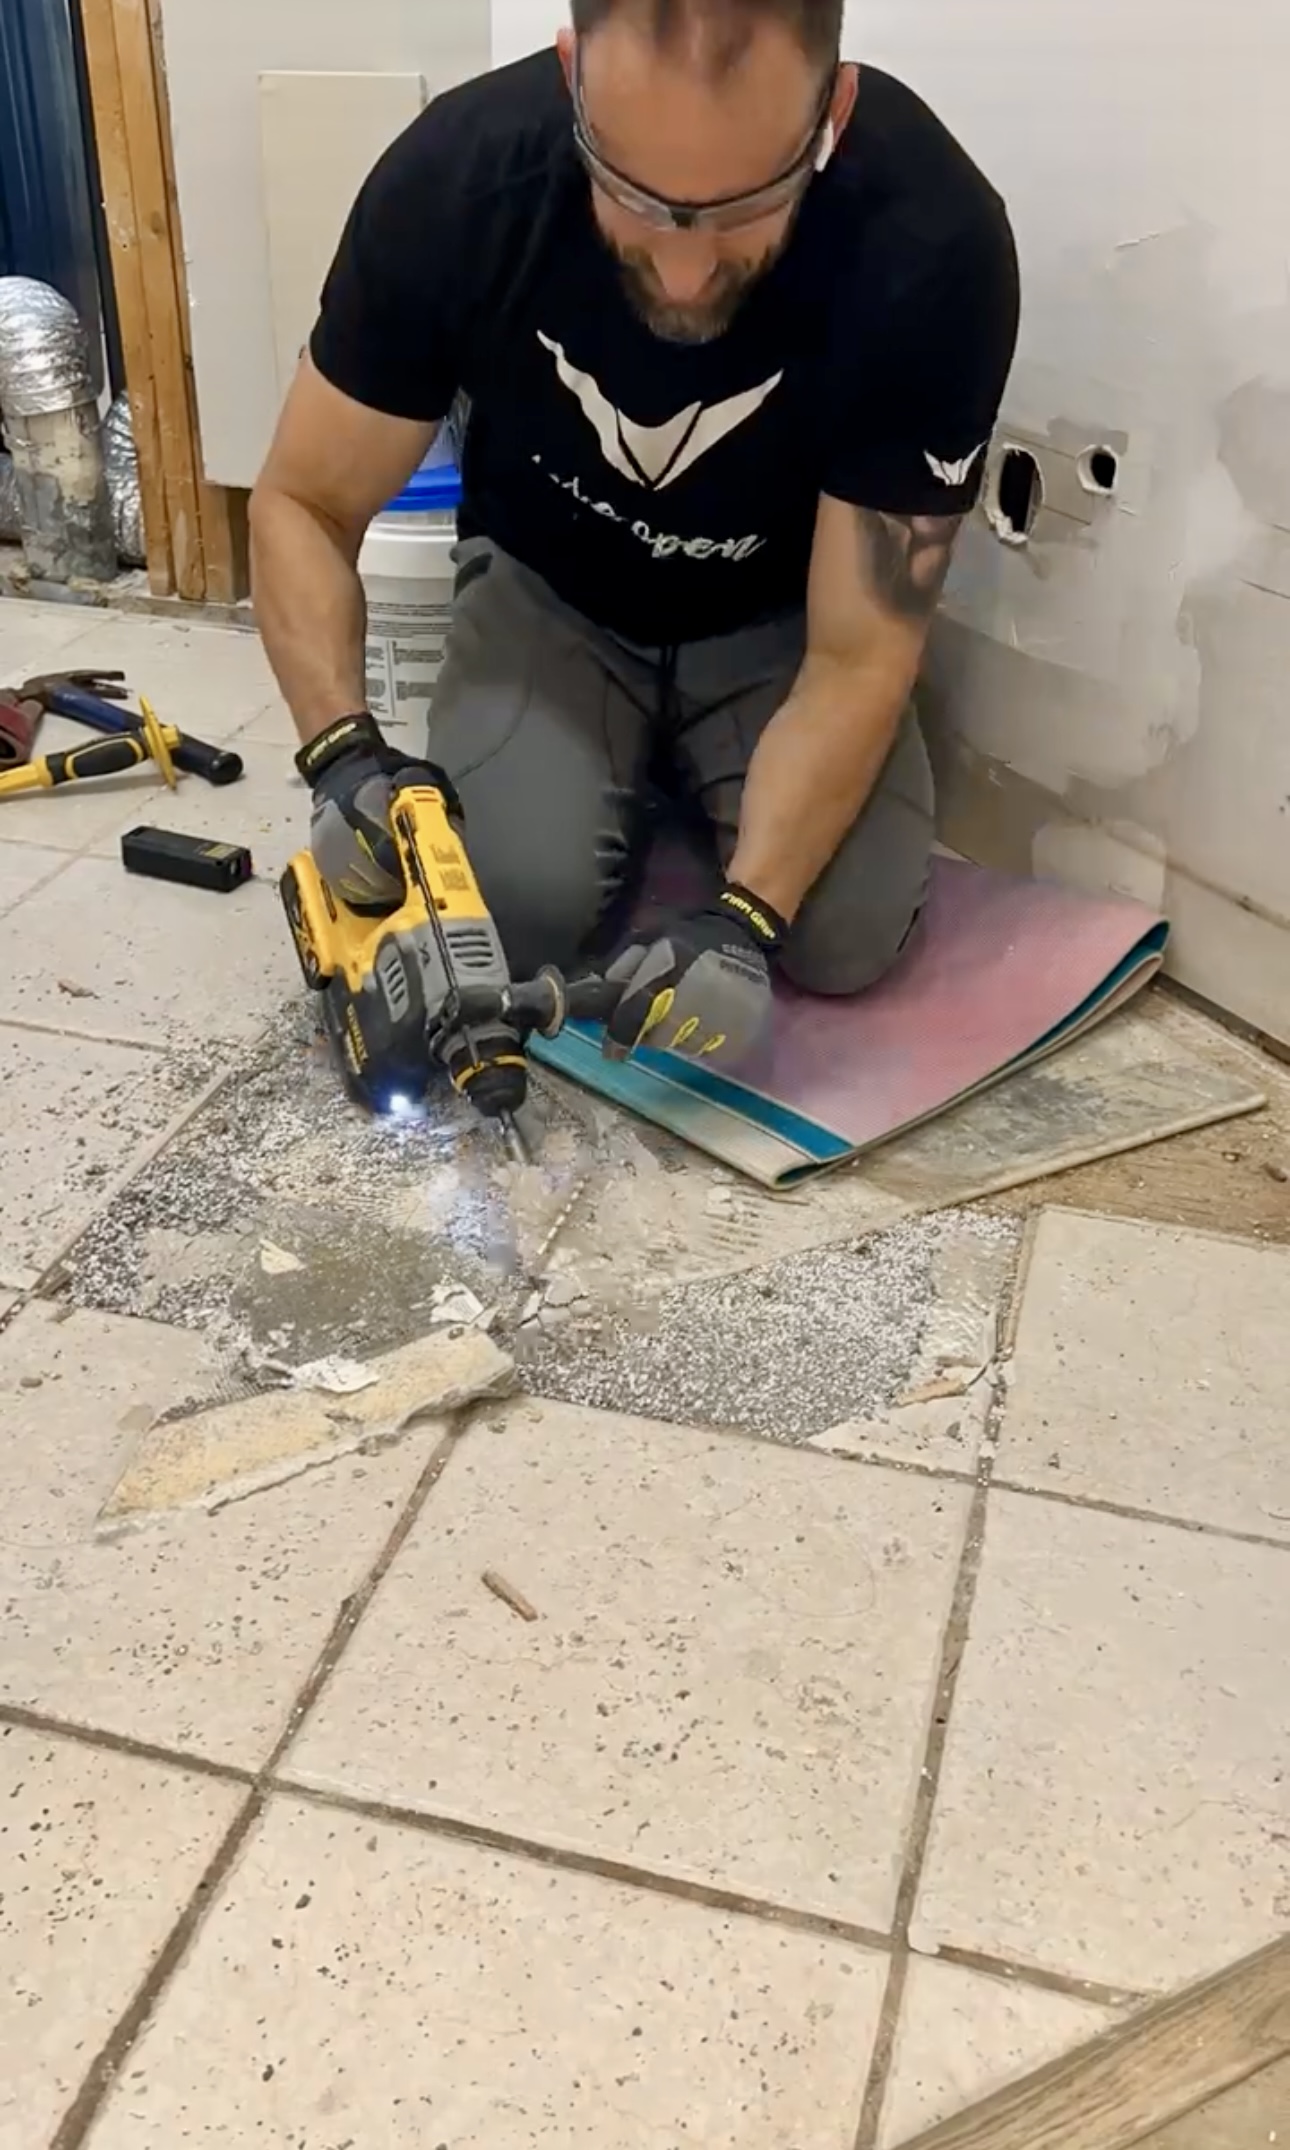
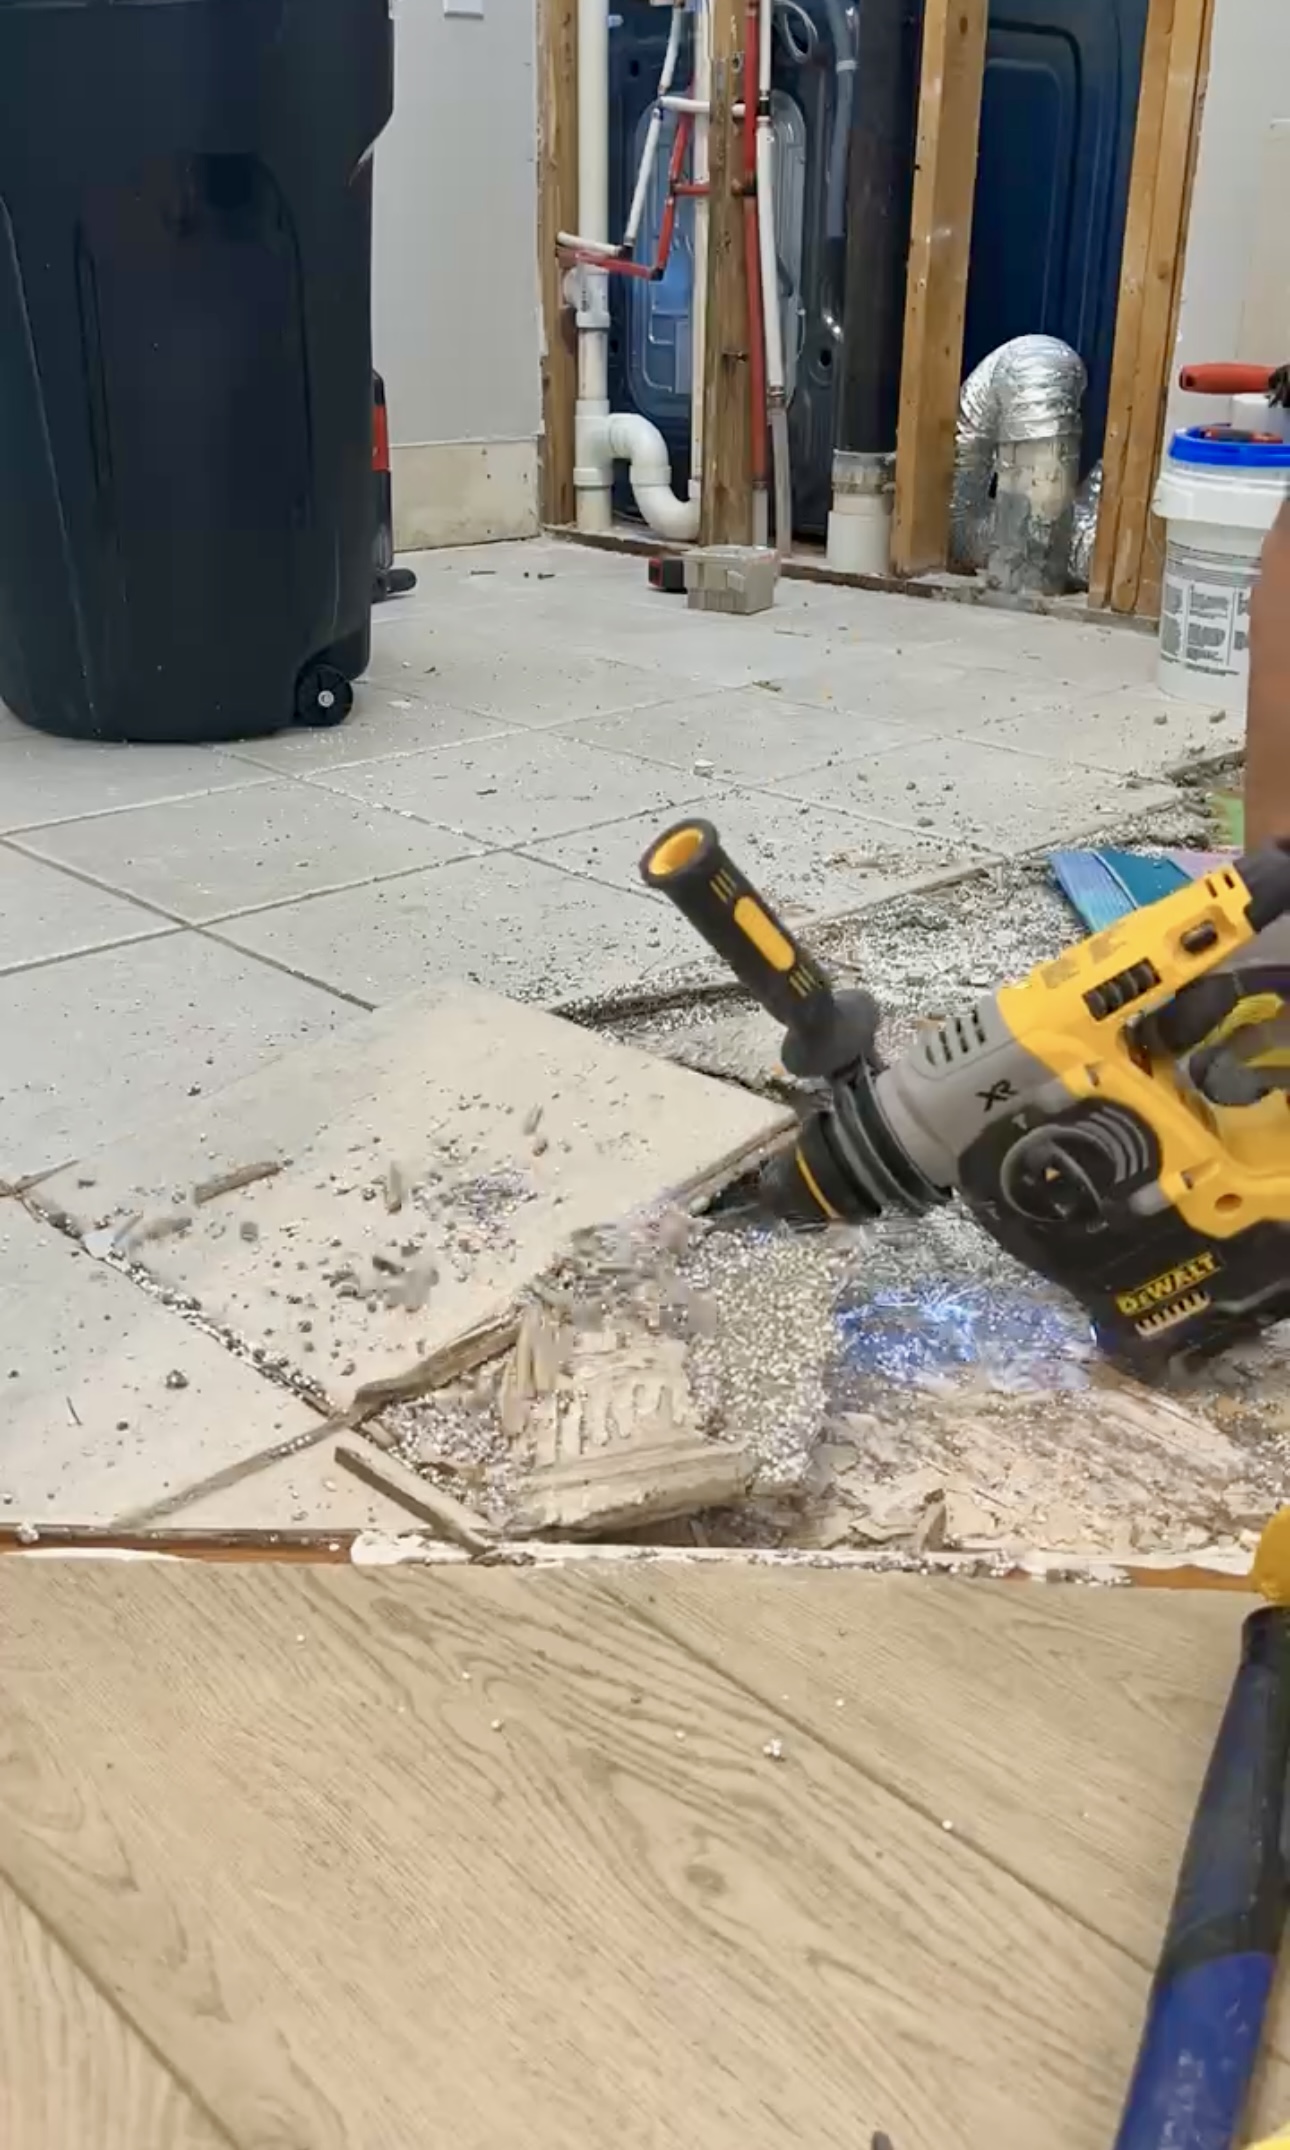
New Drywall
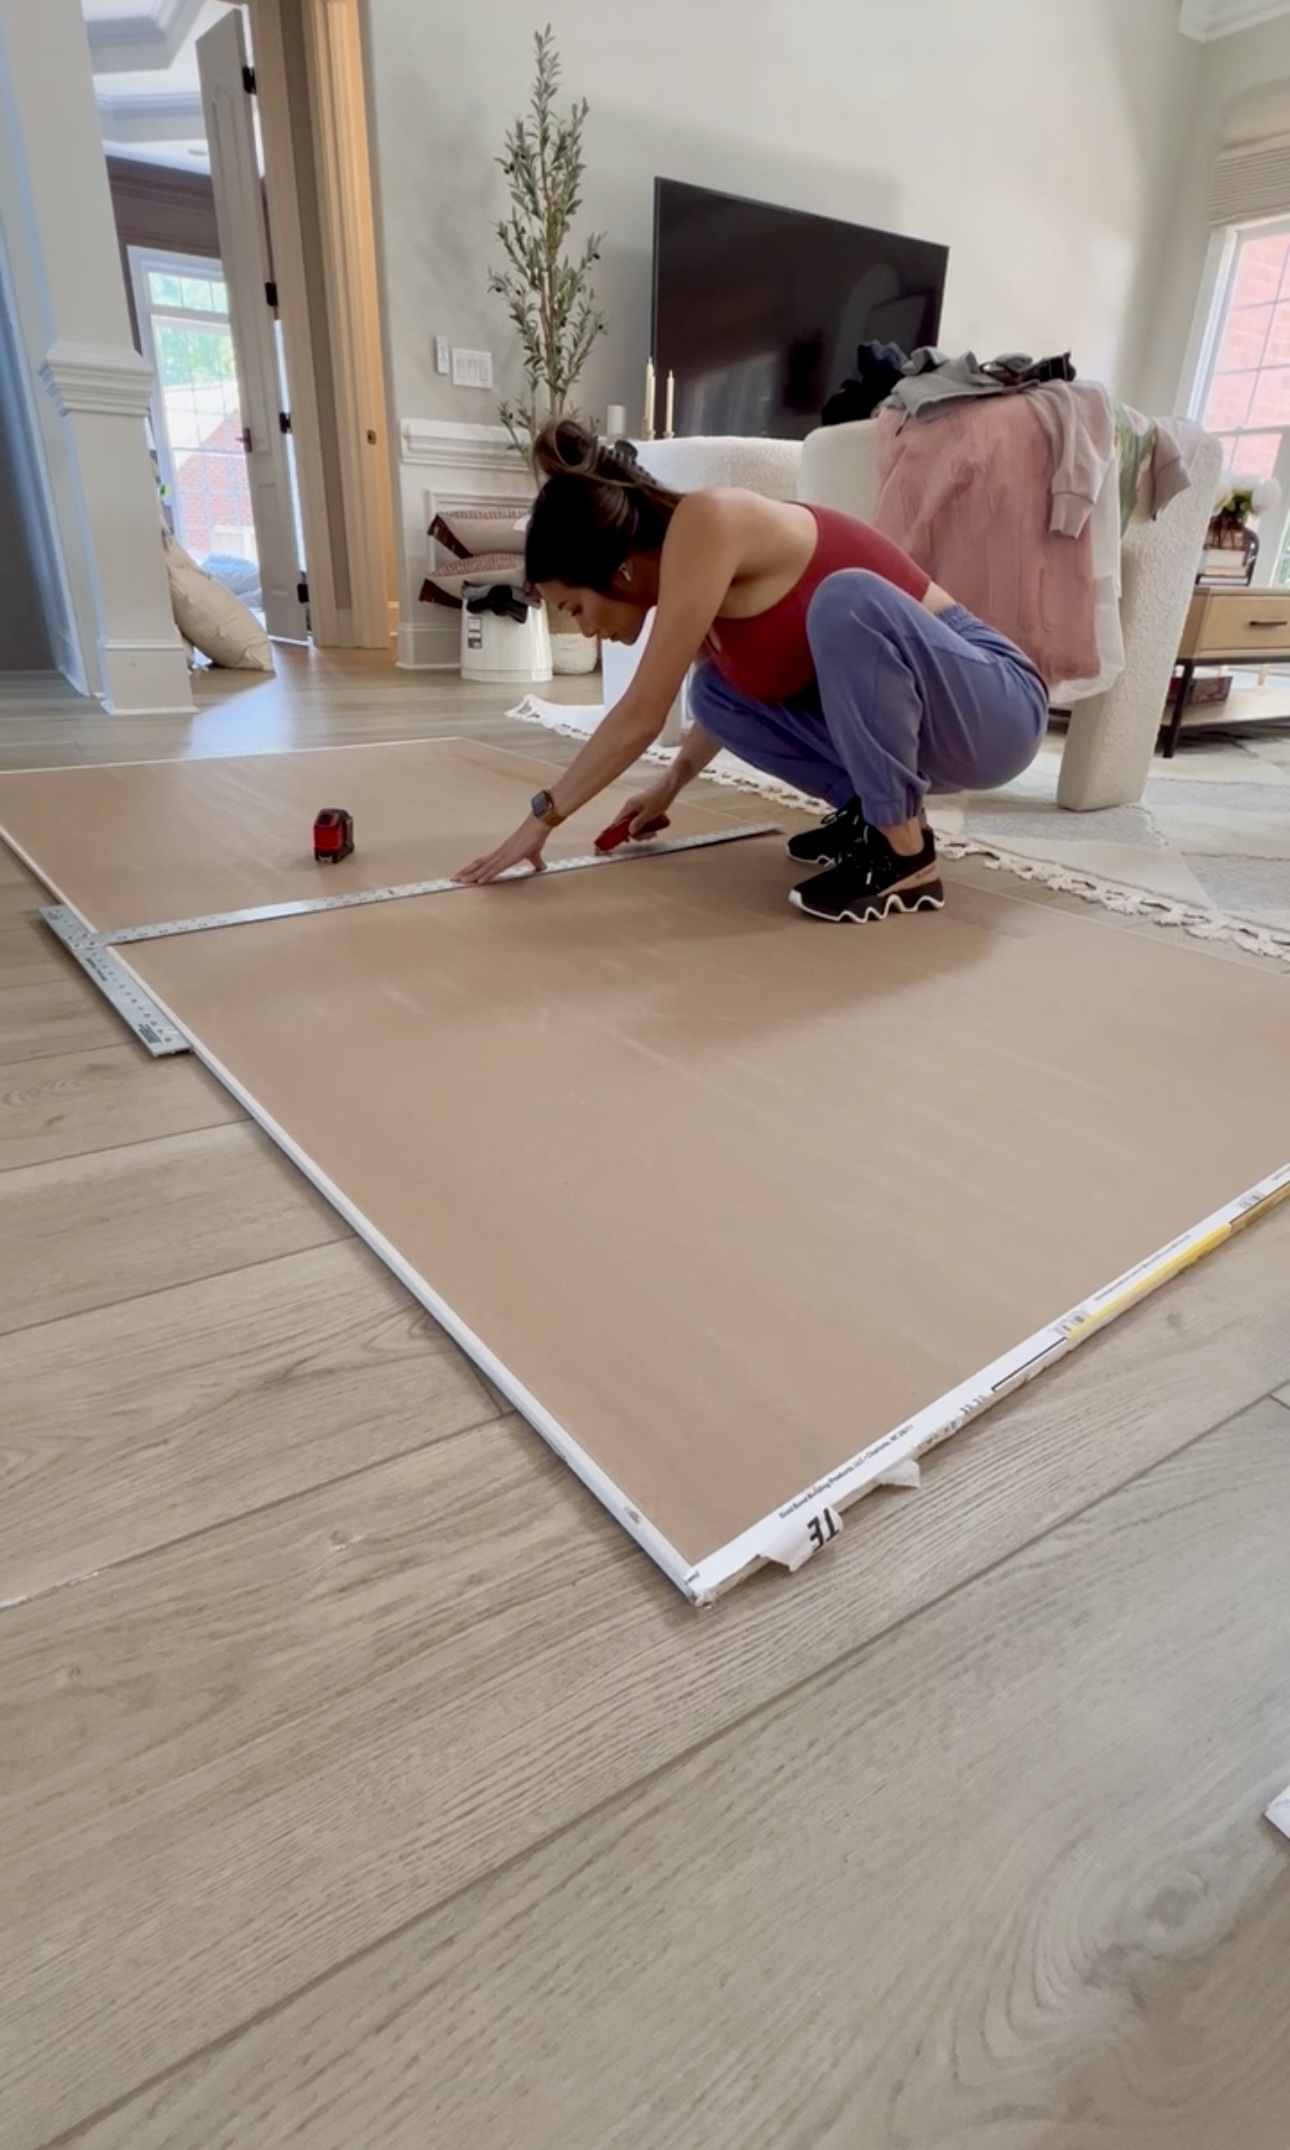
Cutting drywall is actually pretty easy, I used a T square cutting through with a razor. Then for the other side, I left it up and cut with my razor on the other side. It’s super easy.
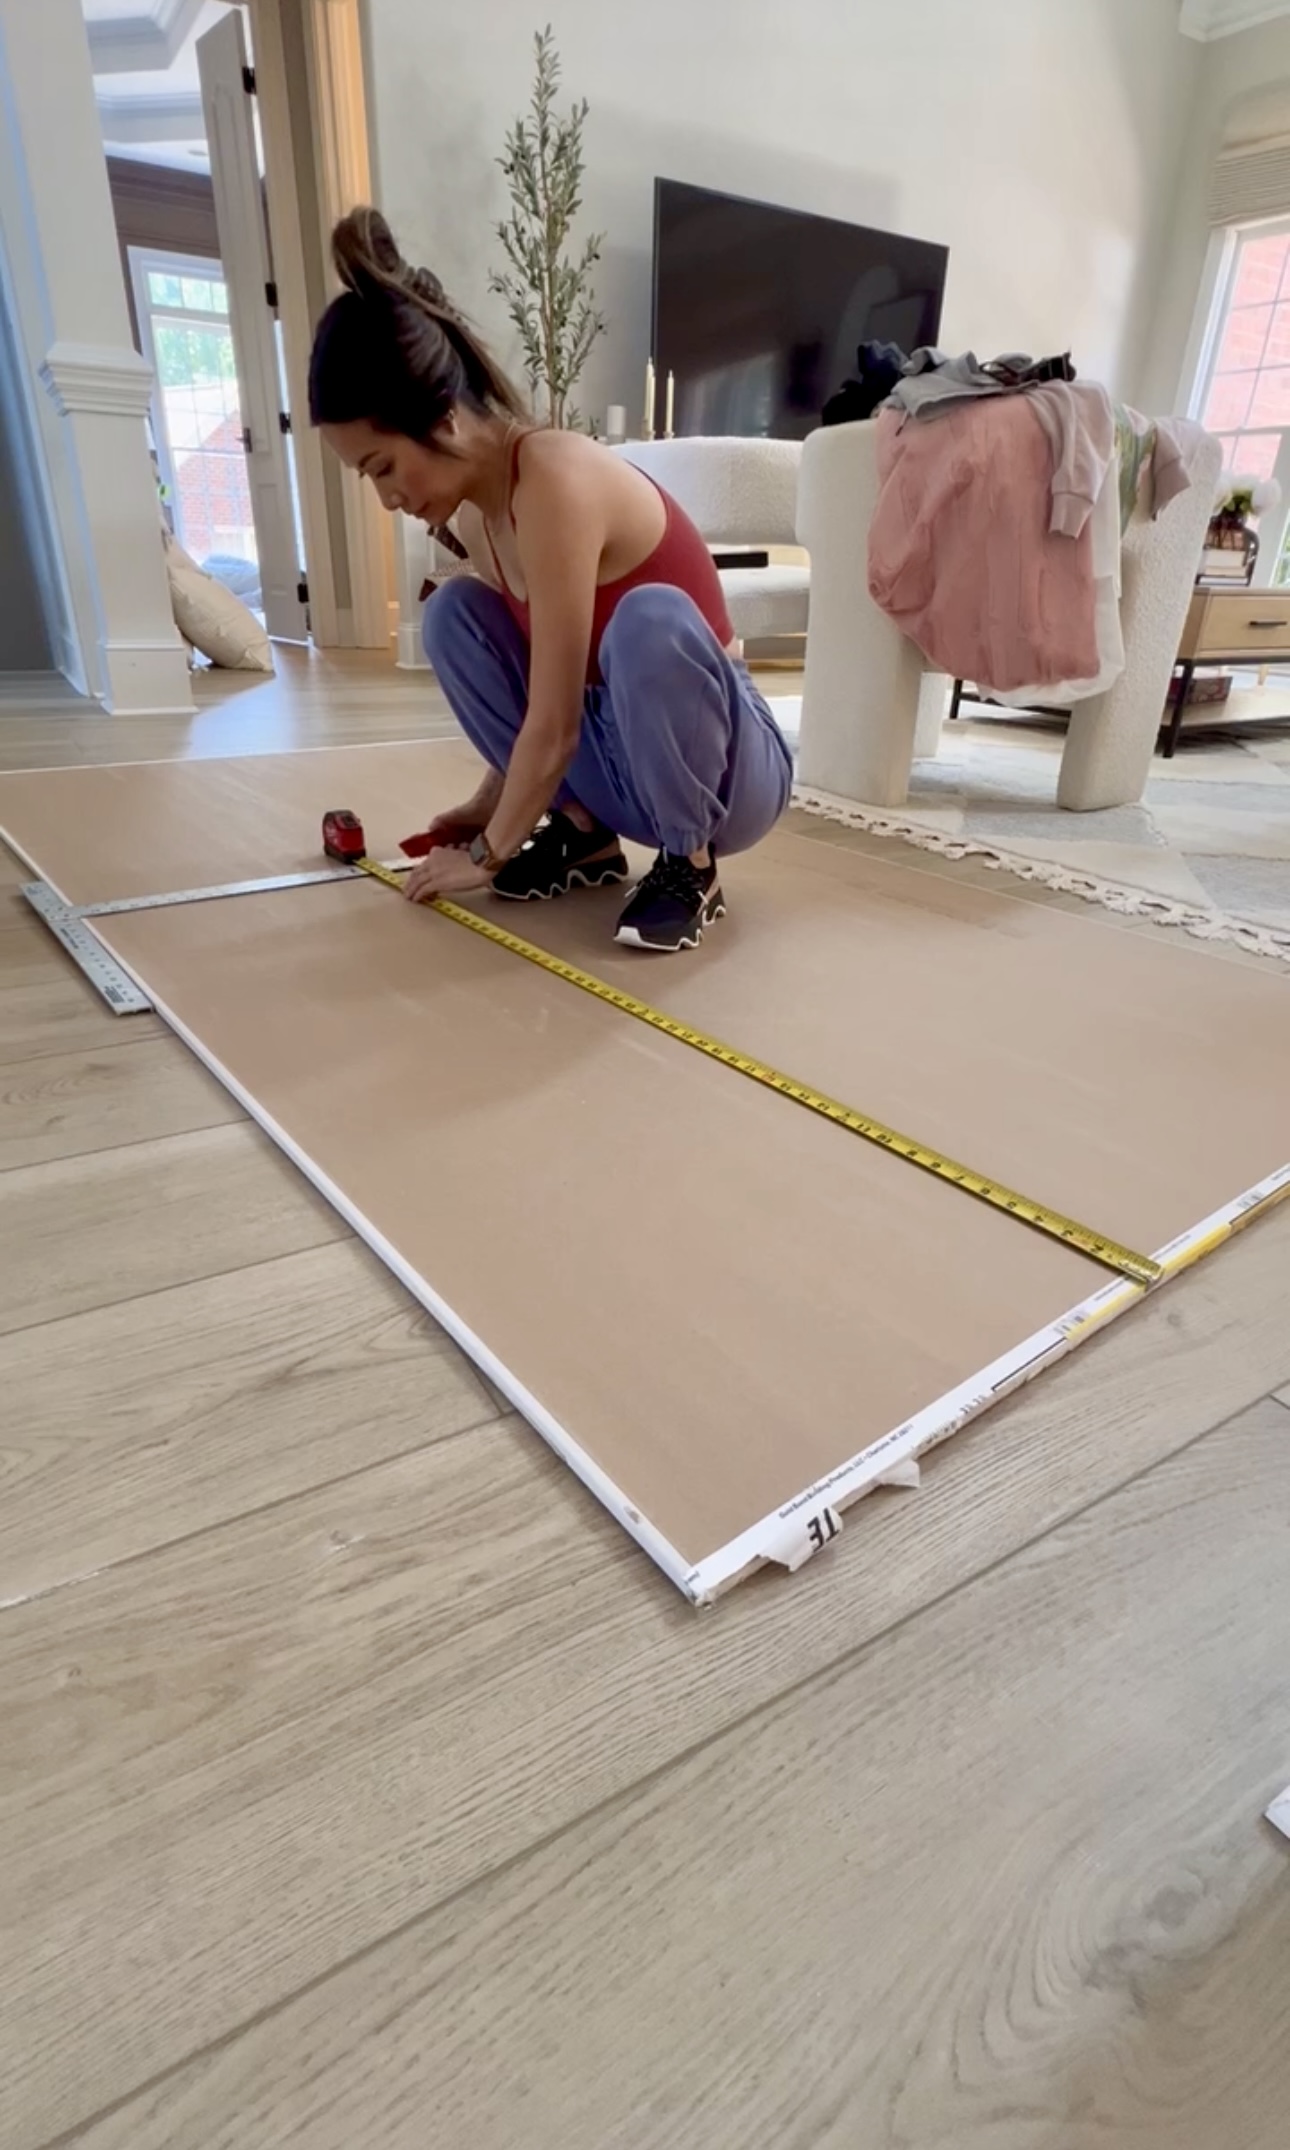
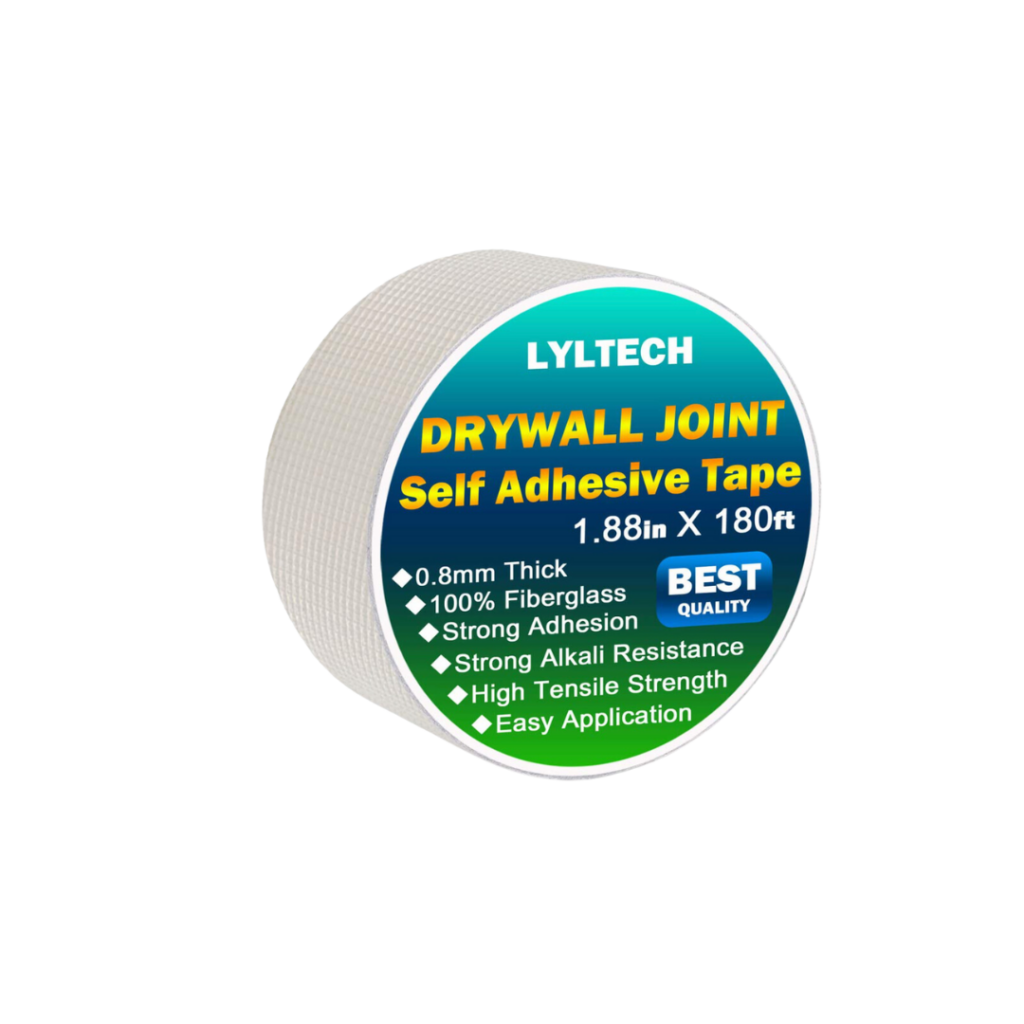
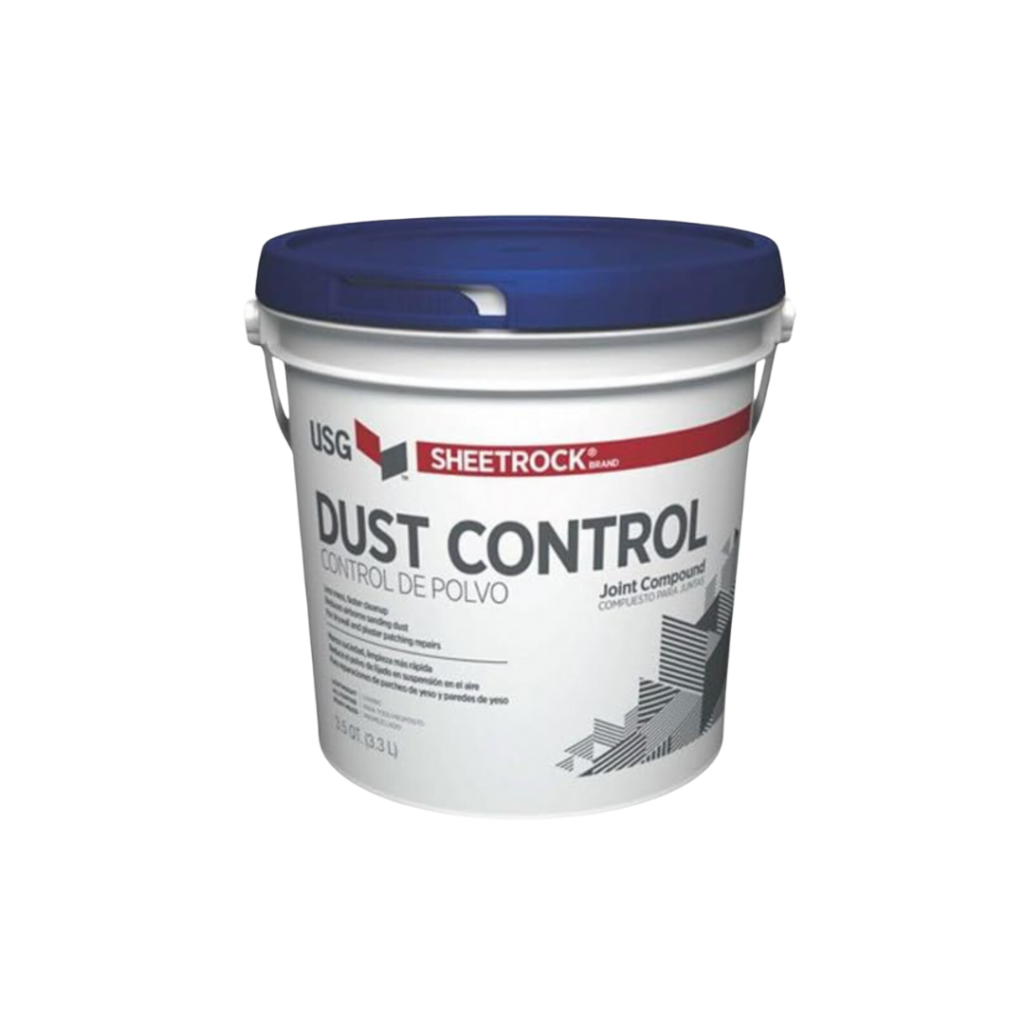
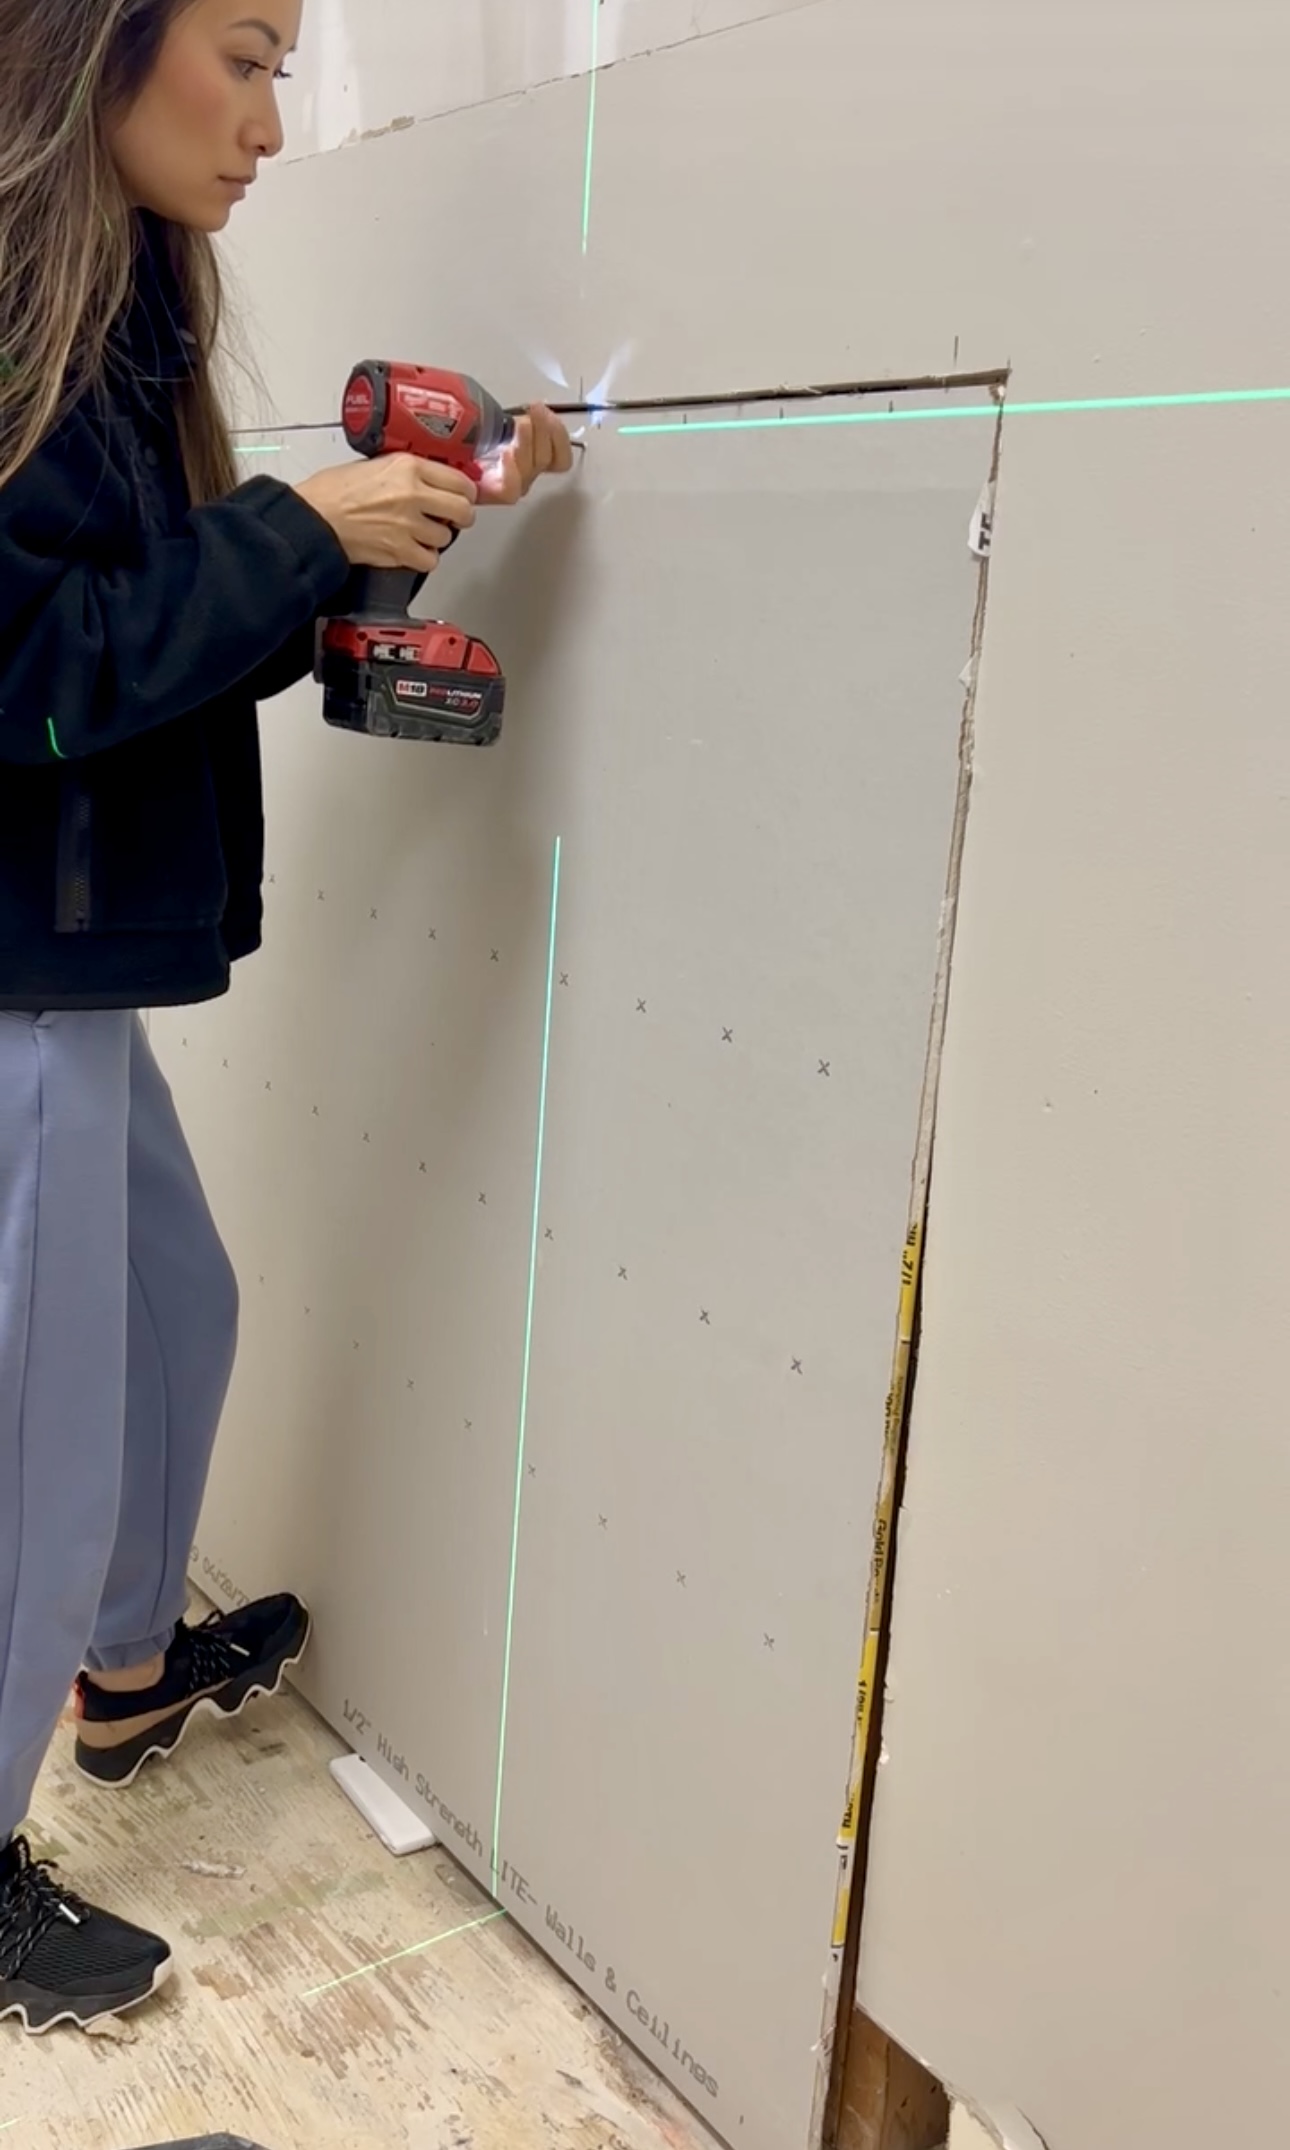
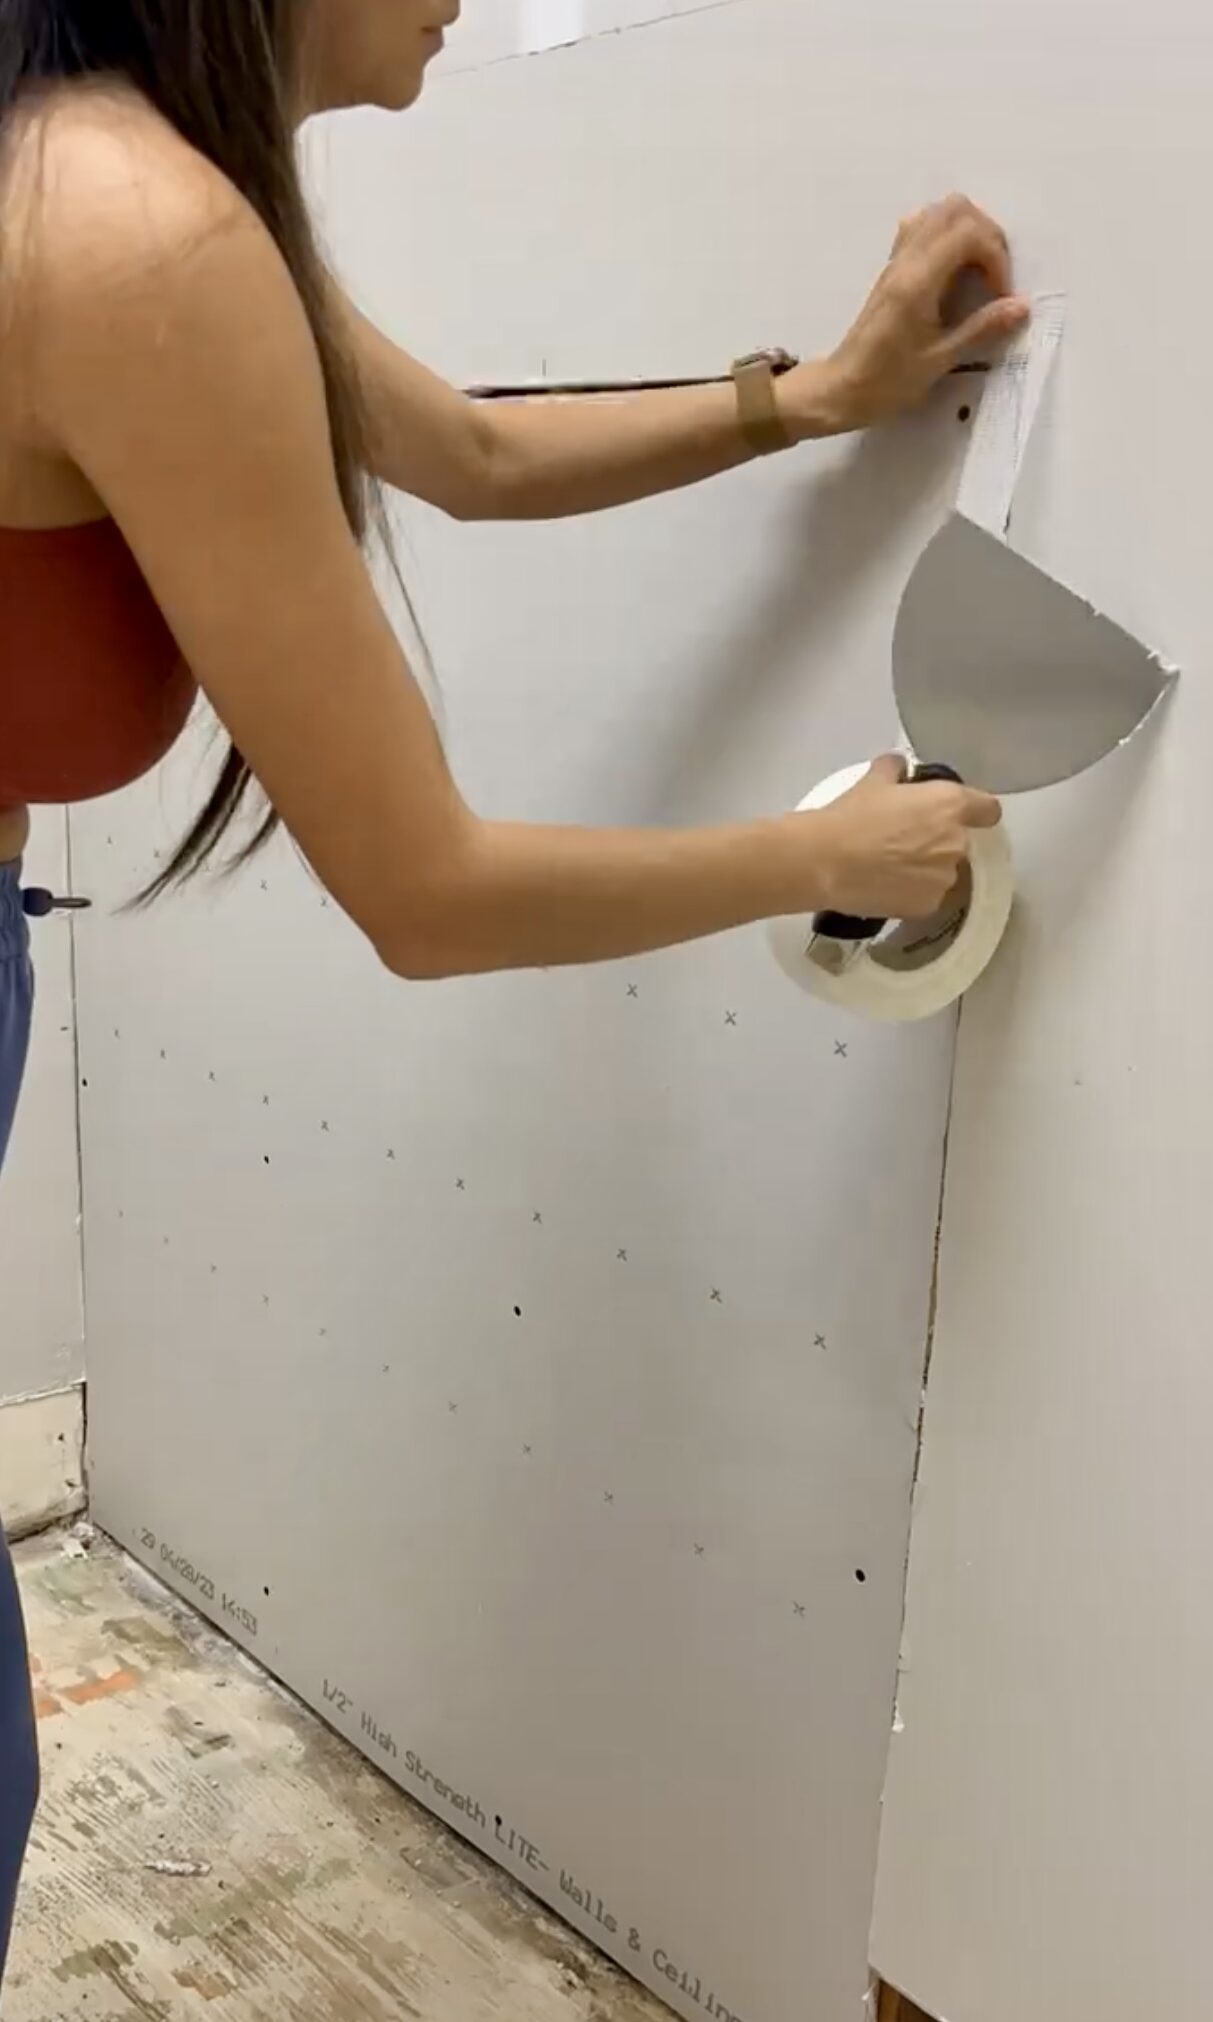
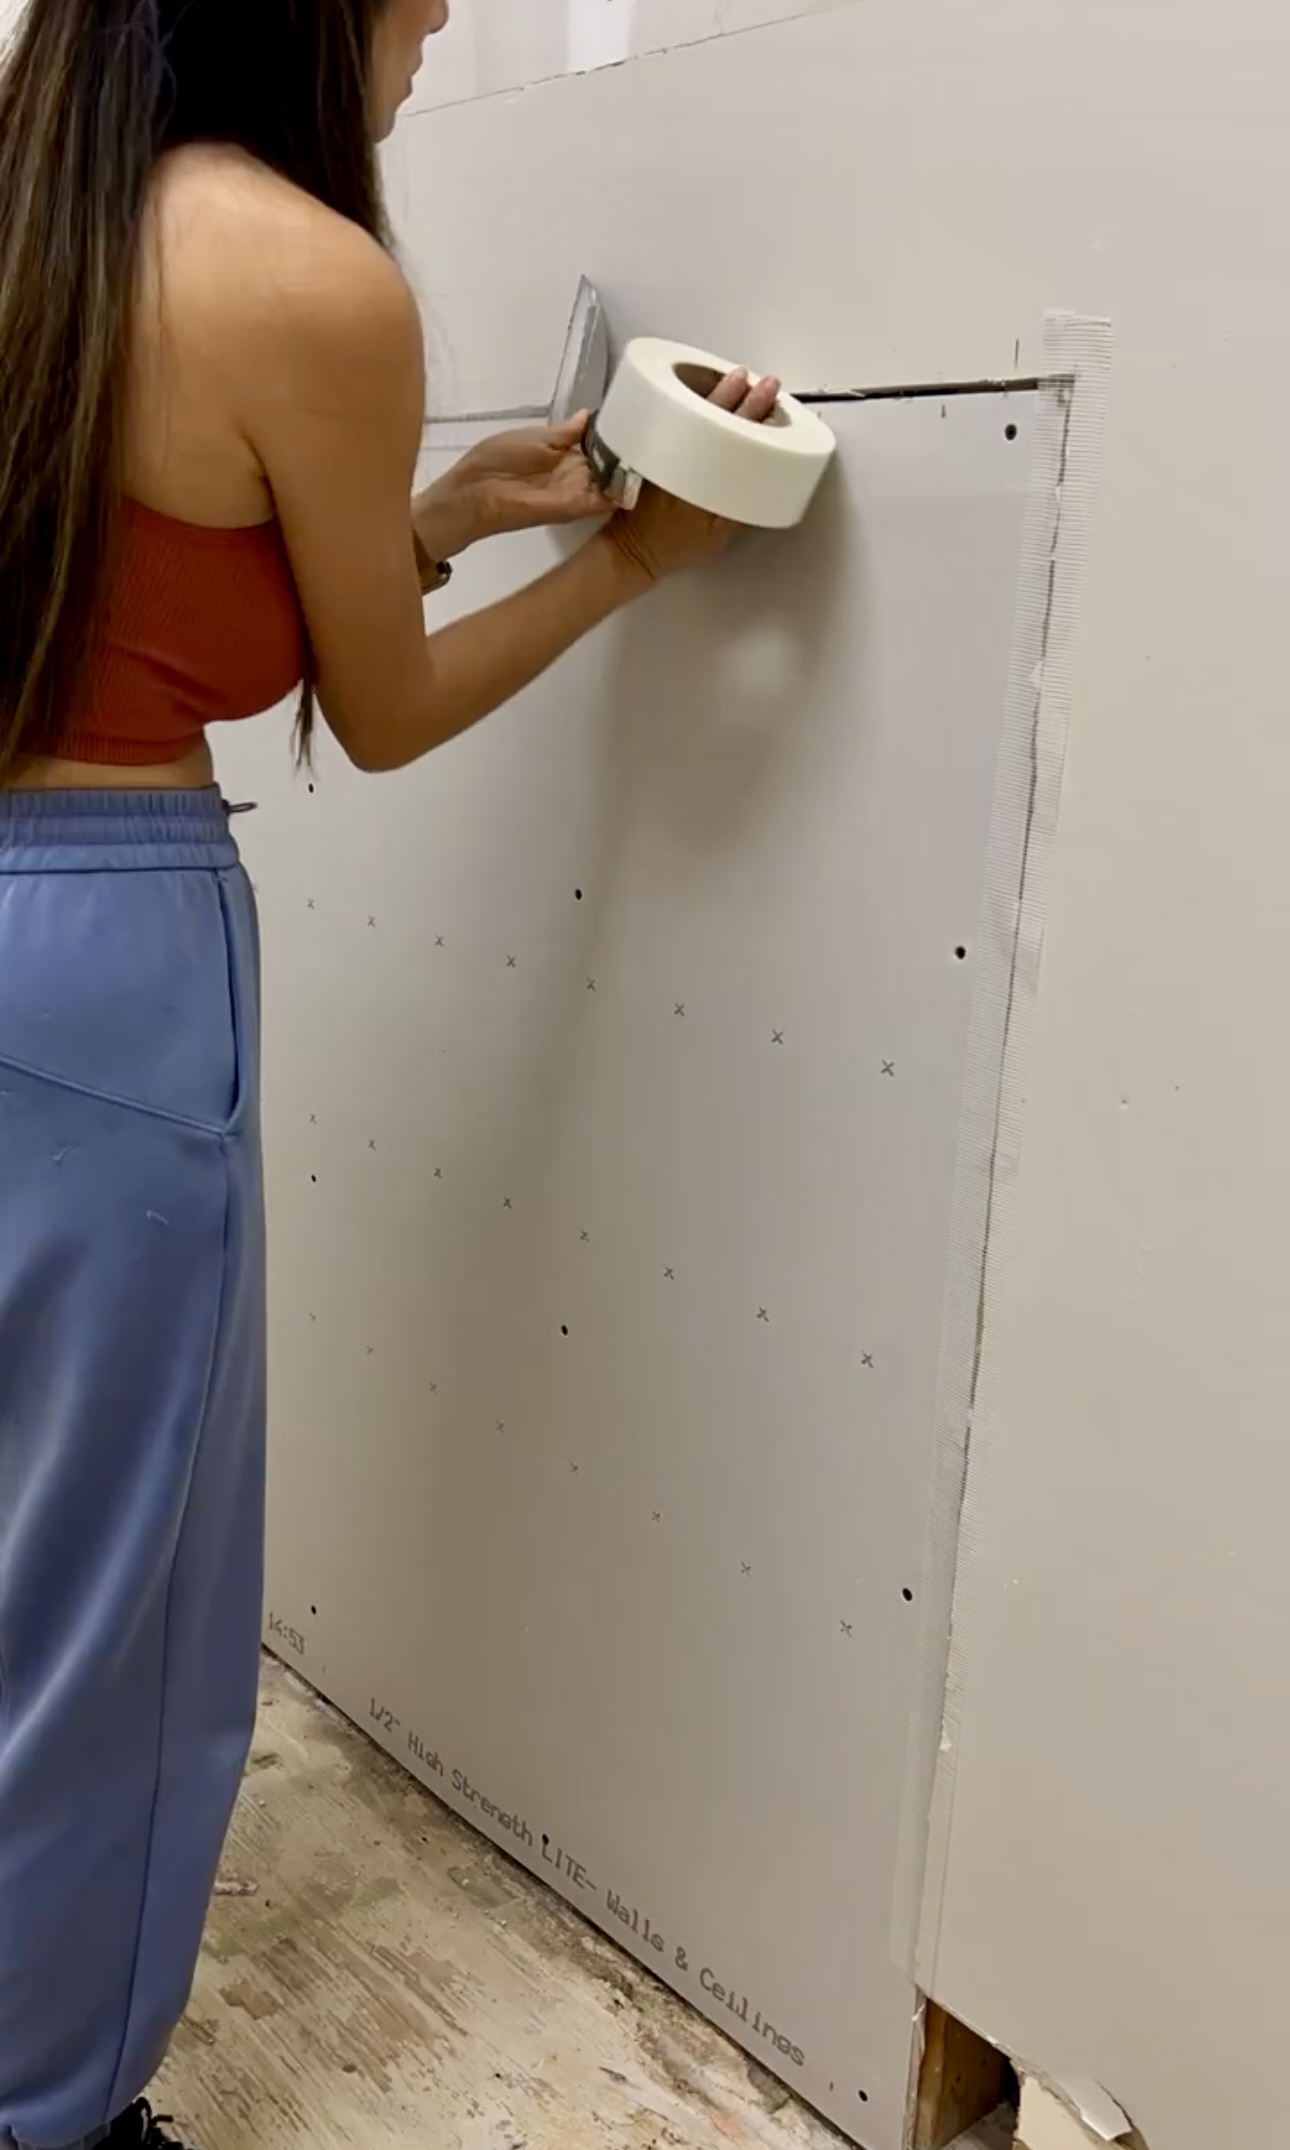
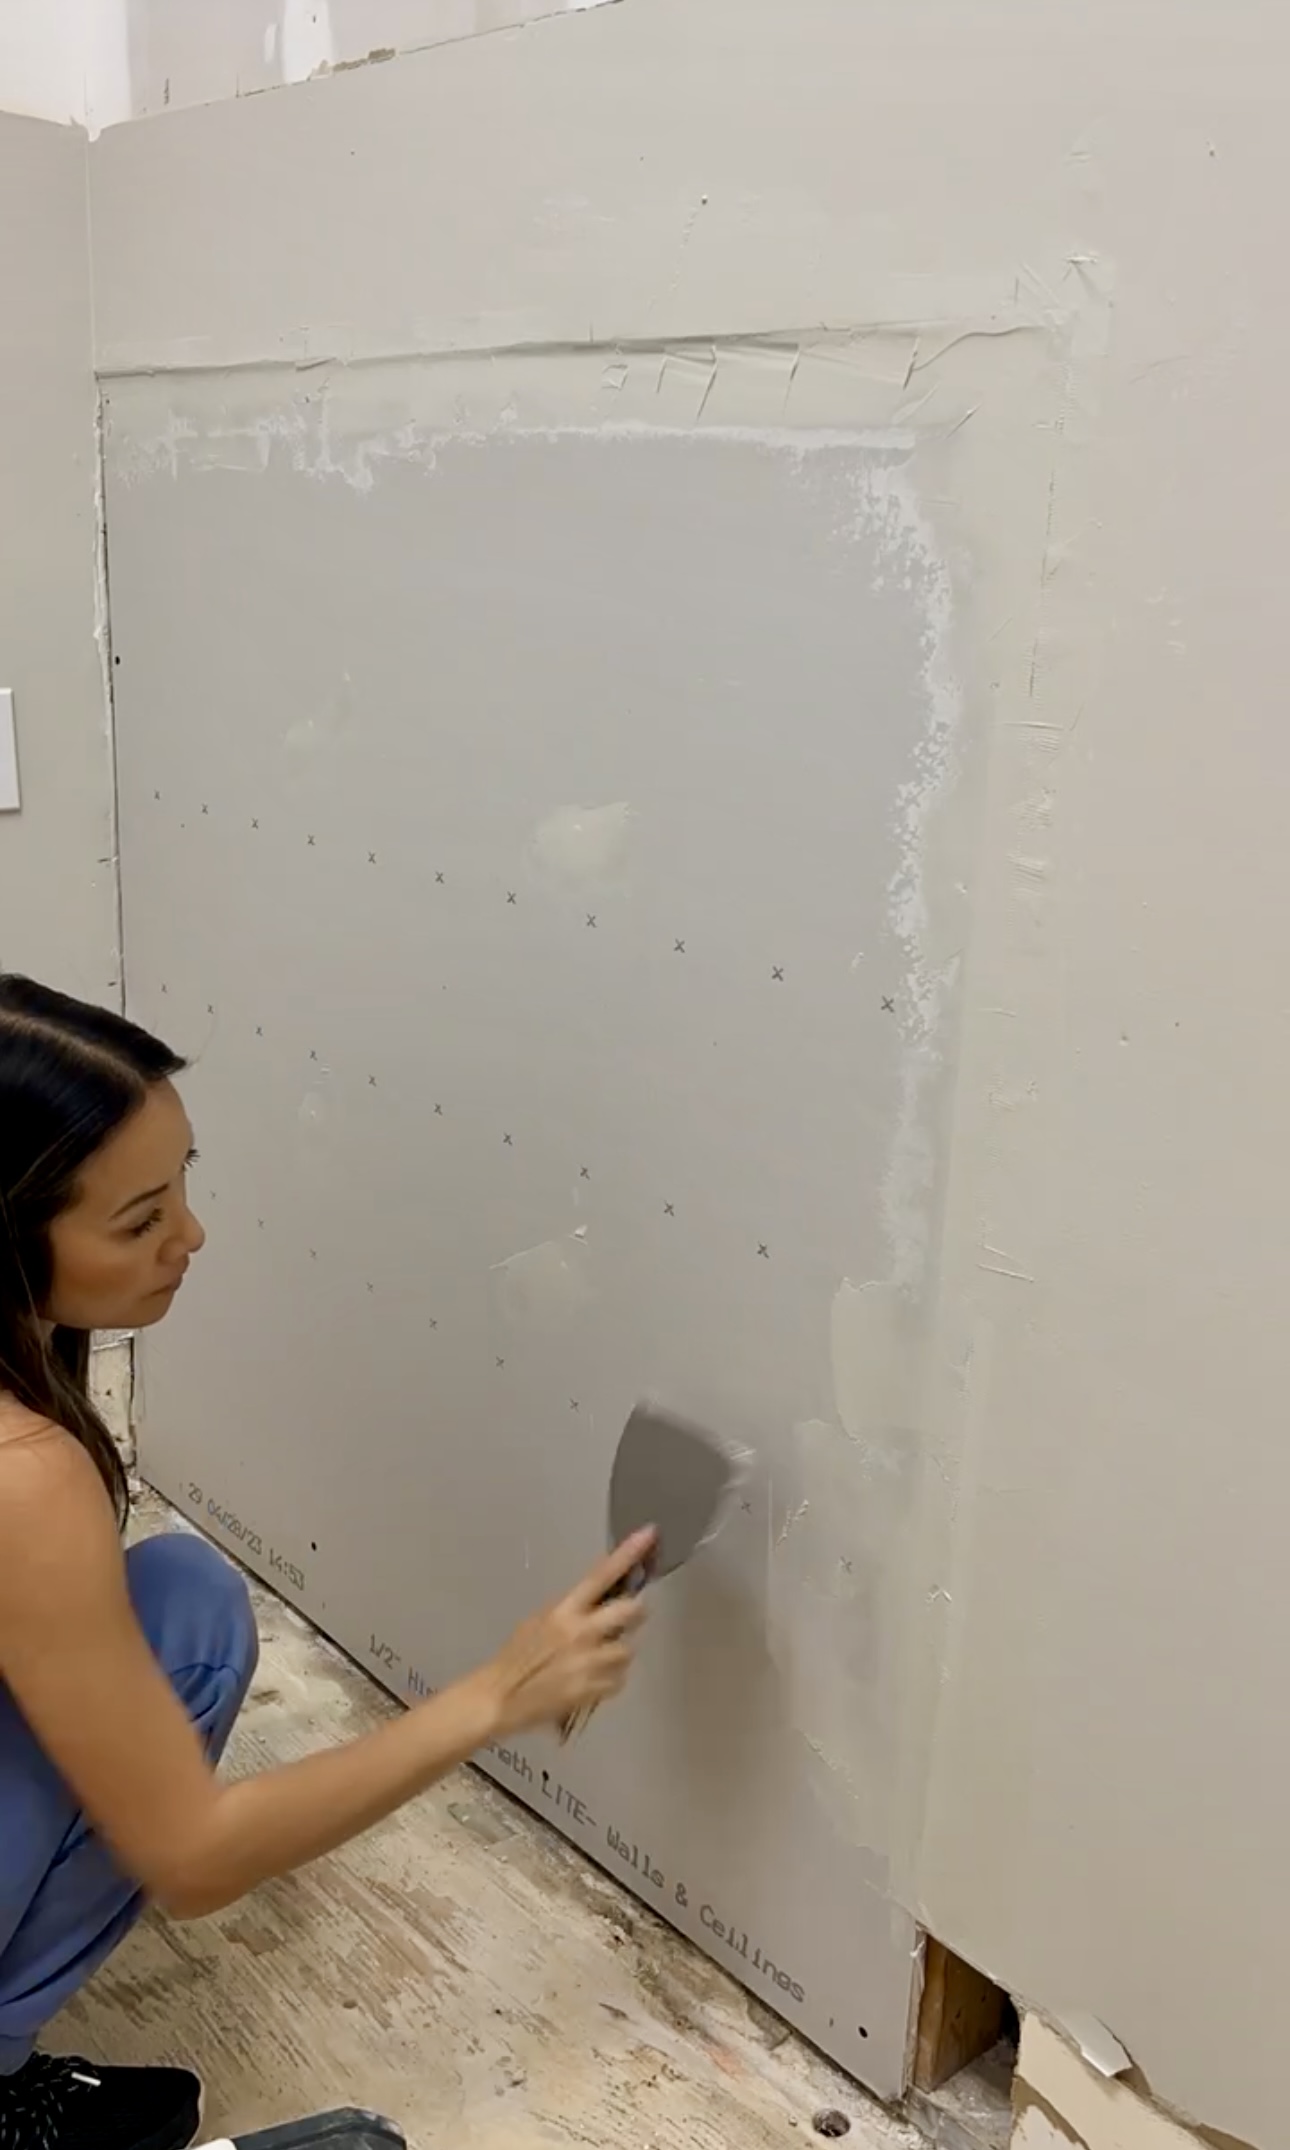
I attached the drywall with drywall screws every 8-10”. After I get the drywall patch on I will put some joint tape and then mud on top to get everything sealed and even. The joint compound I am using is a dust control one but I don’t think it really matters. The first layer is a little ugly but that’s okay, it’s just your base right now. Then I went back over it with my compound to really even it out.
Next up, we’ll build these lockers from scratch!
Here’s everything we used for the demo and sheet rock repair:
