Hi
I'm Bong
I'm just a girl who likes to DIY anything and everything. More than that, I love teaching people - especially women - how to pick up power tools and create the home of their dreams. Stop waiting for someone else and starting Doing It Yourself. I'll show you how!
diy projects
diy school
life hacks
categories
must have products
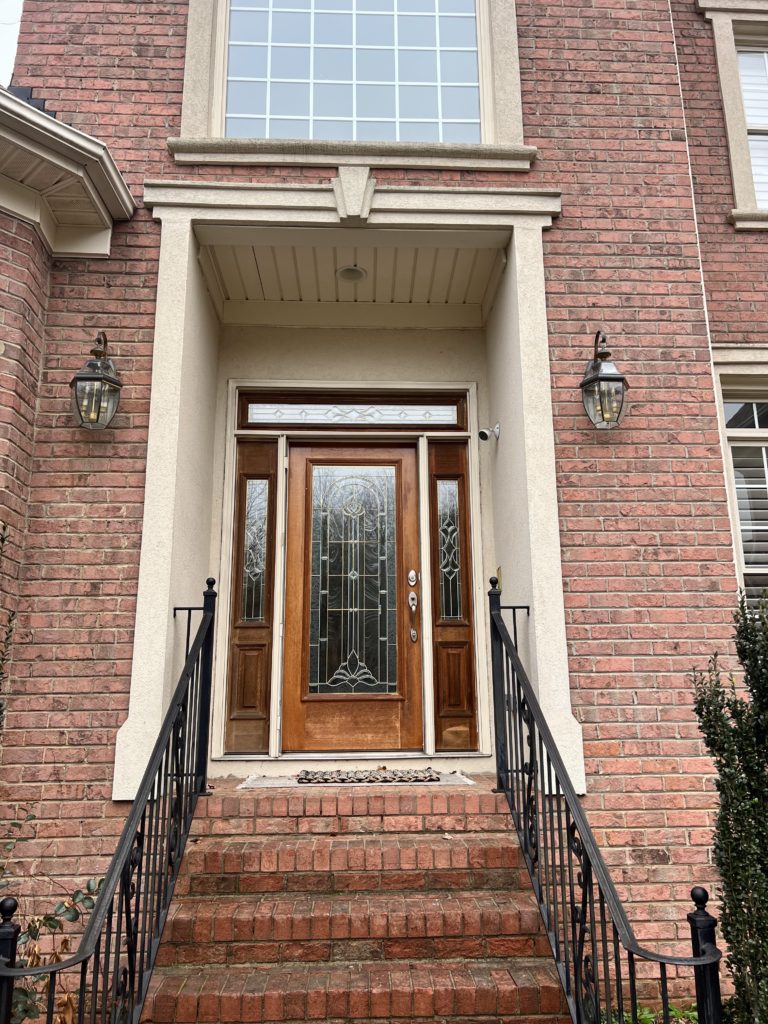
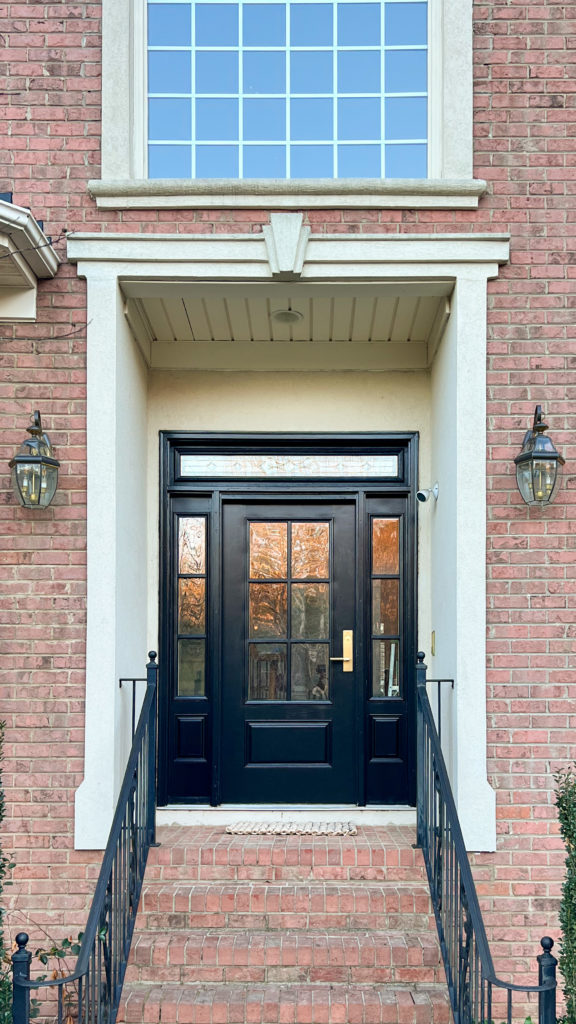
I am excited to get to work on switching out my front door. I partnered with a company called Zabitat, for my new door makeover, and I love what they offer. They can send you glass inserts. So you have a door that you want to insert glass into. You will cut out the sections and then fill them with glass creating a great door using what you already have. This allows for so much more natural light, and I love it. Not only does it look great, but it is so simple.
It would be best if you had a steel or fiberglass door for this to work. I started with a wood door that I didn’t like the look of, so I wanted to change the whole door.
A little about my door. The side pieces are called “sidelights” and the panel above the door that’s horizontal is called a “transom”. First, we will remove the sidelights and door before replacing them.
Alright, I want to explain your requirements for the jigsaw blade. You want to make sure the blade doesn’t go all the way through the door. If you choose that long of a blade, there is going to be a tear out on the backside and we don’t want that. So choose a blade a little shorter than the thickness of the door and cut from both sides.
I am using my jigsaw to cut out the hole after lining my shape with tape to help me guide the saw. First, I will grab my drill and put a hole in each corner of the cutout. This is for the jigsaw blade to go in easier and with a clean precise cut. Next, I cut out the shape I want for my glass panel. After you cut from both sides of the door, you can just punch out that cutout.
Now it is time to put the holes into my door. I ordered this door without any holes because at the time I was not sure which door set I was going to use yet. I am a little nervous to put in all the holes for the hinges and stuff because if I mess up I have to order a whole new door. We are definitely going to measure twice and drill once.
I want to use the same hinge locations that are currently in my frame. I am just going to measure where to start and just transfer the exact measurements to my new door. After I have the measurements I will just mark on the new door where the hinges need to go and then I’ll put on a template to start drilling. This template bit really comes with everything you need. It adjusts to different sizes and comes with a router bit.
I use my router to cut out a groove for the hinge and then make sure the hinge fits. It worked so well and I am so proud of myself for getting these hinges right.
When you get the door it comes super well packaged, nothing was damaged or broken. But now that it’s time to put it on the doors and the sidelights you’re going to have to take off a few of these screws. The screws are going to be a couple around the edges and around the corner and then it comes apart.
It’s time to put the glass part in. I am so excited. So I put the glass part down and then I put the door over it. After I get the glass part nice and locked in, I put the grid on top. Then I take the screws that came with the kit and start screwing it together. Remember to be gentle and you want the screws to be tight but not too tight or you might break the glass. Start slowly and you can tighten the screws manually if needed. There is an outside grid and an inside grid so pay attention to that.
After all the screws are in there are little plugs that go on top of the screw for the inside part of the grid. Tap it in so that after paint you won’t see any holes or screws.
So I am going to put a seal under the door. There are a few different types and I am going to use a channel fit. This means that the bottom of the door already has grooves that the seal can fit right into. So I just pushed and locked the seal into the bottom of my door.
Now it is time to take out the sidelights, I’ve never done this before so I was a little nervous. The first step is to use my utility to cut through the caulk that outlines the panel. On the inside, there is some quarter-round that I will just pry off. I have a trim puller that is so helpful for getting the quarter-round off. Then, TJ helped me and just pushed in the panel and it came off easily.
Next I took the new sidelight and pushed it into place. Then I took a quarter round on the top and screwed it into place. I replaced the caulk on the outside of the new sidelight. I used this great exterior paintable caulk.
Now it is time to tackle the main door. I first unscrewed the hinges and took the door off the wall. My hinges are mirrored images and I’ll show you how I use them. I am making sure to put my screws into new holes. I marked where my new holes would go and then predrilled. After the holes were in place I screwed my new hinges into the door.
You will definitely need an extra set of strong hands to hold the door for you as you drill the hinges in. Four screws in the hinge should work really nicely.
Now it’s time to paint the door. I am using some “mask and peel” on the windows. You want it pretty thick so that it peels off easily. Next, I wanted to prime my door. I am using Bullseye 123 primer.
Time to paint! Sherwin Williams Emerald Trim Enamel is my favorite paint for doors and cabinets. The color I am using is “Tricorn Black” and it’s just a gorgeous black. Then I went to work painting the door. The first coat is the roughest but I ended up doing a few coats. Then I took my utility knife to cut and peel it off after all the coats.
I needed to work on my deadbolt latch. The new deadbolt on this door is thicker and so I used my chisel to make the lock part deeper. Then I screwed in the part for the deadbolt. The door hardware is from Signature Hardware.
Next I used my laser level for the door handle so that my deadbolt would fit exactly into its notch. I have this great doorknob template. Then am using 2 ⅜” on this door and drew a line exactly where the center needs to be. I added a circular saw bit onto my drill to cut the hole. The saw goes through about halfway but then creates a tiny pilot hole on the other side for you to align the saw bit again. The template also has a hole for the actual latch to come through.
There is a latch template kit that created the little rectangle above the door. This kit comes with the router bit as well which is super nice. Attach the template to the door and make sure it is centered with the little gray piece. Then cut the rectangle and screw in your hardware.


