Hi
I'm Bong
I'm just a girl who likes to DIY anything and everything. More than that, I love teaching people - especially women - how to pick up power tools and create the home of their dreams. Stop waiting for someone else and starting Doing It Yourself. I'll show you how!
diy projects
diy school
life hacks
categories
must have products
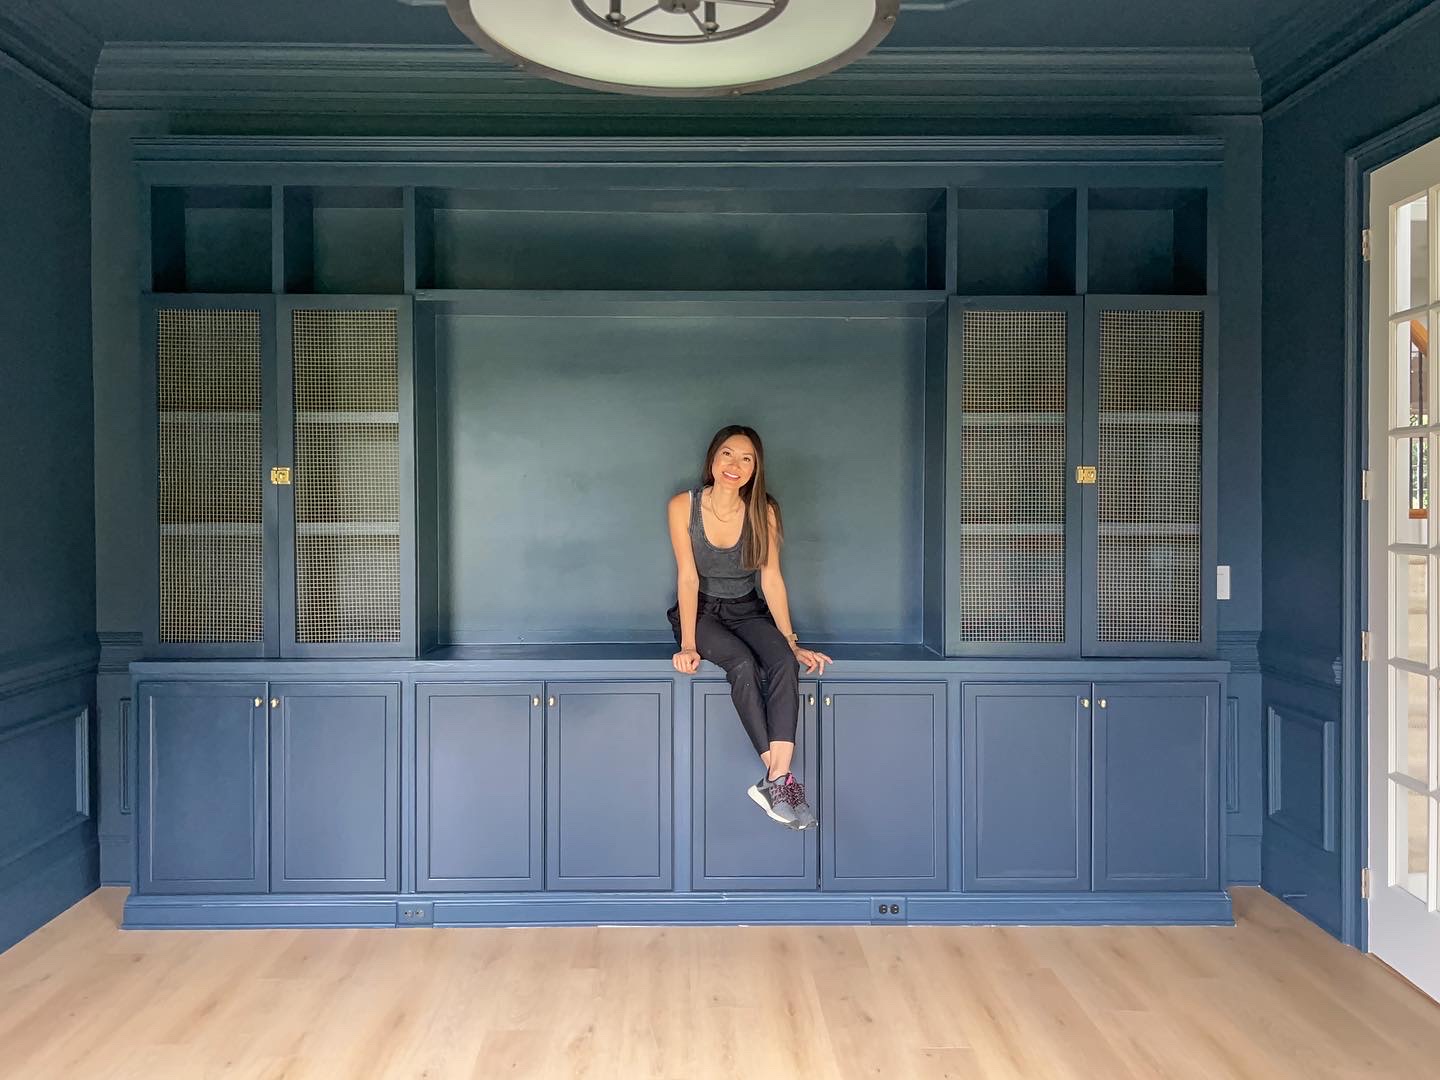
My dream for TJ’s office built-ins is to use four pre-made cabinets and then build up. Then there will be metal grids as the next layer on either side, adding another four feet to the height. On top of that, I will add 18” cubbies for storage.
I decided to use premade cabinets because the money I spent was worth the time I saved. My cabinet measurements were 36” wide, 30” tall, and 12” deep.
So I wanted a base under the cabinets because I honestly thought they did not look that good just sitting on the floor. I will use 2×4 for the base. Once I build the base, I will have room to put baseboards around the bottom to make it look more built-in. Another personal design decision was that I do not want the builtins flush against the wall. Because they are only 12” deep I will pull them forward and build the base as thick as I need it for them to sit in the front. There will be a gap in the back but no one will ever see it.
First I have to remove all the molding and baseboards. This trim remover I found is so great. It doesn’t just pry it, it lifts the baseboard off while supporting the wall so you won’t get holes.
For the project, I am using ¾” plywood. I mostly get birch but some of these panels are red oak. They are both great. I used plywood for the cabinet sides, shelves, and countertop. The doors and trim will be with select pine.
Next, I used my sister’s miter saw and cut the boards for the base. The dimensions are a little weird for this project but I will explain. Also, I am using a framing nailer for the first time and it is a game-changer. I absolutely love it.
In order for the builtin to look cohesive to the wall, I need to remove the trim. I used my laser level and then a pencil to mark a vertical line where I need to cut. I used a multitool and it is great for removing trim. Next, I took a knife and cut the seams above and below the trim so I could remove them without damaging the wall. Then I hammered in my trim removal tool and pulled it off the wall.
Since I am pulling the cabinets forward and there will be a gap between them and the wall, I am making a support system to hold the countertop. I cut 4 pieces of 2×4 and screwed them into the studs of the wall. And then because I need it to be 3” deep, I will add another 2×4 in front. The base will screw into this from the back.
In order to get these pieces of 2×4 into the wall, I used an impact driver as opposed to a drill. An impact driver is made for drilling in screws. I think it has more torque power than just a regular drill. Just a little reasoning behind the madness, the reason I did little pieces of the 2×4 instead of an entire plank is that the price of wood is expensive and this will give me leftover pieces and it would have been really hard for me to hold up an entire 8-foot board and screw it in at the same time. I added a second layer to make it thicker and to give support to the countertop I will add on later. This will give me the added 3” to my cabinets.
I marked where the studs were on the pieces of 2×4 so I can refer back to this when I install the cabinet into the wood. My baseline does look weird because of the added supports on the walls. I had to compensate for that. At this point, I wanted to move my outlets so that they were accessible and a little more centered.
Now I should have screwed my base into the studs but I forgot. Don’t be like me! I was okay with this mistake because the cabinets are very heavy and securely screwed into the studs from behind and to each other so they should not move. Now that the cabinets are on the base I will make sure everything is level, front to back, and plumb, up and down. I used my level and added shims as needed. In some places, I had to add shims to make the base more level.
Next, I will take some PowerPro screws and screw the cabinets into each other. I am using a 1½” screw to screw them together; once on the top and once at the bottom. I used clamps on top of the cabinets to hold them together as I screwed them together. I noticed a gap in the back, between the wall and cabinet, and added a shim so I used my multitool to cut off the extra.
Now it is time to work on the countertop. Every time I use my circular saw, I also use this guide to rip down a huge piece of plywood. It is called a rip guide and you can adjust it to whatever size you want. This one can go up to 24” inches. I have it set to 4” inches and it will just guide me alongside the piece of plywood.
I like using this over a table saw for a long piece of plywood because I can’t handle that on a table saw. This makes cutting a long piece of wood much more manageable. Underneath the plank of wood, I am using a 2” foam board from Home Depot. It is made for insulation but I use it as a base to cut my plywood. That way the blade can go all the way through the wood and into the foam and not damage the saw or anything else.
The middle piece for my counter is 72” long and it’s ¾” plywood. But I wanted it to be double the thickness so rather than using two whole pieces, which is expensive, heavy, and wasteful, I am just adding a 4” piece from the front so that it looks double the thickness but it is really not.
Wood glue is your friend. I glued the boards together and then used my nail gun. So now I need to add some more support for the middle countertop. So I added pieces like the front piece to the sides so you cannot tell the whole board is not double the thickness. Then since this middle countertop is 72” long I marked it at 36” and I’ll add another piece down the middle. Again I glued it, clamped it, and then nailed it. This will make sure it is stable and secure. The pieces of wood together are 1½” thick so I am using 1¼” thick nails.
I repeated this process for both of the 36” side countertops. I had to do three sections of the countertop because they don’t sell 144” plywood sheets. Since I am adding vertical shelving I decided that it was okay for there to be a seam from the countertops at the places where I would add shelving. This just helps it look cohesive. This is just a part of the DIY process, thinking a couple of steps ahead and how you will use or cover up seams.
Speaking of thinking ahead, now that I have my cabinets in and countertop on, I noticed a mistake I made. Not a huge deal but it will require a little more work. Since I moved my countertops up there is a gap and you can see this gap on the sides because I took the trim off exactly where the cabinets began. I just need to cut an additional ¼” into the trim so I can add a panel to cover up the gap. I’ll add a panel of hardboard to make it look seamless.
Once I get the countertops on the cabinets it is time to screw them on after making sure they are level. I will use 2” screws from underneath and screw the cabinets to the countertop.
Next, it was time to work on the pocket holes. I screwed 3 pocket holes per shelf and now it is time to put it all together. Let me explain which sides I’m putting the pocket holes on so it makes a little more sense. I put the pocket holes on the bottom of the bottom shelf so that you cannot see them at eye level. Then for the other shelves, because I will be looking up at them I wanted to do the pocket holes on the top of the shelf. I will screw the shelves together and a great tool is this corner clamp. It is a game-changer for getting the perfect square. The shelves took me about 22 minutes to put together.
A few side notes, the screw depends on the thickness of the material you’re using and my jig has a chart that shows the screw length needed. The drill bit comes with all pocket hole jigs.
In order to secure the shelves into the wall, I made pocket holes where I marked the studs to be in the wall. Two rows will have to secure into the studs. After the shelves were built I added 1×2 select pine boards to make everything look better and more cohesive. I did this with just wood glue and some nails. Then I screwed the boards into the studs. Remember those pocket holes we drilled? Those lined up with studs and I screwed them in so that the shelf is secure to the wall.
Now it is time to build the doors for the shelving. The math is always confusing so I have included the diagrams I used. Before we actually build the doors we have to know what hinges we are going to use. These are partial overlays 1-¼”. This means the doors will be over the cabinet by 1-¼” on each side. There are lots of options. I wanted this to cover up most of the cabinet front but it is up to how you want it to look. These are also soft close which is so nice.
Let’s get into the math. I looked at the total shelf size and subtracted where the hinges take up and then divided it by two. So the doors don’t run into each other, we need a little gap in between the two. So I subtracted 1/16” . Regardless of the height, there will also be 2” styles on each side so we are going to subtract that as well.
So I am now ready to build the door frame. I have 1×3 boards of pine. The 3” is actually 2.5” and is too wide. I want it 2” so I am going to trim it down. Then I will take the boards and add two pocket holes close to one another. It was my first time using these Bessy Tool clamps and I absolutely loved them. I used them to hold my frame together after I glued to corners and then screwed them together through the pocket holes I created. Then I added pocket hole plugs which are great when you want to cover those holes back up. I also added some Bondo on top of those plugs and after they are fully dry I will sand them down.
I took a break from the cabinet doors and worked on putting up the horizontal boards above the shelves. The most important thing is that they are level. I also used a piece of plywood to create the top piece before attaching crown molding.
Alright, back to the doors. I am sanding off the Bondo with a 120 grit, and can officially say that I love this stuff. I don’t think I can go back to regular wood filler. Next, I made hinge holes in the boards using a hinge jinx.
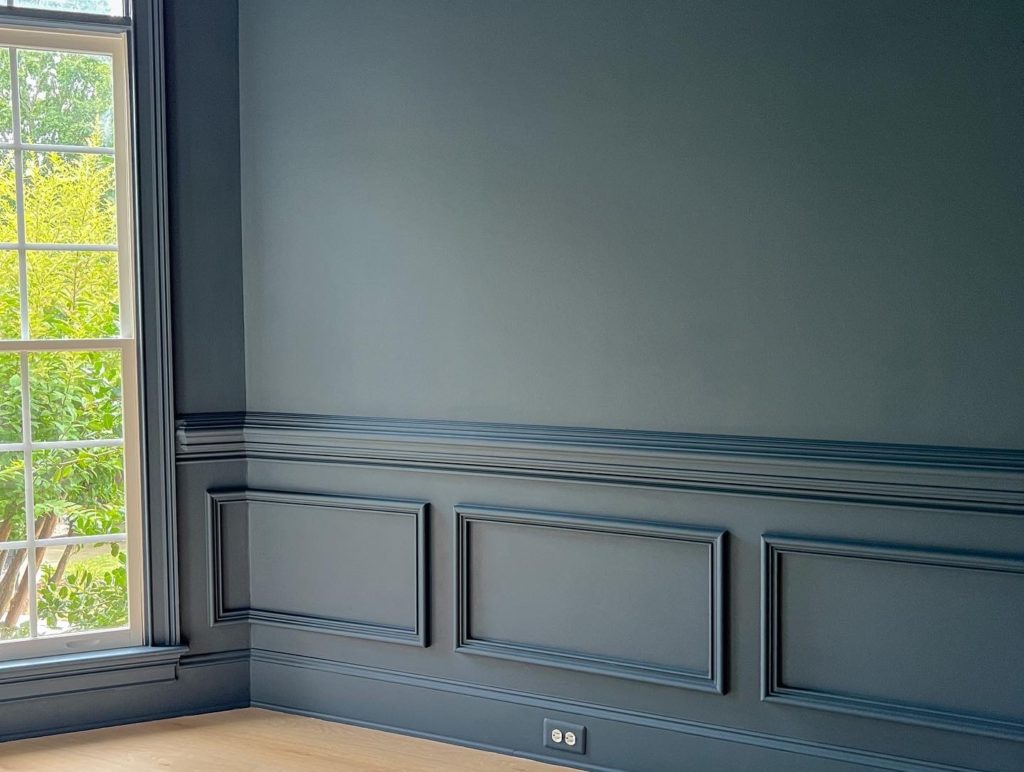
Time to paint the built-ins and the wall. I used the Behr Paint Urethane Alkyd Enamel Satin and it worked super well for the built-ins. It is about $50 a can and I needed two gallons. A little explanation about this paint. Since it is “enamel” it hardens when it dries so it is not like normal paint, thus making it more expensive. It is definitely best for cabinets, built-ins, and anything that gets a lot of wear and tear. For my wall, I used the Behr Paint Marquee with the color Farrow and Ball Hague and I was very impressed with the quality. It is an interior matte so there is no shine.
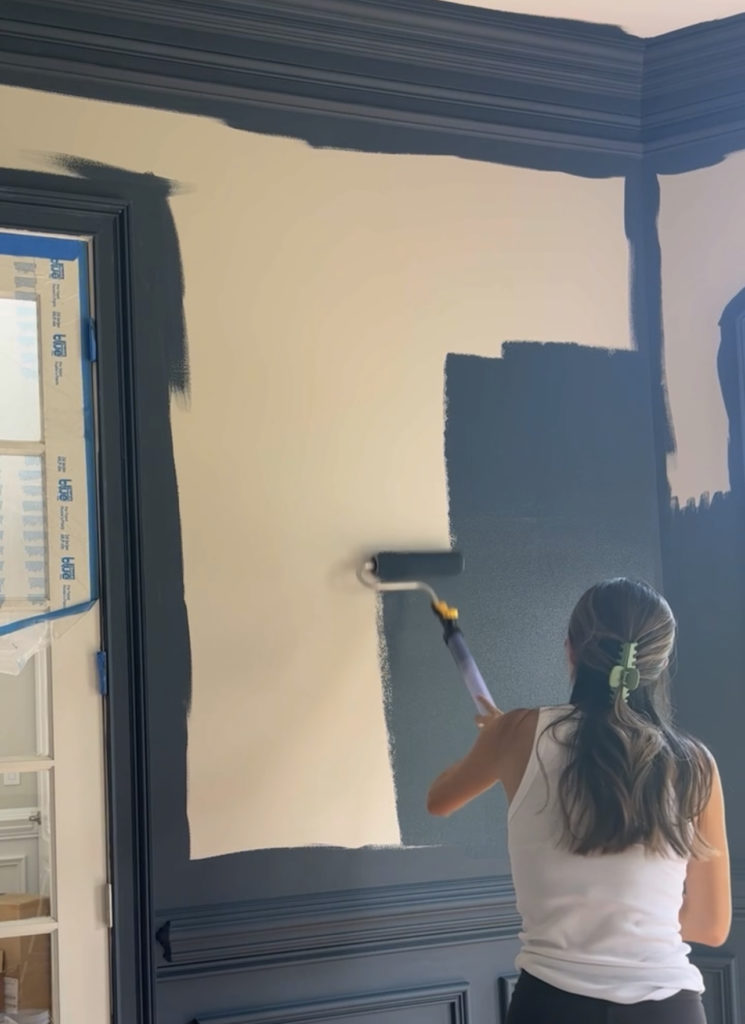
I went to town spray painting my cabinets. I used the Wagner Spray Tech and not only did it work so well but also was so fun. Do not forget to wear protective gear and cover things you want to protect with plastic. After spray painting, the built-in in I painted the walls. The only reason I did not spray paint the walls is that it was so hot inside the suit with the mask and goggles. I did get to try this new paint roller, the paint is inside the handle so you don’t need a rolling tray. It takes a while for the paint to actually come off the roller but once you get it started it rolls super fast and both my husband and I loved it.
Now that everything is painted it is time for the chicken wire that will go inside my doors on the cabinet. I need to cut it to size, spray paint it with wire primer, spray paint it gold, and then staple it inside the frame. Using an electrical stapler for this project was definitely the way to go. I am so excited because it looks exactly how I wanted it and was so much cheaper than buying already done online. Then I screwed the hinges in and added knobs to the cabinet doors. I used an easy turn latch.
This was an absolute labor of love and took around a month to complete. I am so happy with how it turned out and I am so proud of myself.


