It’s time to make an office desk dupe! The table that I was inspired by is from Restoration Hardware. It’s $2,800 and beautiful, but I want to spend less on a desk. So that is why we DIY!
Here is my supply list:
- Circular Saw
- Kreg Jig
- Bessey Clamps
- Miter Saw
- Wood Glue
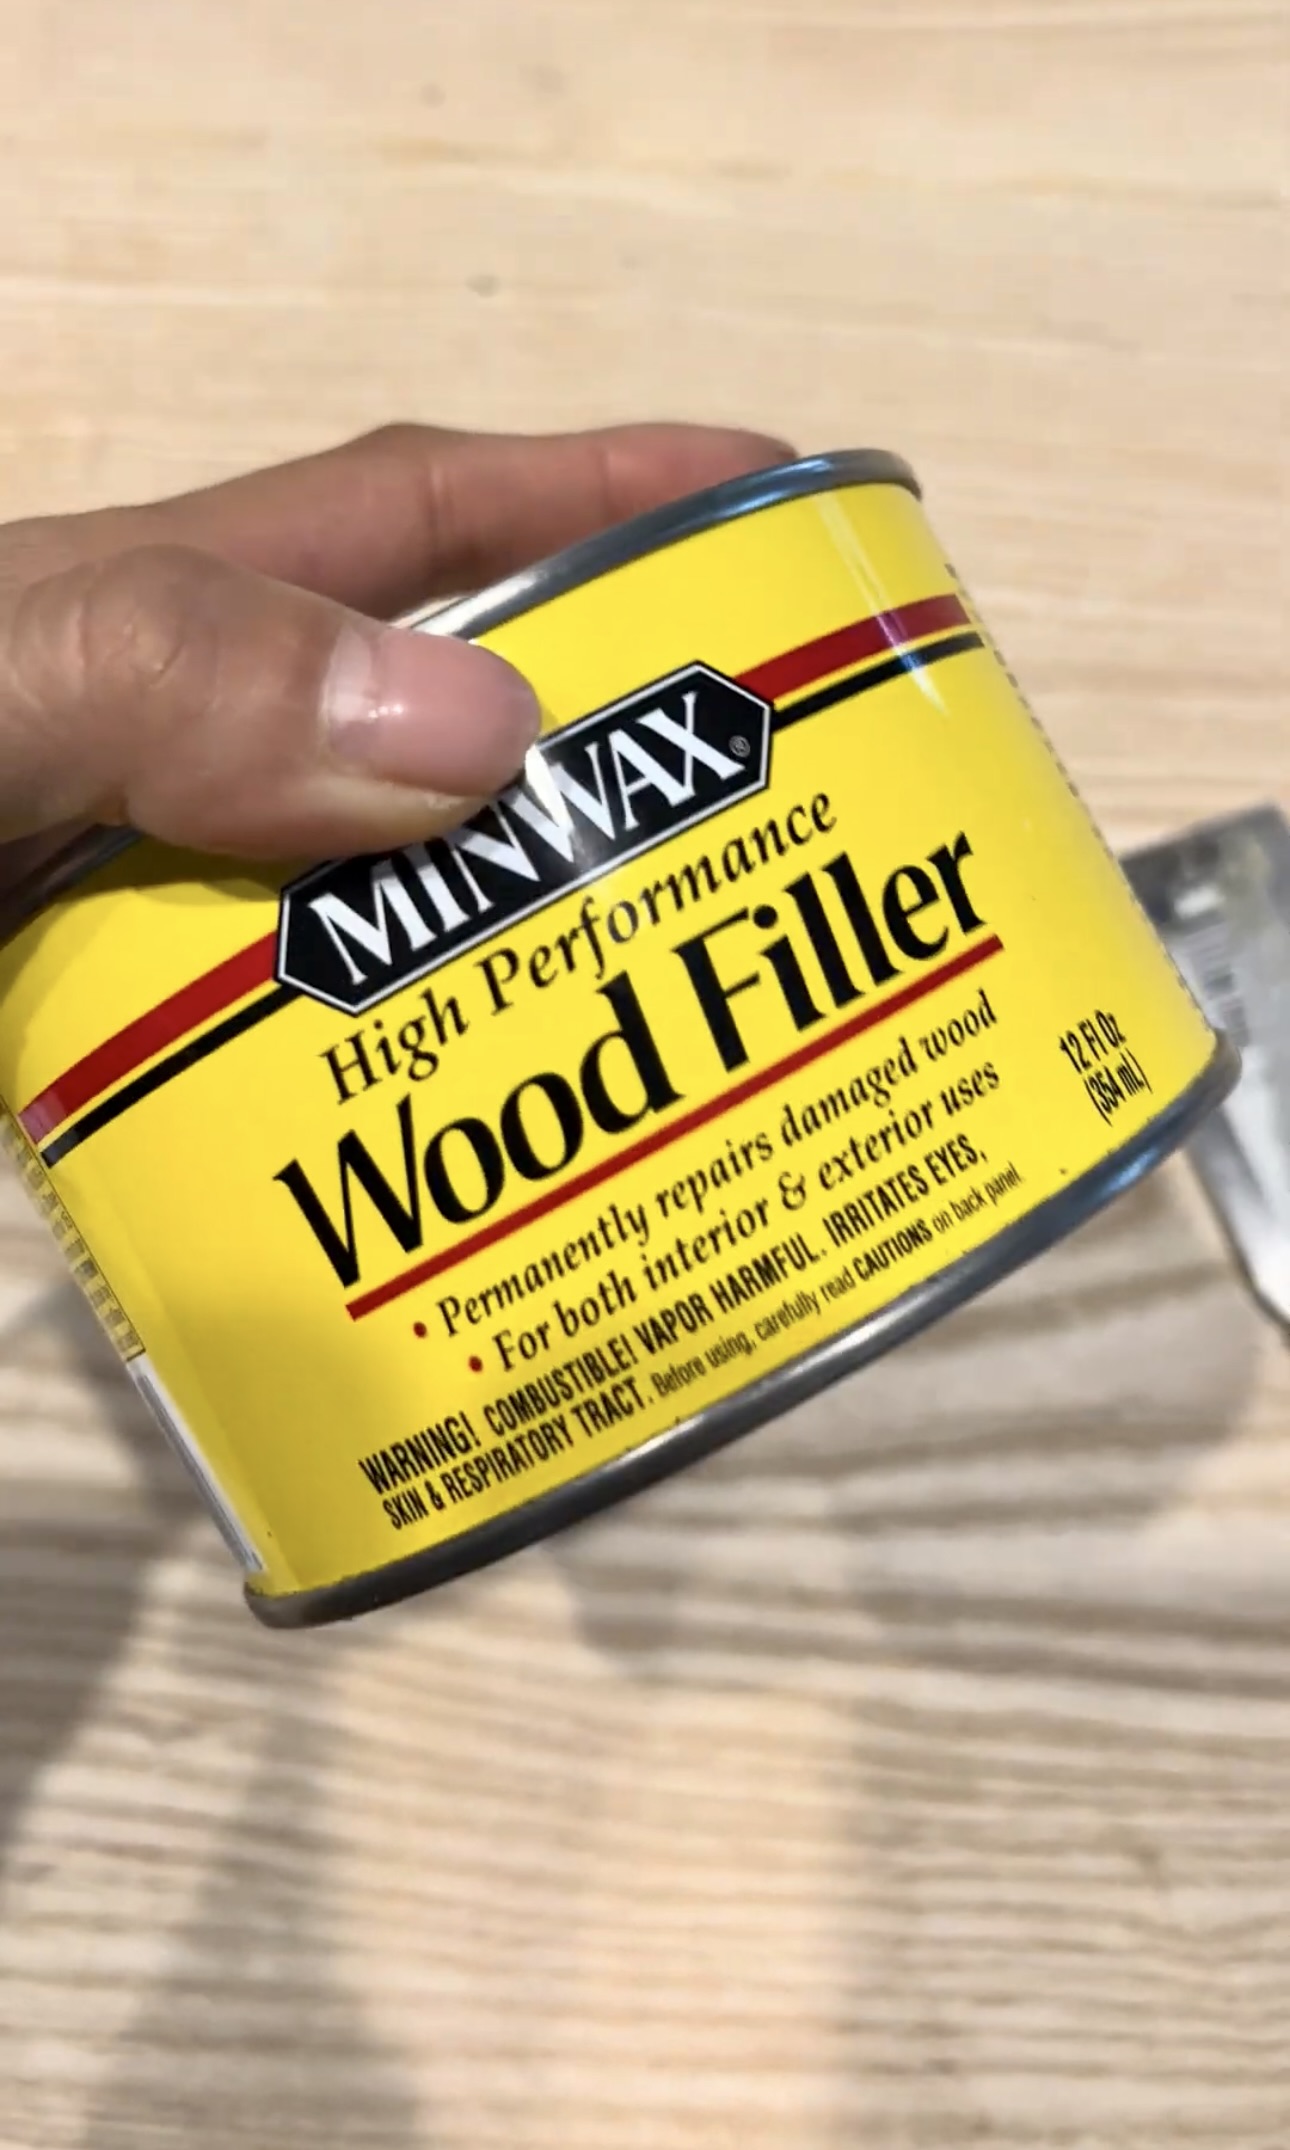
- Minwax Wood Filler
- Minwax Pre-Stain
- Tack Cloth
- Minwax Wood Finish
- Minwax Polycrylic Topcoat
- Orbital Sander
Okay so here’s the desk that inspired this office desk dupe project. It’s from McGhee & Co., (which I love) but look at that price tag! That’s a bit outside of our budget.
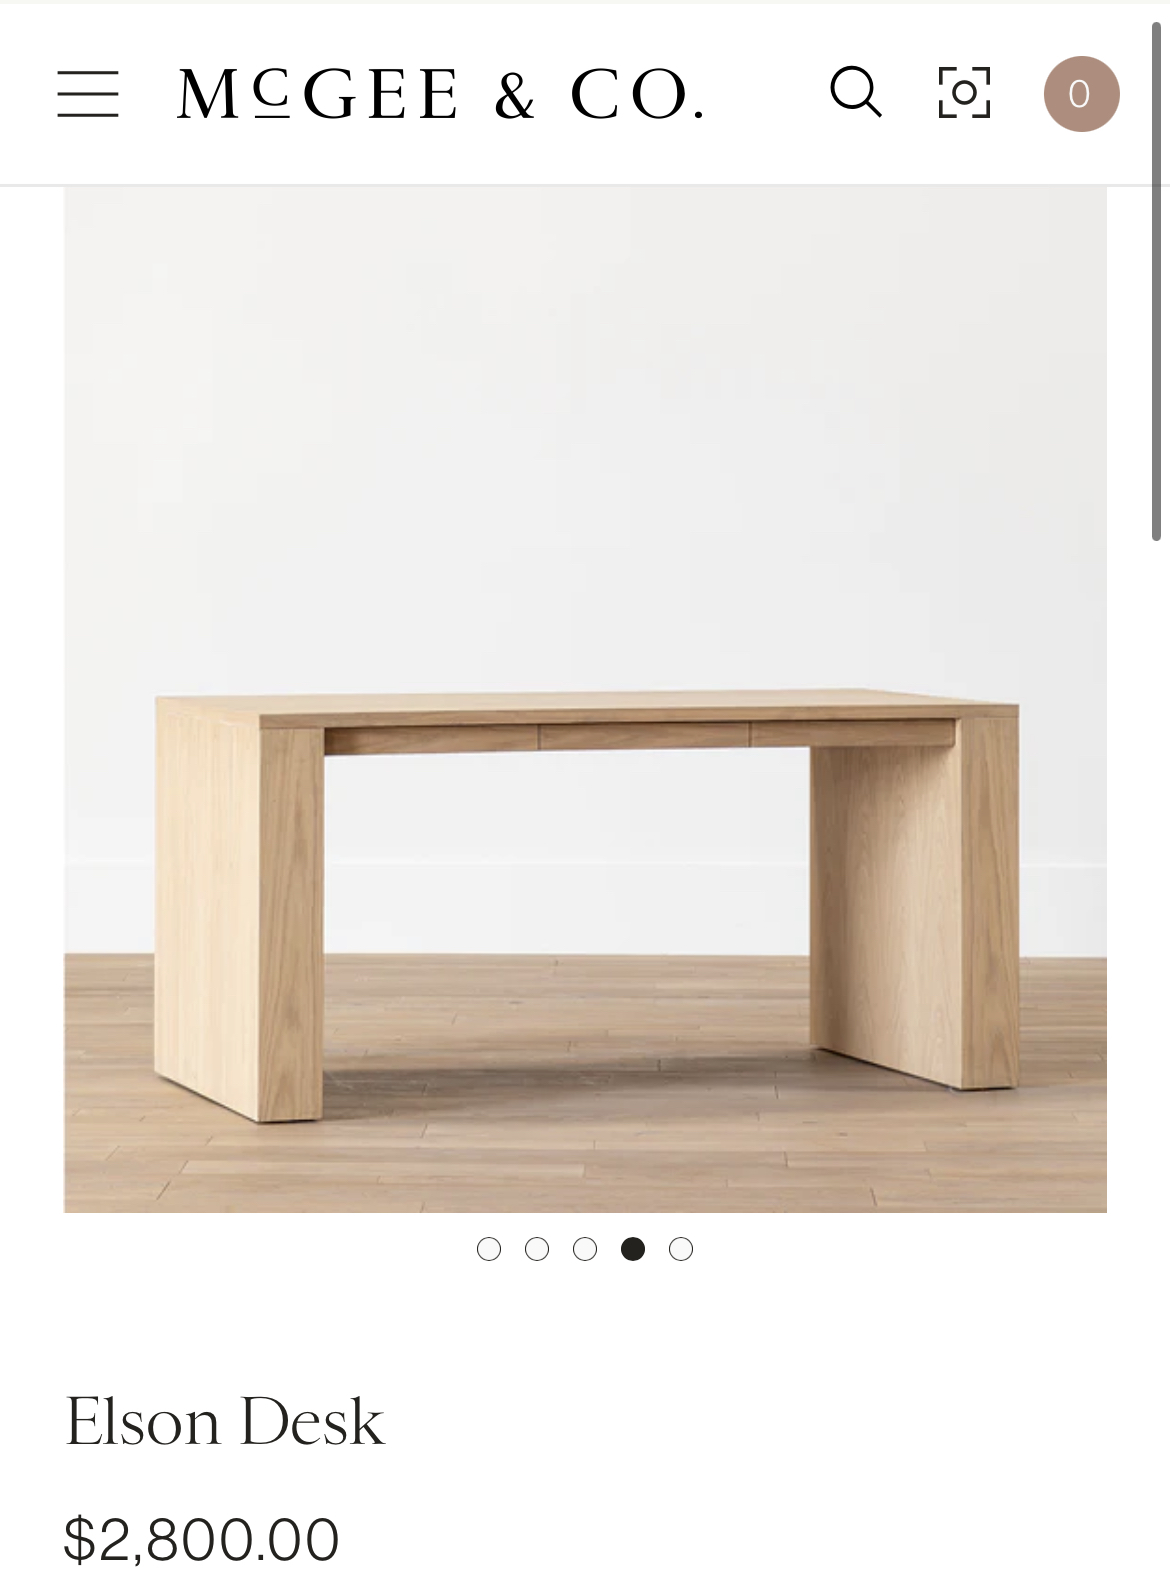
Table Top
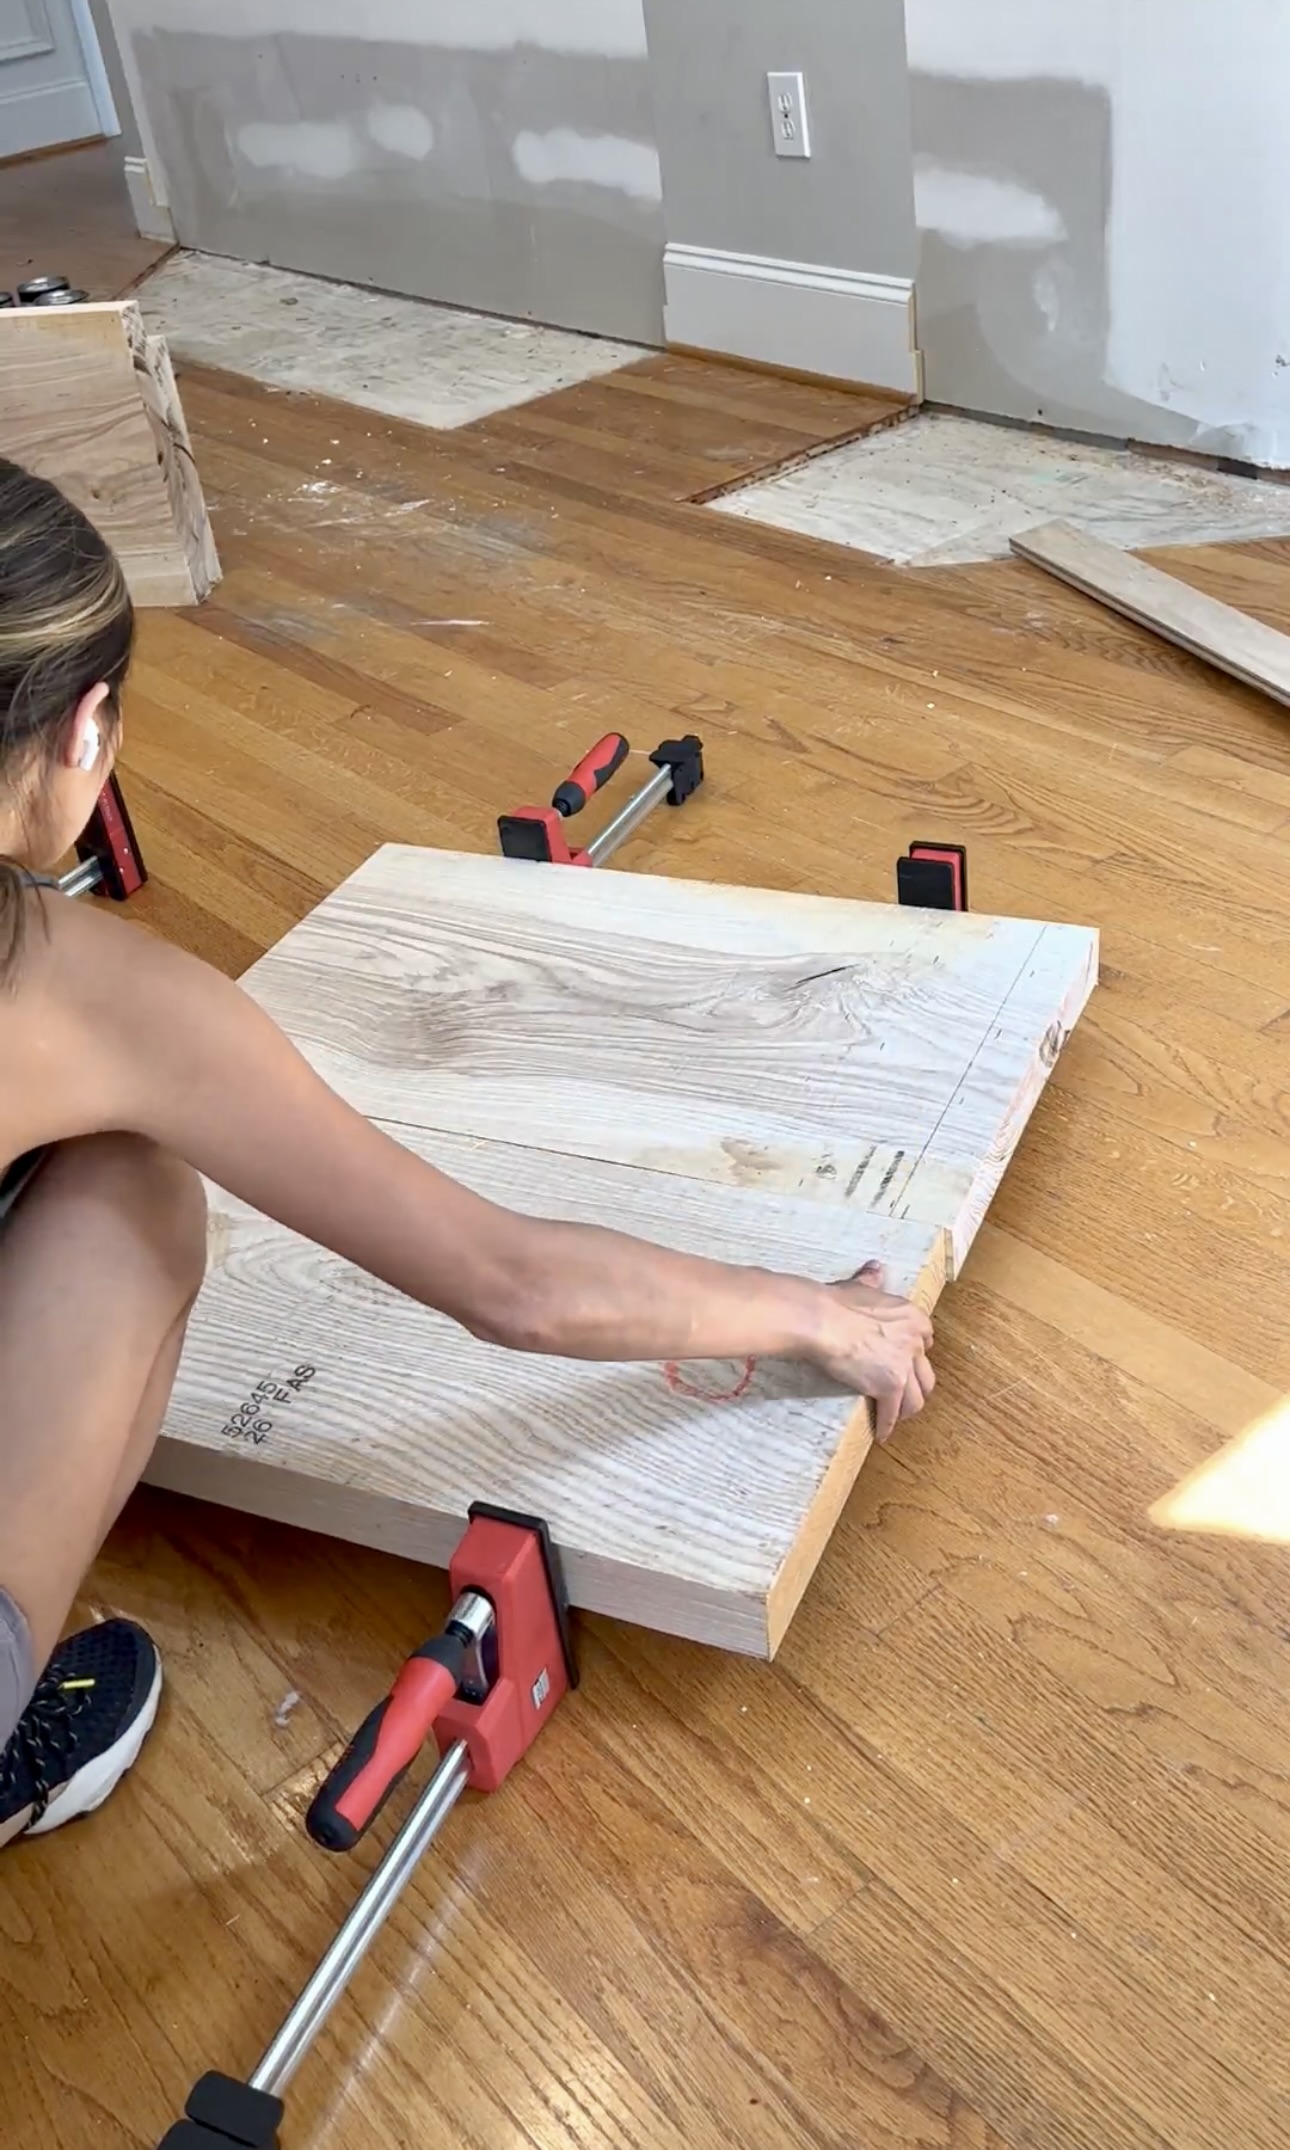
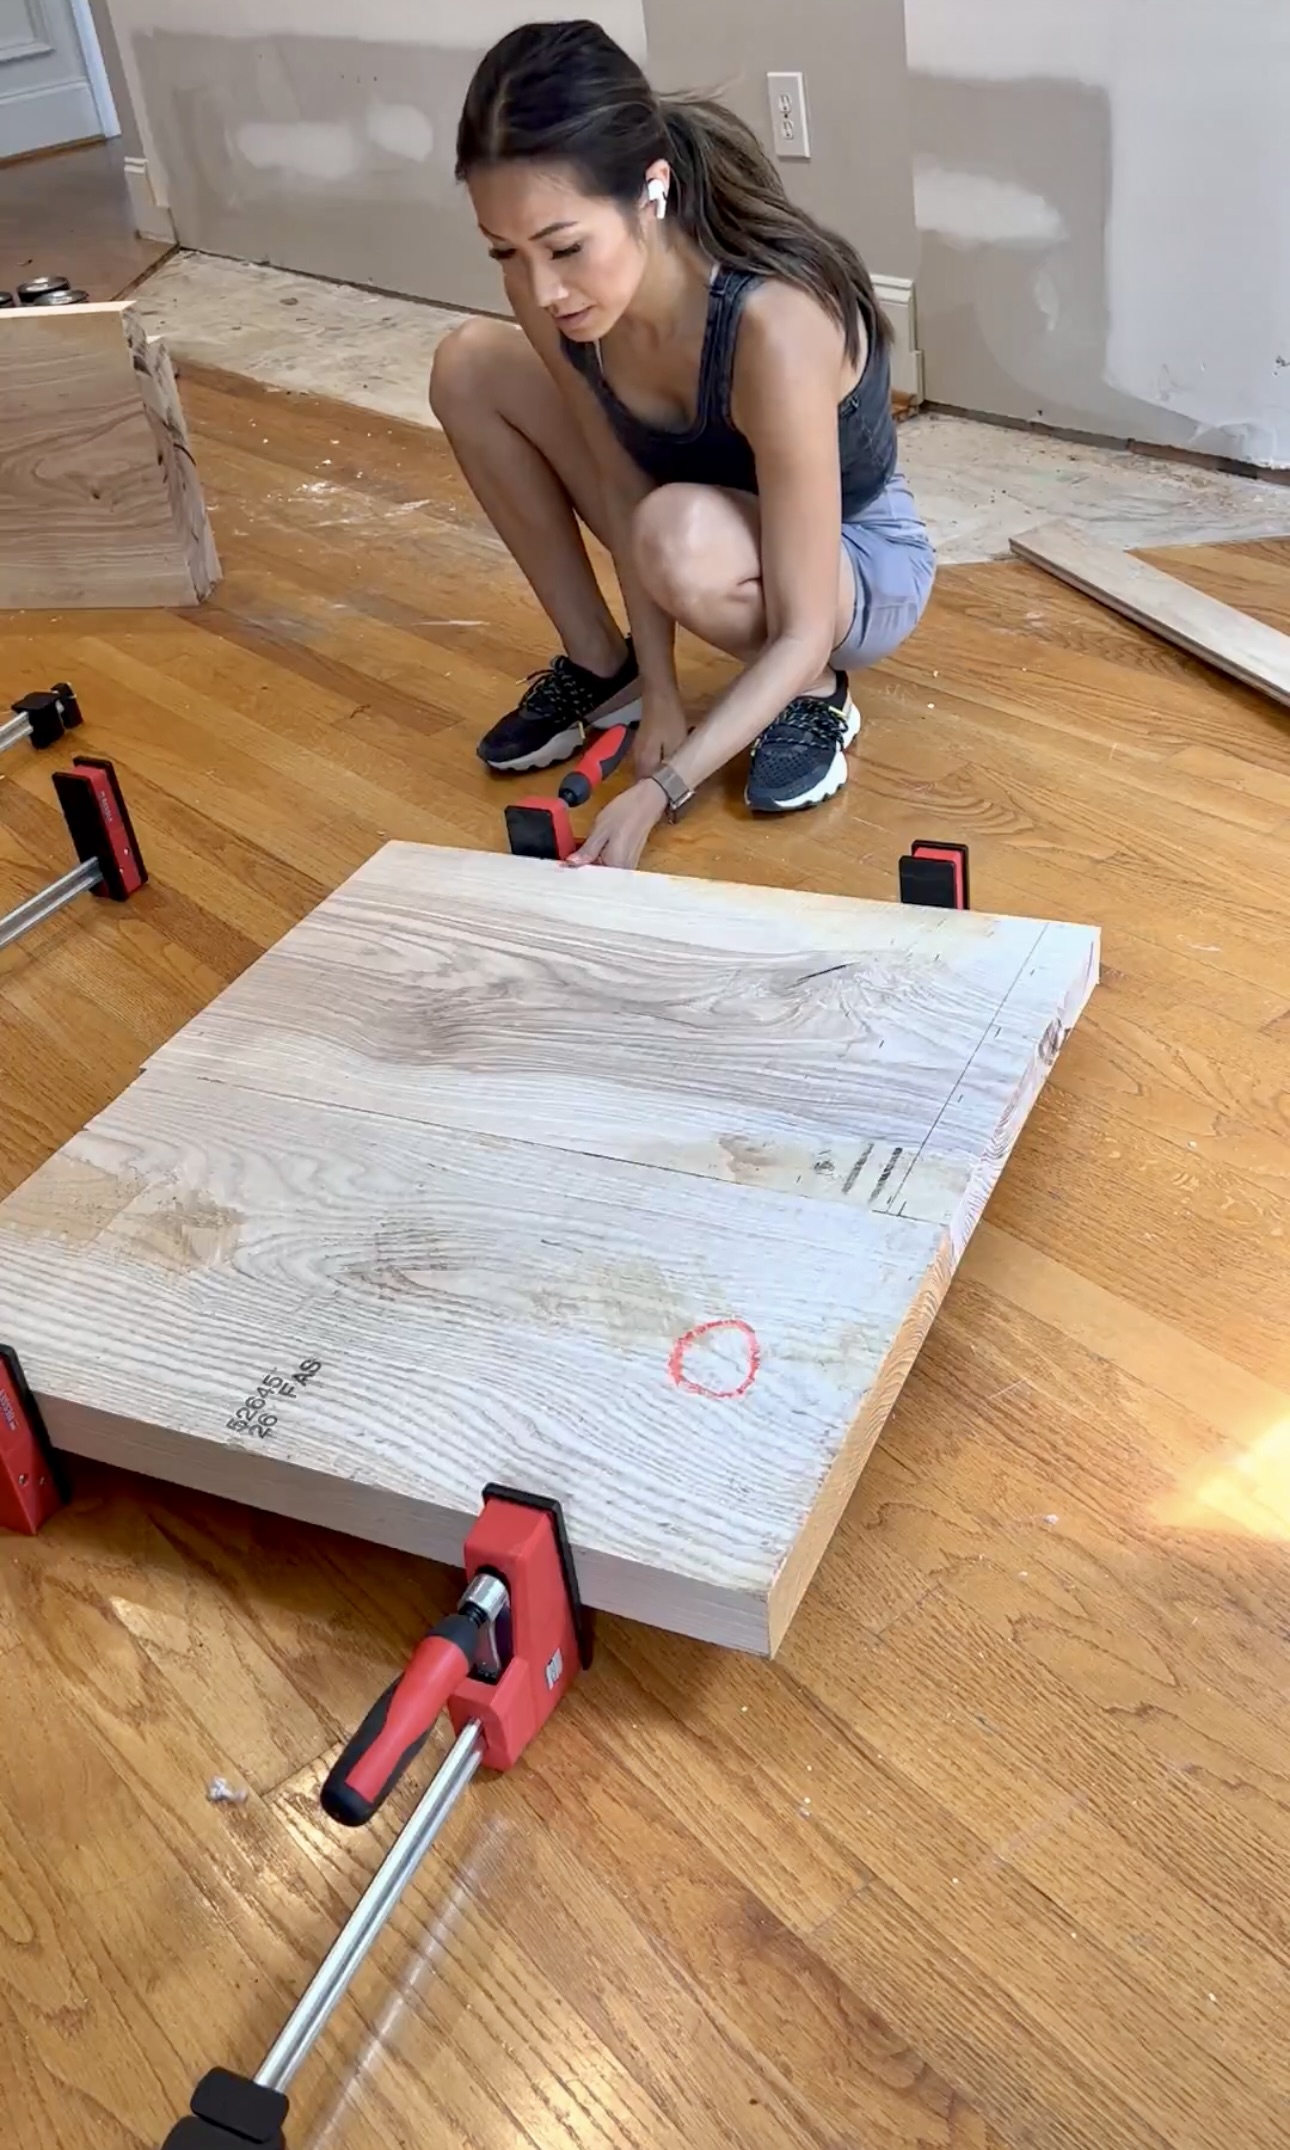
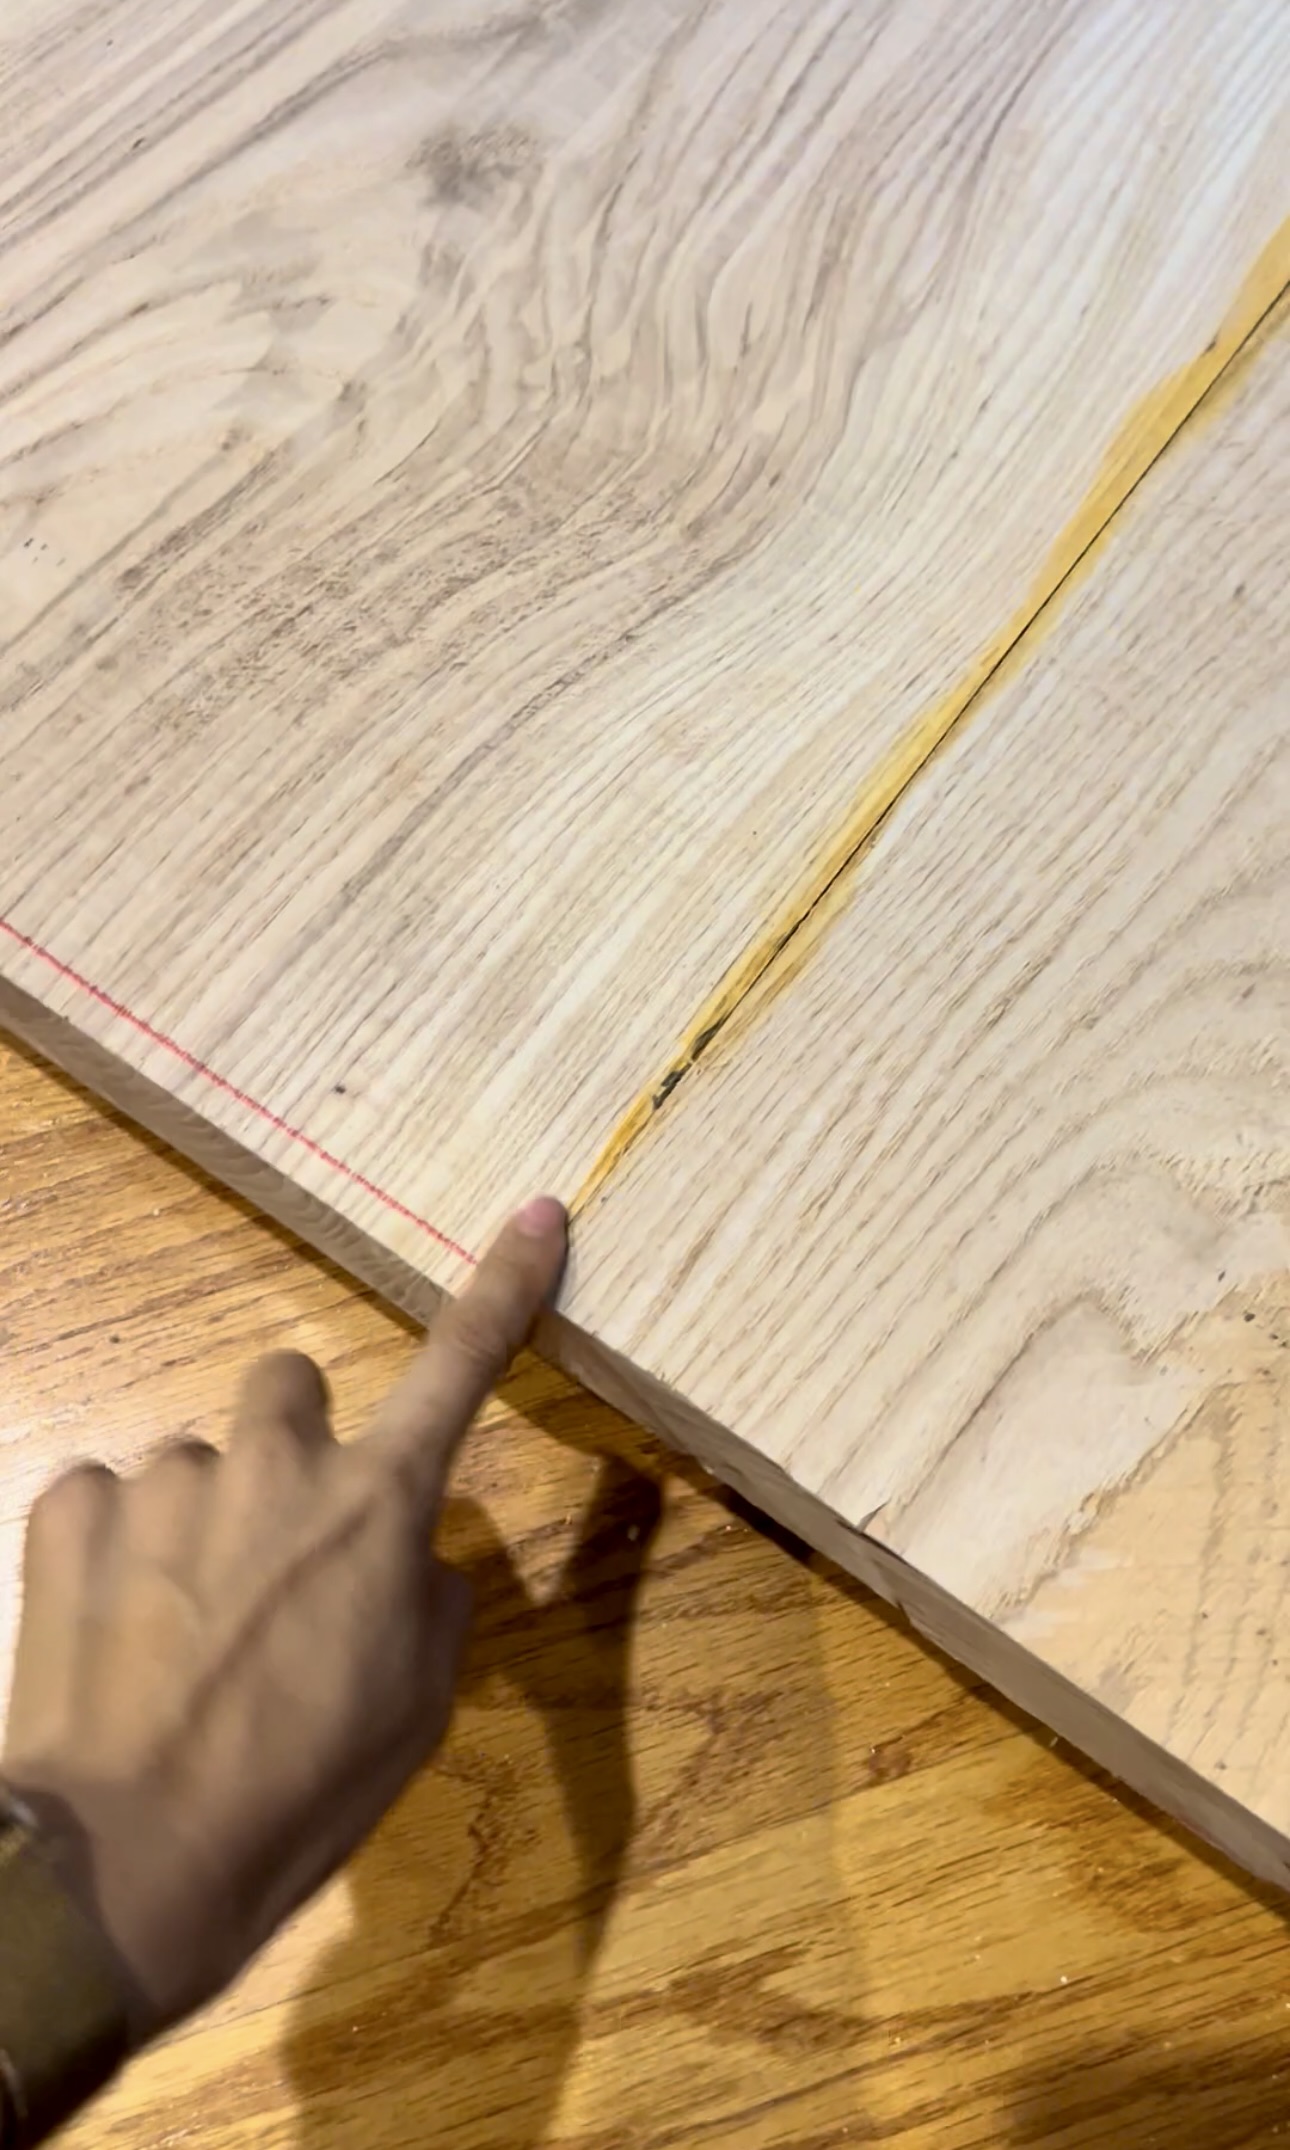
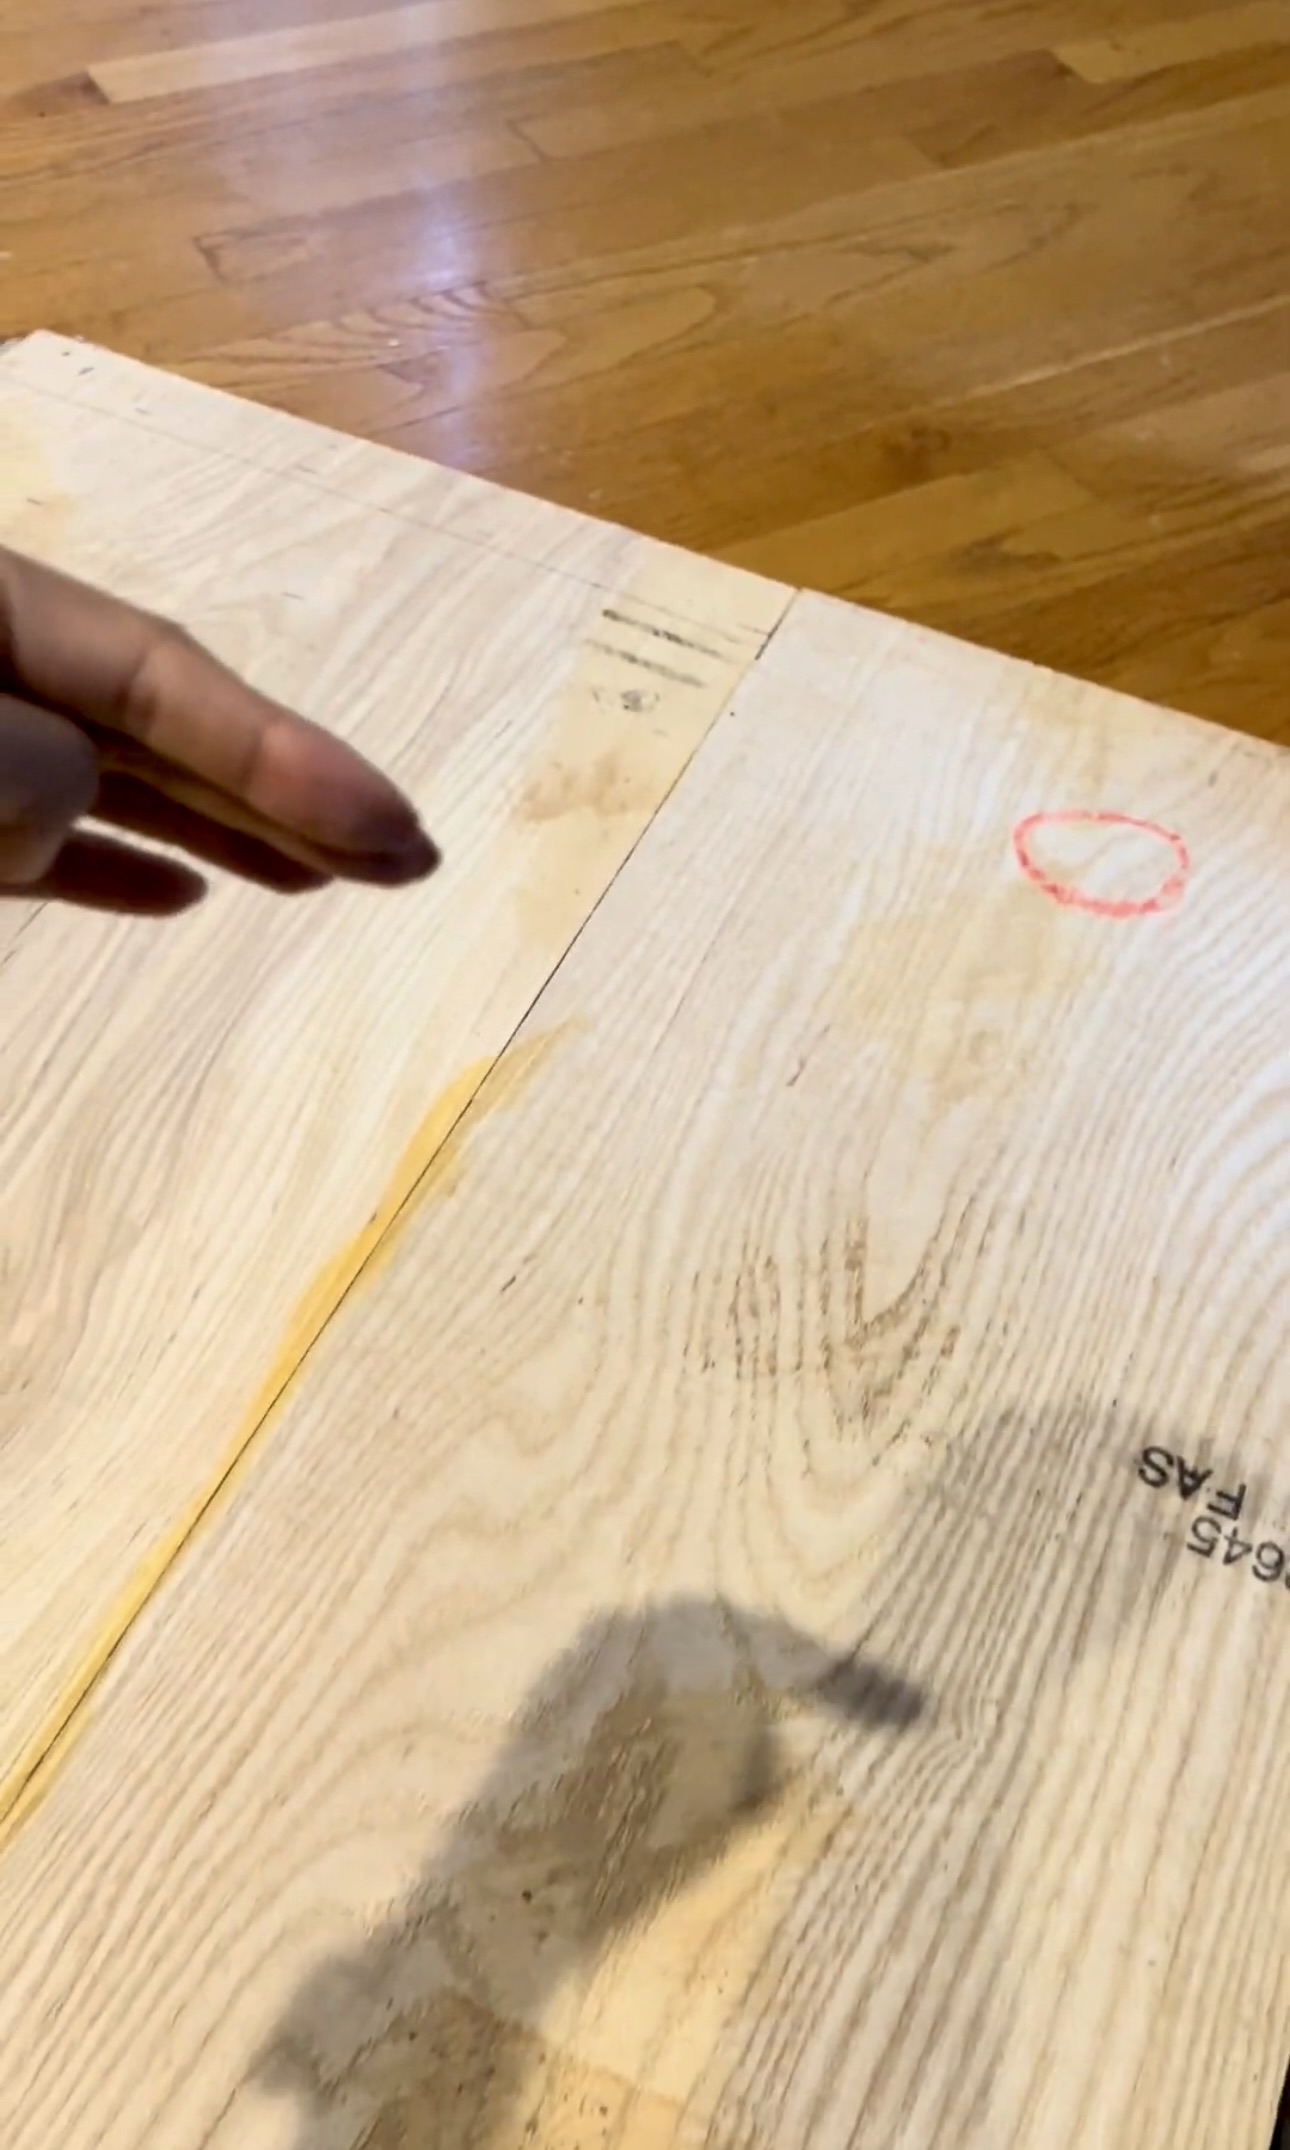
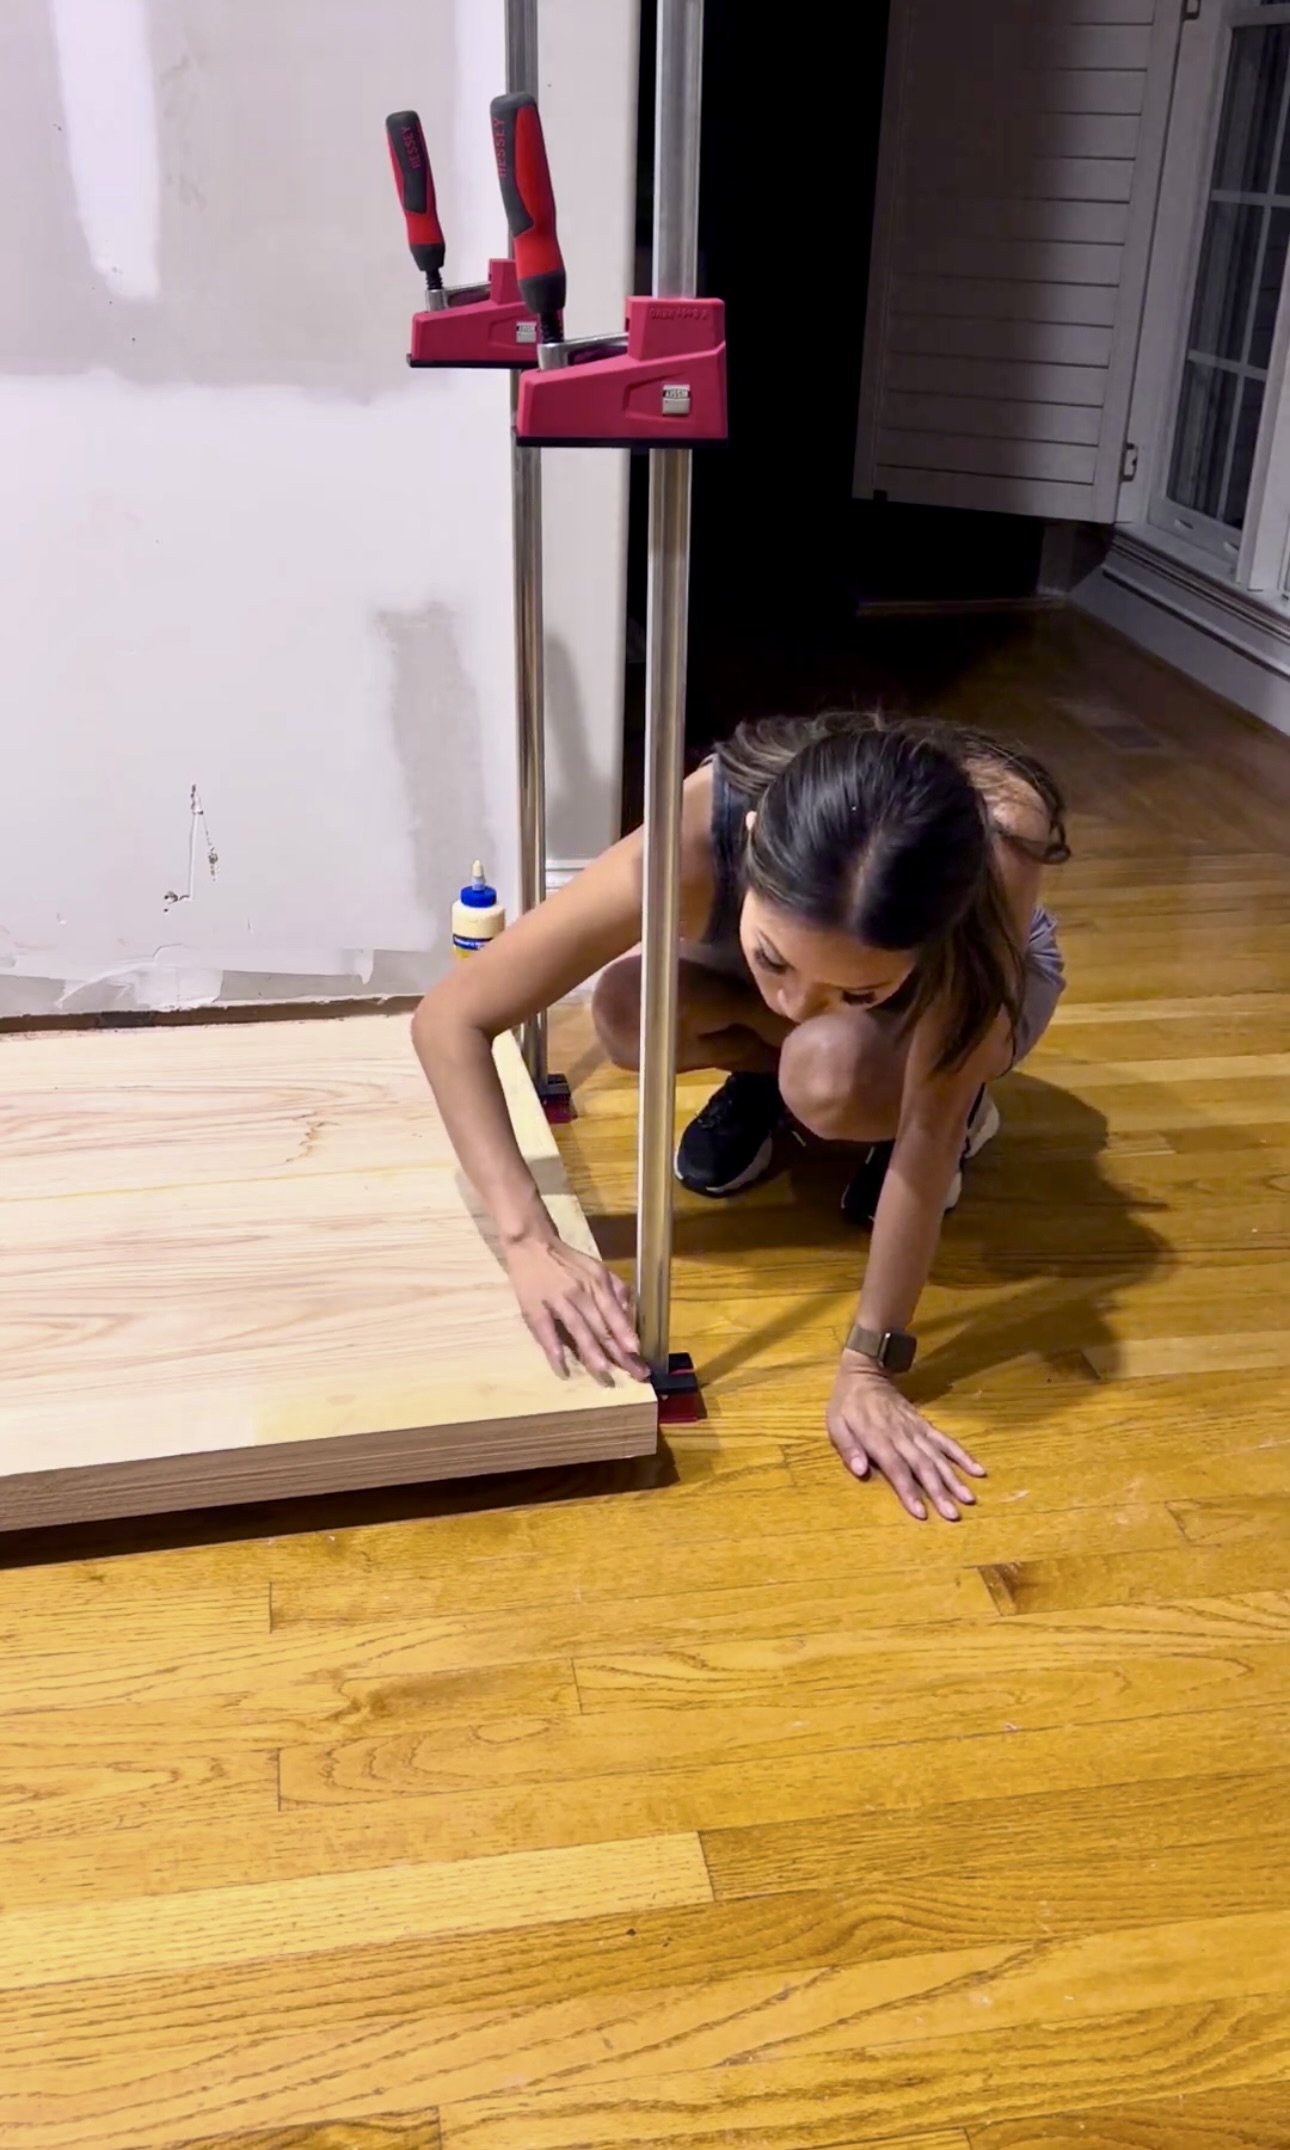
For this project, I went to a local lumberyard and bought some Ash Wood. I glued the two pieces together for the desk top and clamped them with my Bessey clamps over night.
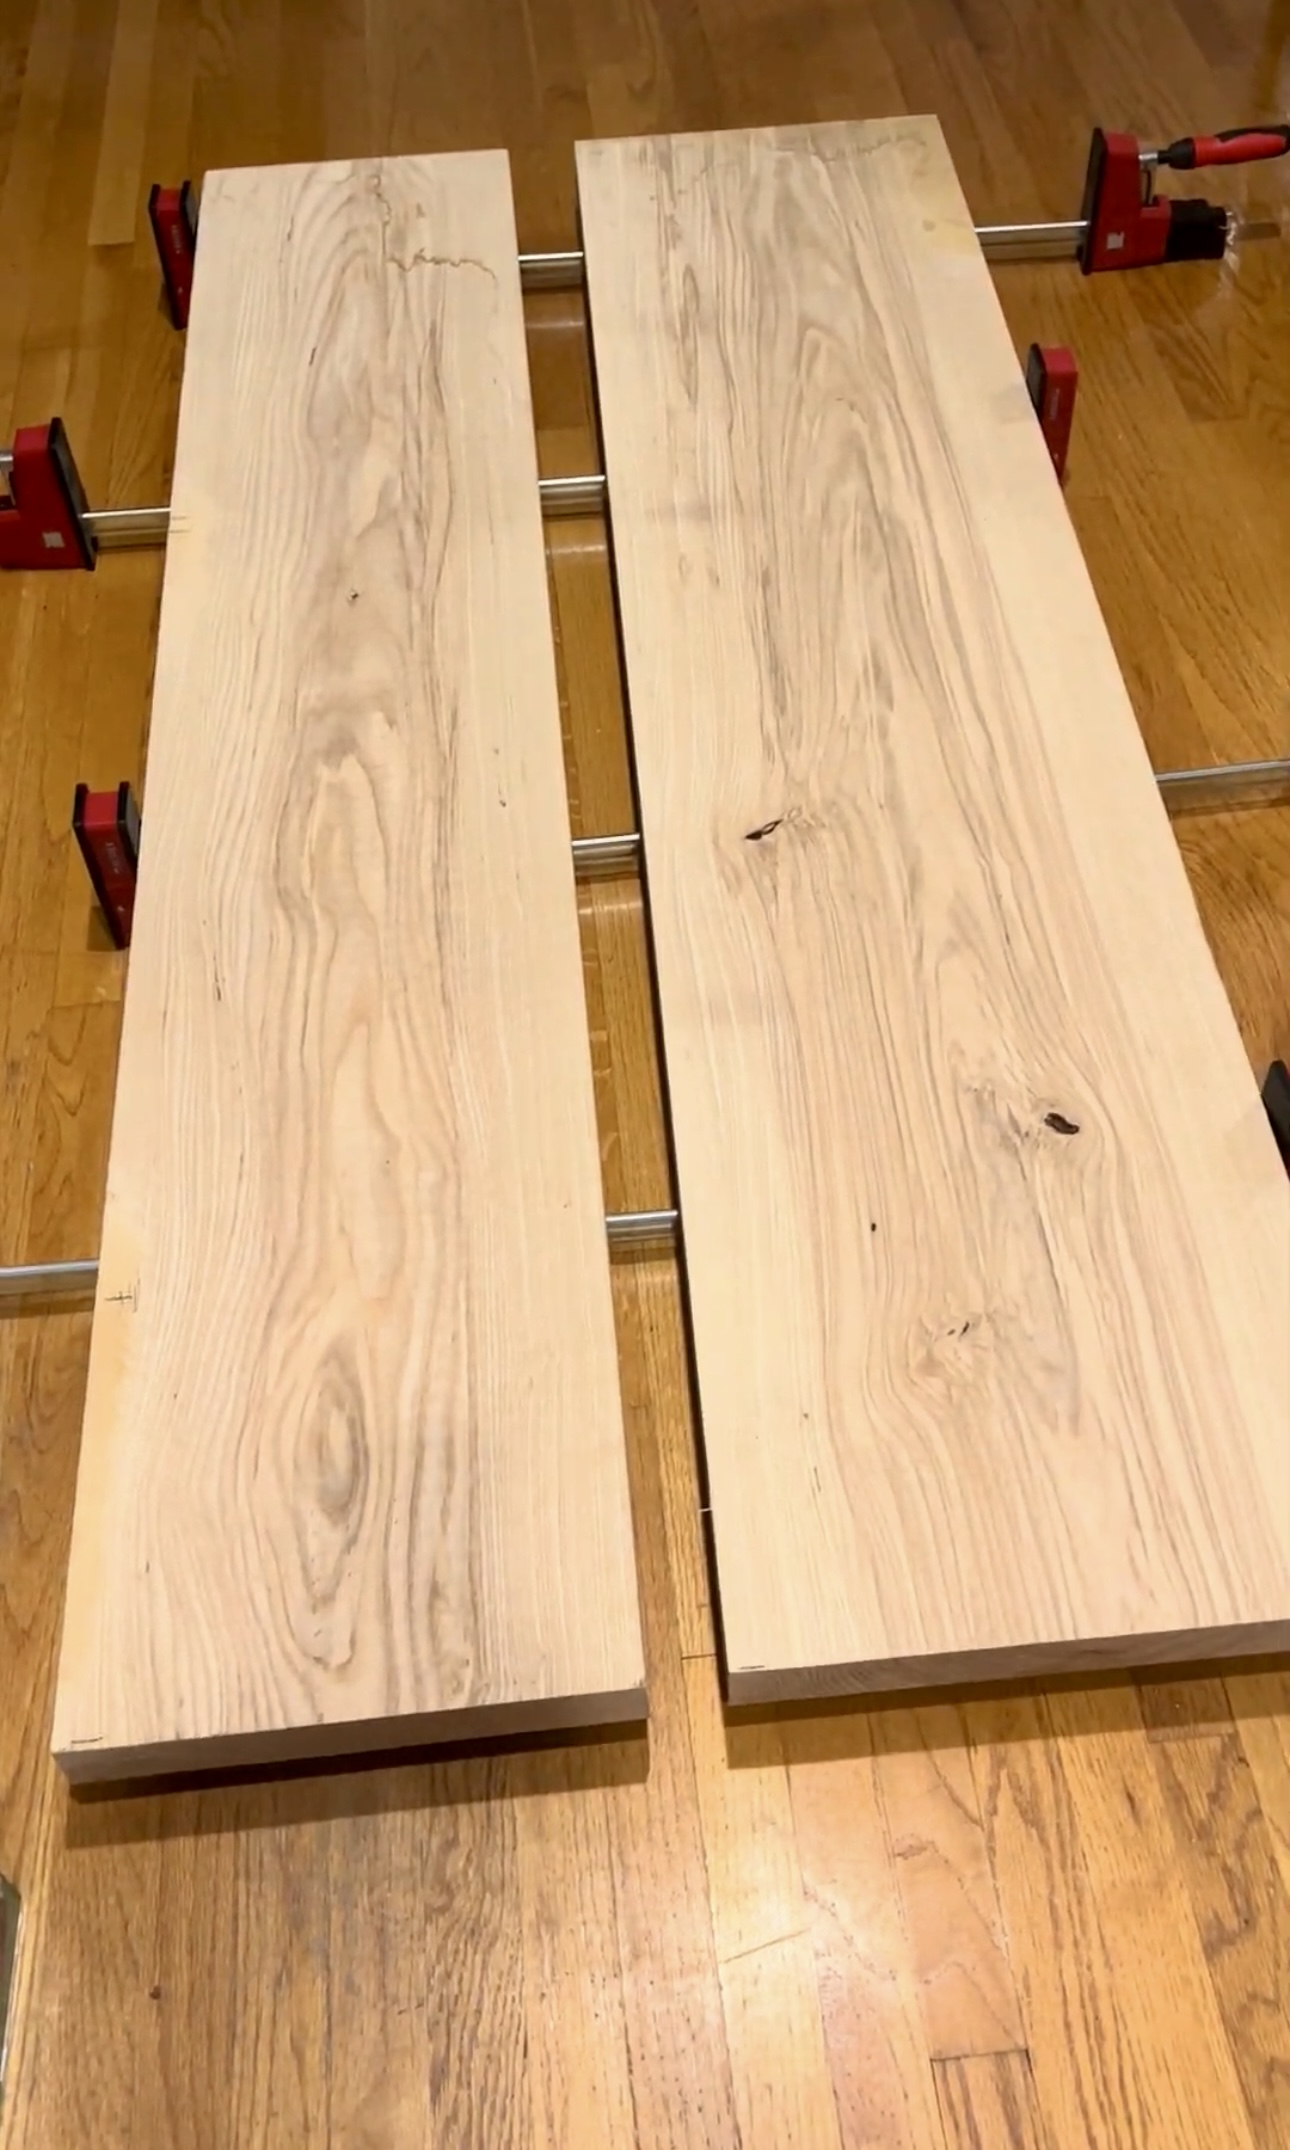
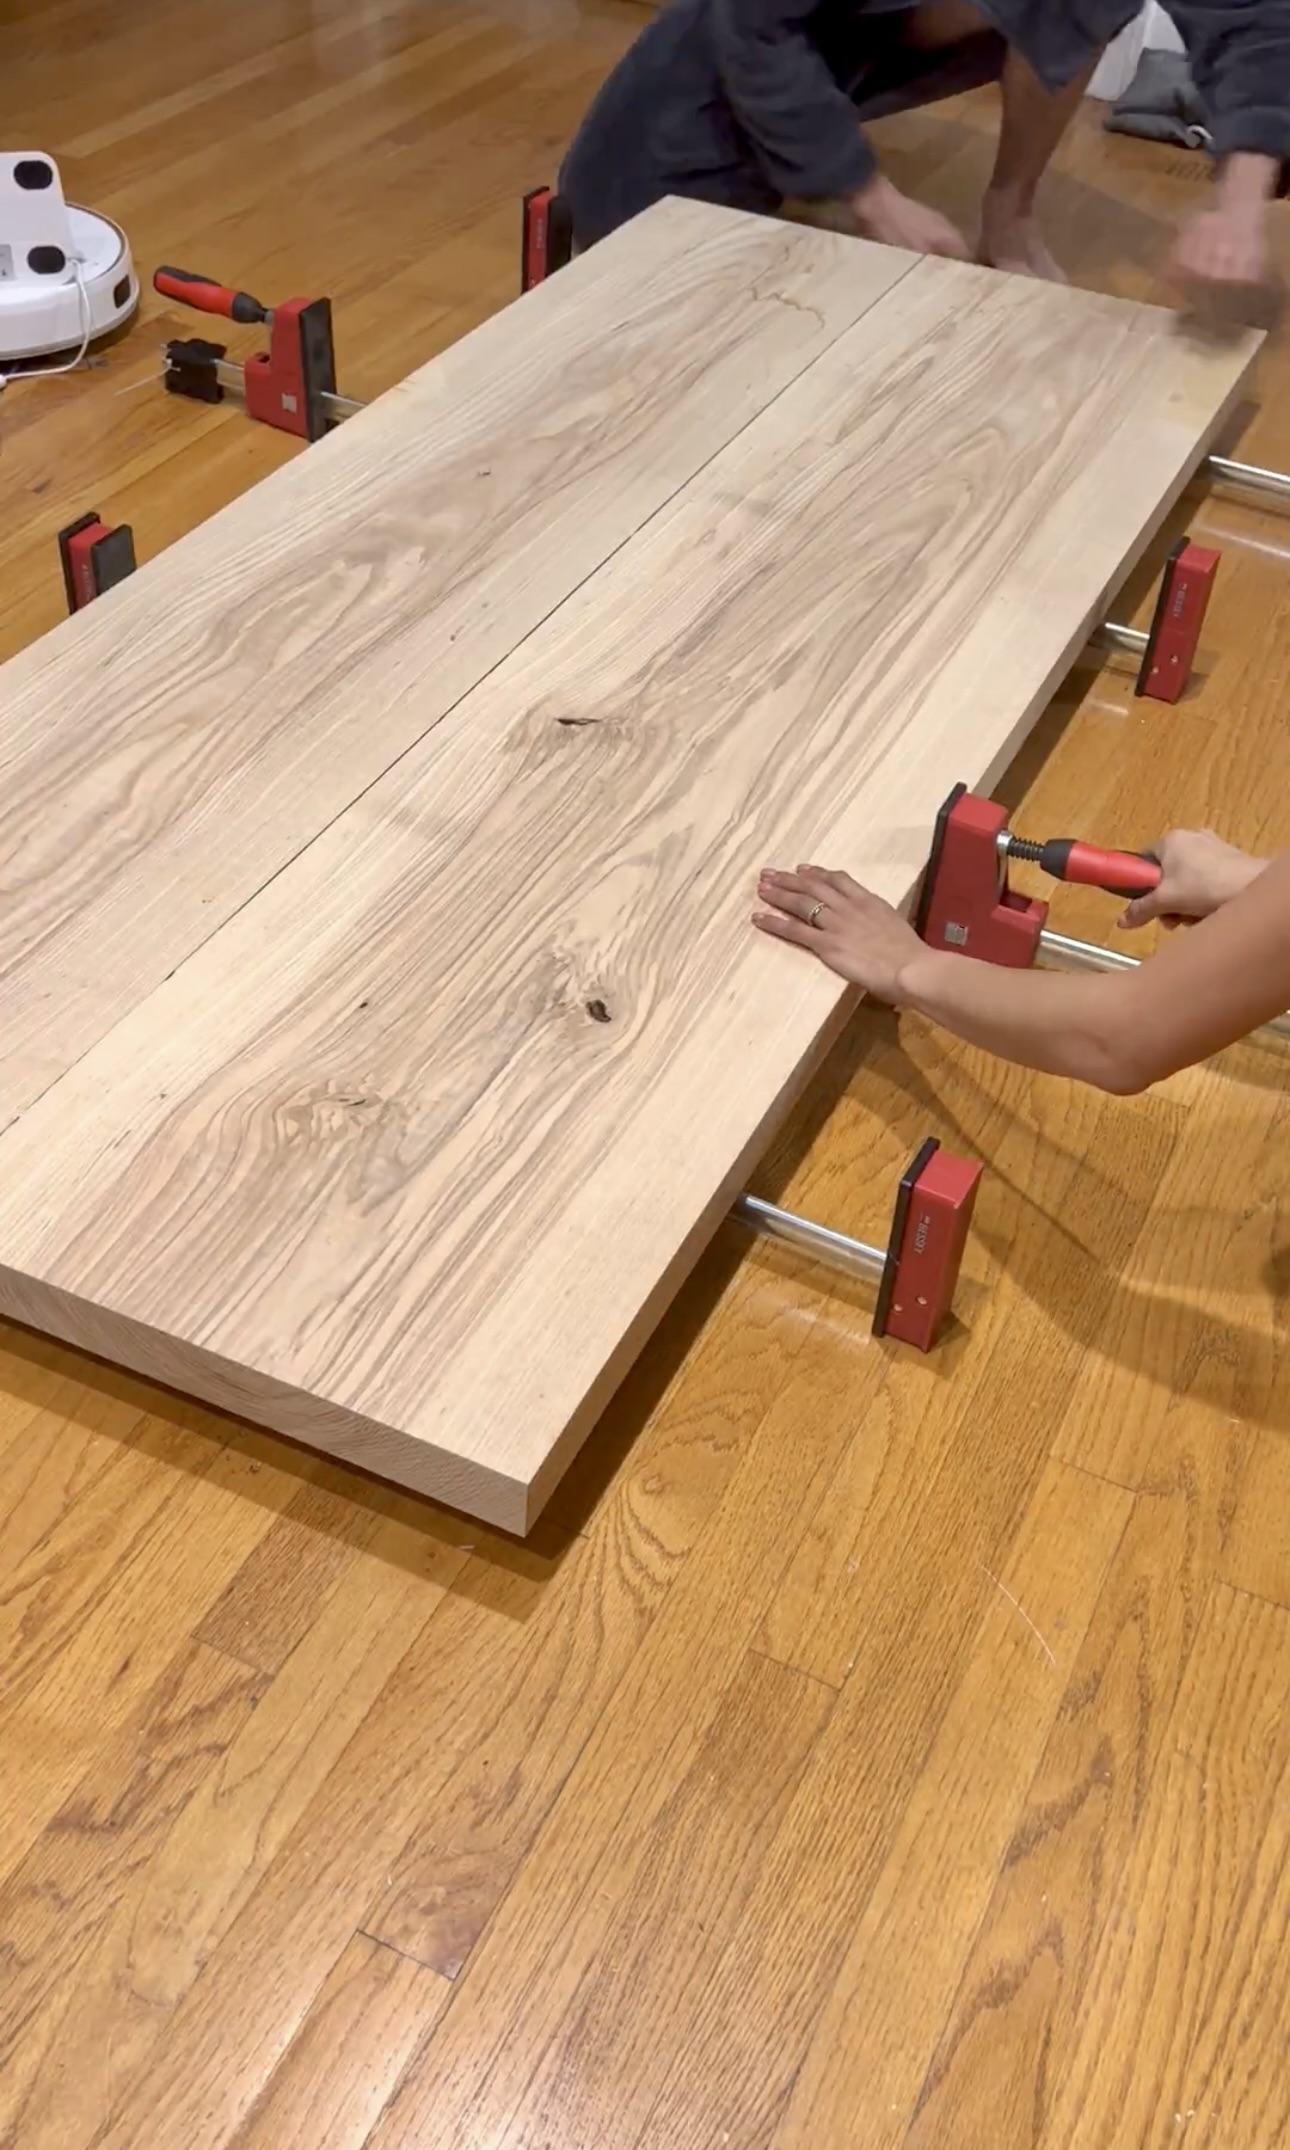
After the glue was dried, I cut the top down to the length I wanted. I did 65″ here. Cutting solid wood this thick is no joke. It’s important to have a powerful circular saw and a good blade.
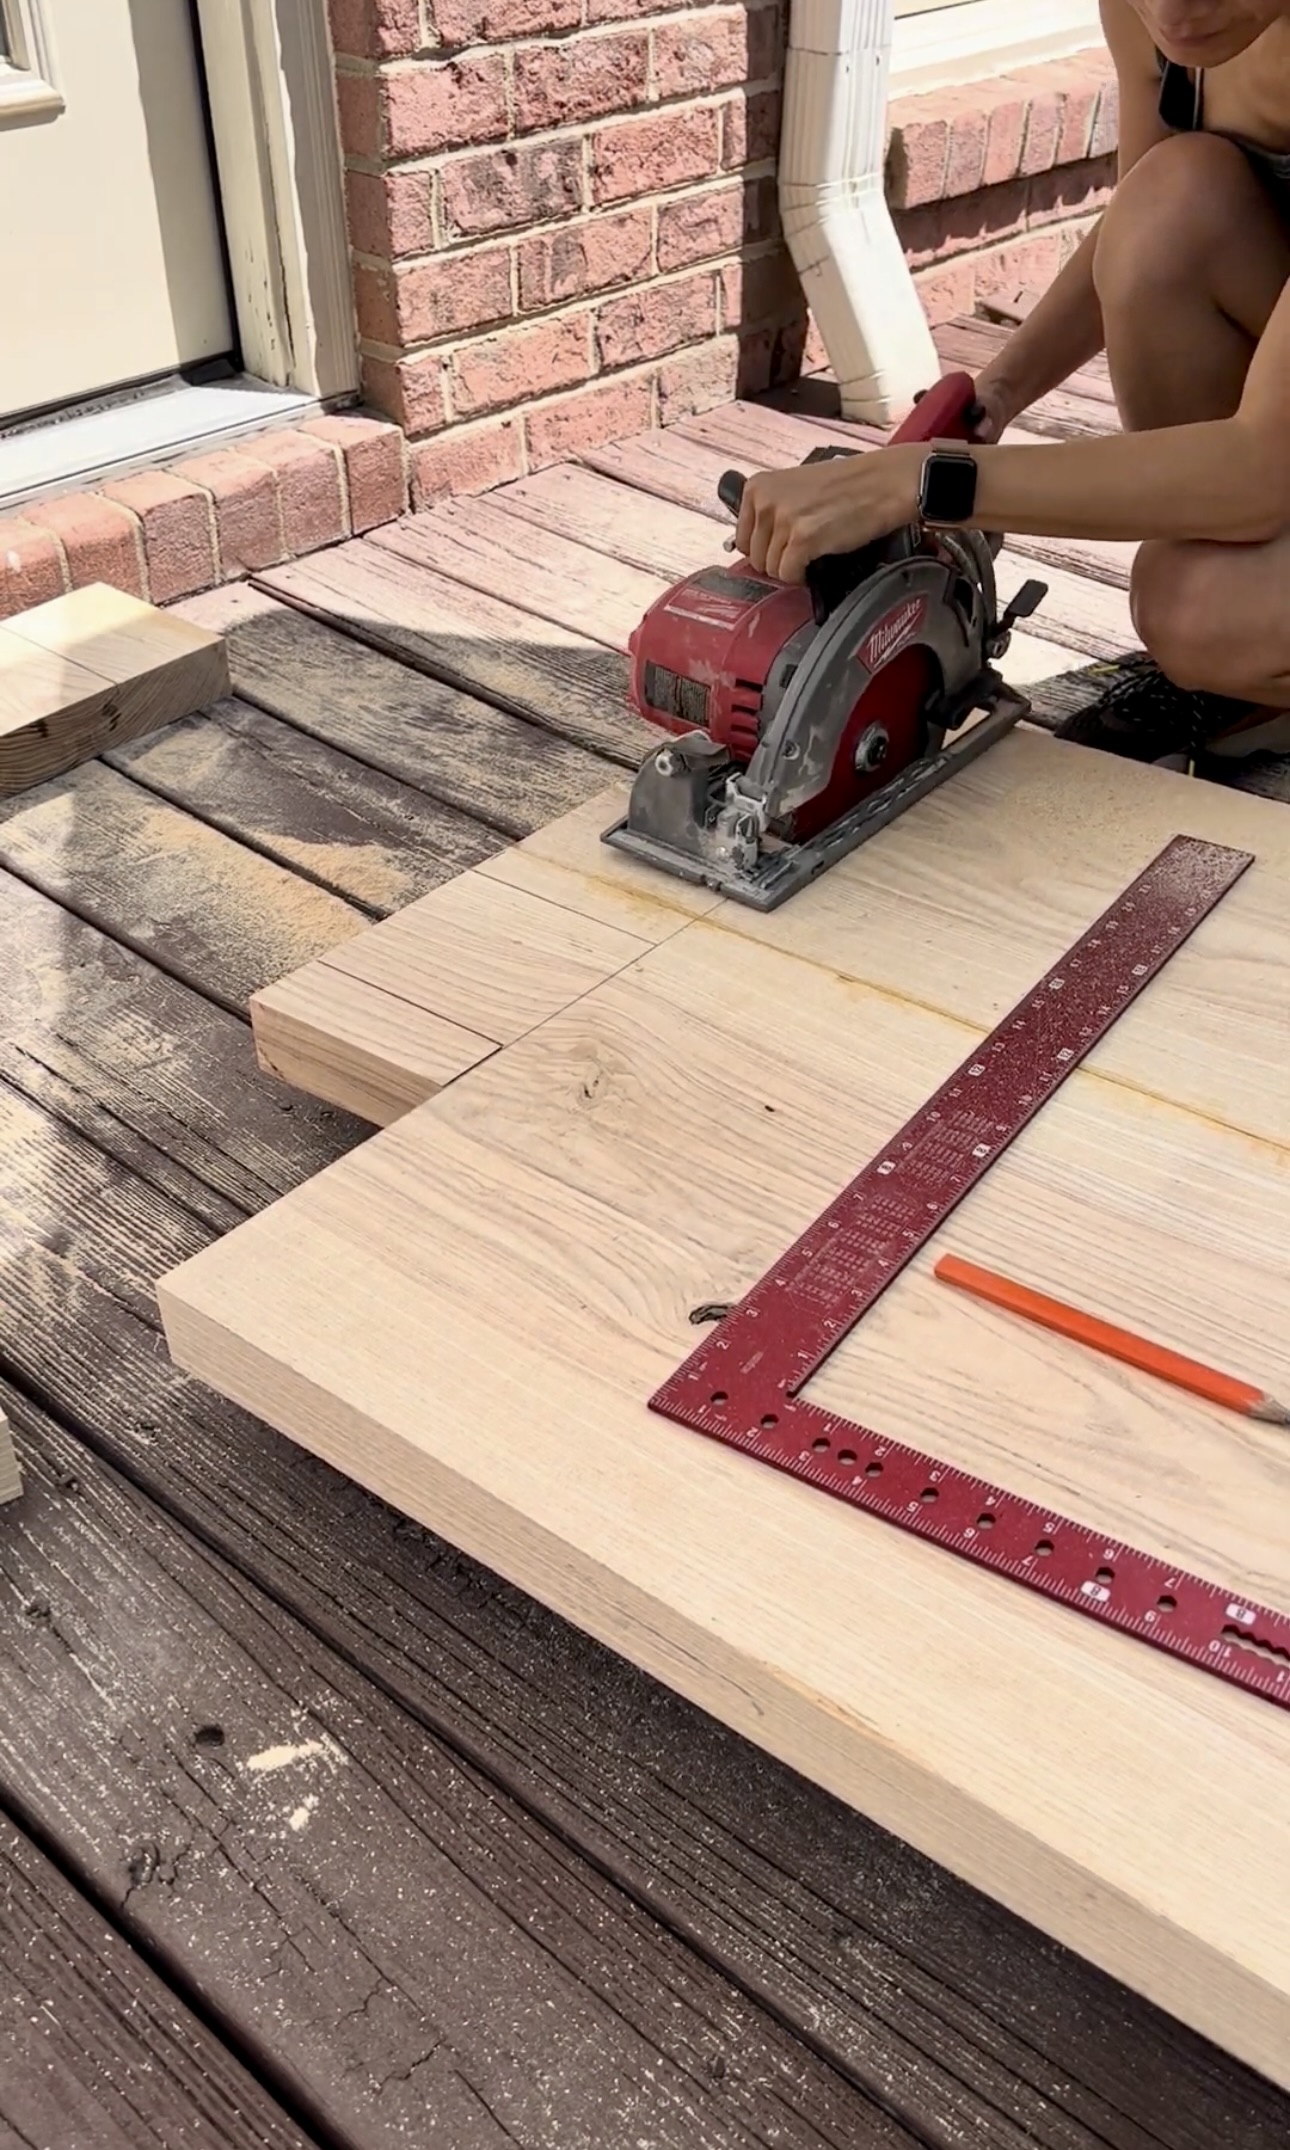
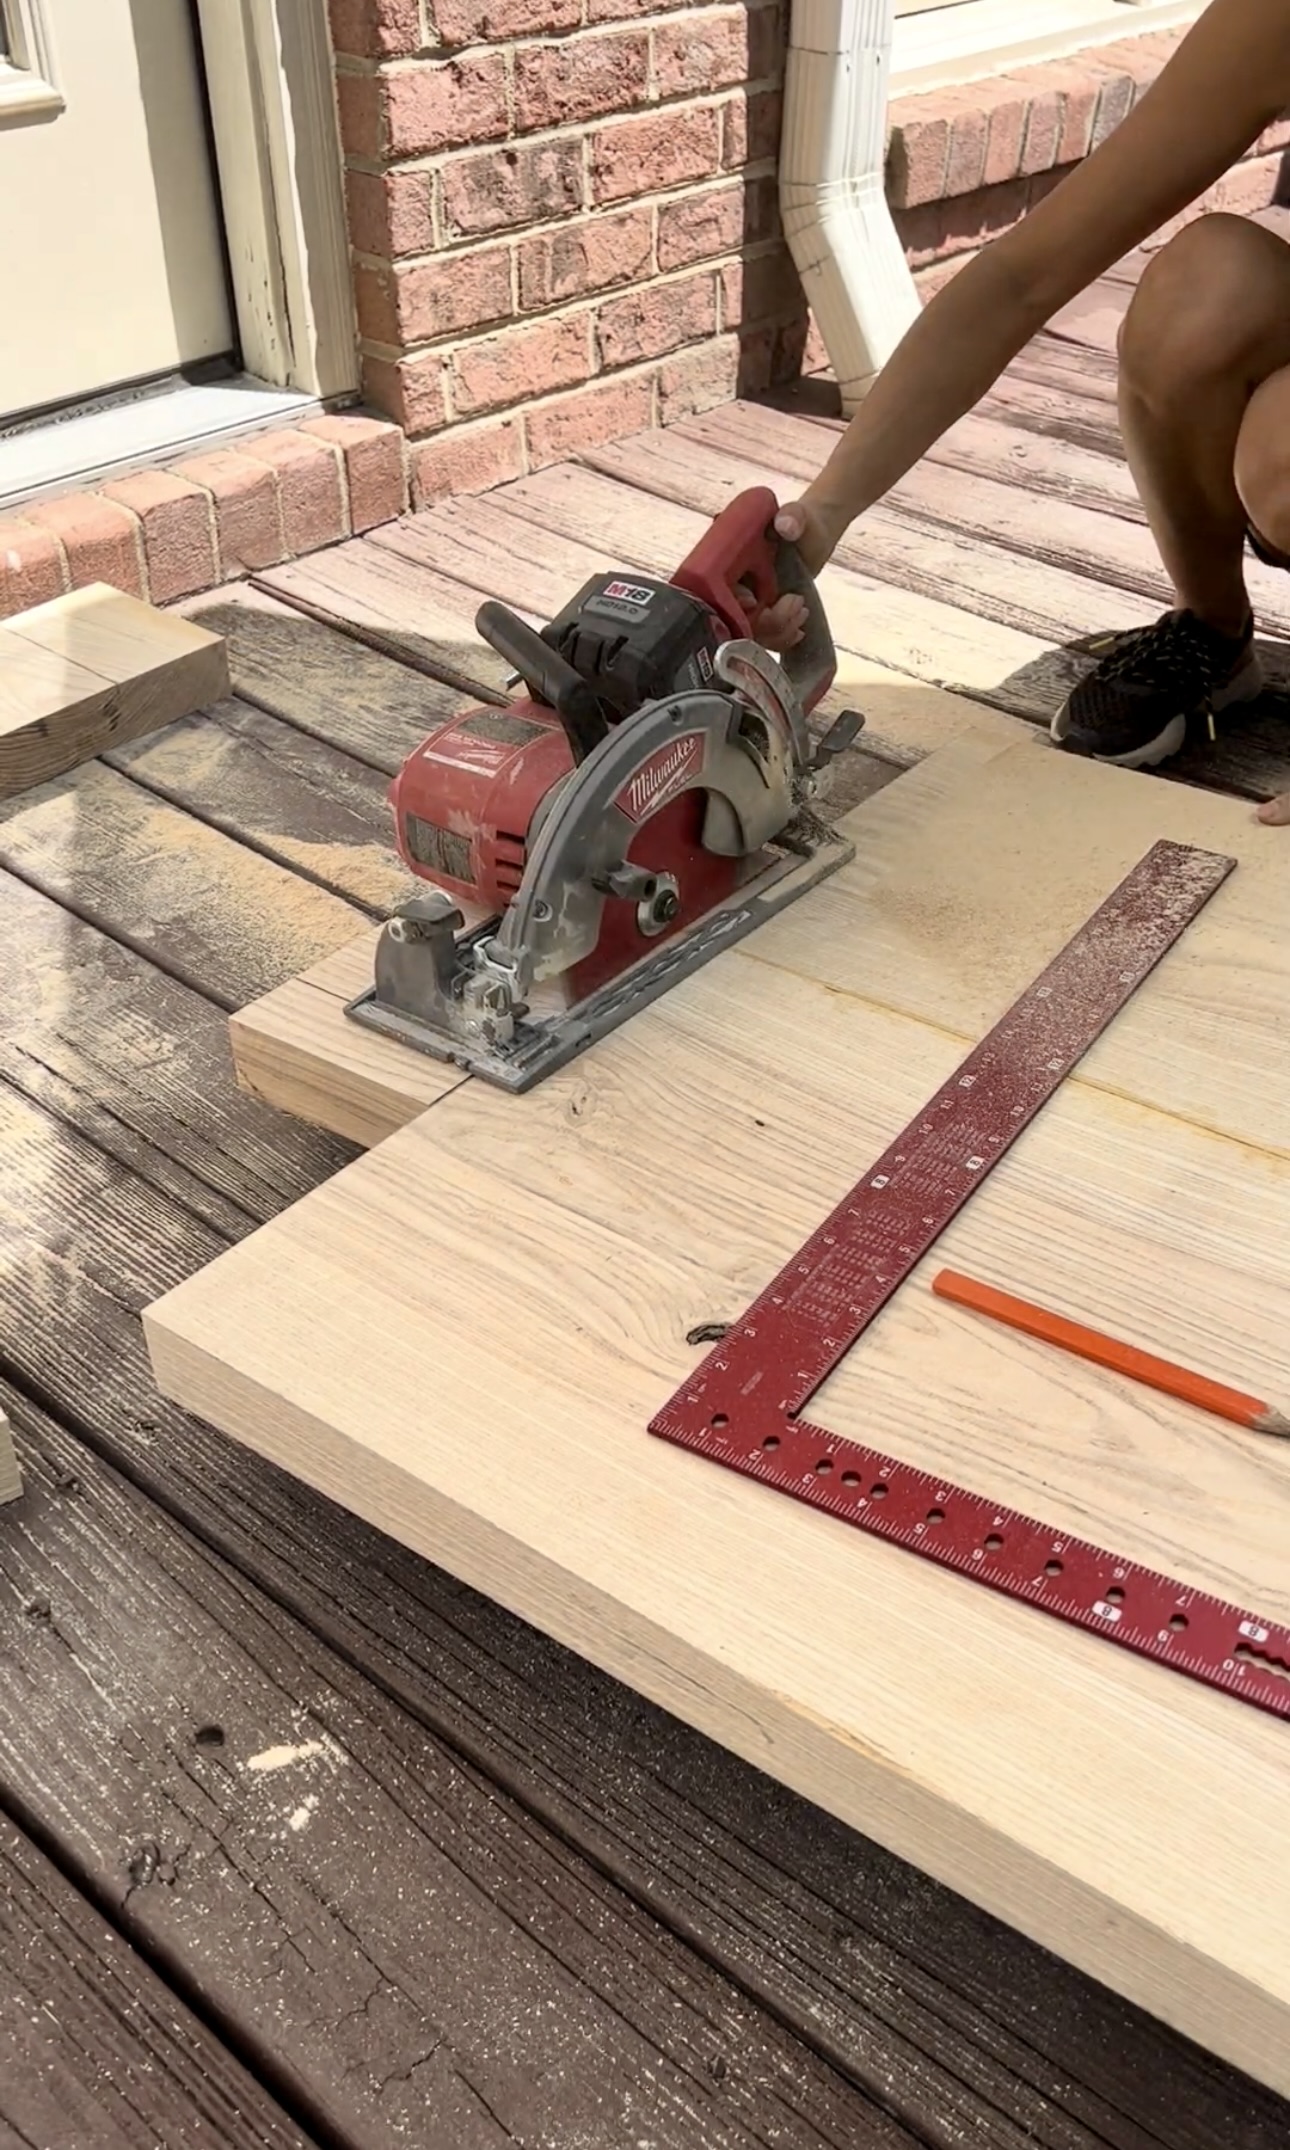
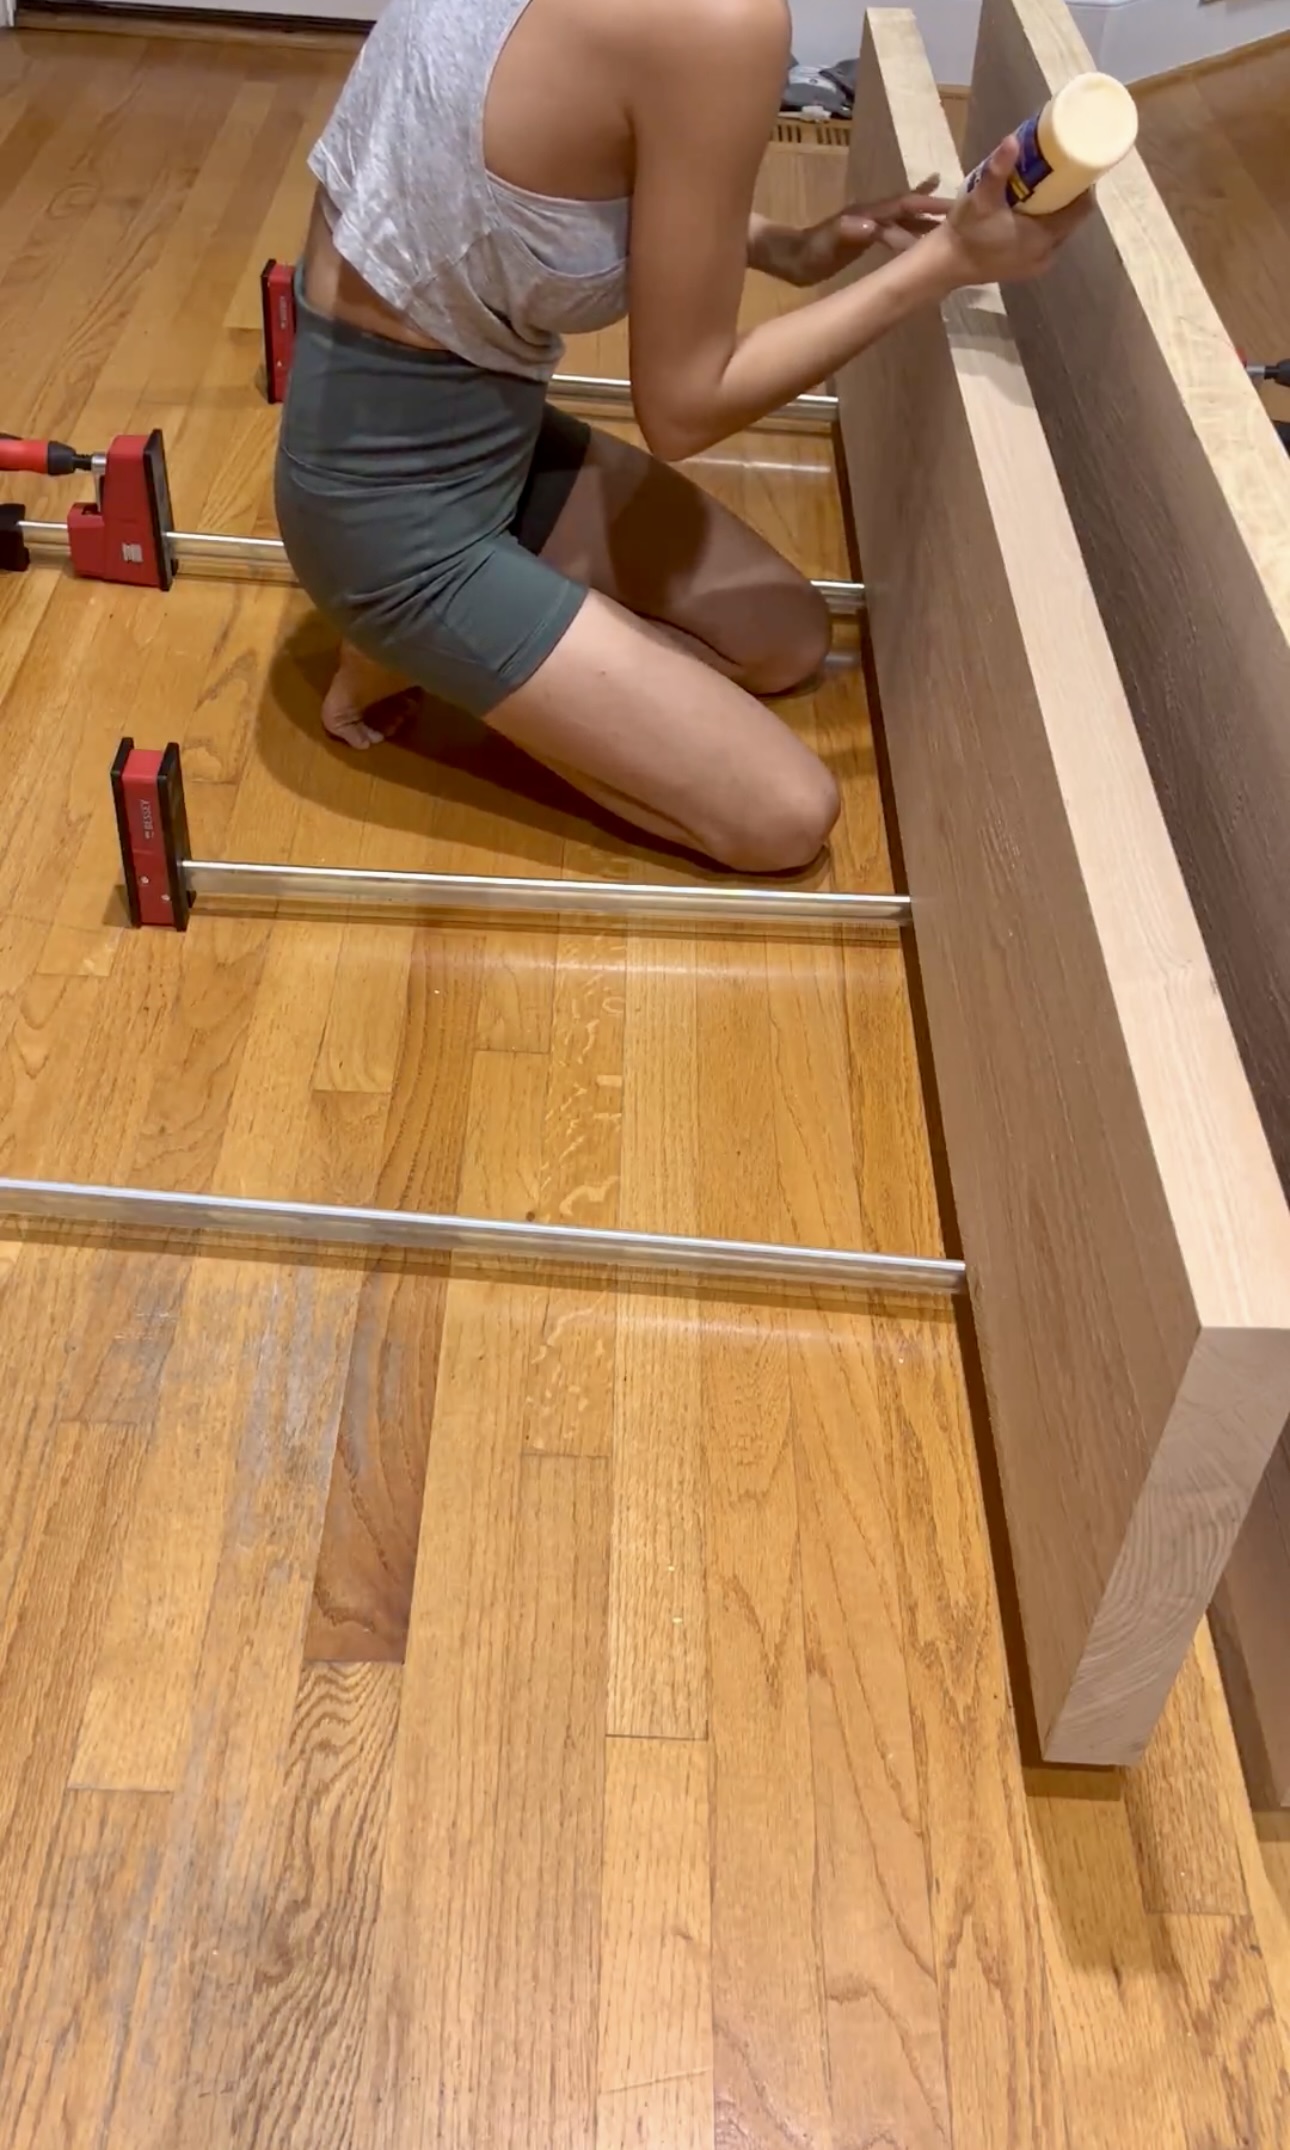
Table Legs
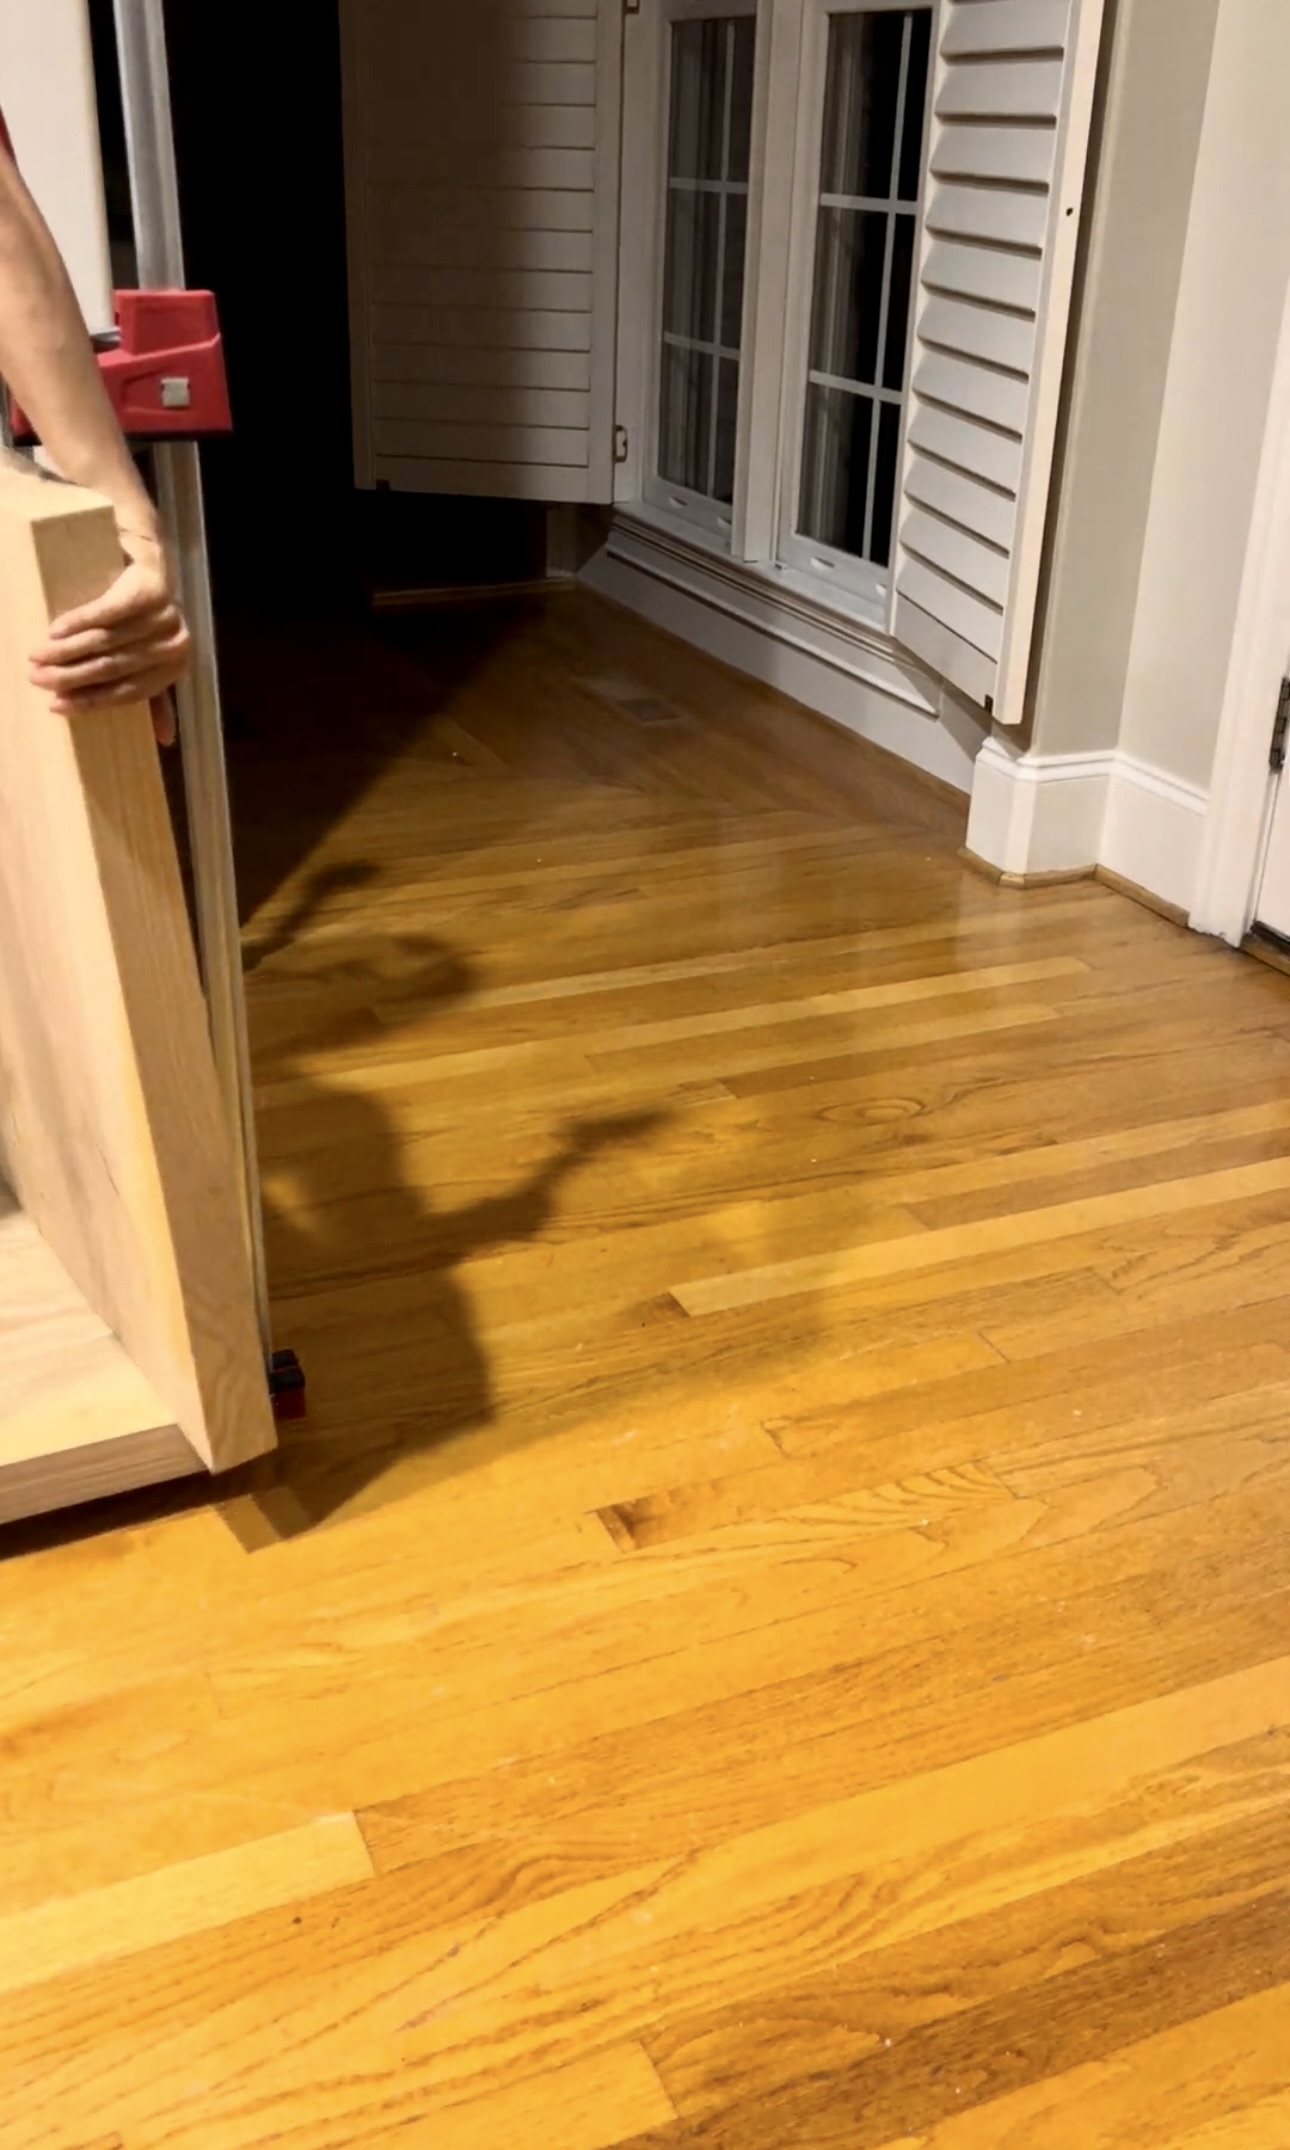
Then it was time to make the desk legs. I wanted them 28″ tall but I cut them about 29″ to give me some wiggle room. To glue them together, I did the same thing I did with the table top with the Bessey Clamps.
After I let them dry, I finished cutting them with my circular saw so they were even. I made sure on one side they were flush, knowing I’d need to make them flush on the other side.
I got a few questions asking if the glue would be strong enough to hold these pieces together. Yes, it is! When you see people using dowels or biscuits it’s not because they’re any stronger. Dowels and biscuits help line up the wood pieces more perfectly.
Pocket Holes
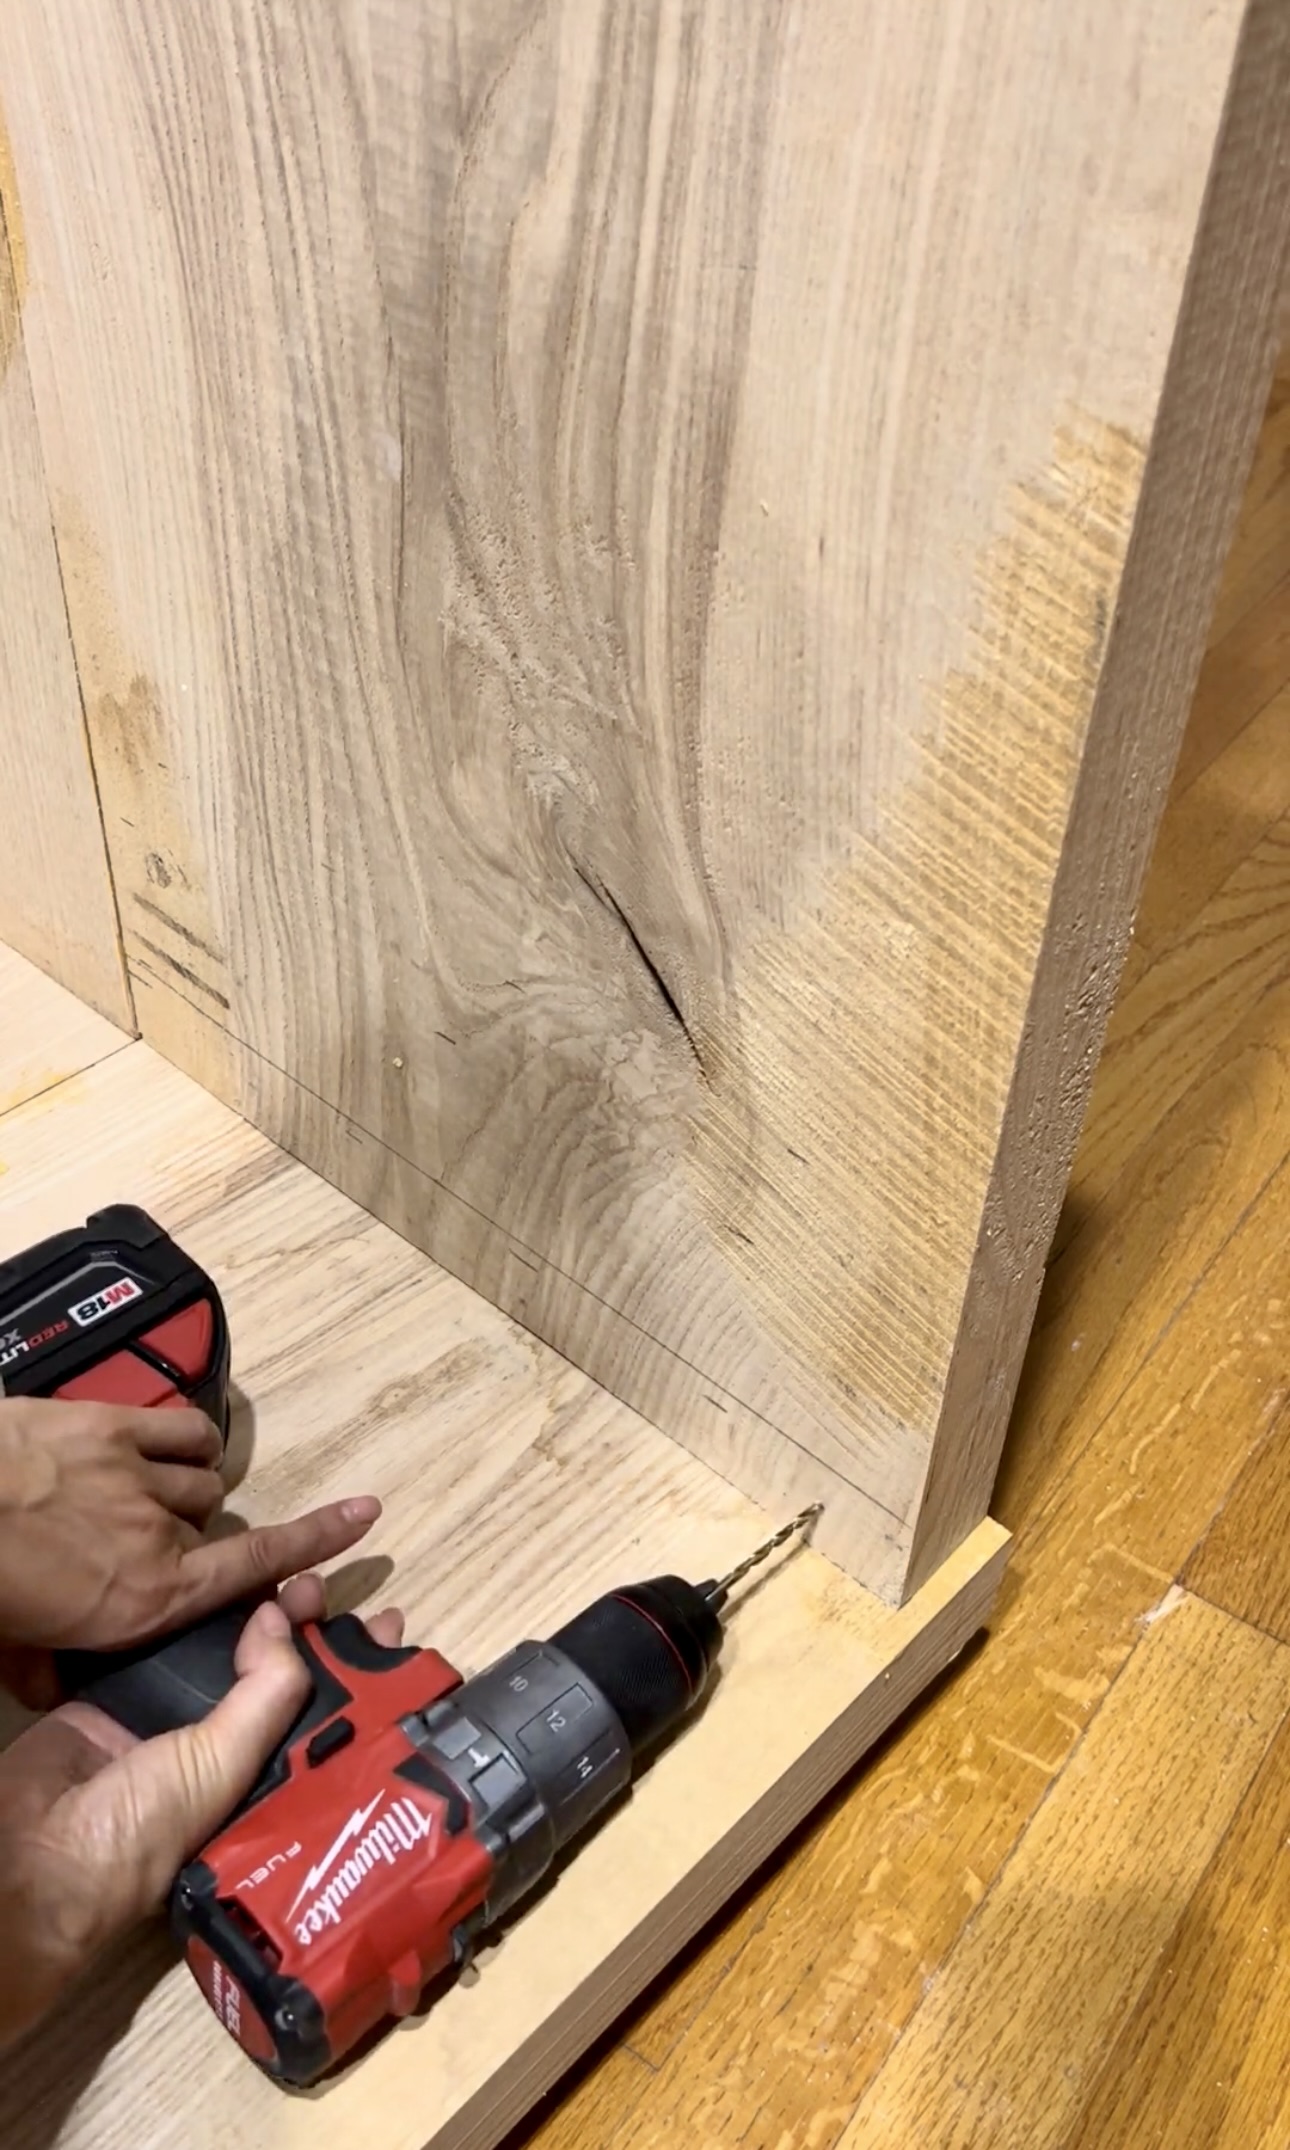
Next, I made pocket holes for the table top lip pieces. I attached the lip to the bottom of the table top. I made my pocket holes and secured it with some screws.
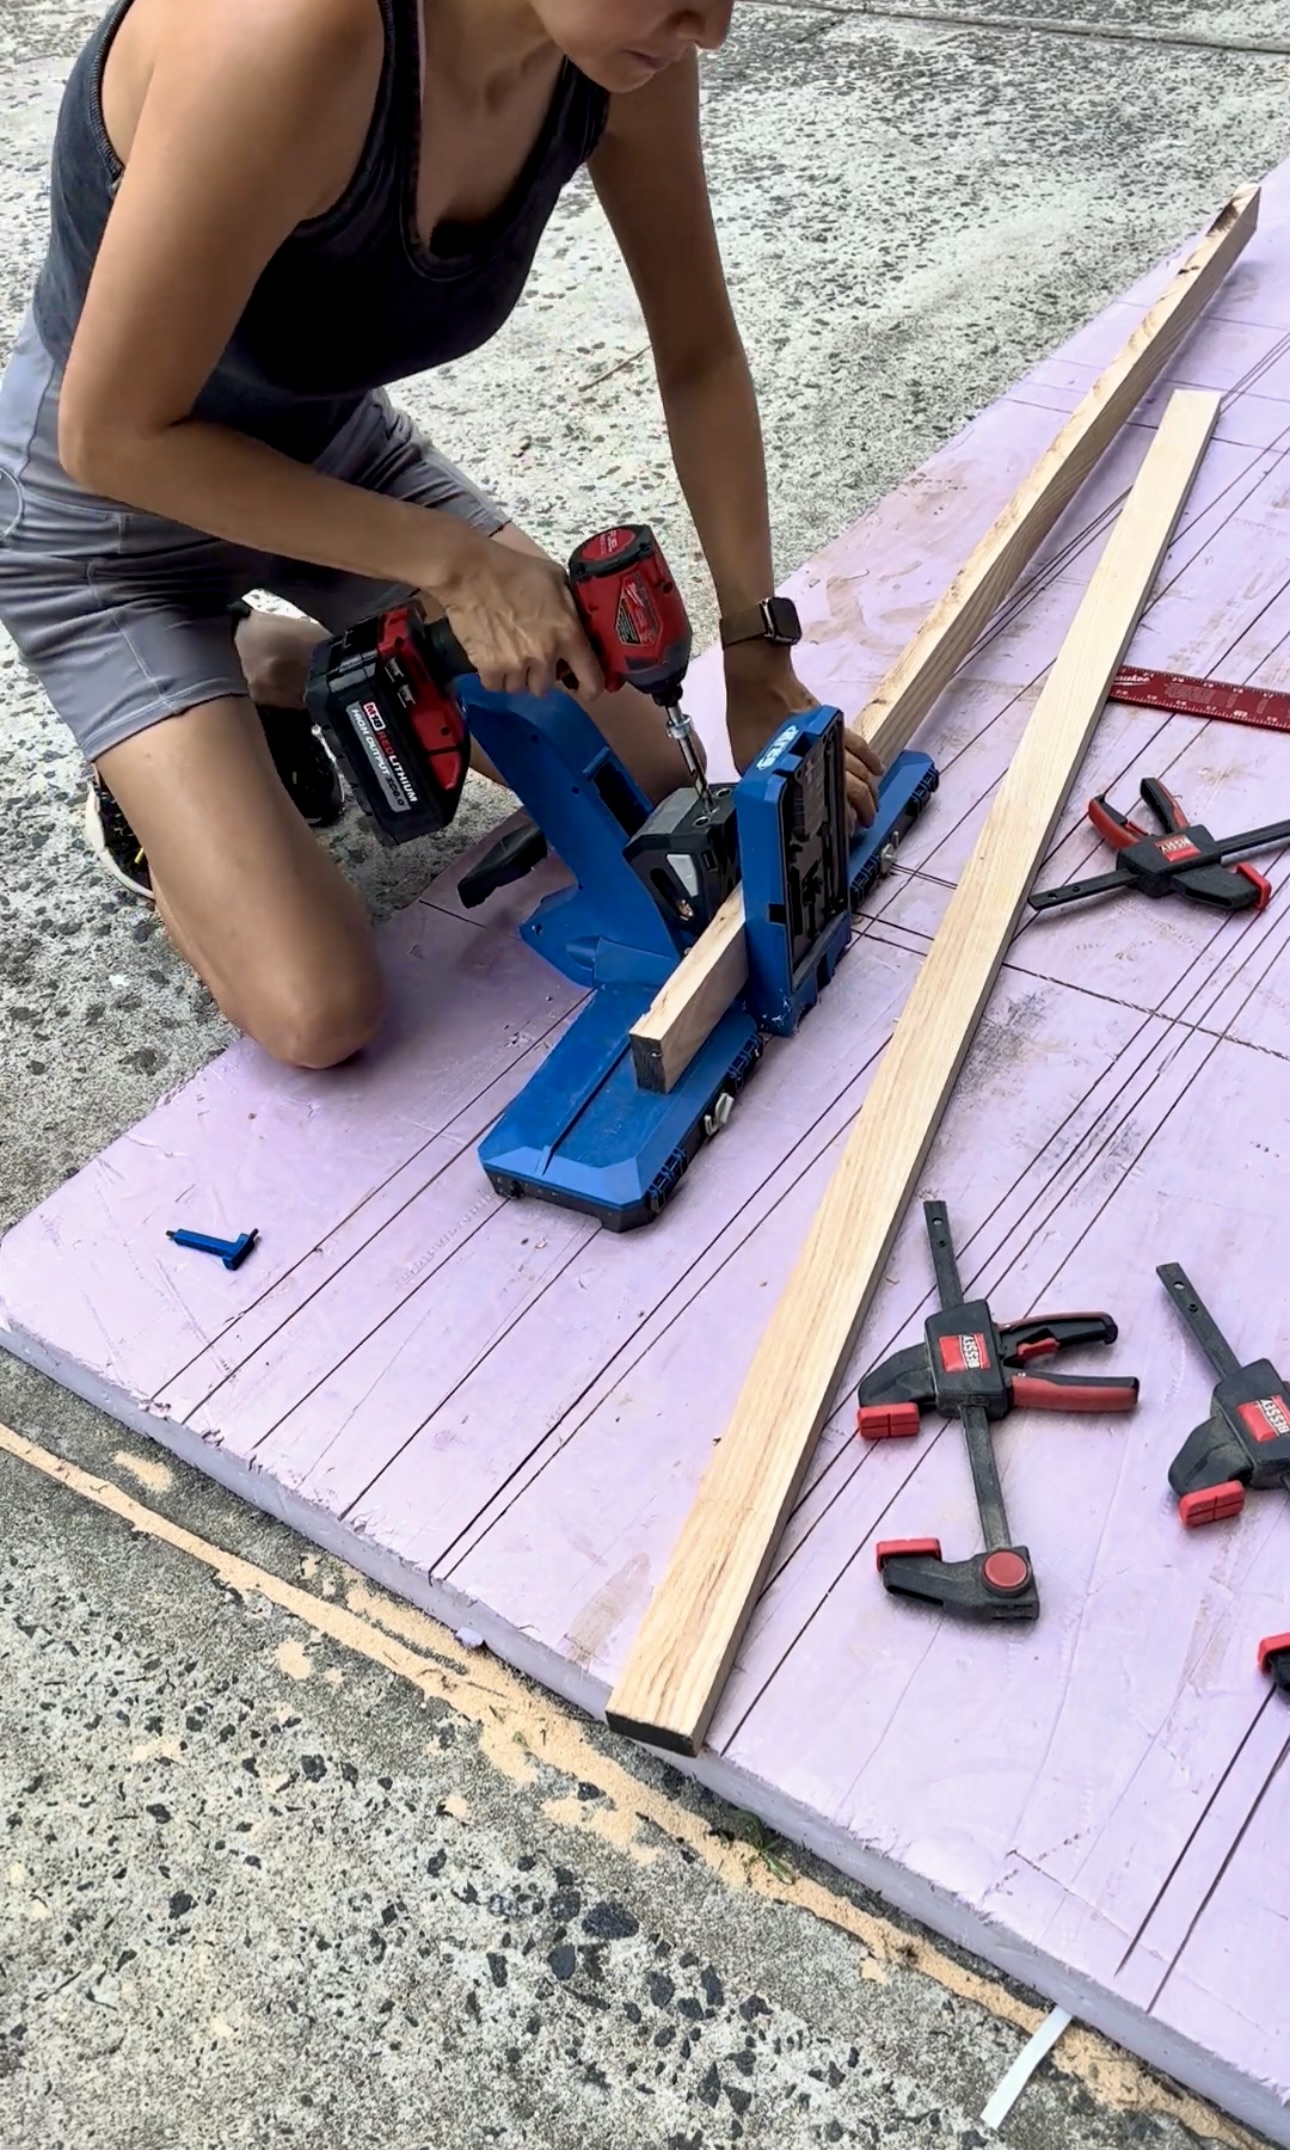
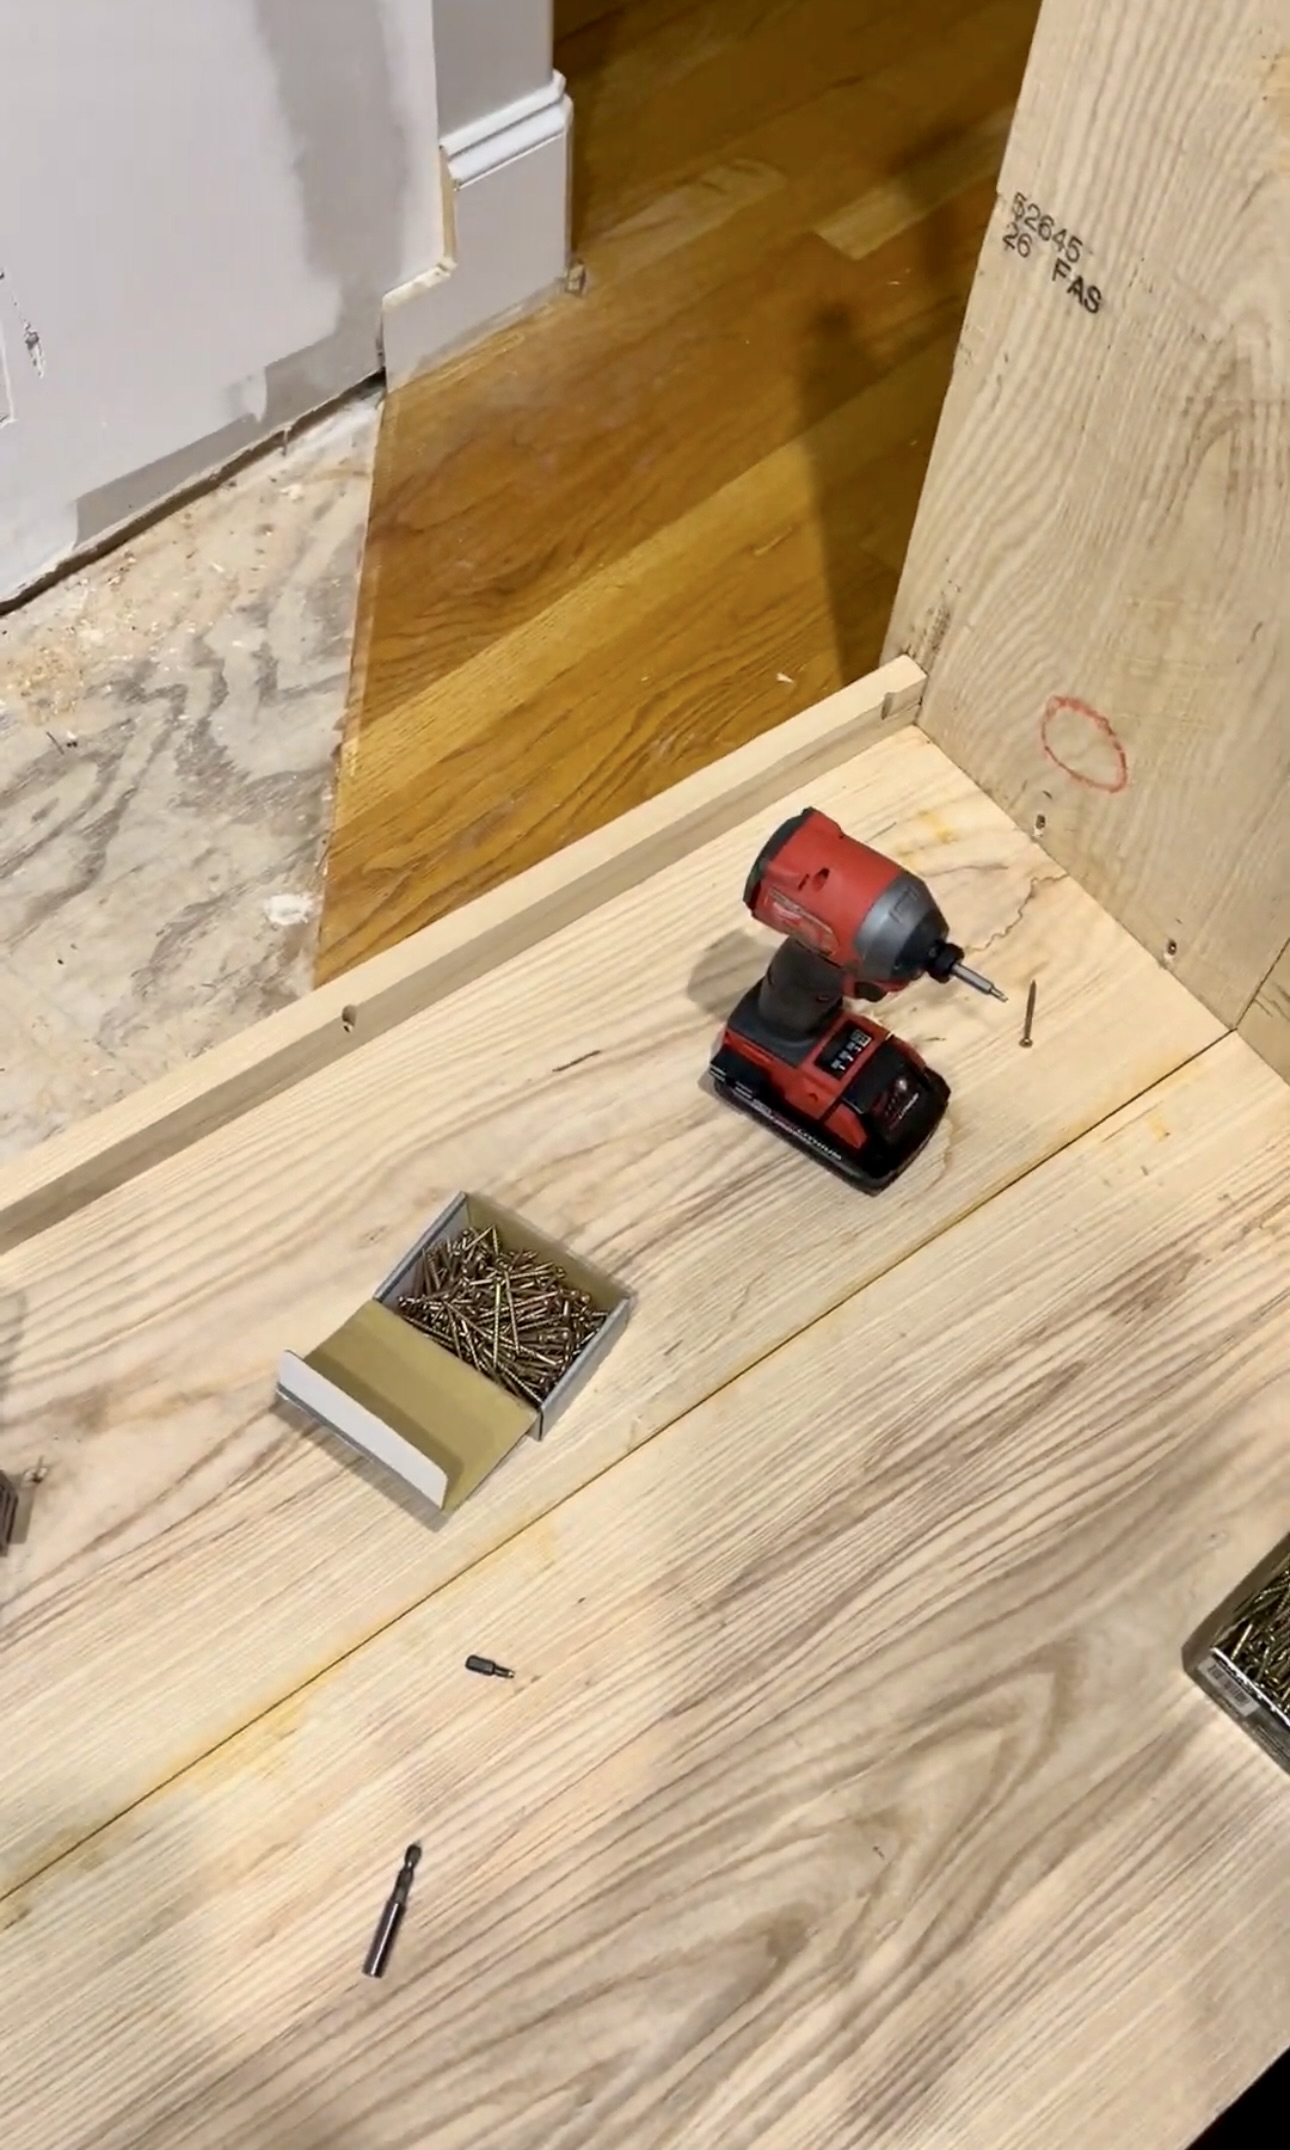
Then, I made pocket holes for the side pieces to put the screws in diagonally. Normally, you wouldn’t need to pre drill for these power pro screws. But since I wanted to go in diagonally, I decided to. When I pre drill diagonally, I go in straight and then once it’s in 1/4″, I angle it down.
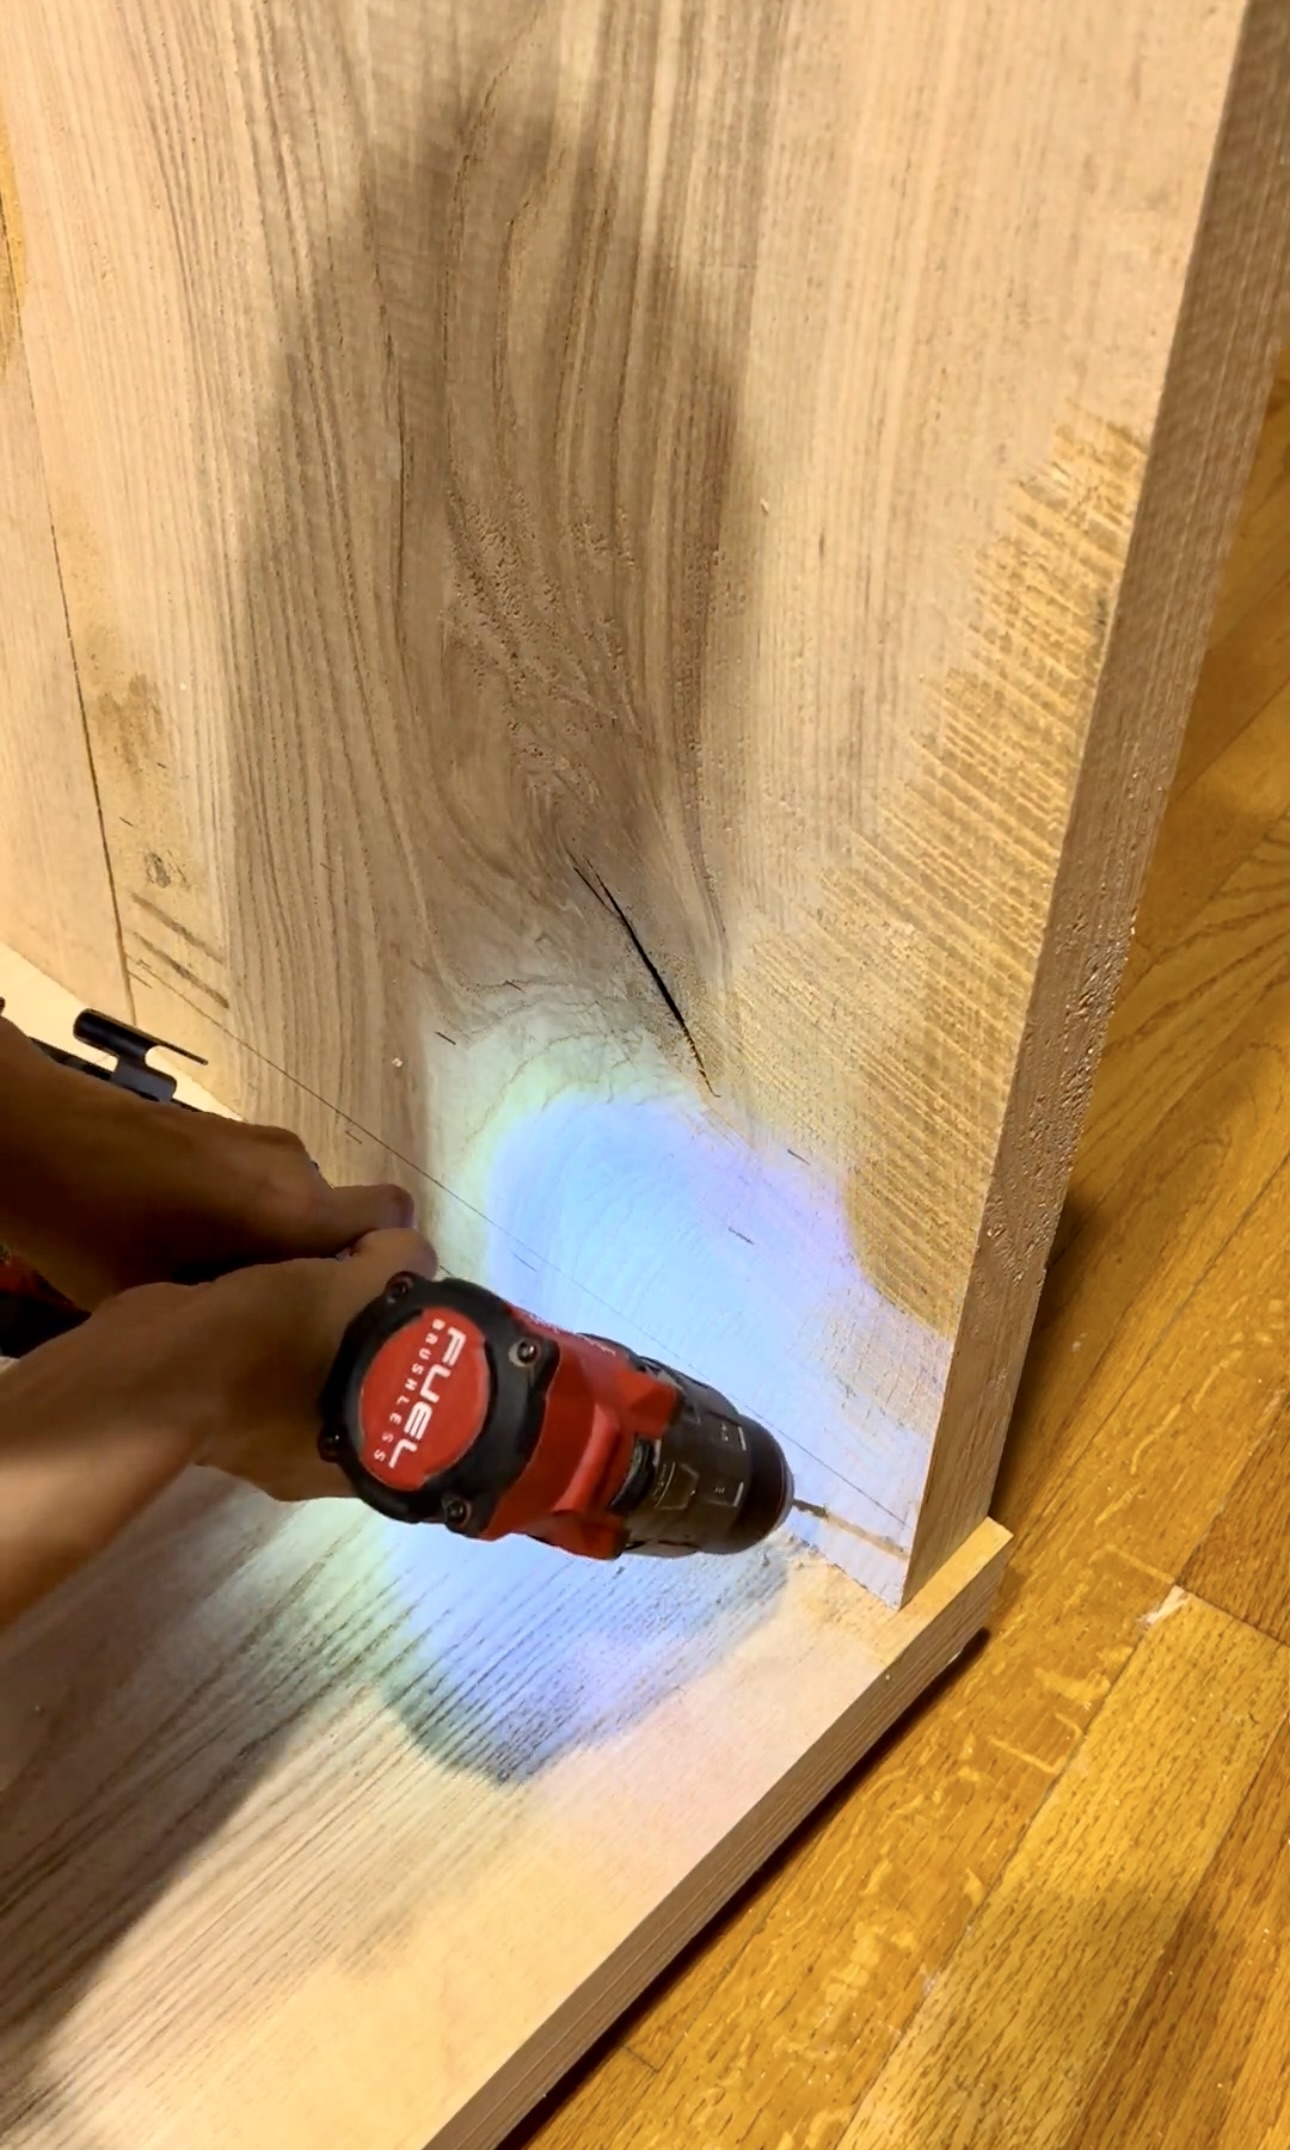
I attached the side pieces with wood glue, clamps, and my power pro screws.
Wood Filler
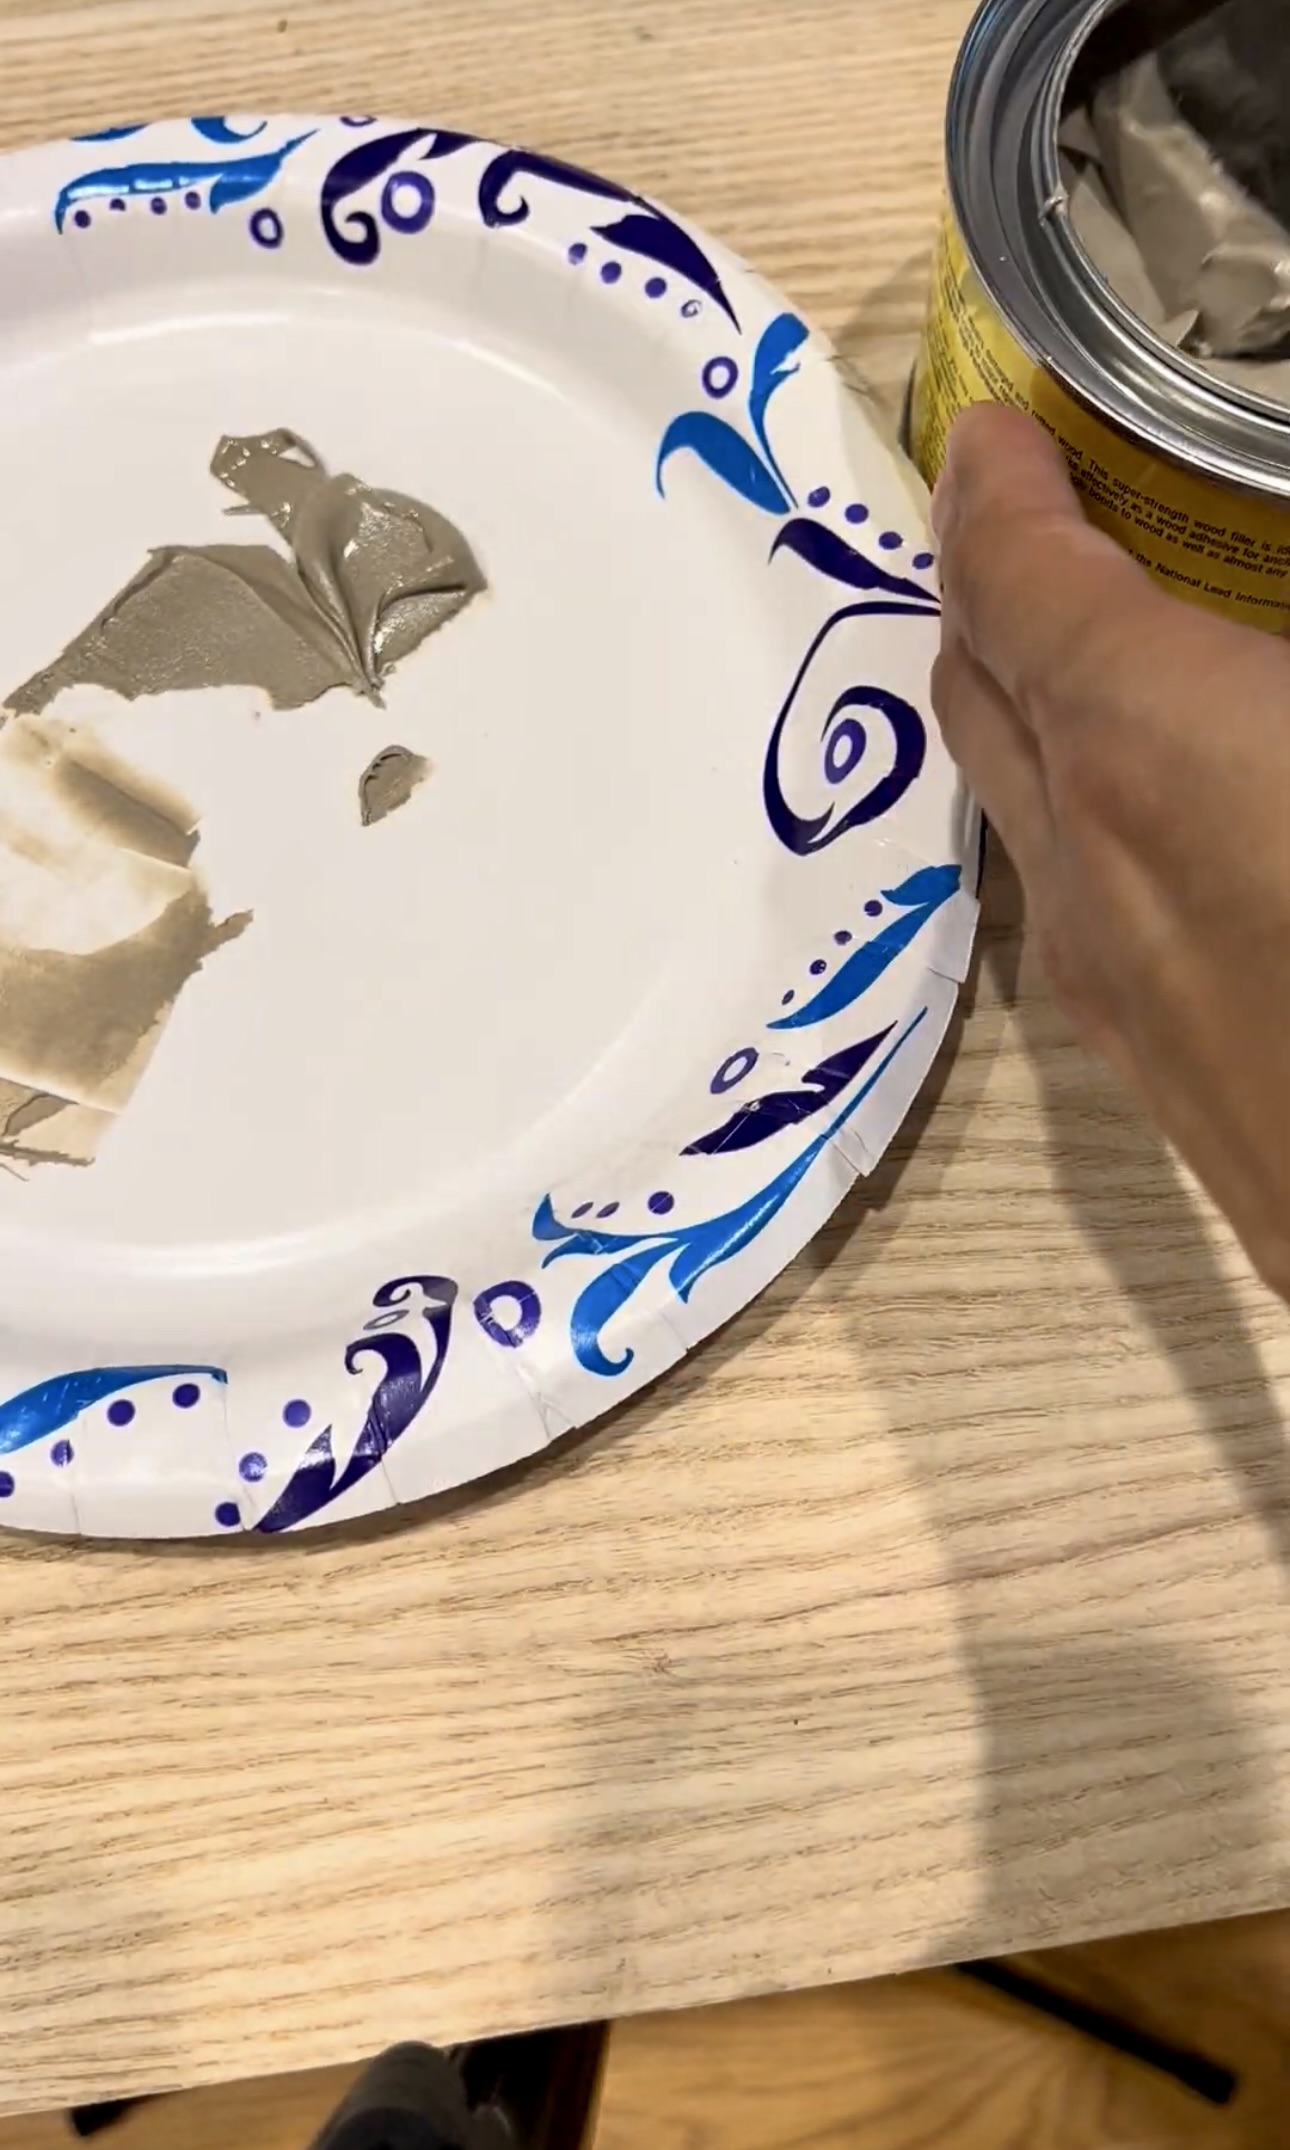
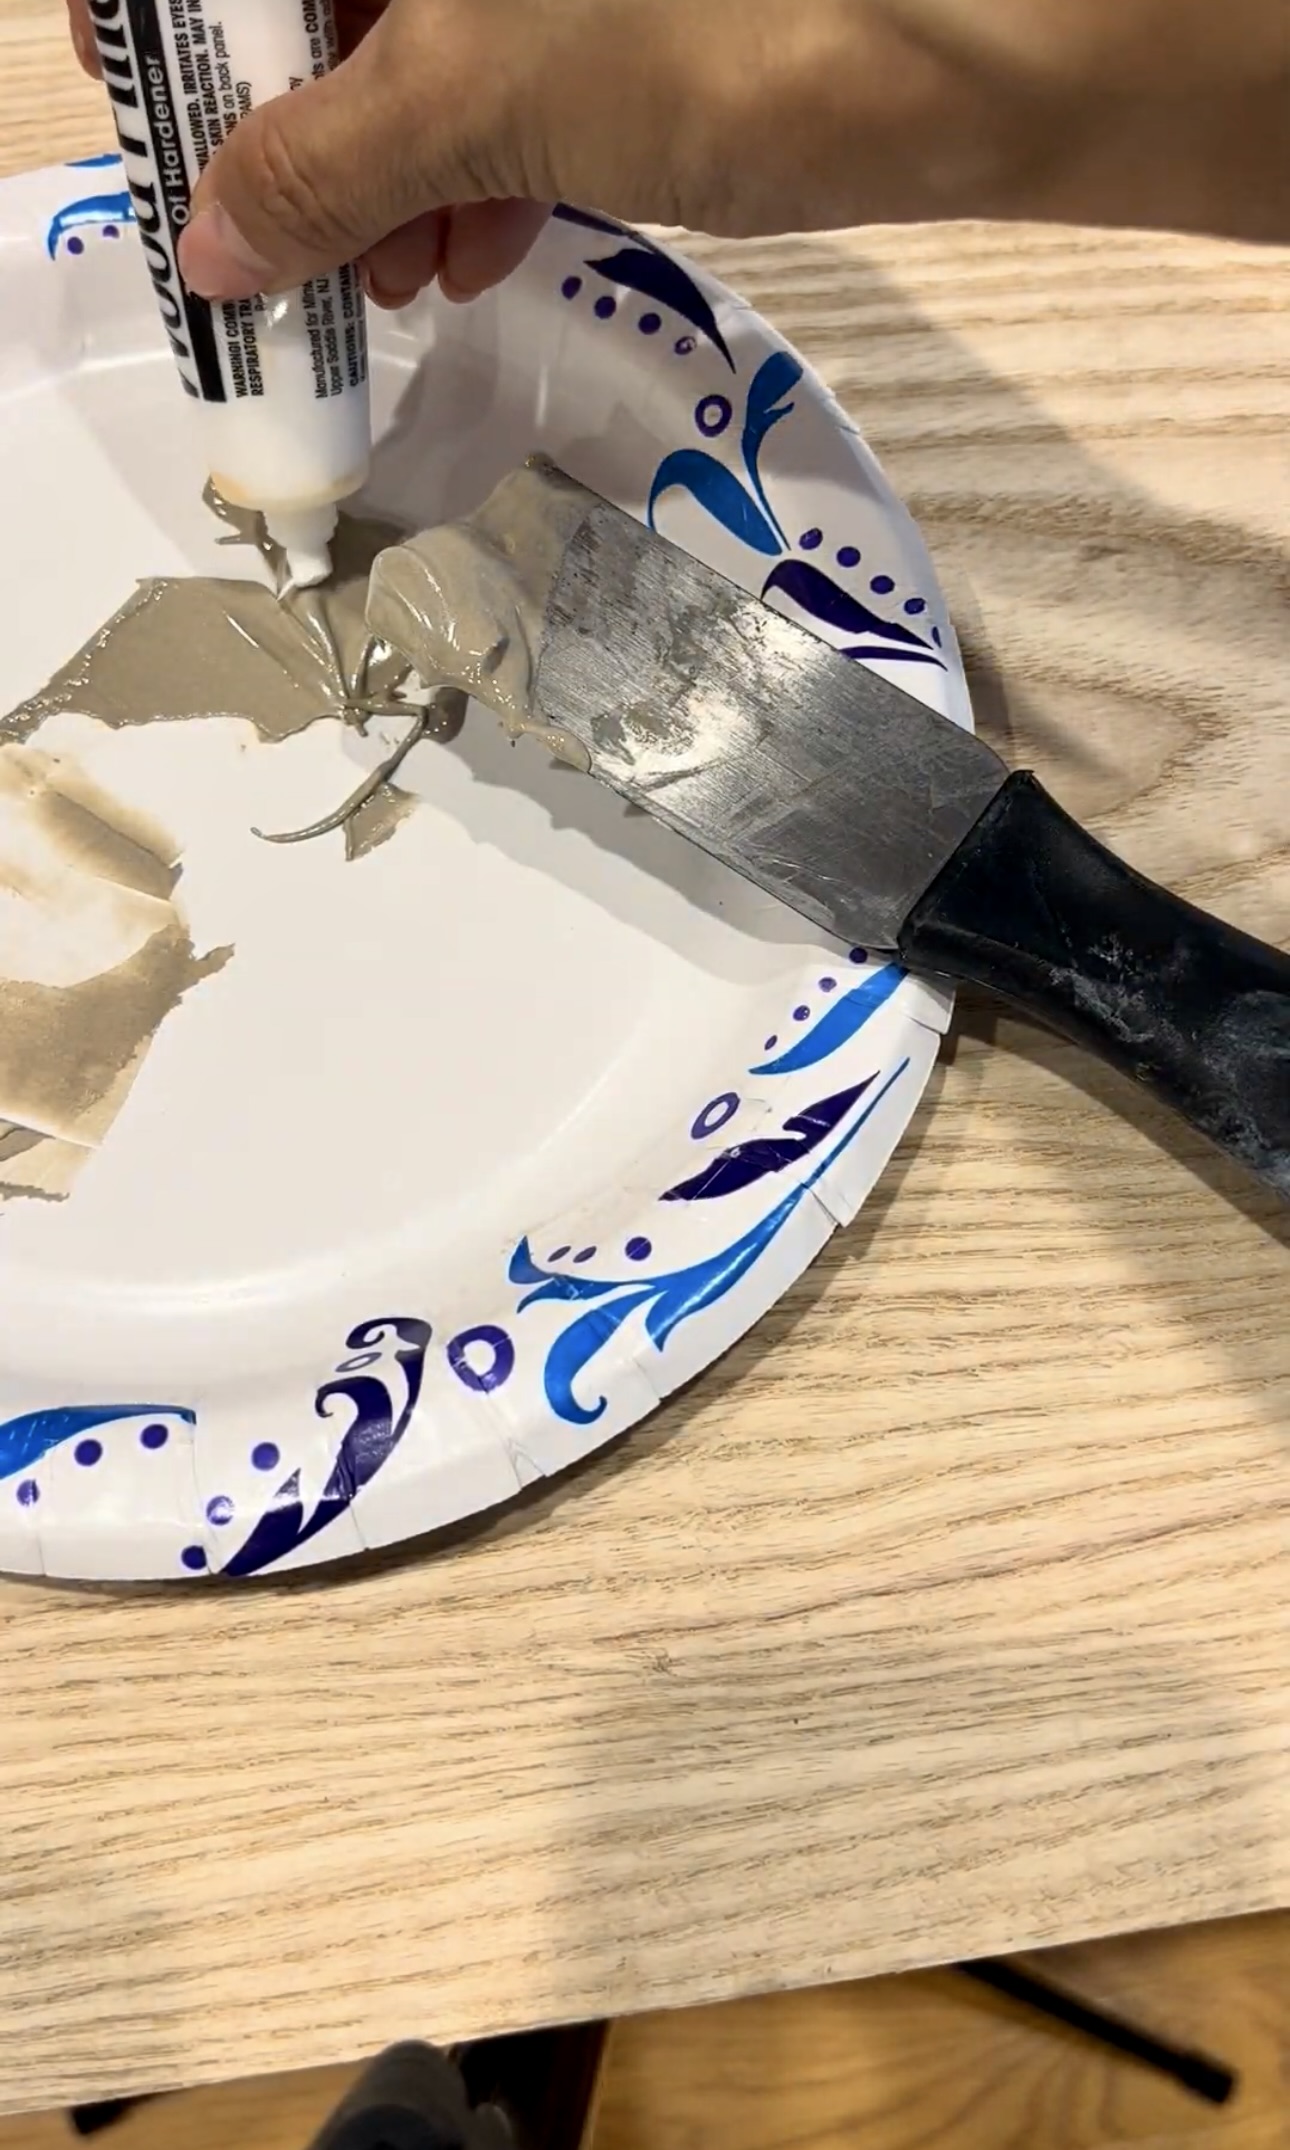
I covered the entire table top with Minwax Wood Filler. I used it where there were actual holes, not just along the seams. This is a two part process. There’s the wood filler and then a hardener. You want to work with a small amount because it hardens quickly. You want to just get out what you can use within 10-15 minutes. The hardener is only a 16:1 ratio so I just used a little dot. Then, you mix it up and apply it to the holes.

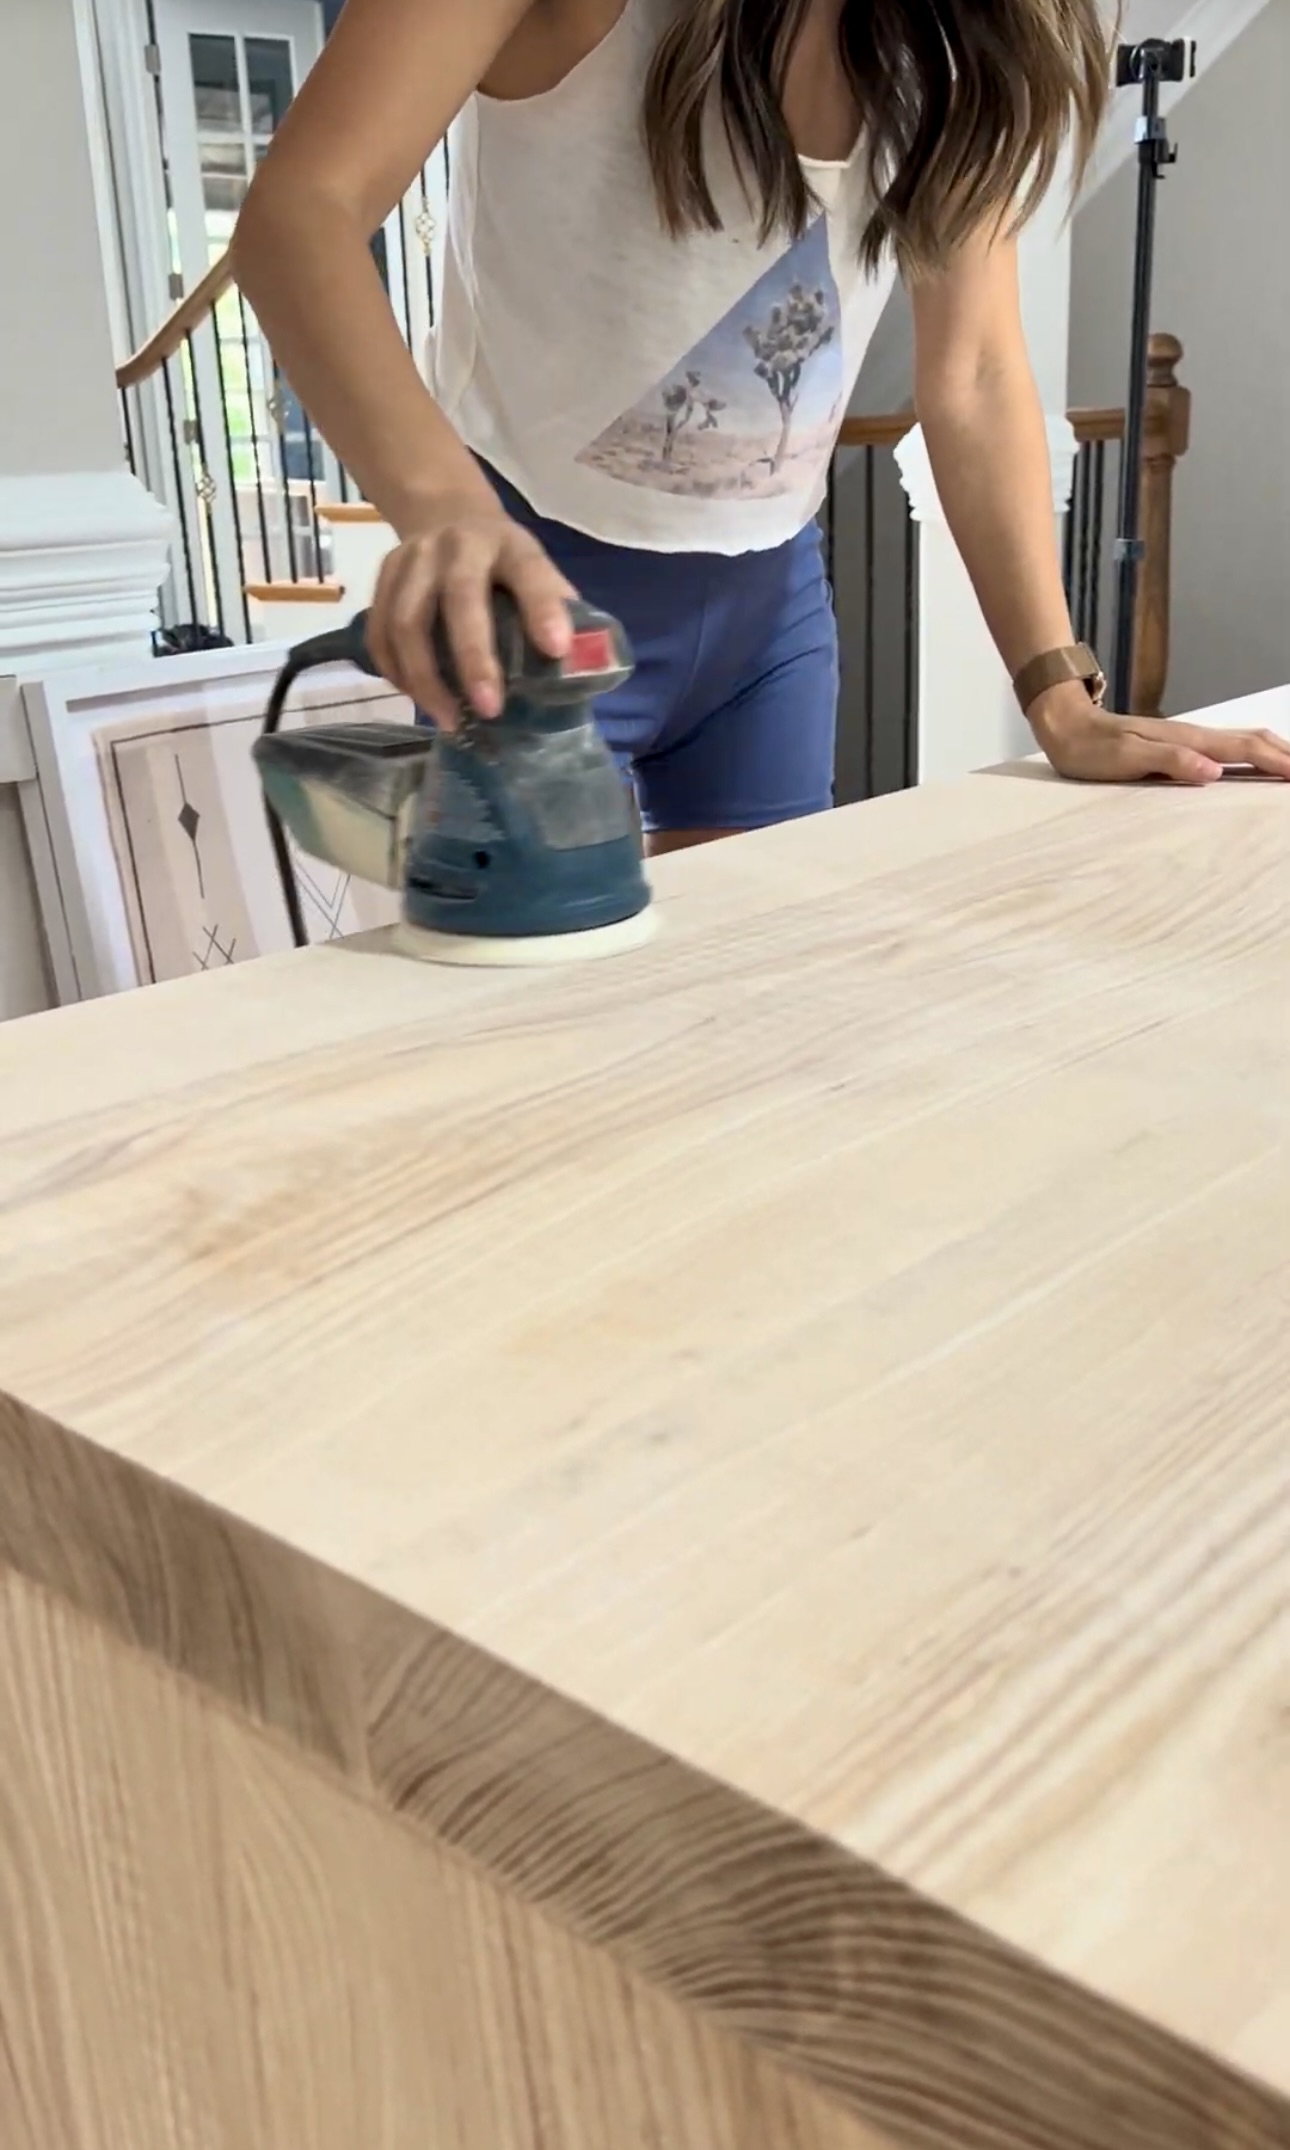
Sometimes when you get wood from the lumber yard, it can be really rough. This is why we sand! After everything was sanded down, I used a tack cloth. These are sticky cloths to make sure the surfaces are dust-free.
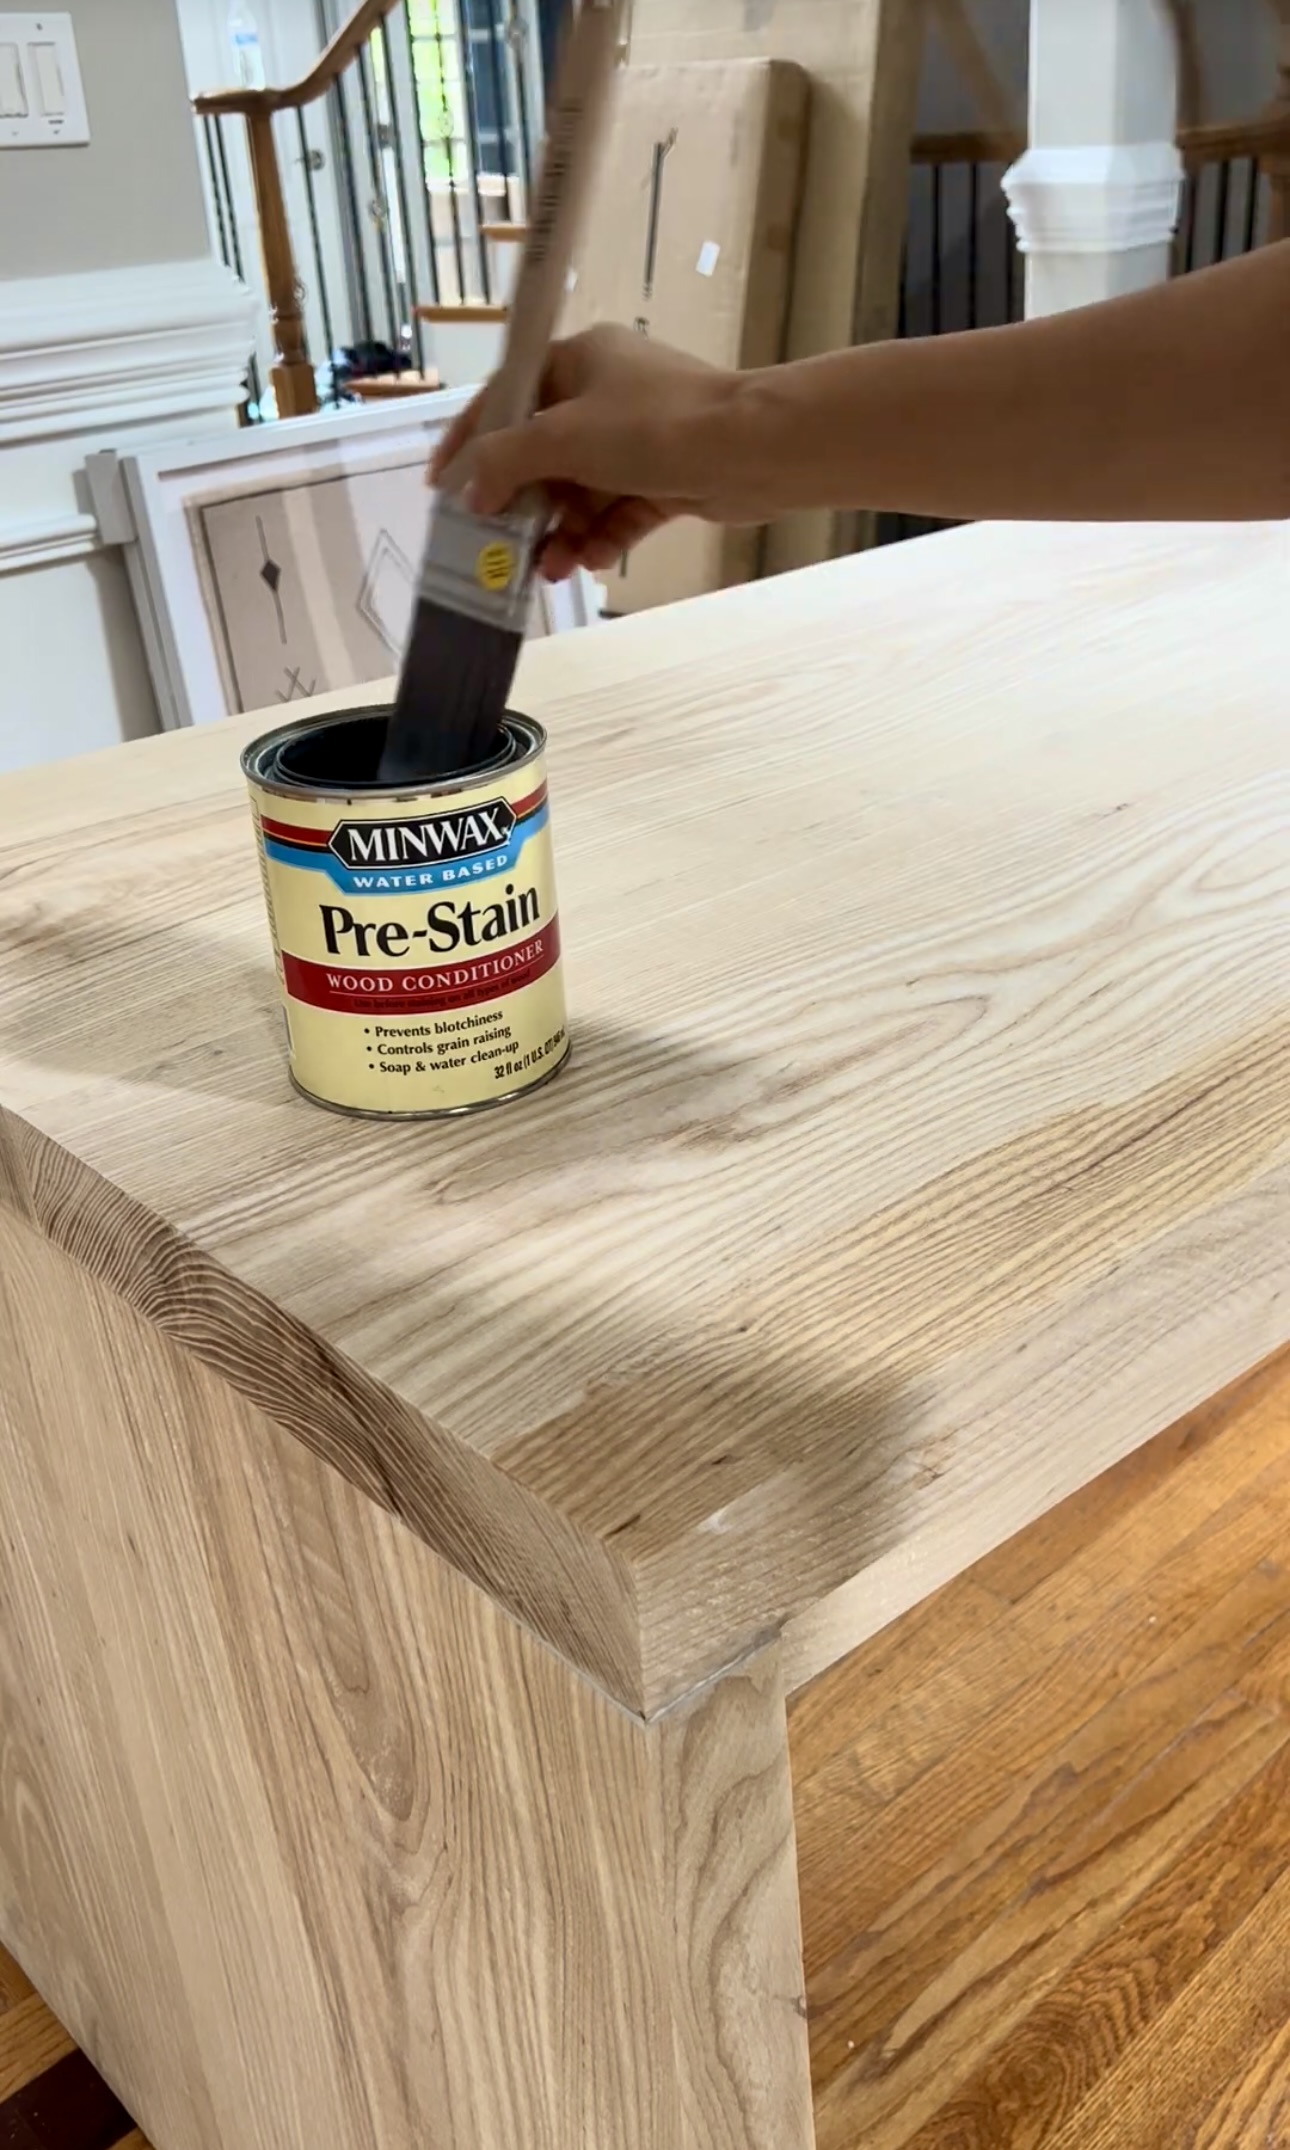
Stain
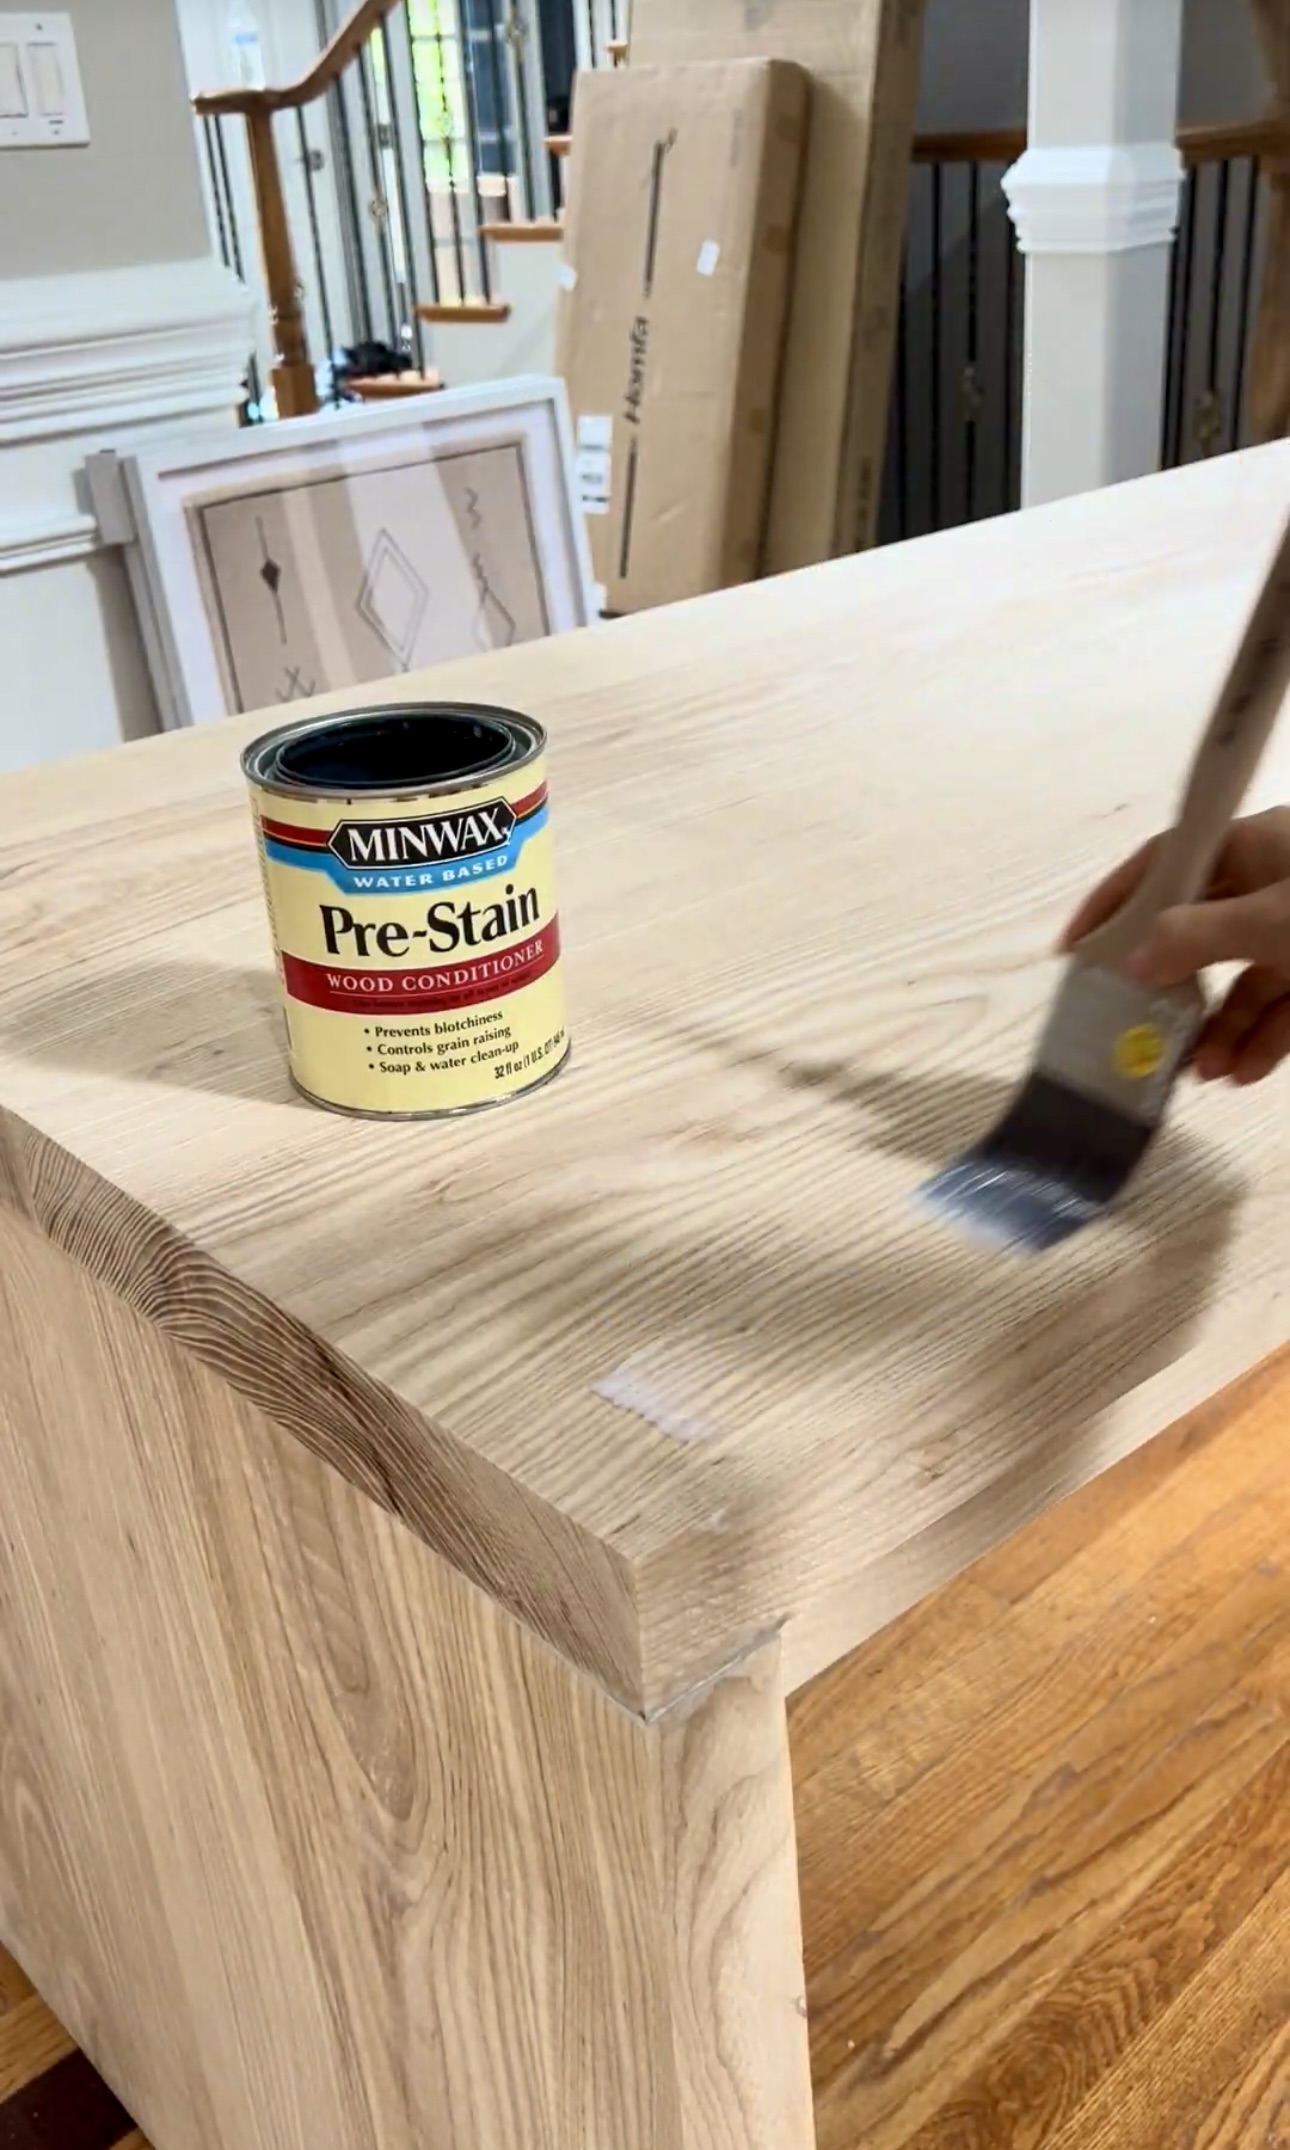
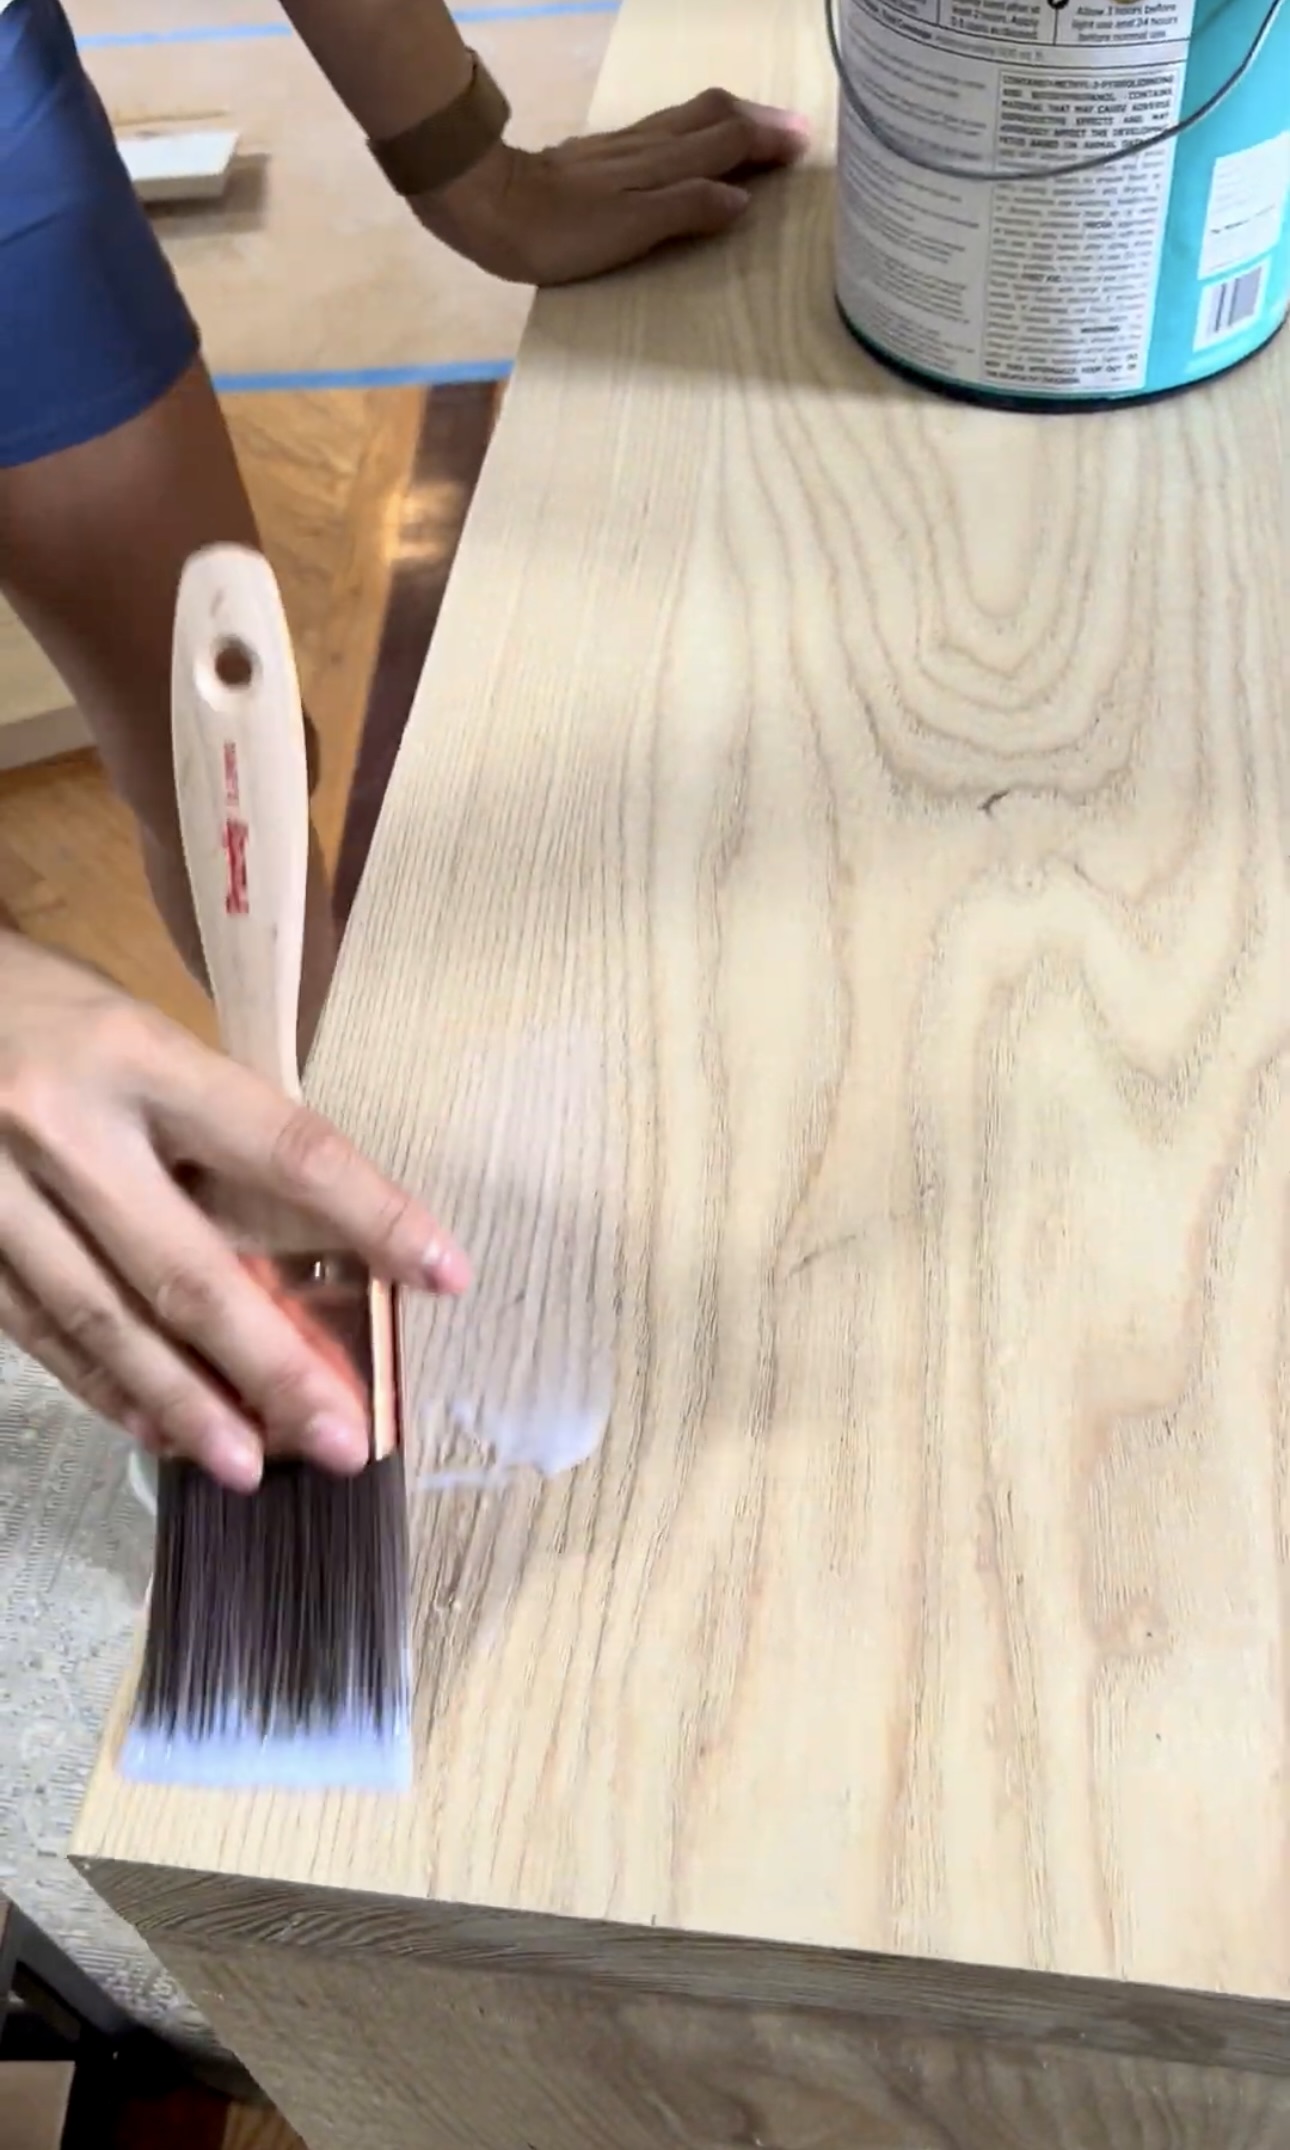
Using a pre-stain is really important if you want the best stain finish. I always use a pre-stain because it gives the best stain coverage with out any blotchiness. It really doesn’t take long, maybe a few more minutes and it’s totally worth it in the end.
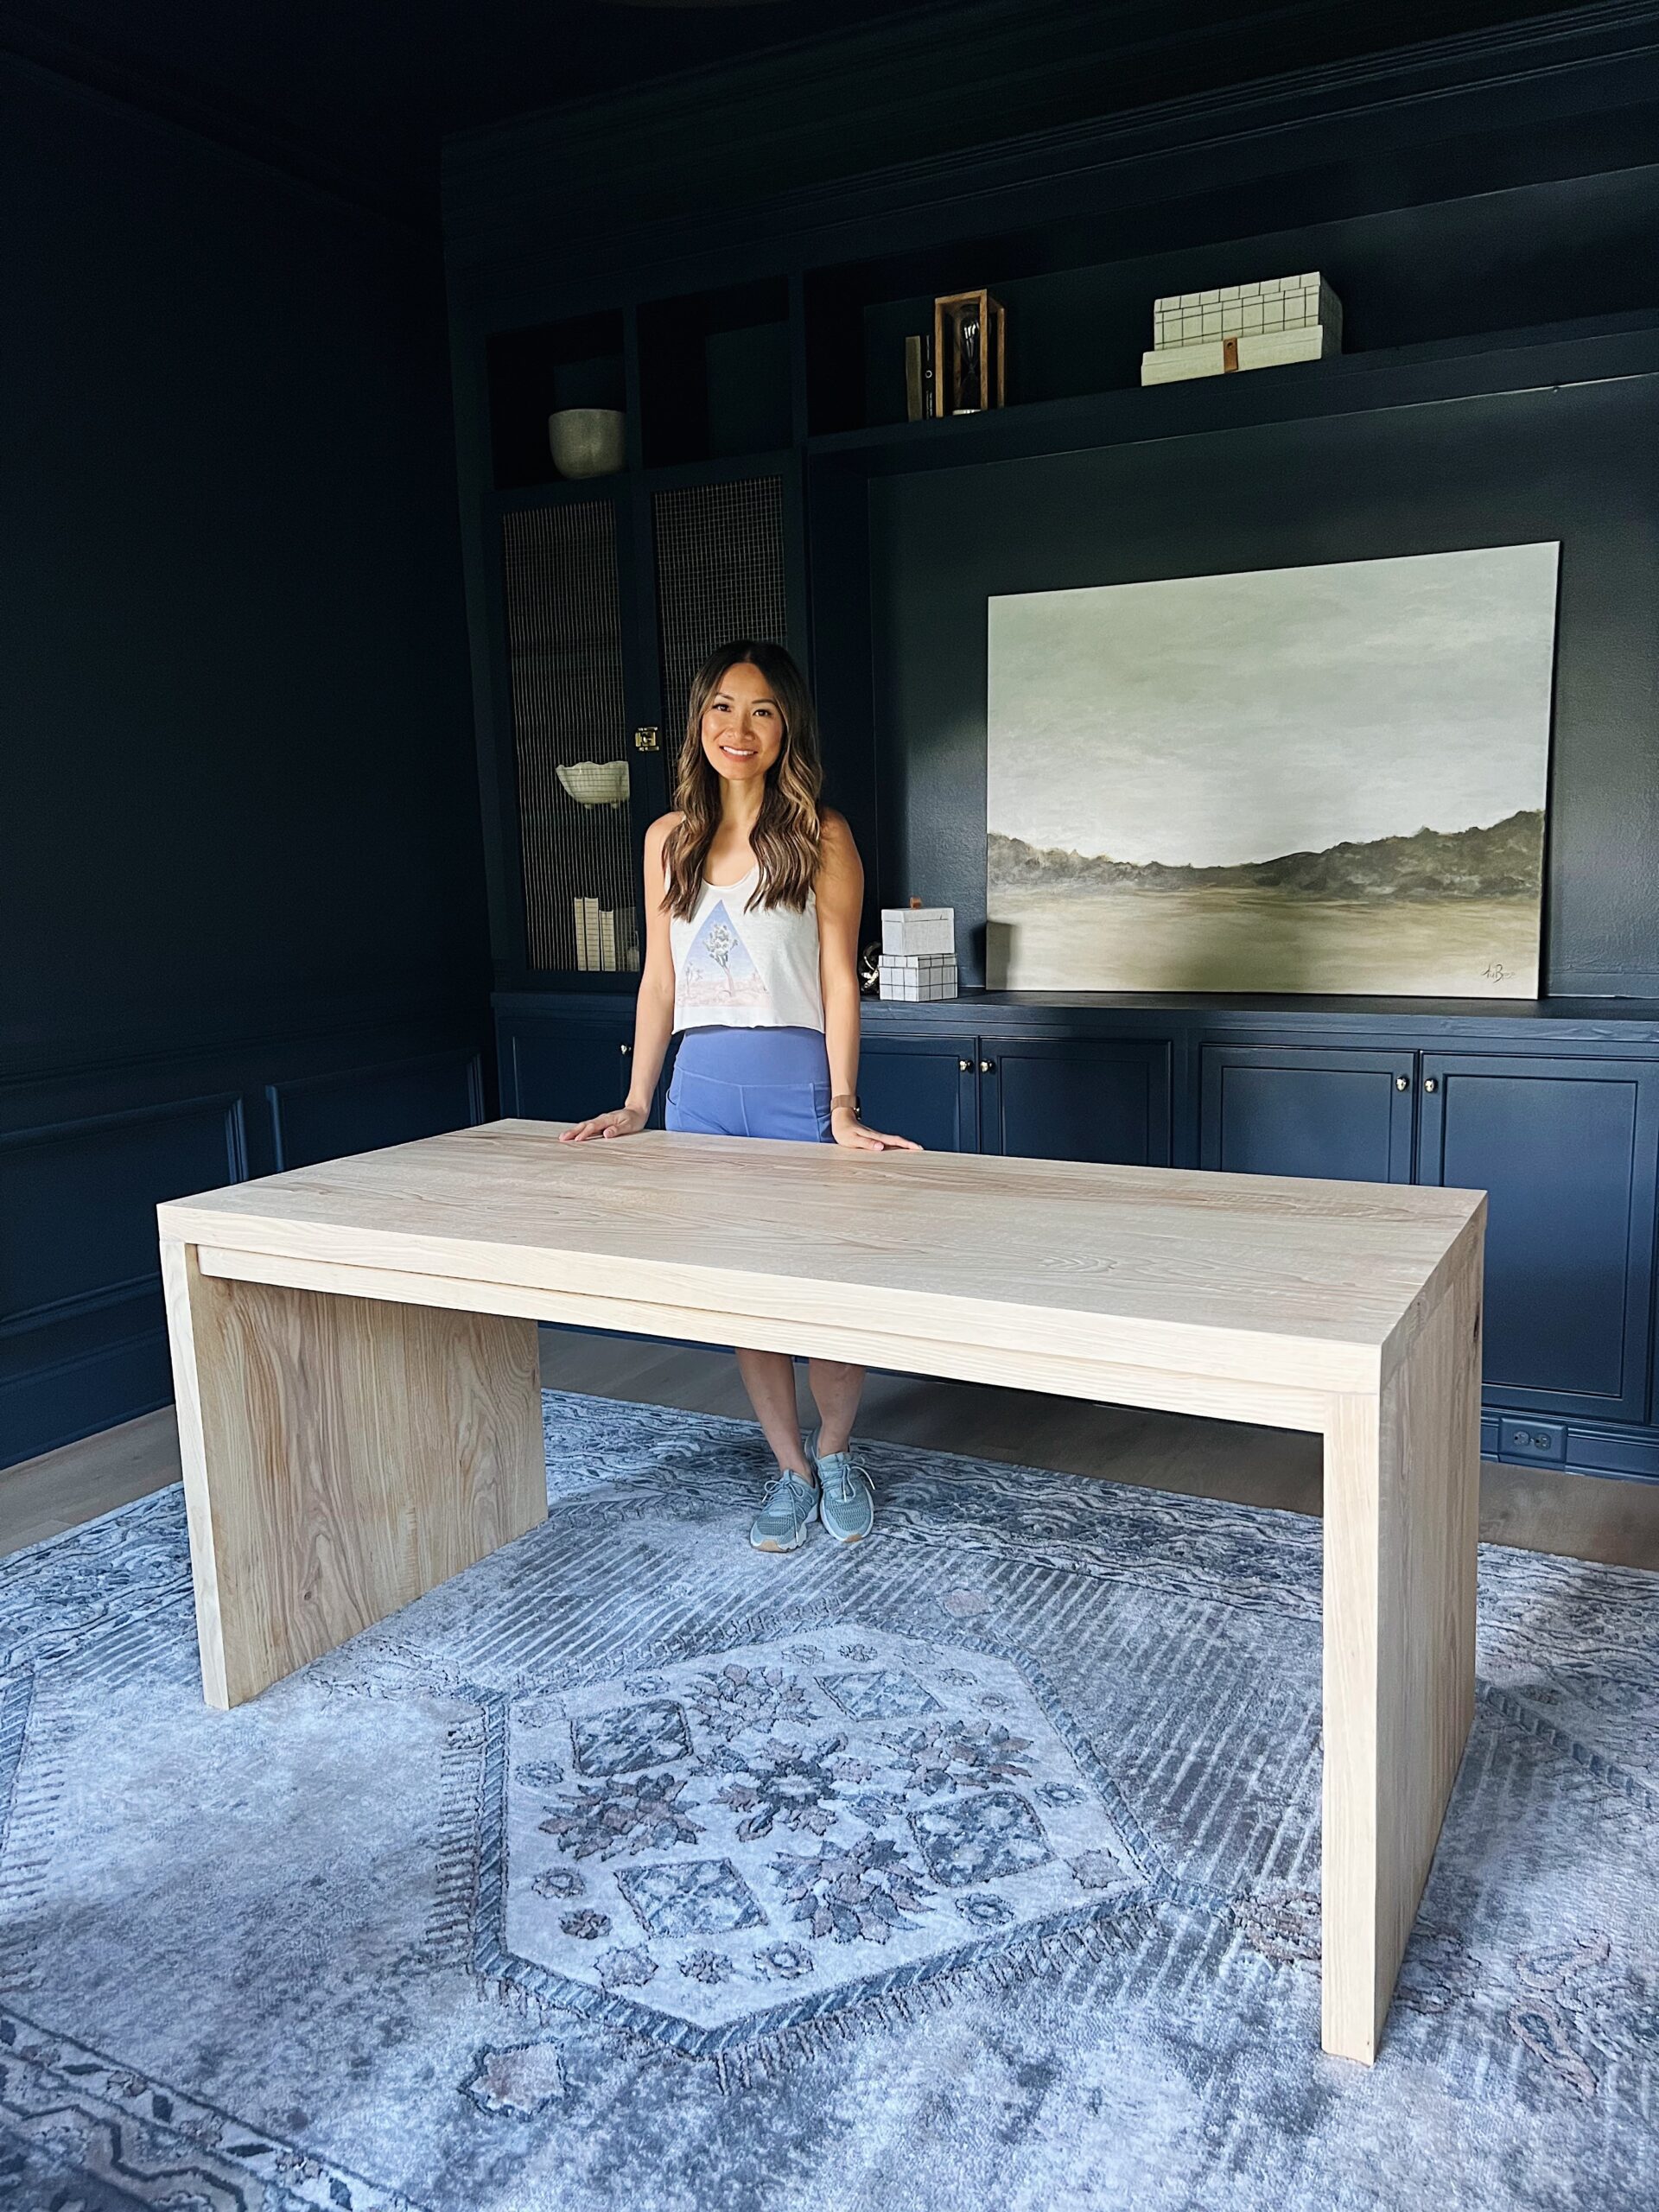
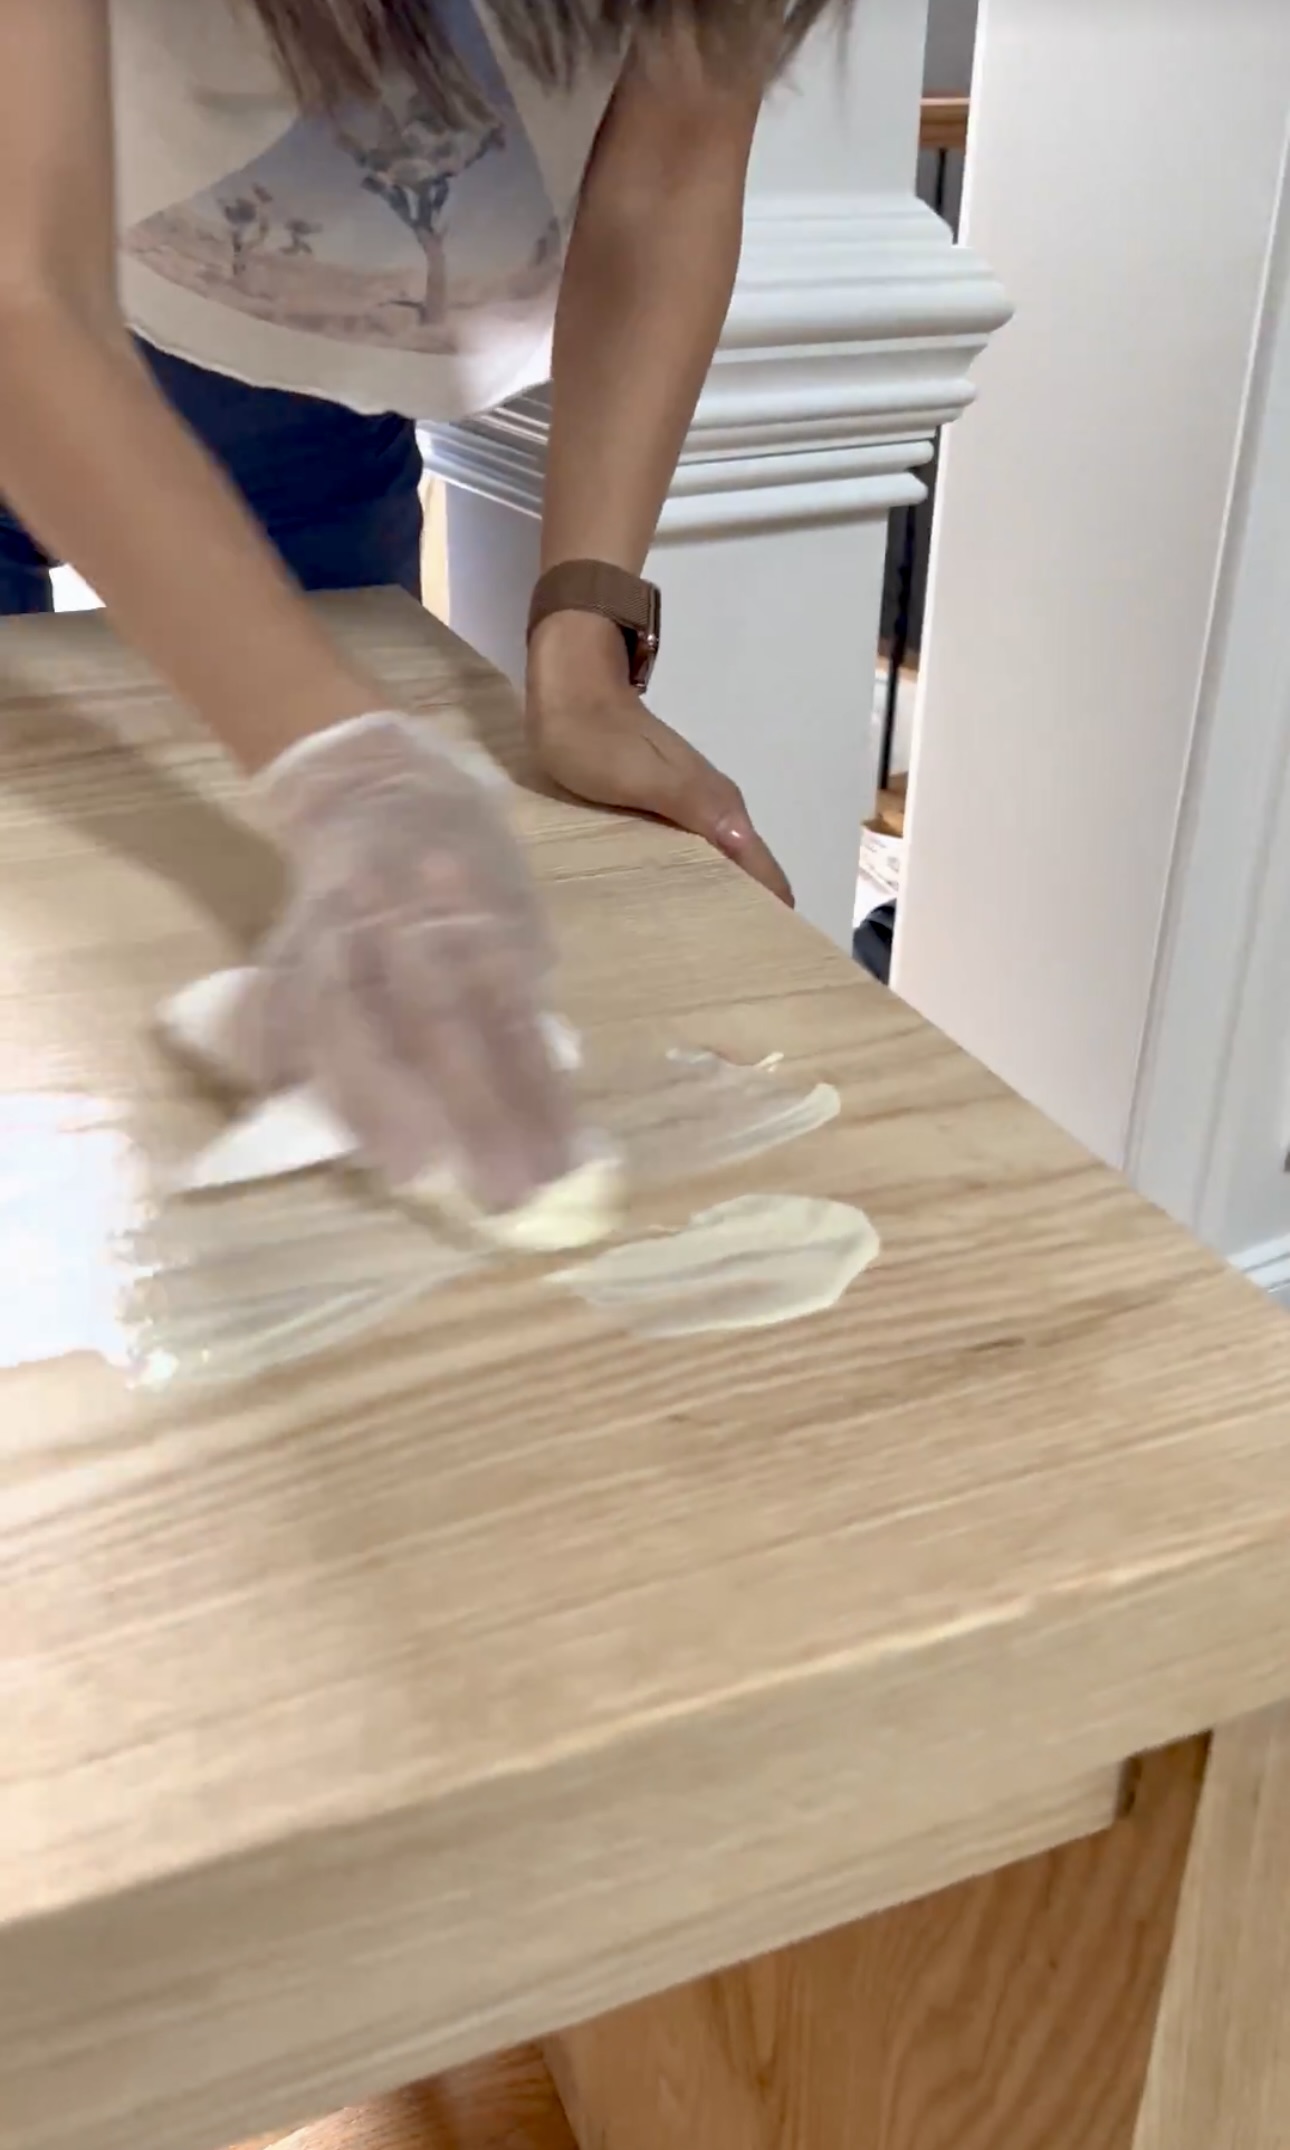
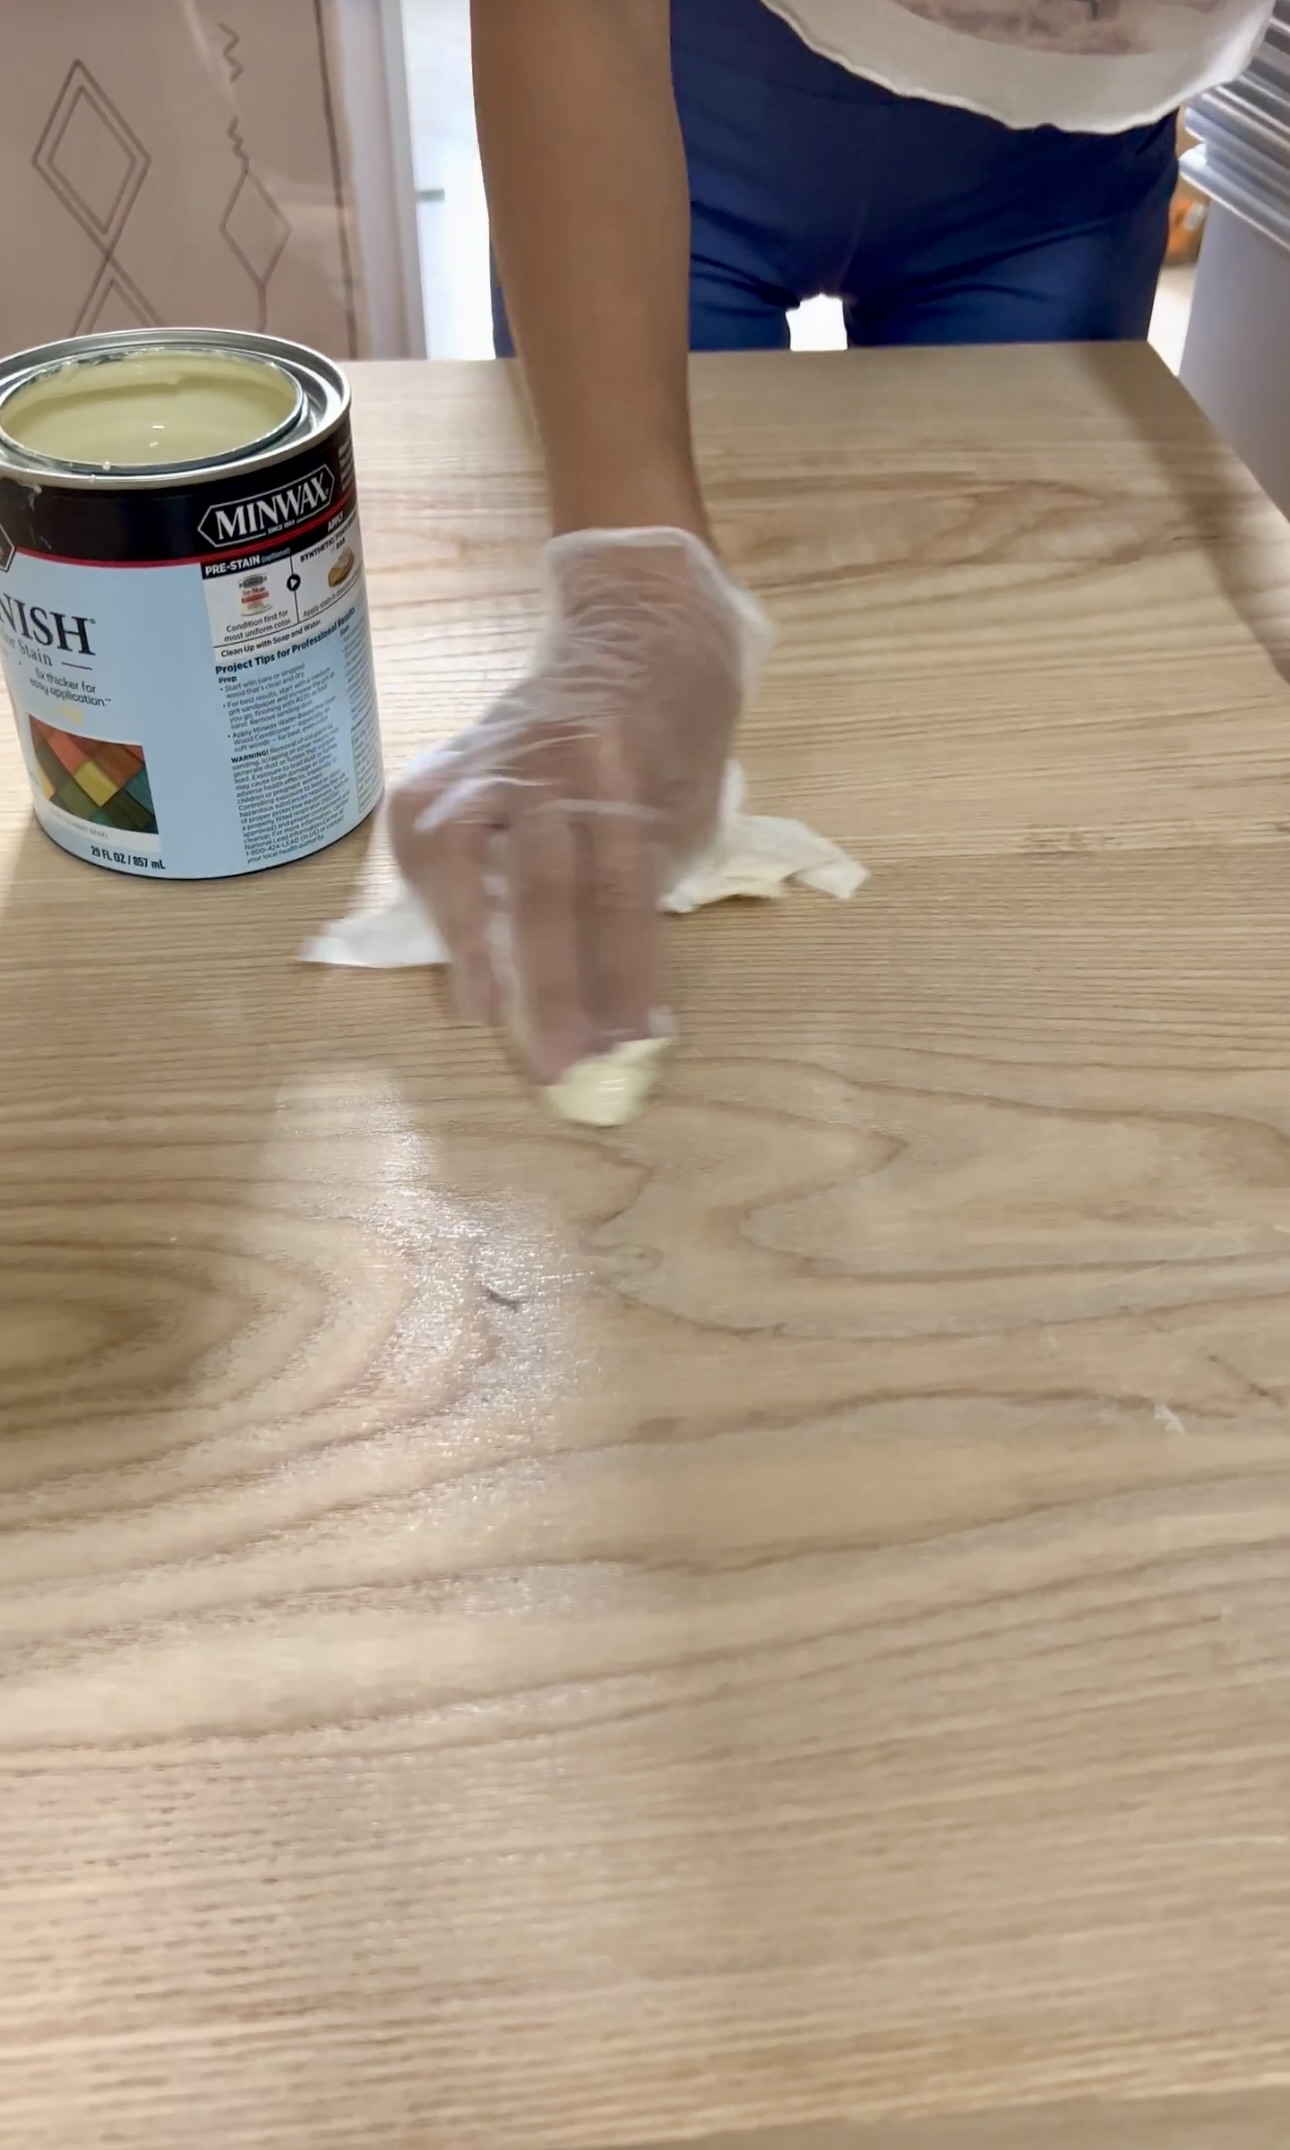
I used Minwax water based wood finish for this desk. I tested out a lot of colors and ended up wanting to keep the natural look of the Ash Wood. So I stained with a very light color called Birchbark. It was the perfect amount of white to bring out the wood tones.
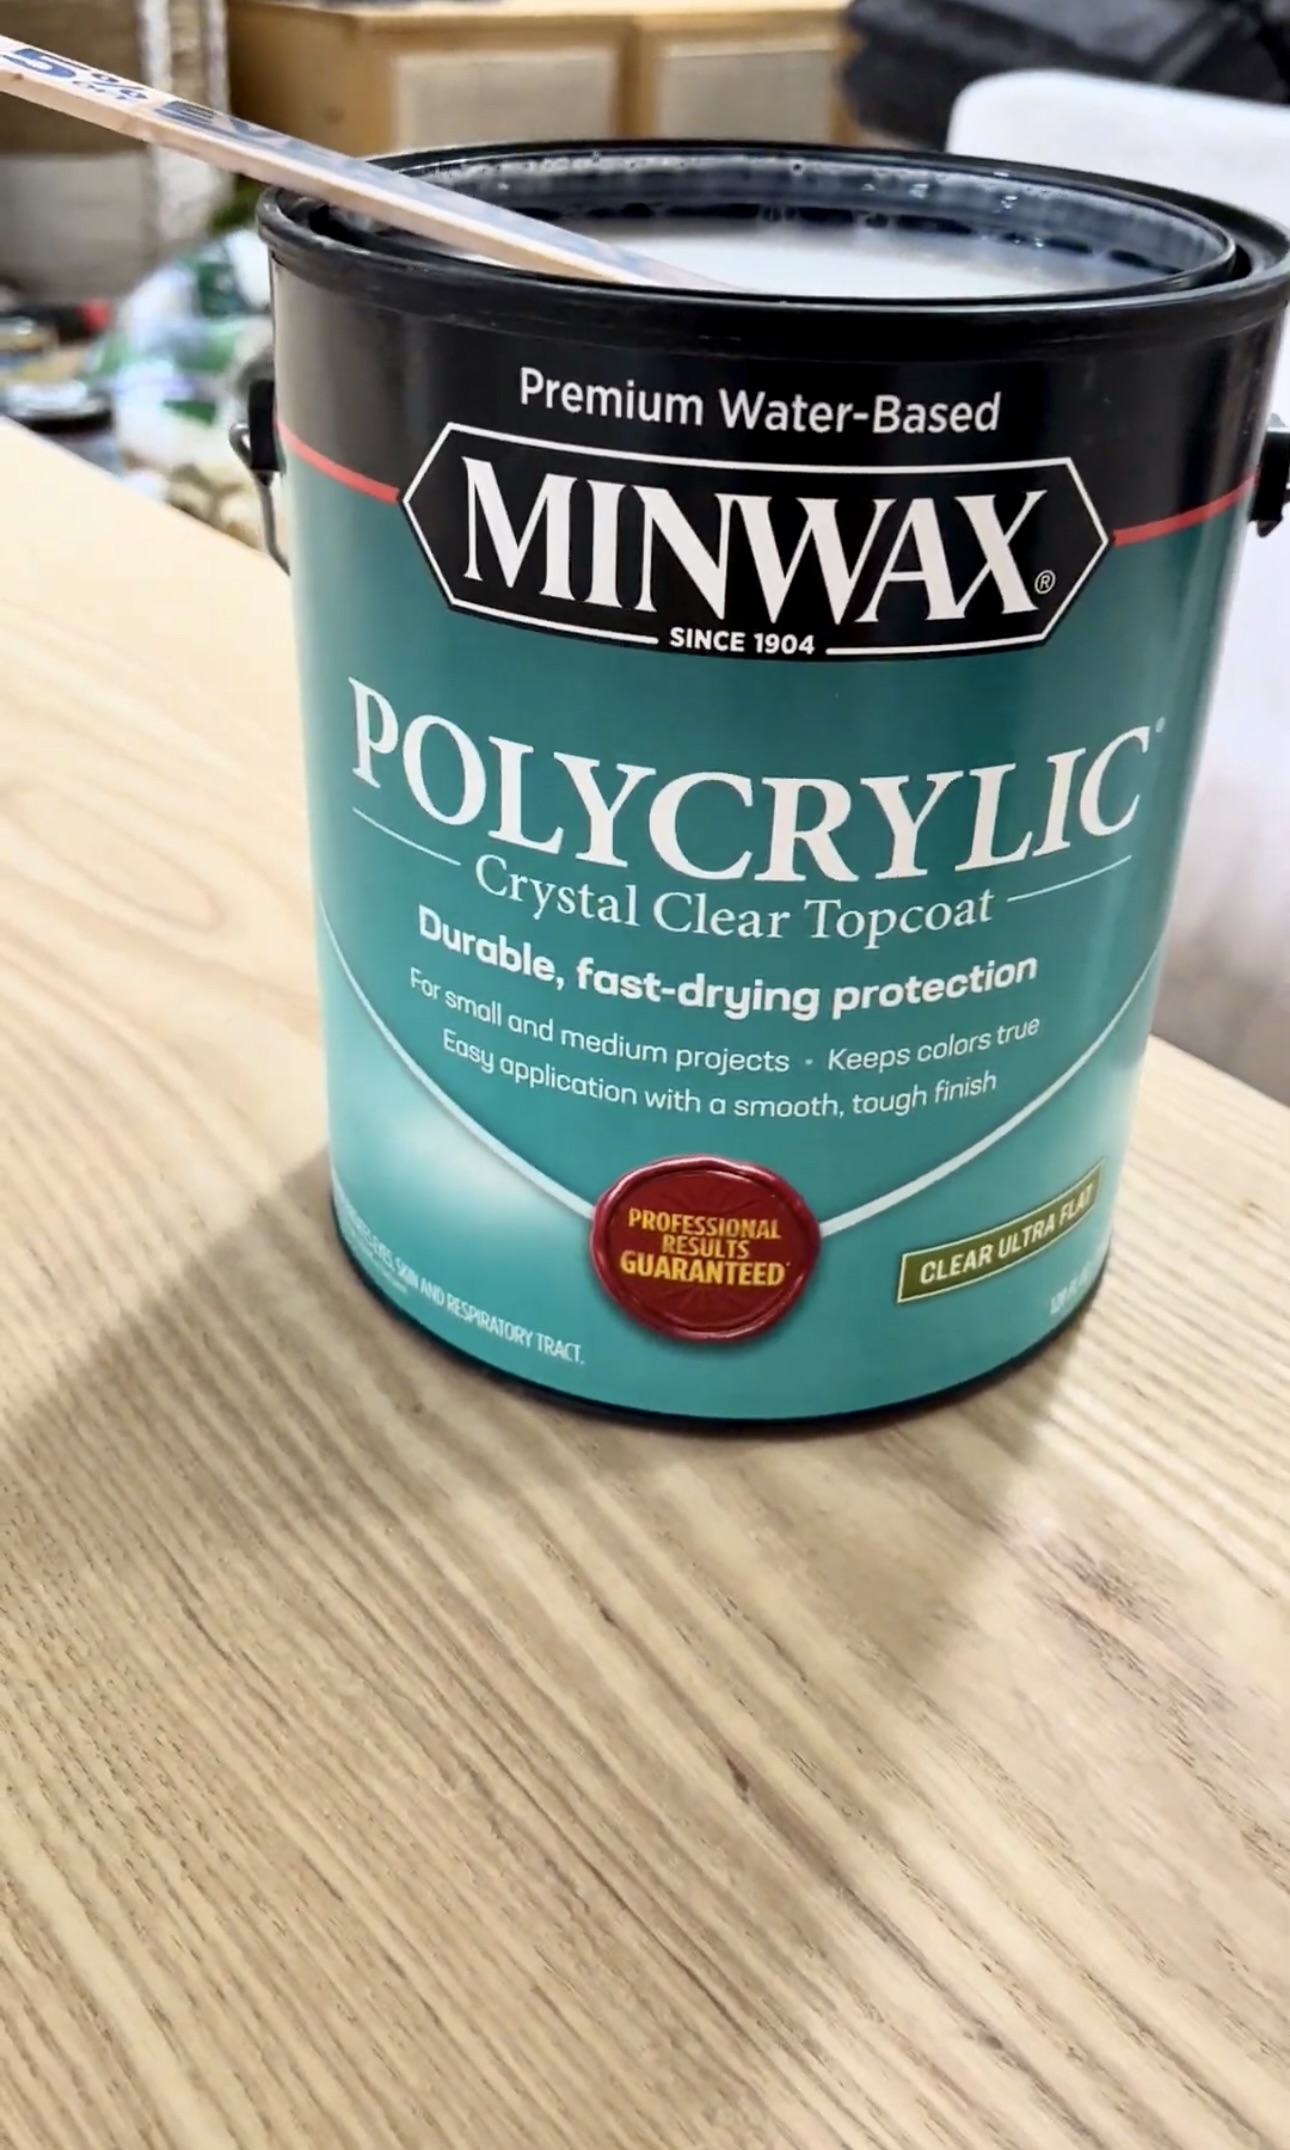
For the top coat, I used the Minwax Polycrylic in ultra flat. It’s super easy to apply. You just apply with a synthetic brush in light even strokes, keeping a wet edge (don’t let it dry!). Once the first layer was dried, I sanded with a 220 grit sander. Then I wiped it down with a tack cloth to remove any dust, added a second layer, repeated, then a 3rd layer!
And now for the dramatic reveal….I love the color! The contrast with the navy in the office is so freaking beautiful!
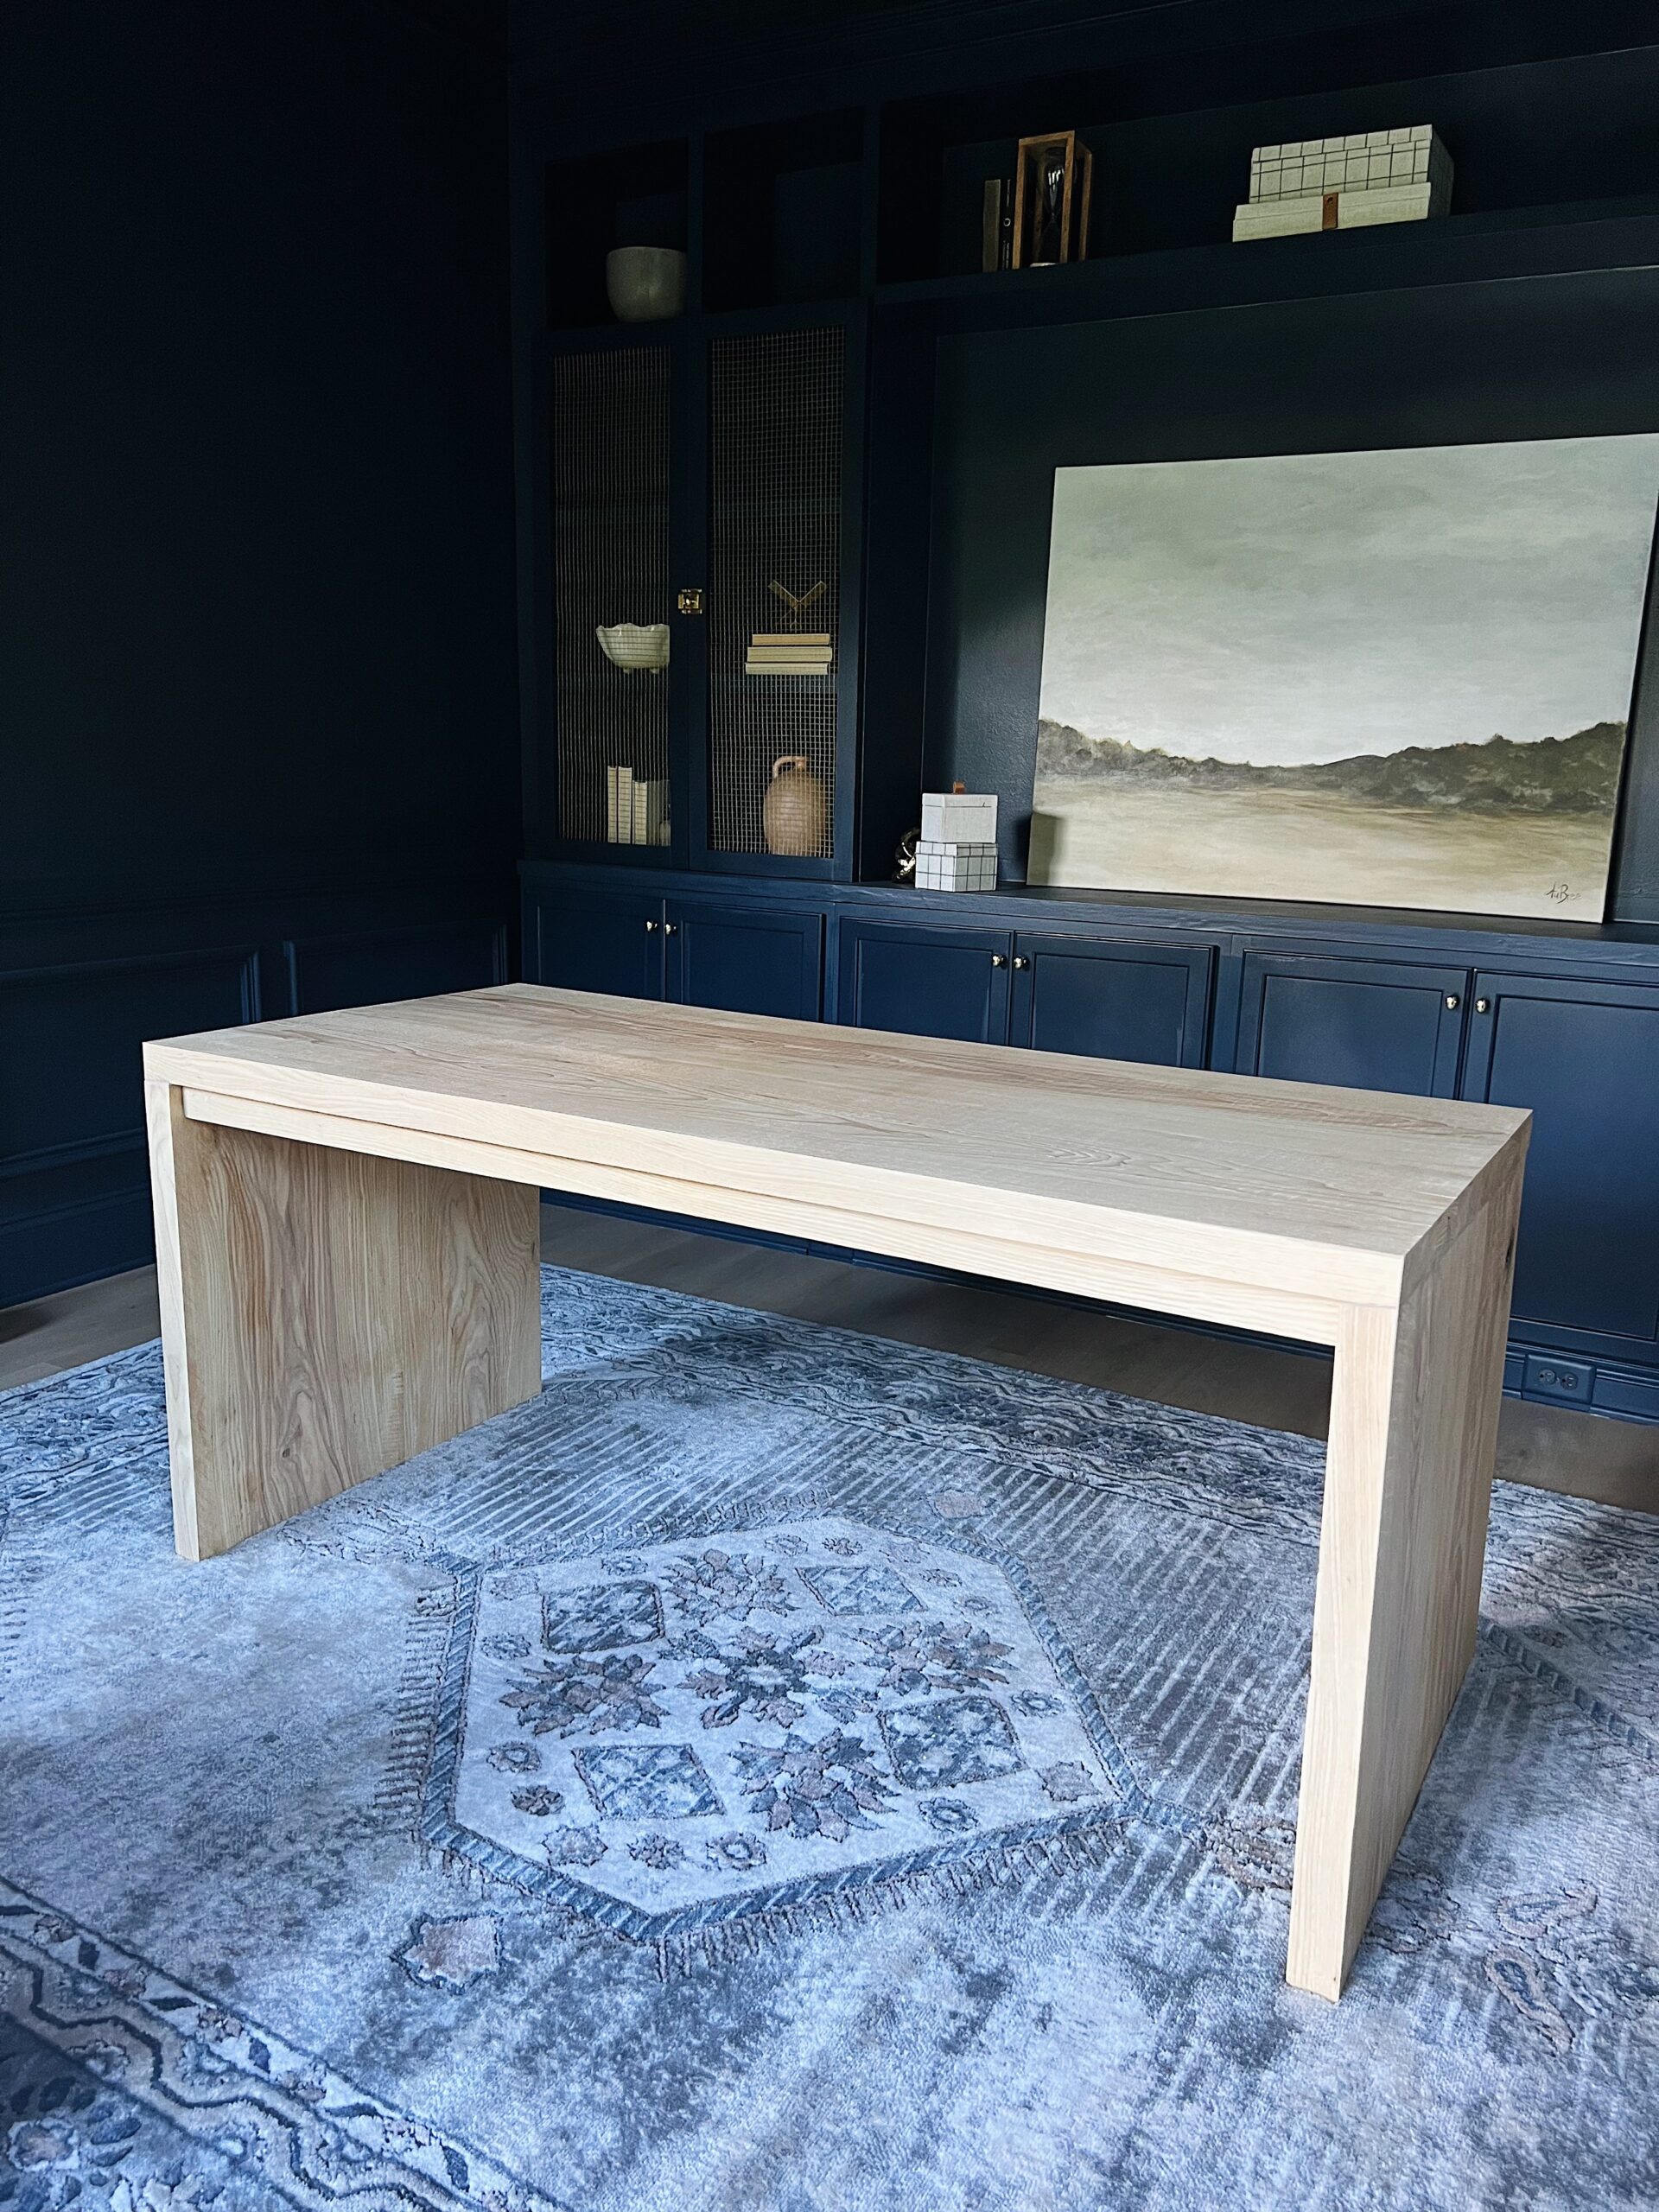
Who wants to pay $2,800 for a desk when you can make a DIY designer office desk dupe for $400?! This project took me 3 days but the satisfaction feels priceless!