Hi
I'm Bong
I'm just a girl who likes to DIY anything and everything. More than that, I love teaching people - especially women - how to pick up power tools and create the home of their dreams. Stop waiting for someone else and starting Doing It Yourself. I'll show you how!
diy projects
diy school
life hacks
categories
must have products
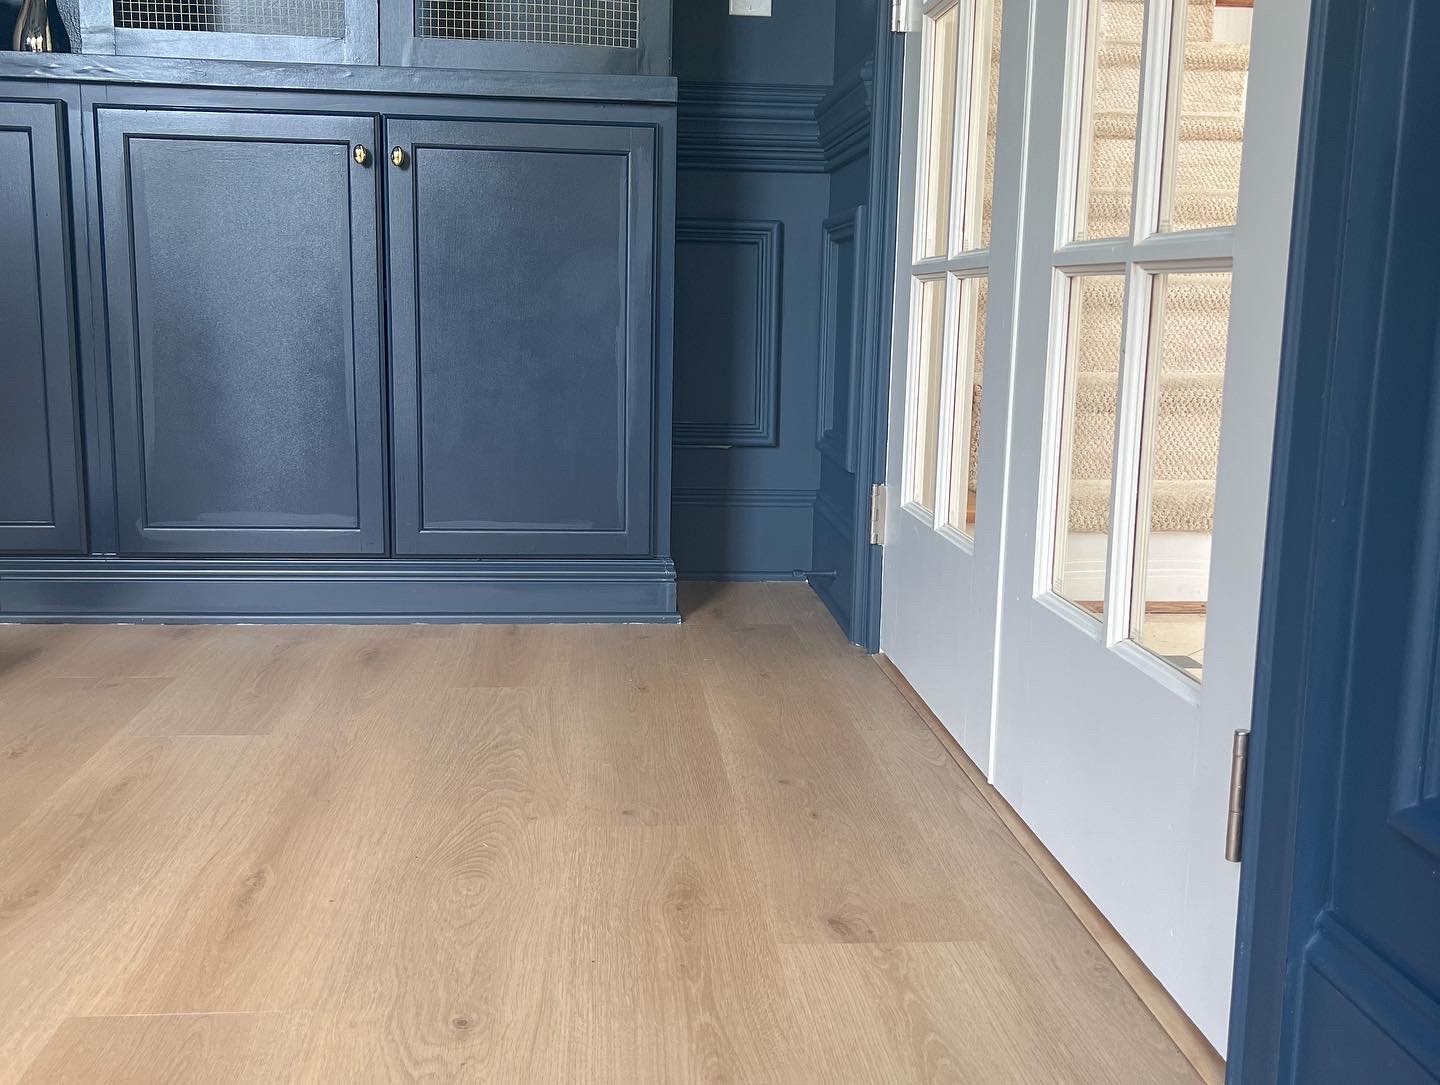
I am so excited to work on the office flooring. Today using Floor and Decor. I love their products and felt like it is a genuine collaboration. There are a few reasons I chose the flooring I did. I wanted a lighter color that looked like a lighter oak. Another reason is because it’s waterproof. We are planning on laying it throughout the entire house including our kitchen. Lastly, this already has a foam backing to it so I didn’t need an underlayment. This saved time and money. The whole office cost $450 so a great price for such amazing quality.
When you’re laying flooring, you want to start on the left corner and work to the right and then down. You want to think about the layout and which direction the flooring will go. Typically, you want the floor to lay the way the light comes in through the window. I thought about my spacing of the boards and decided to cut 2” off of the board next to the wall, so that there is not just a tiny sliver of wood by the door. I used my table saw to take off 2.5” from the tongue side; the side against the wall. I am leaving the groove side so that I can click it into place with the next row of boards.
Let’s talk about the installation process. On these boards, there’s a click and lock, which is like a tongue and groove. The shorter side, is the tongue, and the larger, is the groove. They will click into place. That is why you would want the tongue side along the wall. I cut my end board at a 45-degree angle, for the shape of this room. I used a new cutter, which is much better than using a miter saw, for this project. You can cut anywhere from 0-45 degrees. You just pull the lever down and it snaps and cuts it.
For this type of click and lock, you don’t just push it flush against the wall. You have to give it some flex room, I would say about ¼”. I have these little spacers that will give you the perfect ¼” that you need. Now I will install the second piece. The tongue on the end of the new board will just click into the new board. Don’t forget your spacers on the side. I used my mallet to make sure it was nice and securely in place. Then we just kept going.
To install a continuation of a row, you will put the tongue into the groove of the previous row. Make sure that no dirt or dust will prevent it from clicking into place. Slide the board up into the groove and slowly push down. You will know you are in the right place when it goes in naturally and smoothly without any force.
After it clicks in I take my rubber mallet and just go around the edges making sure it is in there very securely. I use this LVP install kit. This tool is super handy when you don’t have room to hit the boards in with a hammer. You will need it for the edges of your flooring.
I used my multi-tool to just cut off the bottom of some trim, so that the board could go against the wall. Because the new flooring is taller than the tiles in the next room, I need a reducer. I took a metal piece and screwed it into the original wood floor and then the reducer goes on top. I used four screws for this four-foot space. After the floor was finished, I screwed the shoe molding to the wall and painted it to match the walls.


