Hi
I'm Bong
I'm just a girl who likes to DIY anything and everything. More than that, I love teaching people - especially women - how to pick up power tools and create the home of their dreams. Stop waiting for someone else and starting Doing It Yourself. I'll show you how!
diy projects
diy school
life hacks
categories
must have products
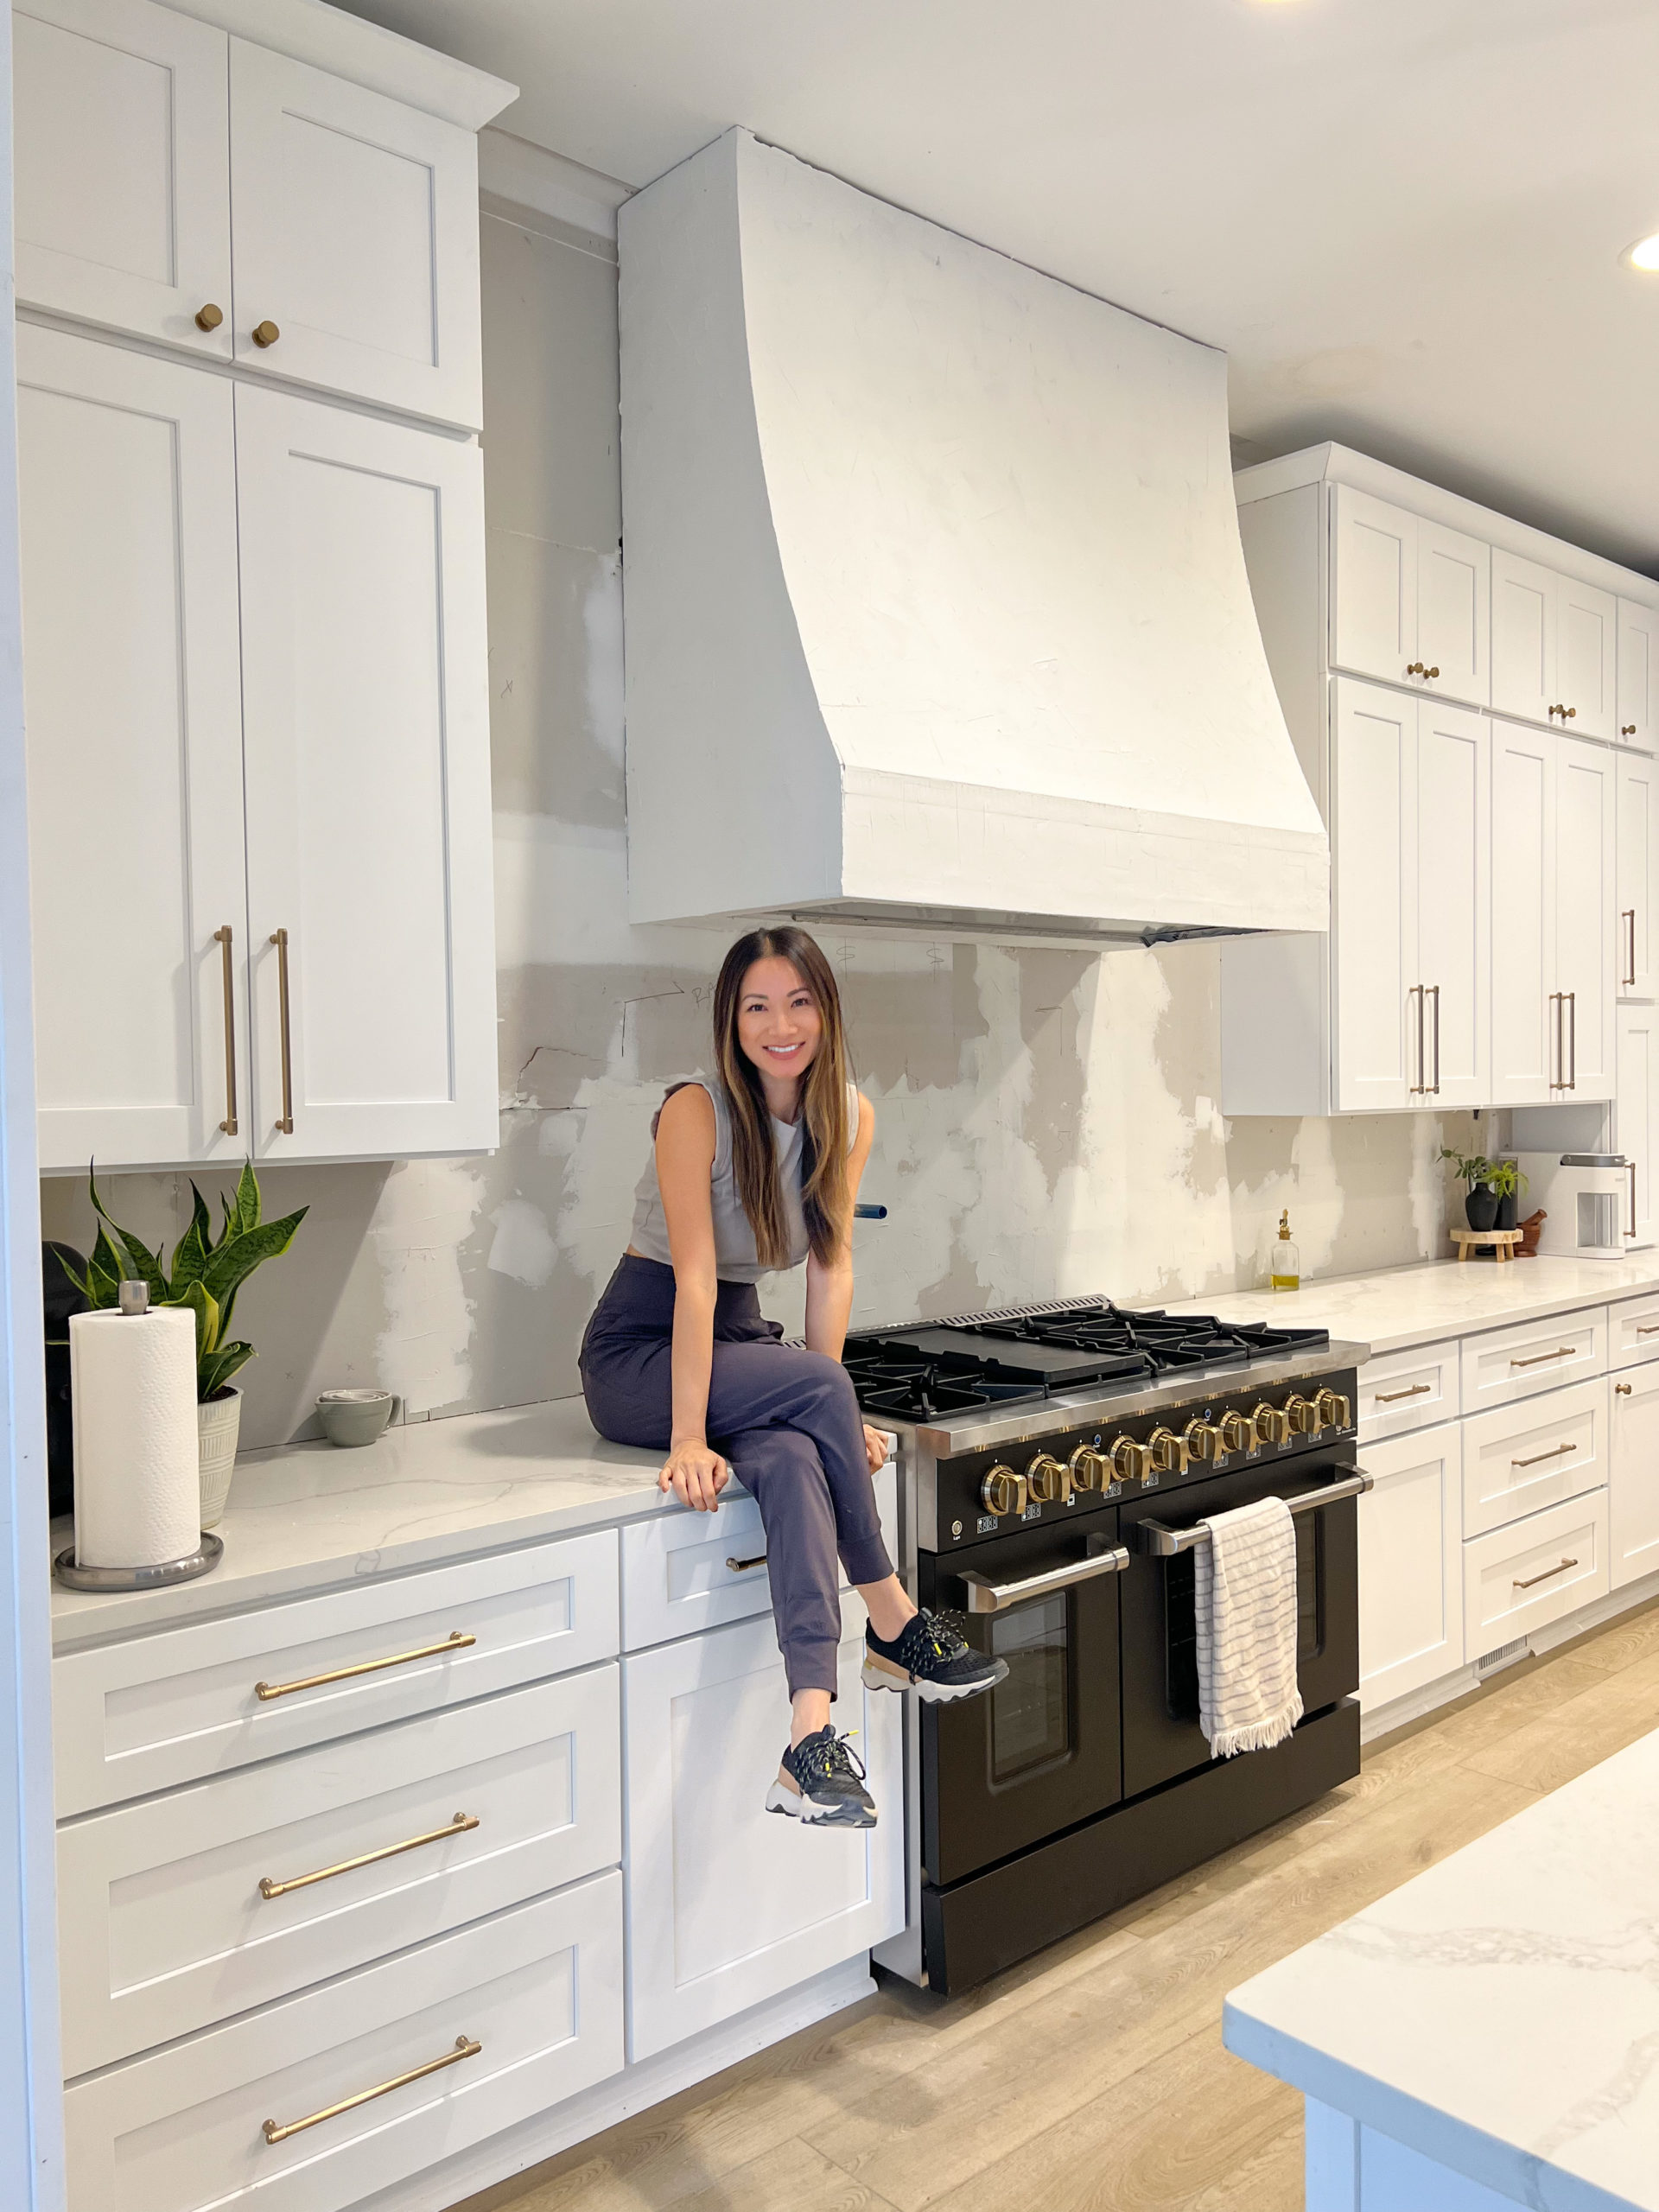
Now it is time to do the oven hood dry-wall for this vent hood and then plaster. I am so excited! I’ve never plastered anything before so this will be fun and an adventure for both me and you. For the drywall, I figured out how long I need it to be. I used my drywall square to cut it a few times with the utility knife just a few times so that it is fragile enough for me to snap. I lift it up a bit and then cut it a little on the backside. It usually comes apart pretty easily.
Next, it is time to get the drywall up on the vent. I am pre-drilling a couple of screws so that I don’t have as much trouble holding it up when I put the drywall on the vent. Then I use my drywall screws, which are about 1.5”, and just screw it in. I did this for both sides of the vent. I used a utility knife to score the inside of the drywall to once again just break off the extra. My utility knife is amazing for this job.
Now that I have the sides done it is time to do the front. My design has a curved front so I am going to grab some sheetrock and make sure it is the correct width. I will score the sheetrock so that it bends with the curve. I used my utility knife and just cut a million little slits about ¾” apart. I’ll be honest, my arms are tired.
Like before I pre-drilled my screw holes and then we held it up. Then I made sure it was correctly lined up and then drilled in our screws. I put screws across the top, both sides, and the two front braces. I needed to trim a little off the bottom and then added my bottom drywall piece.
After all the drywall was on the hood, I used joint compound to fill in the screw holes and seams. It give it that seamless look. Once the joint compound dried, I was ready to add my corner bead. This was the first time I have used this, but I’m super excited. It is from Arch-Flex, so it is super flexible. You can us it on curves as well as straight pieces. It’s such a cool product. Then I took the pieces I needed and bent them in half along the middle seam. I worked the piece a bit so it would hold the shape well.
Then, I took some joint compound and I’m just going to put a little bit on the edges to hold it into place. You want it to cover the width of your corner and seam. You just stick the corner bead into the joint compound. If you were working with a curved piece, take some pins and put them in the little provided for holes. That way it’s super secure.
Next, I took some mud and just covered the bead and spread it out over the drywall. That way there wasn’t a gap and it blended out nicely. I repeated this for all the seams and edges.
A little breakdown of products. When do you use corner bead and when do you use seam tape? Corner bead can be used for any type of corner or arch, inside or outside. It’s also a little more expensive. Seam tape can be used when you want any two pieces of flat sheetrock to come together so you can hide the seam. The tape is adhesive and the corner bead needs screws.
Back to the oven hood. I will sand down the joint compound and then put on another layer. I want it to look as if you were prepping a wall for paint.


