Hi
I'm Bong
I'm just a girl who likes to DIY anything and everything. More than that, I love teaching people - especially women - how to pick up power tools and create the home of their dreams. Stop waiting for someone else and starting Doing It Yourself. I'll show you how!
diy projects
diy school
life hacks
categories
must have products
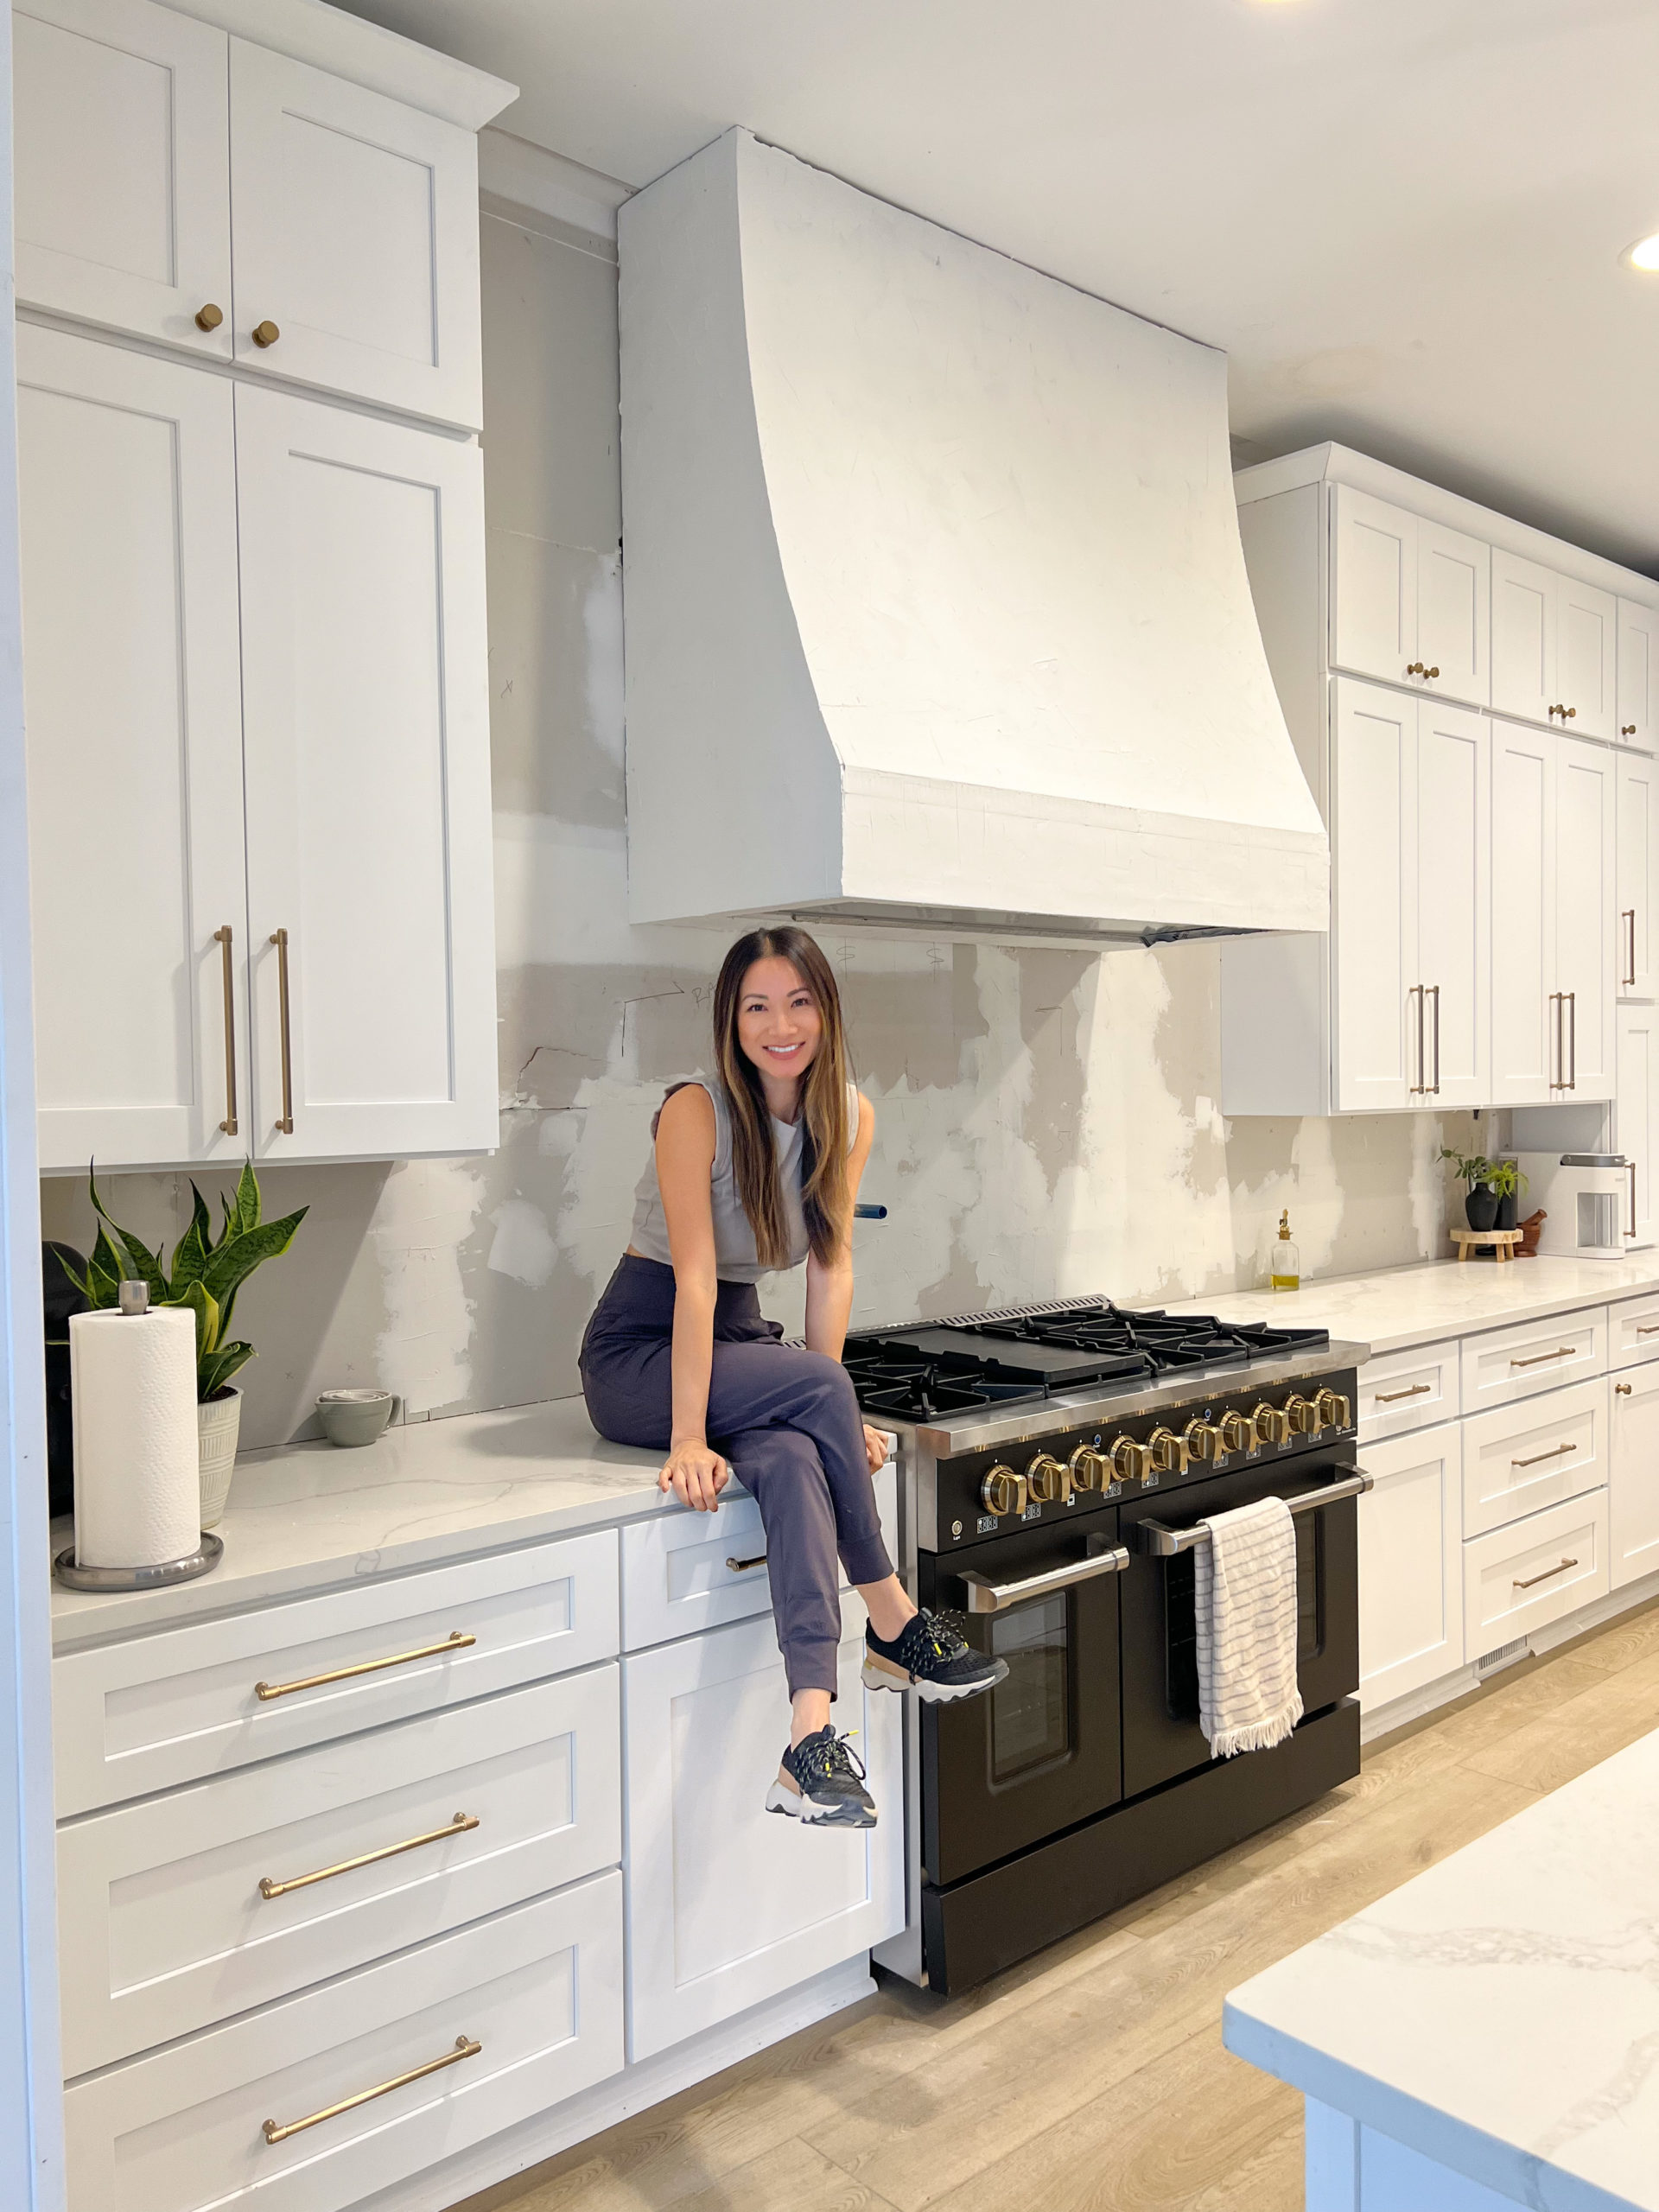
Now is finally the time to put in our 52” oven hood framing above my oven. I am using a frame from Archways and ceilings. I love their product so much because it is easy to use. It is such a time saver and a great price for what you get. They send you all the pieces and a super easy-to-follow manual and you just put it together like gigantic legos. Then after it is assembled I’ll put it on the wall and then drywall and mudding.
So they make exactly what your dimensions need to be. Archways and Ceilings used my exact dimensions and made this custom for me. It comes with directions but honestly so easy to figure it out. It even tells you where to put your screws so you can’t mess it up. I used 3” screws just to make sure it goes through everything. Once I have it all together I will get TJ to help me lift and screw it into the wall. It took some strength but we finally got it on the wall by just screwing the pieces into studs on the wall.
I definitely hit some snags when working on the duct inside the vent. It was hard to get the vent to be the correct height and width while also connecting to the outside at the correct place. Lots of math took place and required brain power.
Now about the vent. It will have an exterior vent cover. It has mesh to keep things out and a flap that will open when air is getting pushed out. I will put exterior caulk around the edges. I used a square design on the vent cover. This will give me some wiggle room in case the hole we cut isn’t pretty. And trust me, it won’t be.
When I was working on this vent I needed to cut through the wall so that it could connect to the outside. I used a drywall cutter to get through the drywall, waterproof cover, and insulation. My last layer to the outside was brick. I bought this concrete masonry bit from Milwaukee. Remember how I taught you how to use drills, if not go check out Bong’s Basics. But I was able to change the drill into hammer mode because I am going through masonry and brick. This helps it get so much more power.
I drilled several holes from the inside and then several from the outside. After lots of holes in a circle, we took a sledgehammer and took out the bricks. Next, we needed to use a saw to cut out a corner of the stud. Next, after our hole was nice and finished we threaded the circled vent tube through our hole. It fits!
Next, I made the pieces that will hold the vent hood up. Once again, it was a lot of math. This whole vent installation has tested my patience and confidence in math if I’m being honest. Some metal brackets came with the vent hood and they’re what keeps the hood up.
I used a level and tape measure to make some lines inside the vent hood so I know where to line my brackets. Then I will pre-drill some screws into the studs. I used 4” screws into the hood and the studs. I repeated this process on the sides of the vent hood as well. TJ held the bracing while I just went around and put in my 2” screws.
This turned into a three-person project. The vent was heavy duty and so made that there was no way just the two of us could hold it and install it. Eventually, we got it in and secured it. Next, I took my new favorite trick and used “Great Stuff Gaps and Cracks”. A lot of my DIY friends use it as well and it just works so well to fill in any holes. I used this to fill in the gap between the wall and the vent. Use this nice and slow because it expands and can get messy if you aren’t being careful.


