Hi
I'm Bong
I'm just a girl who likes to DIY anything and everything. More than that, I love teaching people - especially women - how to pick up power tools and create the home of their dreams. Stop waiting for someone else and starting Doing It Yourself. I'll show you how!
diy projects
diy school
life hacks
categories
must have products
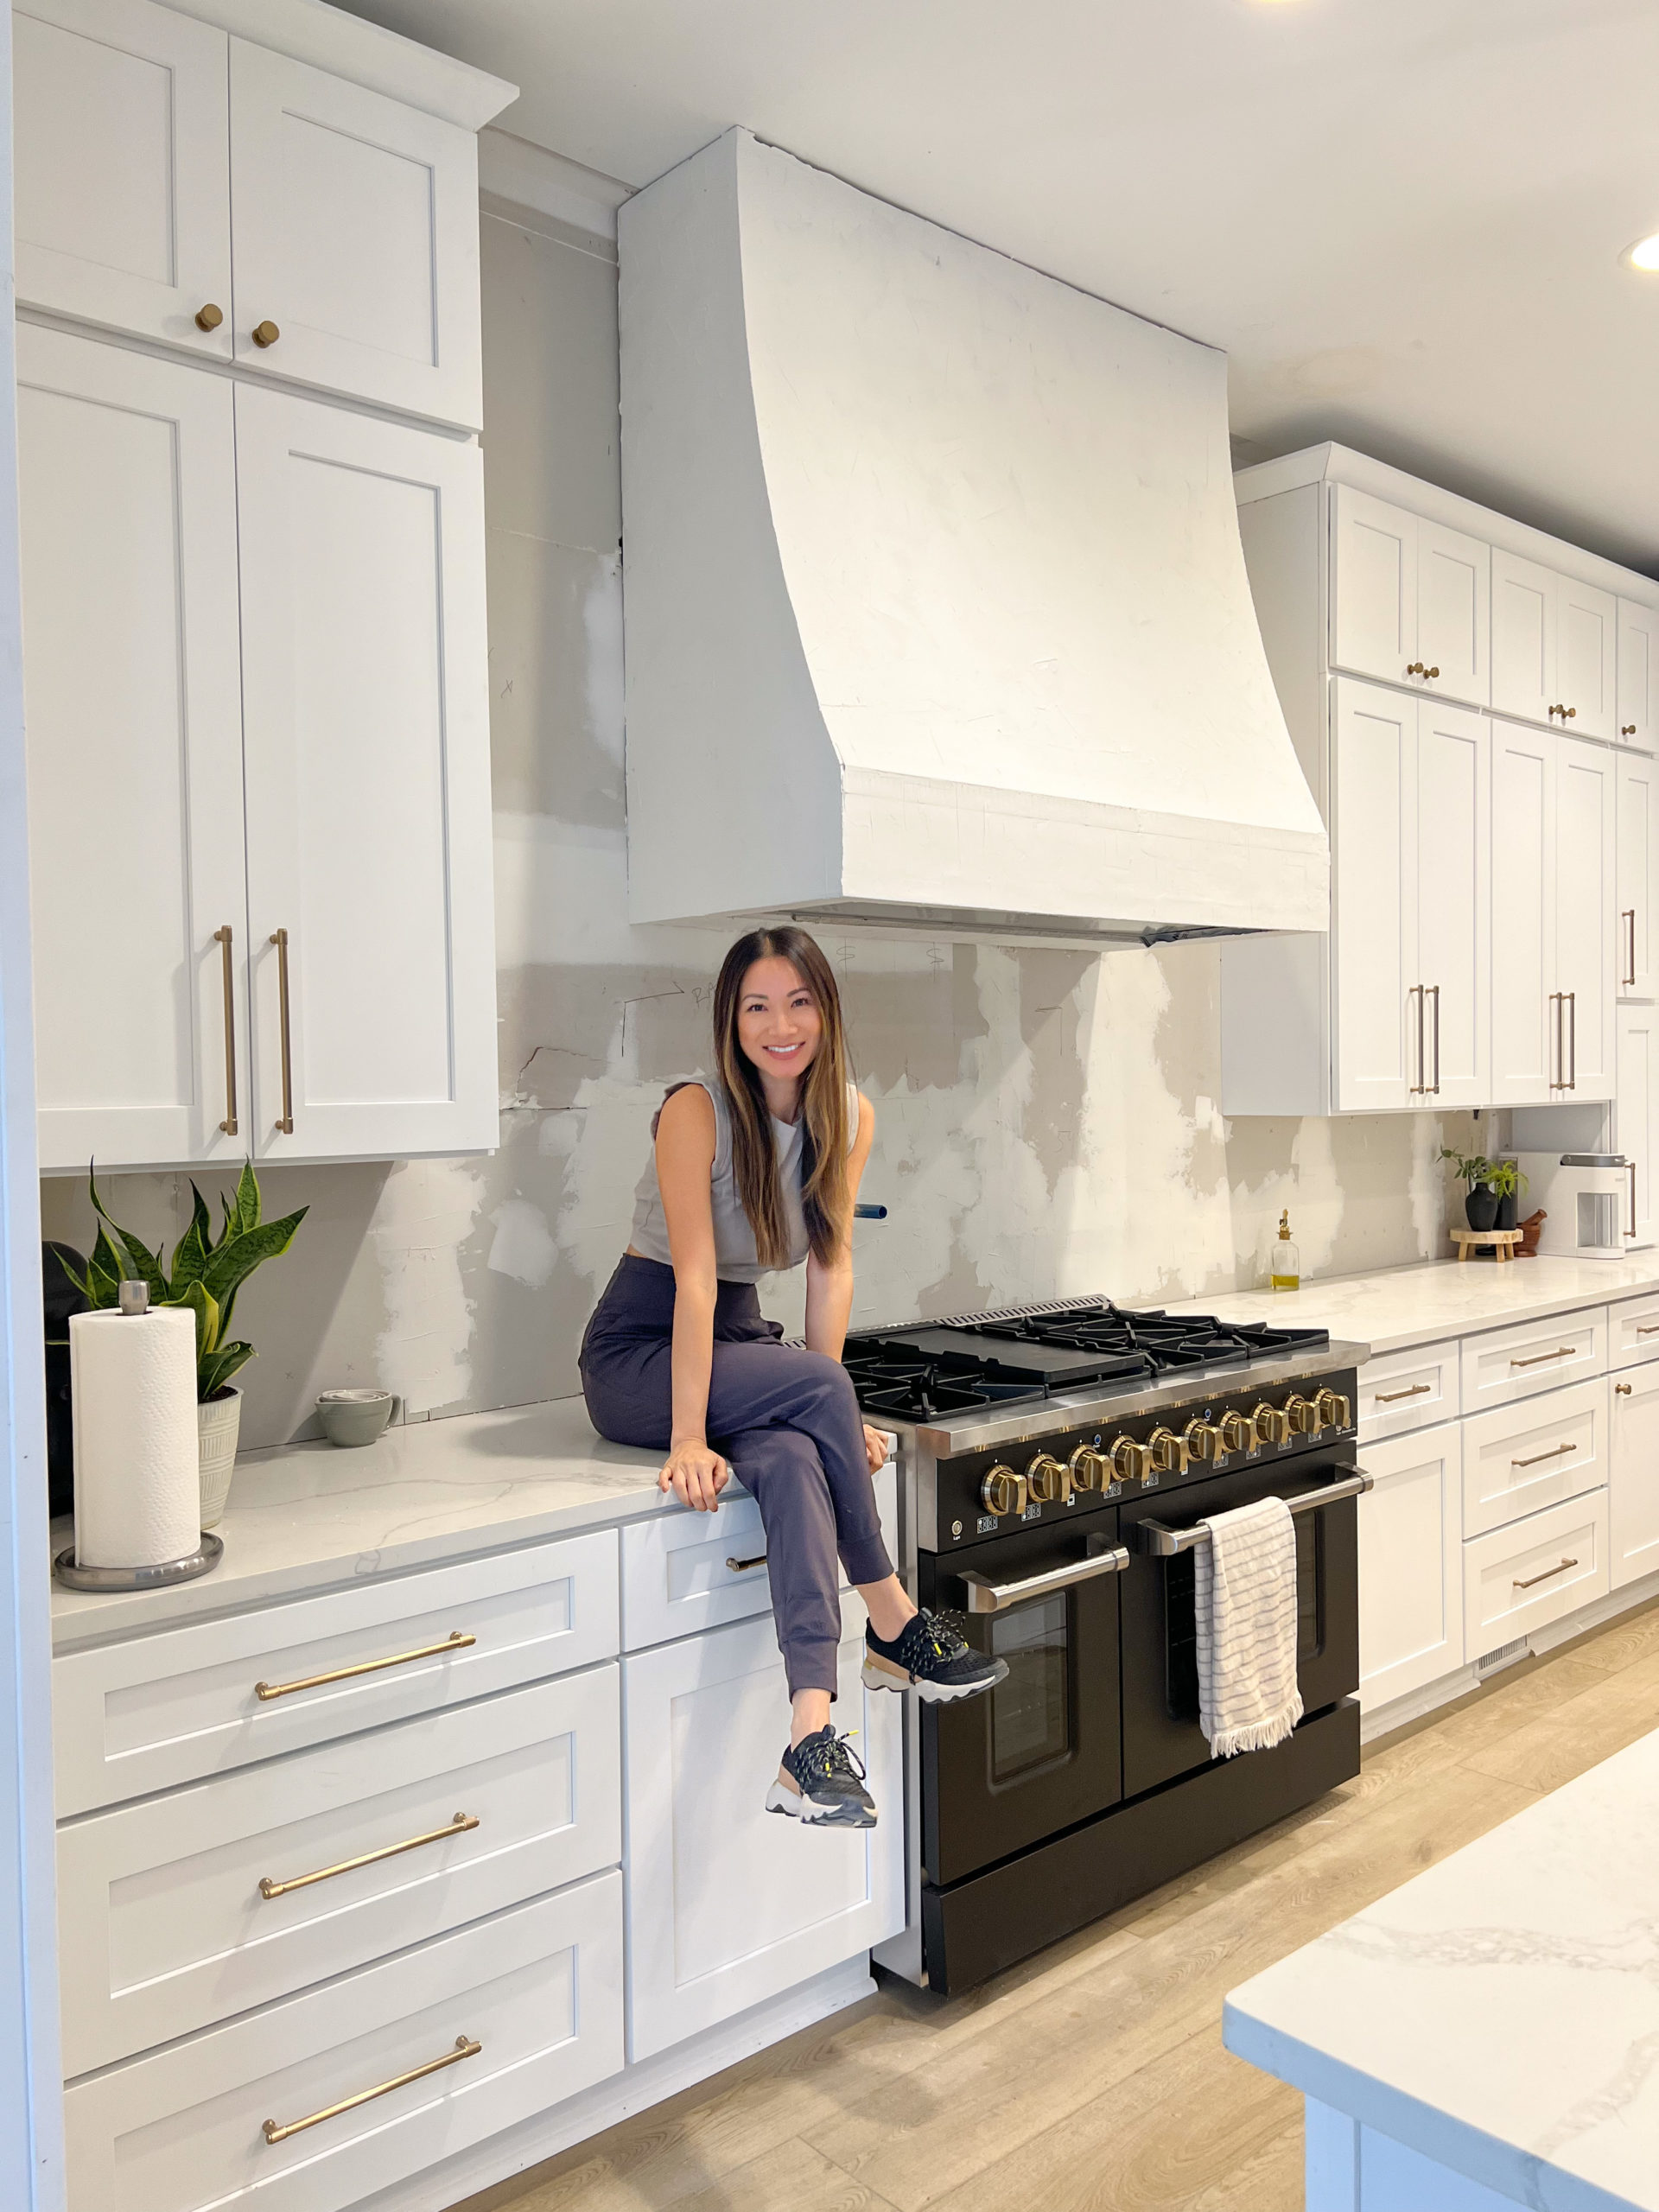
Time for the oven hood plaster! I am nervous and excited. I am using the brand Firmalex. They are super well-known in the plaster space and provide quality plaster. I am so happy to partner with them because this is exactly what I wanted for my hood. When I decided to work with them, I told them exactly what I wanted and got a kit of the primer and plaster because you will need both. They can tint it to be whatever color you want. I am doing just “Pure White” to match my cabinets. But you of course, can do any color you want. I think they can tint it to any Sherwin-Williams color.
The first step is the anchor primer. I will roll it on like paint. It does splatter a little, so make sure to cover anything up. My hands and hair had primer all over them. Then I let the primer fully dry. To be safe, I waited 24 hours.
With the plaster, I made sure to mix it up. Then I have a few different tools. I am using some joint taping knives and a trowel. Once the primer is dry, it has a lot of texture, which you need for plaster. I am going to work upward with my trowel. I will spread it in circular motions and do two coats. The curve of the hood was a little challenging with my straight trowel, so I ended up using a smaller joint knife. You want your first layer to dry for 24hr to really make sure it is dry. It took me about 45 minutes to cover my whole hood and honestly, it was super fun and relaxing after all that math.
The plaster is pretty texturized. I will make sure to do circular motions with my second coat. I am so pleased with how it looks after drying. It had some texture and movement and not just straight lines. I am going to sand out some of my hard ridges. It’s so beautiful and I am happy with the results.
Now I will put on the Bee’s Wax sealer. It is super simple and I just used a sponge and put some on the plaster. Remember the biggest thing is not to get too heavy on the sealer in one spot or it will get kind of a cloudy spot. Dap into place not streaking motions or it might leave that motion. It creates a nice sheen and I am so happy with this final product but also to be done.


