Hi
I'm Bong
I'm just a girl who likes to DIY anything and everything. More than that, I love teaching people - especially women - how to pick up power tools and create the home of their dreams. Stop waiting for someone else and starting Doing It Yourself. I'll show you how!
diy projects
diy school
life hacks
categories
must have products
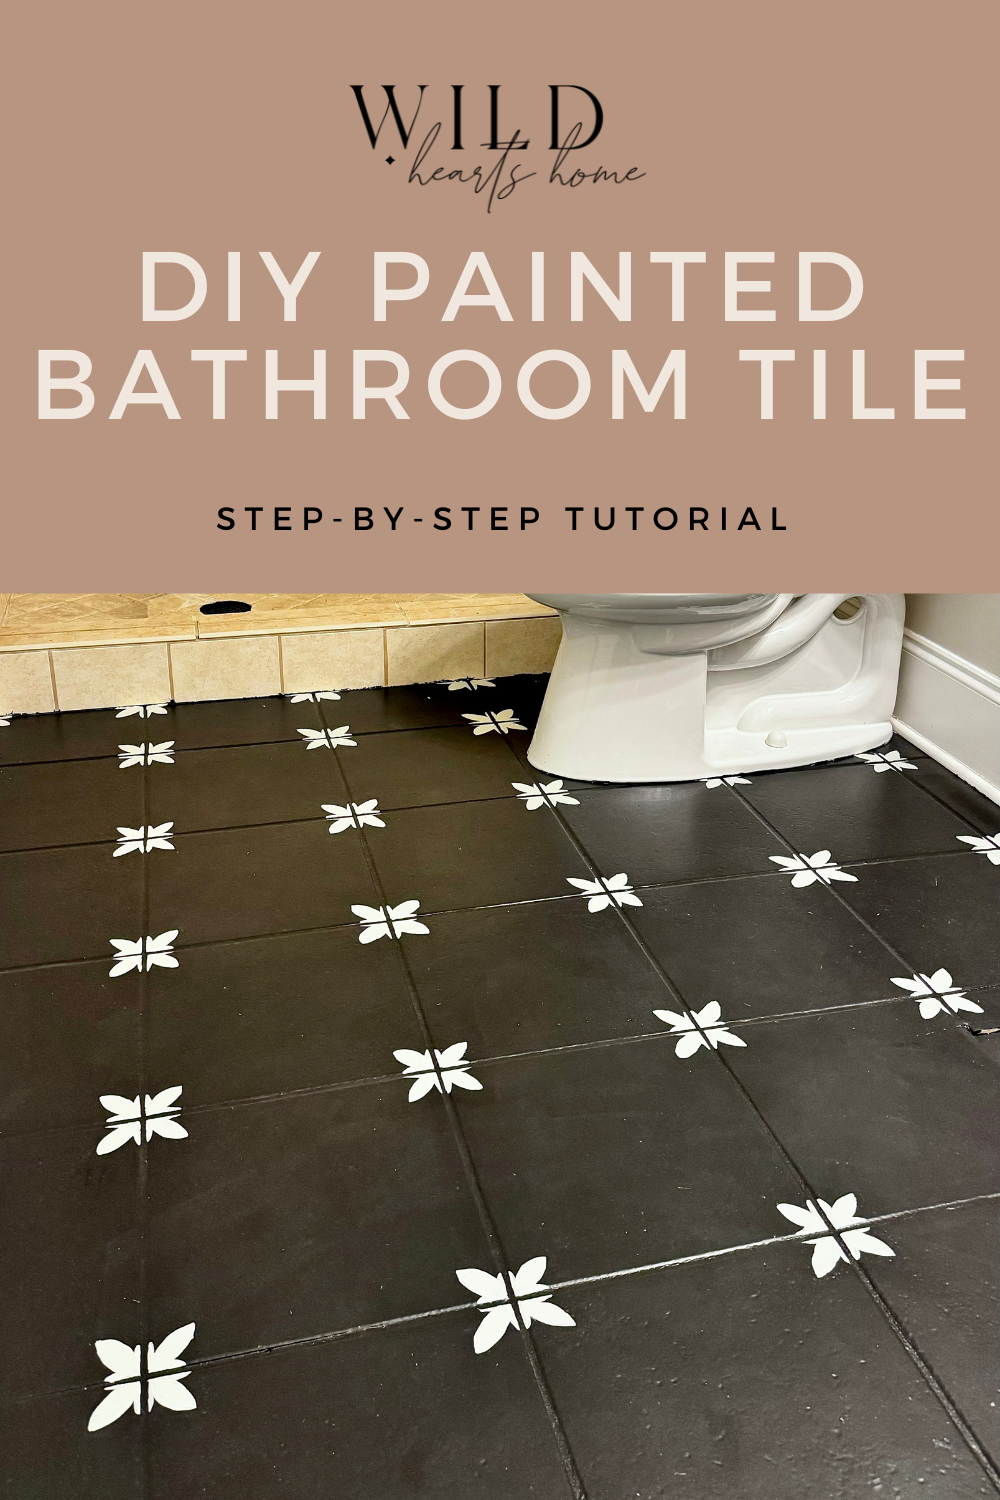
I have never shown our guest bathroom until now. It’s very dated. Very beige. I’m SO excited to show you the transformation! I don’t always have tens of thousands of dollars to do demo, install new tile, and everything (who does?!). I love finding ways to show you guys how to update your spaces on a budget. First, I’ll show you the process of painting bathroom floor tiles!
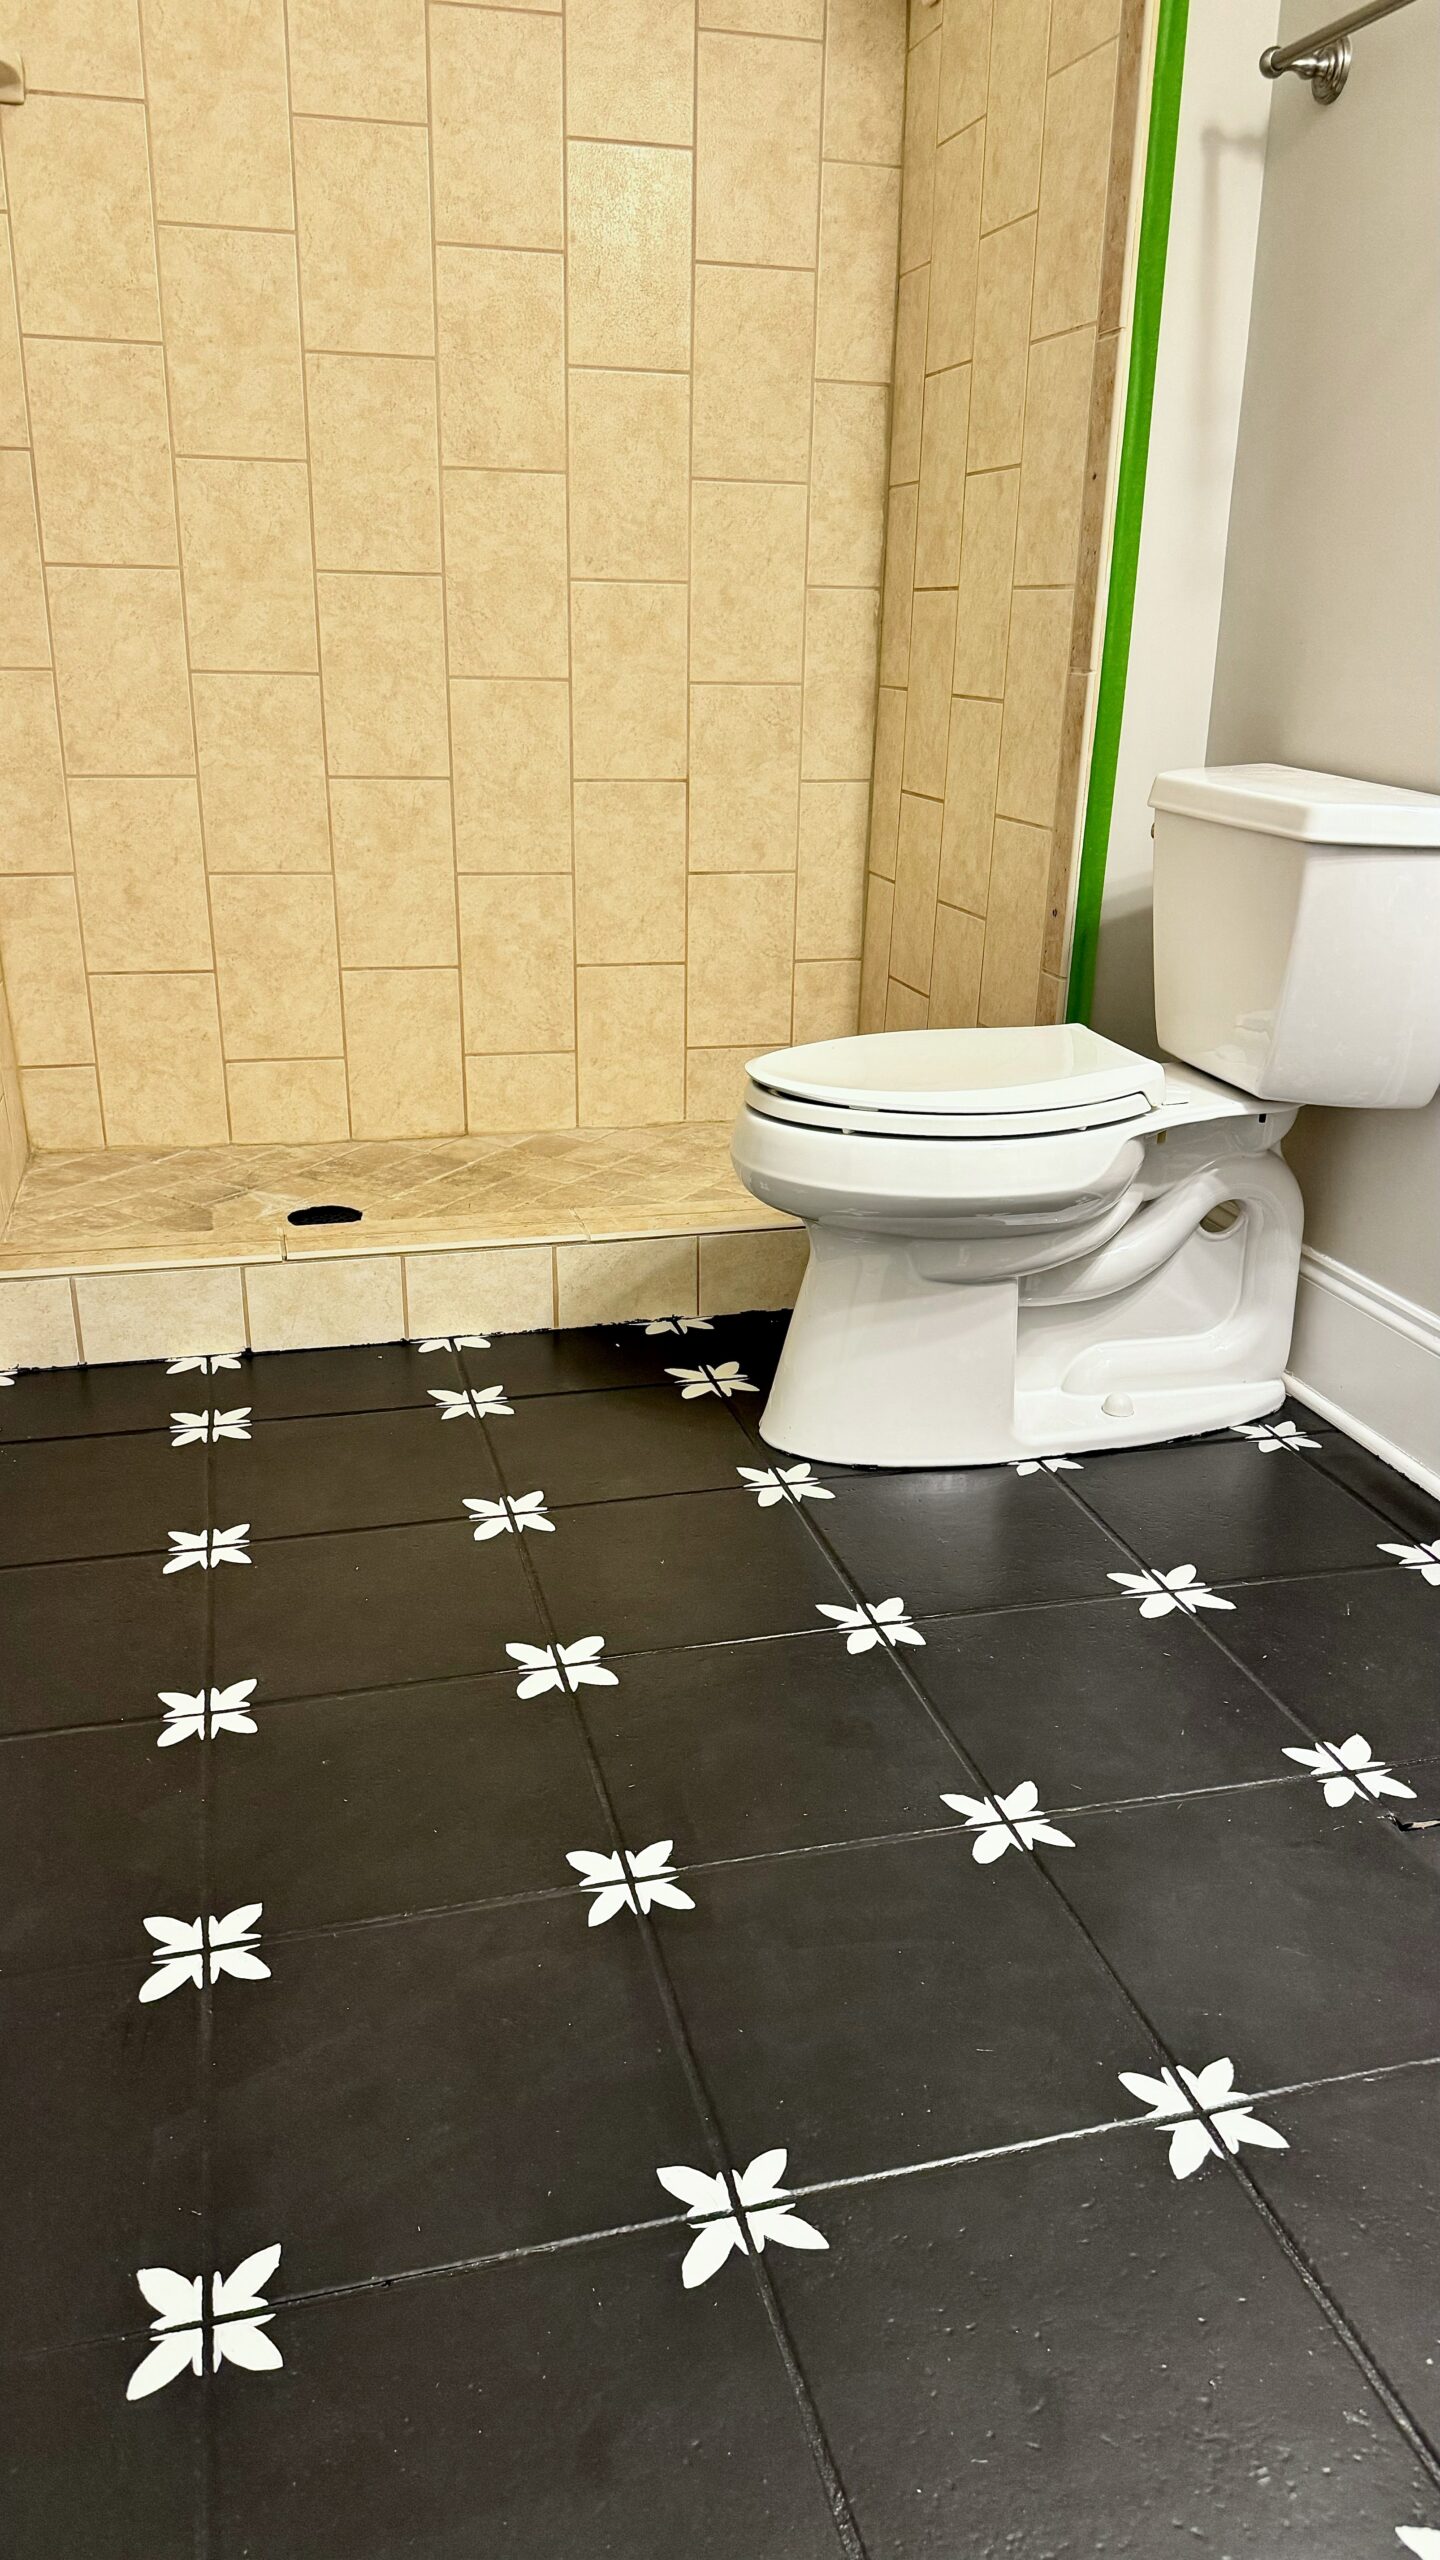
Here’s what it looked like before we started. It had a 90’s mirror and was very beige. But it has a nice size shower with plenty of space.
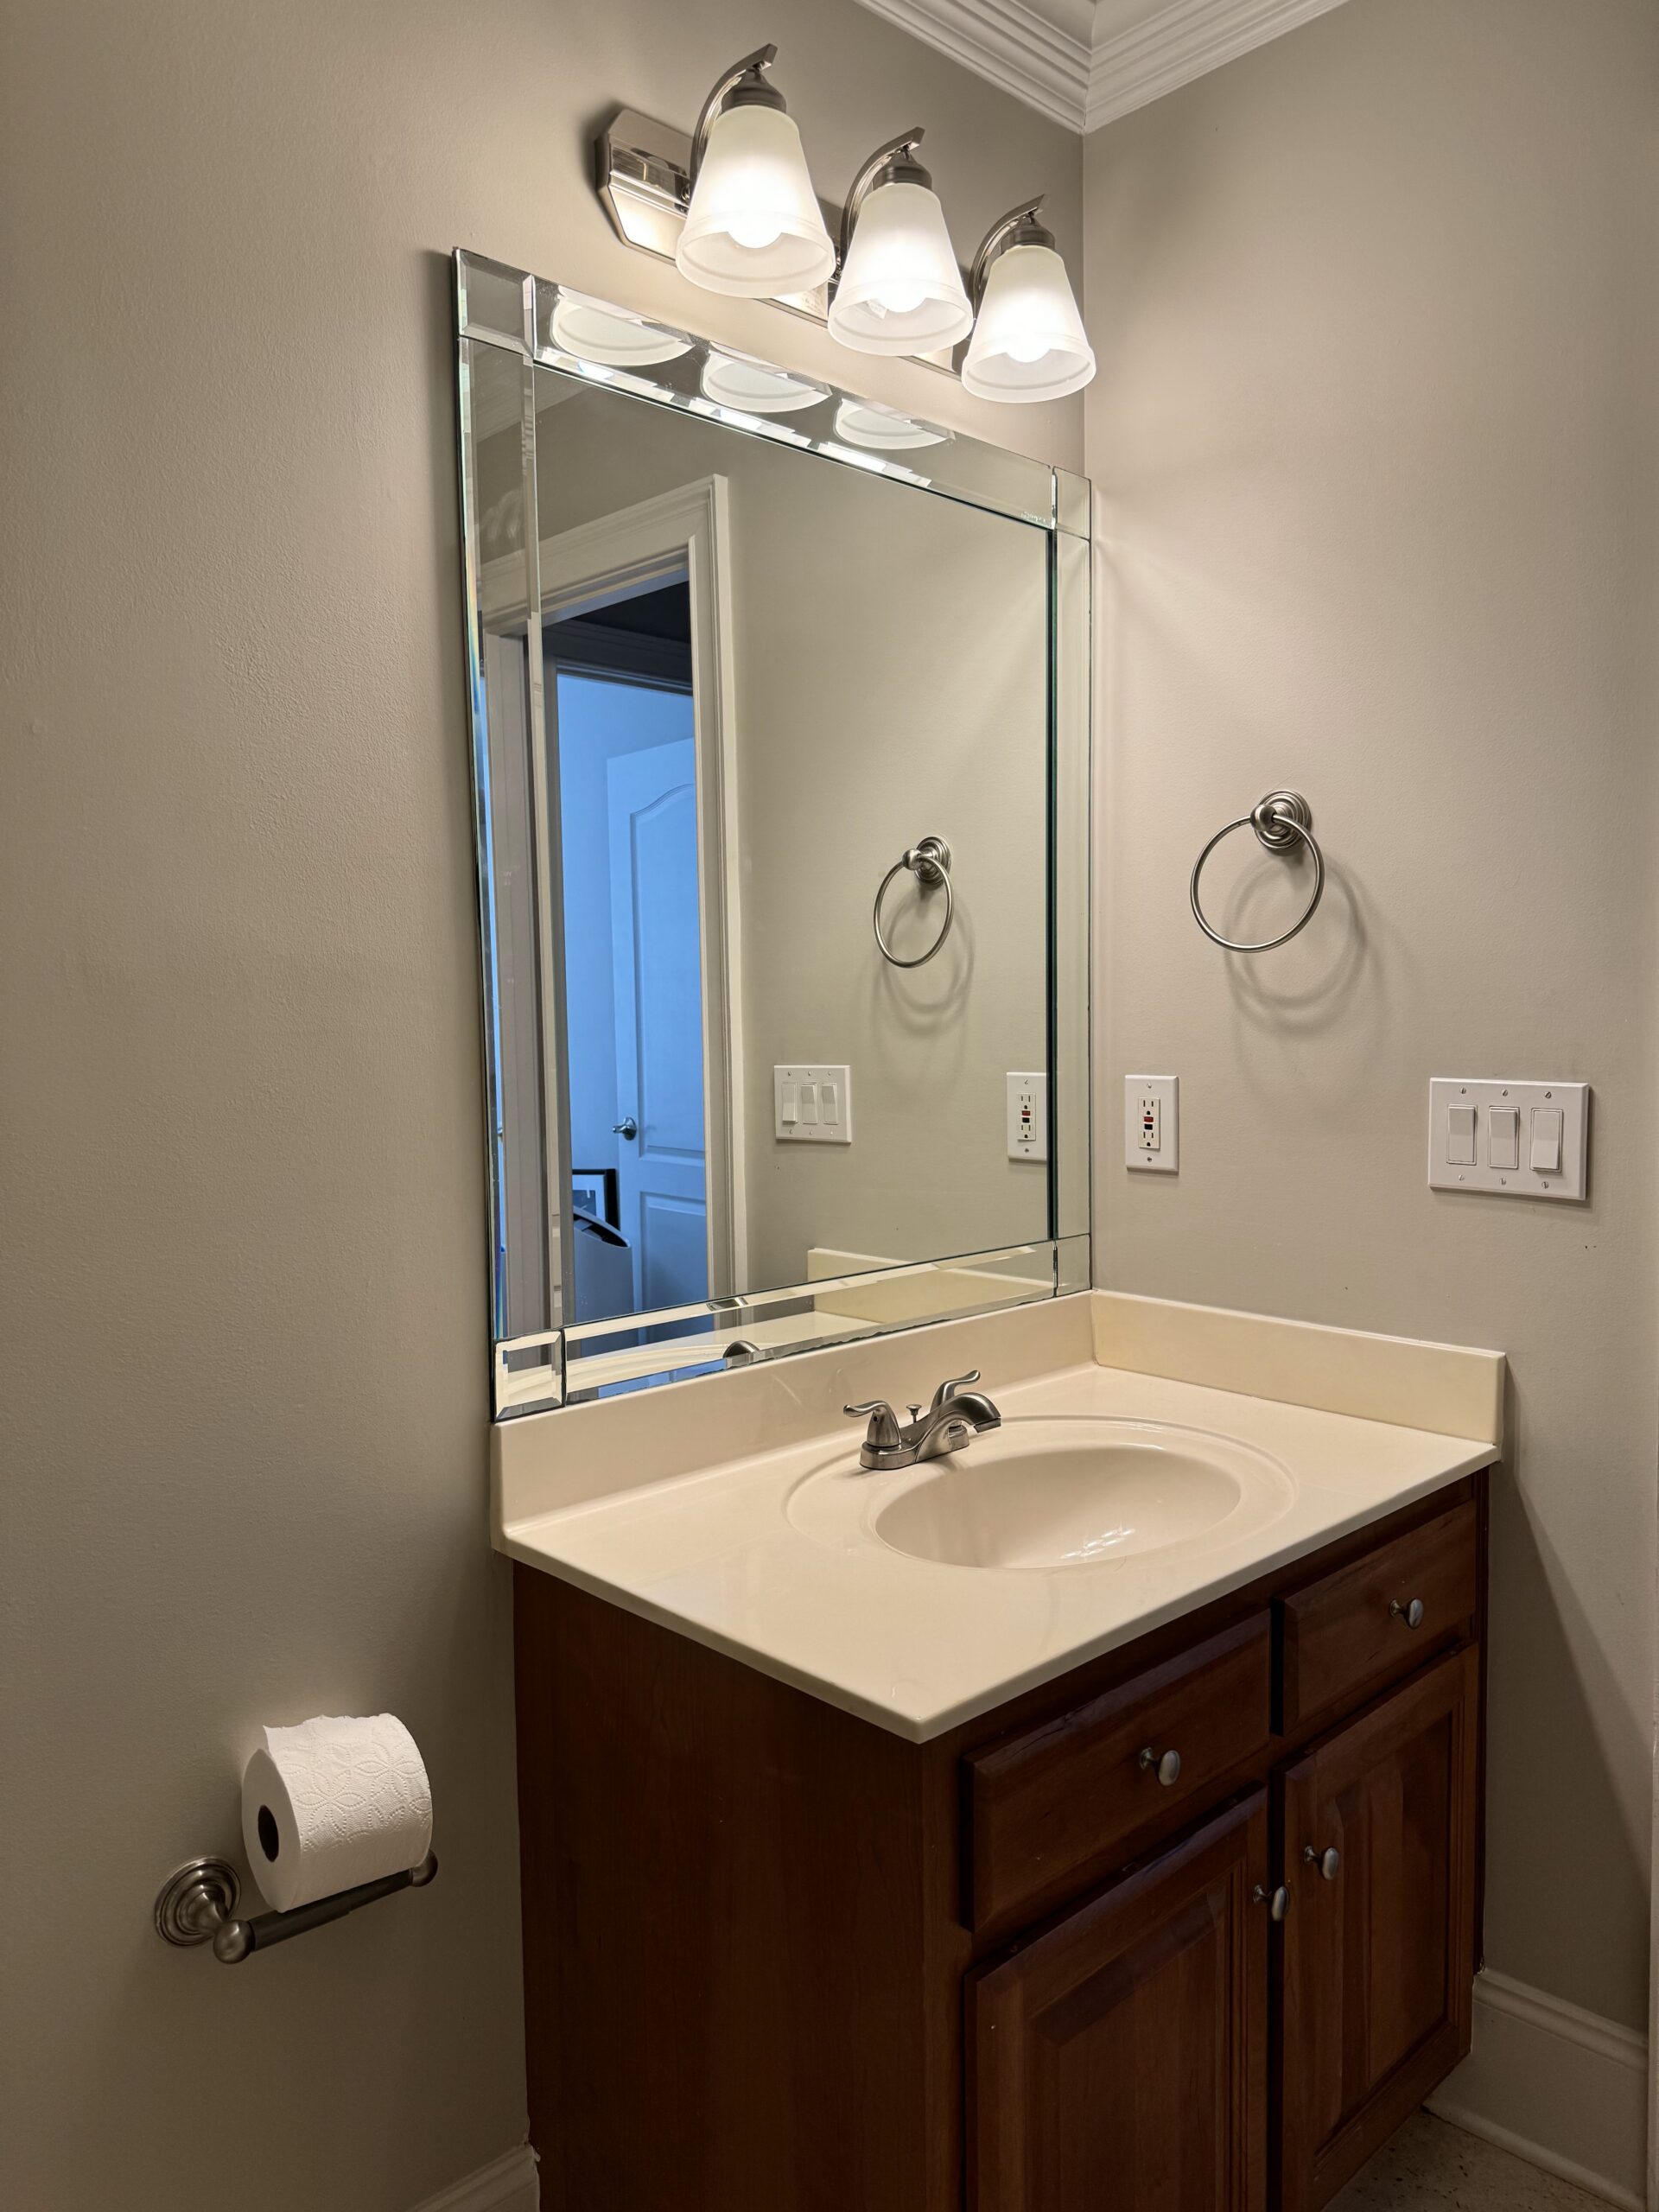
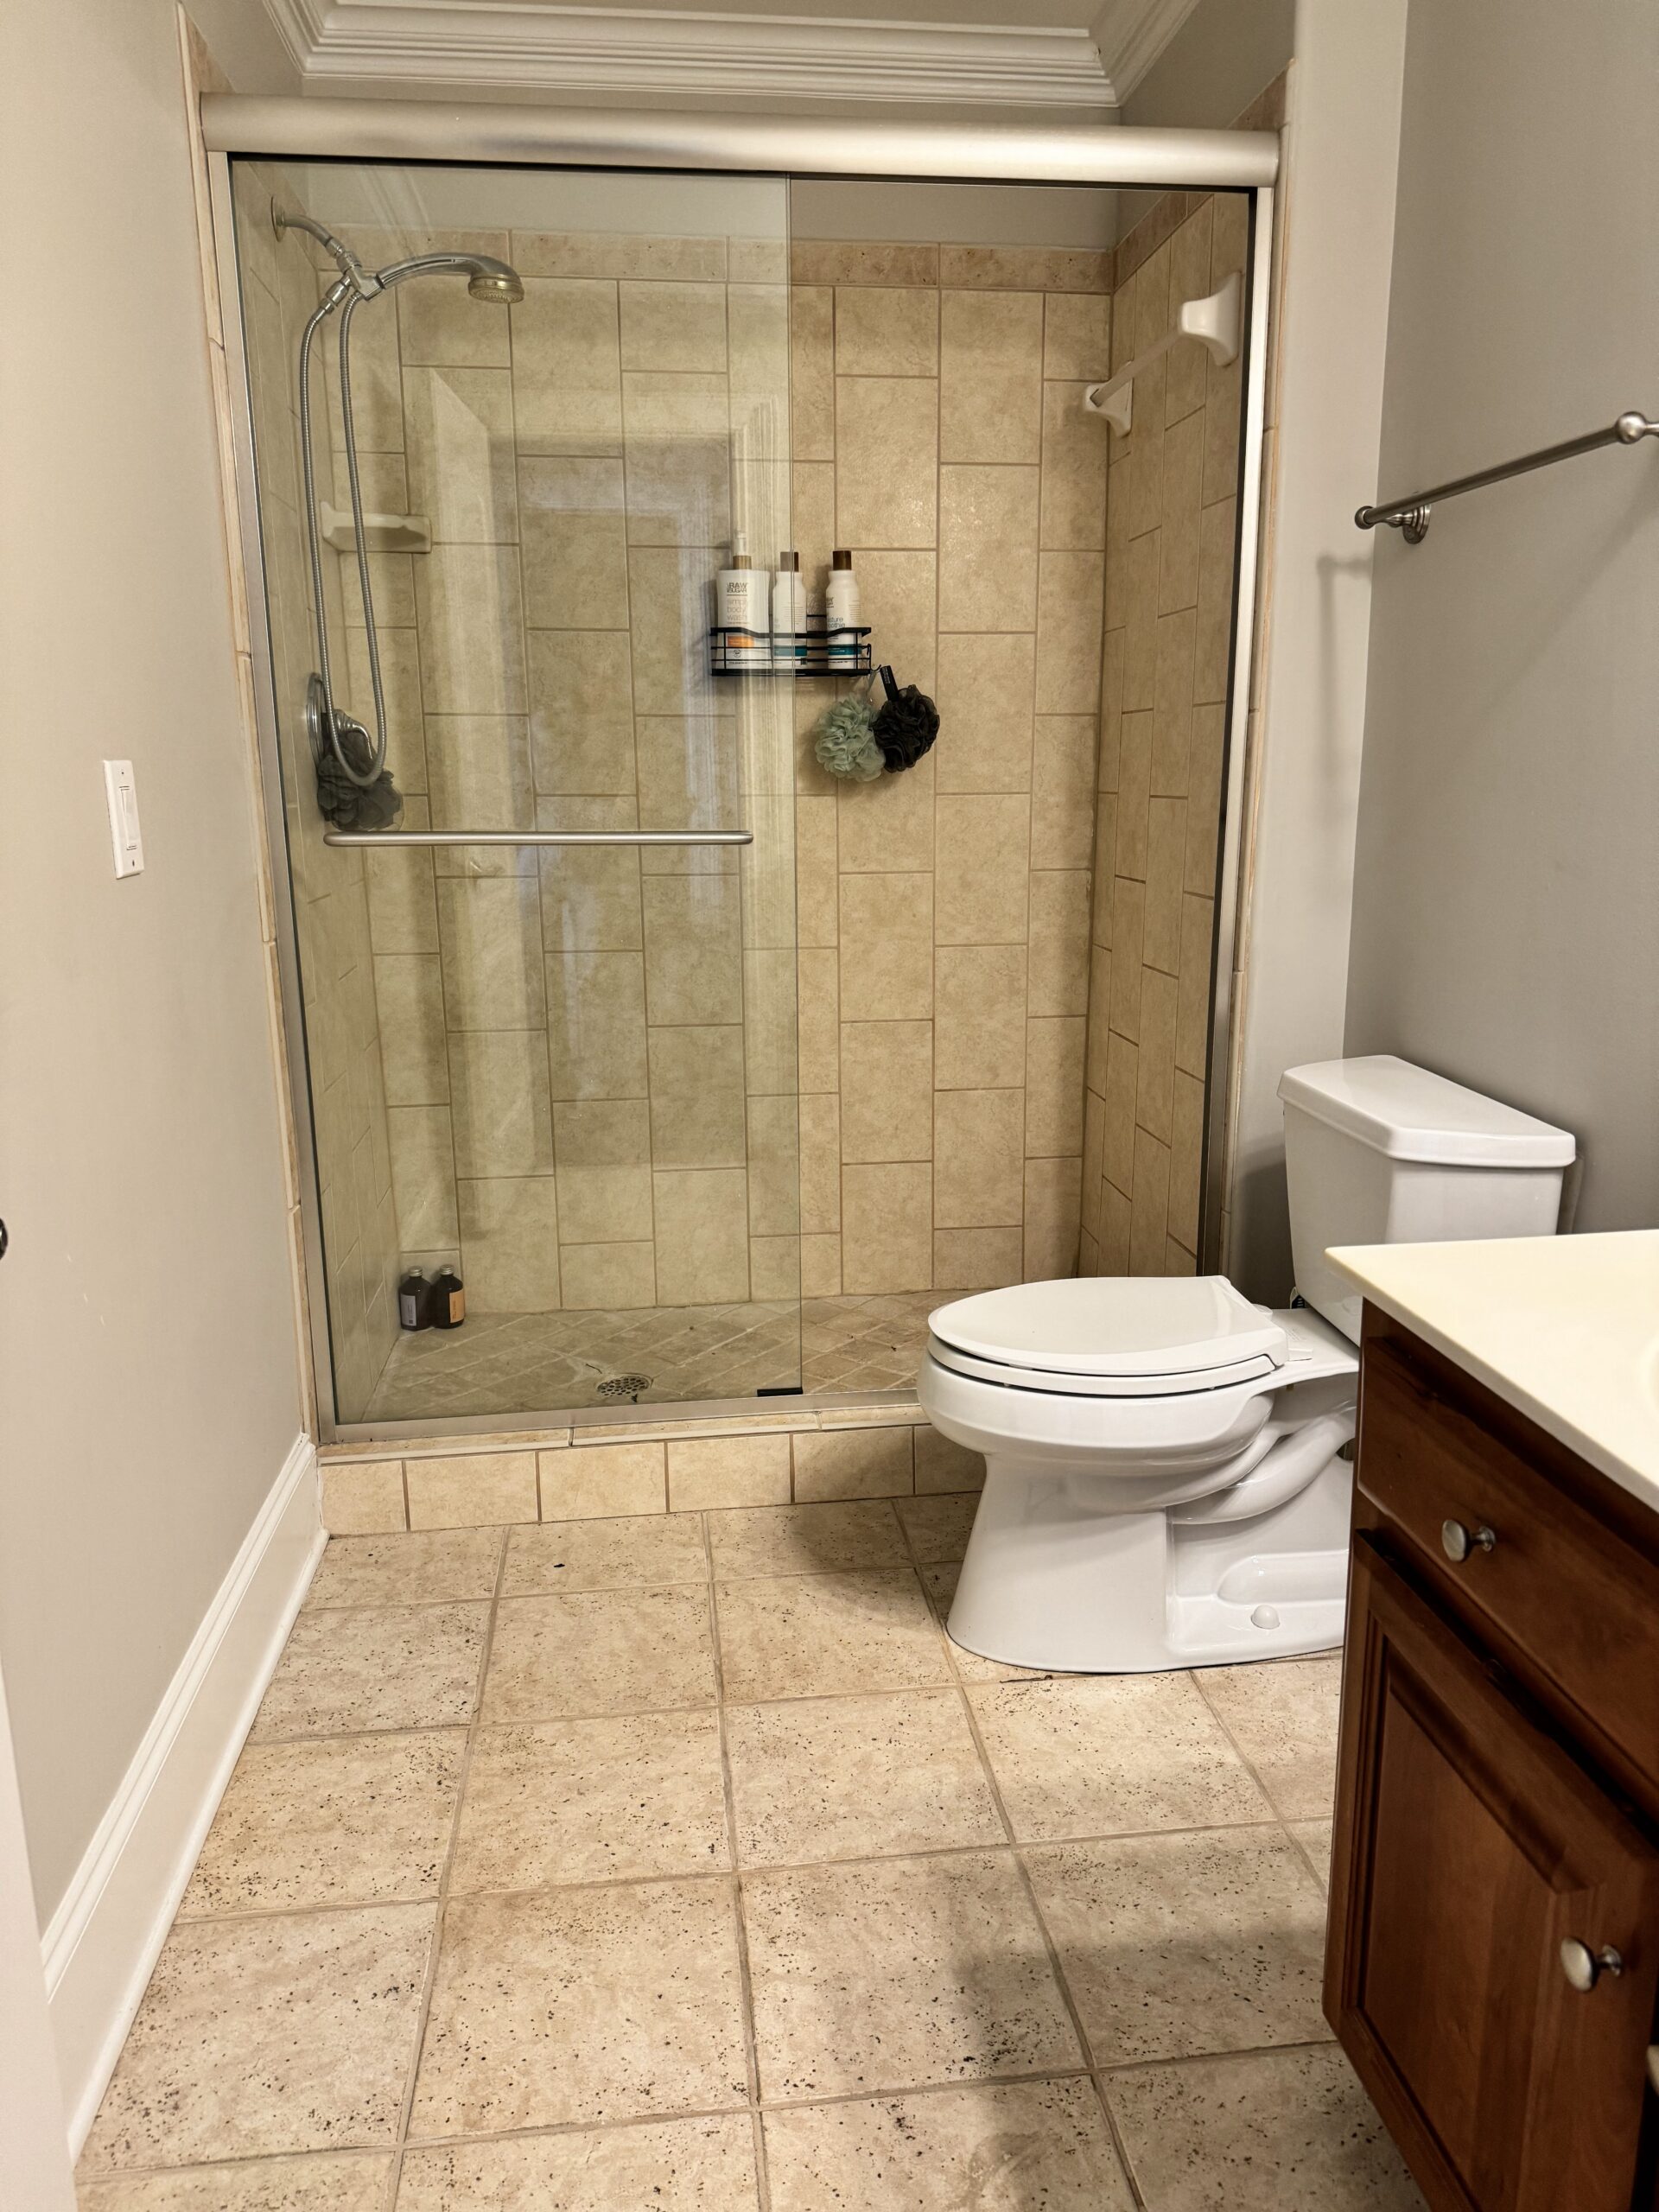
My Bathroom Plans
So what am I doing? I decided to:
- Paint the floor
- Draw a stencil pattern on the floor that I love
- Paint the shower tile (a great way to update your shower without having to do demo)
- New Vanity
- New Mirror
- New Lights
I did have the budget to completely replace the vanity area so that’s the only thing I will be spending more on.
Demo
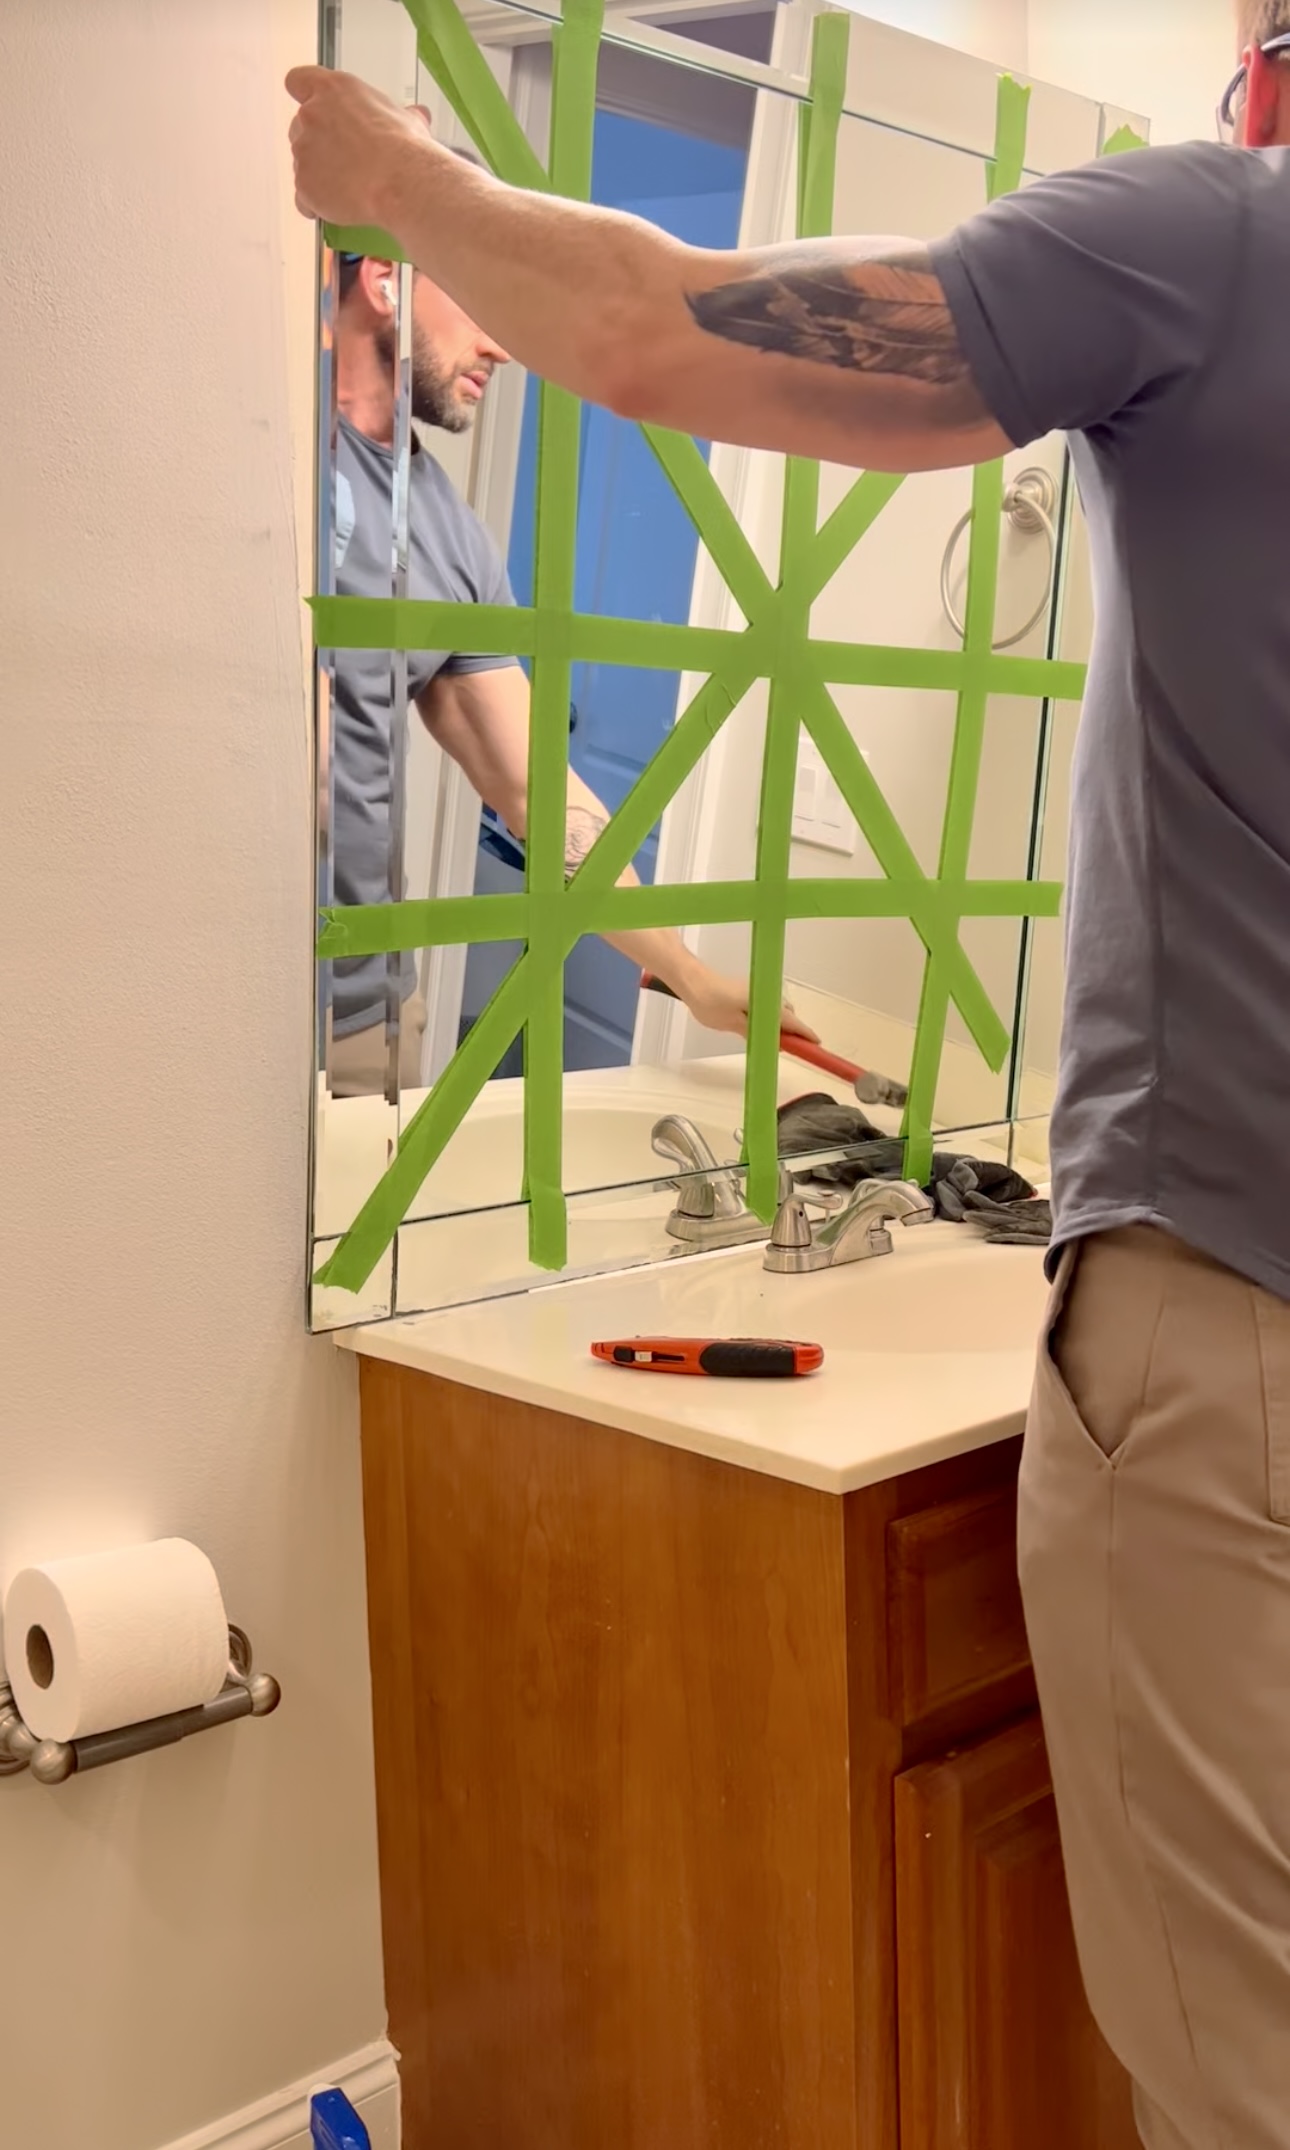
We started off by removing the mirror and the vanity. I always tape mirrors with Frog Tape before removing them in case they crack. If they do, you won’t have pieces of glass everywhere. TJ removed the vanity top and then the entire vanity.


Painting the Bathroom Floor Tiles
For the floor part of the project, I used this Rustoleum Floor Coating Kit. What I love about this is it doesn’t require any sanding or priming. You just have to clean it really well! So, I removed any hard spots on the floor with my utility knife and used the included hard cleaning solution.
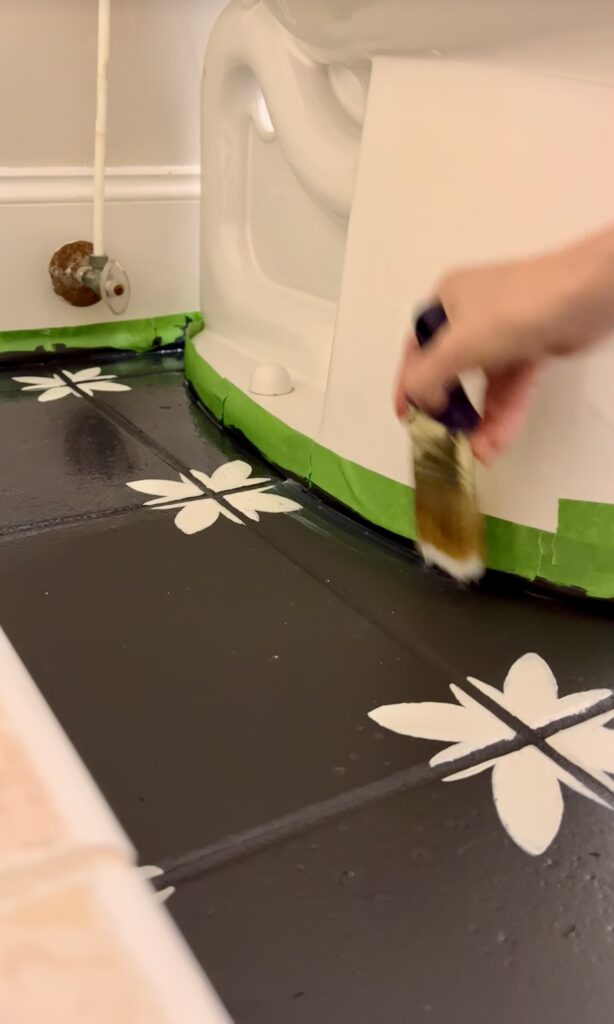
For the base color, I chose black. The top coat in this kit comes in tons of different sheens, but I chose matte for my design. I taped off the floor and the toilet with Frog Tape and then painted the perimeter with an angled brush. I then used a 3/8″ nap roller on the more open spaces. The first coat was rough (as always) – just a reminder to trust the process!


When I painted the second coat, things really started to come together. For this second coat, I brushed the grout lines and then rolled. The tile seemed to take the paint better that way.


Painting the Stencil
For the white floral design, I chose the Vanilla Milkshake Color. I thought it would be “fun” to freehand this part. 🤣 This part was definitely a labor of love. I had to remind myself that making your house a home takes time! It took me about 2.5 hours to paint the entire floor.
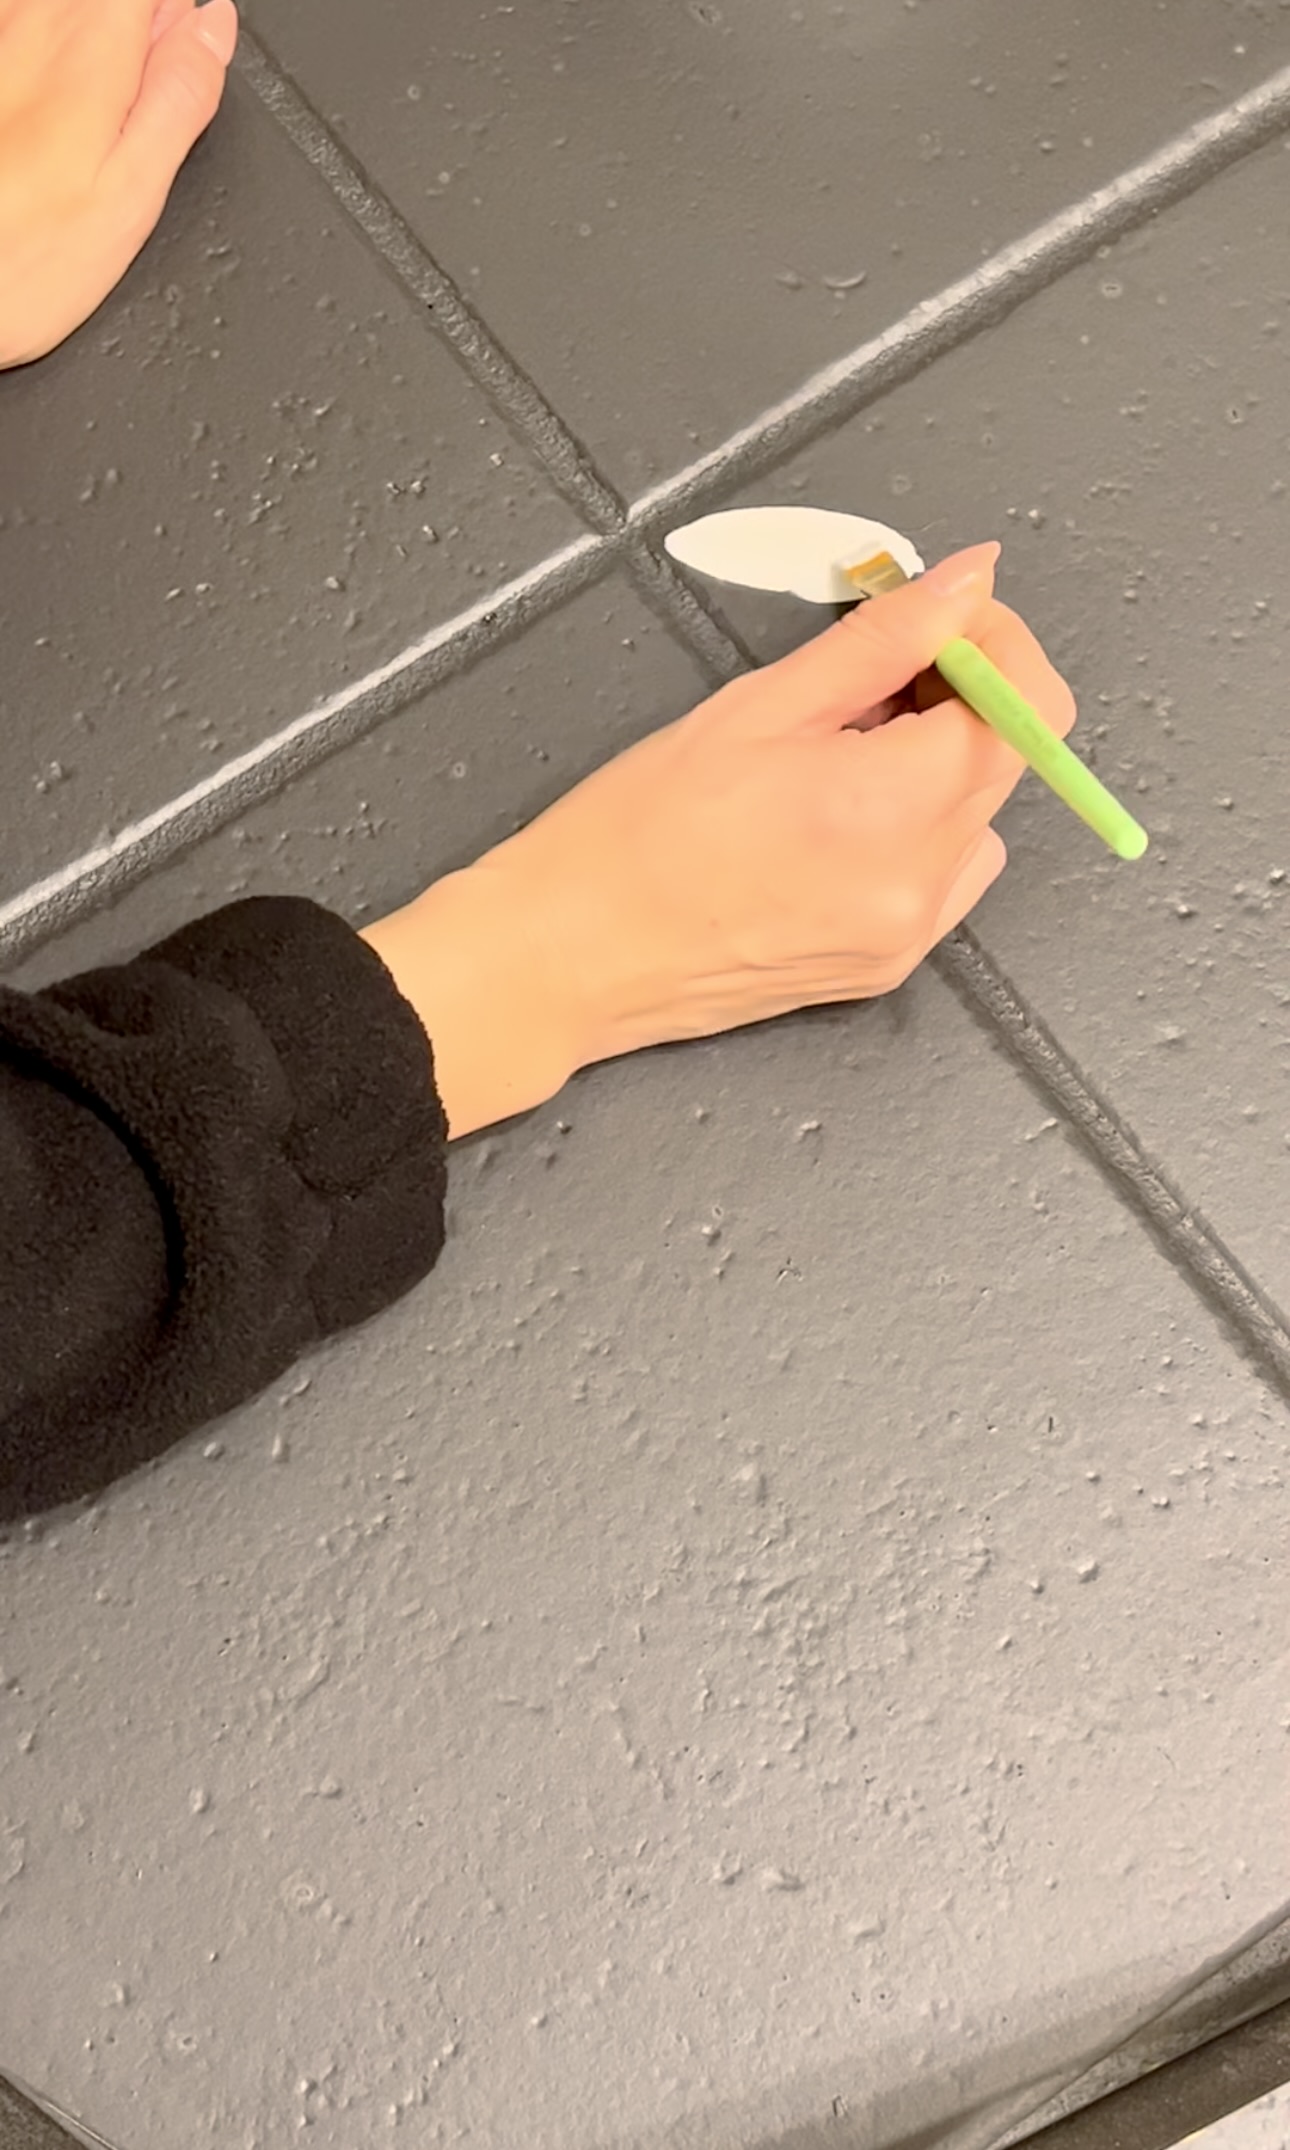


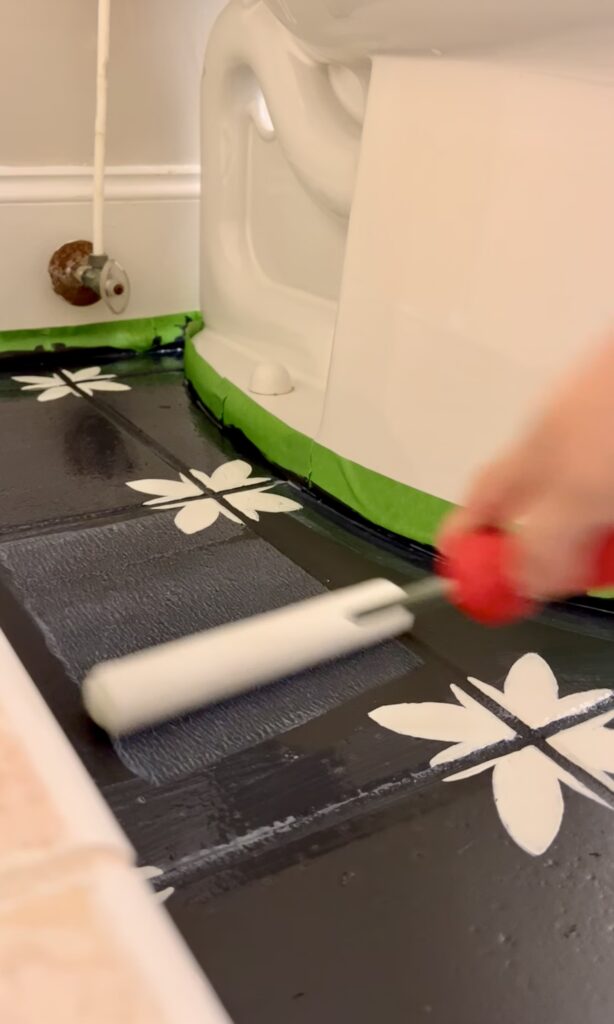
I let the flowers dry overnight and then painted the top coat. I chose matte because it’s more modern and fits the style of my home. But, they have a ton of other sheens! The top coat is really important here because it protects the paint from scratches, stains, and chips.
A couple of things to note. You want to use a 1/4″ nap roller for this part. You want to do 4×4 foot sections and keep a wet edge. Again, I used a brush for the edges and then rolled the rest. I chose to apply a second coat of top coat because I wanted extra protection in here.
You can walk on this floor paint after 24 hours, but it doesn’t fully cure for 72 hours.
This Rustoleum Floor Coating Kit was amazing and so easy to use to paint these bathroom floor tiles! Look how good the floor looks? If you don’t want to torture your back like me, you don’t have to paint the flowers. 😝

Let me know how this works for you if you try it out yourself!
Materials
