
Primary Bathroom Makeover: How We Built a Luxurious DIY Shower from Scratch
February 20, 2025

Our primary bathroom is GUTTED! If you remember, whoever did the work on our primary bathroom before we moved in didn’t do so hot. There was mold in the shower and it was just a mess. We’re knee deep in this primary bathroom makeover. If you missed it, you can check out our plans for our primary bathroom in this blog post. Now, let’s build the shower!
Why We Hired:
Normally, I like to do everything myself. We ended up hiring out for the full demo of this room and I’m so glad we did because it was not for me. It was so freaking dusty. There was definitely more mold we found so I’m glad we did this project! The water damage was insane and so gross. We also hired out the plumbers for this since we were changing so many things.

Then, we hired out electrical since we wanted to add a lot of new outlets.
Whenever I do room makeovers, I don’t throw things away. I like to sell them so they’re used again. We sold our vanity, mirror, bathtub, and faucets!
Framing
I wanted a shower niche in this new shower. To frame this, we cut into the framing and installed 2×4’s perpendicular to the studs/framing. Since the walls in here were open, we added some studs because we knew we’d be attaching glass along the wall. It’s best to do this going into a stud rather than anchors.
Next, I built the frame for the pony wall with 2×4’s and my drill. Our shower will be 60 x 60 on the inside.


We used cement board for the floor and the shower walls. To install it we used our drill and 1 5/8″ screws and cement tape to seal all of the joints. This stuff looks a lot like drywall tape but it’s actually more like a metal tape!


Shower Bed
We used bedding mortar to create our shower bed. Since our shower would be a custom size, we couldn’t buy one! You have to remember, if you’re building your own bed, to create a slope so the water can drain.
After that, we covered the entire shower with RedGard. This stuff prevents water damage and cracks!


Shower Tile
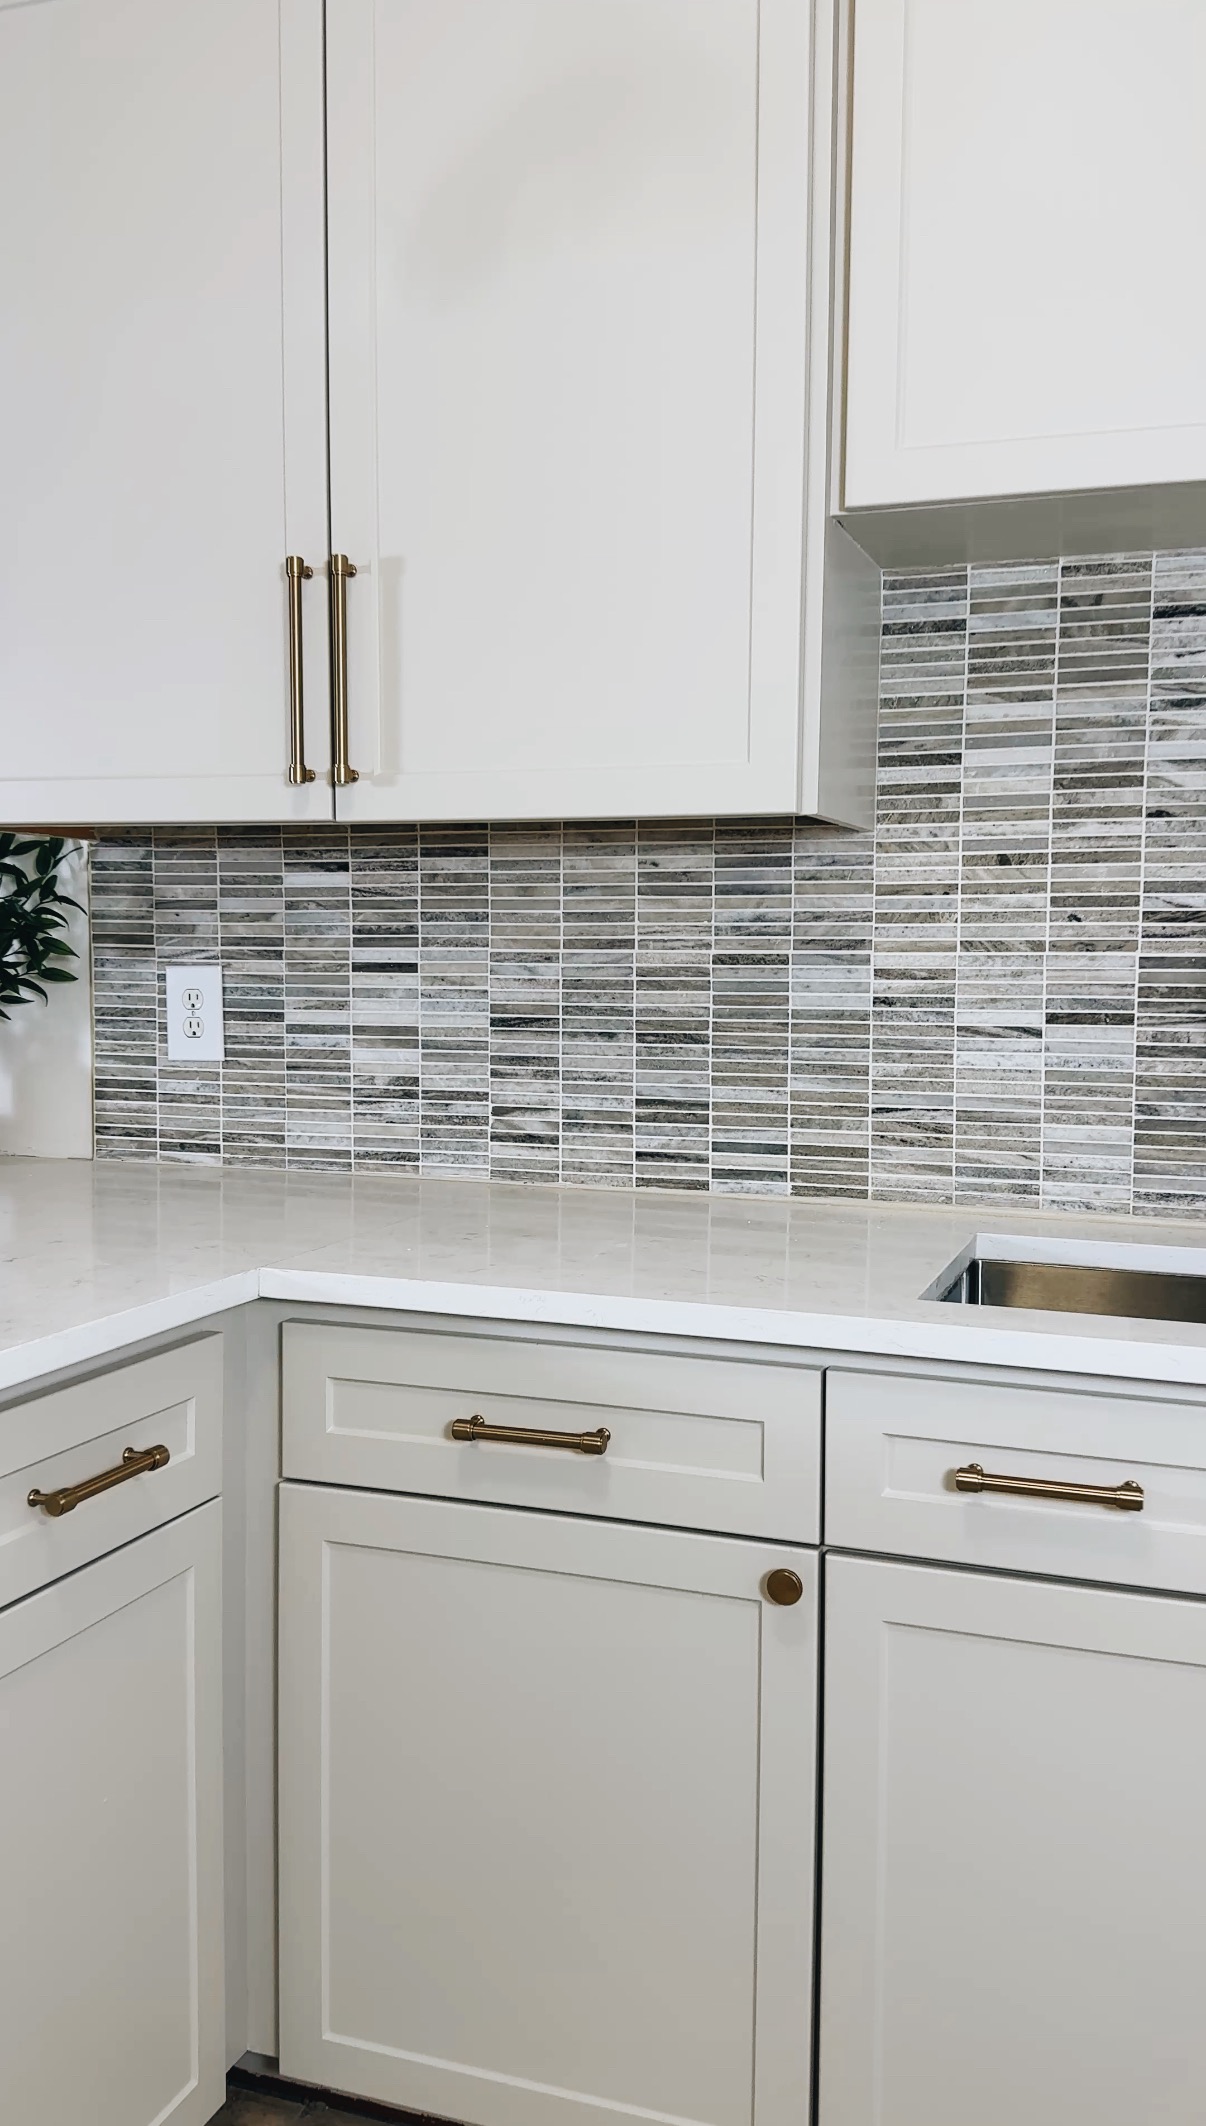
Tile time! We got this Montgomery Wall Tile by Ivy Hill and it is to die for. To install the tile, we mixed our grout and applied it to the wall and the tile with our tile float. Then, we attached each piece and made sure it was level. Between each piece, we put tile level clips/spacers. They help you space and level your tiles so you don’t have any slippage. Once everything is dry, you use a hammer to hit everything out. The blue part stays in and you can reuse the yellow pieces!


For grout, I used the color Linen. I do wish I would have chosen a darker color, but this will work!
Next, we laid out our shower floor tile. We marked all of the edges and cut with our wet tile saw before installing. The tile is called Tea Party Floral Thassos Marble by Jeffrey Court. In hindsight, I should have grabbed white mortar for the floor tile, but I was already pretty far into this so I just kept going!


This tile is so beautiful, but it was definitely a lot more work. I had to clean up the excess mortar between all of the tile so there was space for the grout to lay. Once that was dry, I applied the grout in sections. After about 10-15 minutes, I wiped it clean with a sponge. The grout color I used for the floor tile is Snow White.
I made a mistake 😩 I left a section to dry too long without cleaning it off so it got stuck to the tile. I had to use a diluted vinegar mixture to get it off and I was hunched over for hours. Don’t make my mistake. Don’t leave grout on too long!
Floor Tile
Next up, we installed this beautiful, white marble floor tile with the same leveling system we used in the shower. It’s called Carrara 18 in Glazed Porcelain by Lifeproof.


Shower Glass
Have I ever installed shower glass? No. Was I nervous? Yes. Would I persevere? YES! It was so nerve-racking. Mistakes couldn’t be made, as we were drilling directly into the marble tile we installed. We drilled a small hole and then installed gold hardware. We did this for all spaces where glass would be installed.
Then we set the glass in place and secured it. We picked pretty tall glass since our ceilings are so high. It looks SO GOOD! It reminded me I can do hard things!


I’m not gonna lie, this shower is a dream. I’m in love with how it turned out!

Stay tuned for the full reveal!
Materials
- 2×4’s
- Cement board
- 1 5/8″ screws
- Cement Tape
- Bedding Mortar
- Redgard
- Non Sanded Grout in Linen
- Montgomery Wall Tile by Ivy Hill
- Tea Party Floral Thassos Marble by Jeffrey Court
- Snow White Grout
- Leveling Clips/Spacers
- Carrara 18 in. Glazed Porcelain Floor & Wall Tile
Tools


Chef’s Kiss!!!! This looks amazing. Takes me back to the time we did our shower… LOL. All of your choices are superb. Great job Bong and TJ.
Aw thank you so much!
Hi, do you have a link to the vanity?
Thank you!!!
Yes! Here’s the link!
https://go.shopmy.us/p-13450533