Hi
I'm Bong
I'm just a girl who likes to DIY anything and everything. More than that, I love teaching people - especially women - how to pick up power tools and create the home of their dreams. Stop waiting for someone else and starting Doing It Yourself. I'll show you how!
diy projects
diy school
life hacks
categories
must have products

Okay, it’s time to take down this wall. I know some of you aren’t very happy with my decision but it is just not my style. With that being said, let’s redo my office! I am going to grab my utility knife, slice through the wood and peel it off. I will take my knife and slice where the wood meets the walk because there was caulk there. Once I slice it, I will place my wedge tool under the wood and pry it off.

So we took the trim off the wall and then we took a scraper to take off any pieces sticking out. Since there are still pieces sticking out I am taking a sanding block, grit 80 or 100, and I am going to lightly sand the pieces so that hopefully everything will come off.
The next step is putting a sealant over. The reason why is because drywall is made up of a few different materials and layers. The white stuff is gypsum, then the brown layer is a bunch of fine layers and then another white layer is now gone. If I were to paint or putty the wall there would be bubbles because of all the water, so I need to seal it first. The best sealant is Pro-999, Problem Solving Sealer for Porous Surfaces. I’ll use this and then let it dry.
I make mistakes so you don’t have to. So I put the sealer on top of the white paint that I didn’t peel all the way and once the sealers dried it ended up bubbling and I had to re-peel everything. It was such a pain. So I took all the paint and the white layer off and so now I am re-sanding. And then I will re-seal. Now that the Pro-999 is dried, I am going to go through and use my joint compound to fill in any chunks missing in the drywall. This all-purpose joint compound is my go to and I use it for all types of projects. When you are filling in holes you want to use a putty knife that’s an inch wider than the hole on both sides.

Next, we began to paint the whole room. After that, it is time to do the picture molding. I’m excited because I won’t have to run in and out of my garage. I‘m using a PVC trim and using some cutters to make it easier. This is ¾ in PVC trim. I couldn’t find this at Lowe’s, only at Home Depot. It is ¾ in wide and little more than ¼ in thick. I am using PVC cutters. Totally worth the purchase because they make it so easy. I’m going to show yall how to use them.
I made my mark at 66in and this is my outer corner. I mitered the other end at a 45-degree angle. These shears have different angles with numbers. I’m only using 45 degrees and I know this side needs to be cut at the opposite angle as the other end. There is a ledge you line the trim on. Make sure the trim is on there straight and just cut. It is super easy and I will make a few more of these and start putting them on the wall.

I use my laser level that is universal so it will fit any tripod. It is completely self-adjusting so even if you have it on uneven terrain it will adjust itself. It’s a really cool and useful tool. In order for me to put this trim on the wall, I just used my pin nailer. I was going to use my Brad nailer but it would leave a bigger hole. With the pin nailer, the holes are tiny and I won’t have to putty the holes.
You don’t need to go into a stud, just put a bunch of pins into the trim. The first frame always takes the longest because you have to make sure everything is plumb and level with the wall. Now I am going to lay on the frame for my second piece. My second piece is going to be bigger than the other ones on either side. Now that I know it’s plumb as long as I slide my spacer, a chunk of extra wood that’s 4in, up and down then I know my next piece will be level as well. I did this again under the original frame using my spacer.
Here are the dimensions that I used for my wall.
Next, I repeated this process with slightly smaller pieces to give it a doubled frame look. The next step is using filler in the corners. I am using this spackle and it is super awesome. The best part is that you don’t have to sand. You put it in the cracks then take a baby wipe and just wipe it off. Then it’ll be good and ready for painting.
Alright, I am about to hang up some pictures in my office and I wanted to show you one of the easiest ways to do it. These are the J Hooks, no tools are required. Just use the puncture tool the kit comes with and the hook. Here is the diagram for the art pieces.
The art is 19in and so half of that is 9½ in which will be where I place the first puncture hole. You can see this tiny little dot, push the puncture tool in and take your J hook and just stick it in, just keep pushing it in until it hits the wall. Now I’ll just hang up my pictures. Next I took my paint and painted over all the framing.
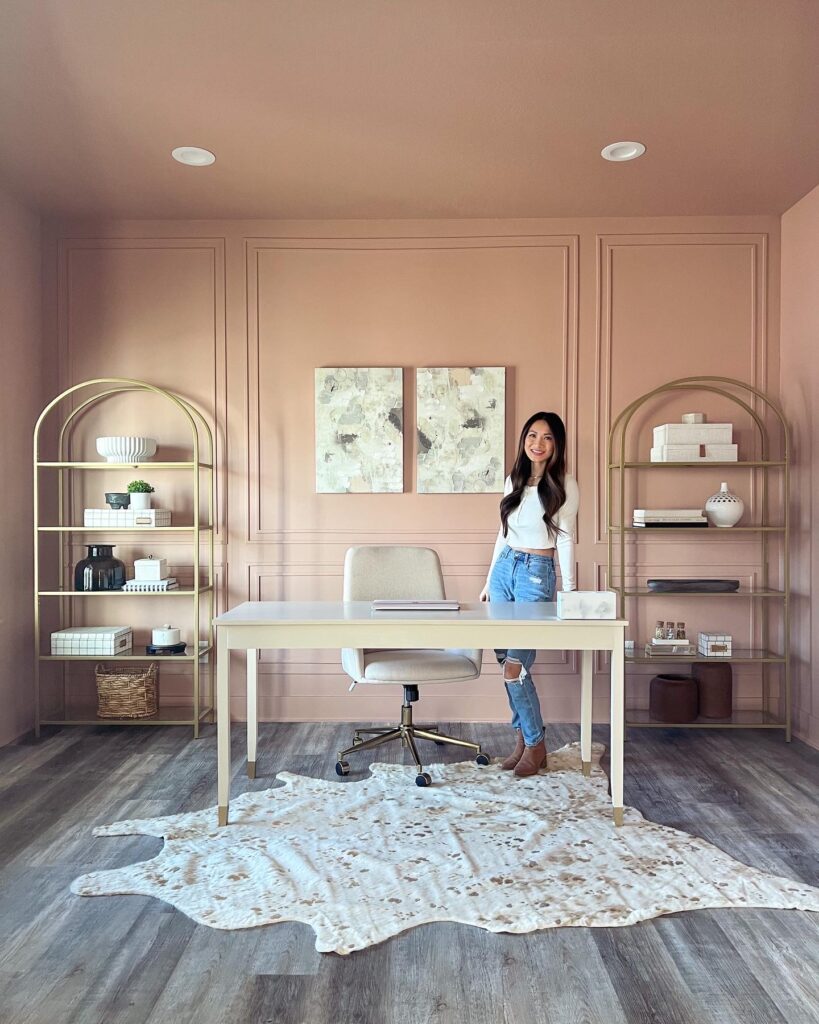
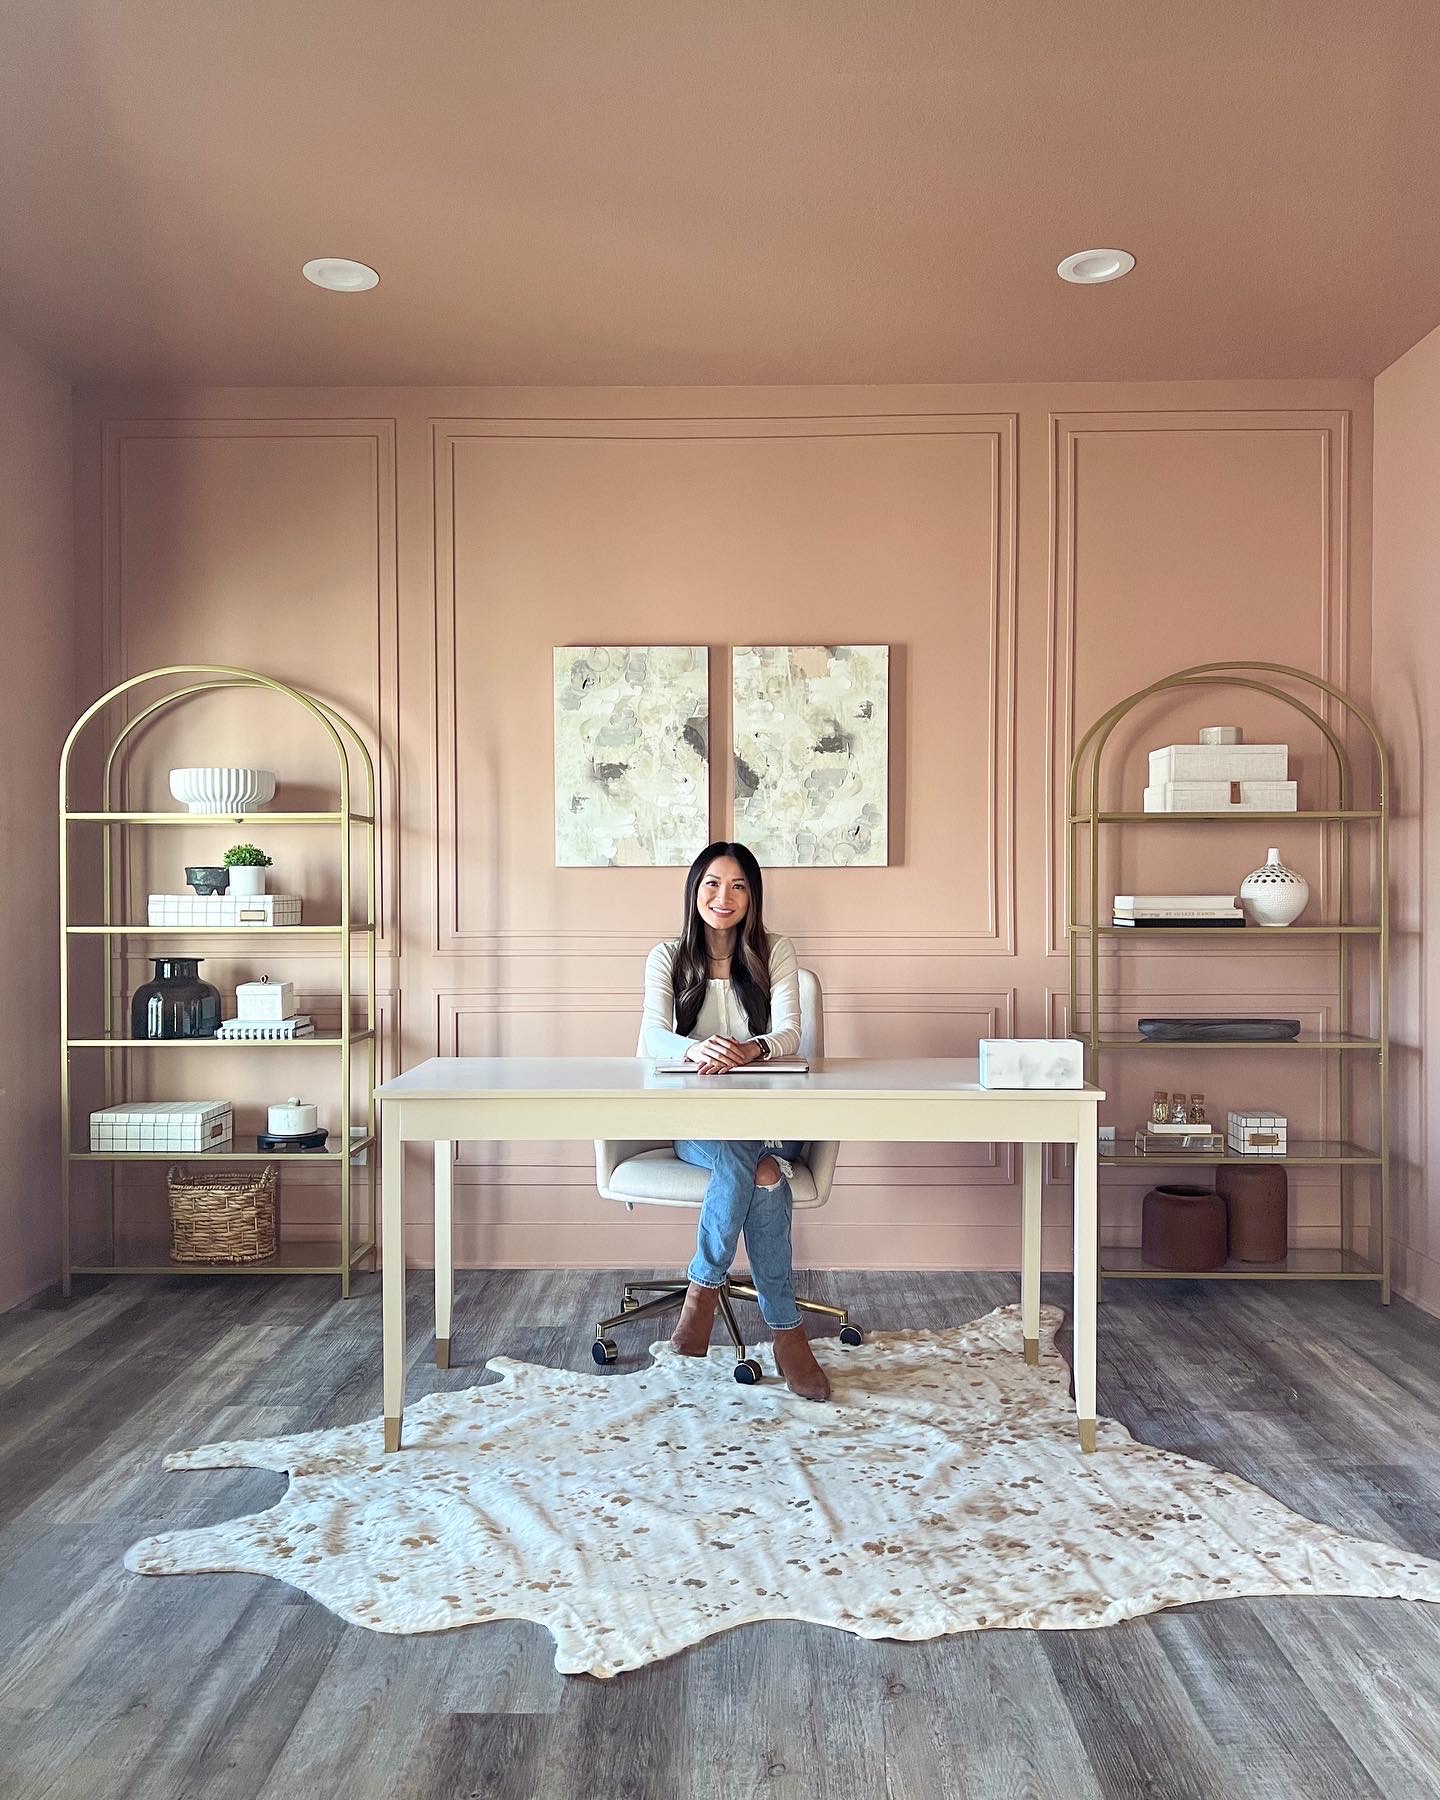
Since the office is done I am going to show you what the rest of the office looks like. In the center I have this table that I made, there is a highlight of it on my Instagram. Behind the desk is this super cute chair. It was an amazing deal but I’ll be honest, it is not very comfortable but it is really cute. So look over comfort on this one. On either side of my desk I have bookshelves. I also have a soft, really cute rug under the desk. I still have some wall decor to add but I love the way it has turned out so far!


