Hi
I'm Bong
I'm just a girl who likes to DIY anything and everything. More than that, I love teaching people - especially women - how to pick up power tools and create the home of their dreams. Stop waiting for someone else and starting Doing It Yourself. I'll show you how!
diy projects
diy school
life hacks
categories
must have products
We just finished redoing Tatum’s bedroom (she helped too!) and now it’s time to do a “quick” makeover for her bathroom. There won’t be any demo. All the changes are cosmetic, but will completely change the look of her bathroom!

Here’s what it looked like when we started. There was a really old 90’s vanity that was broken and needed some love. The shower was super dated – the tile isn’t terrible but the rest of it needed some attention.

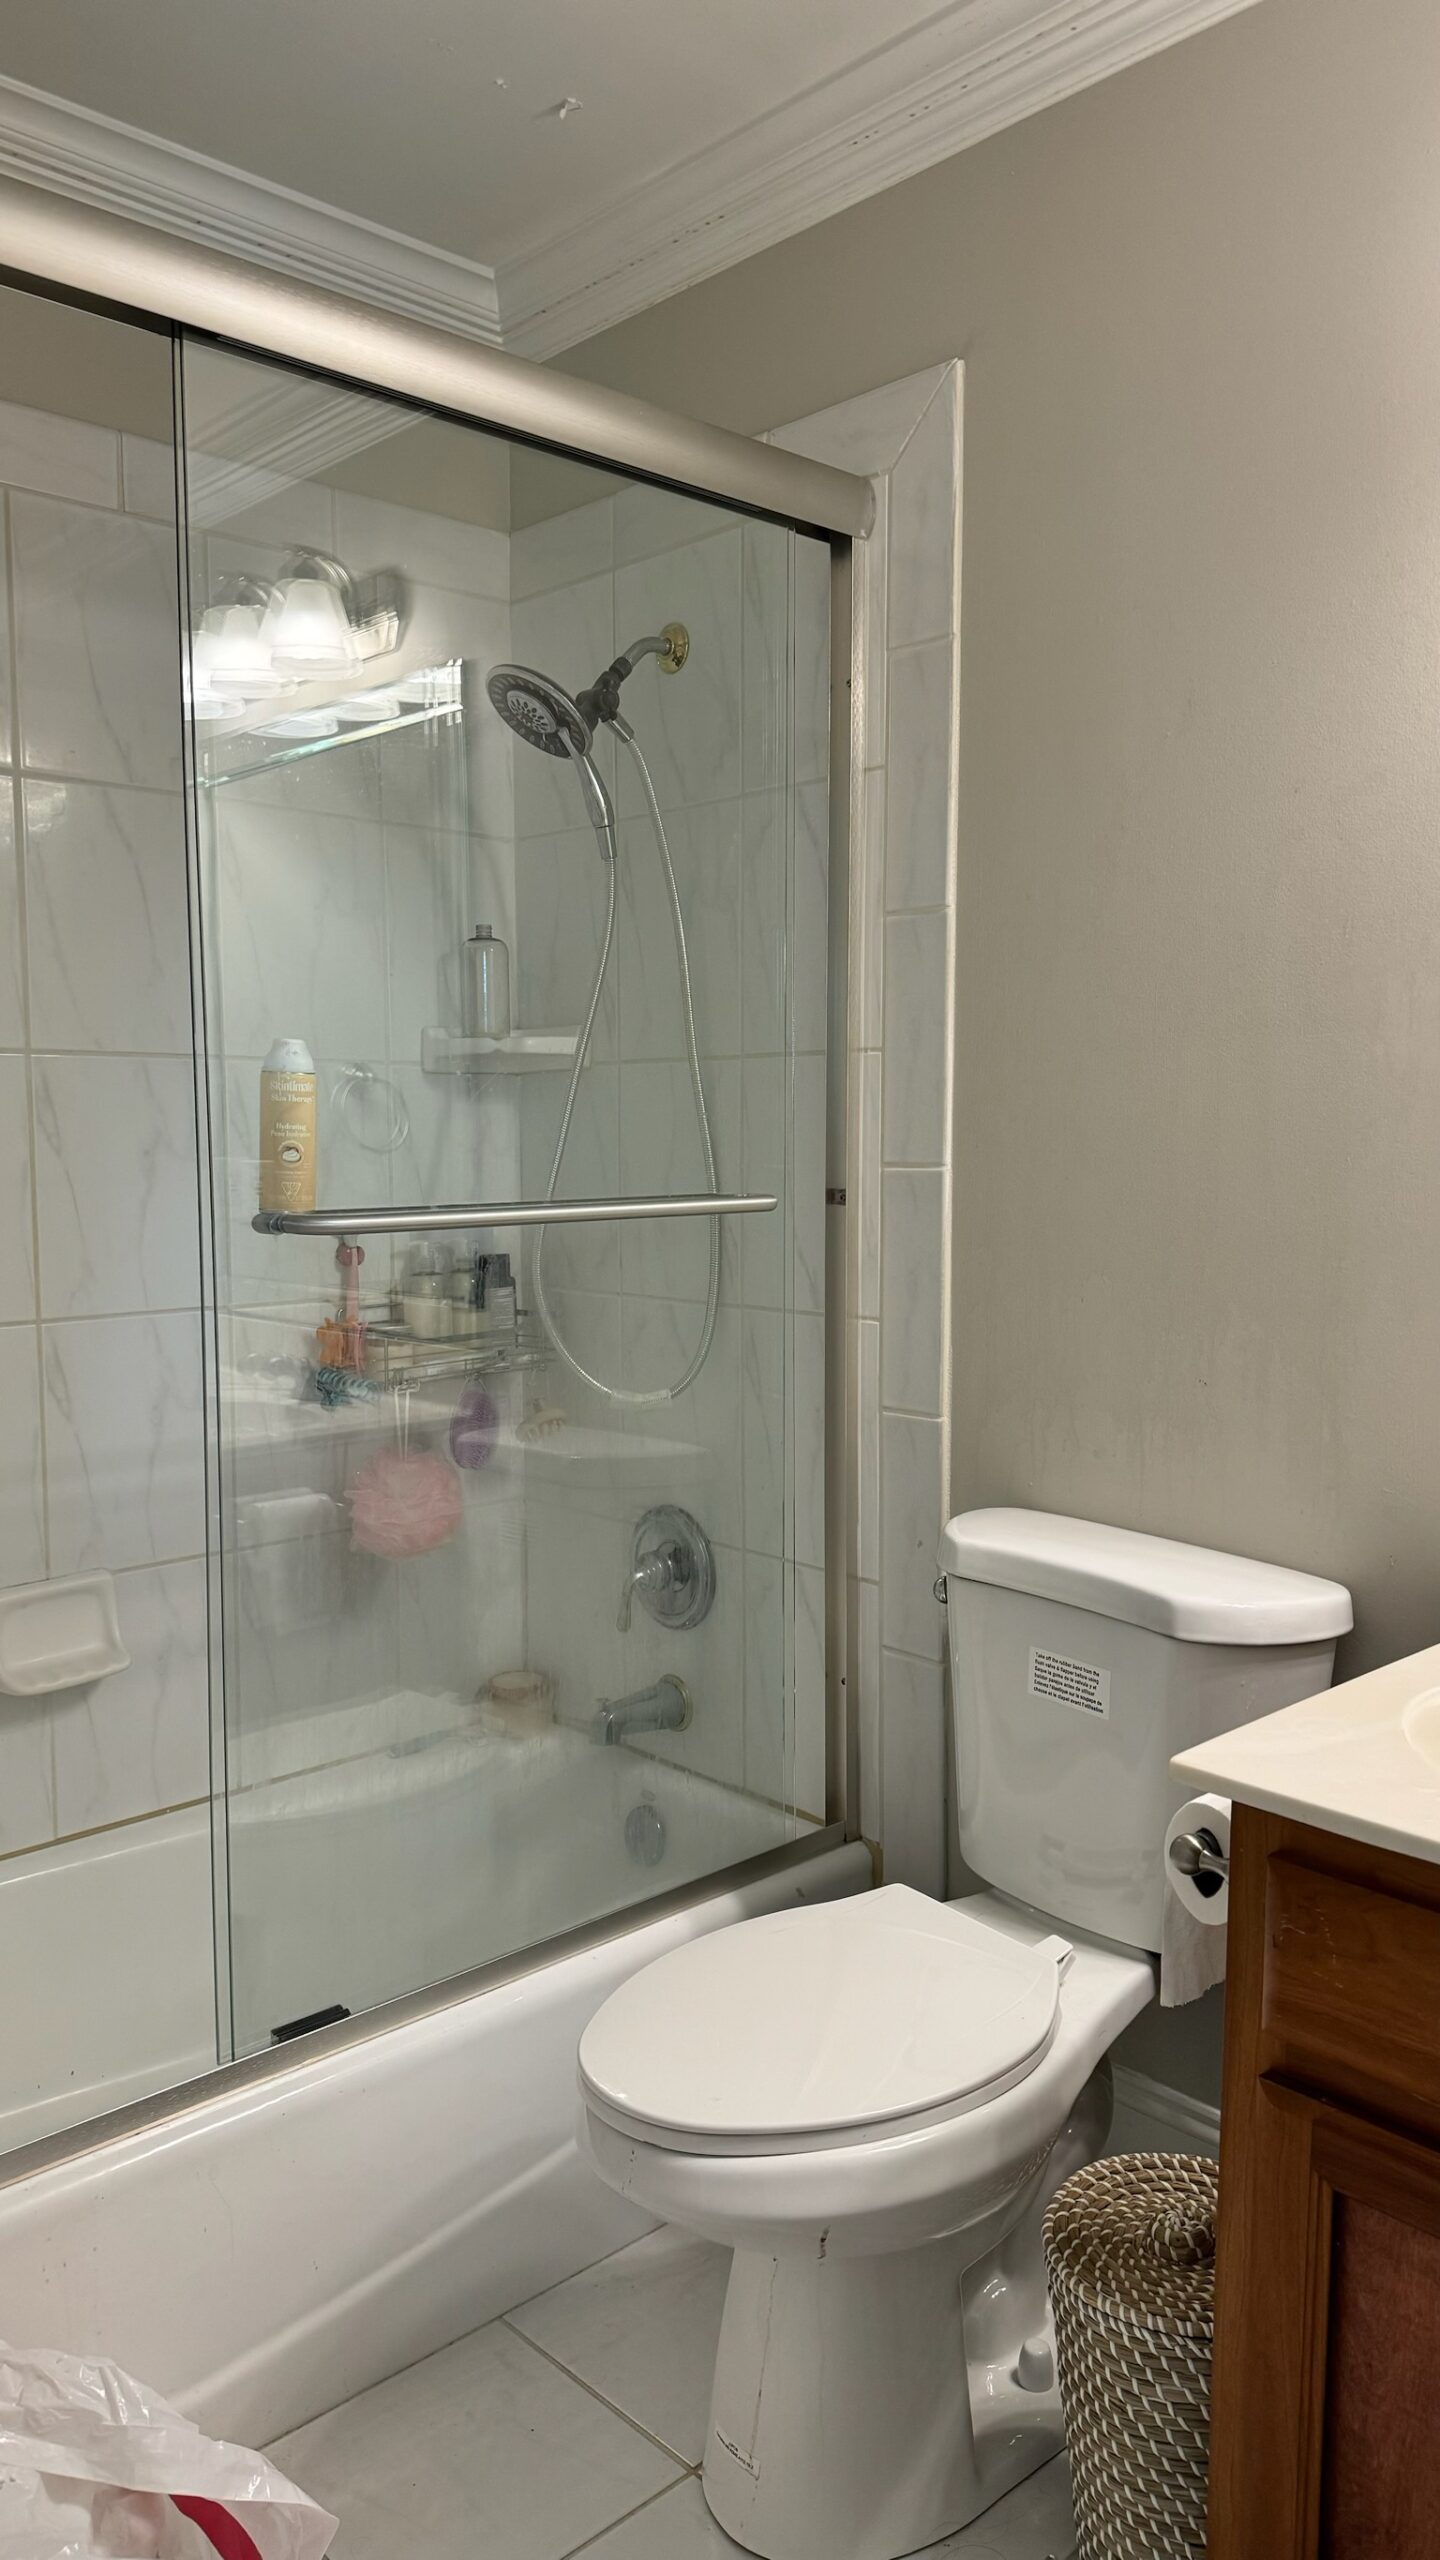
We wanted to add wallpaper on all 4 walls, rip out the vanity and the mirror, get her a new light, and new plumbing! I can’t wait!
“Demo”
I say “demo” but really it’s just removing all the old fixtures we replaced.
First, TJ took down the mirror in here. If you didn’t know, tape keeps the mirror together should it shatter in the process of removing it.
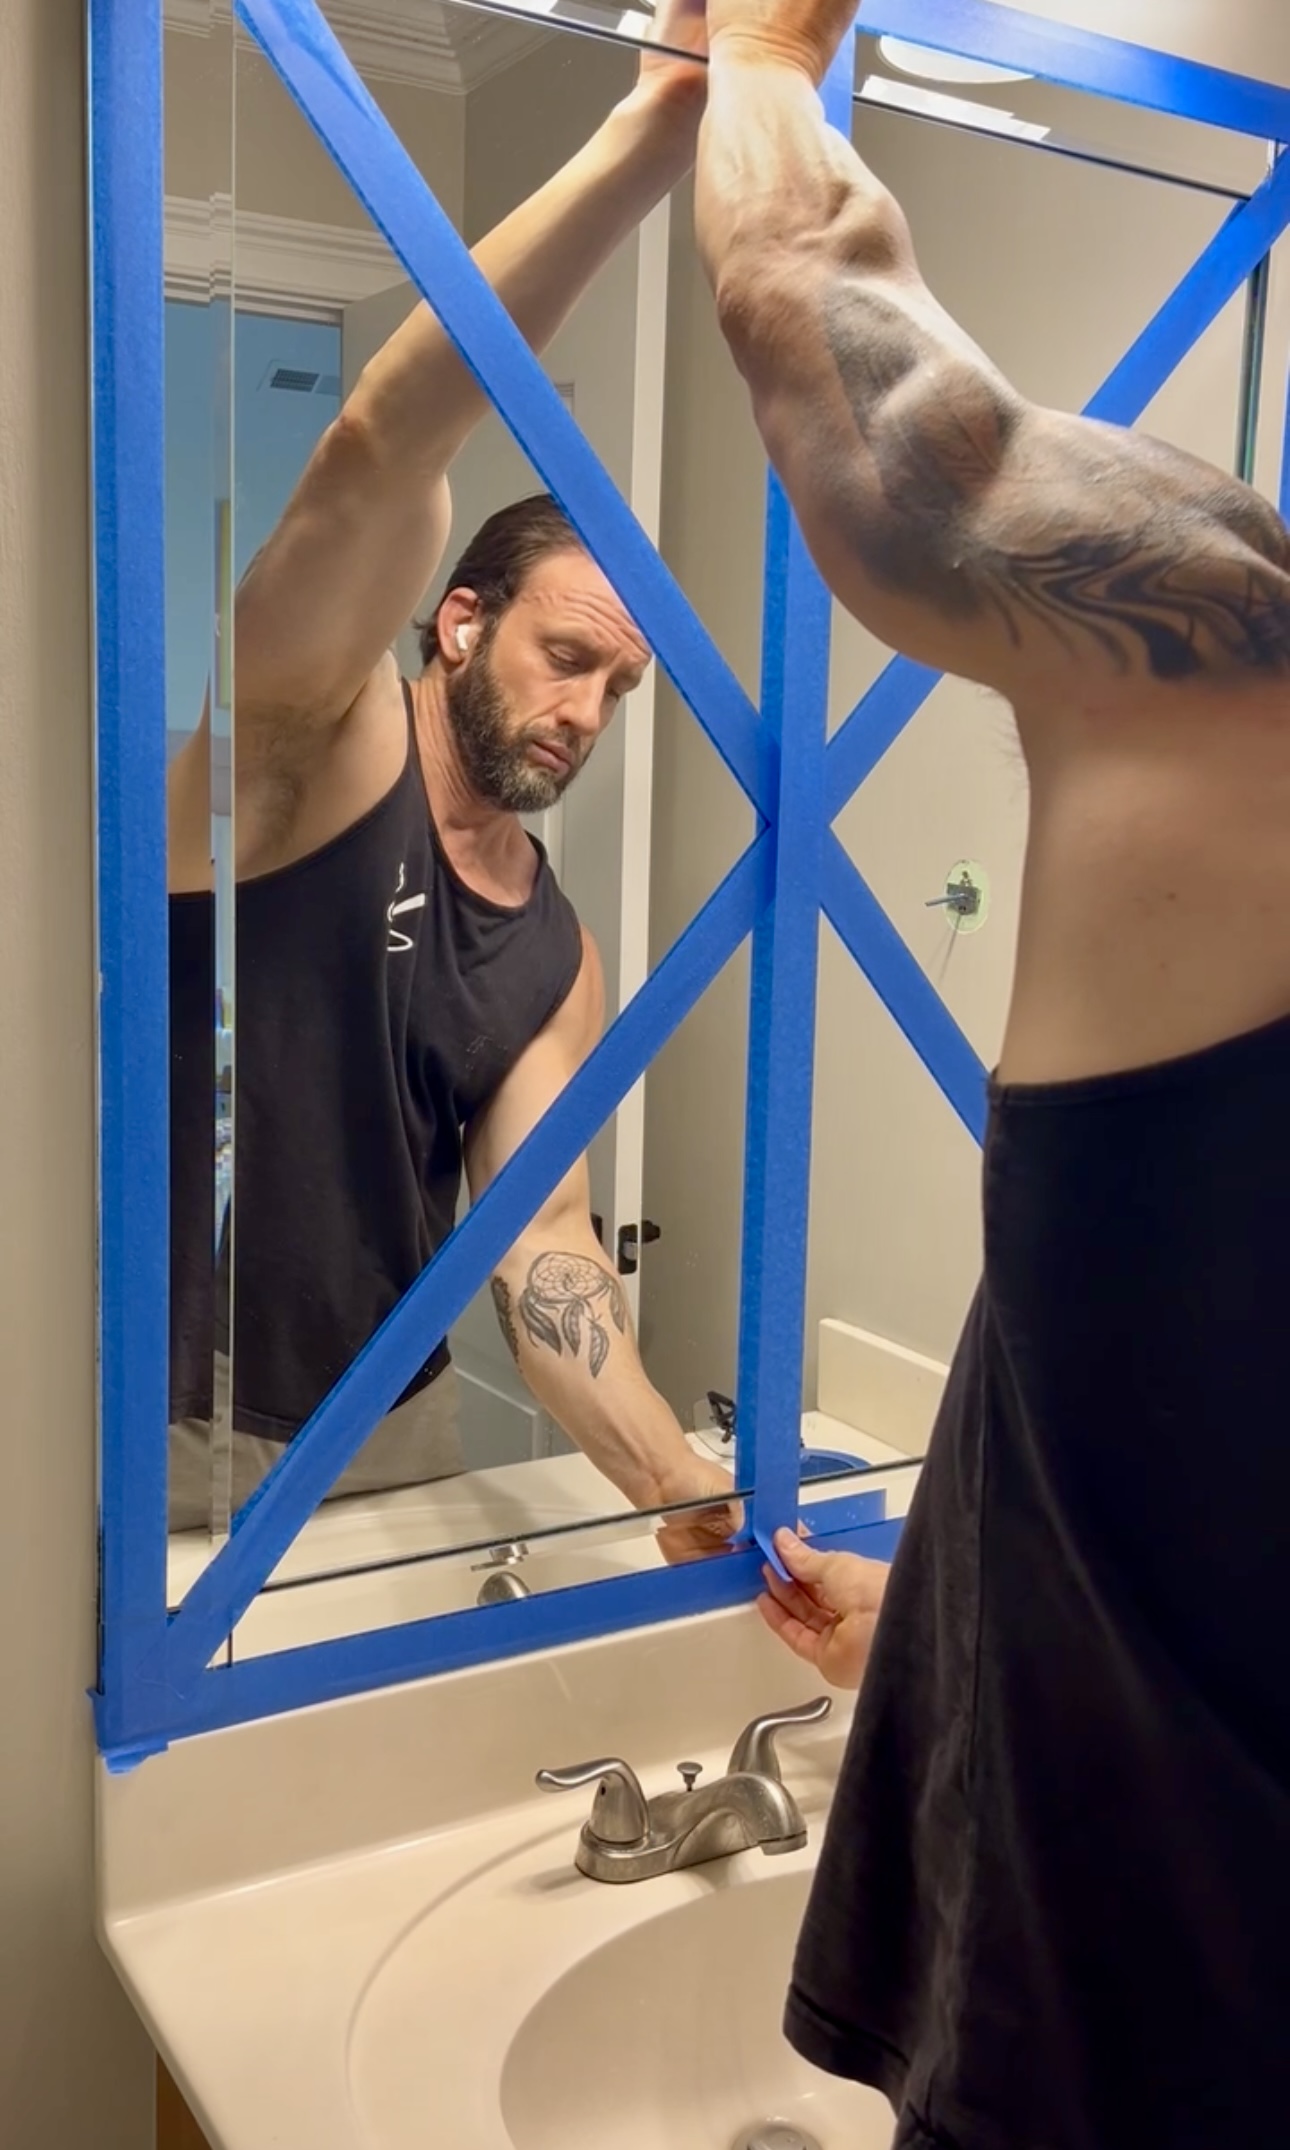
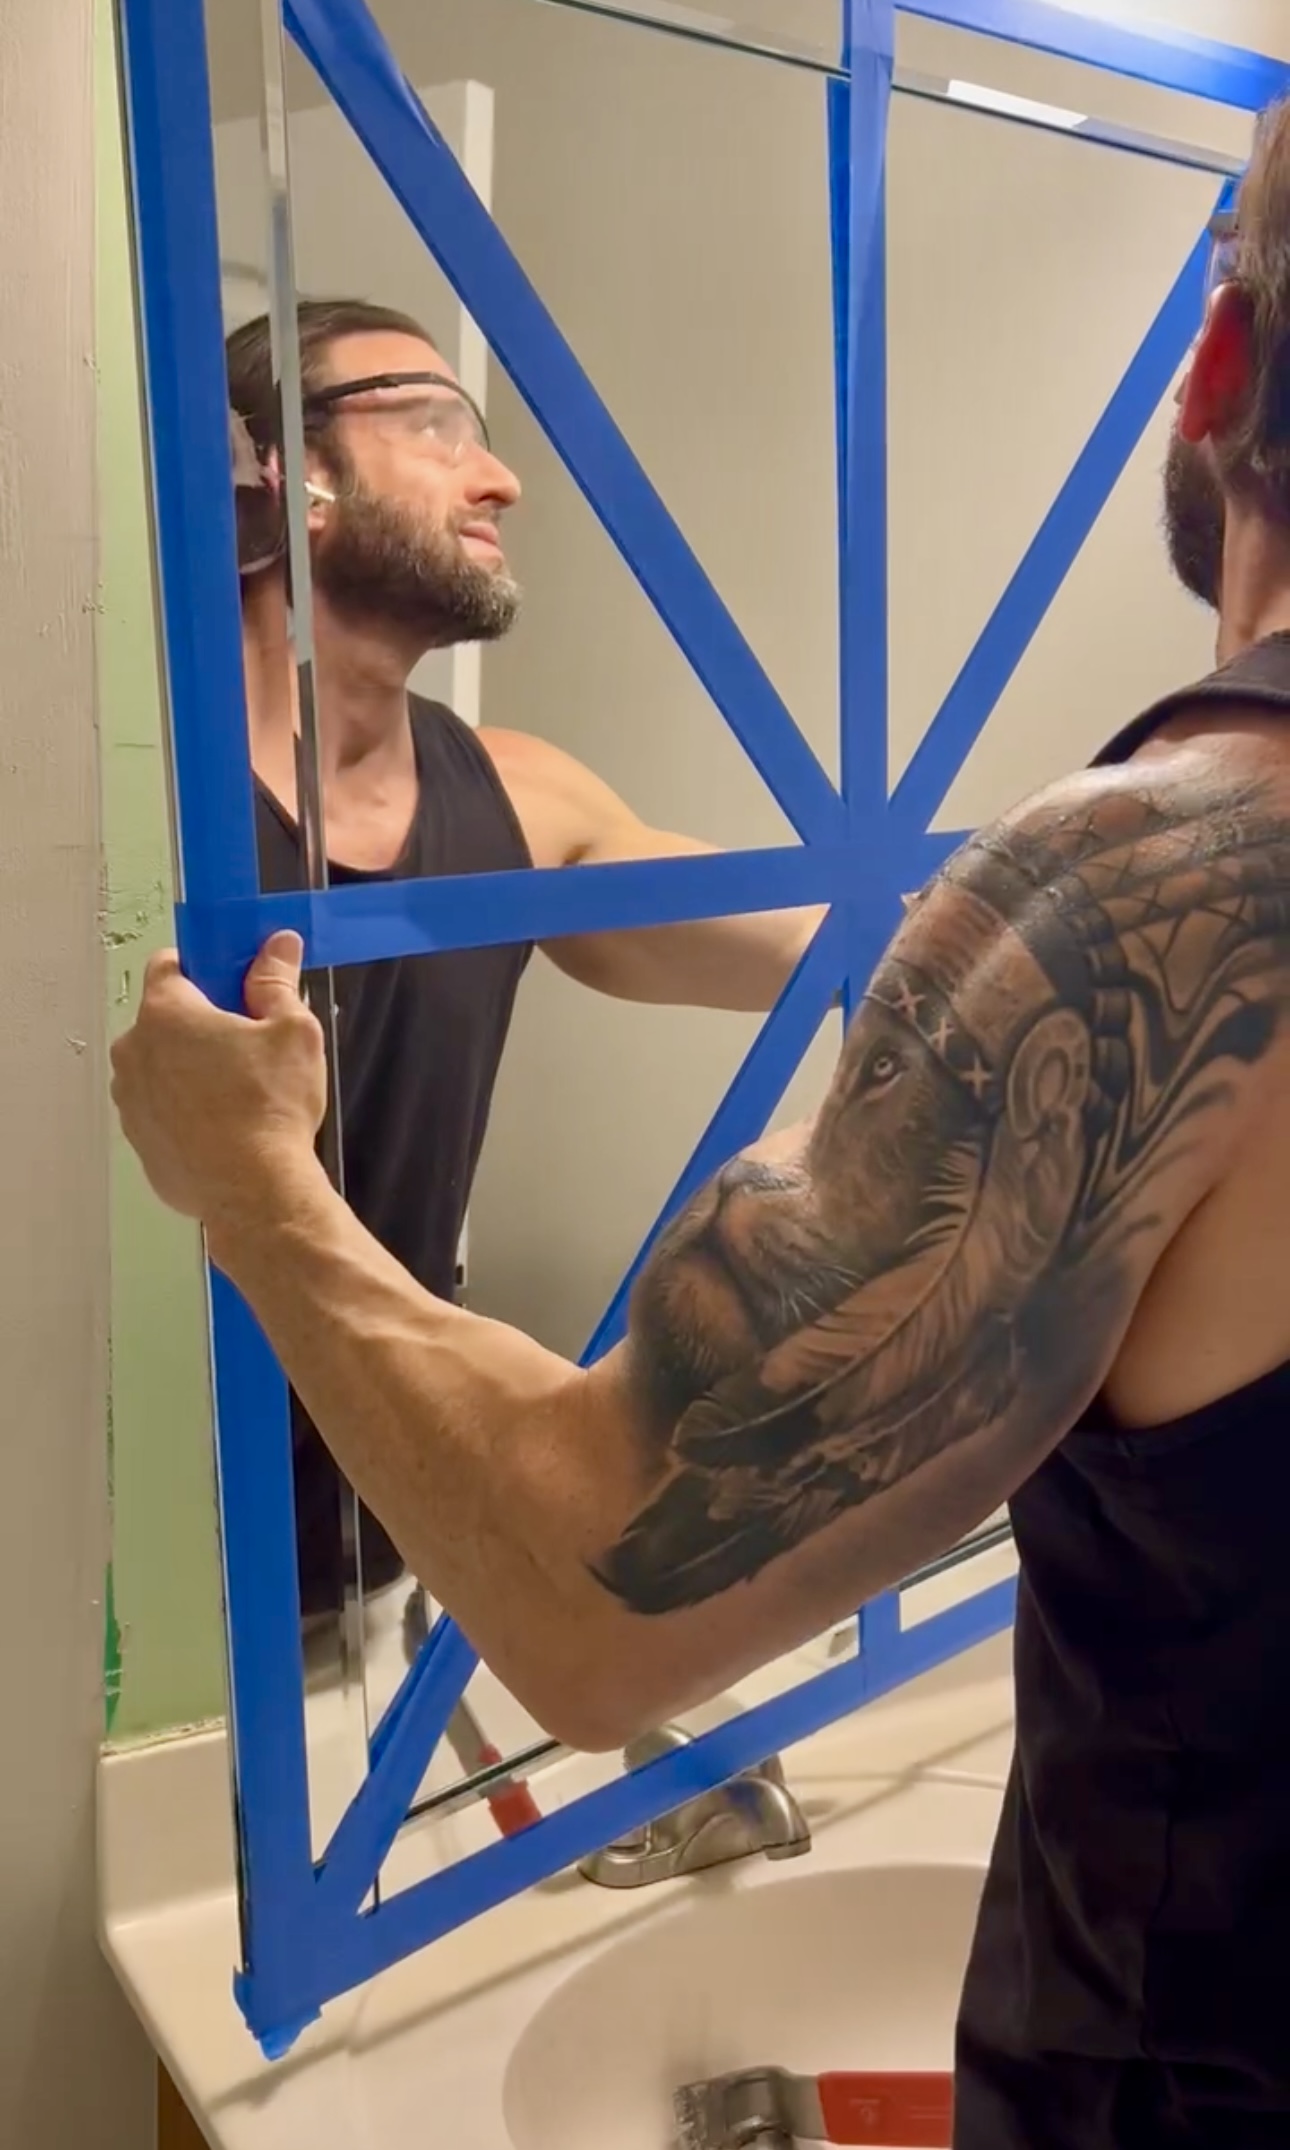
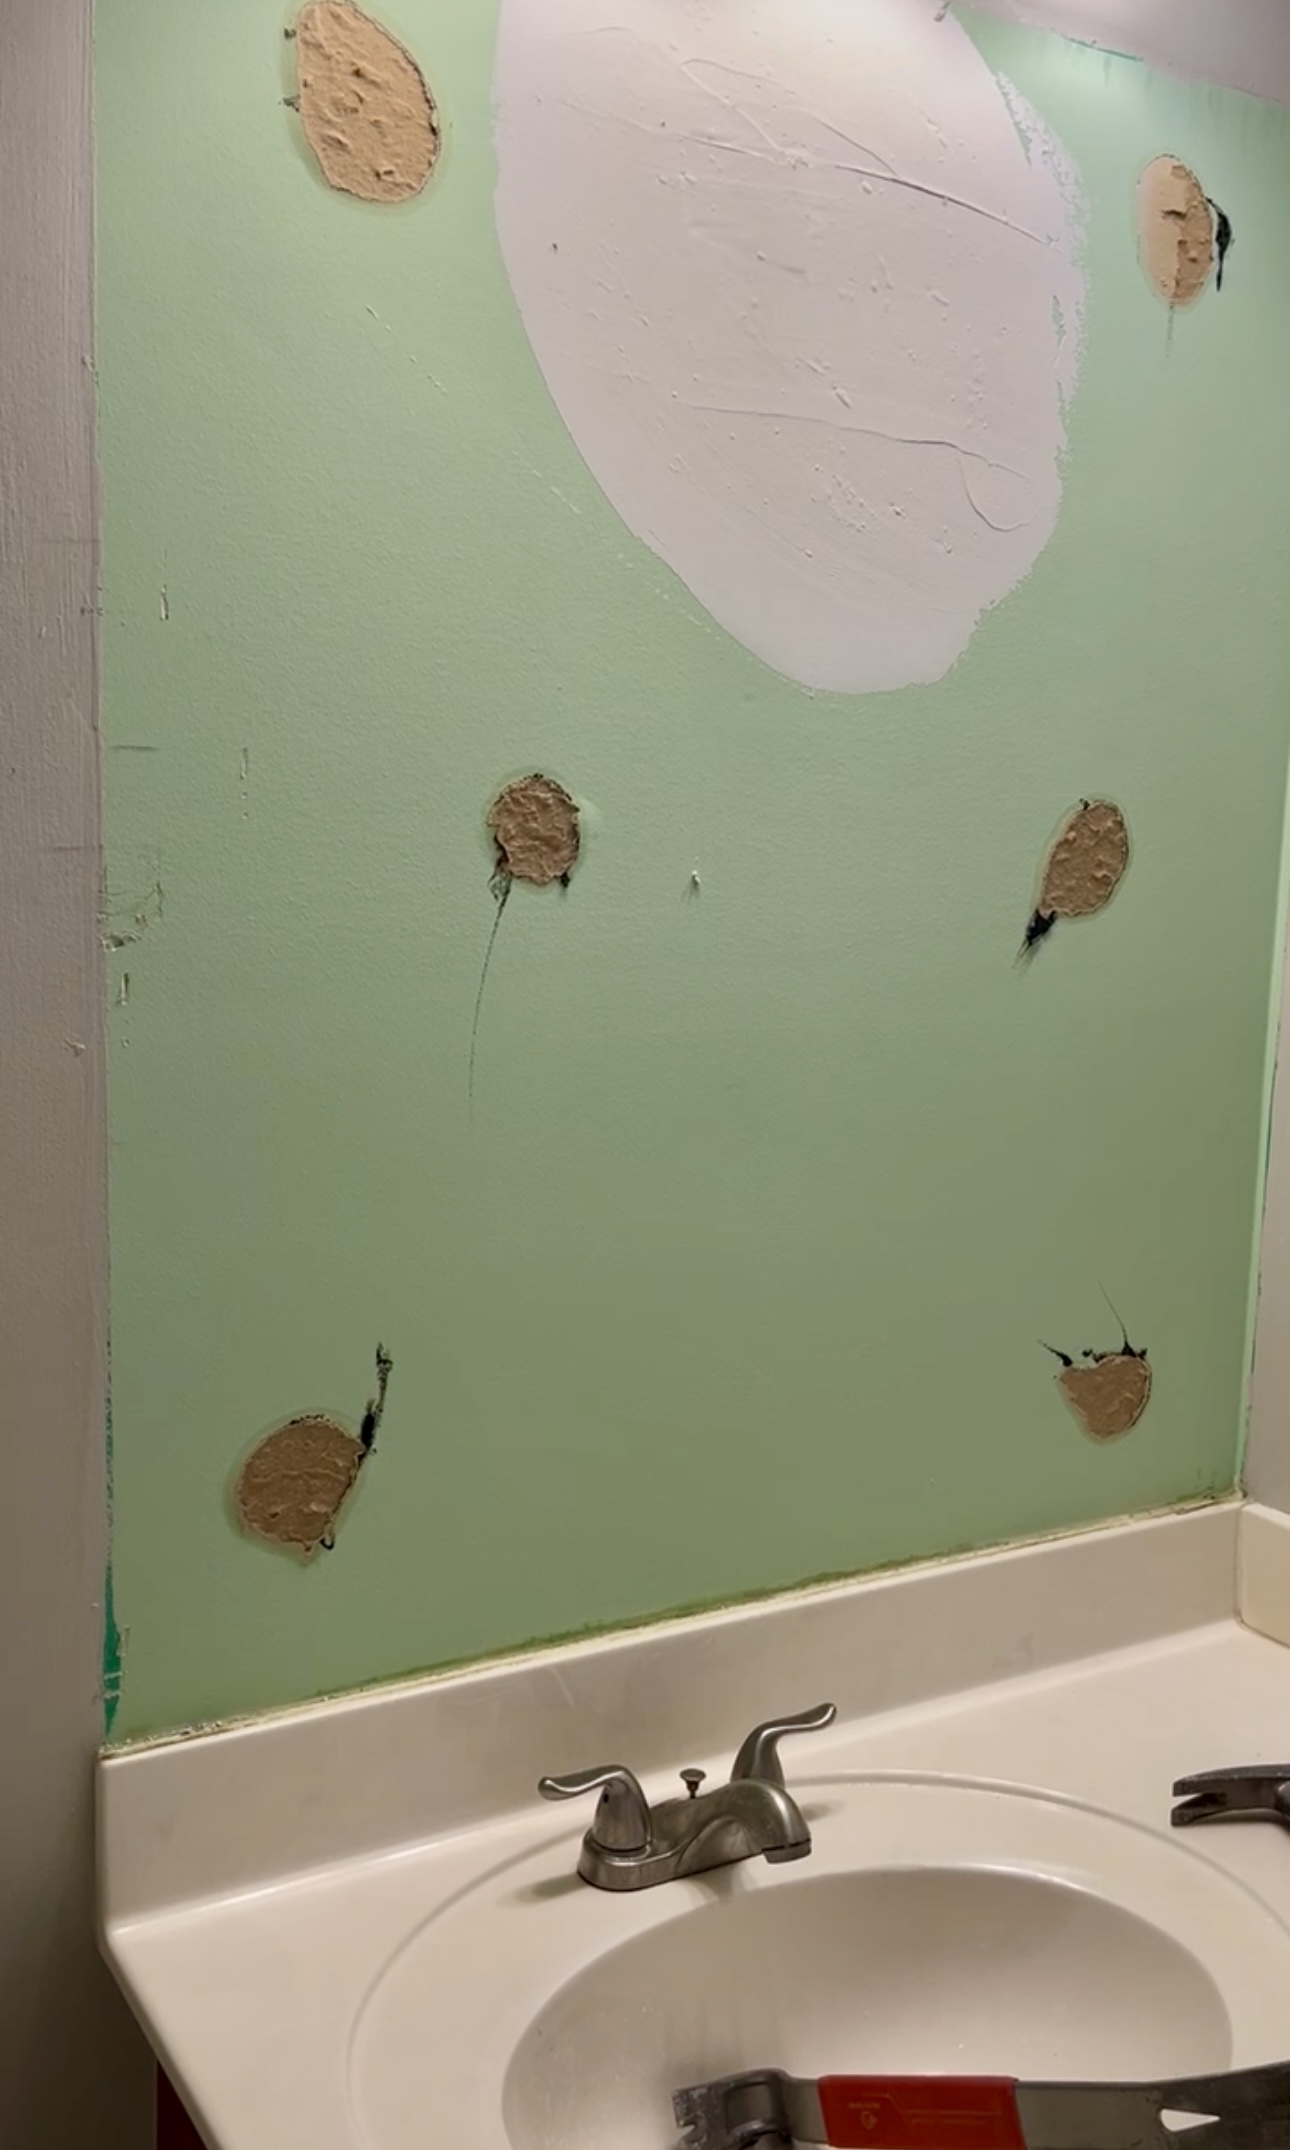
In case you’re wondering, we donate all the stuff we remove. So the mirror, vanity, and shower fixtures will go to new homes!
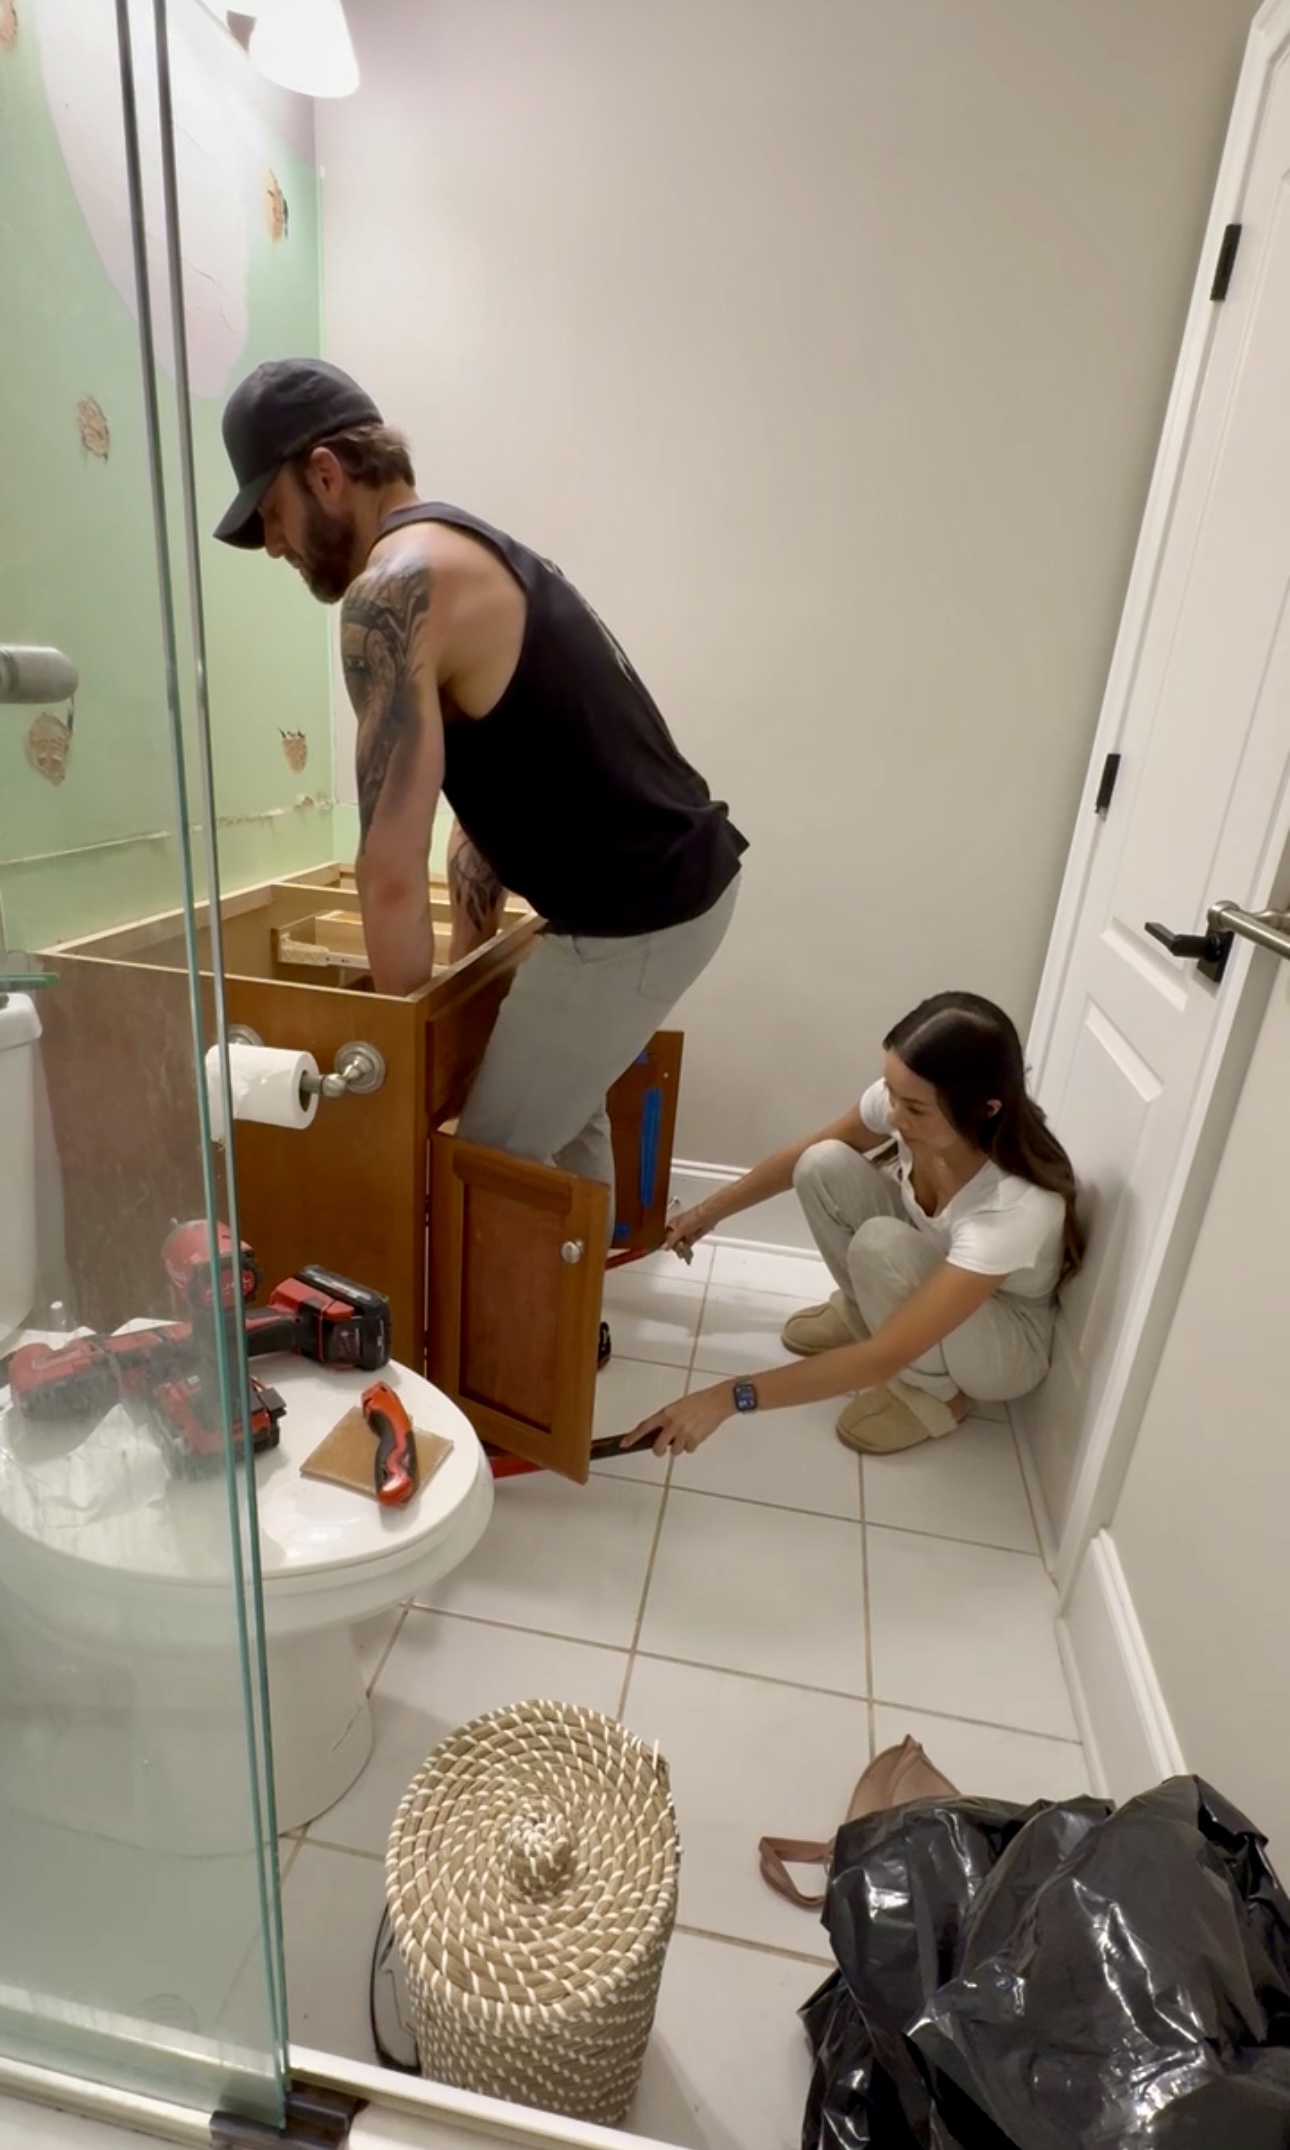
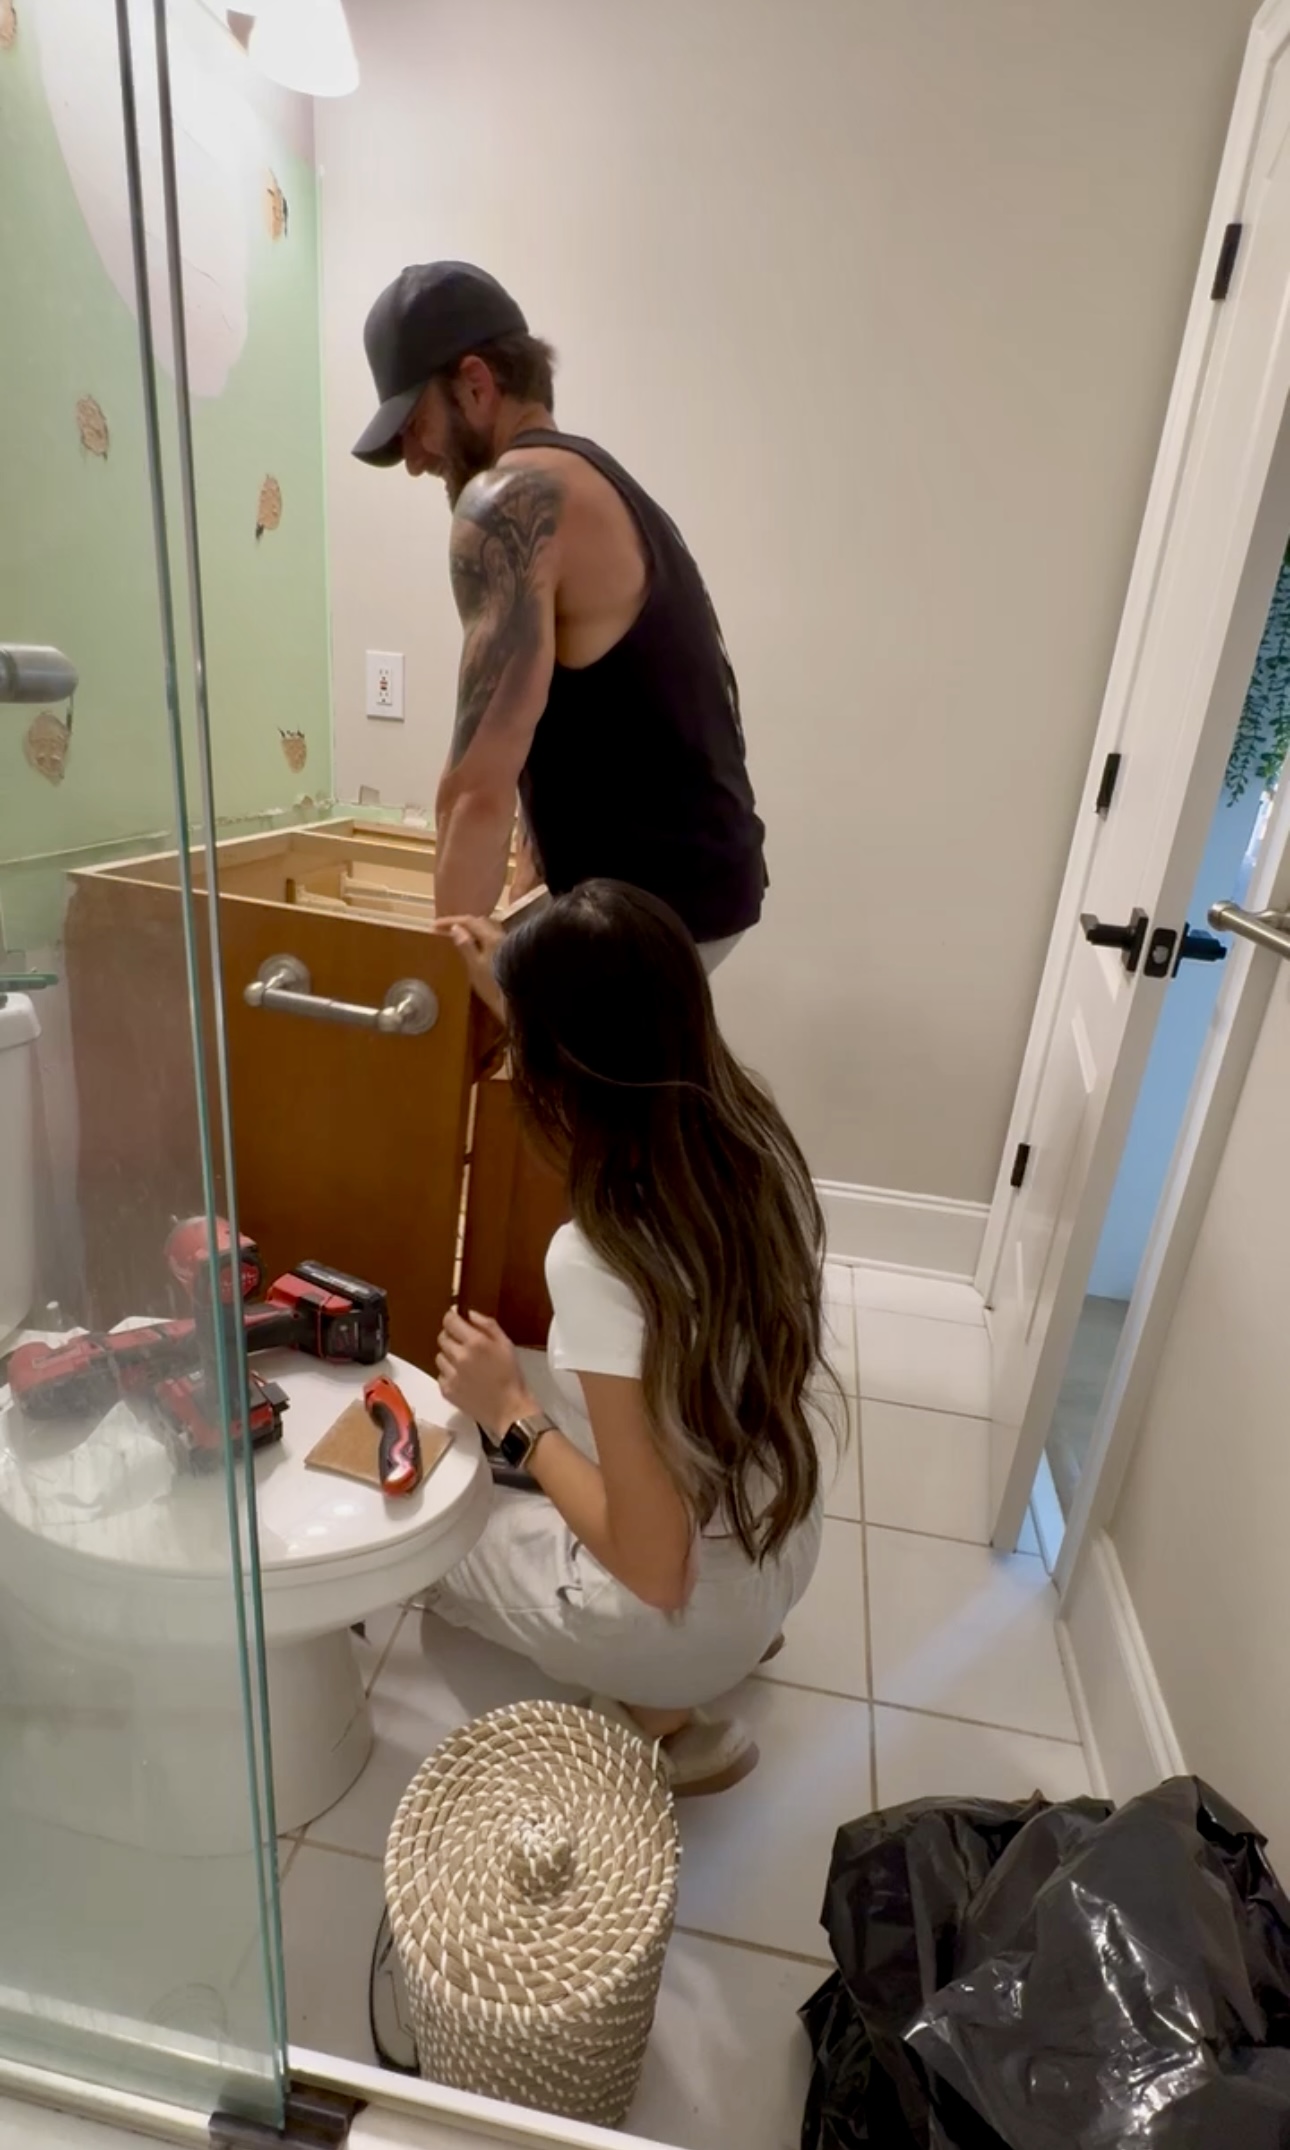
TJ removed the countertop. Then, I wedged a crowbar underneath the vanity and TJ lifted it up and out!
Bathroom Vanity
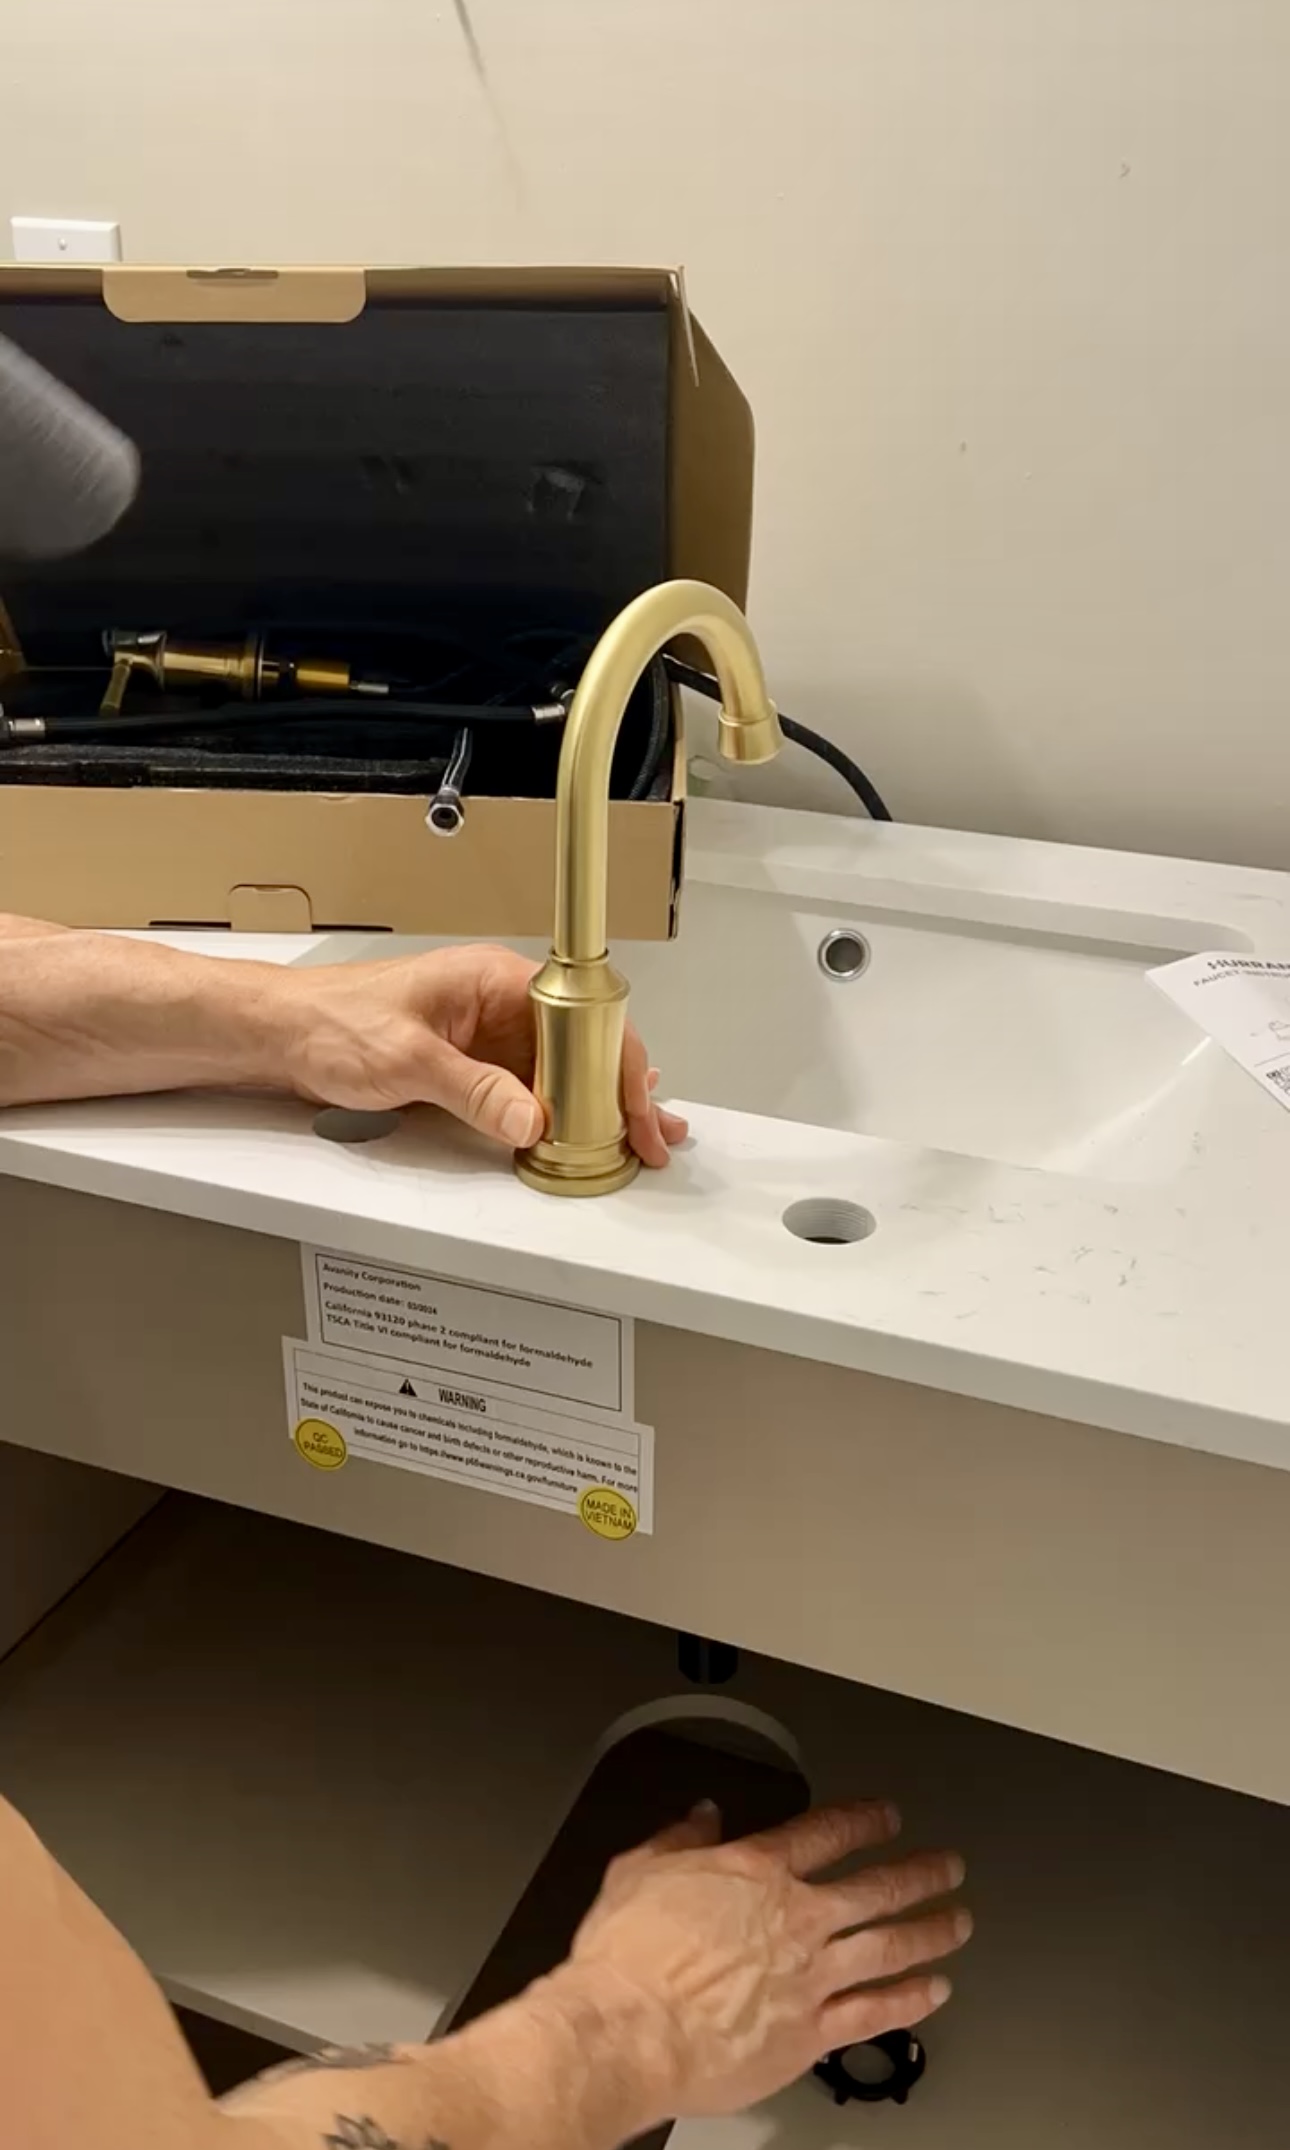
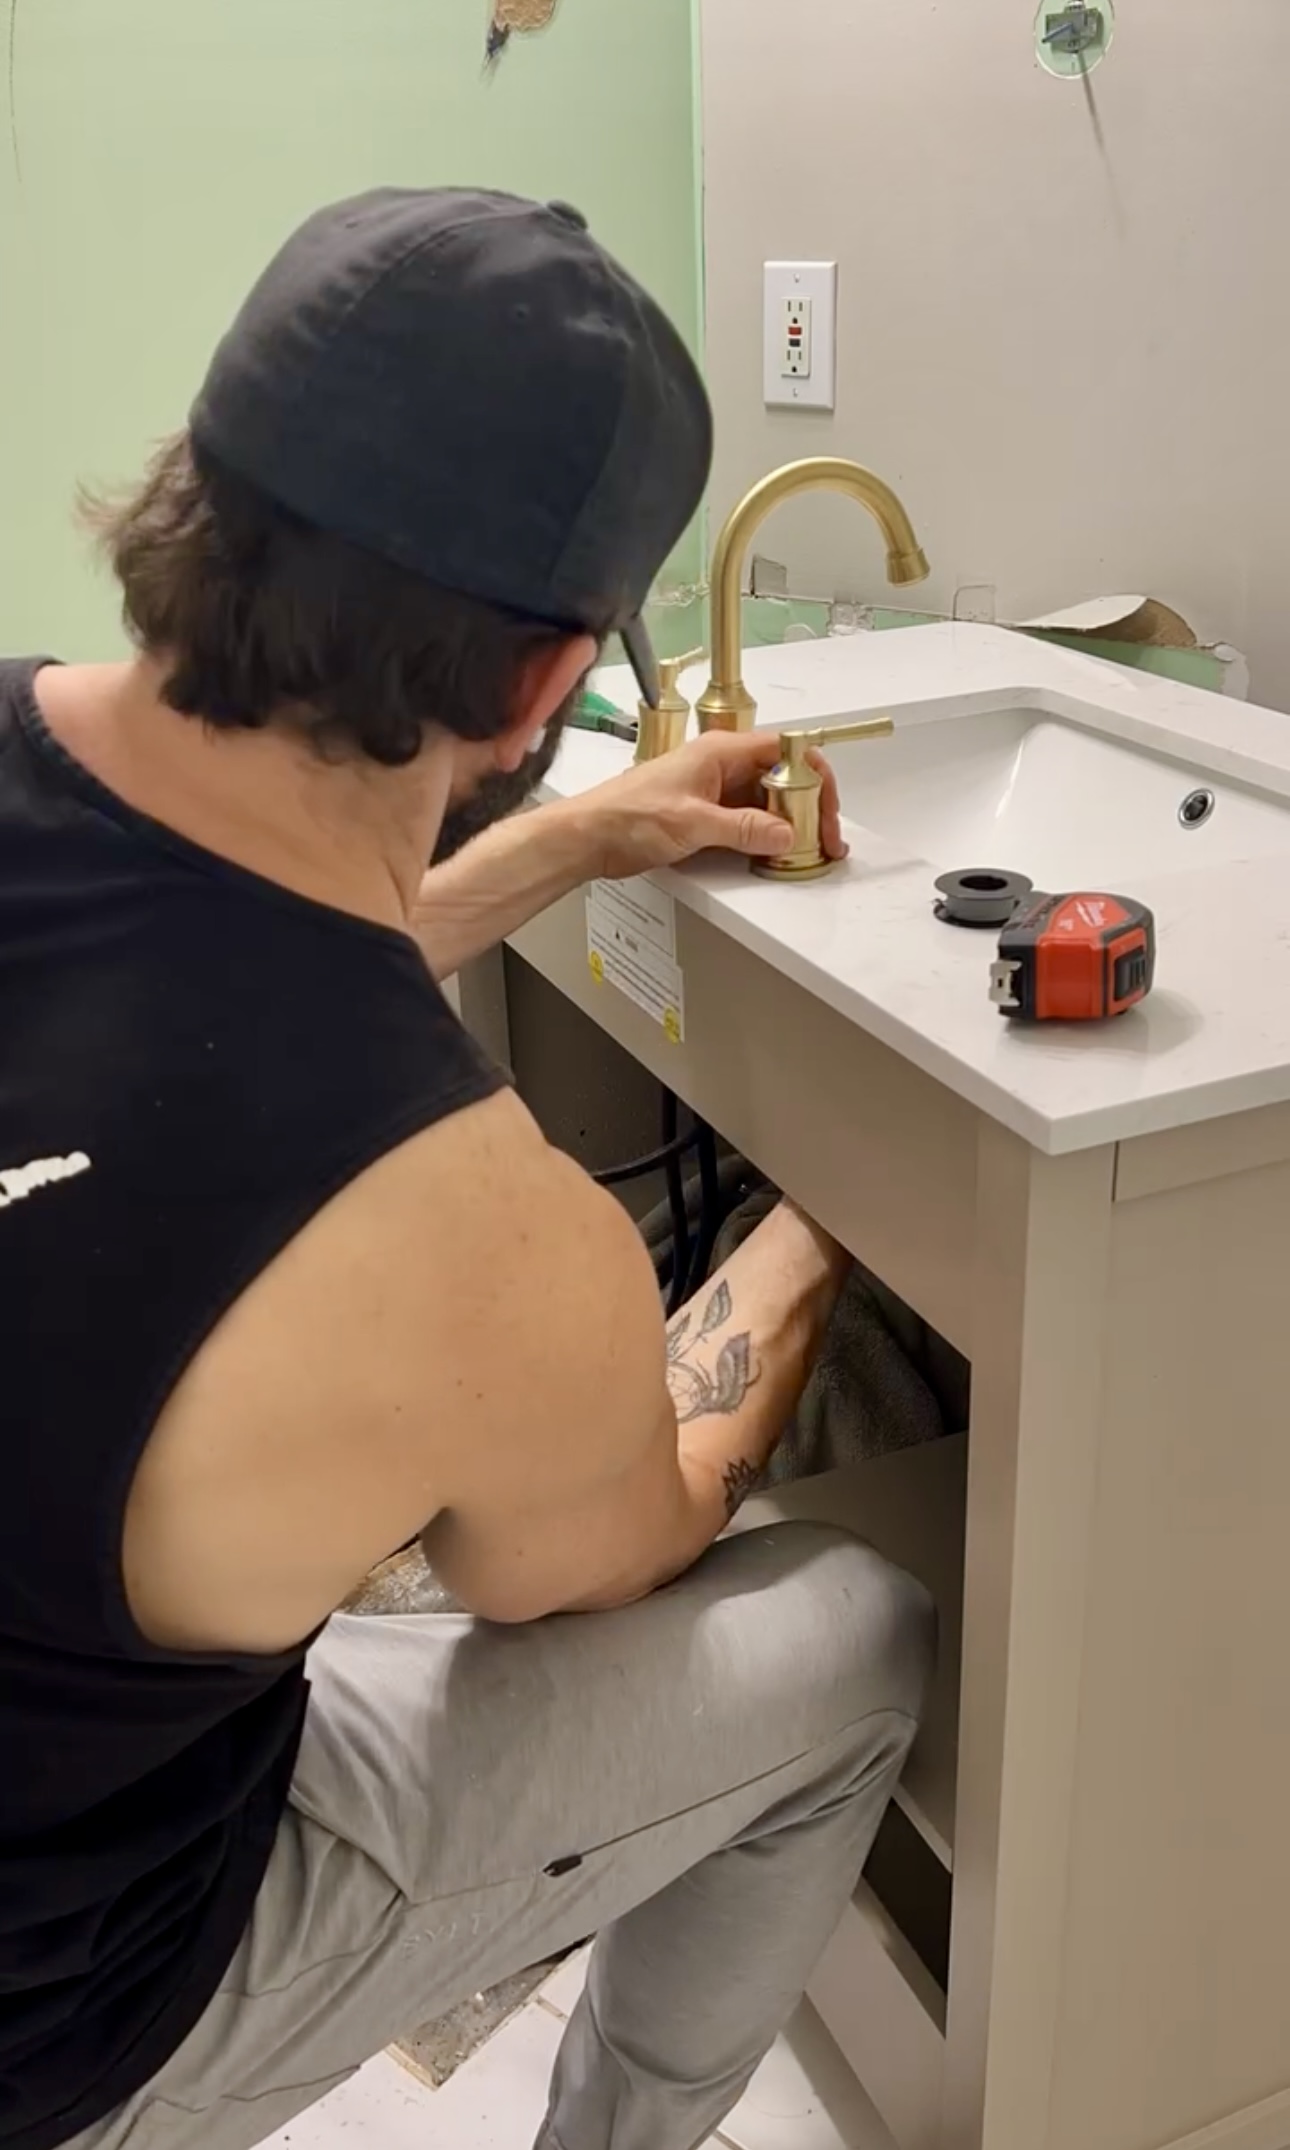
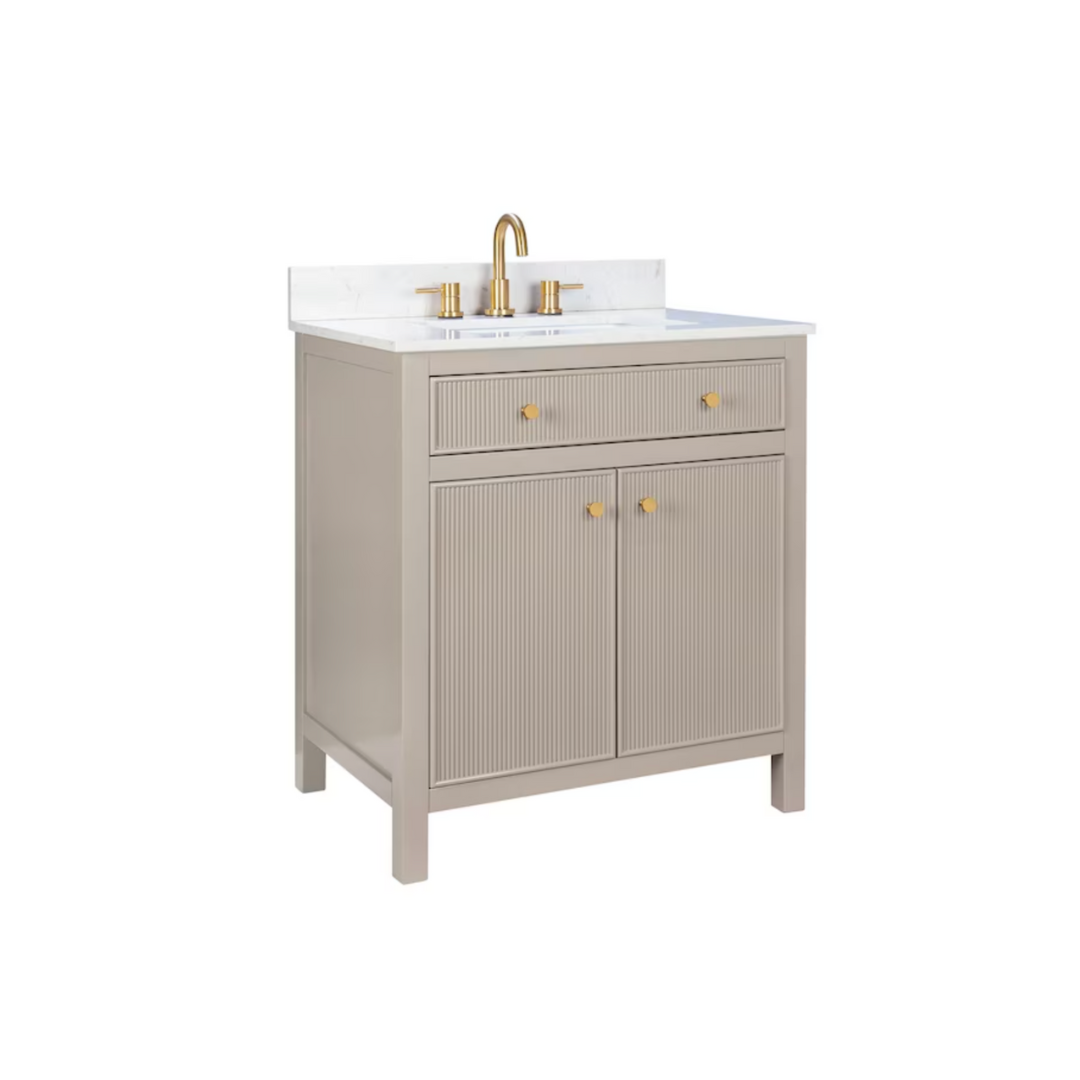
This vanity is AMAZING. I was stunned when I opened this up! The fluting detail is beautiful and the price was great.
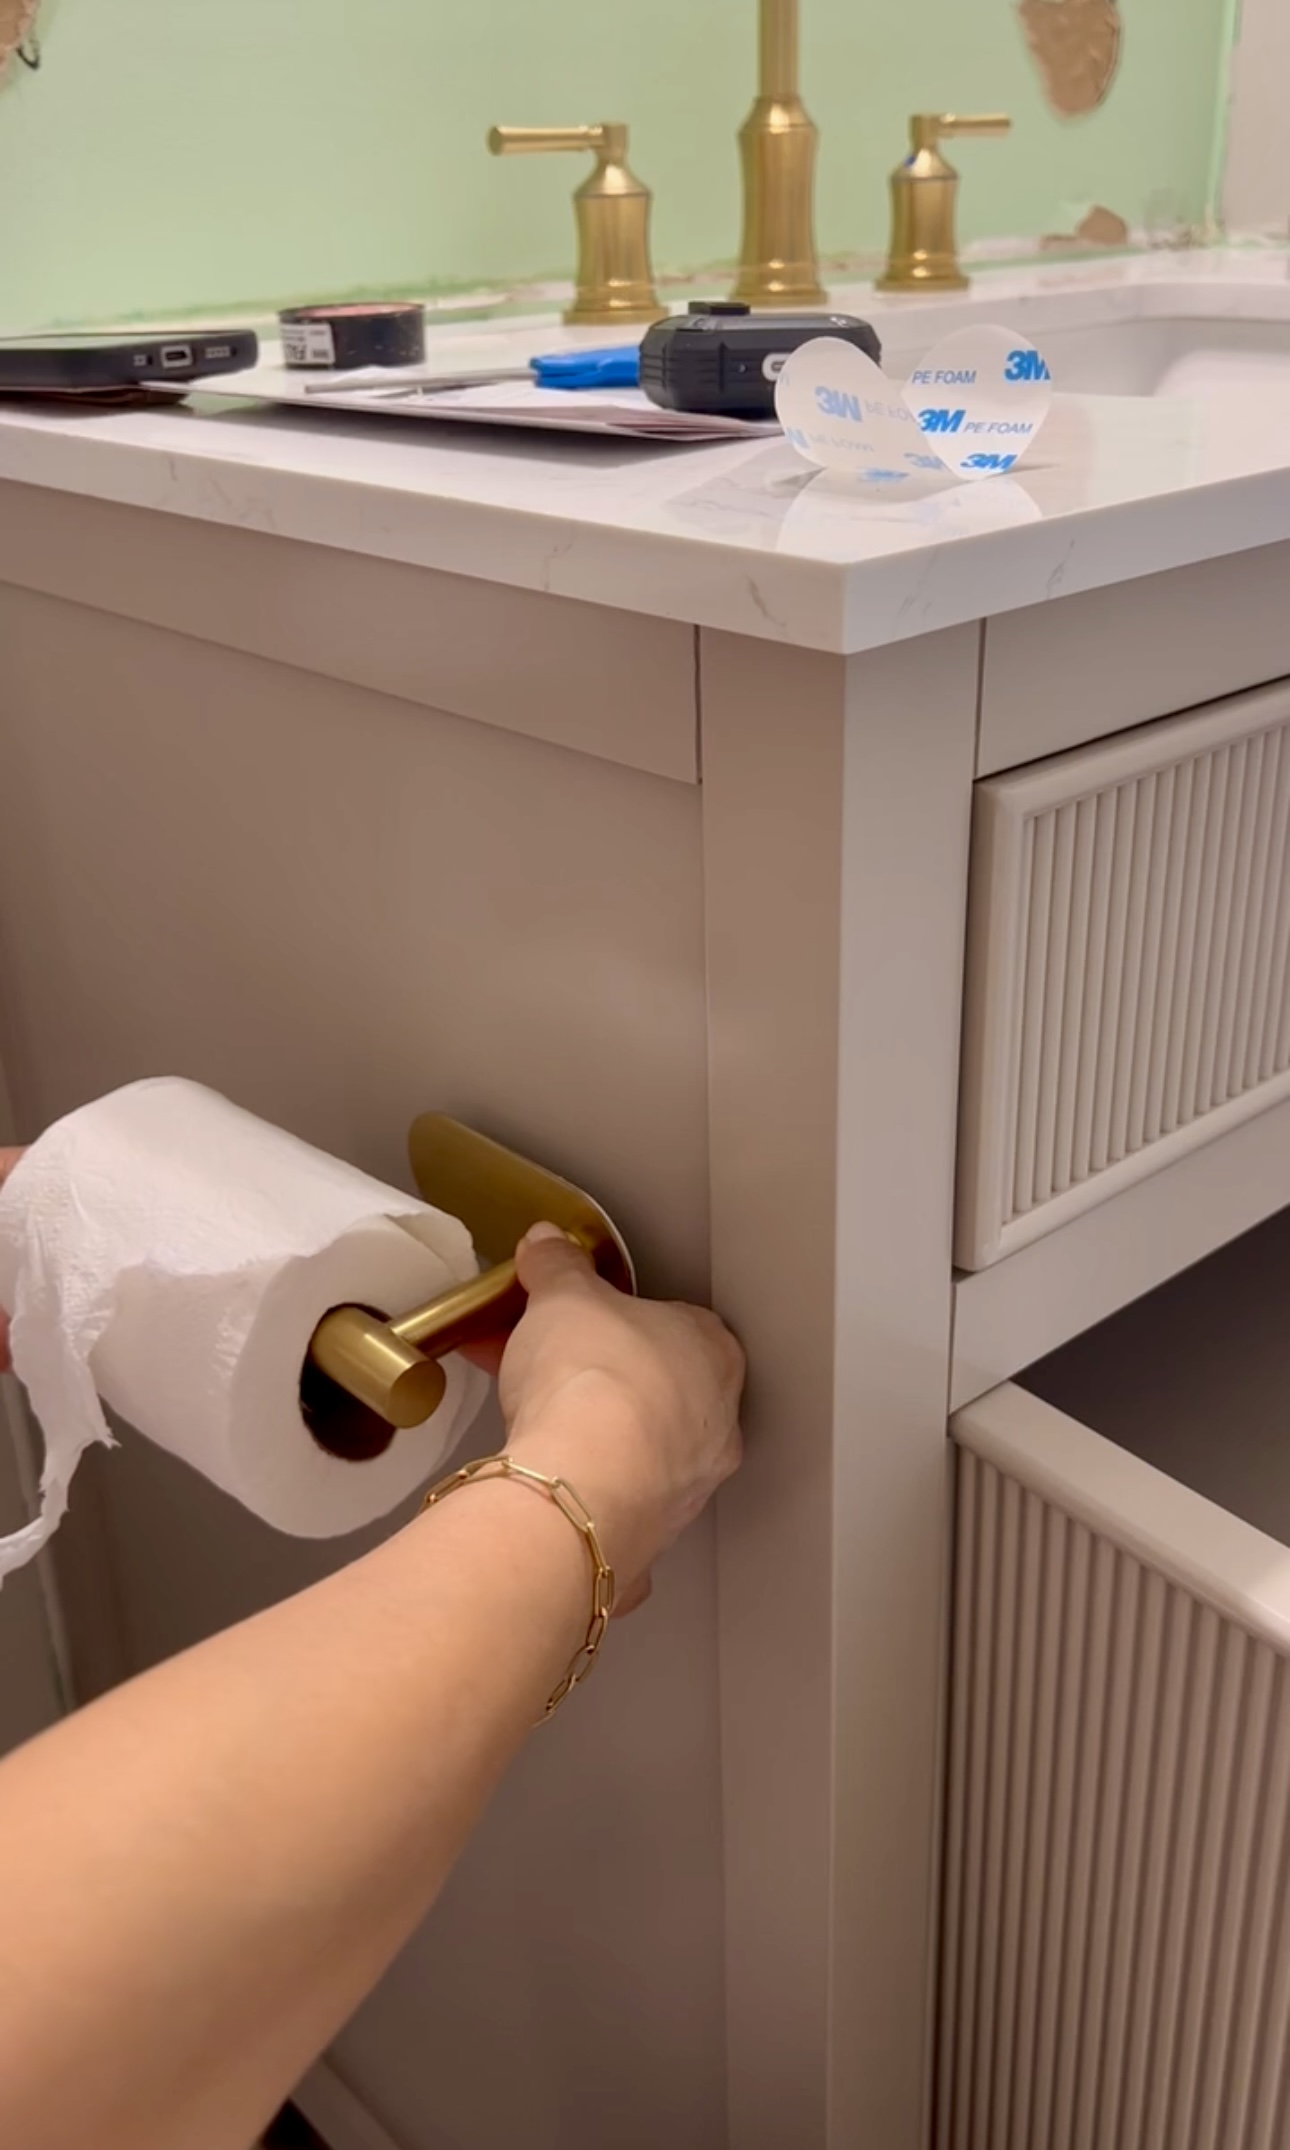
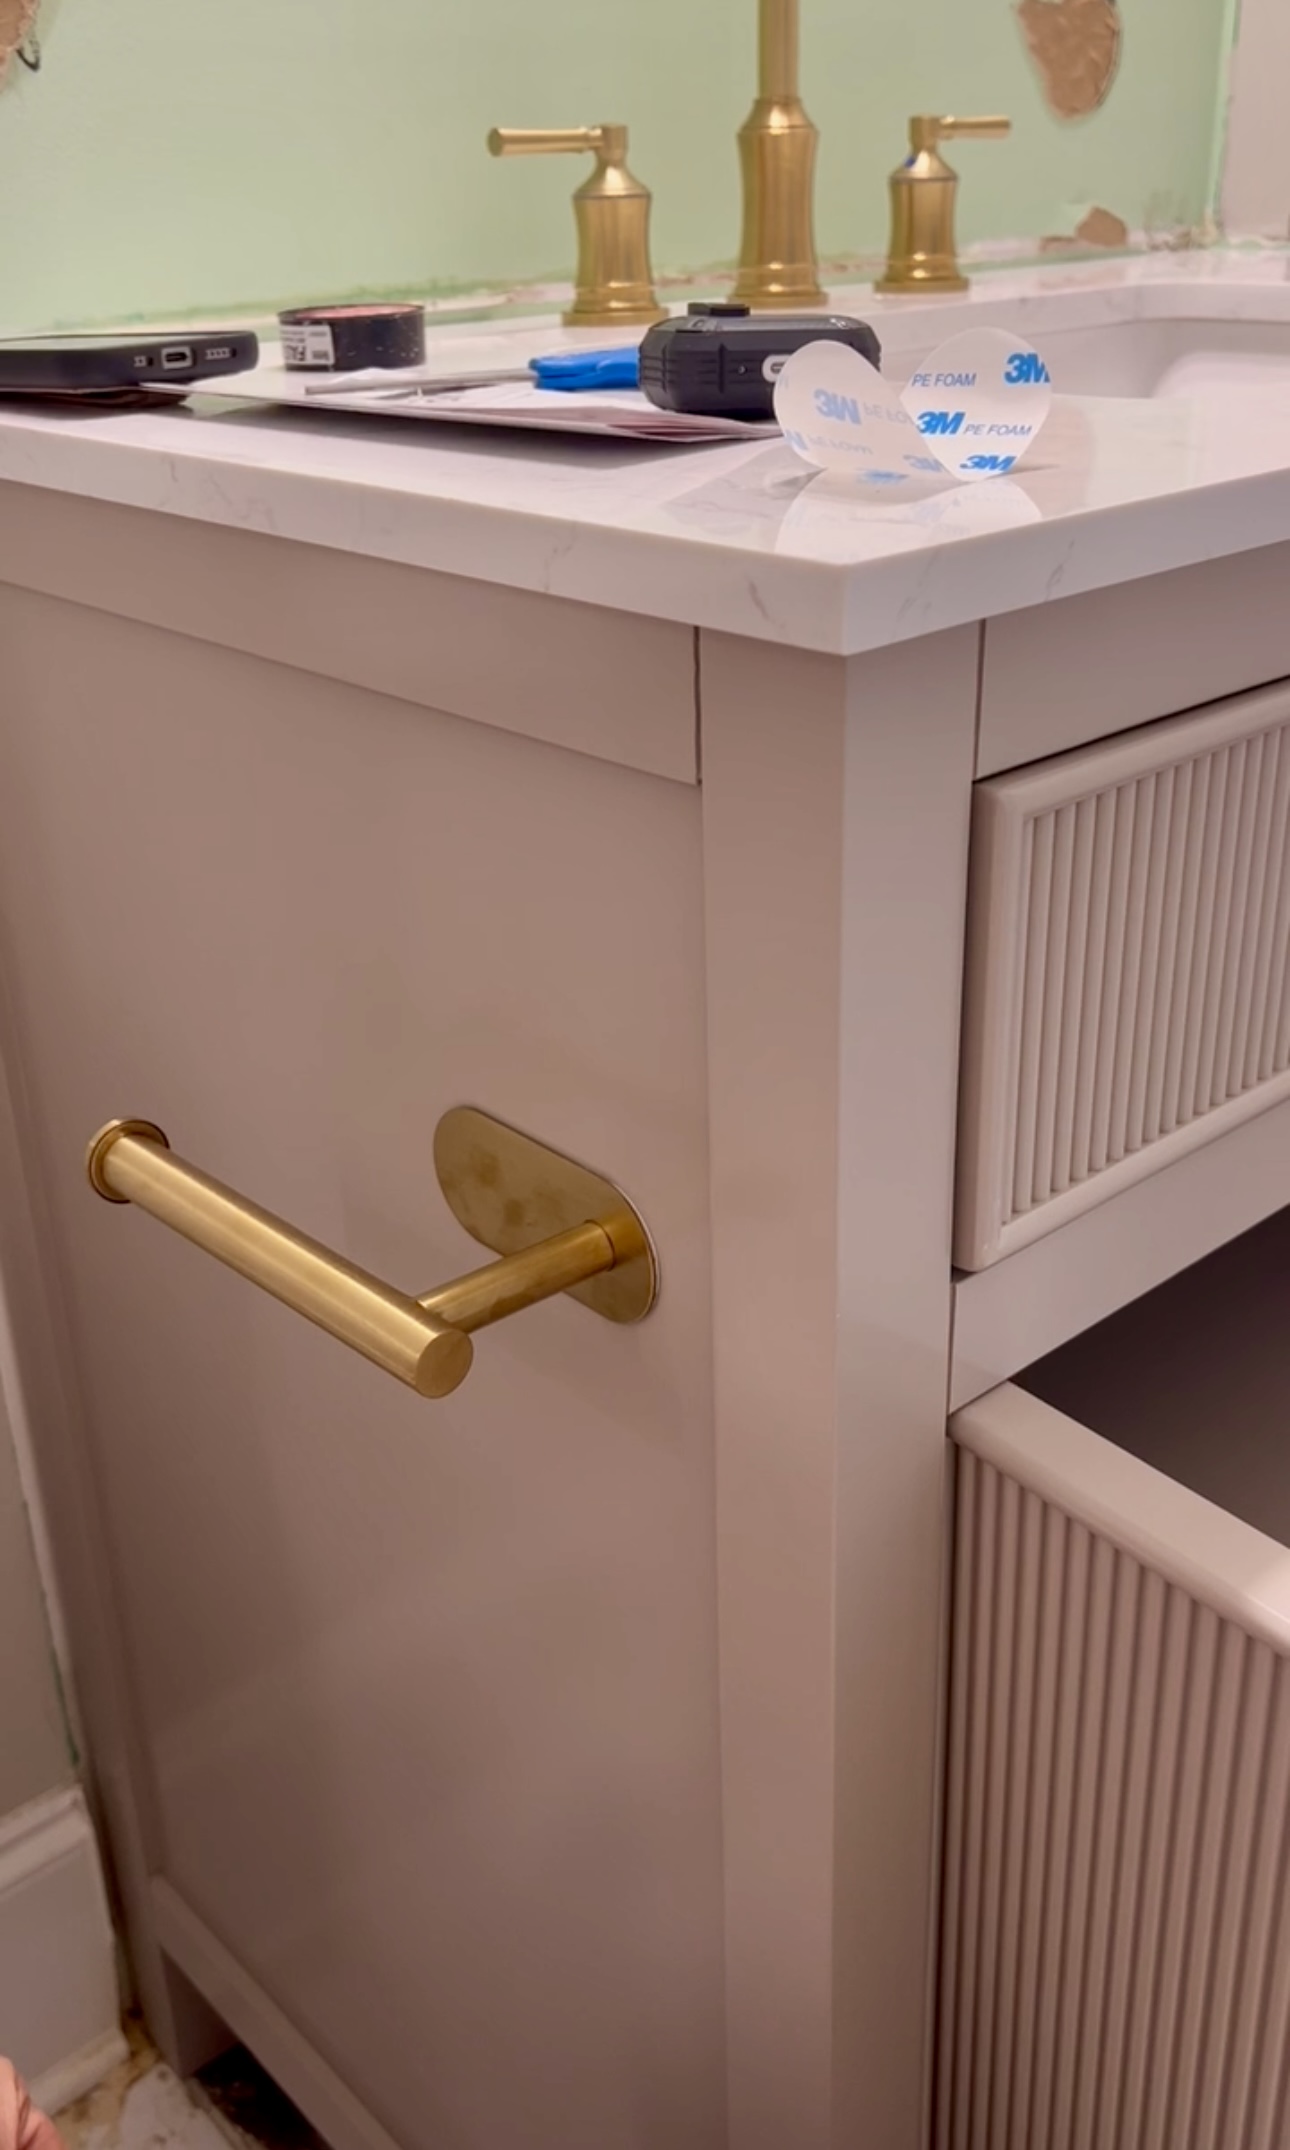
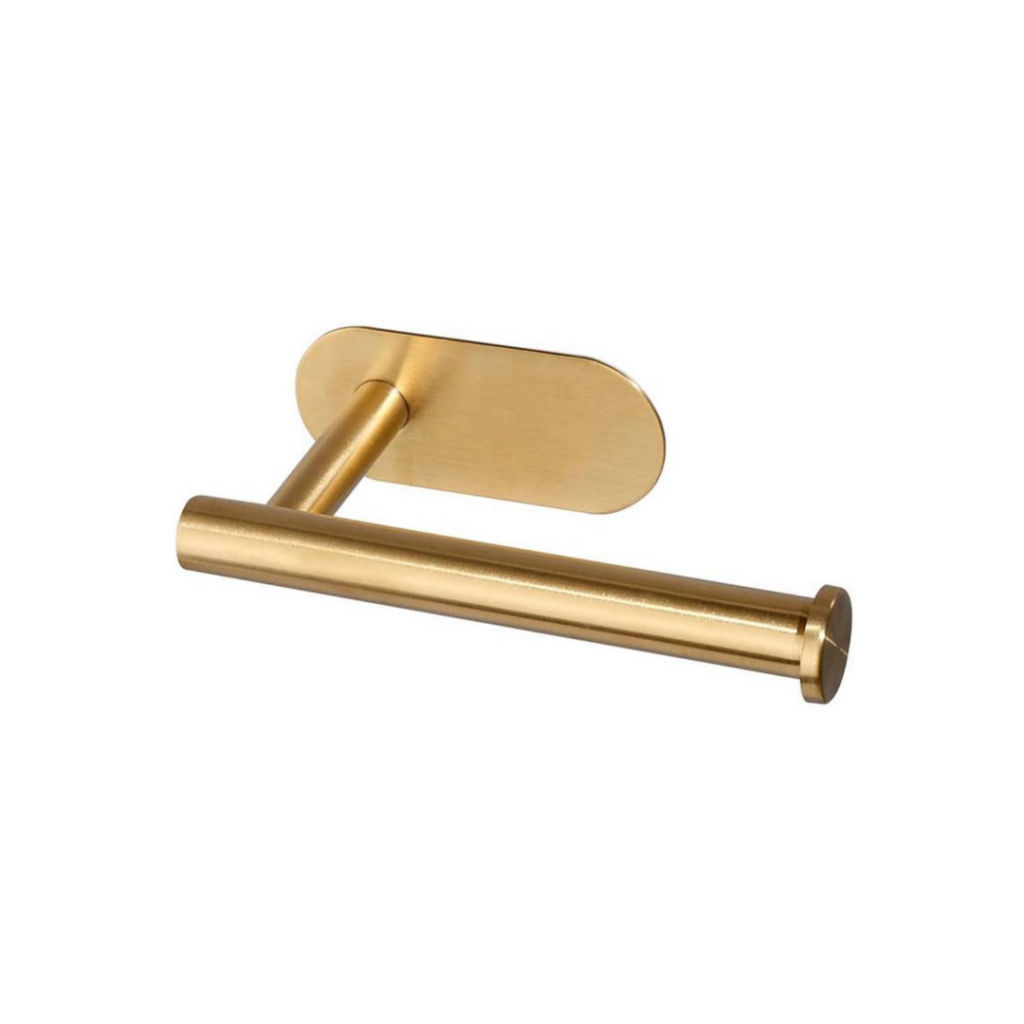
We brought the vanity up and installed the fixtures. Then, we attached this gold toilet paper holder. It has adhesive on the back so it didn’t require any tools and didn’t do any damage to the new vanity.
Shower Fixtures
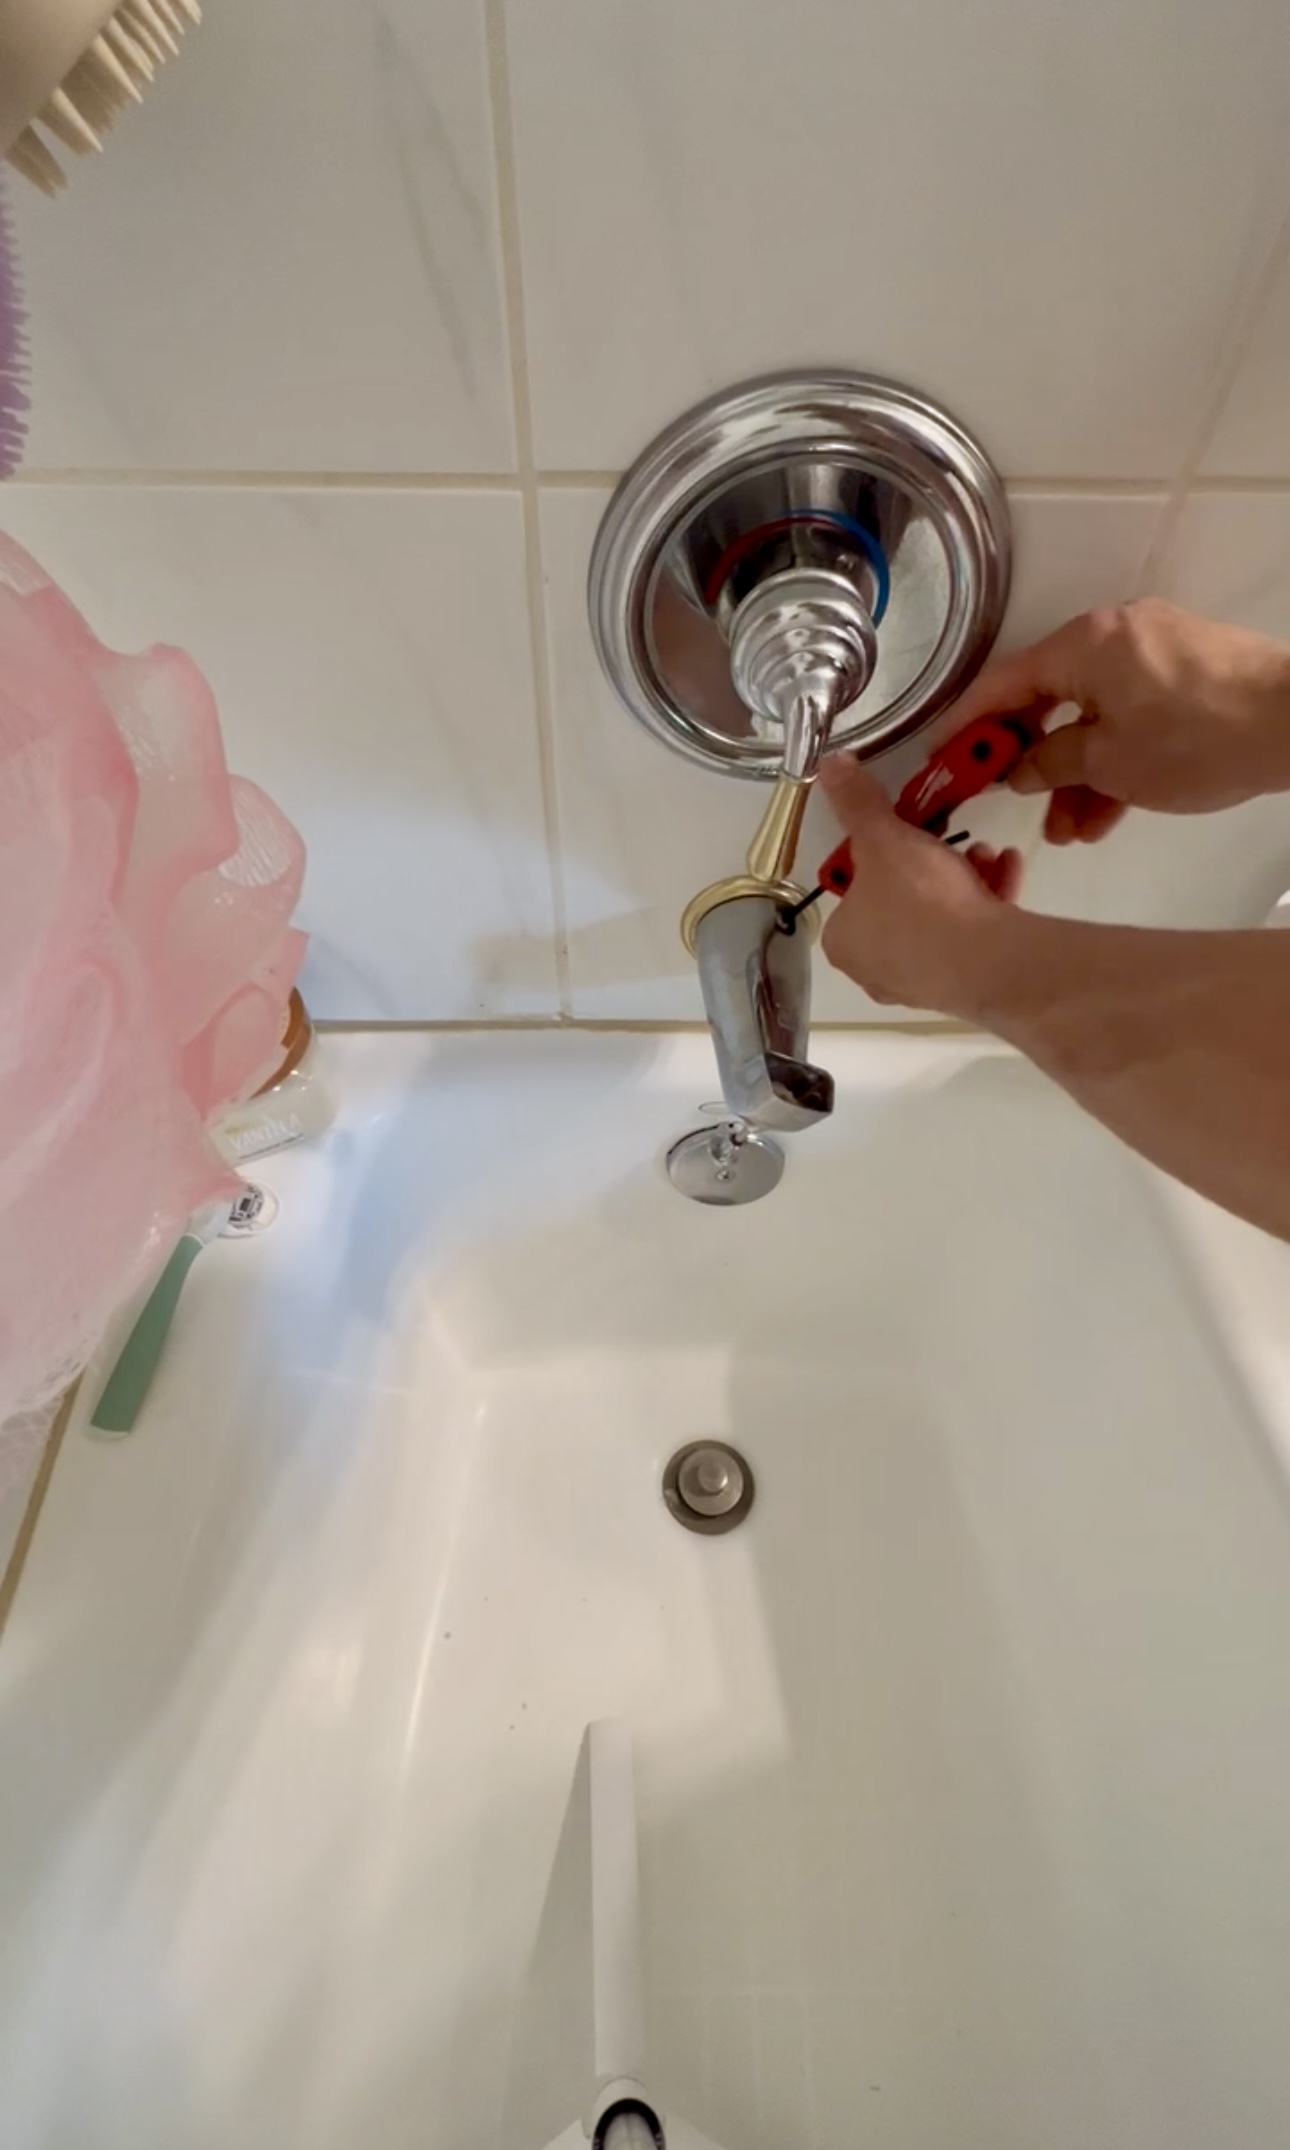
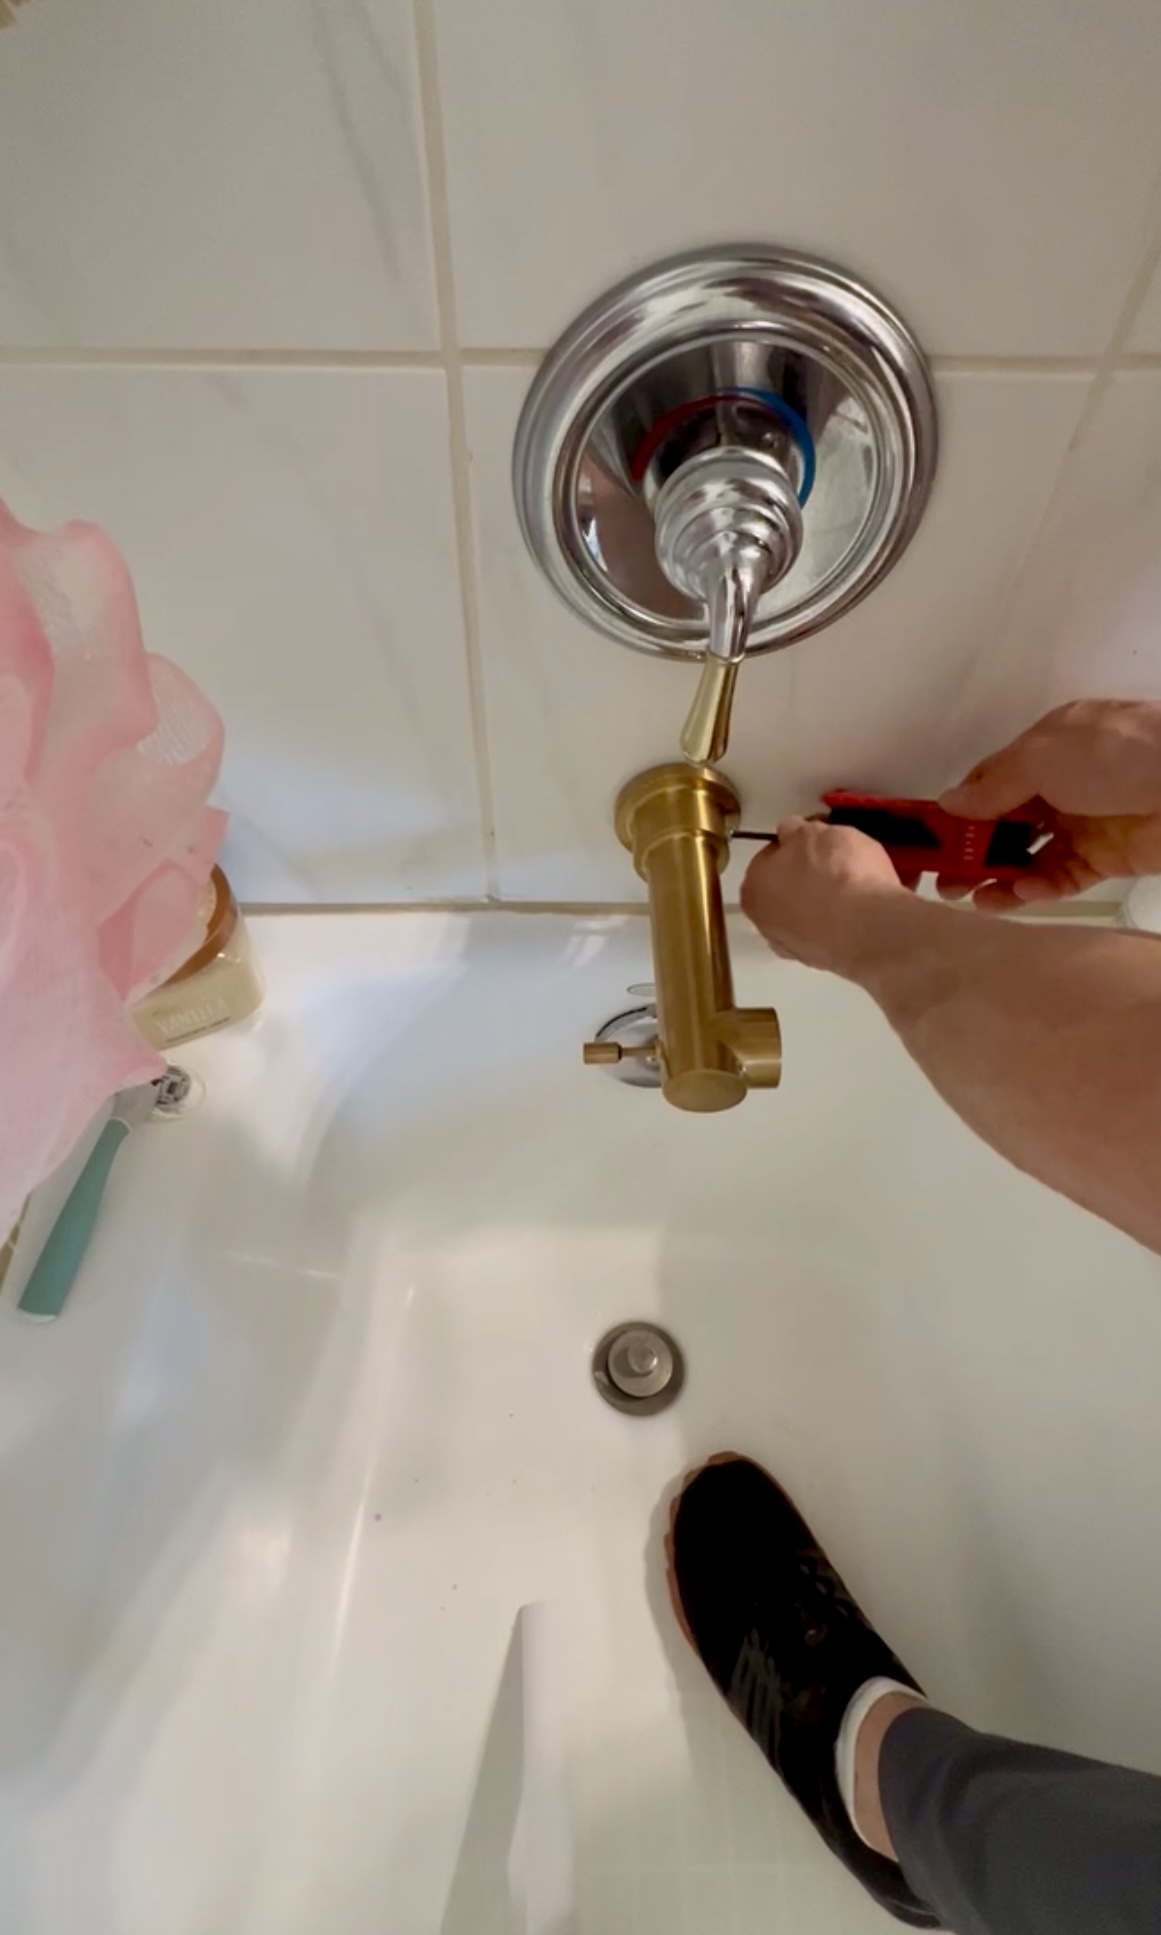
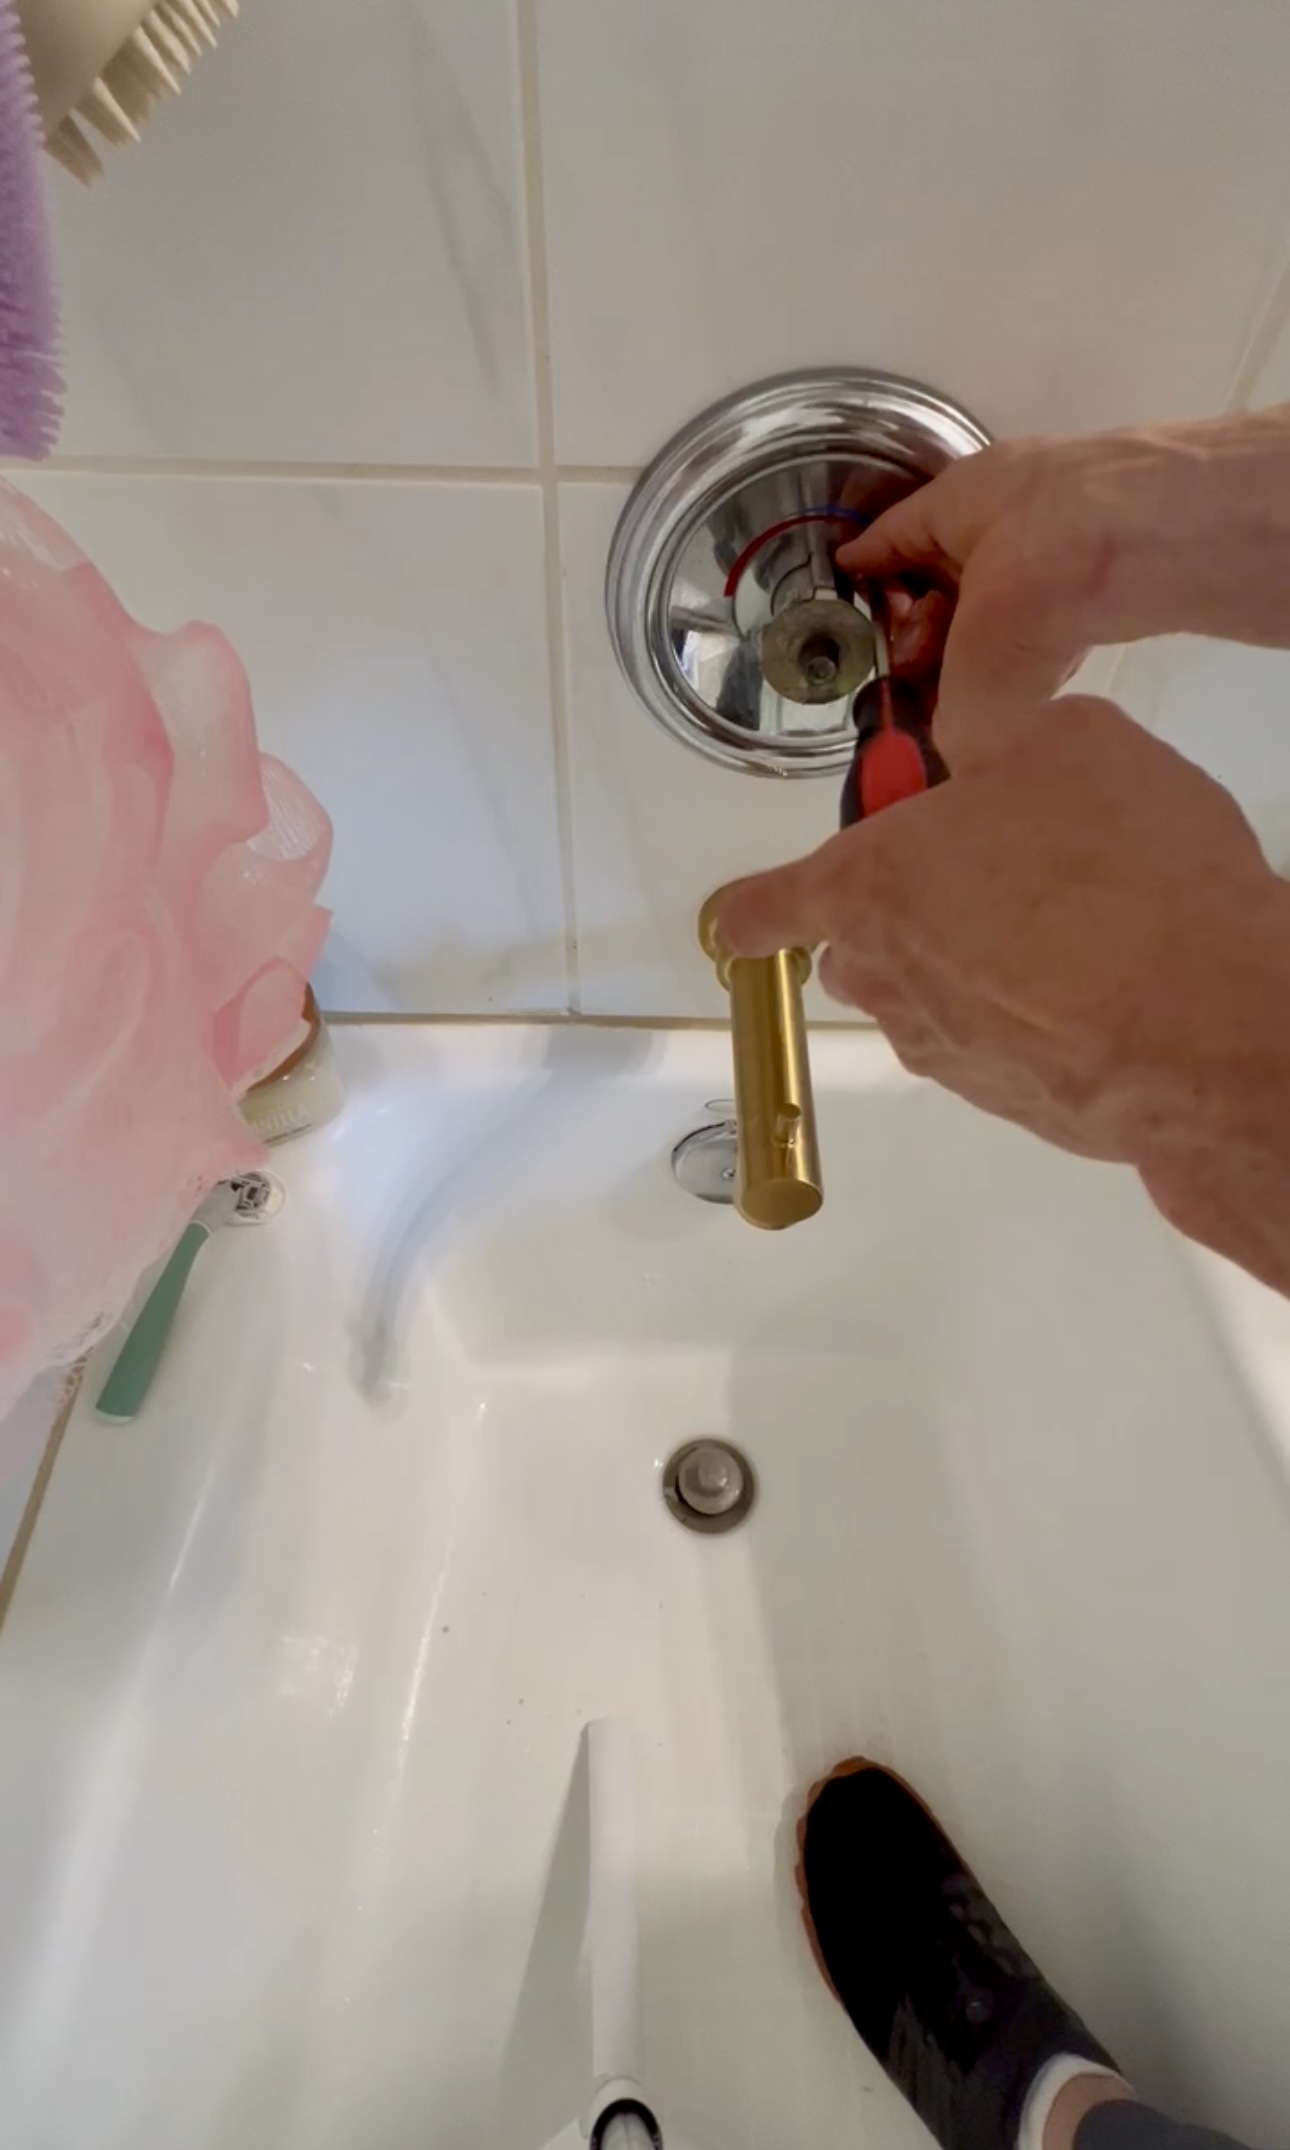
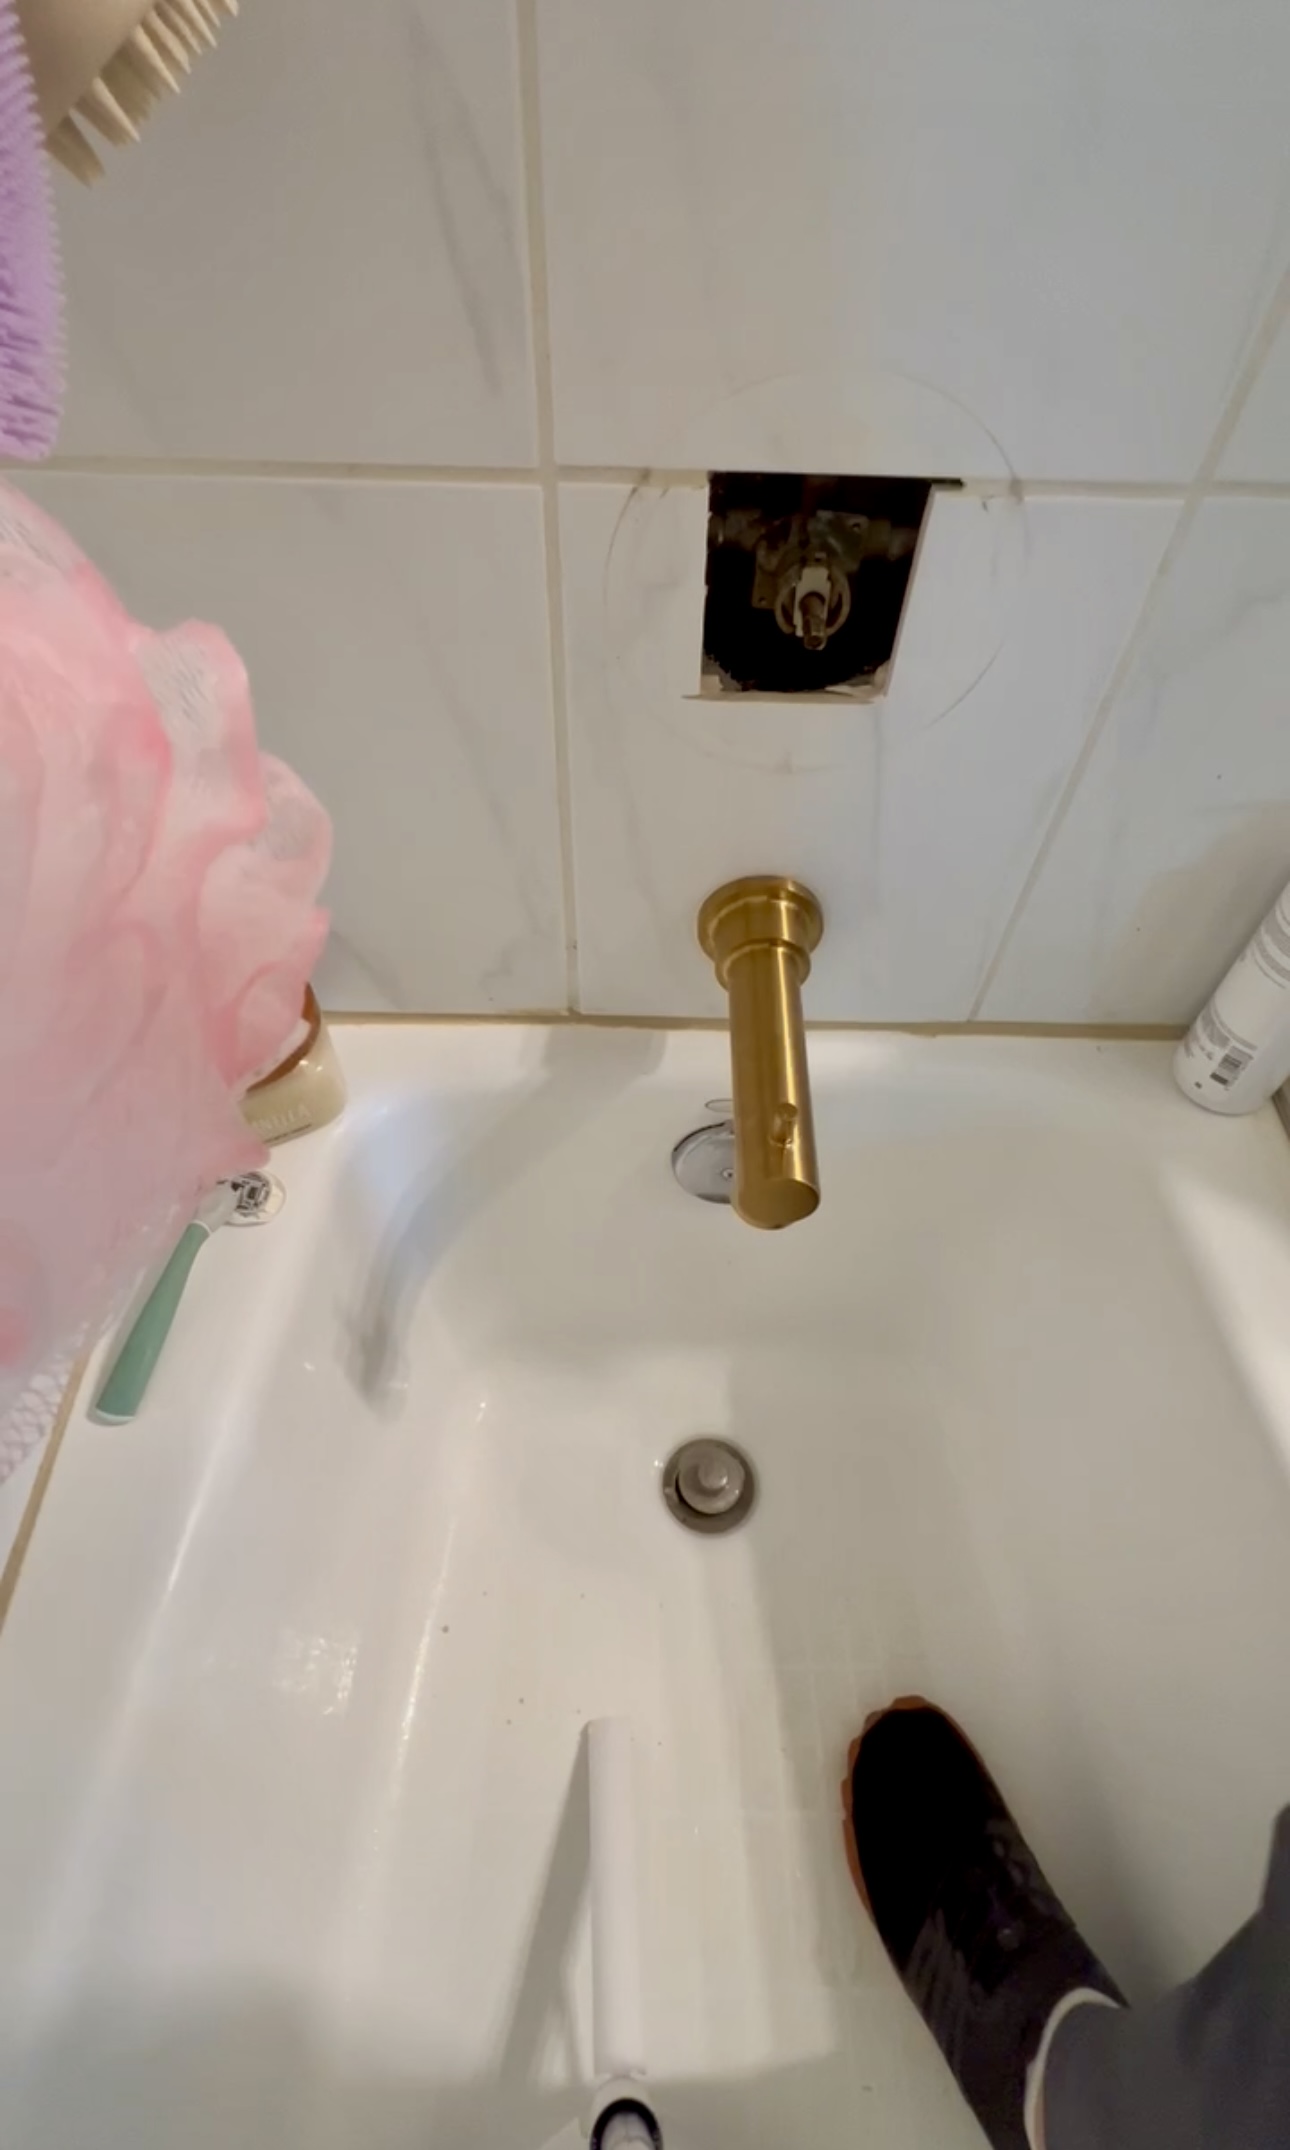
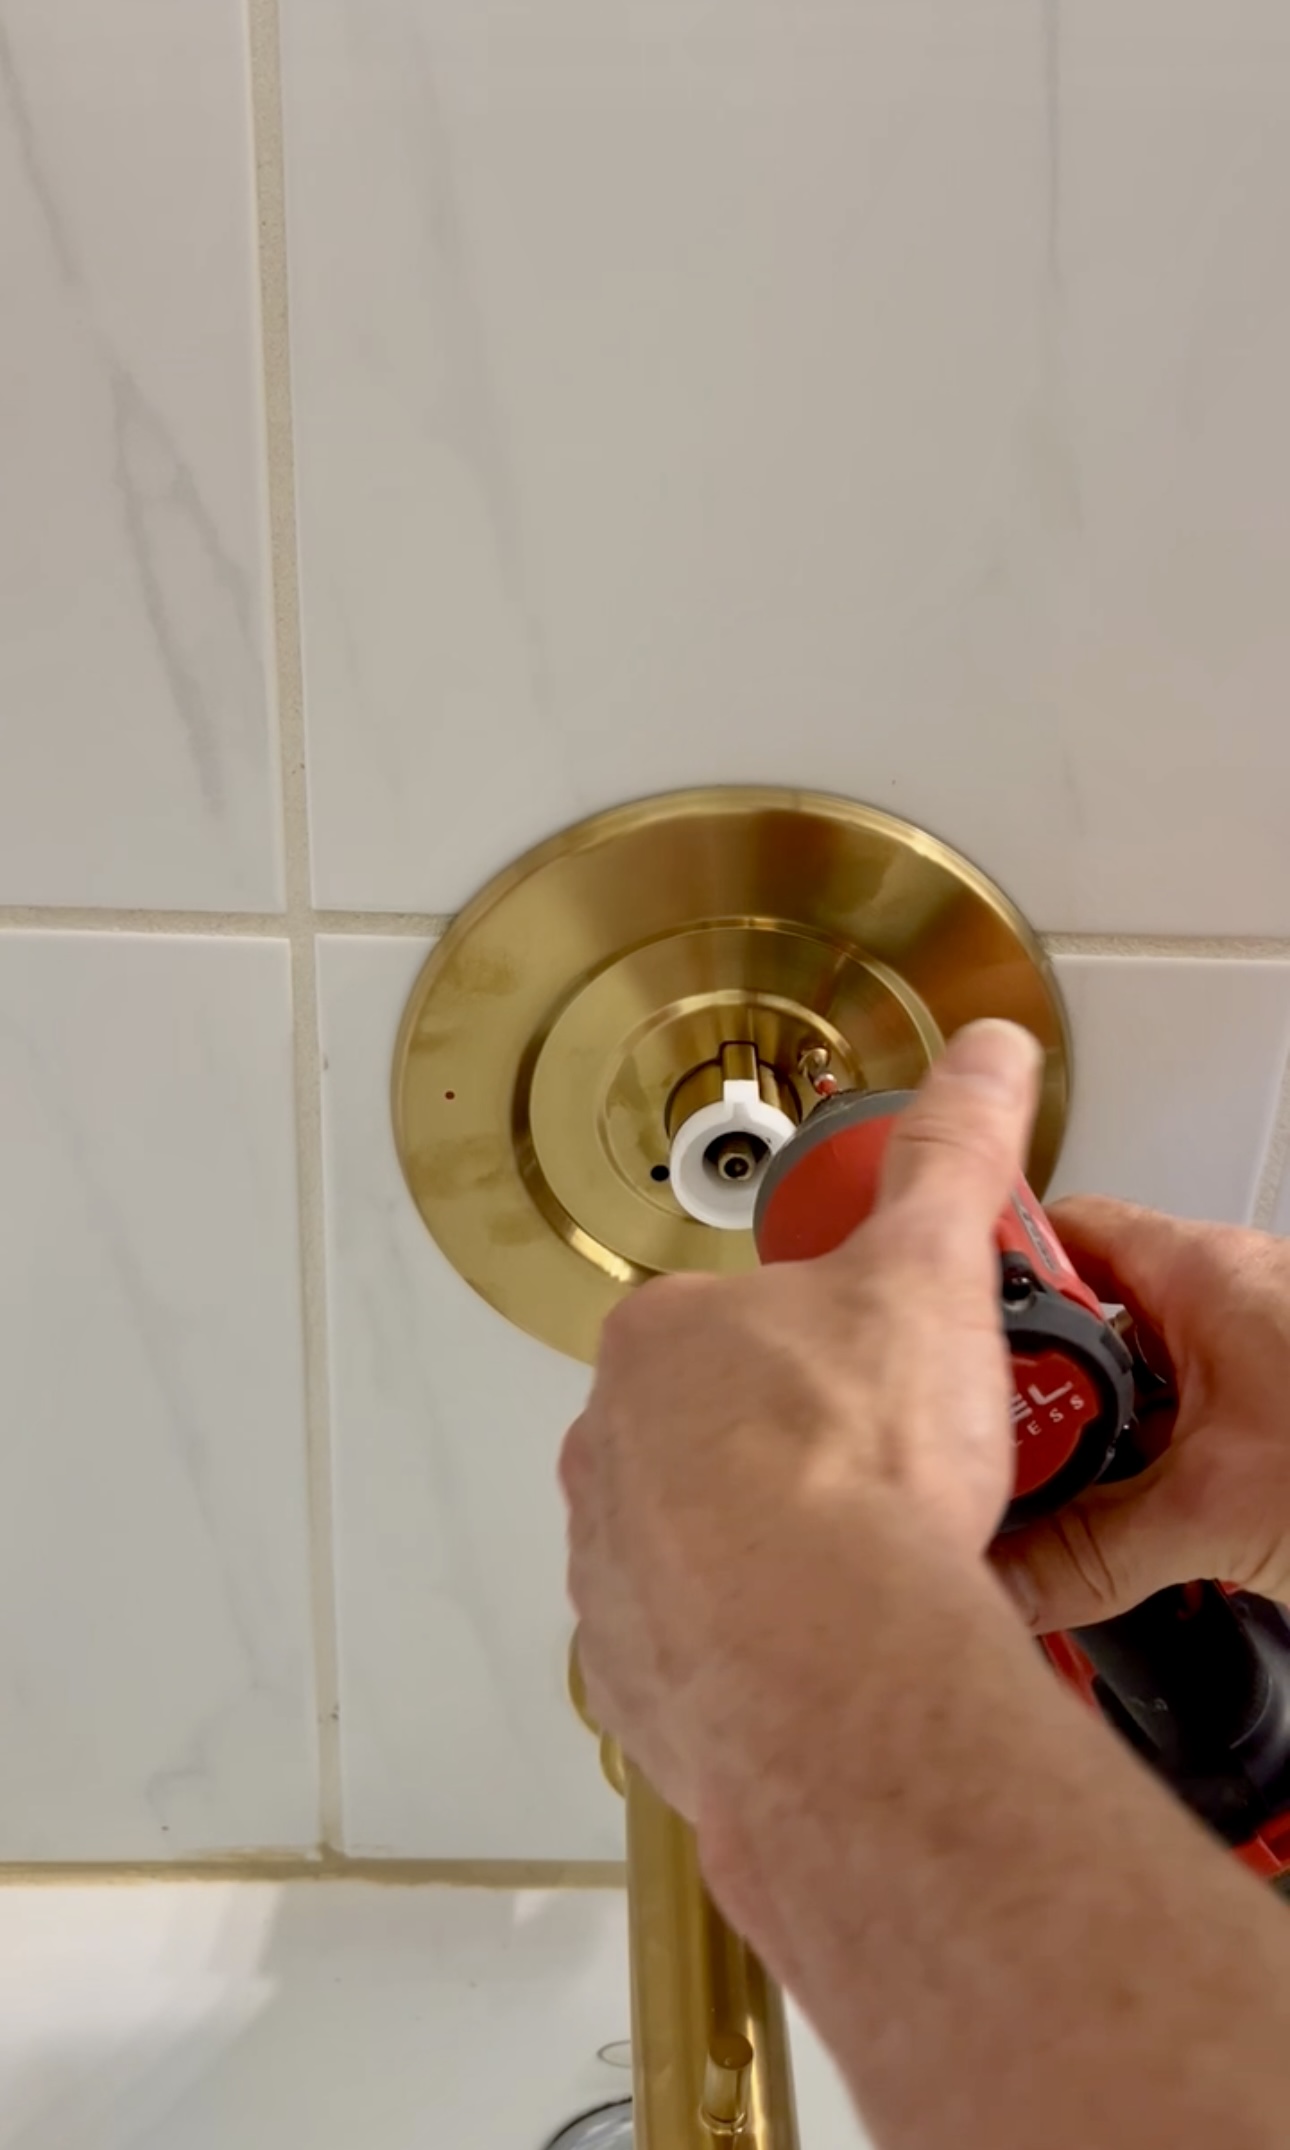
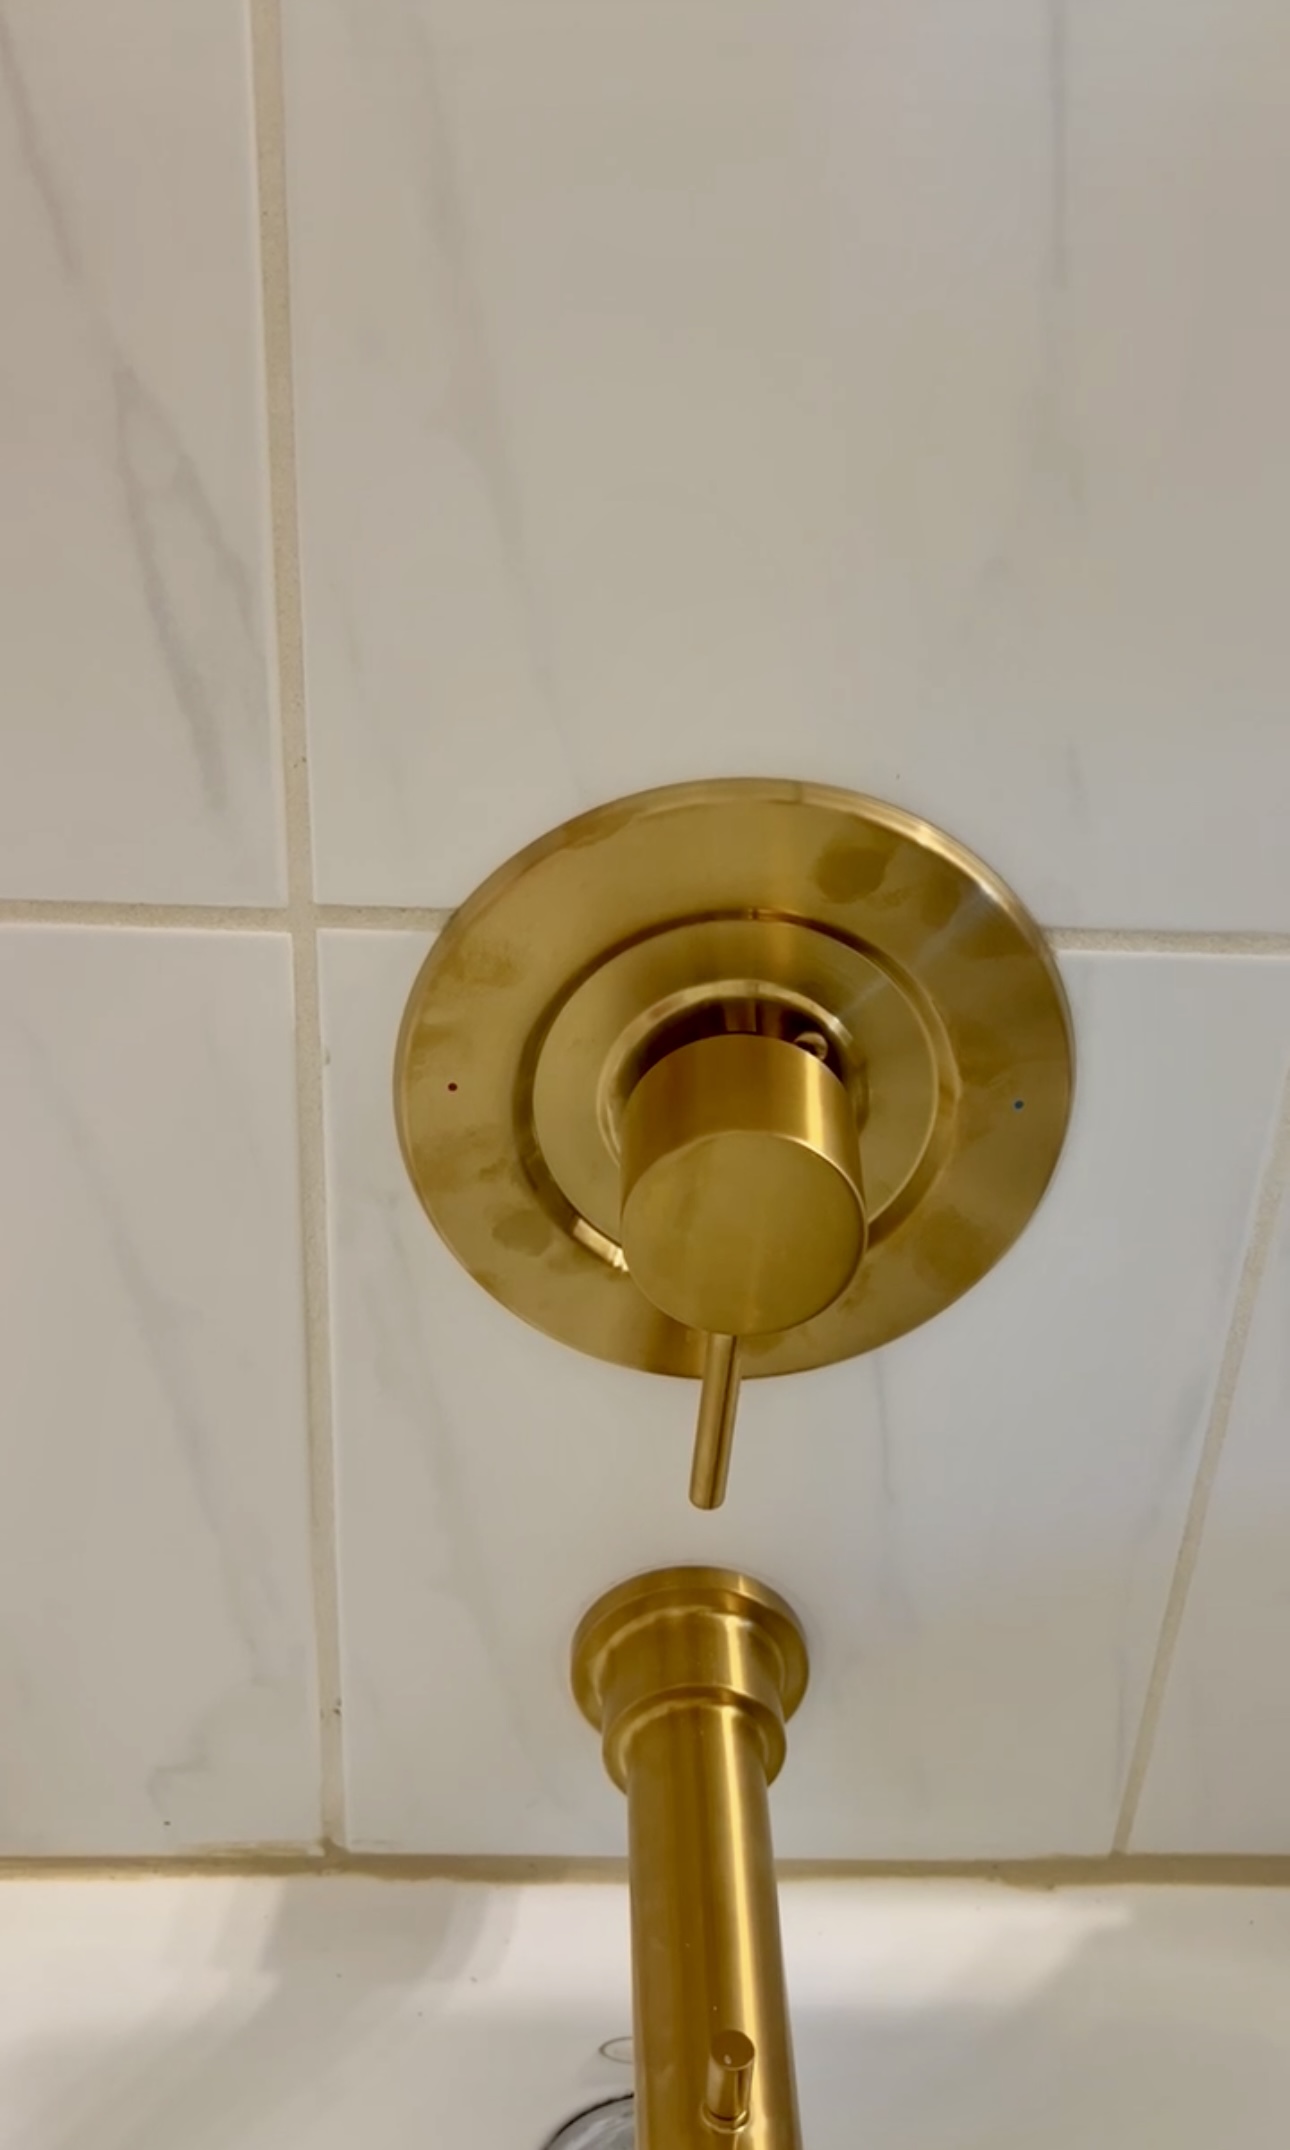
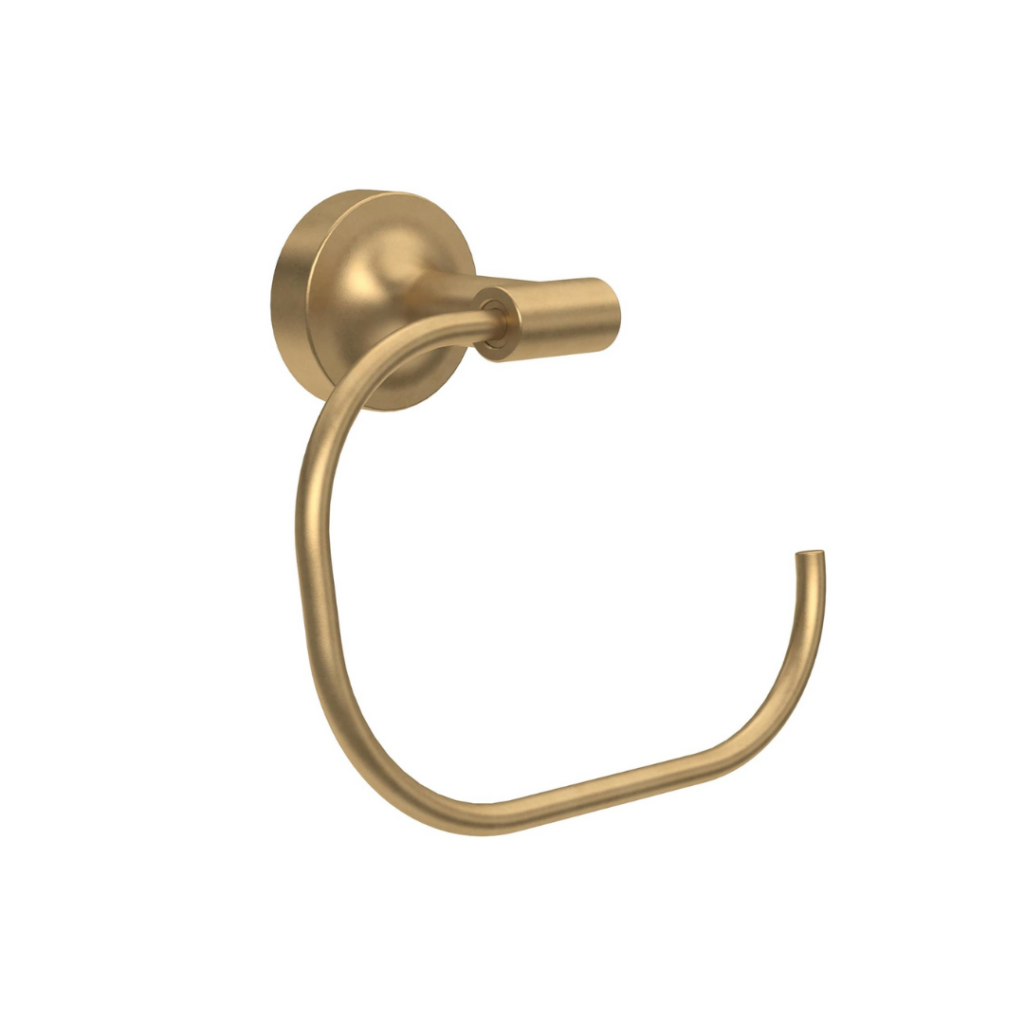
Next, we removed these old shower fixtures. These were super easy to remove and install new ones. We got gold fixtures to match the sink and toilet paper holder.
Wallpaper
Then, I hung up this floral wallpaper! This wallpaper is super affordable – wallpaper for the whole room only ended up costing me $150.
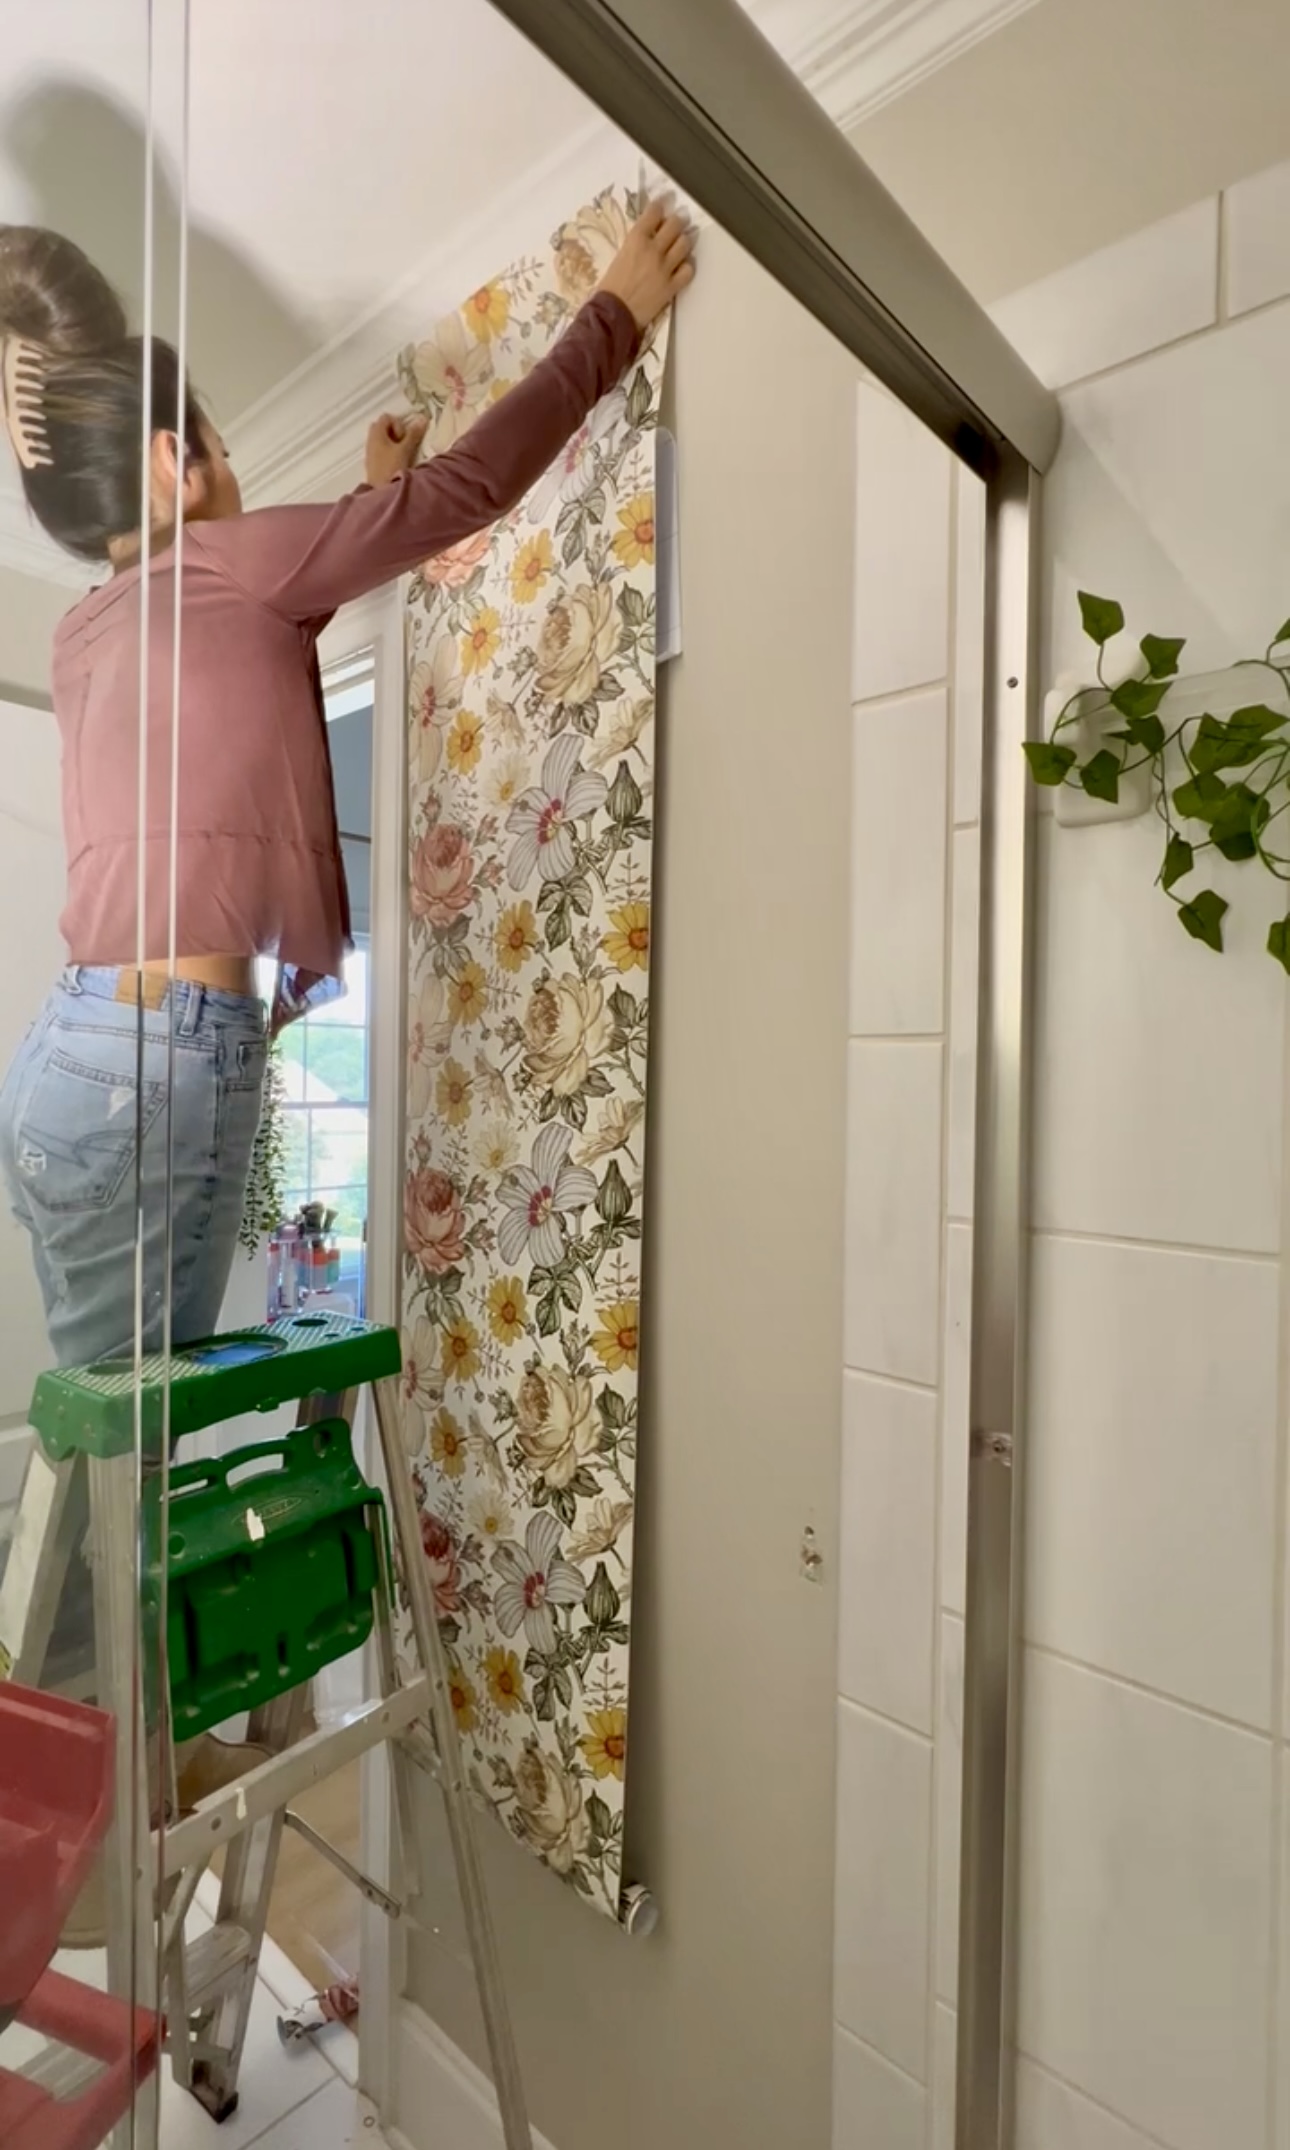
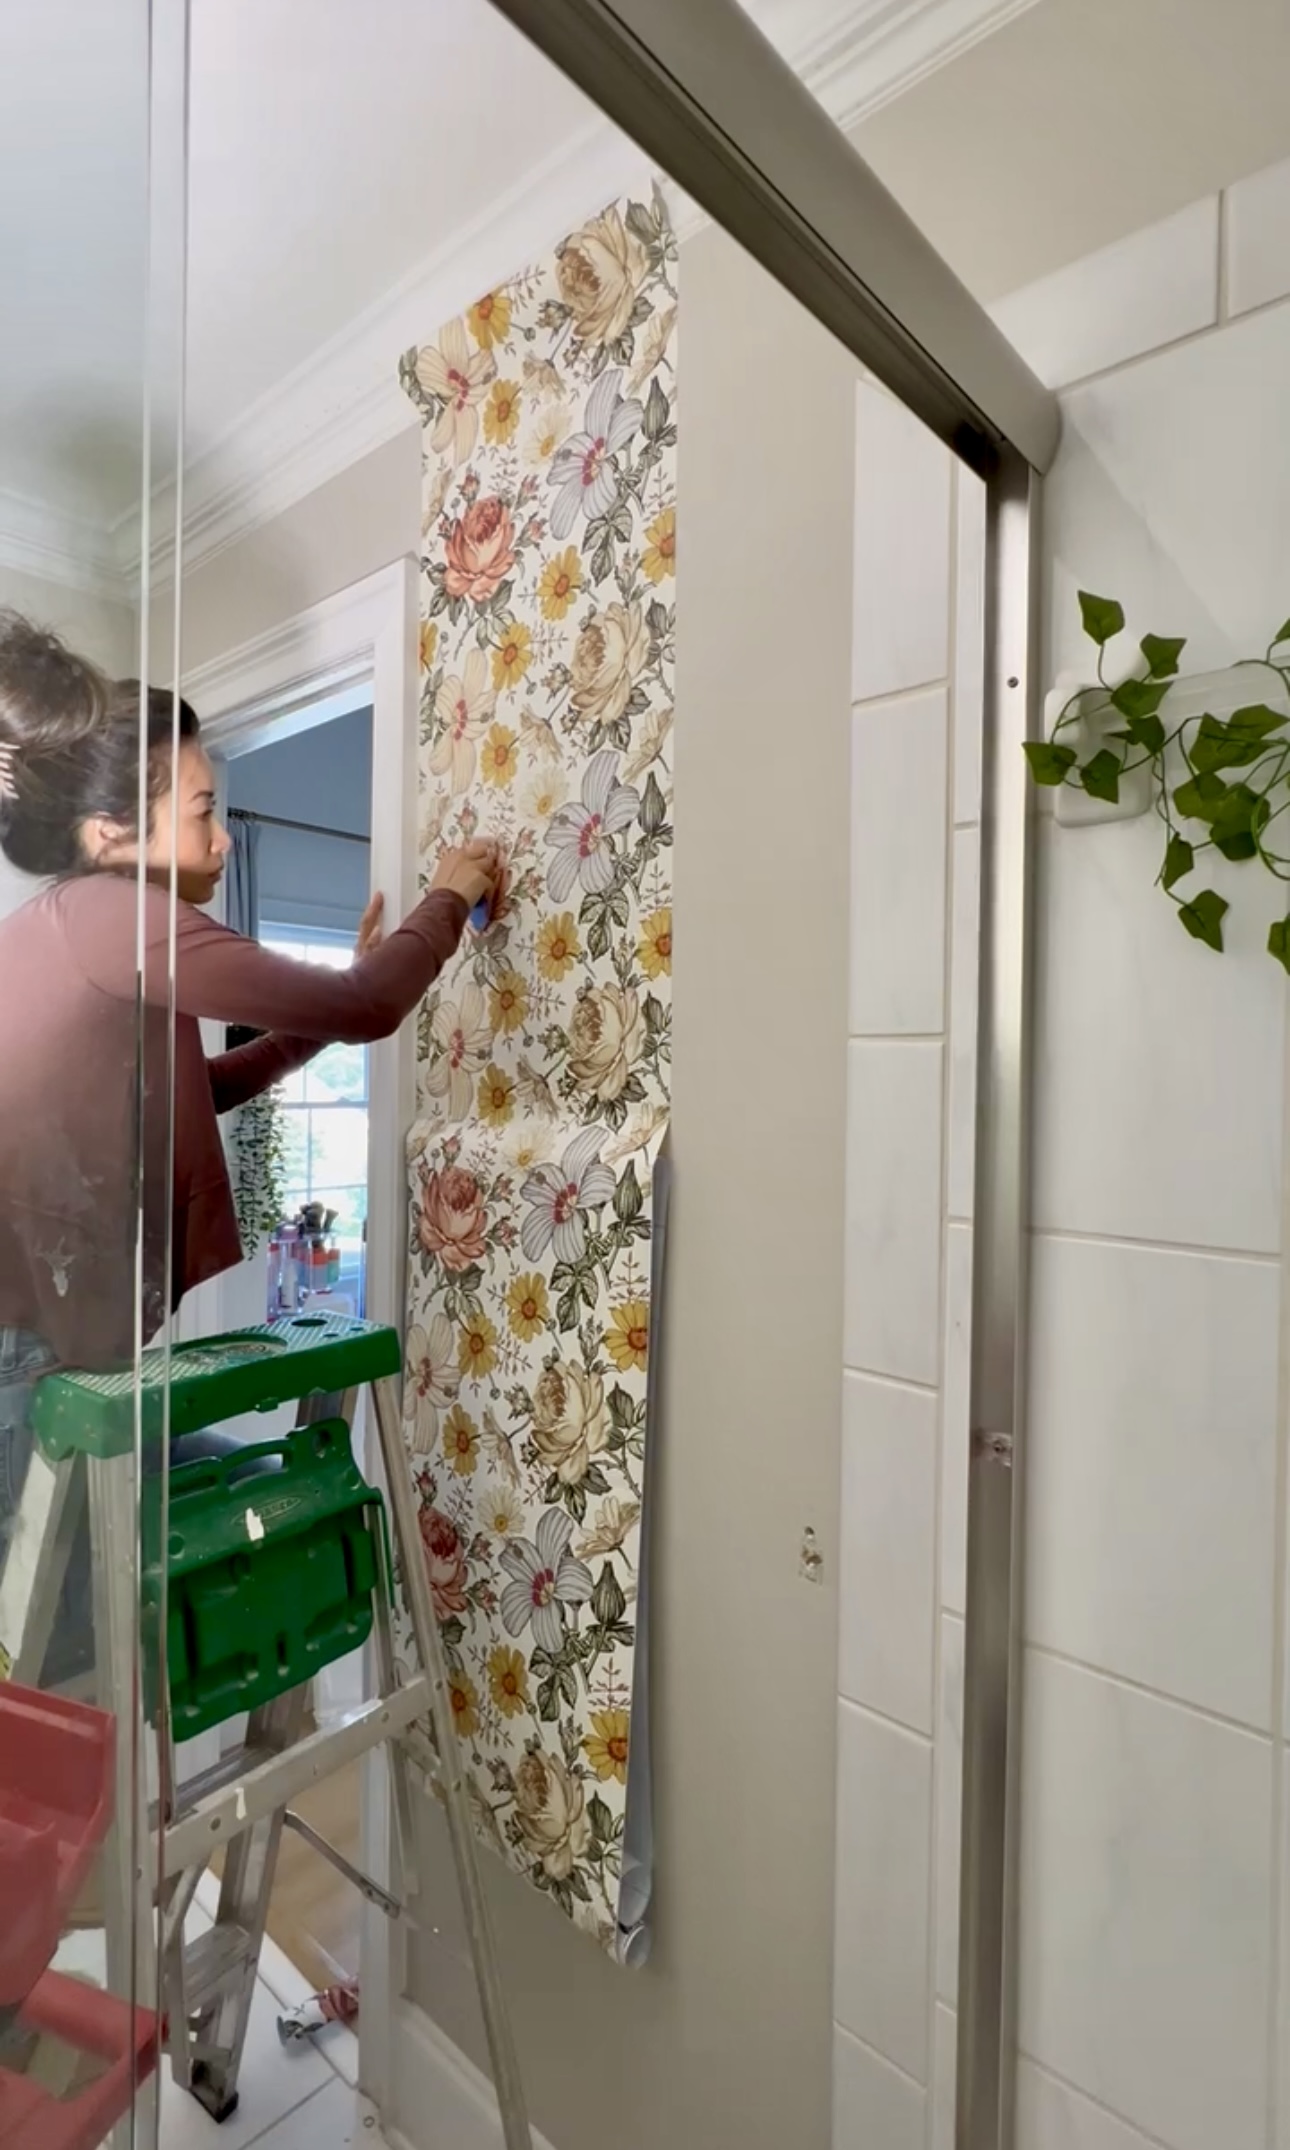
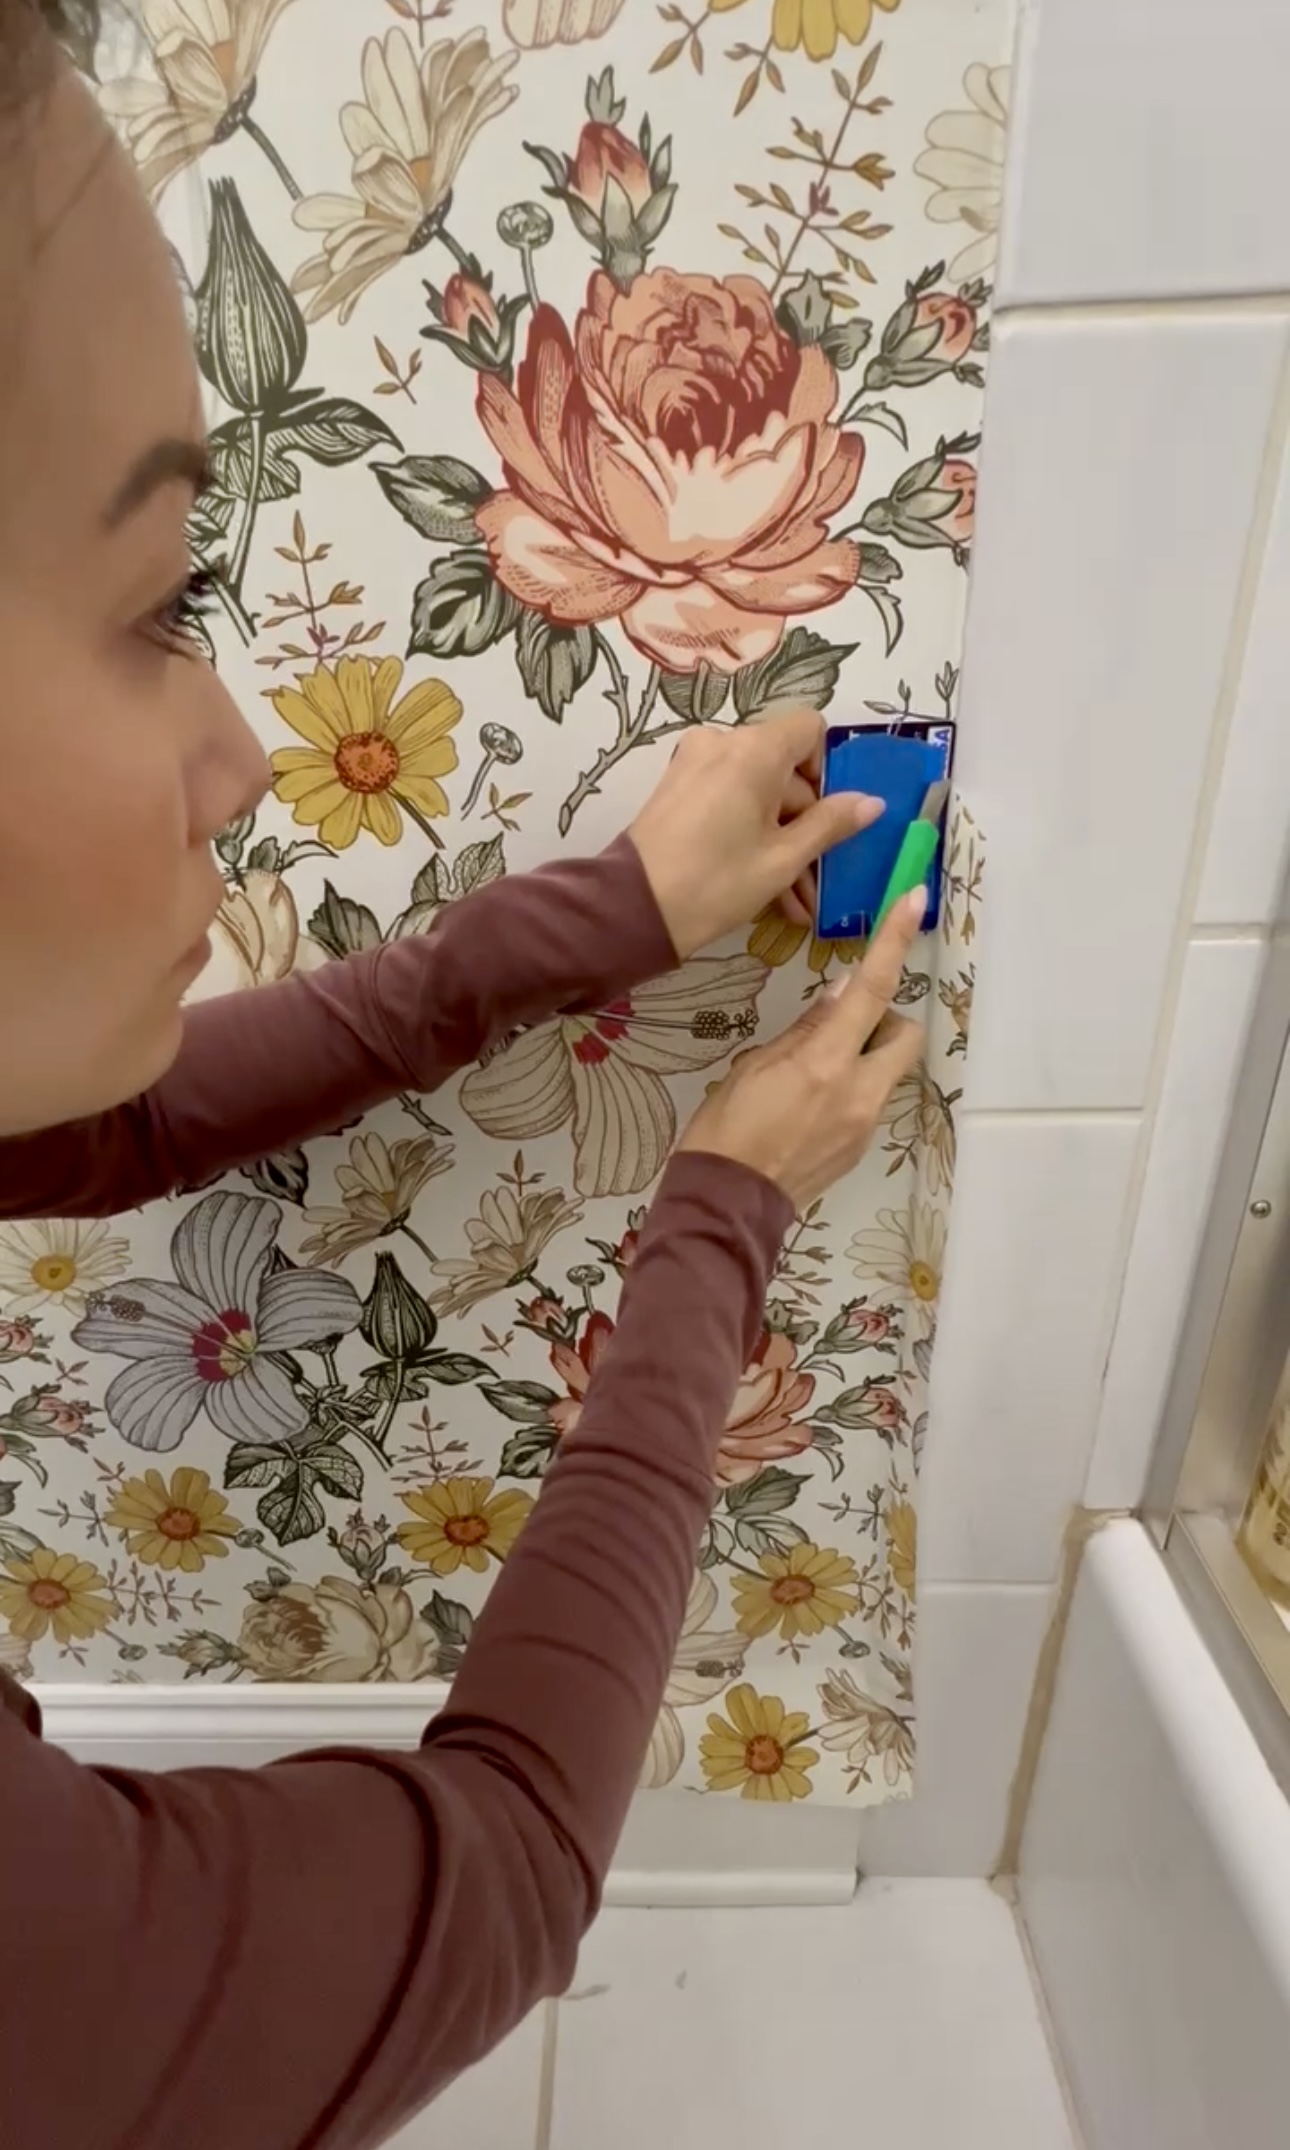
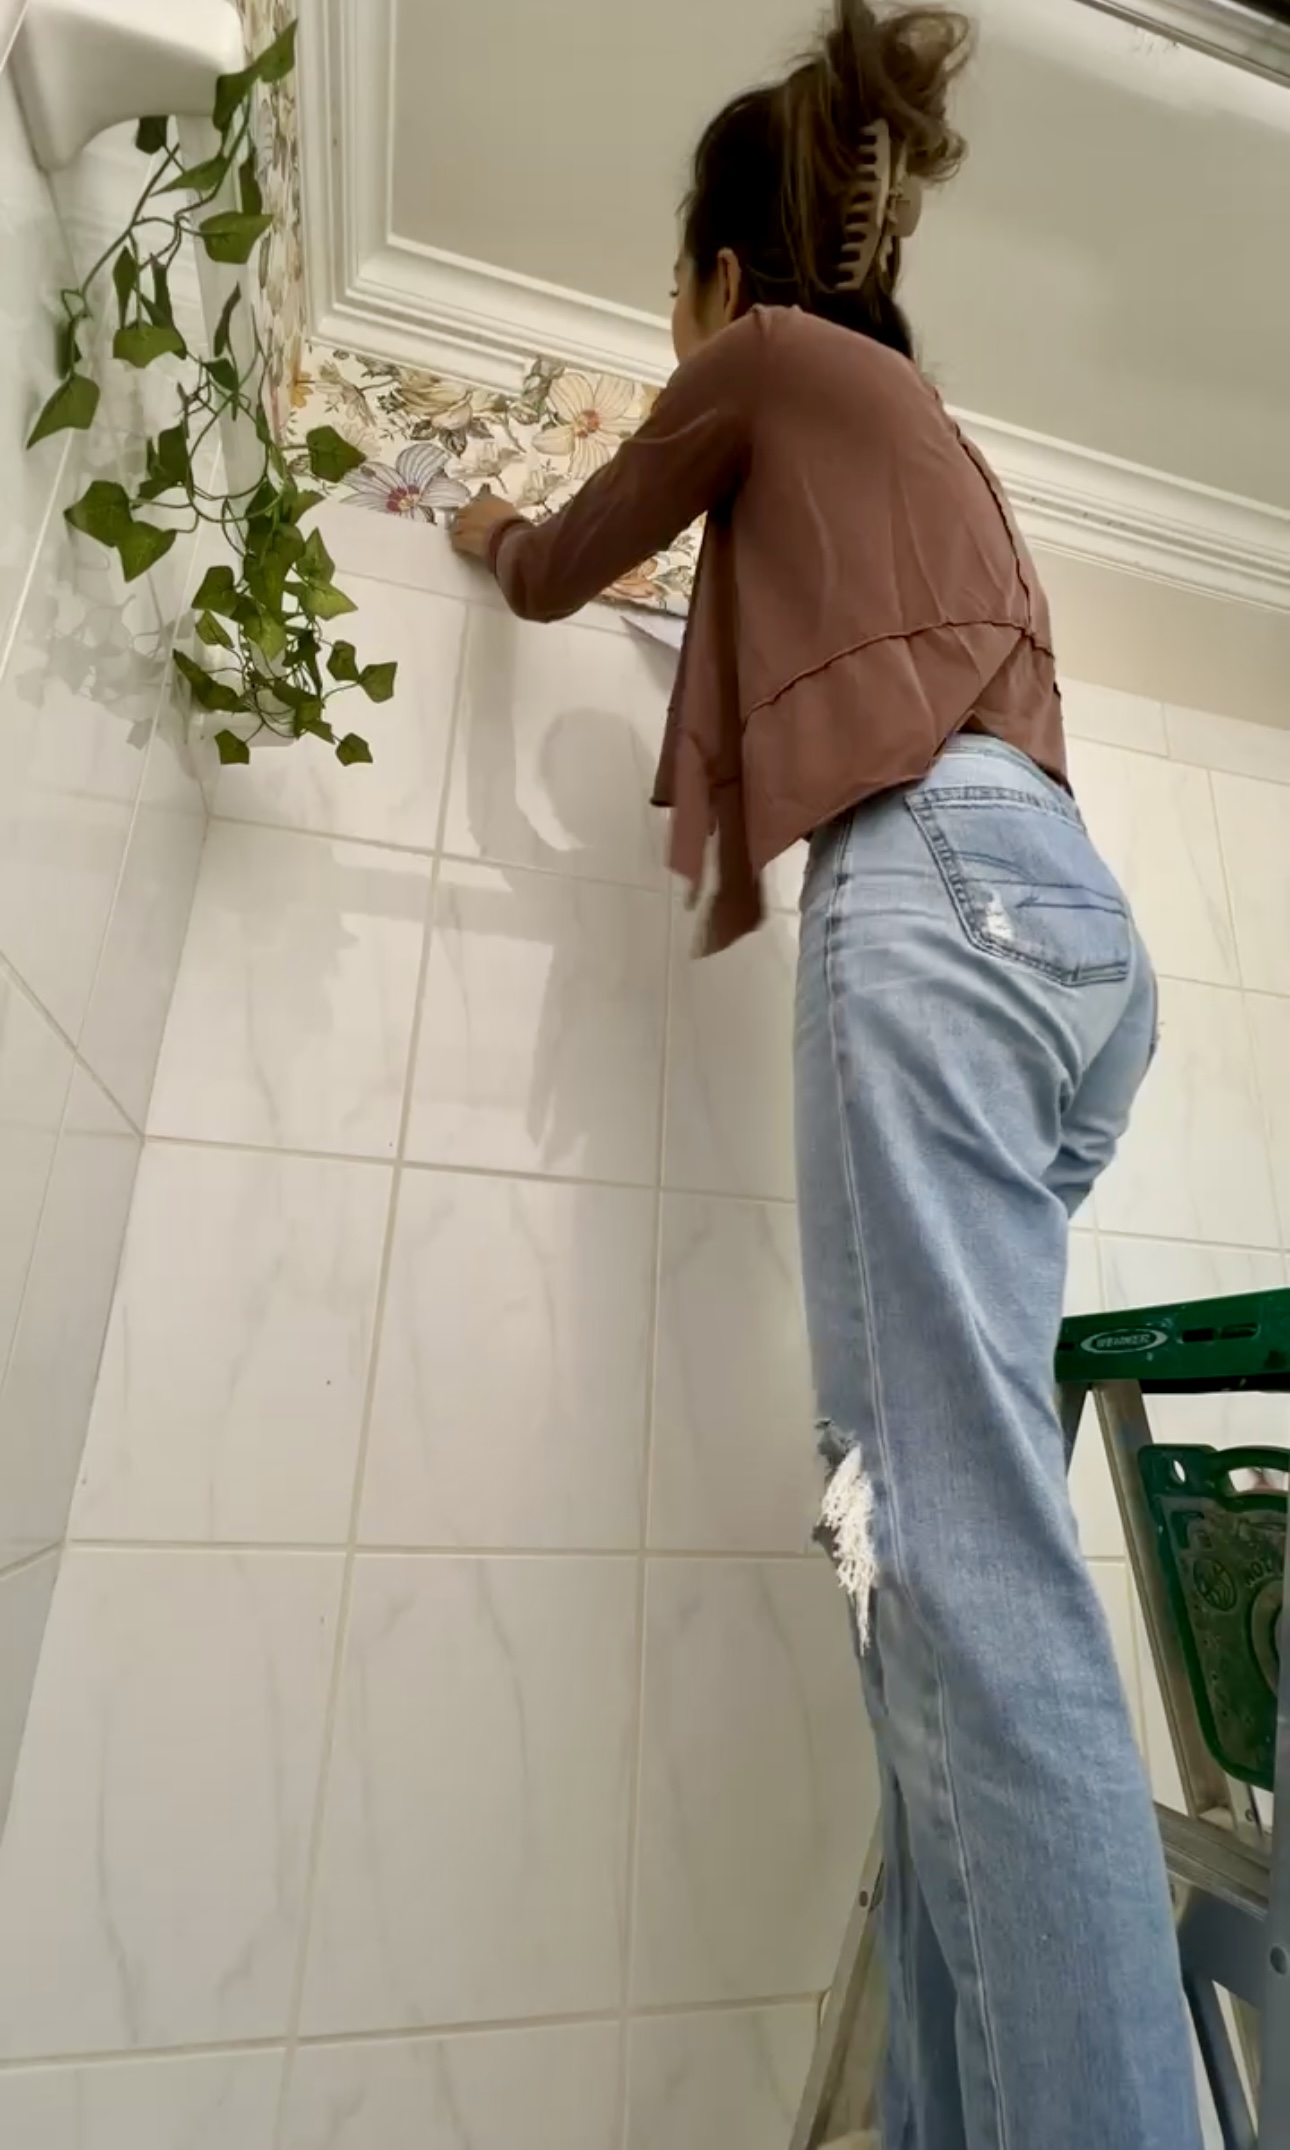
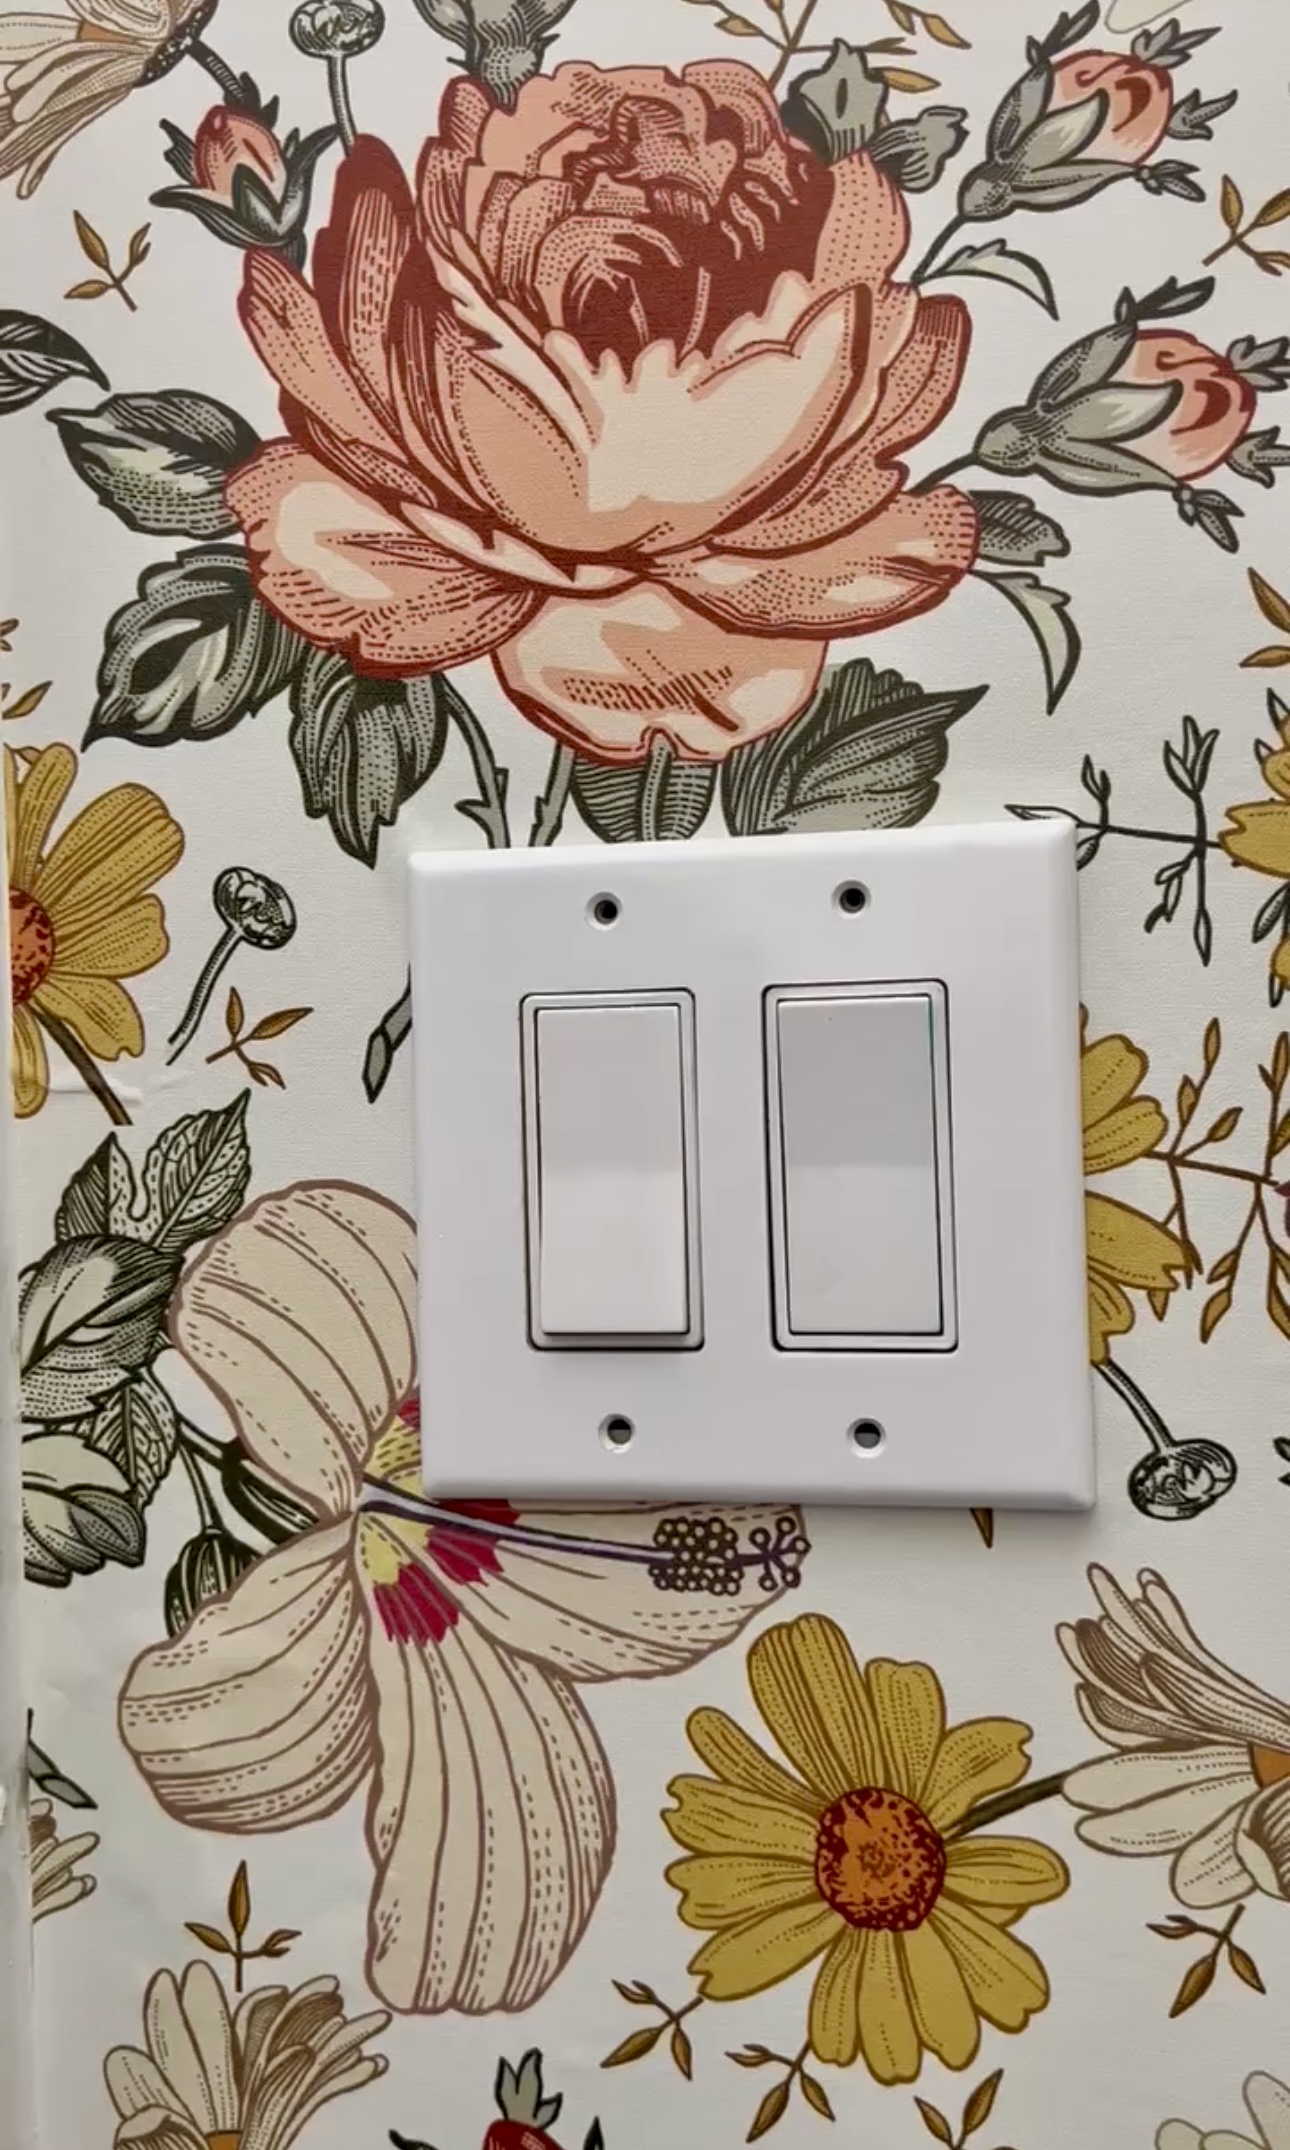
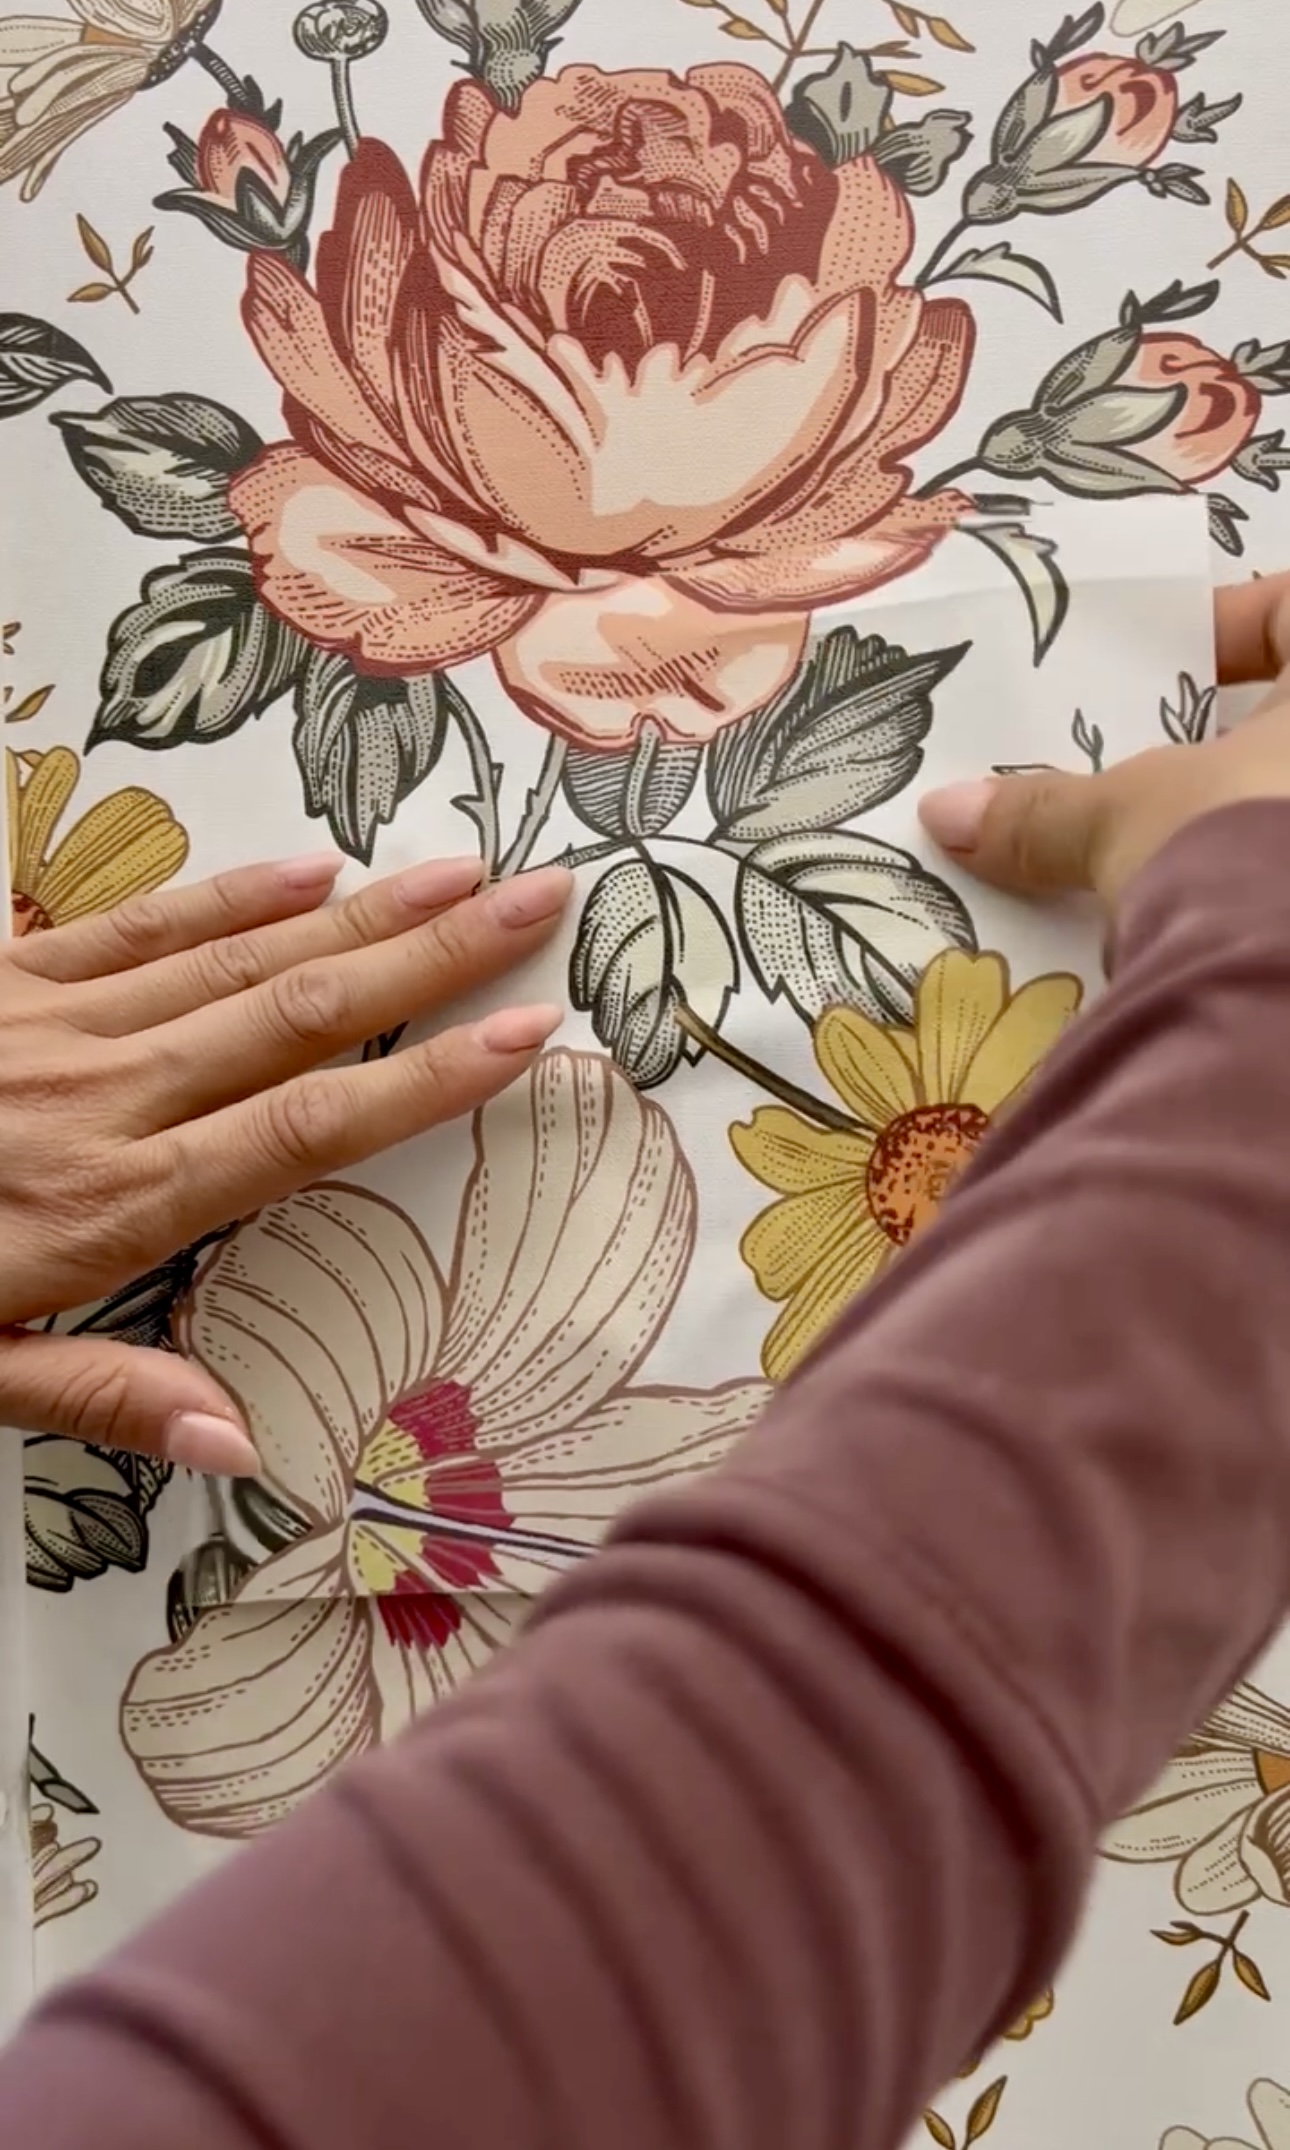
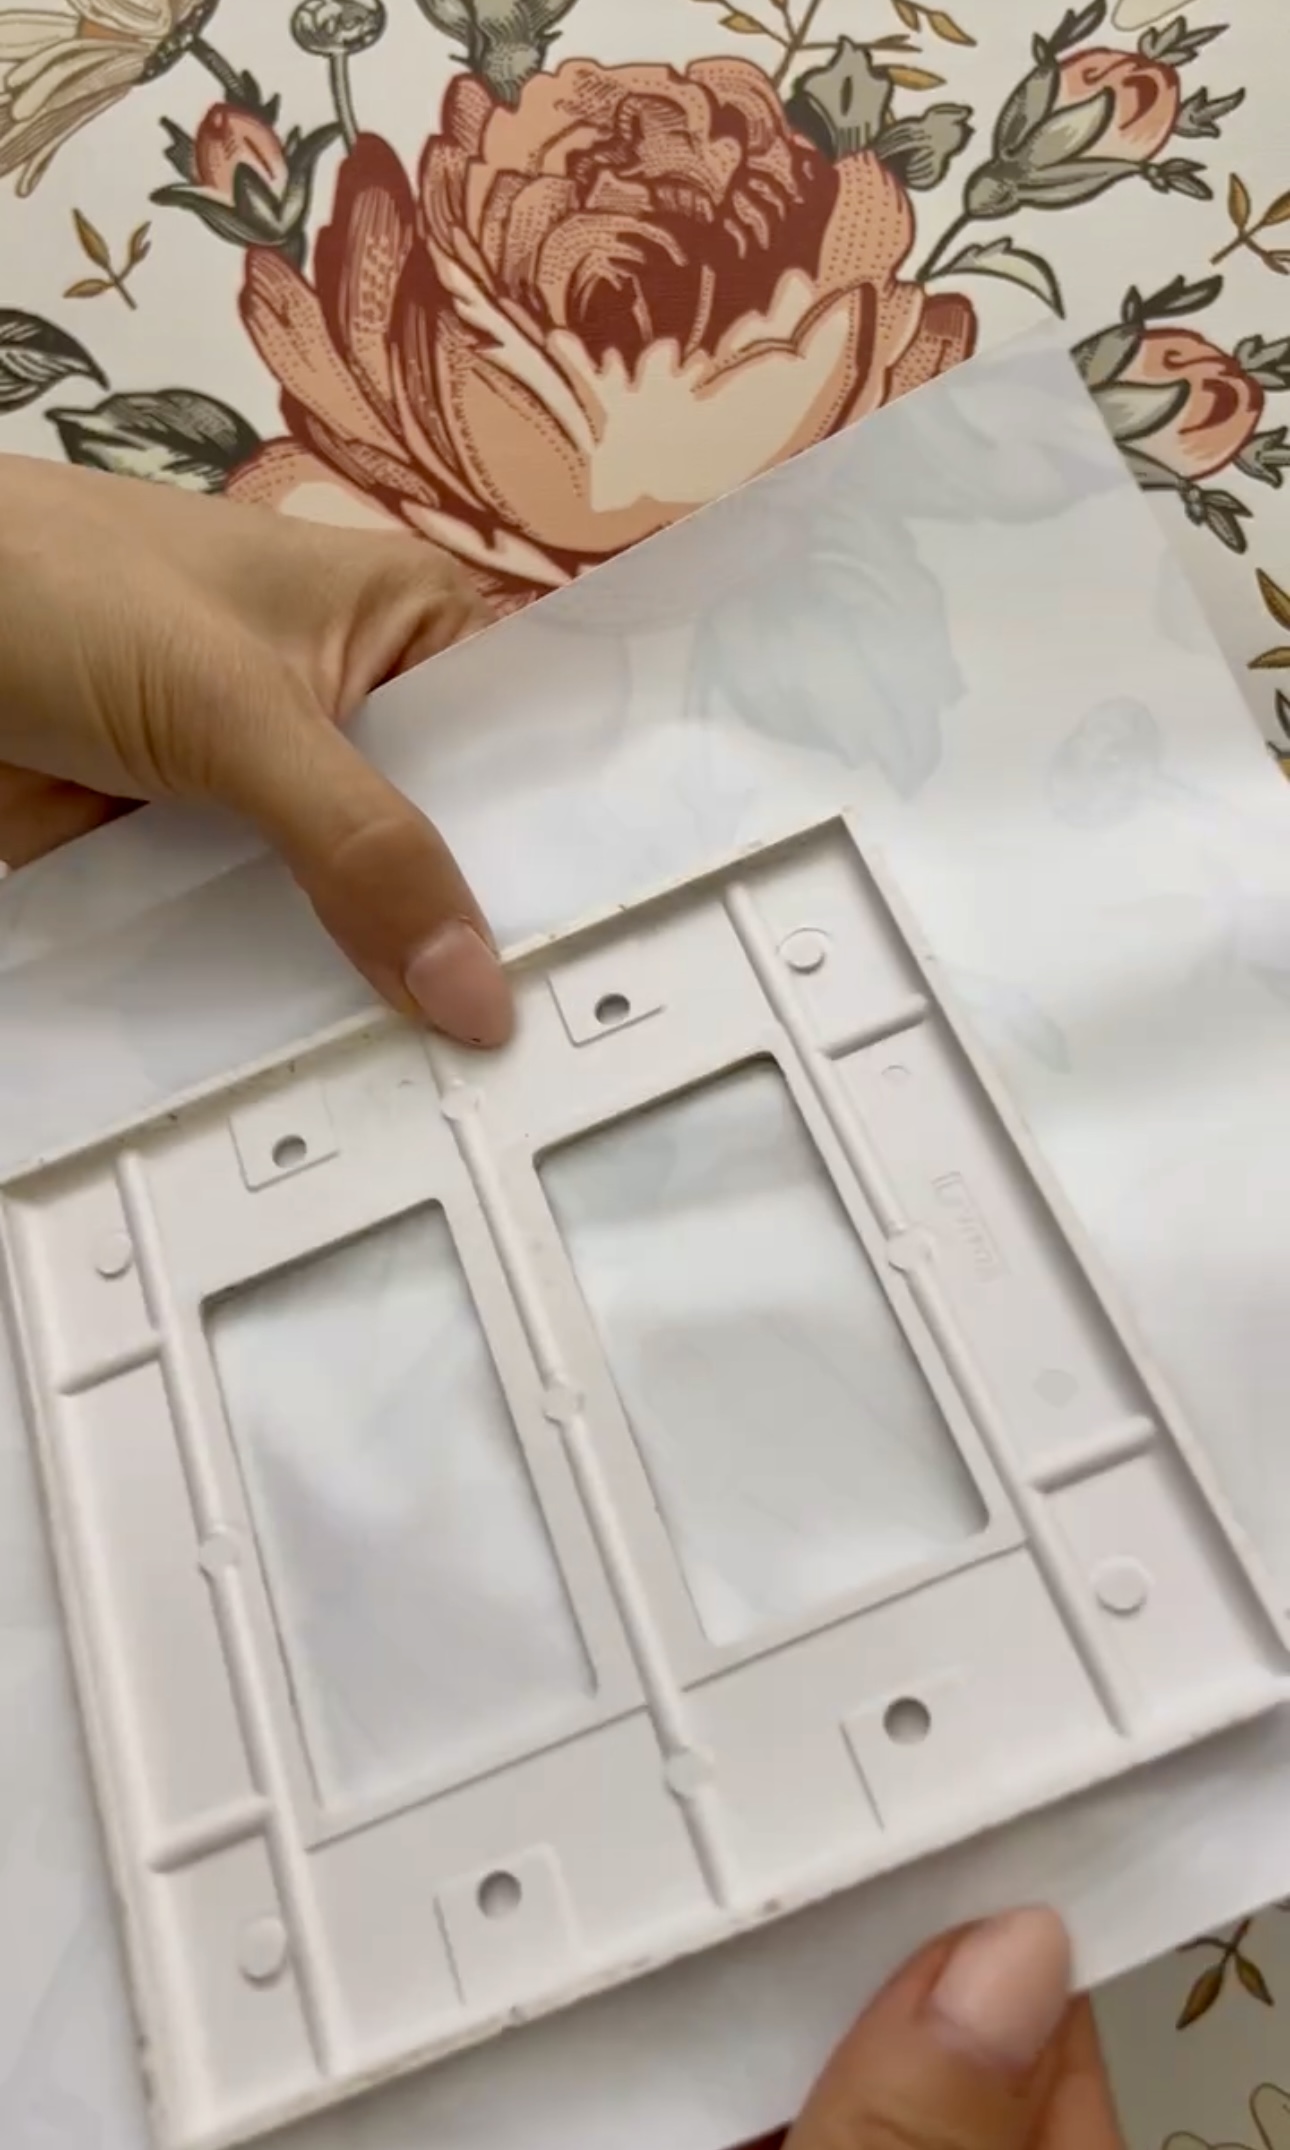
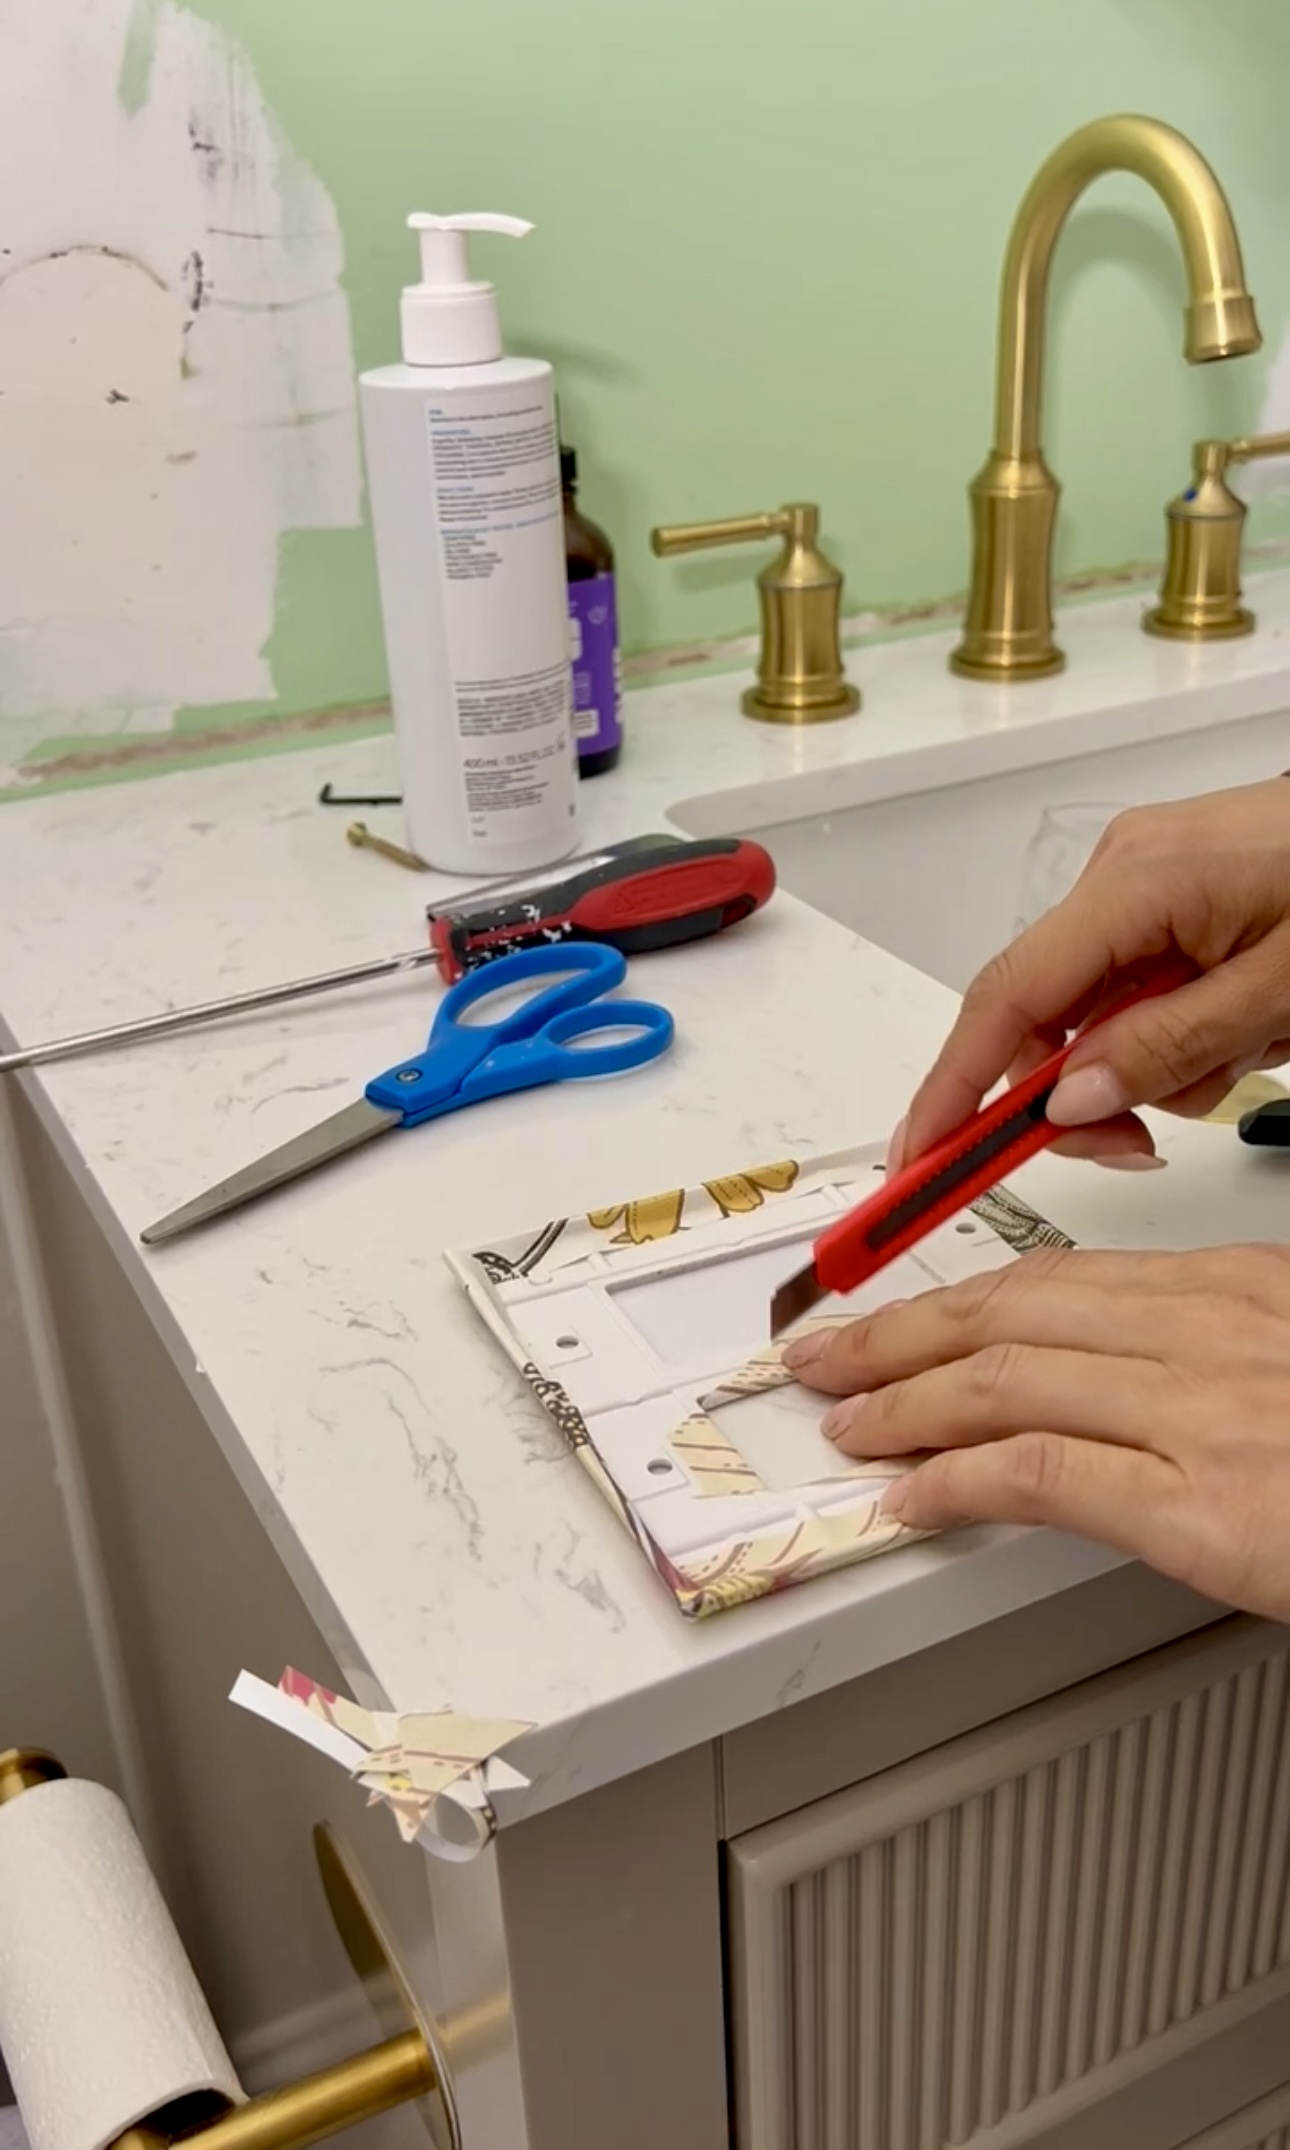
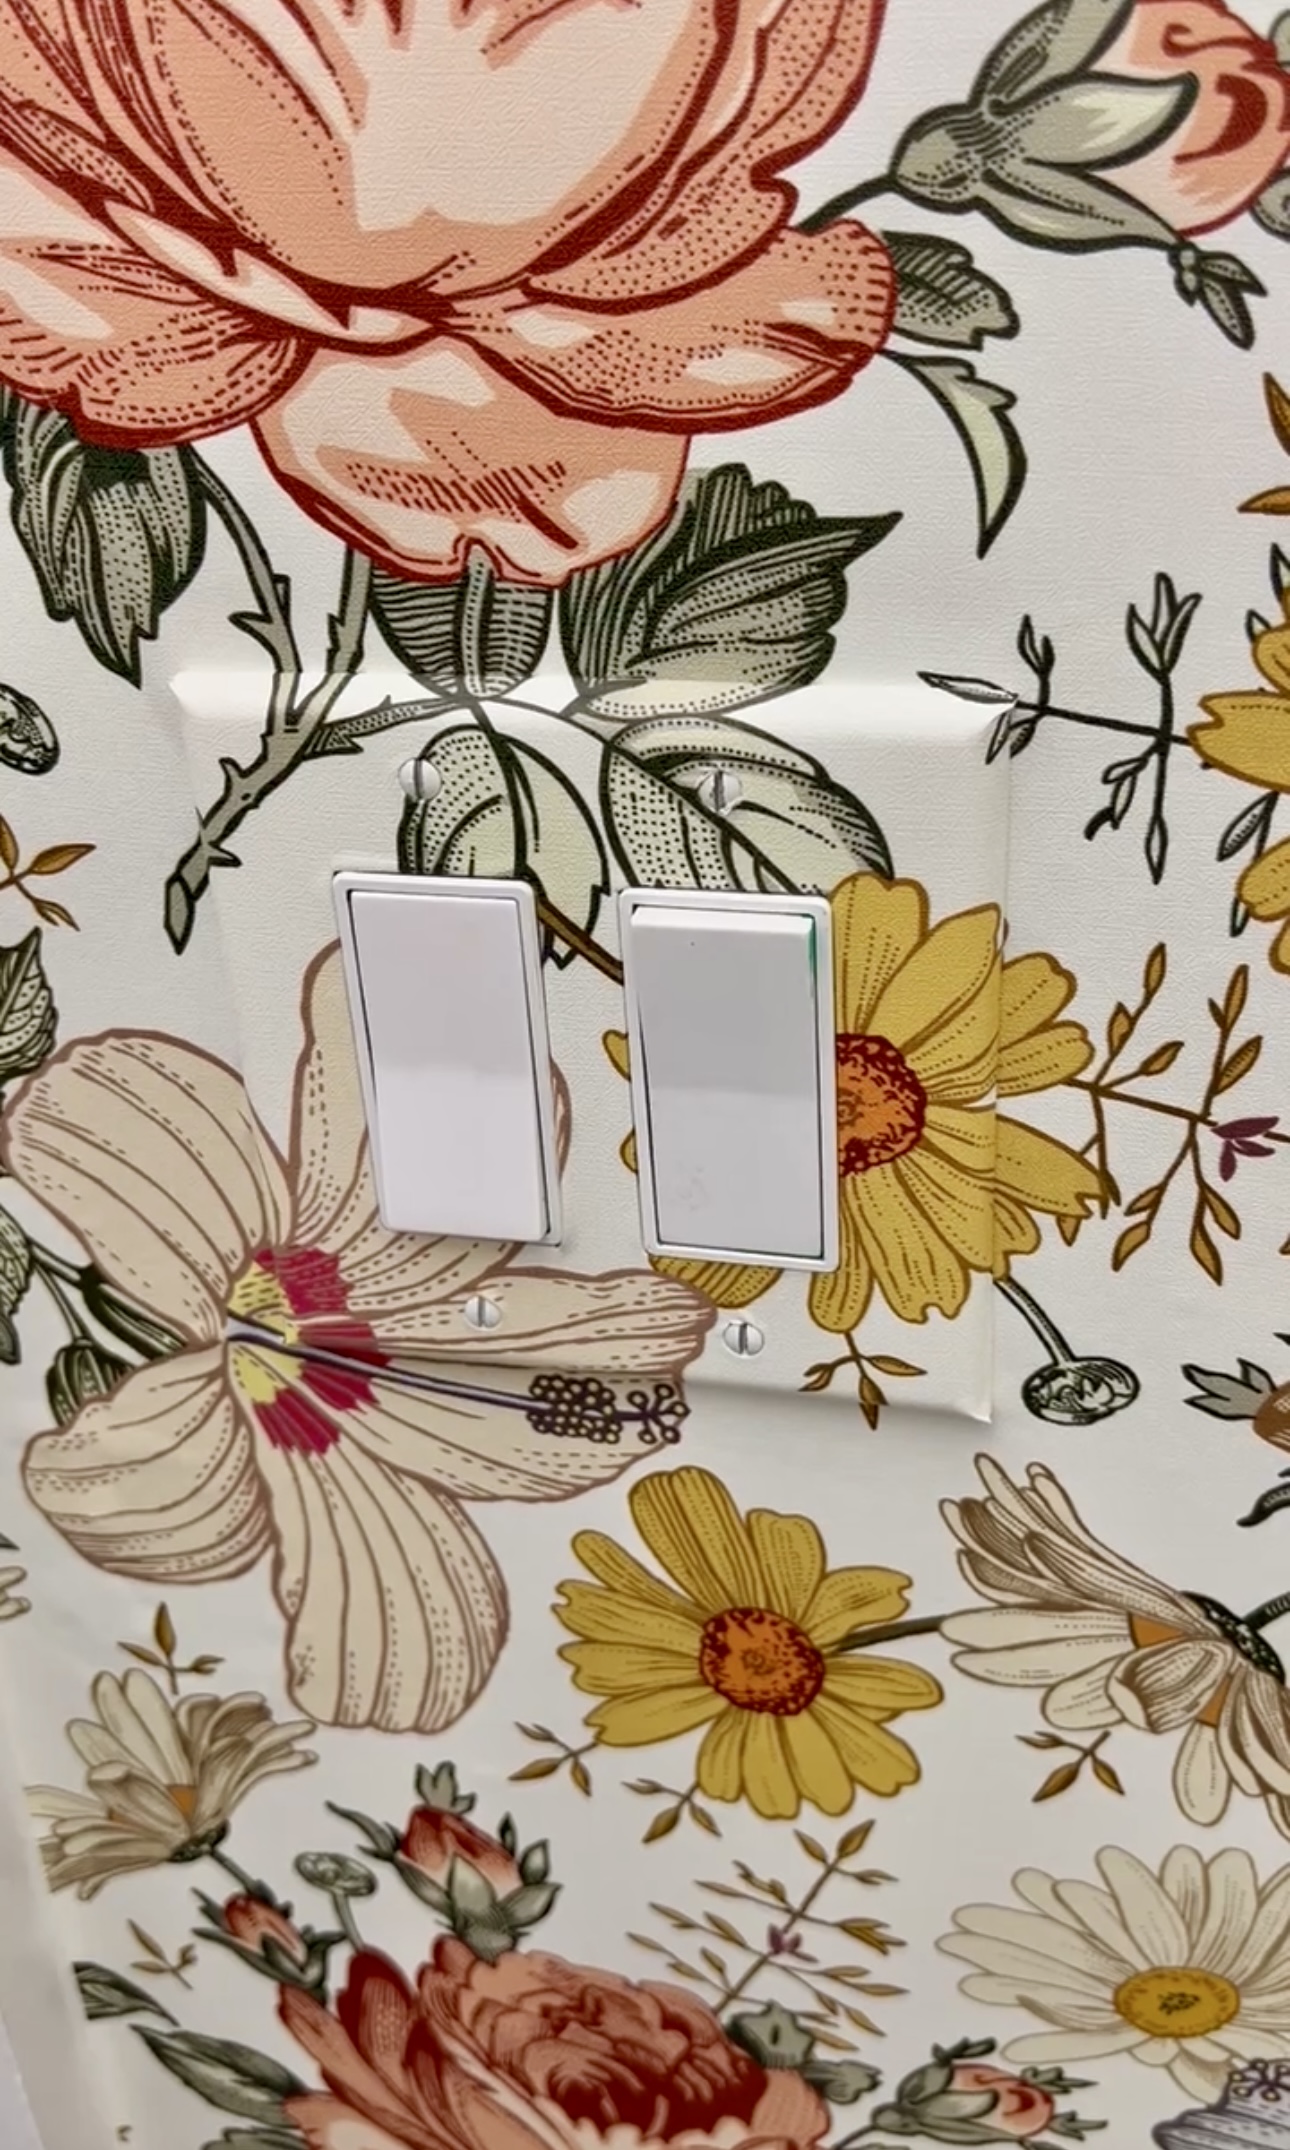
Because I’m extra, I decided to wrap the switch plate in wallpaper too because why not?! I pressed the wallpaper patch onto the switch plate exactly where I wanted it. Then I cut the corners and folded the wallpaper over it. I used a utility knife to cut out the holes for the light switch and I think it looks pretty dang good!
Vanity Backsplash
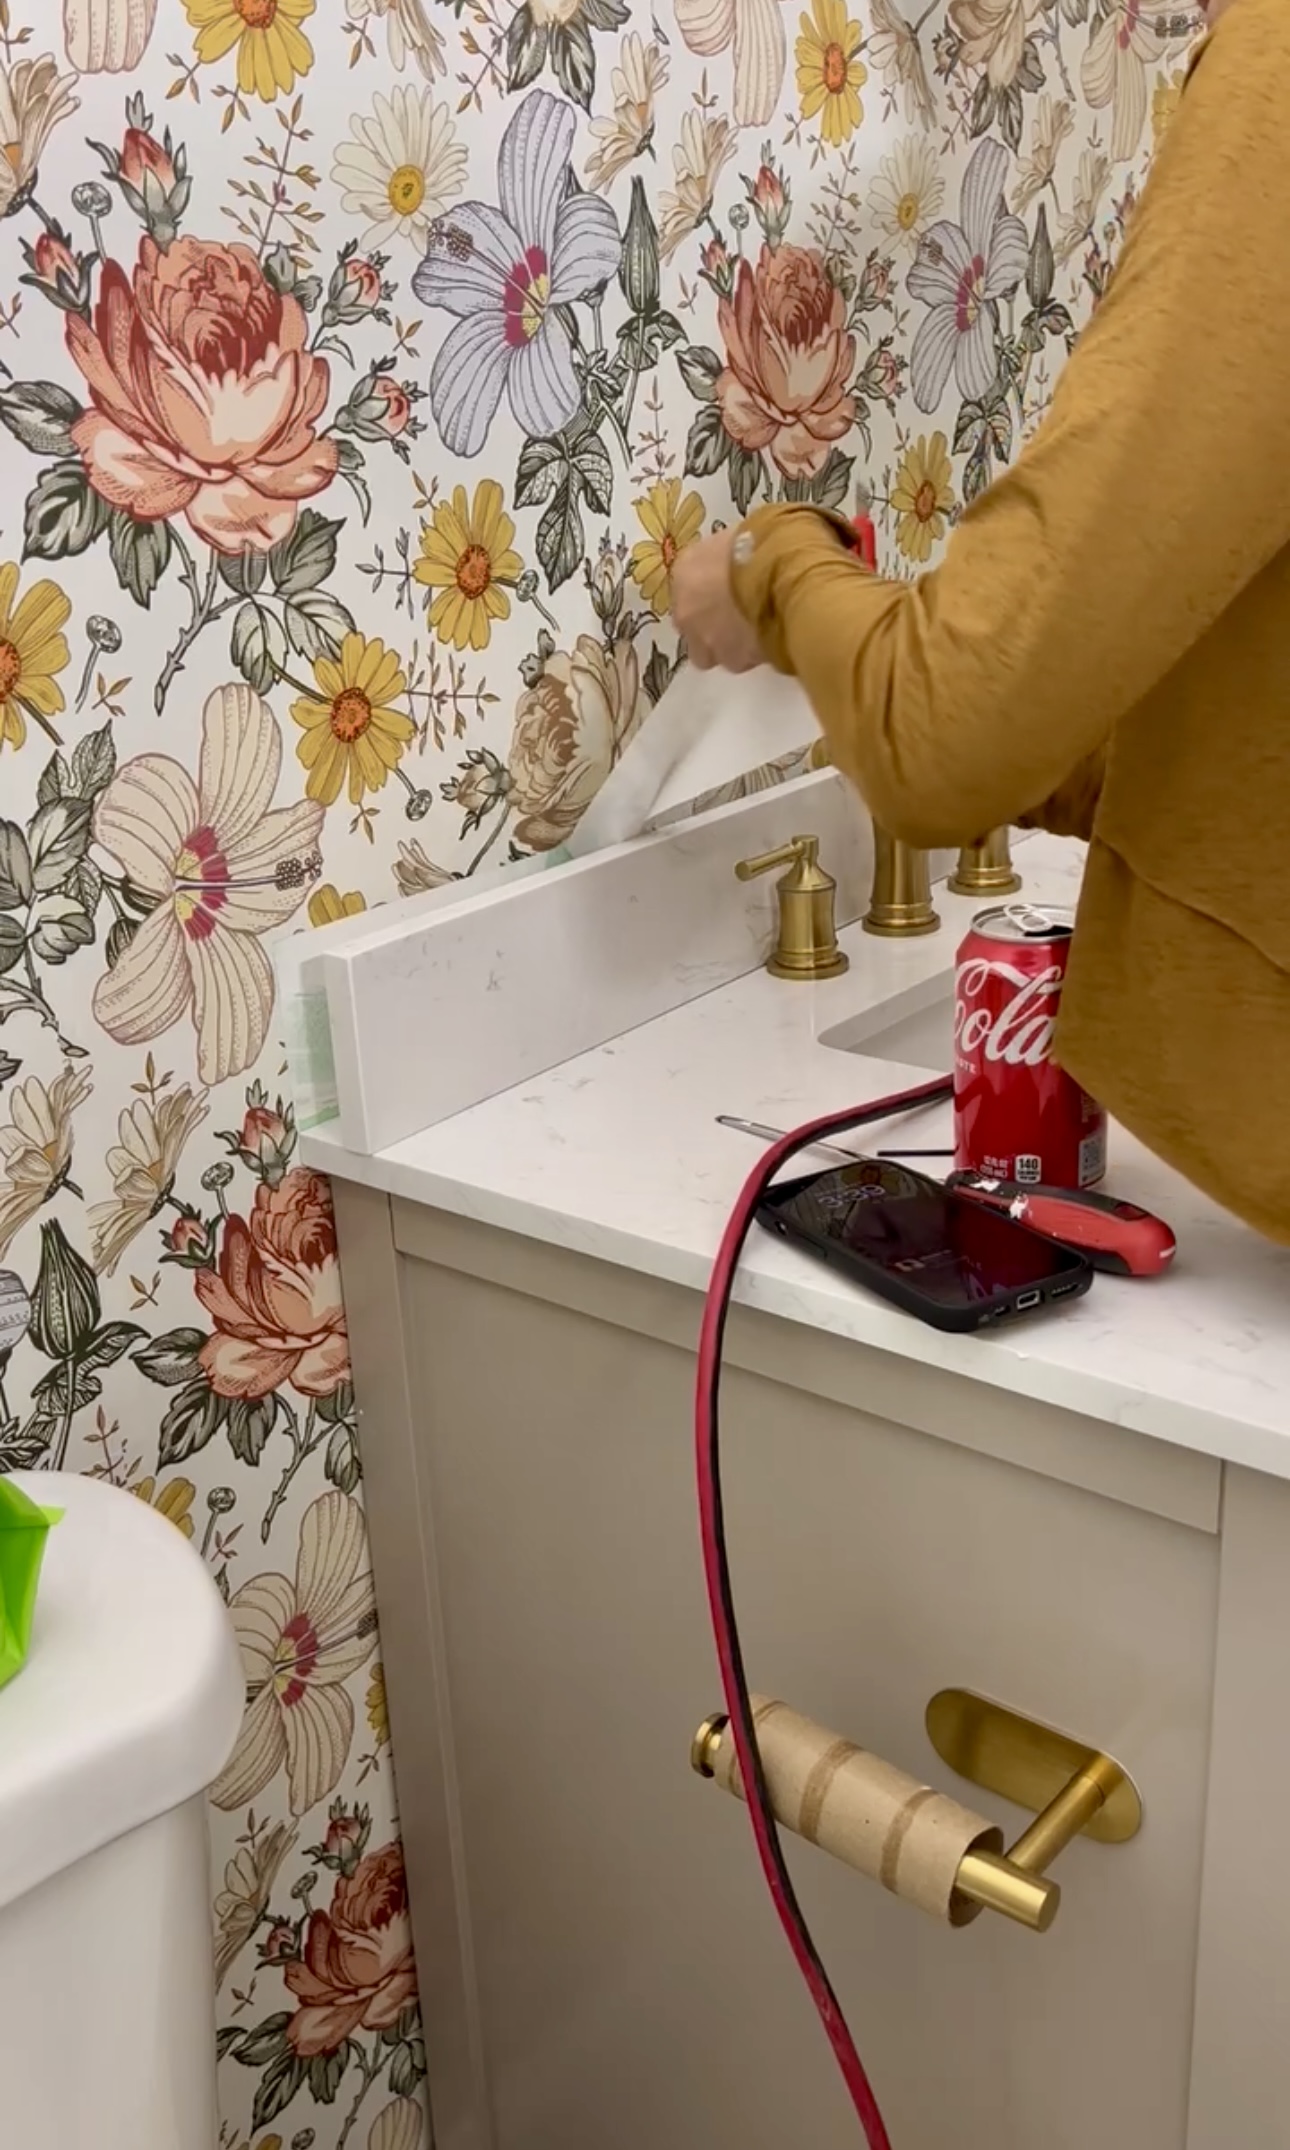
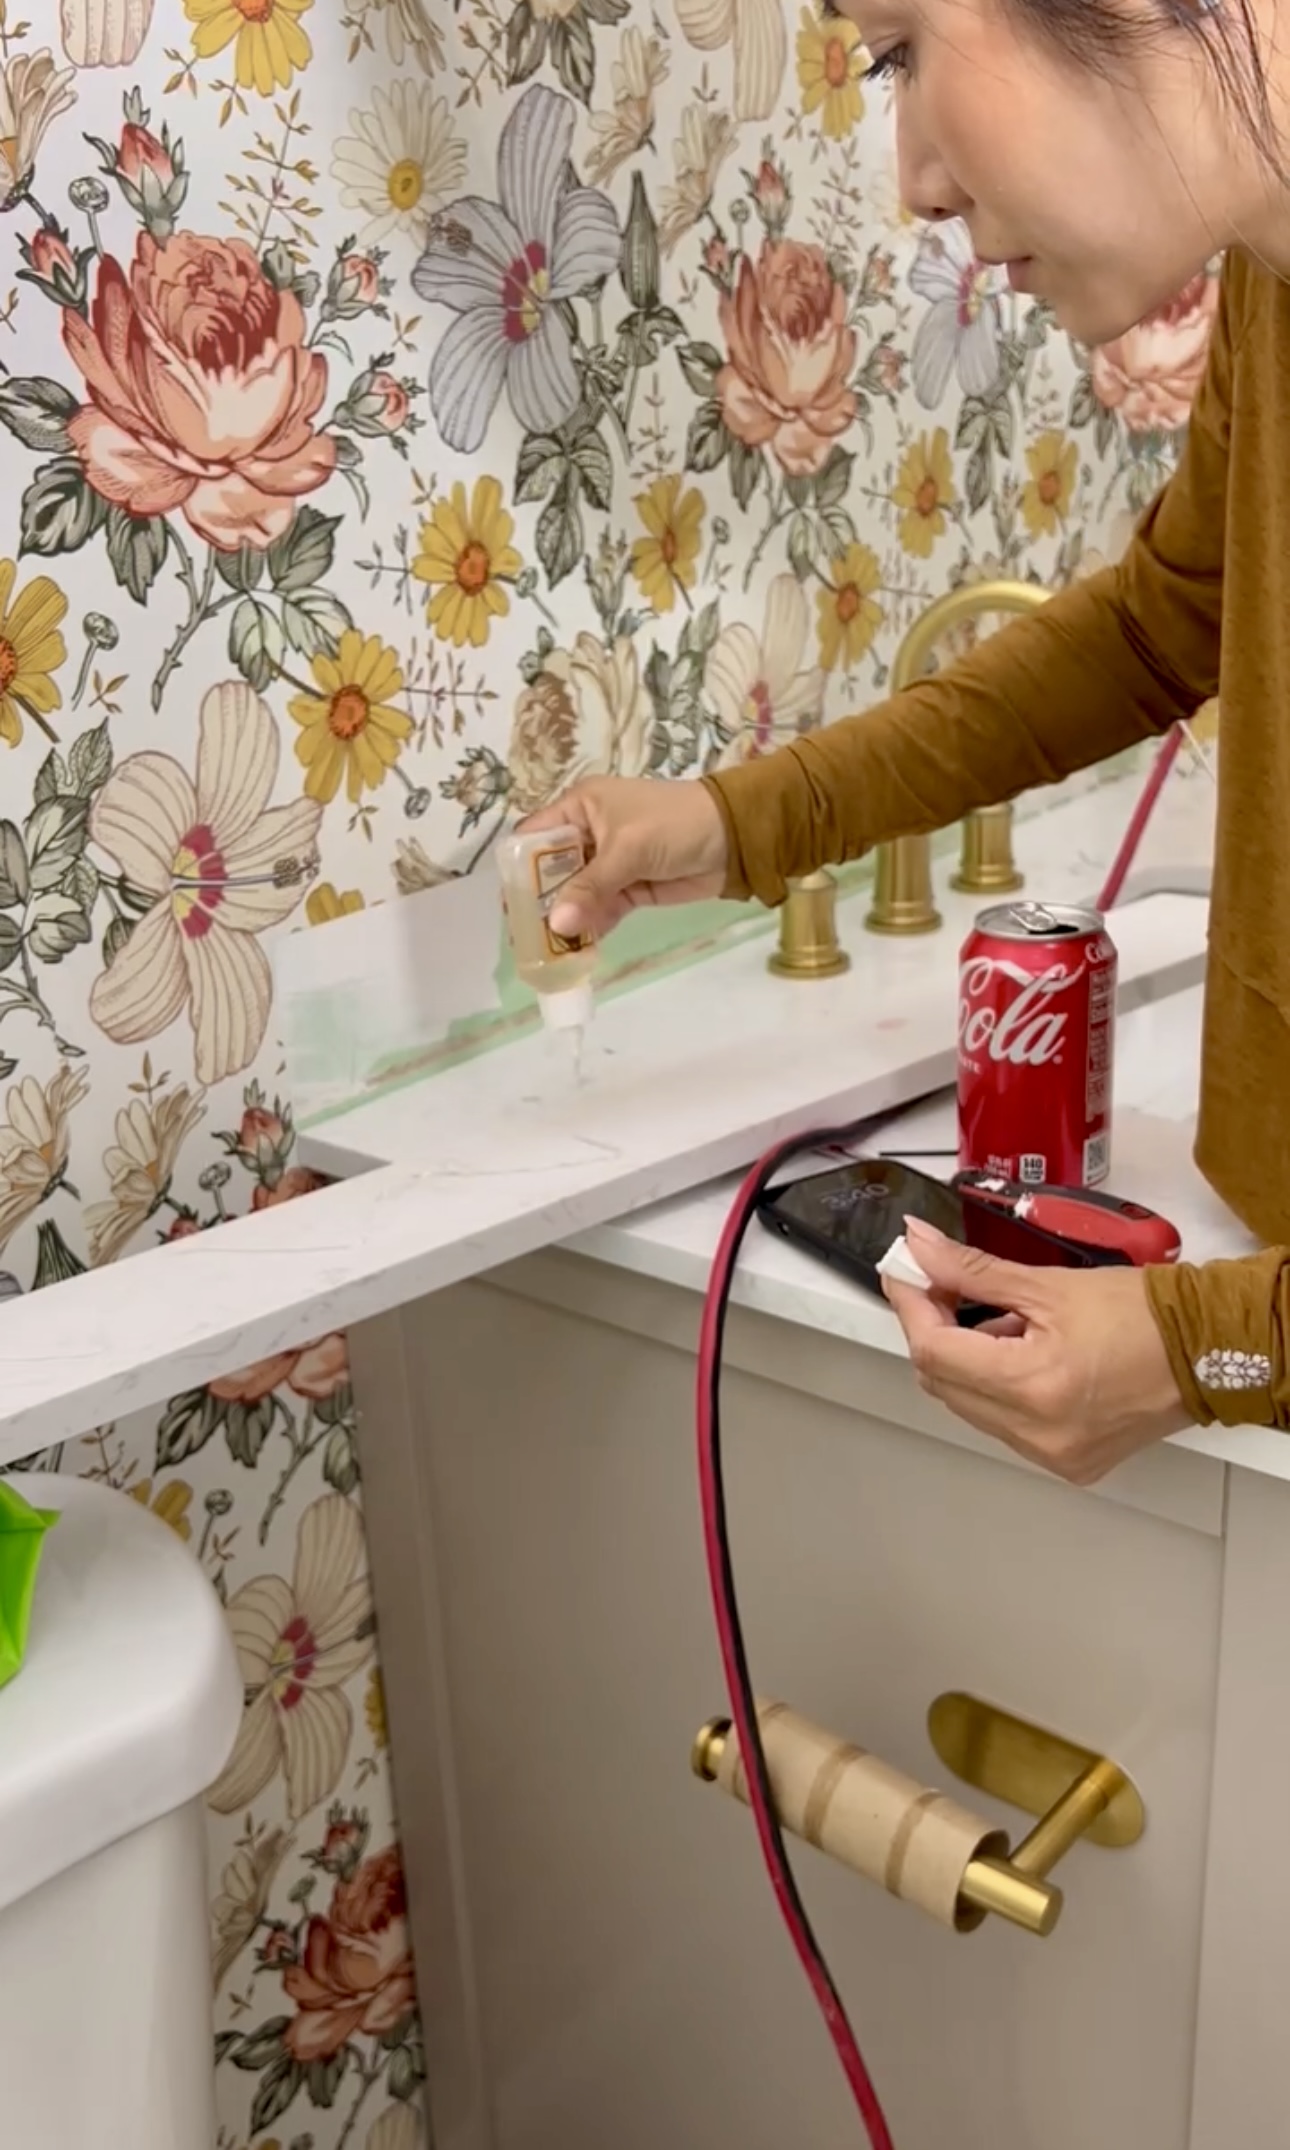
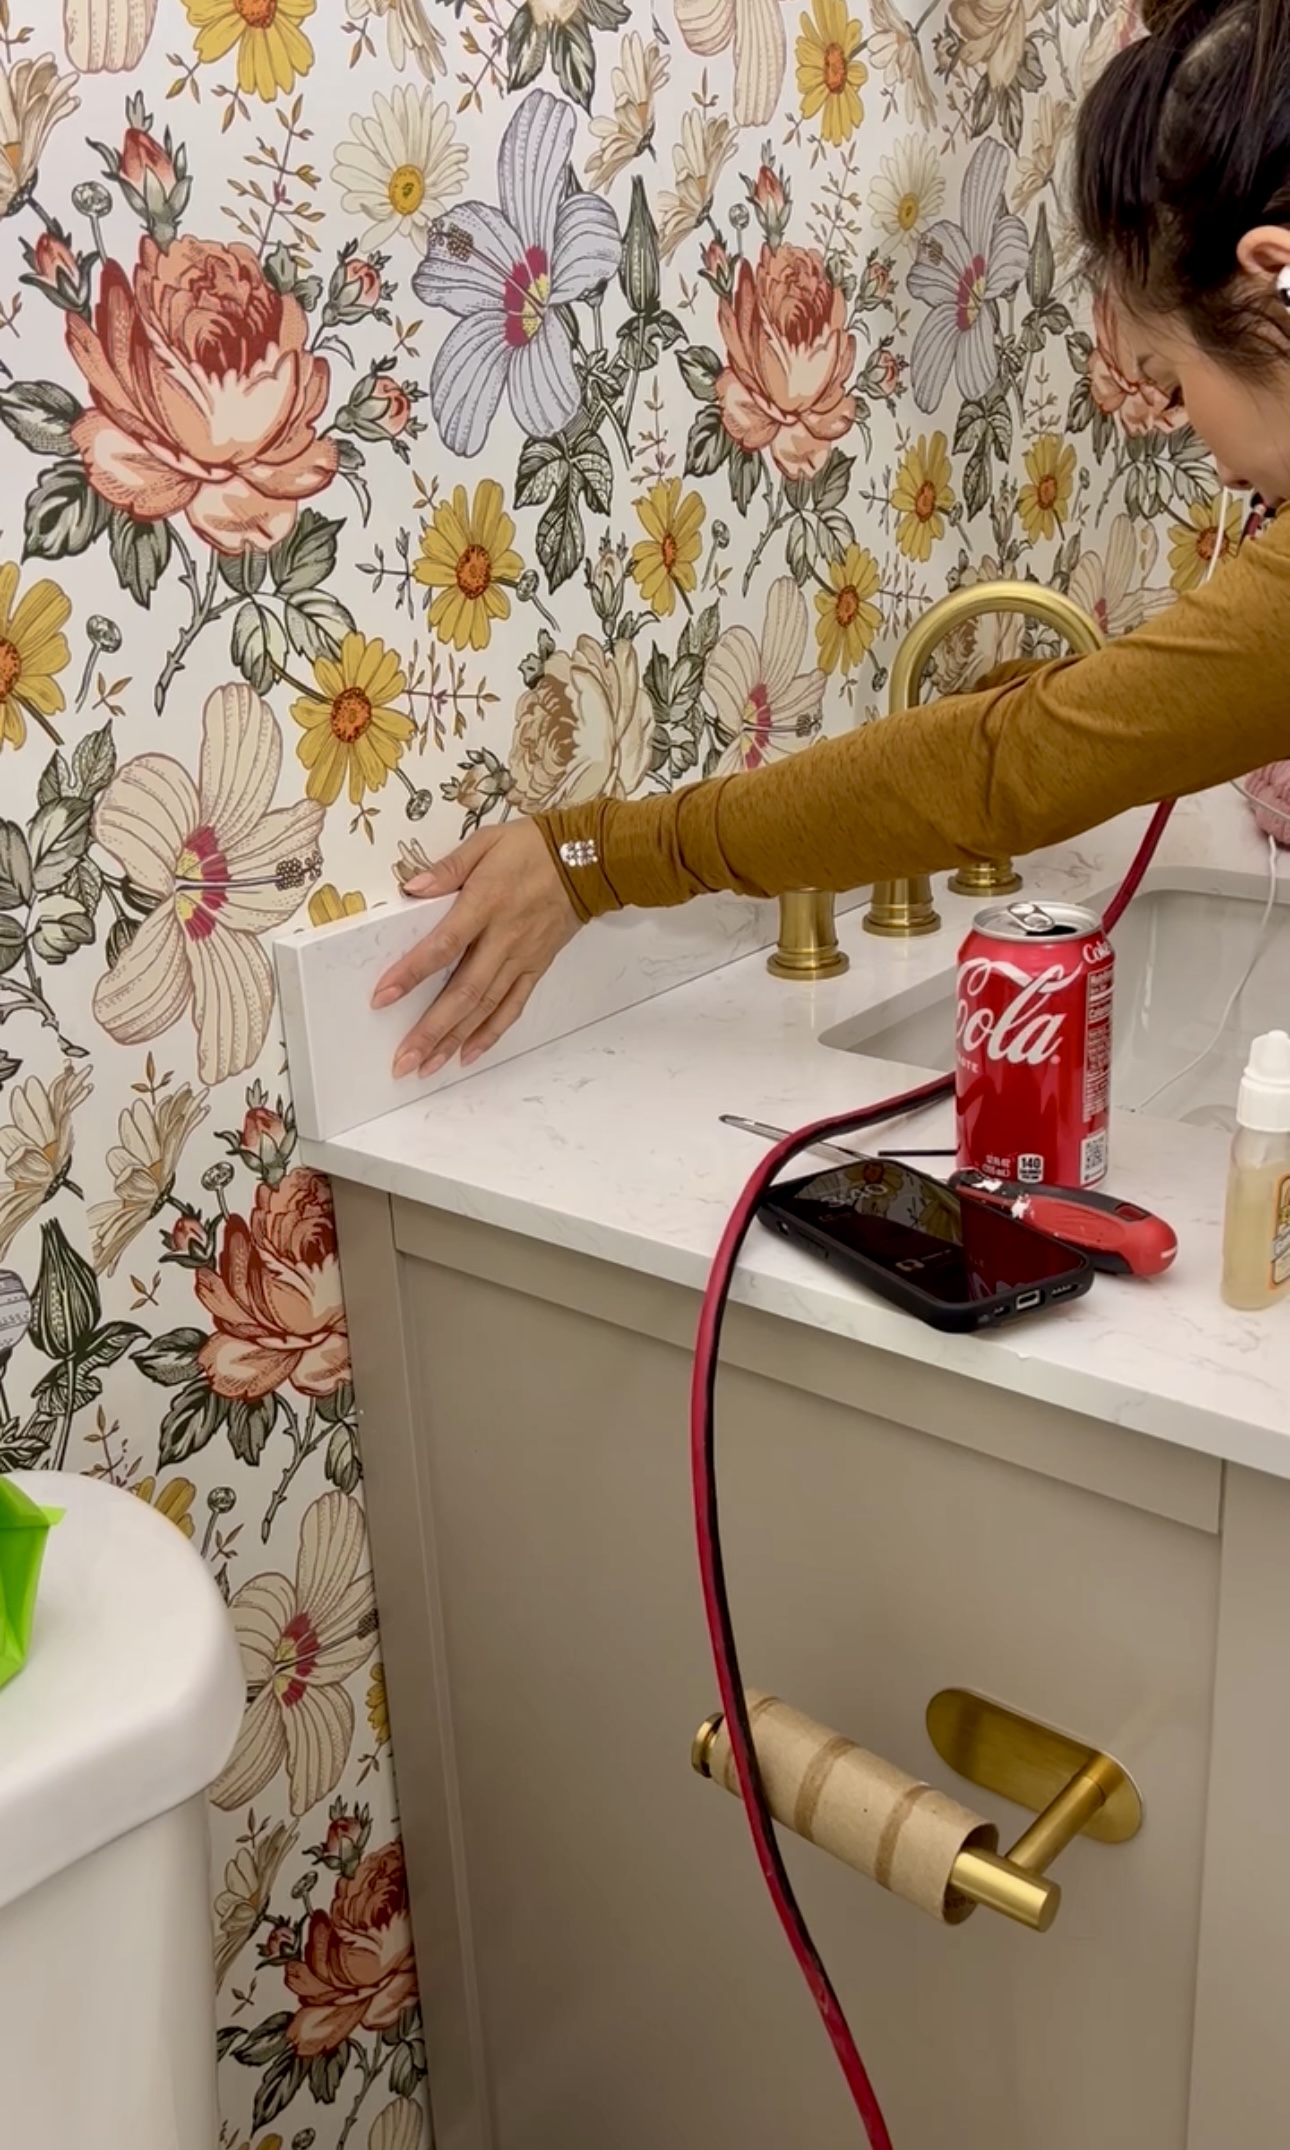
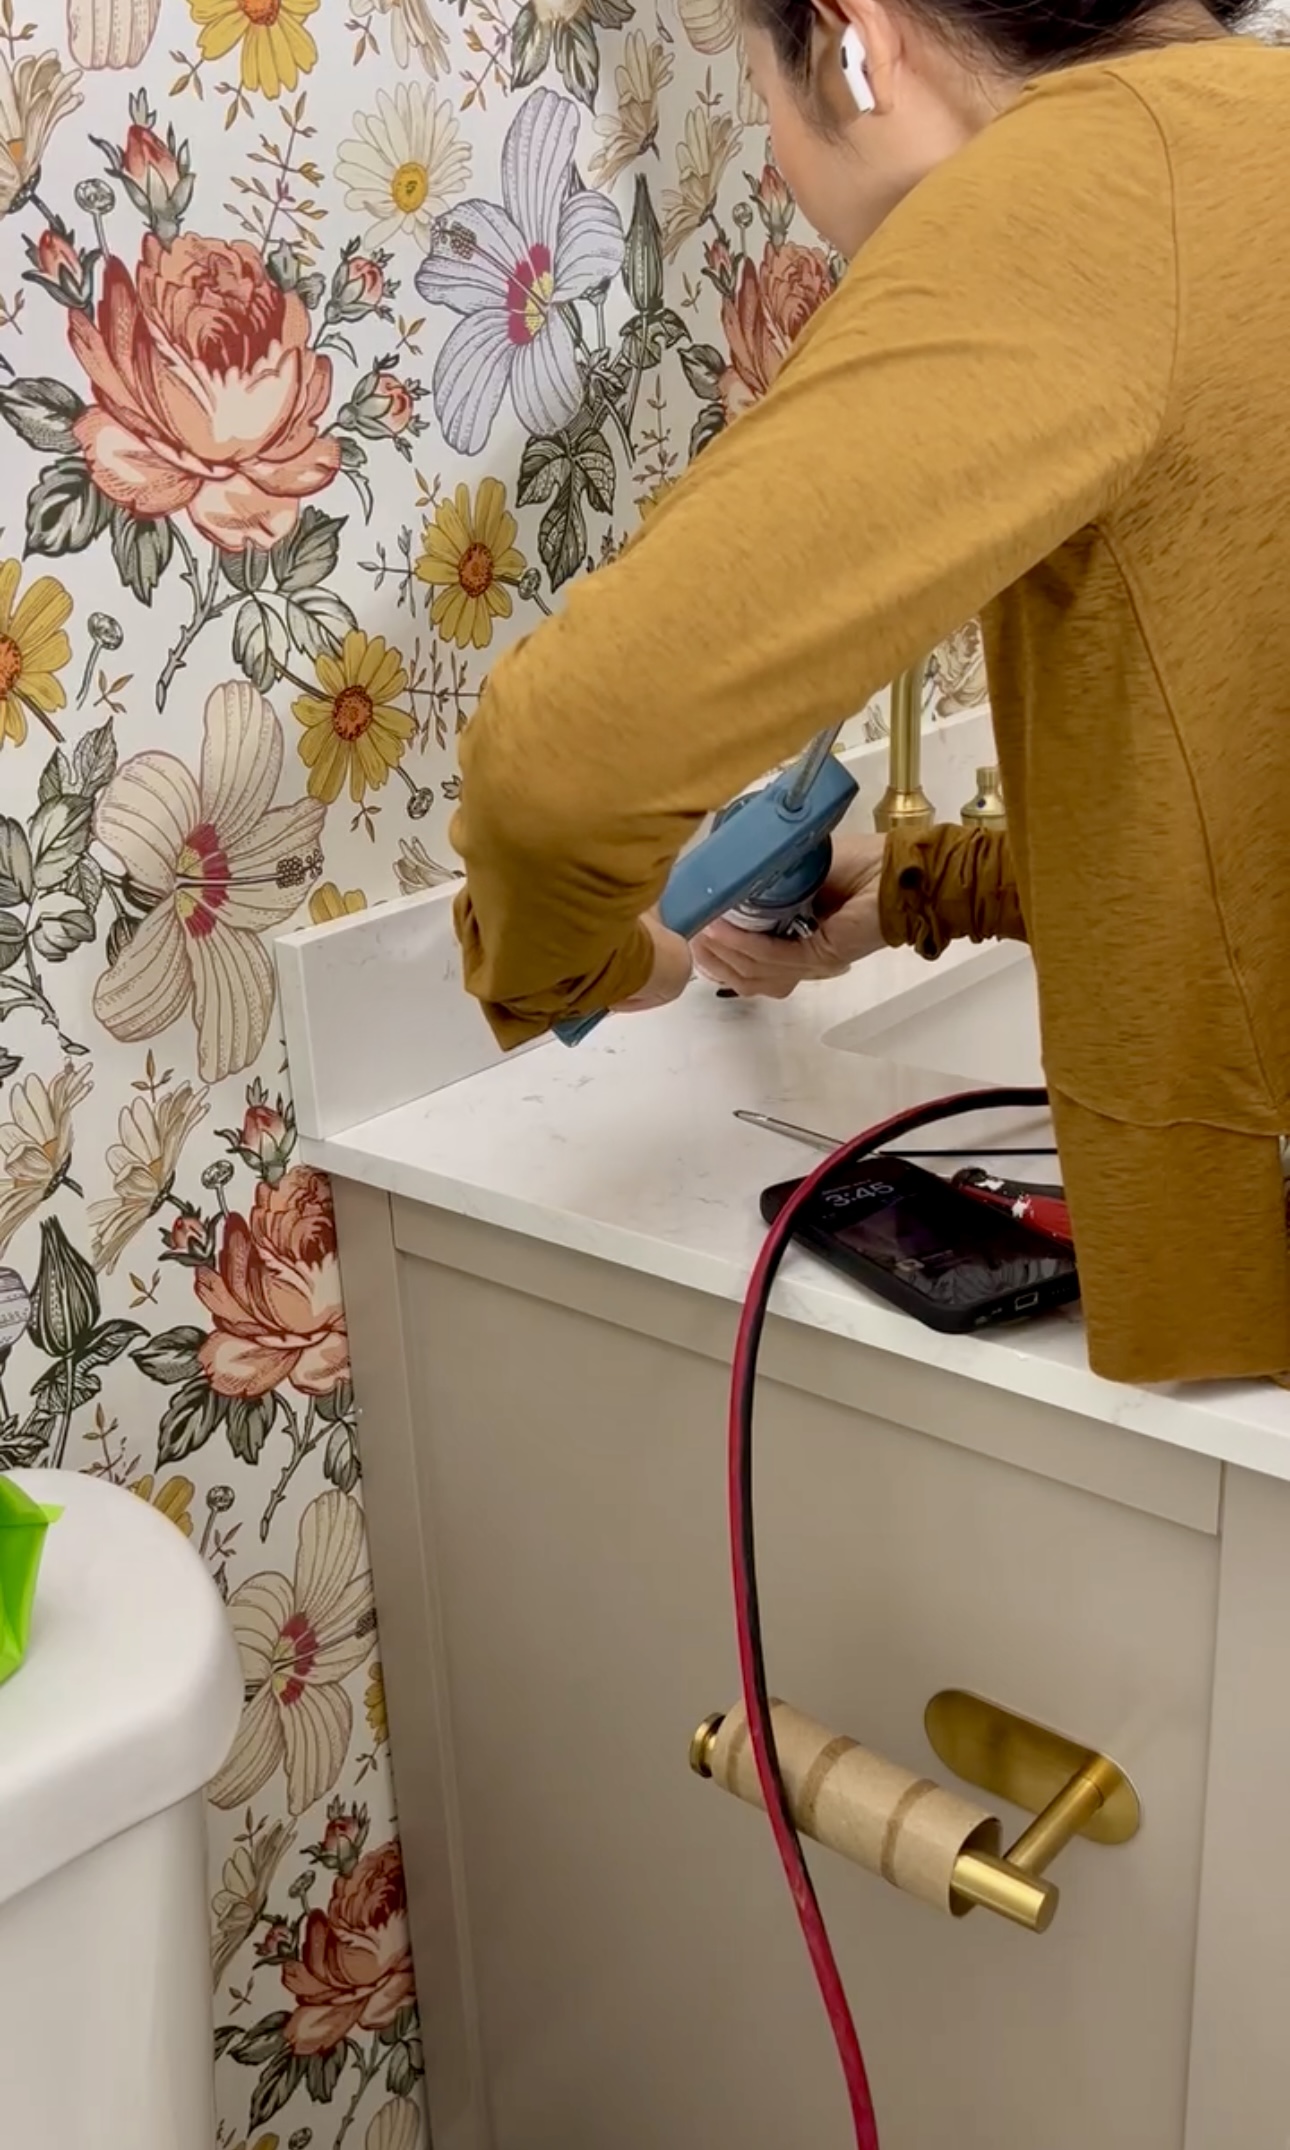
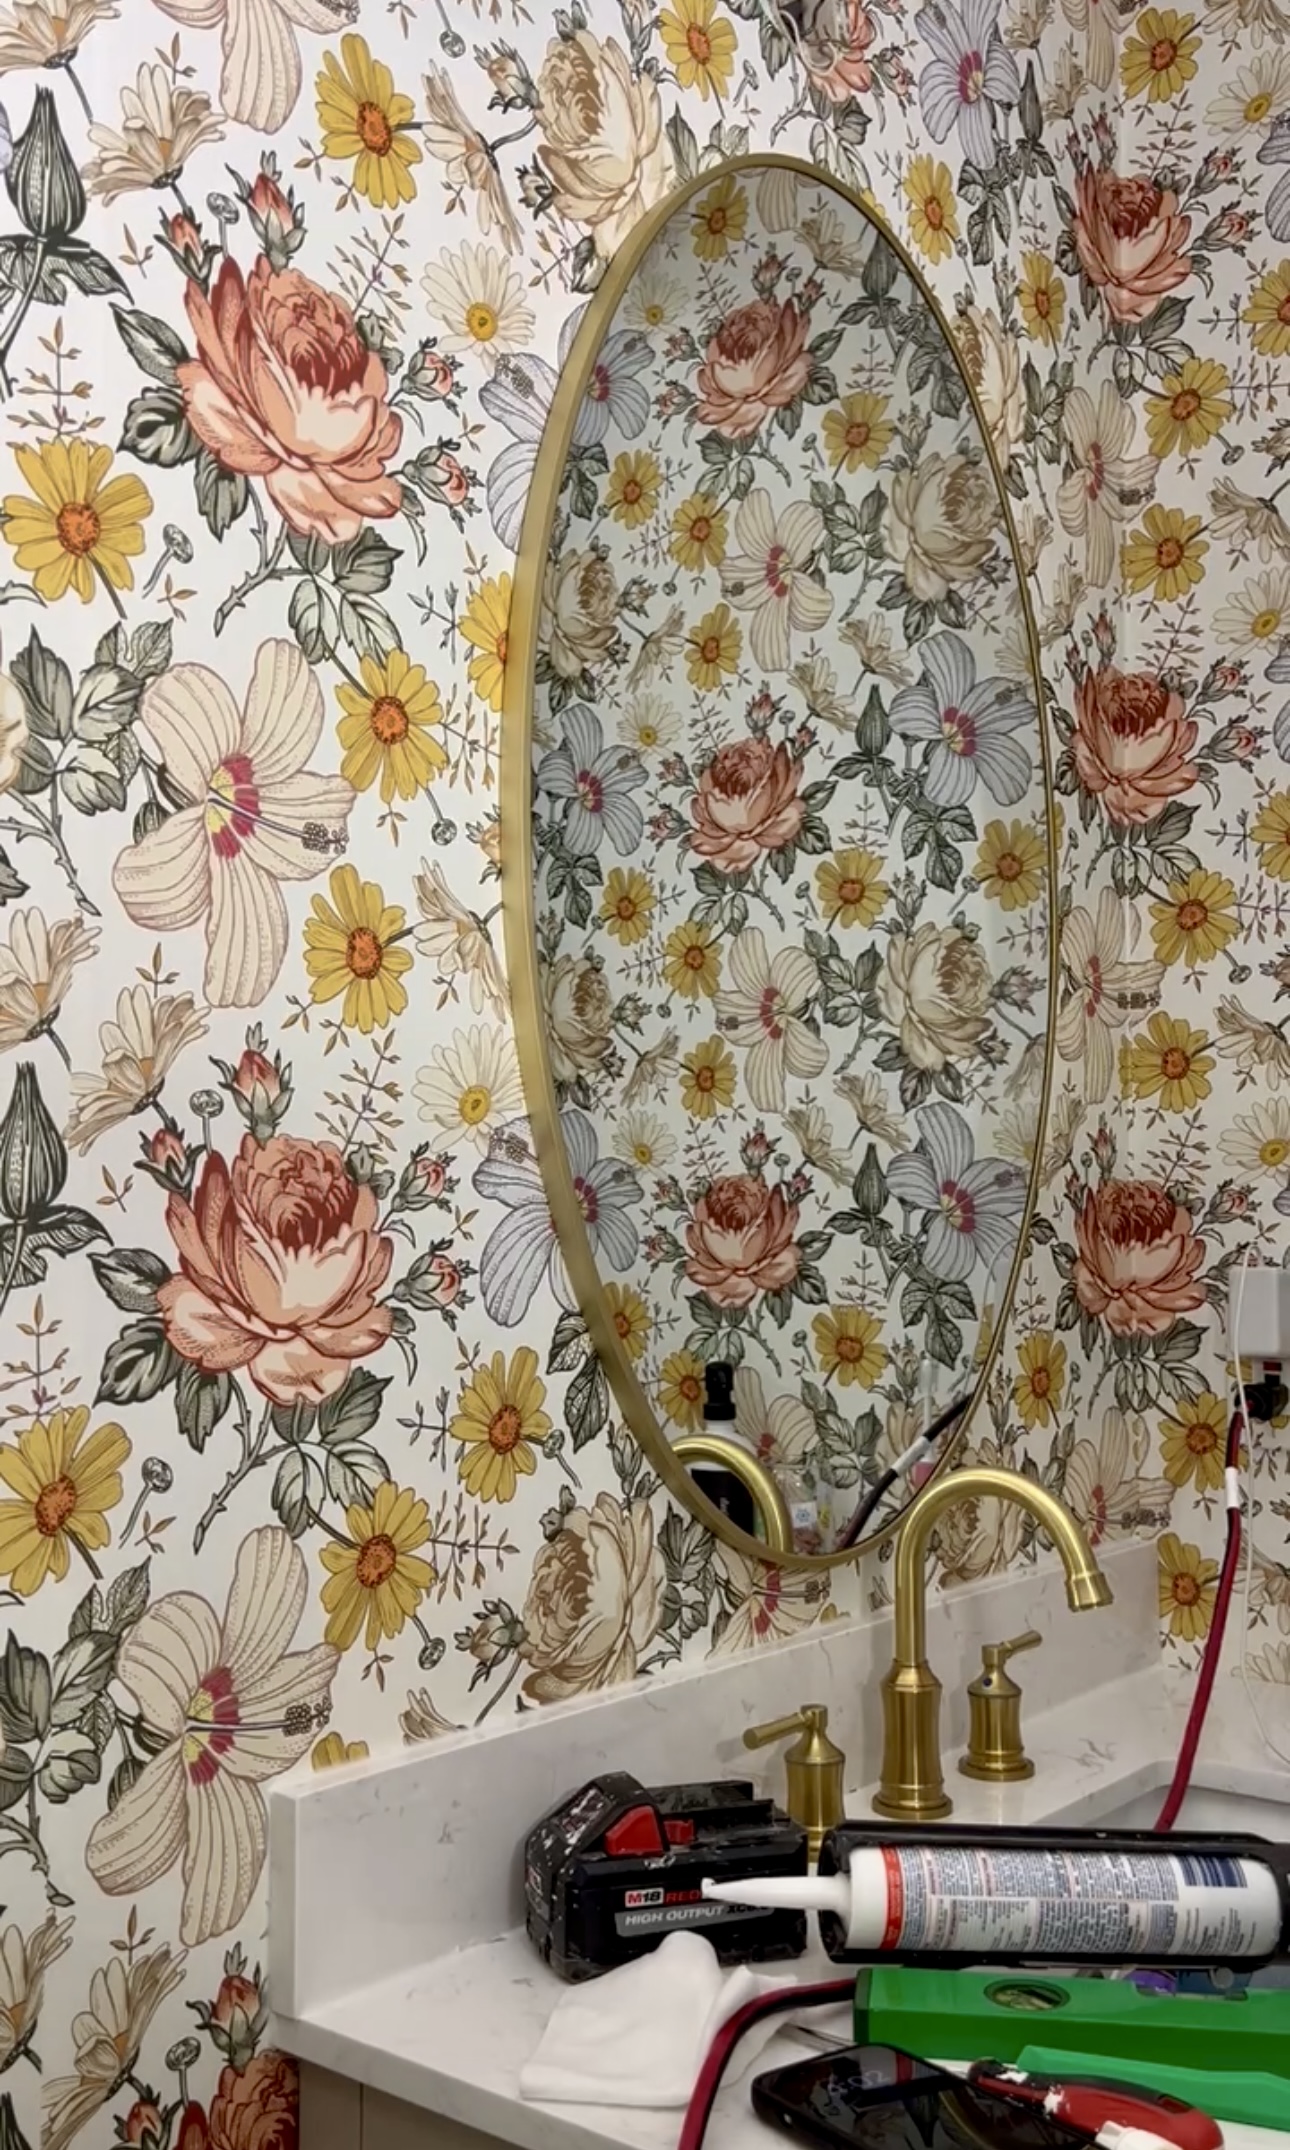
After wallpaper, I installed the vanity backsplash. I had to use a utility knife to precisely cut the wallpaper behind the backsplash so it would have something to adhere to. Then, I put Gorilla Glue on the back of the marble piece and stuck it to the wall. Next, I caulked all the seams to prevent internal water damage. For bathrooms, you want to use silicone caulk. It’s not paintable and it’s made for wet areas.
Hanging a New Mirror
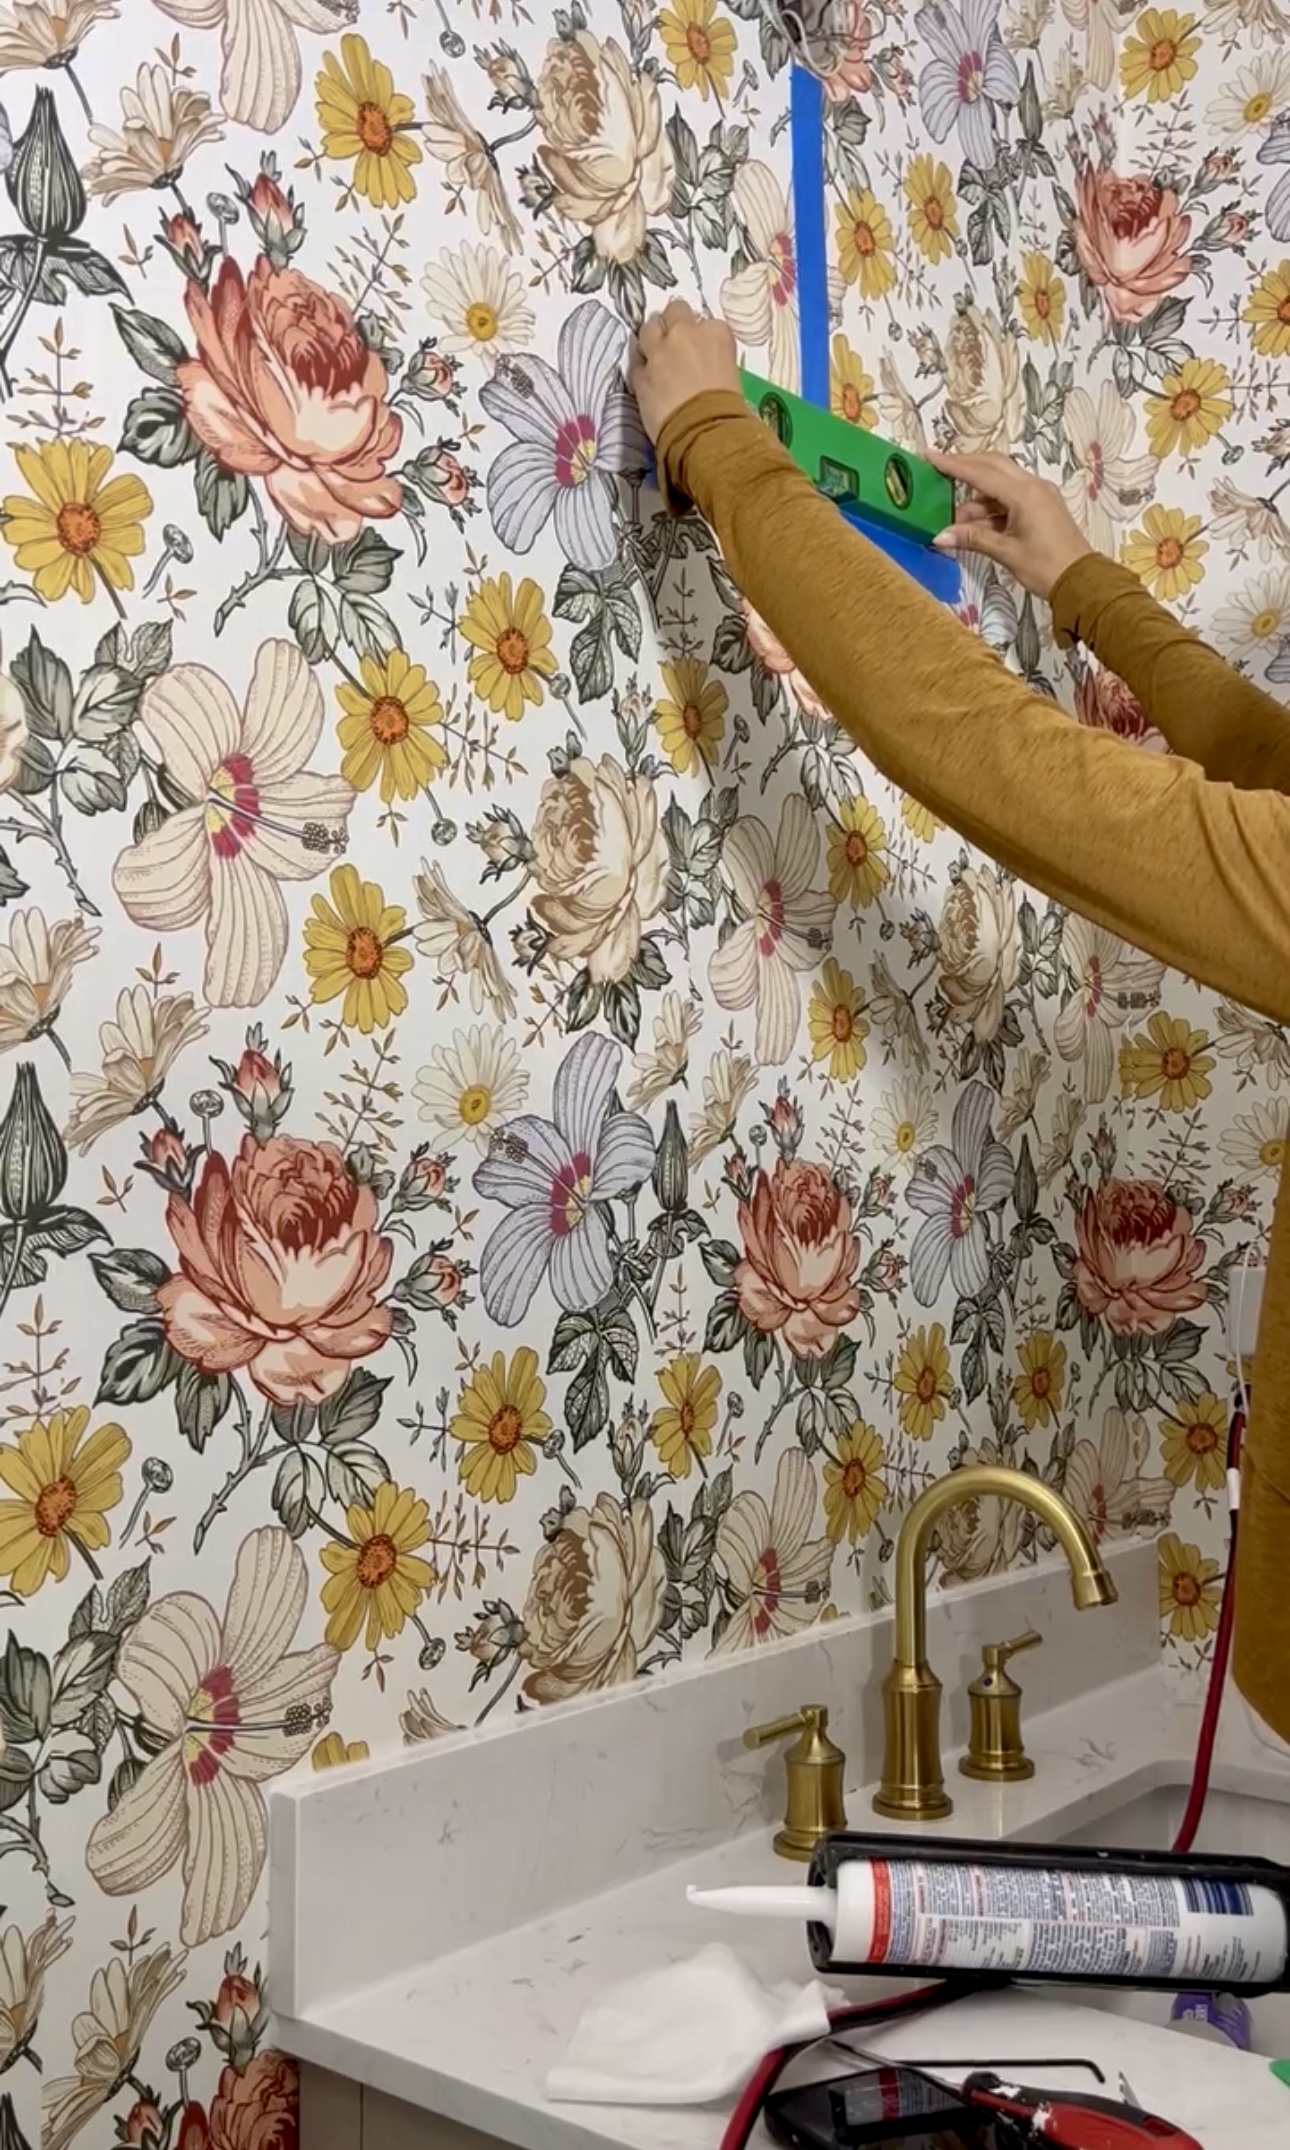
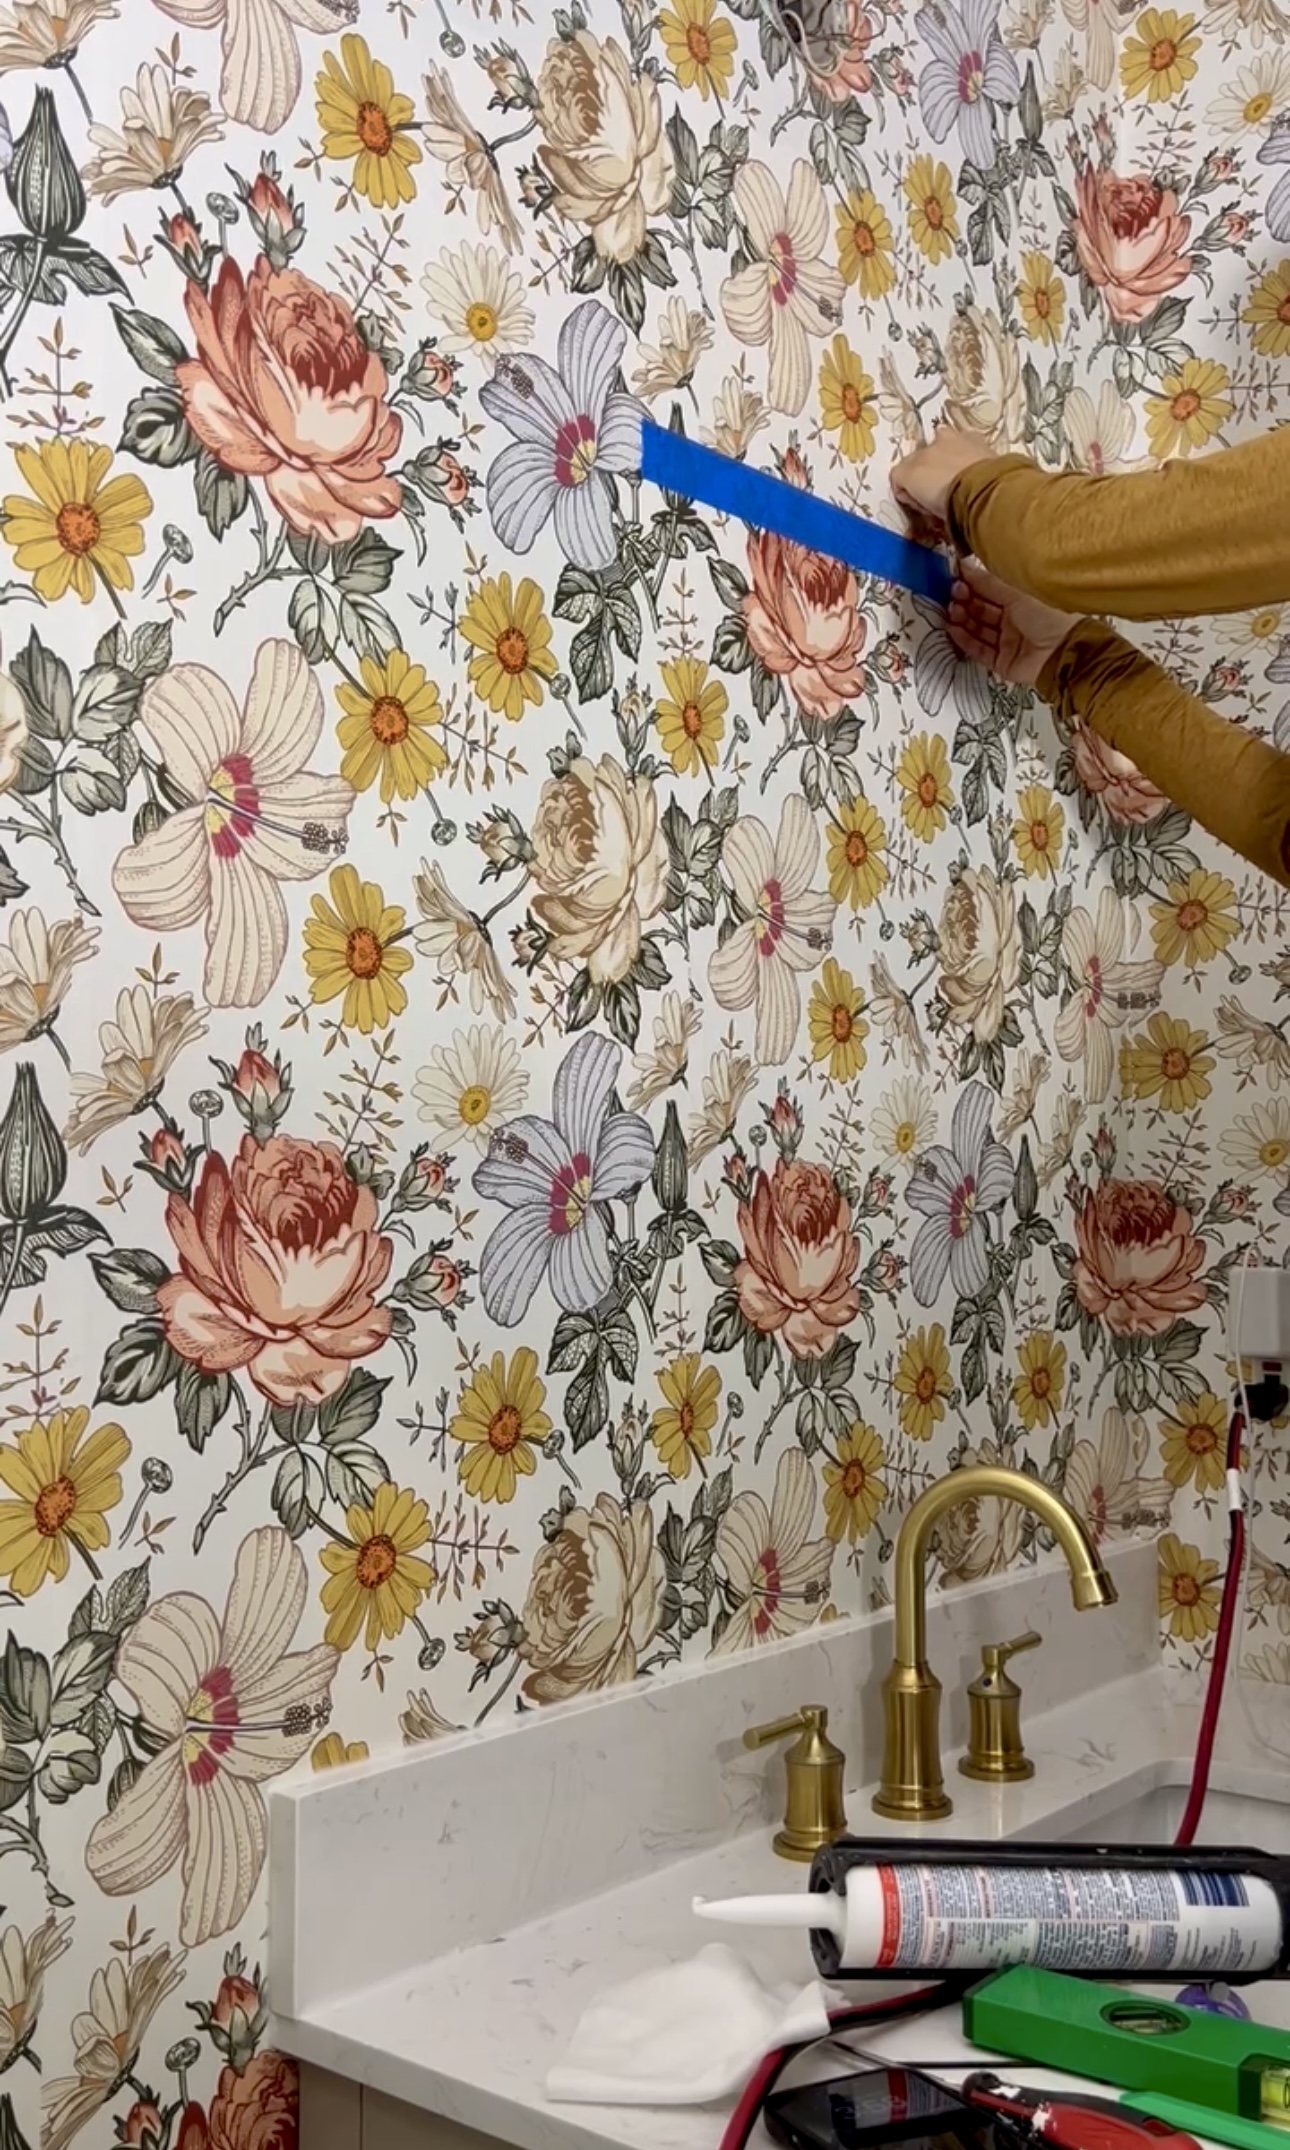
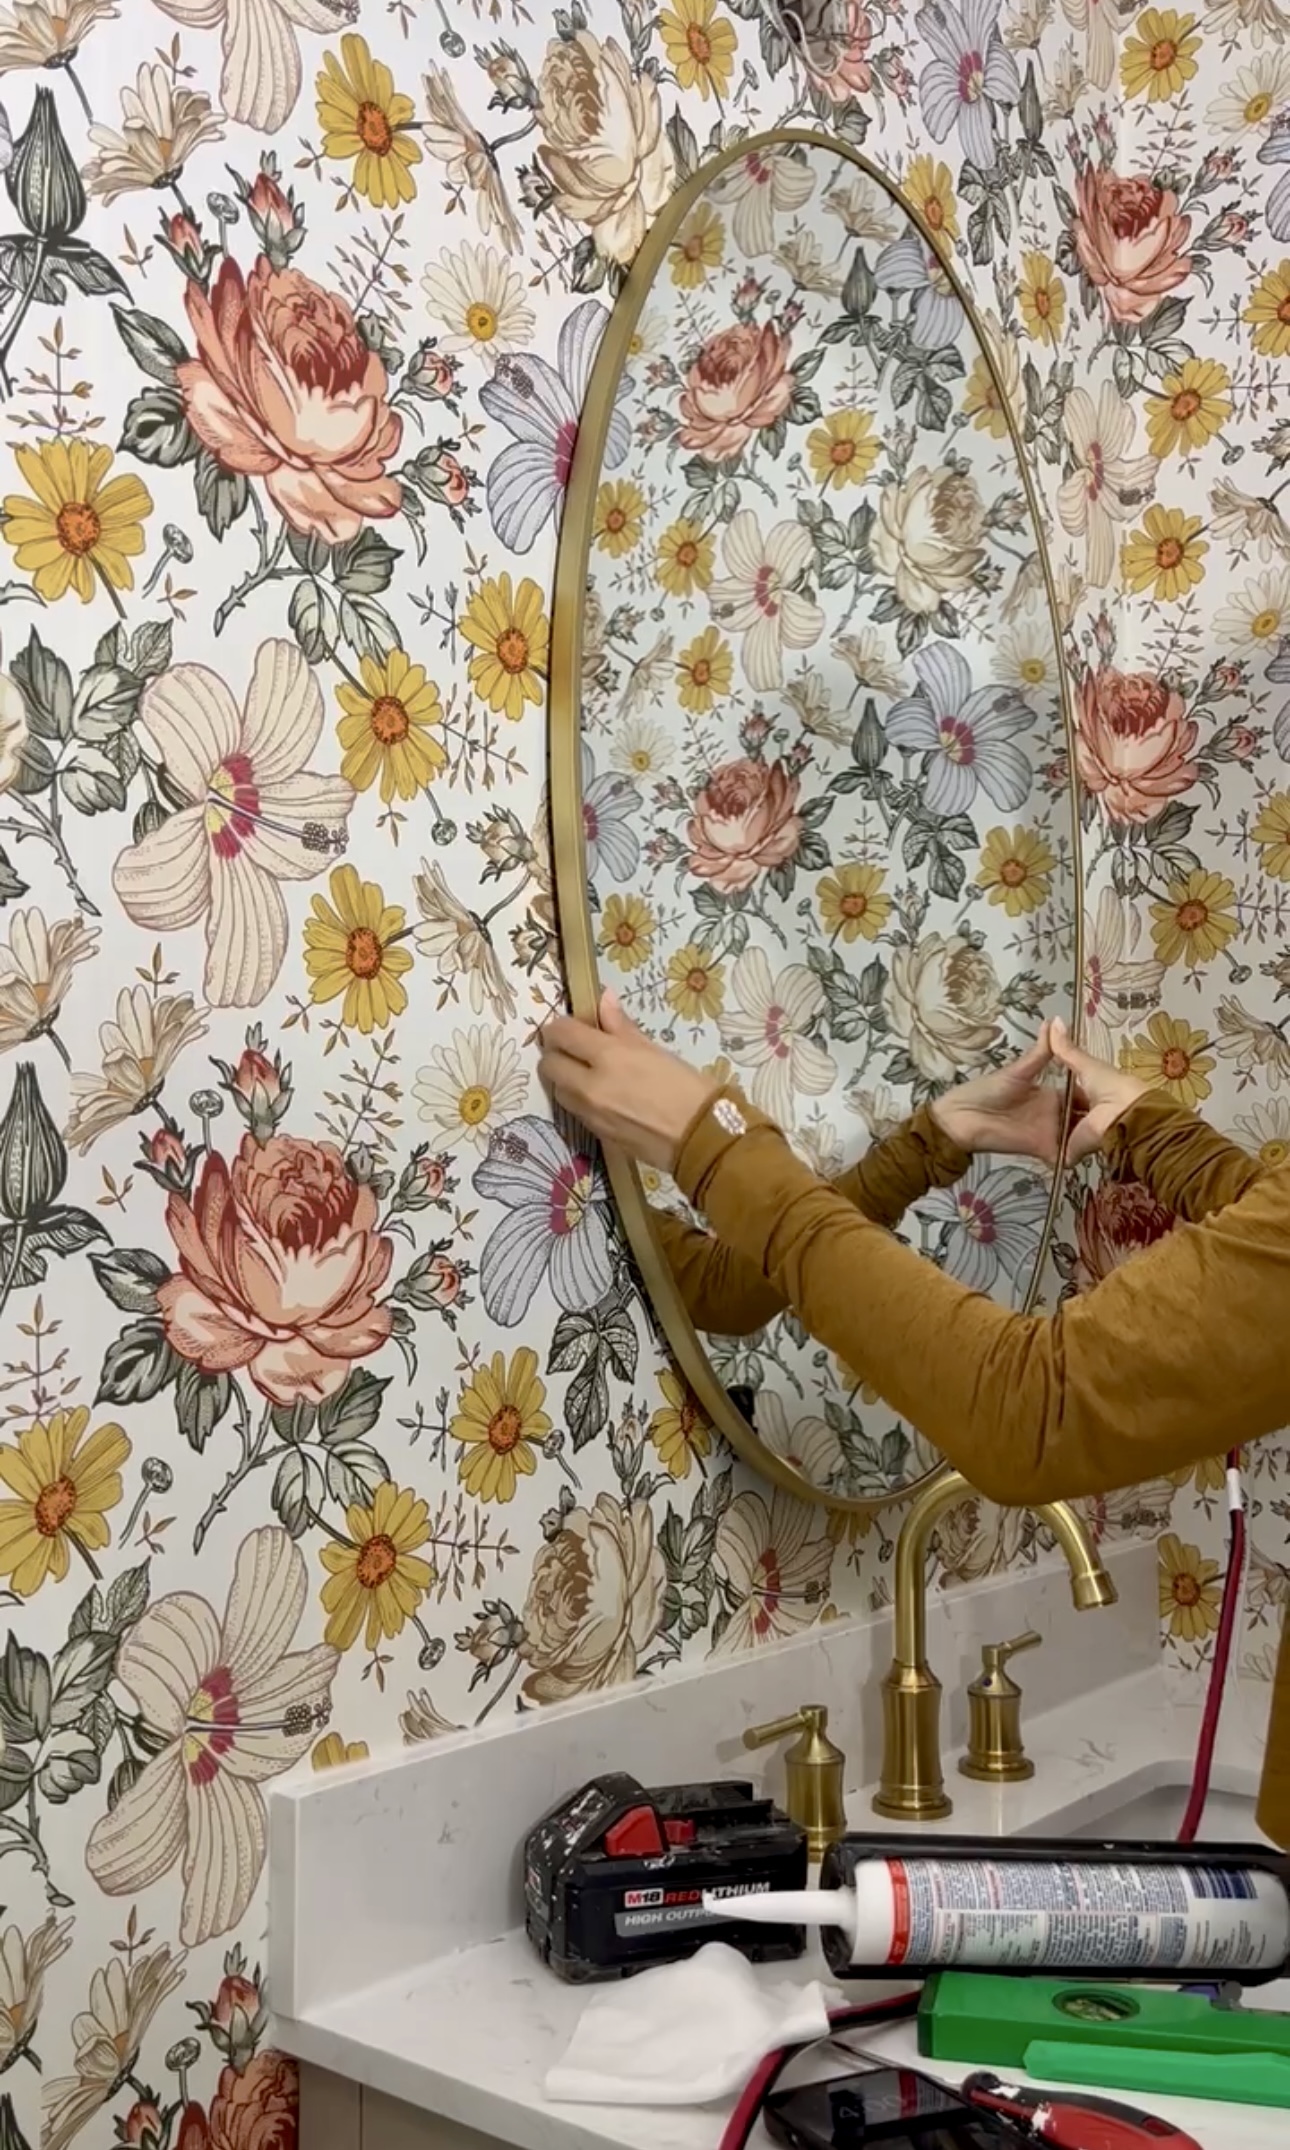
To hang the mirror, I placed blue tape where I wanted to top of the mirror to be and then where the claws needed to be placed. I used the 3M claws. I’ve shared them a few times over the past few years – I still love em! Then, I hung this gold circular mirror. I love how the wallpaper reflects off of it from this angle.
New Shower Door
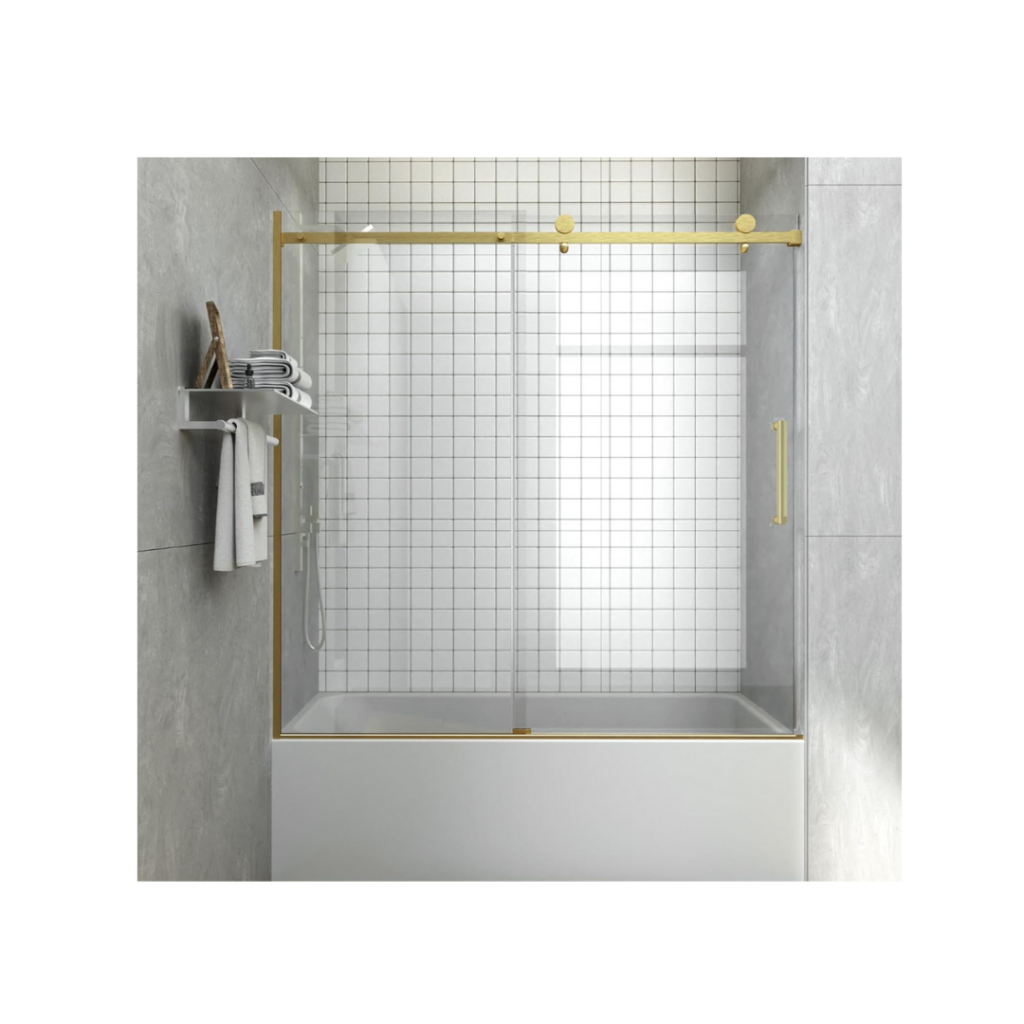
Removing the shower door was a breeze. Putting together the new door and installing it really tested our marriage. Hahah. The instructions were impossible to follow. I let TJ do it by himself but didn’t explain to him that the door is reversible – you can choose what side you want it to slide from. The directions showed it opening from the left which wouldn’t work for us because the toilet is on the left. So, he had to uninstall and reinstall. Not fun. We didn’t even record it…there were a few curse words said to the door. Nonetheless, we got the door installed!
After that, we added decor. Look how much better this looks?! I love this wallpaper against the pink of her bedroom. So cute!

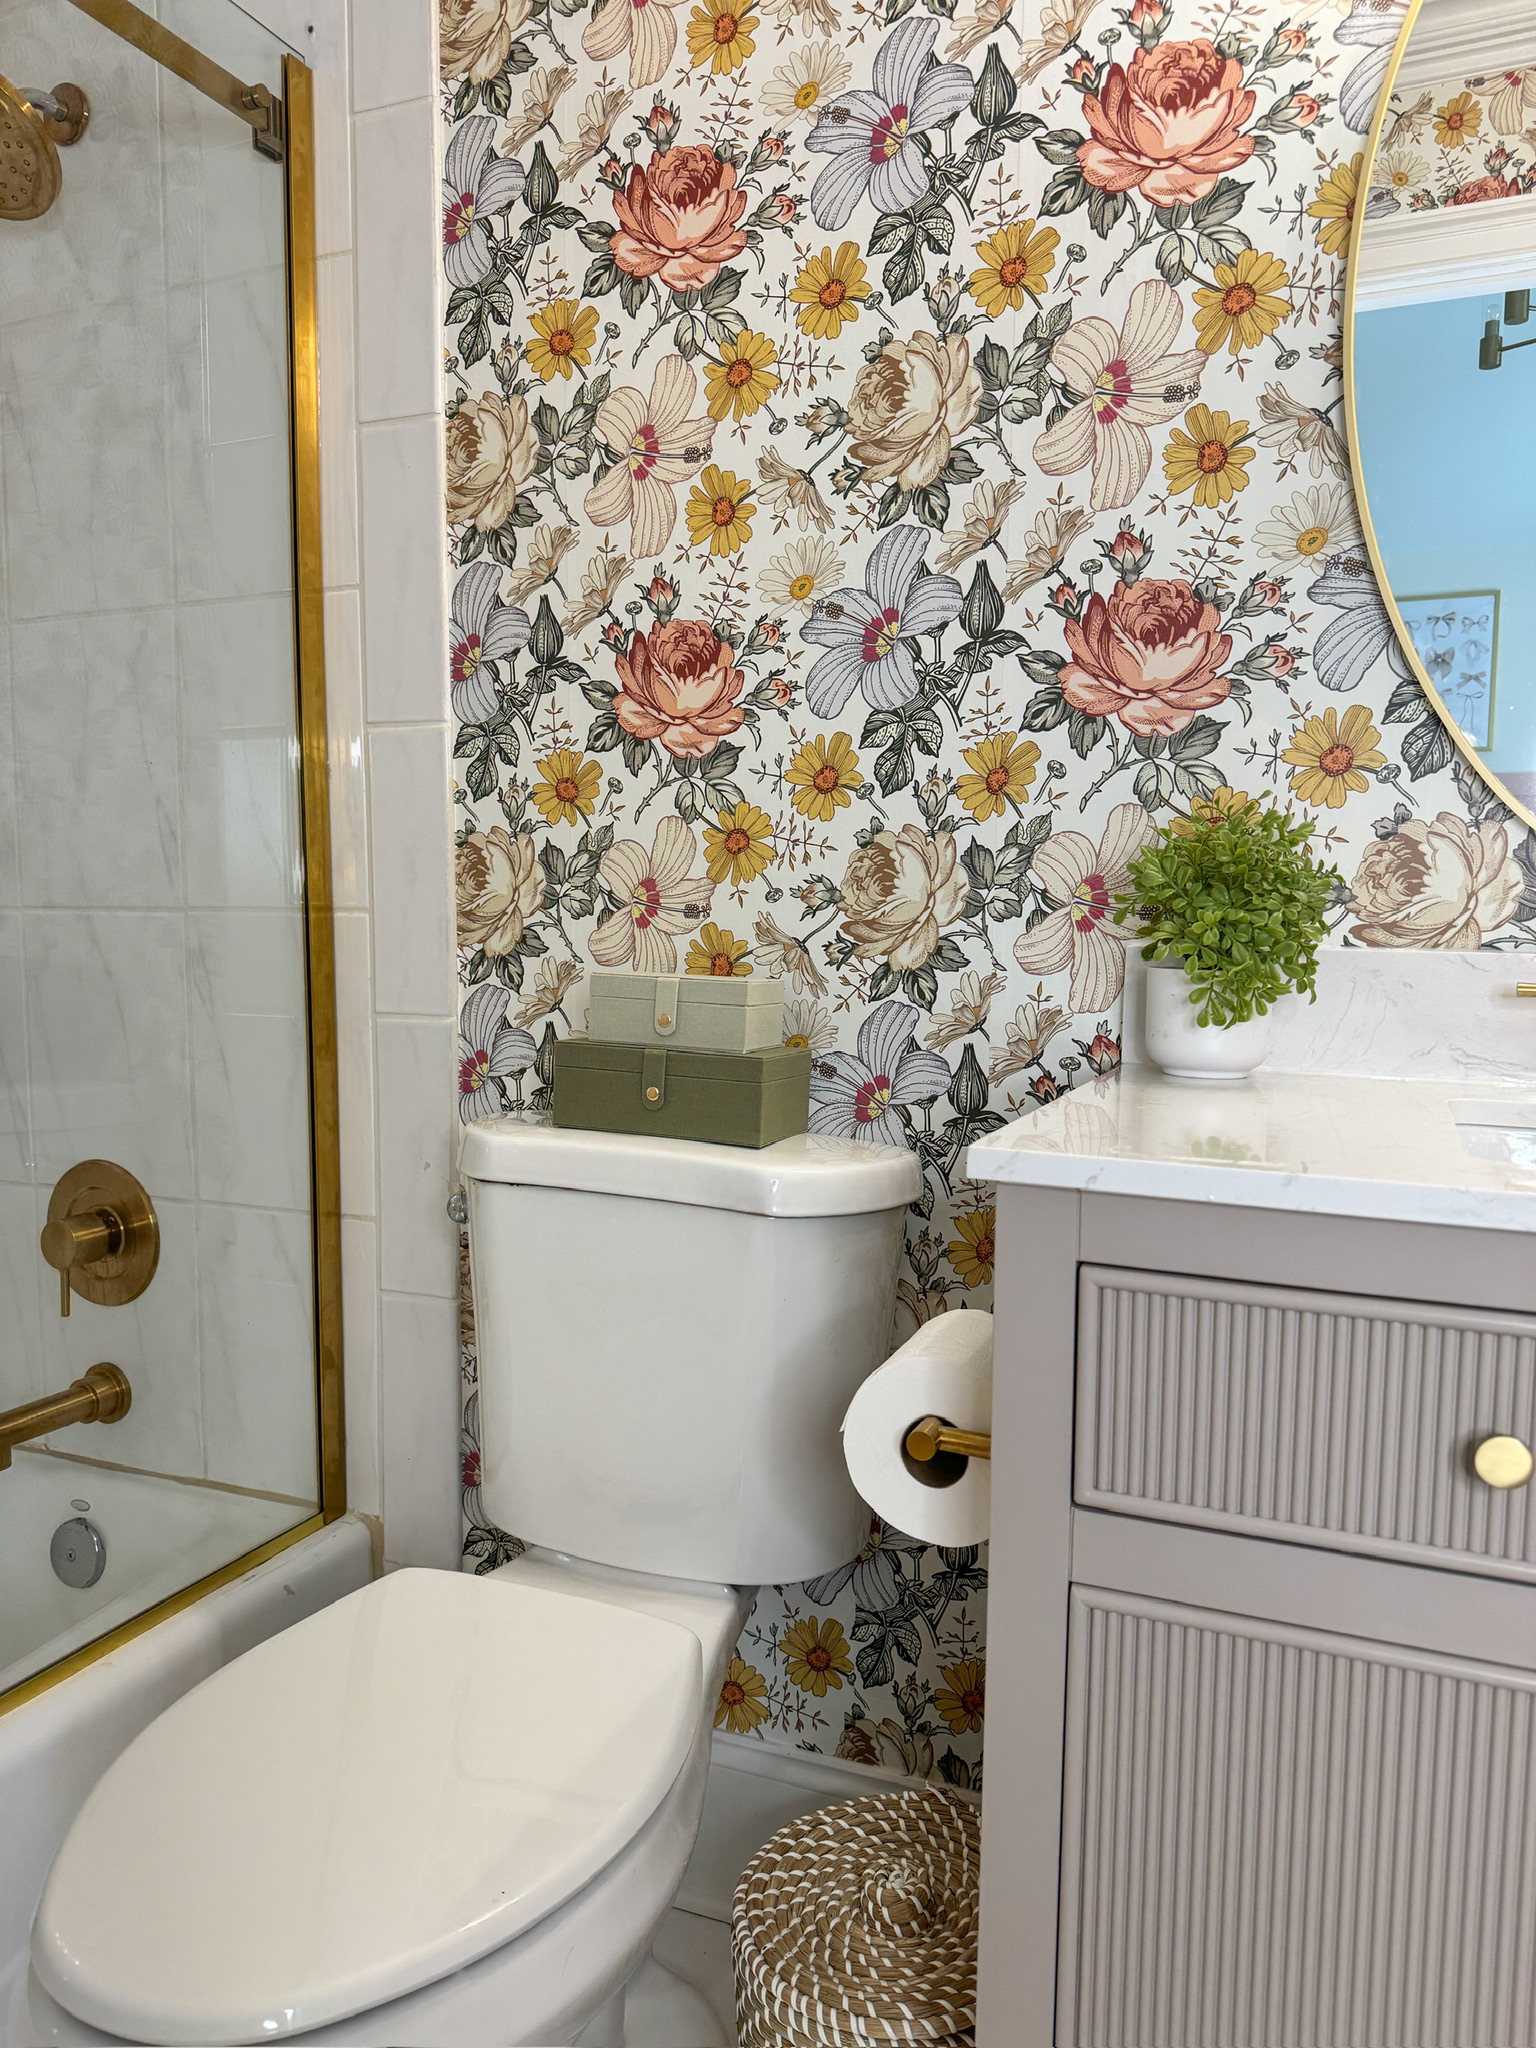
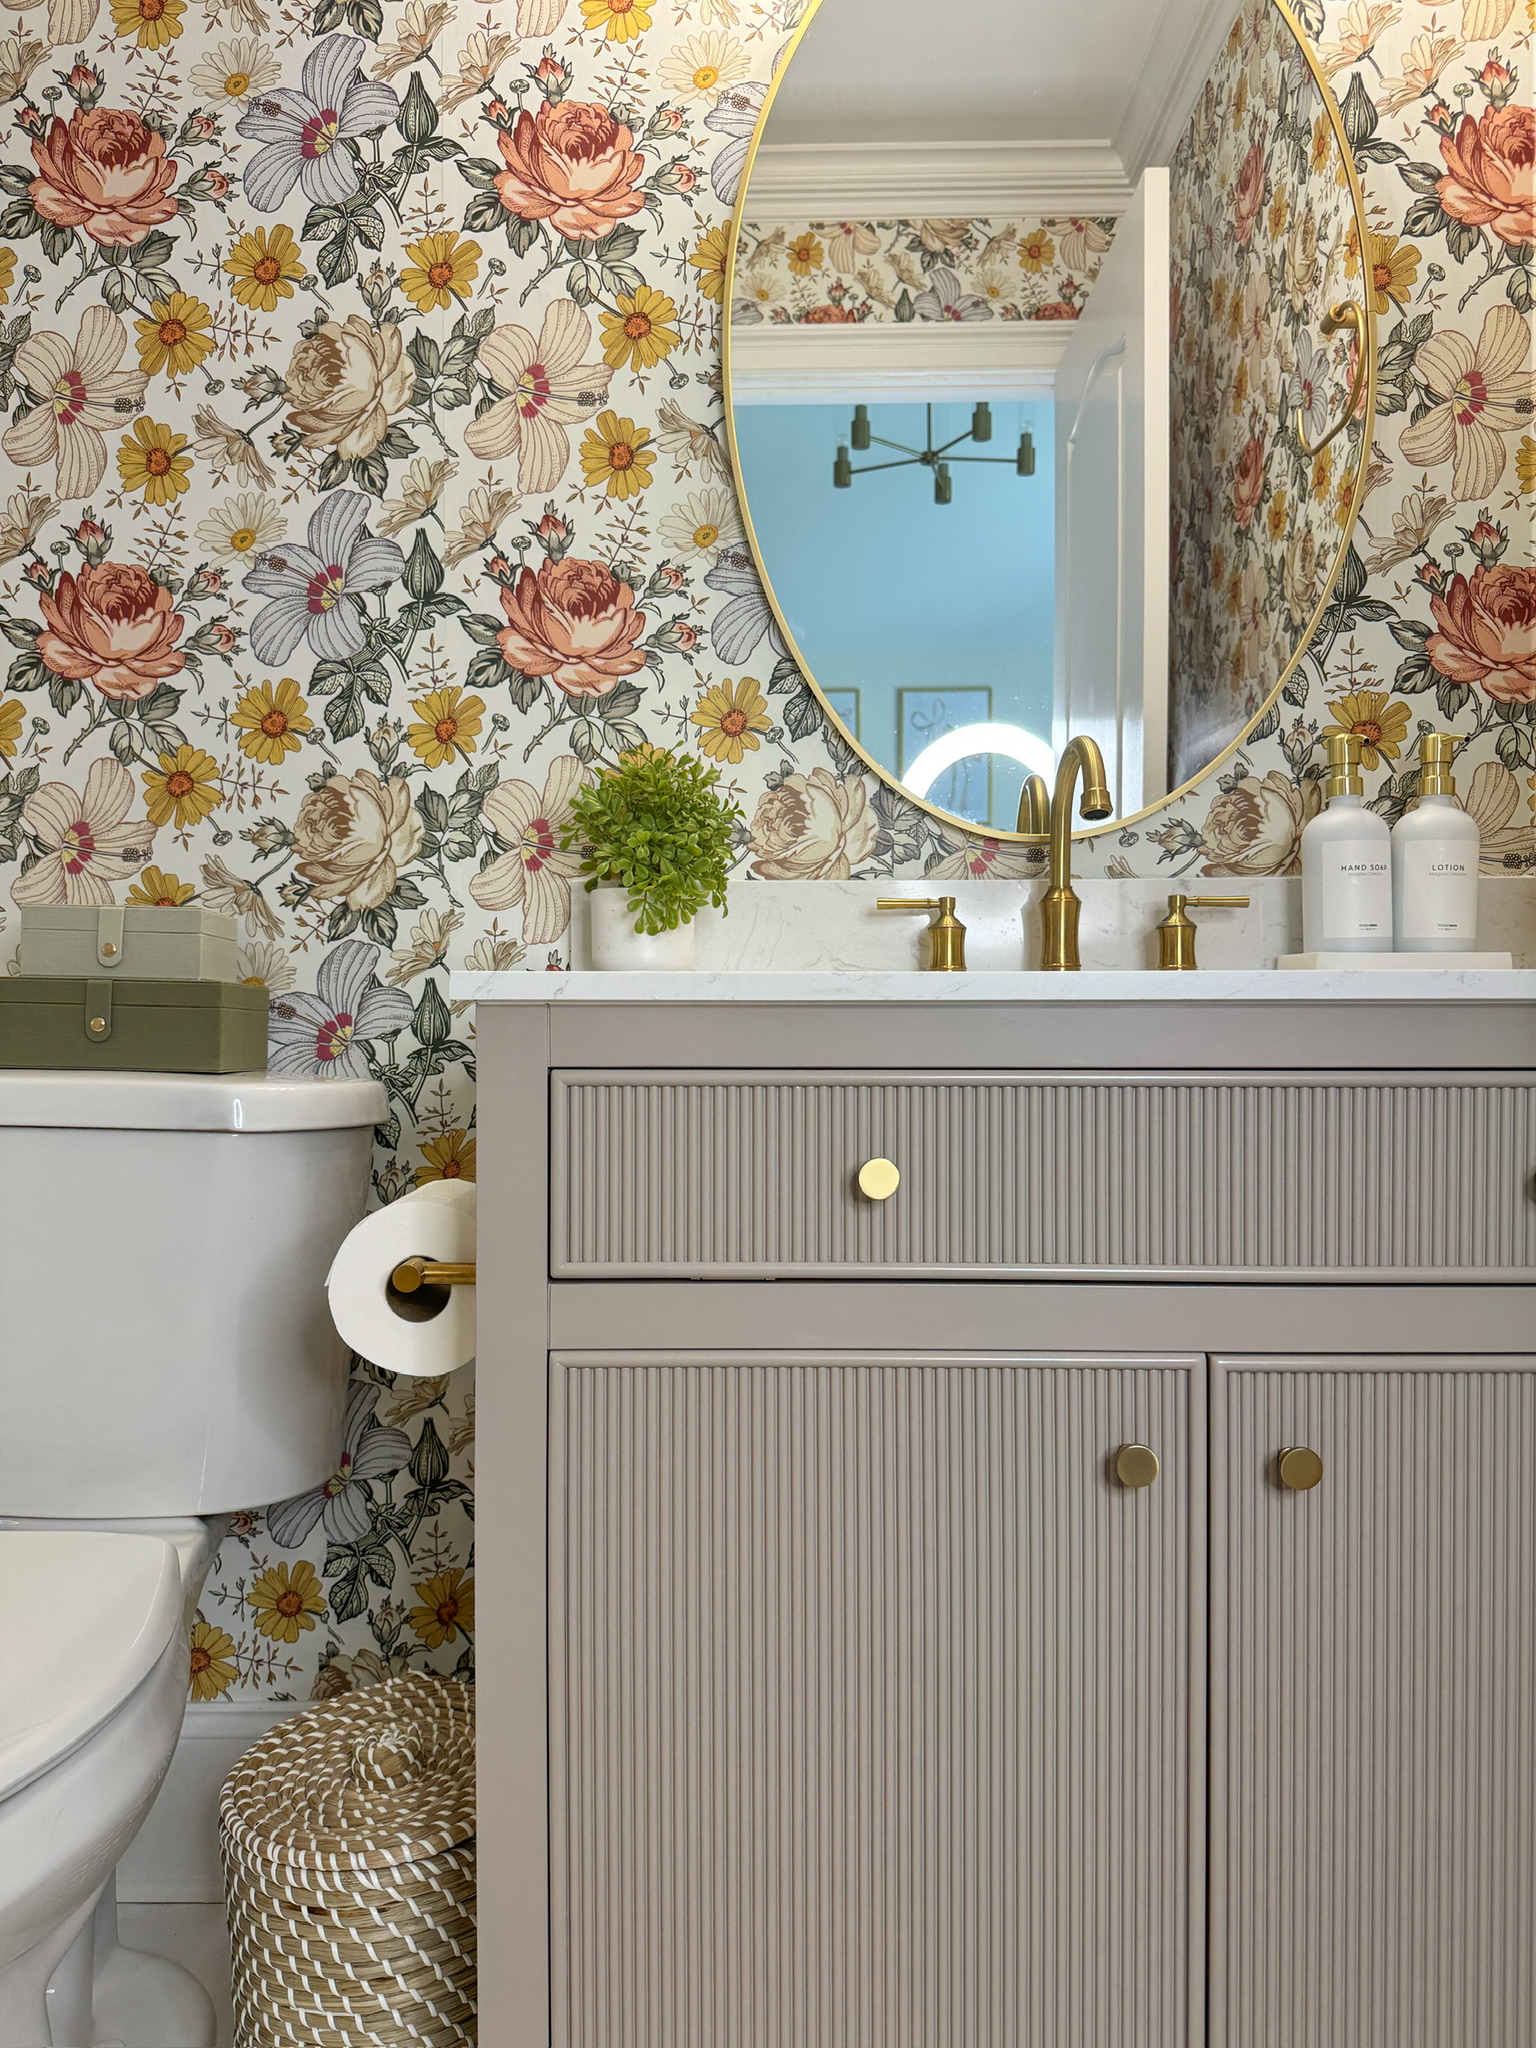
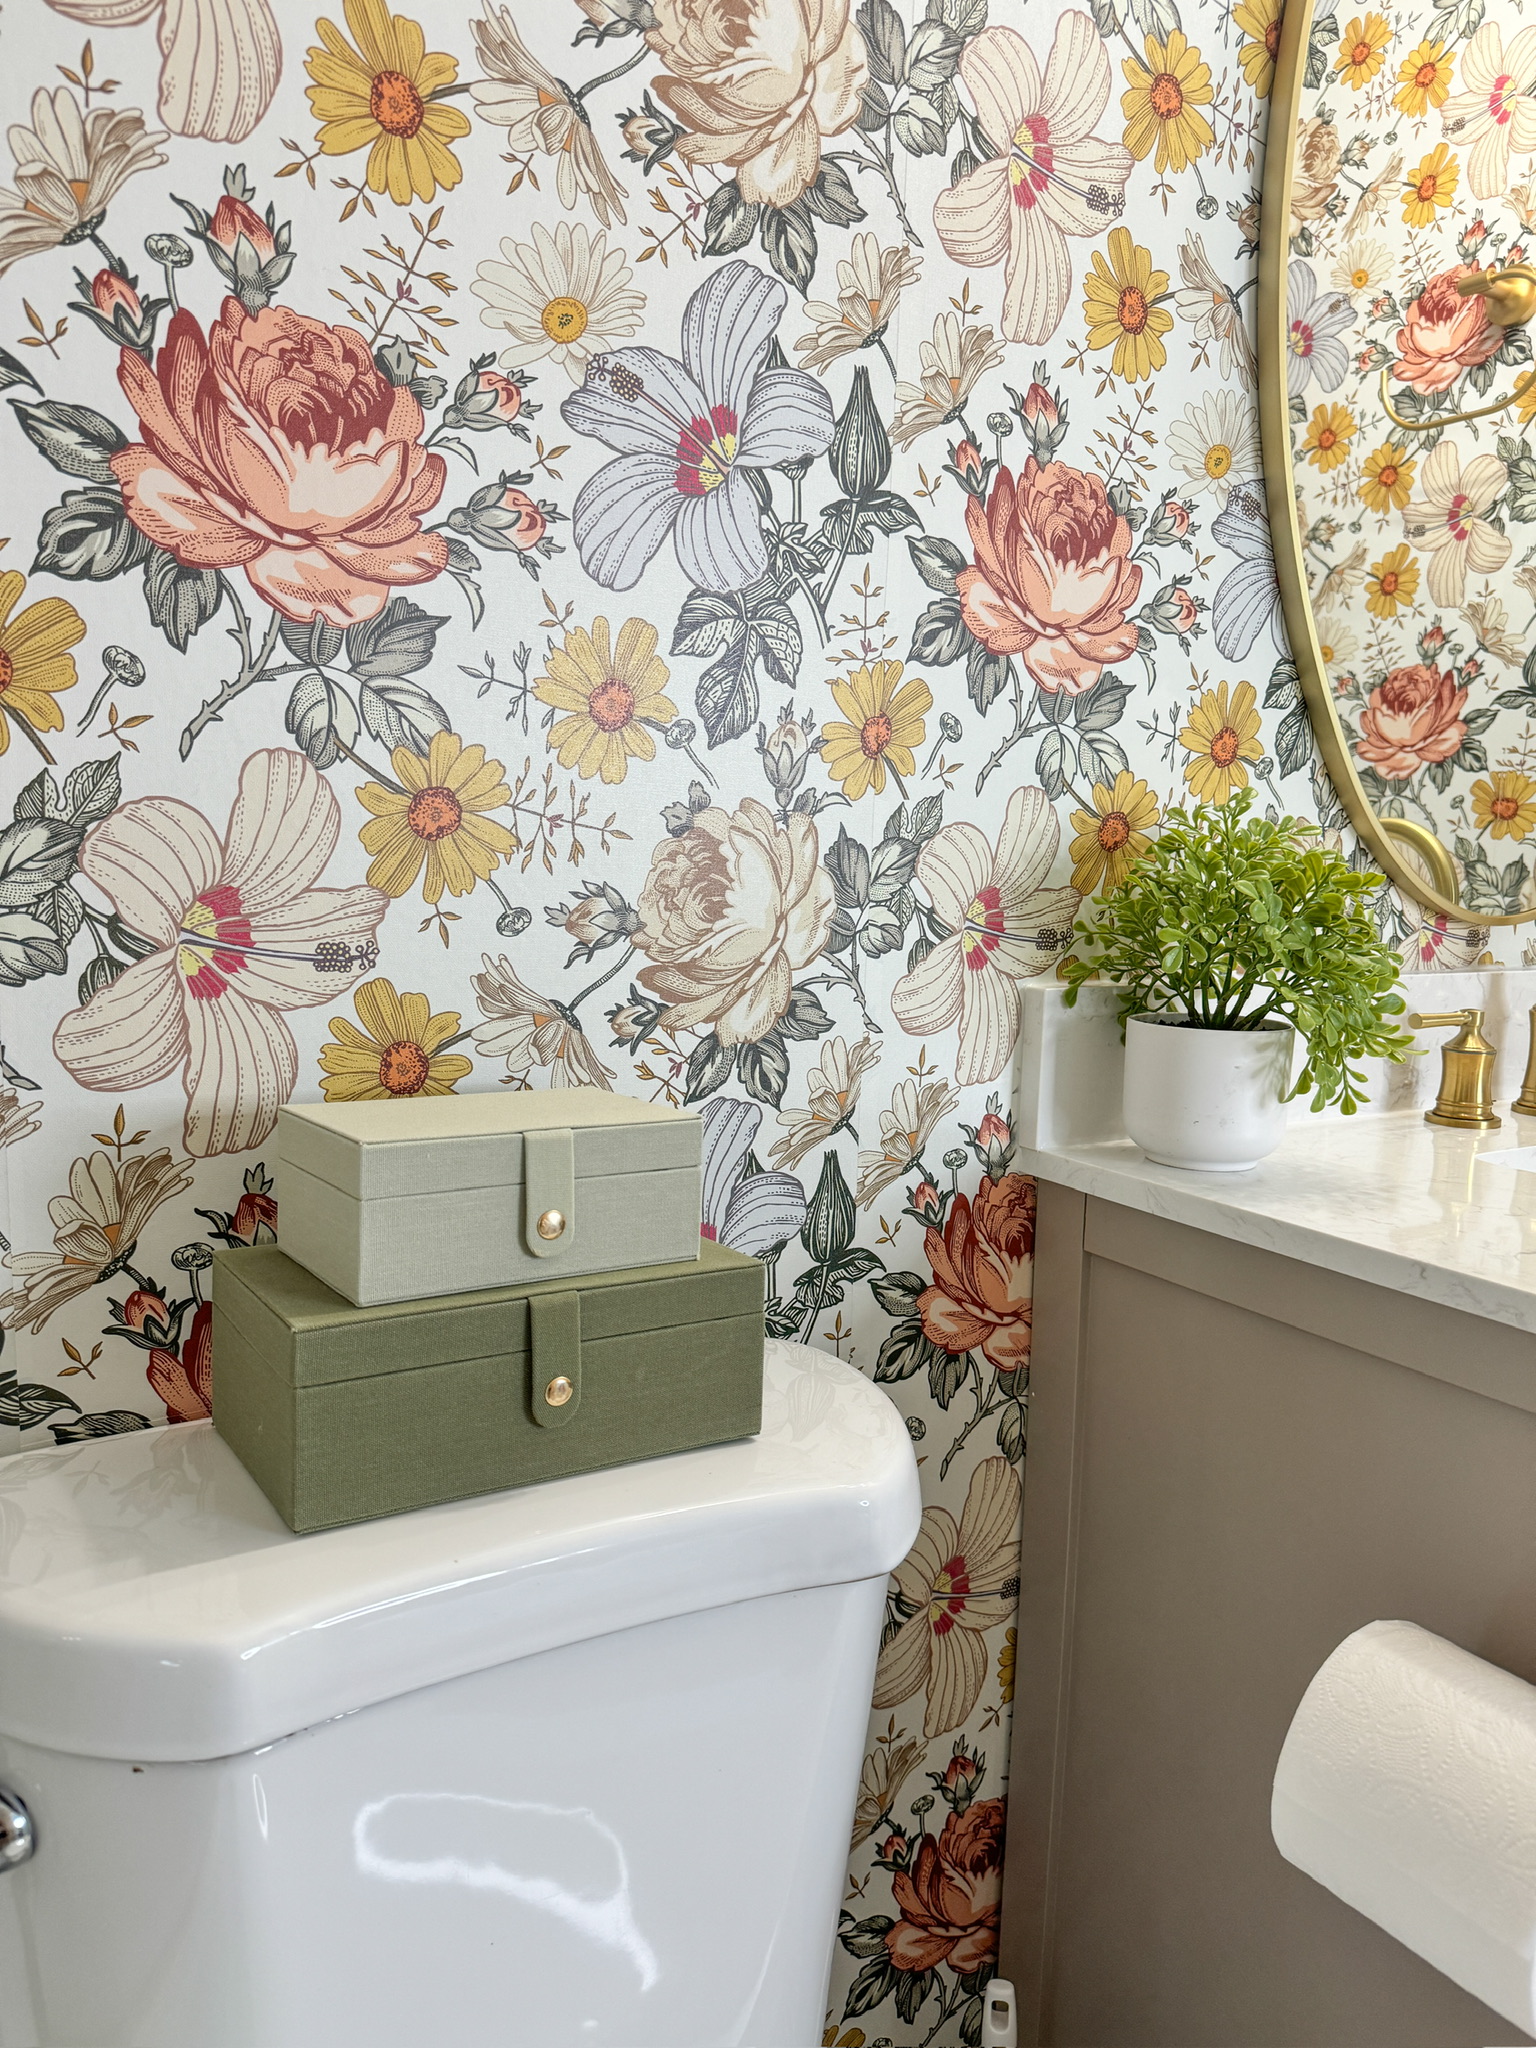
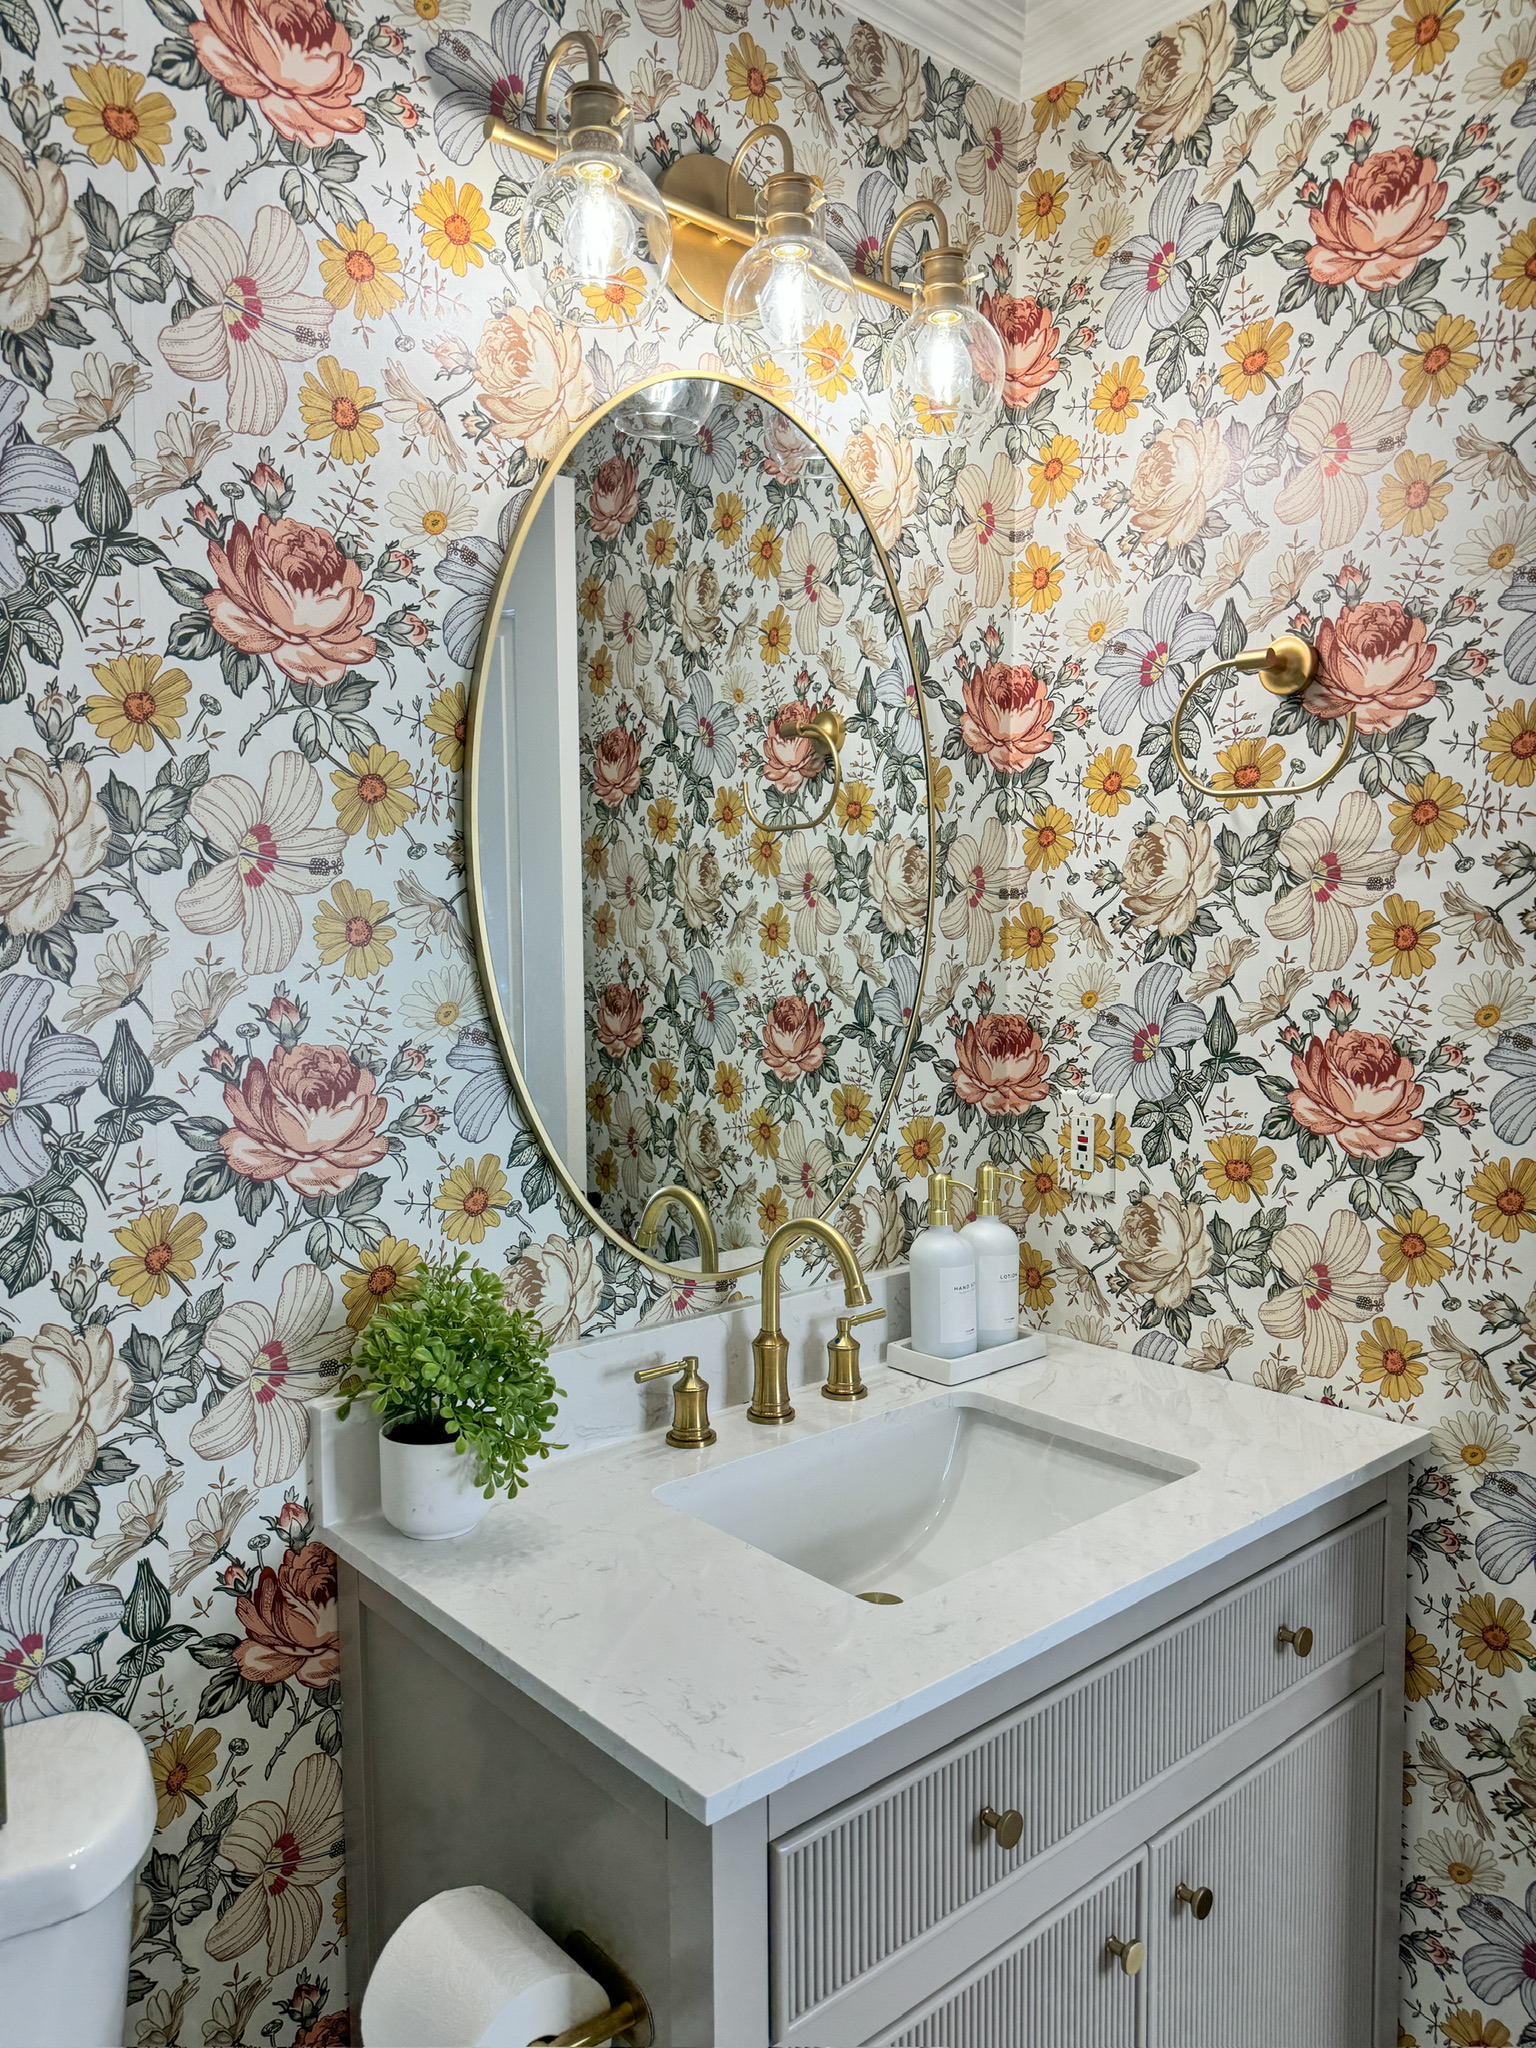
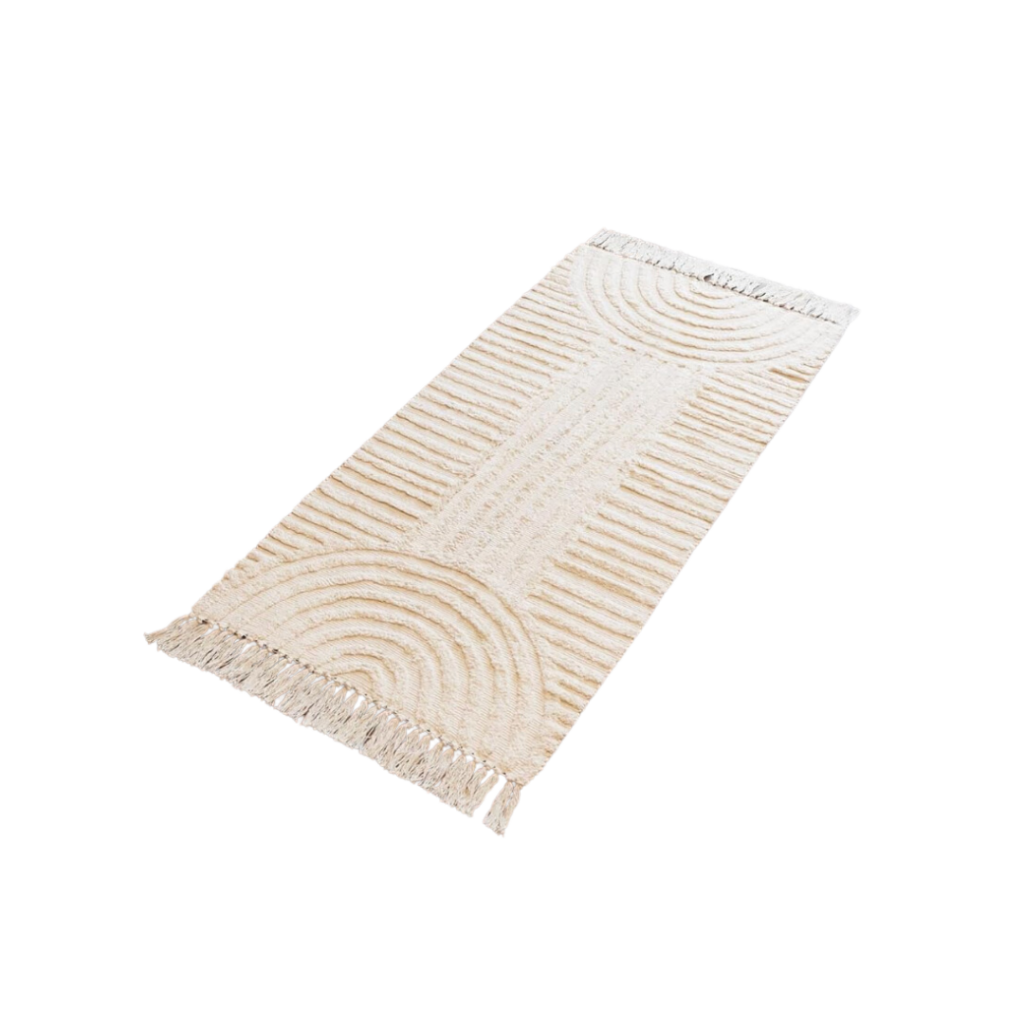
Here’s all the decor in Tatum’s bathroom!
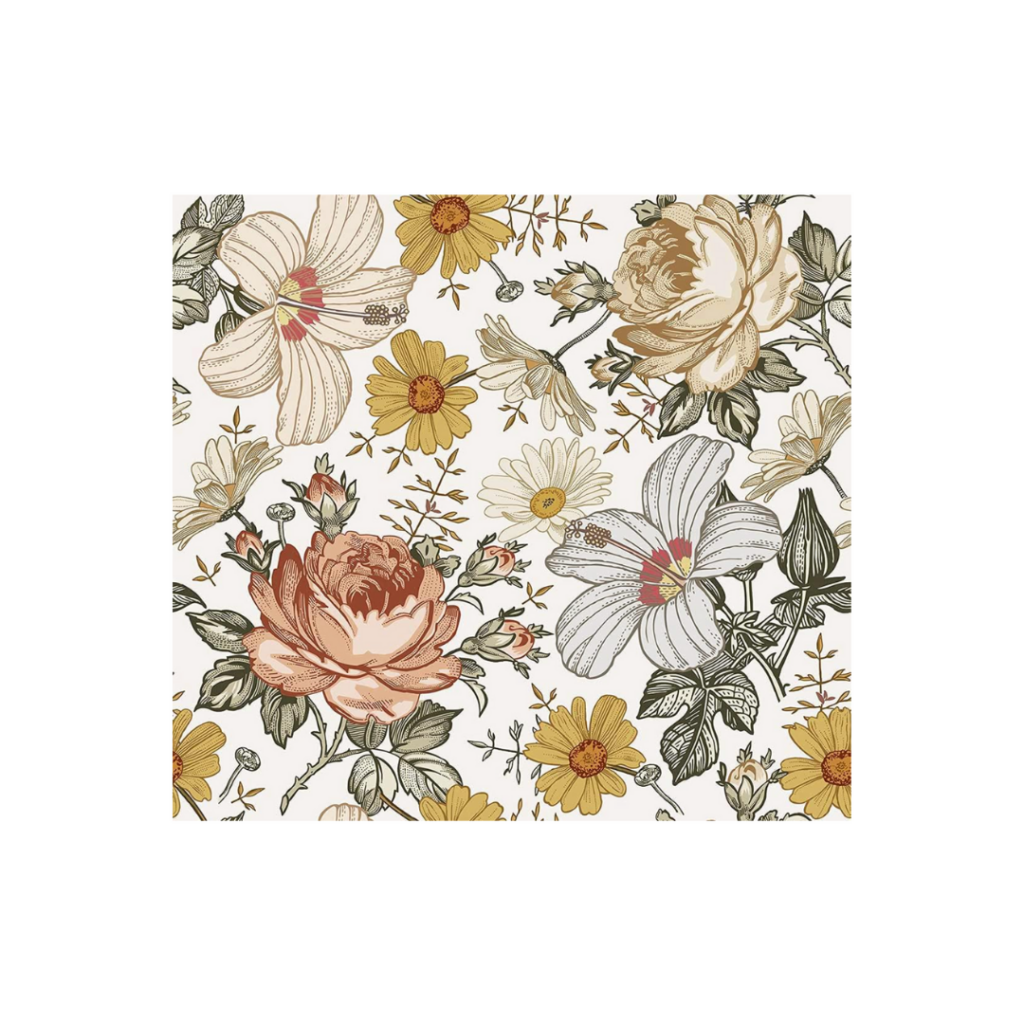
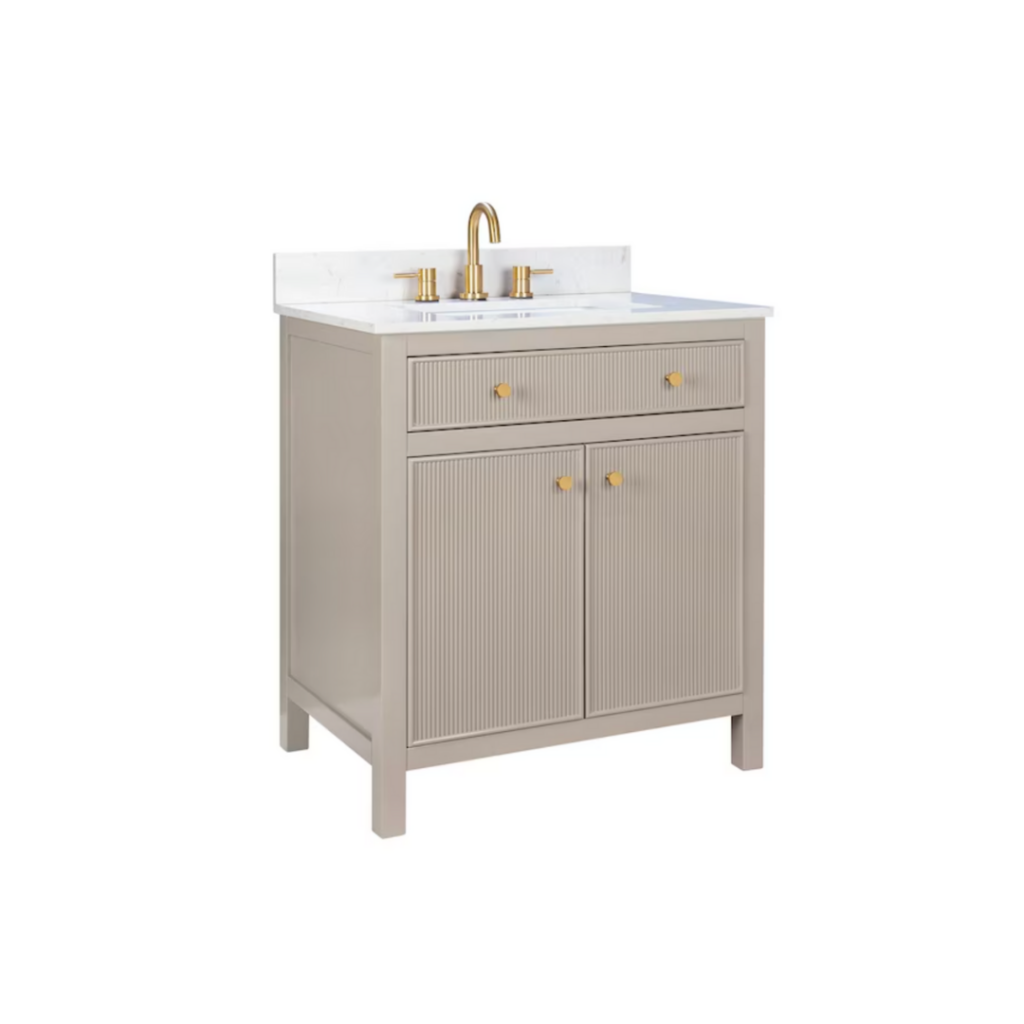
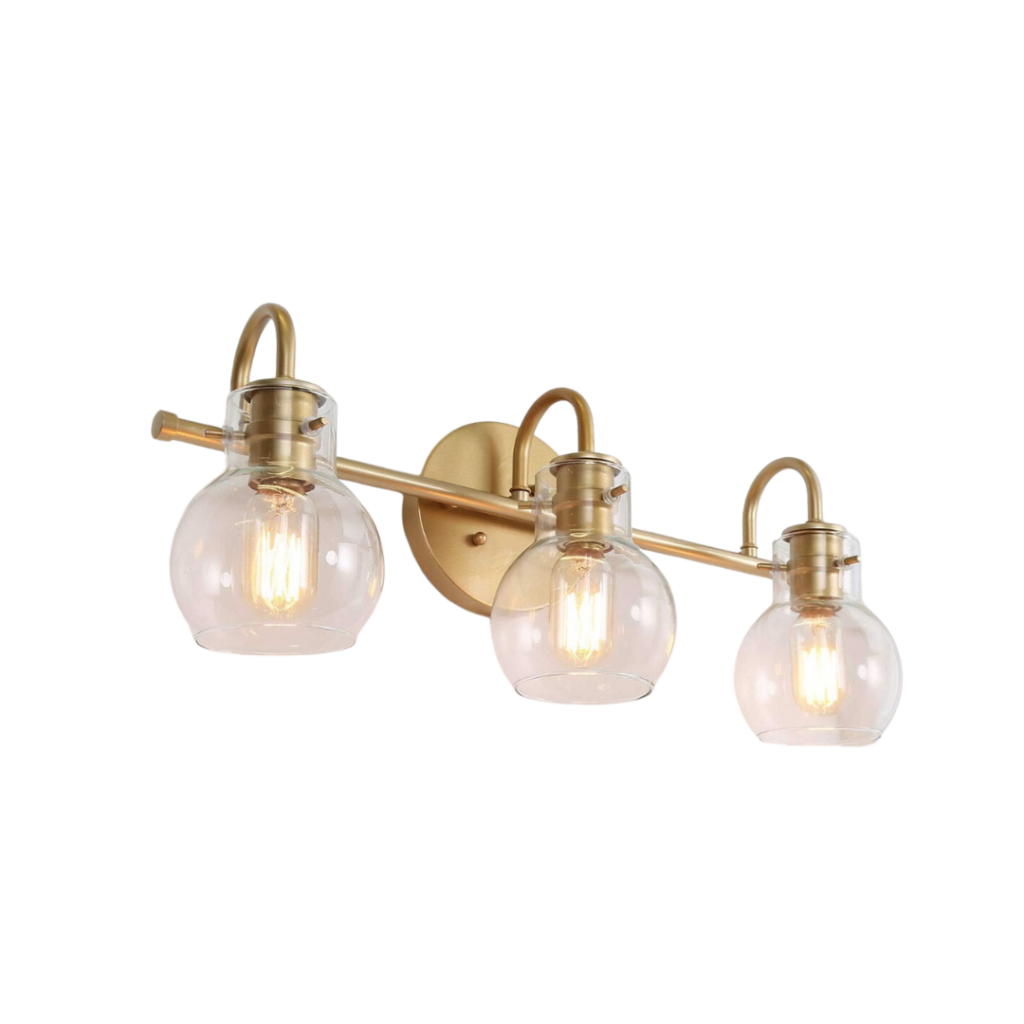
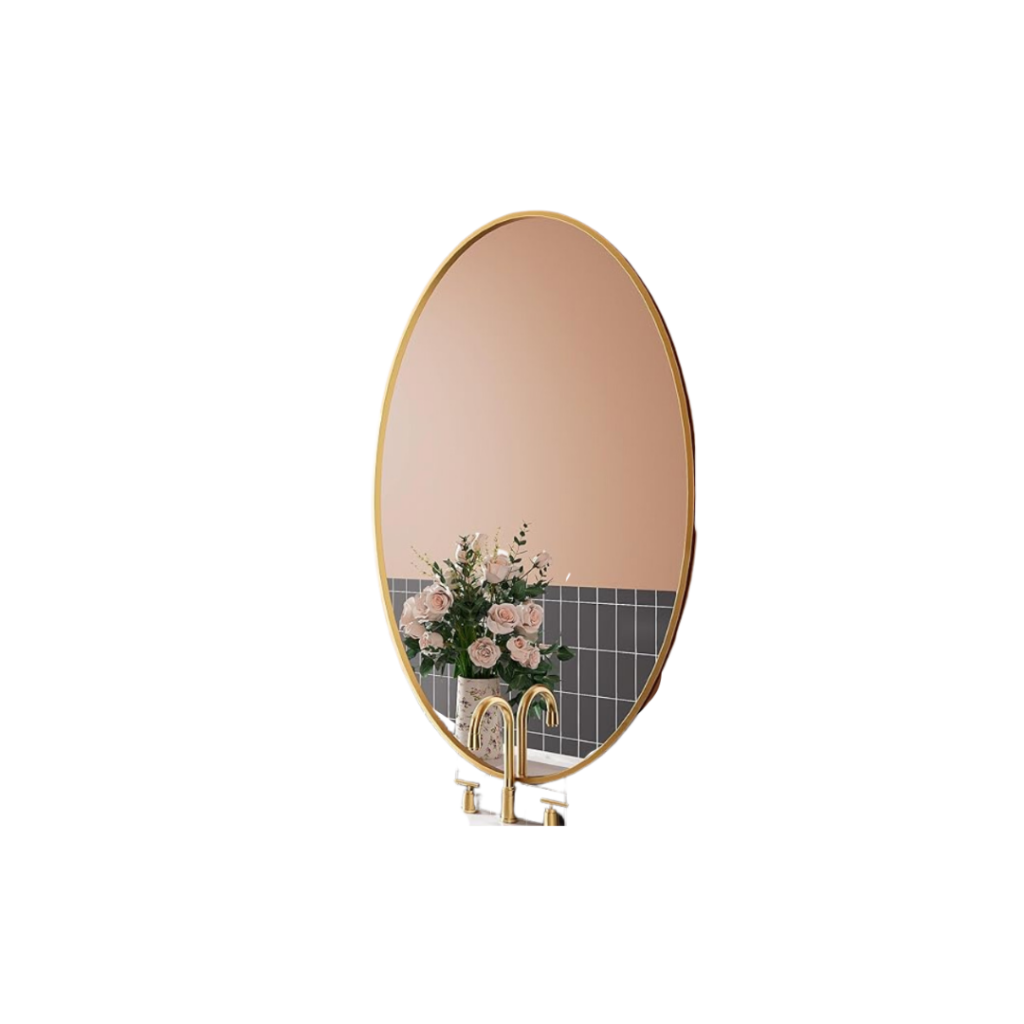
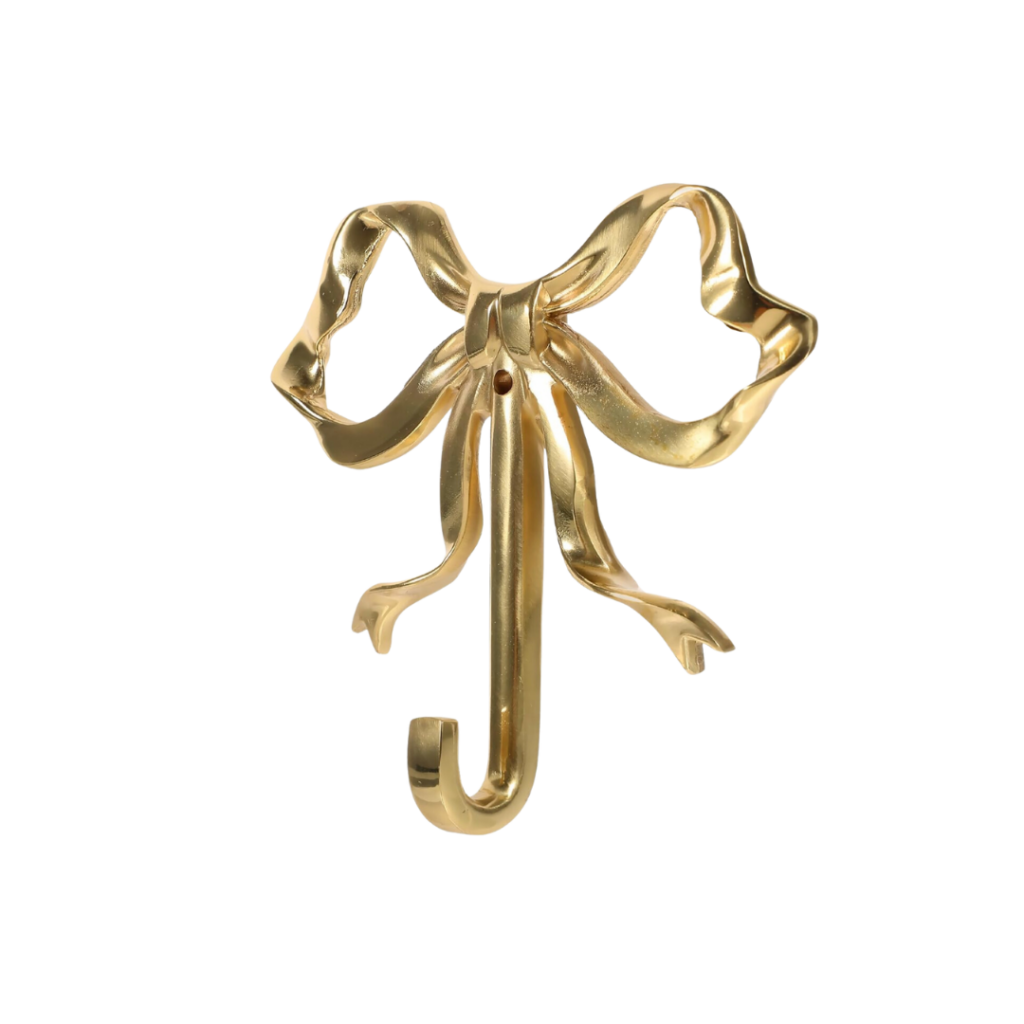
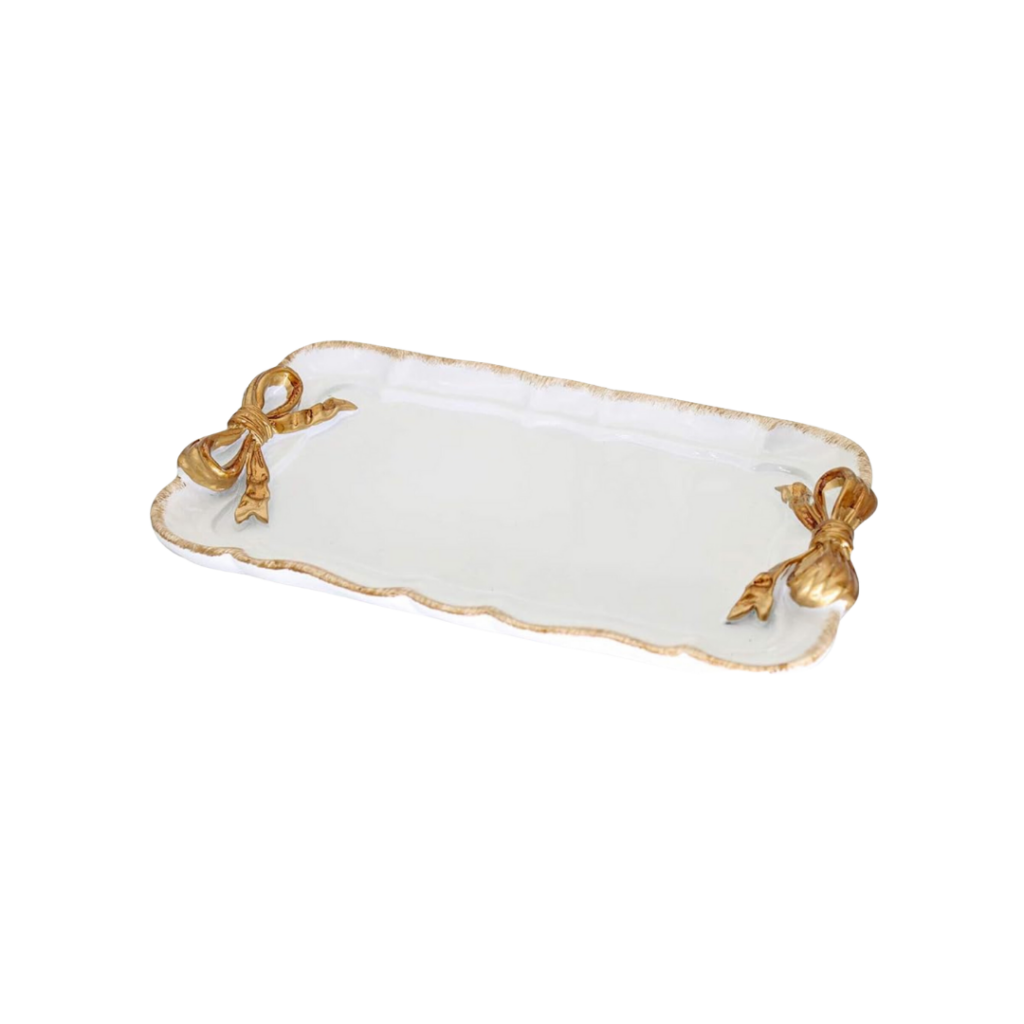
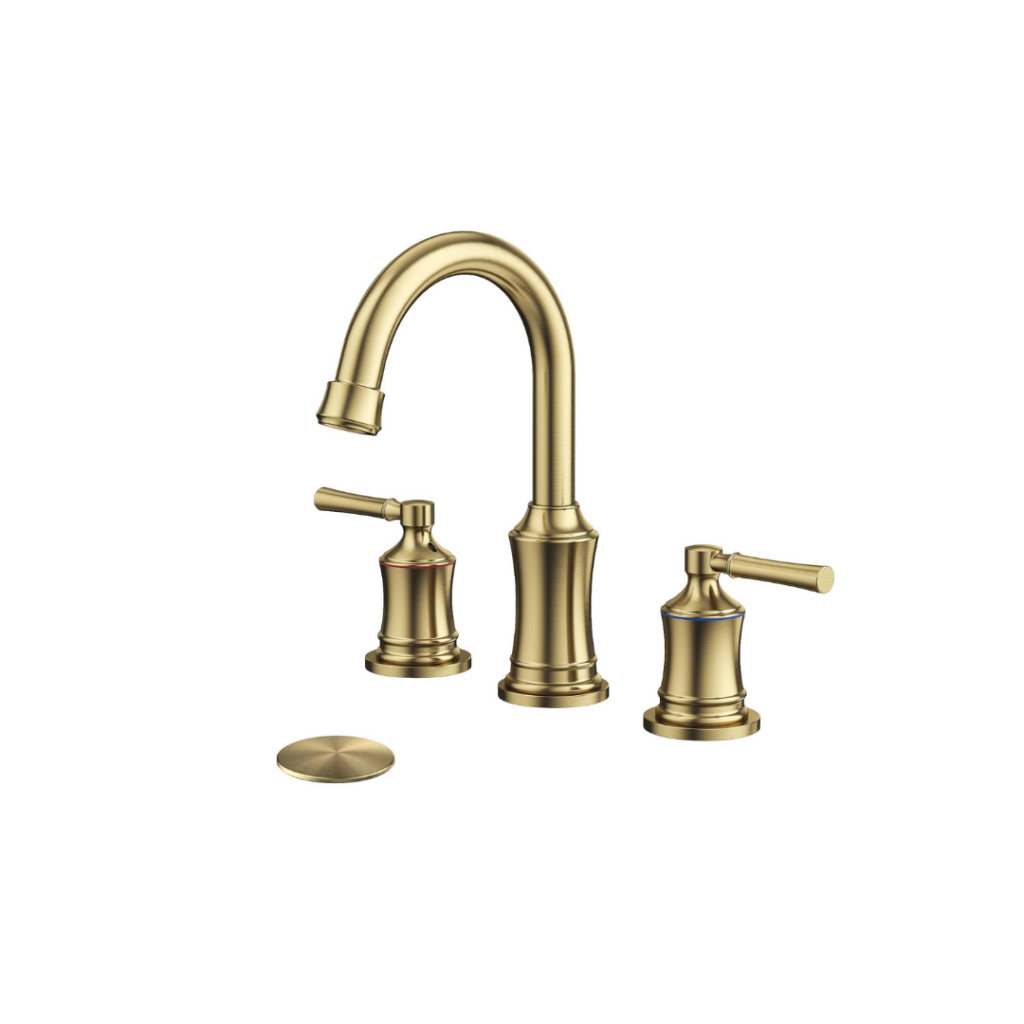
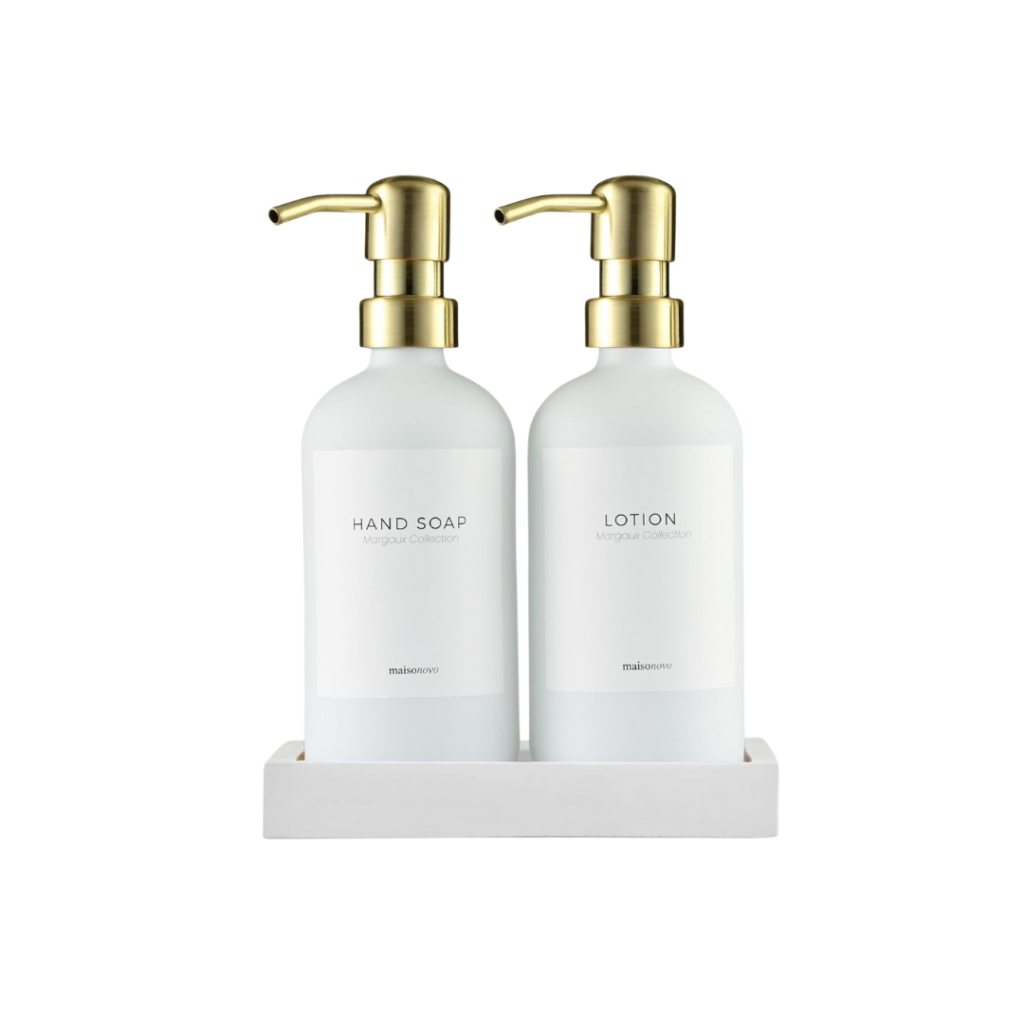
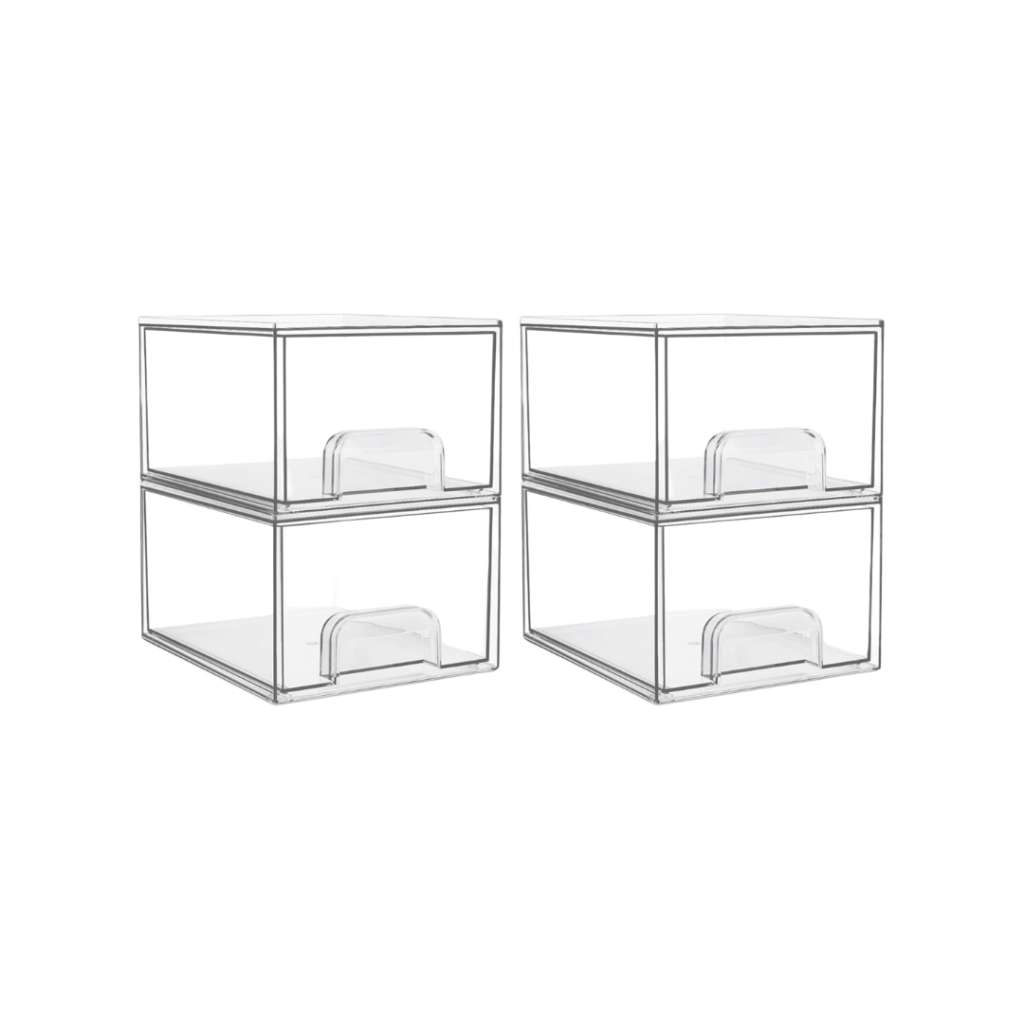
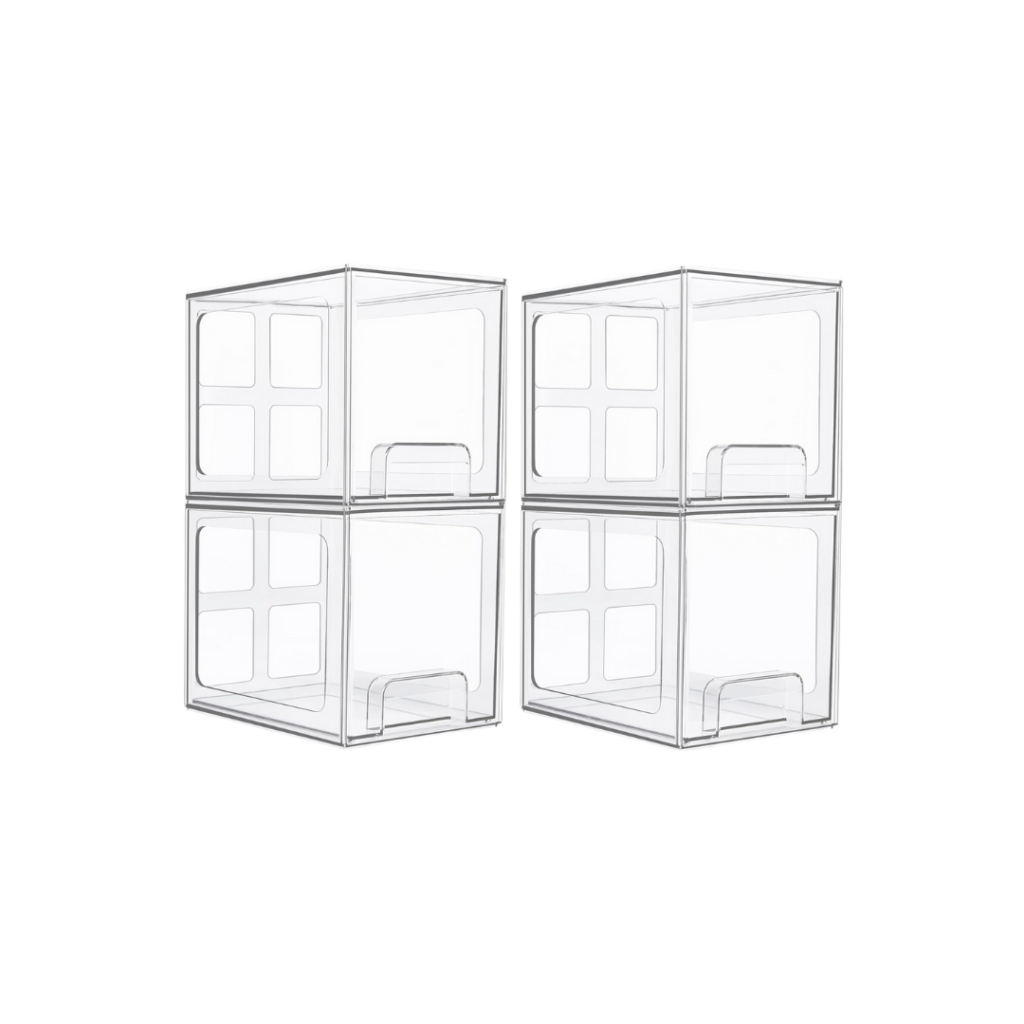
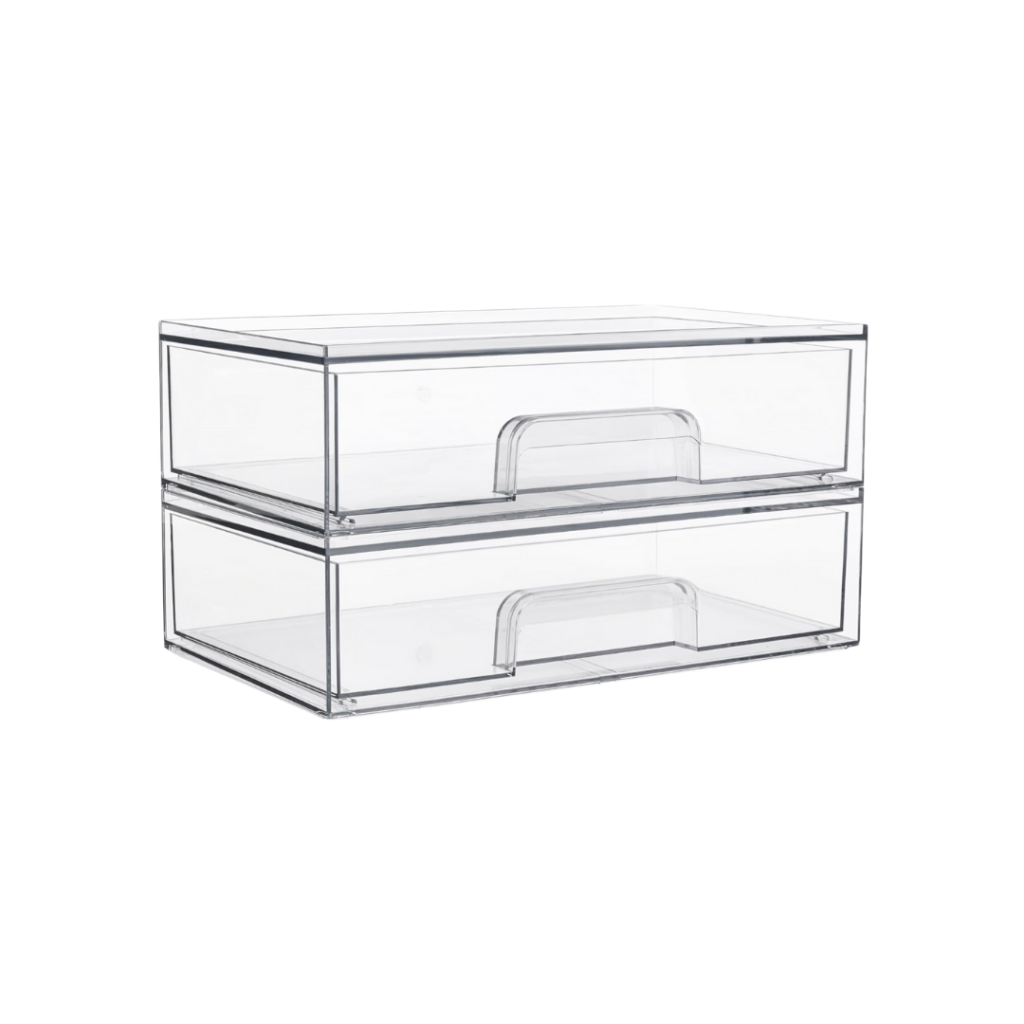
All the tools we used to redo Tatum’s bathroom:



Your bathroom turned out so cute! I’ve been wanting to give my kid’s bathroom a makeover forever and this is finally giving me the motivation to do it. How has the wallpaper held up with moisture? I would love to do a wallpaper, but my kids take such hot showers that I’m worried the repeated exposure to moisture will cause it to wrinkle. Thanks so much for sharing!