Hi
I'm Bong
I'm just a girl who likes to DIY anything and everything. More than that, I love teaching people - especially women - how to pick up power tools and create the home of their dreams. Stop waiting for someone else and starting Doing It Yourself. I'll show you how!
diy projects
diy school
life hacks
categories
must have products
It is time to redo my laundry room! This is my vision; today, we will be tiling the laundry room.
The first thing I will do is remove this backsplash from the wall. Next, I will score it with a razor because there is a caulk. After scoring, I will insert a thin knife, use my putty knife, and hammer it in. A crowbar would also have worked and been helpful, but I could not find mine. Once loosened, I pry it off with my hammer.
It is time for Musselbound. This is my first time using it, but everyone says it is fantastic, so I am excited to try it. It says it is best to install Musselbound vertically, but I have seen my friends installing it horizontally. So I will do it vertically because it’s easier for me. You open it up like a roll of tape. Line it up on the wall and cut it with a razor. Once the Musselbound is on the wall, press it into place with a float.
A few more notes about Musselbound: it is not better or worse than traditional mortar. It is way less messy, and you don’t have to clean between the tiles. Musclebound is more expensive but works well for small spaces. In my laundry room, it was about $30, but if you were doing a large kitchen, this could add up fast. So it just depends on your situation. I would use it again if I was doing a small space or couldn’t deal with a mess.
This metal thing I will use is a Schluter, and you can put it on to give you a clean look when using tile. First, I want to show you what I did on this corner piece. I need a piece on top and side, but I cut the Schluter at 7 3/4 in rather than two parts and bent it to make a corner. Then I cut the length for my needed size.
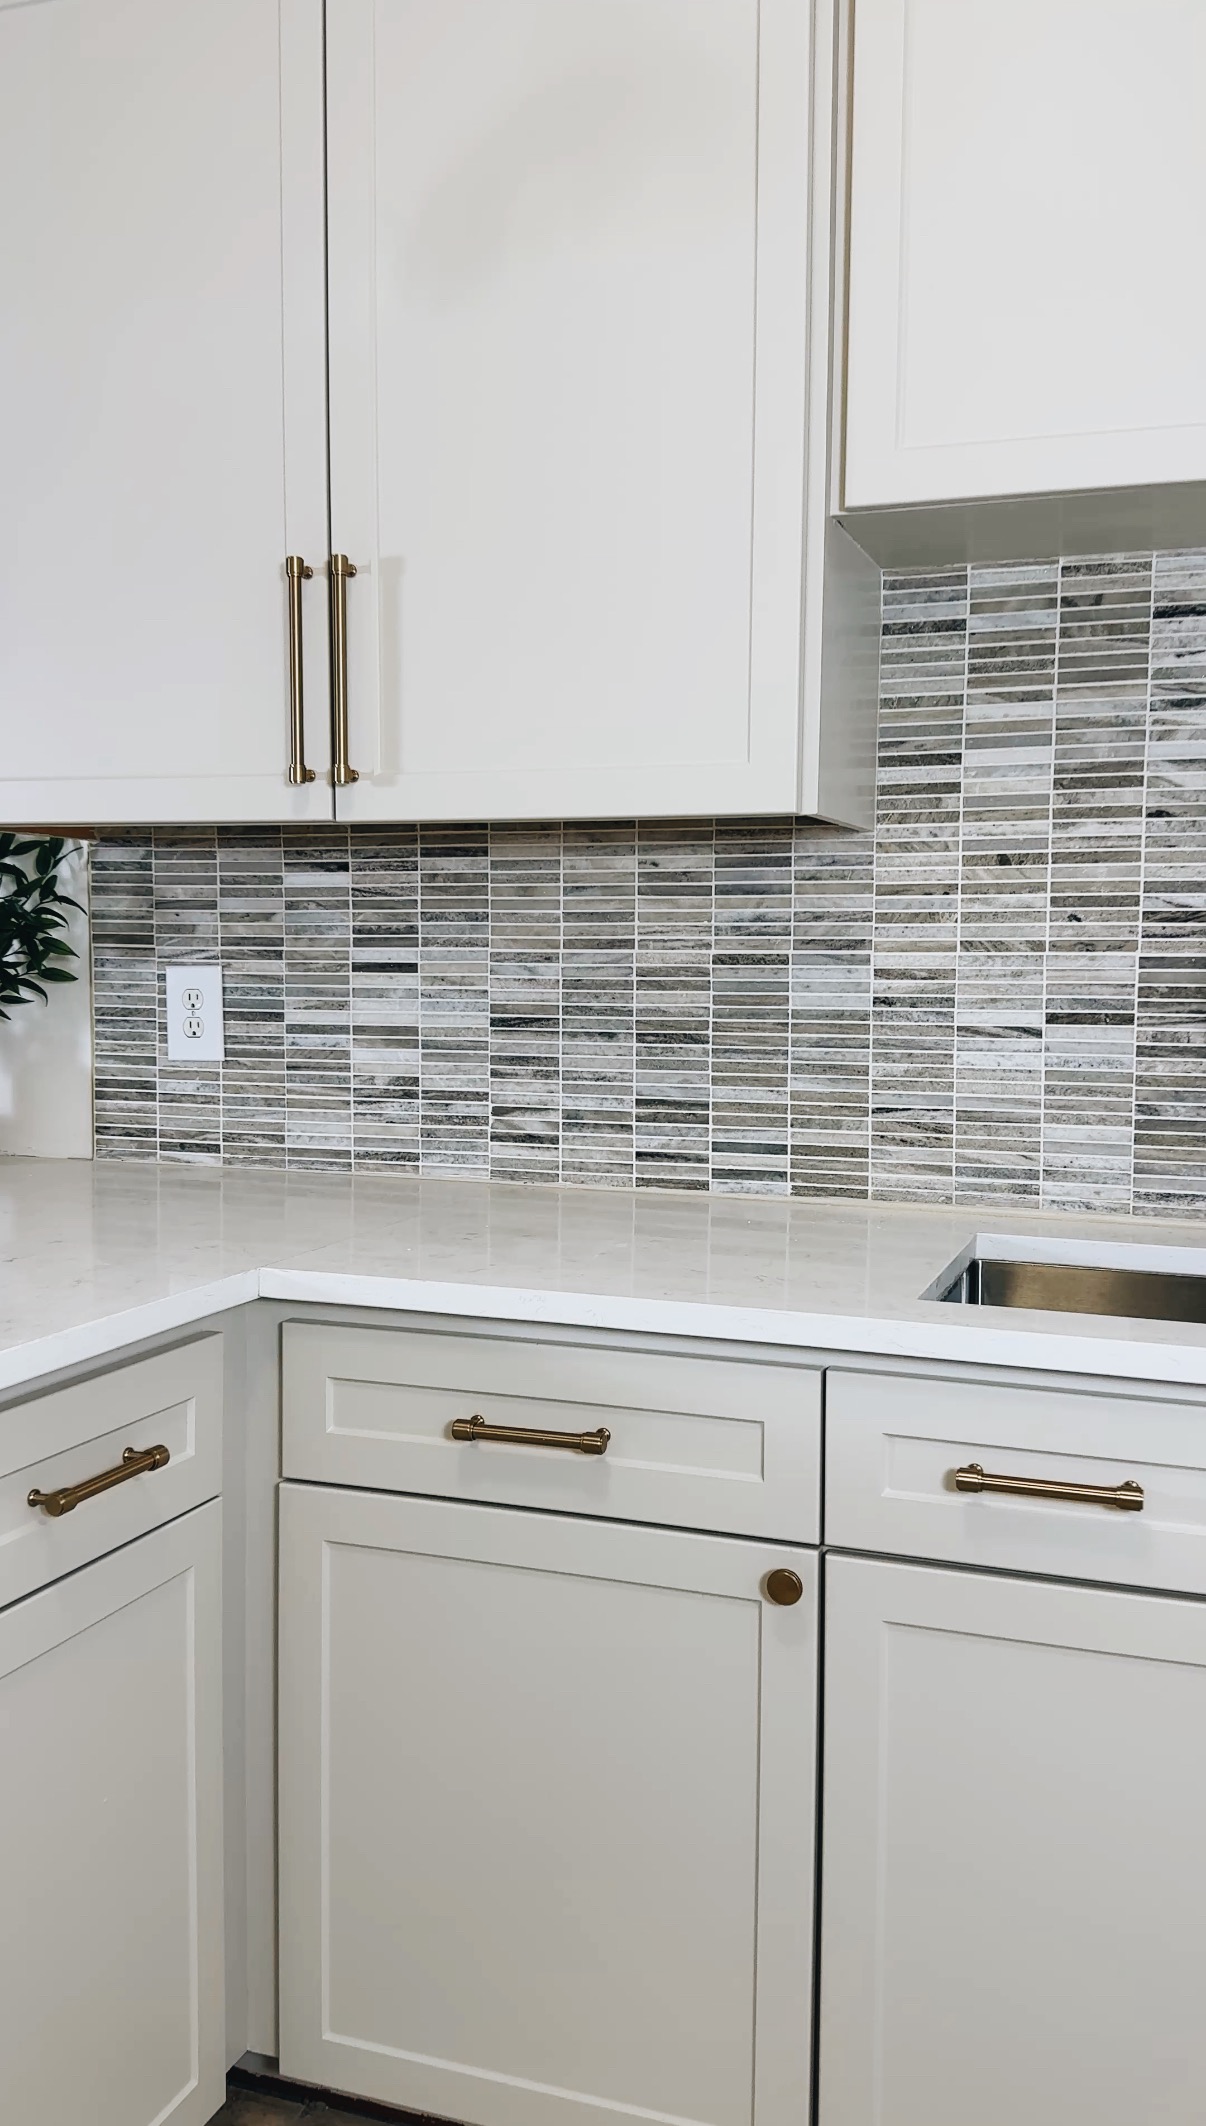
The tiles I am using are from Floor and Decor. I love them, and I knew I wanted a square tile. I also wanted them uneven and organic looking. These have more rough organic edges. Some tiles stick out more than others; I like them because they are beginner-friendly. It doesn’t have to be perfect.
I have my laser level, and the line is on the first row, so I know what height to follow. I’ve decided on the layout I want, which is totally up to your preference. First, I will start with a white tile on the bottom, and my very top row will be 2 in. Then I will peel the Musselbound a little at a time, maybe ½in above the laser level line, and stick the tiles onto the Musselbound. I pushed them with the floating press.
I did not use spacers for these tiles because of the look I wanted, but you can use them. Instead, I just sat the tiles on each other, but you can see these small gaps. That is because these tiles have ridges and touch before the rest of the tiles, and I like this look. You can feel the ridges and how it doesn’t sit flush, which is perfect for beginner tilers, which is me. It does not have to be perfect, and it’s not supposed to look perfect.
After I have put on all my small tiles and now it’s time to cut the other smaller ones for the top layer. I just held the tiles up on these tiles and made marks on them. You can see where I write LS for the light switch and TR for the top right. This helps me stay organized. I’ll cut the tile and let them dry before sticking them on the Musselbound.
It is time to cut the tiles in my shower! It’s pretty warm outside, and I don’t want to walk in and out, so I am just doing this in the shower. I rented this saw from Home Depot for $29/per day. I did not want to buy one because I was unprepared for that investment. This is my first time using a wet saw. This blade can not cut you. It grinds down the tile so it can’t cut off a finger, as some other tools can.
Pause the tiling process to talk about this faucet. It was only about $130 and looks almost identical to the Moen one I have in my kitchen, which was $400-$500. I love it, and it looks just as beautiful. The spray is fantastic. It works well, and I highly recommend it.
So I’ve already marked these tiles and labeled them with my system. It’s called a wet saw because it has to have water to work. It keeps the blade from getting hot. While this looks messy, I didn’t get wet besides my hands. I don’t want yall to be intimidated by this saw.
It was so fun to do, and it can’t cut you. You guide the tile through and hold both sides.
Typically there is a fence so you can rip a bunch of tiles the same size, but this one didn’t come with one. You turn it on and push it through. I also want to show you guys how I did a corner cut. So I cut down on both sides to make the corner and broke it off. I snap off the corner piece. You can still see a piece left on the backside, so I am going to turn the saw on, hold it up, and grind it down. Honestly, this saw reminds me of a sander, so there is no need to be afraid it is super fun!
After the tiles are cut, you must let them fully dry before sticking them on the Musclebound. But before I let them dry, I will ensure they fit just in case I have to adjust. Again, this is to save time.
There are a few ways you can dry these tiles. I will use my hairdryer, but you can also stick them in the oven at a super-low temperature. Most of these are dry, so I will dry the ones I recently cut and stick them back in the Musclebound. I waited for a full 24 hr to have the tiles dry.
Let’s talk about grout. This is ready-to-use grout, and it was about $12 a quart. It is more expensive to buy ready-to-use, but I am doing less tile, so it was worth it. But you can buy the bag and mix it with water. It’s easy. We also need our float. It is used to press the grout into the seams. I am going to use the spatula to get some on my float. With grout, you want to come in with different angles to ensure it gets pushed into all these gaps. After I have a 5 ft section, I will take a sponge and bucket and wipe it all down. You want to work so that the grout does not dry before you can come back and wipe it off.
It’s time to caulk. This is an excellent tile for beginners because it can look imperfect to look amazing. I am going to use caulk along the bottom edge. This caulk is for ceramic tile and fixtures like a sink. I put the caulk in and wiped the excess with my finger.
The last thing to do is fix the outlet. First, turn off the power. There are a few things, so this is the screw that came with it, but now that the outlet is extended out since it is resting on the tile, the screw is too short. So I got one a little longer in my extra screw storage bin. There is a screw in the top and the bottom. A stop in the back usually keeps it from falling out. I have my plastic spacers, and they are made for outlet extending. They come in different strips and fold, then cut, then you have the right amount. The order is you have the screw go in, the spacers go in behind the metal plate, and then the screw goes into that plate. This will hold everything nice and tight.


