Hi
I'm Bong
I'm just a girl who likes to DIY anything and everything. More than that, I love teaching people - especially women - how to pick up power tools and create the home of their dreams. Stop waiting for someone else and starting Doing It Yourself. I'll show you how!
diy projects
diy school
life hacks
categories
must have products
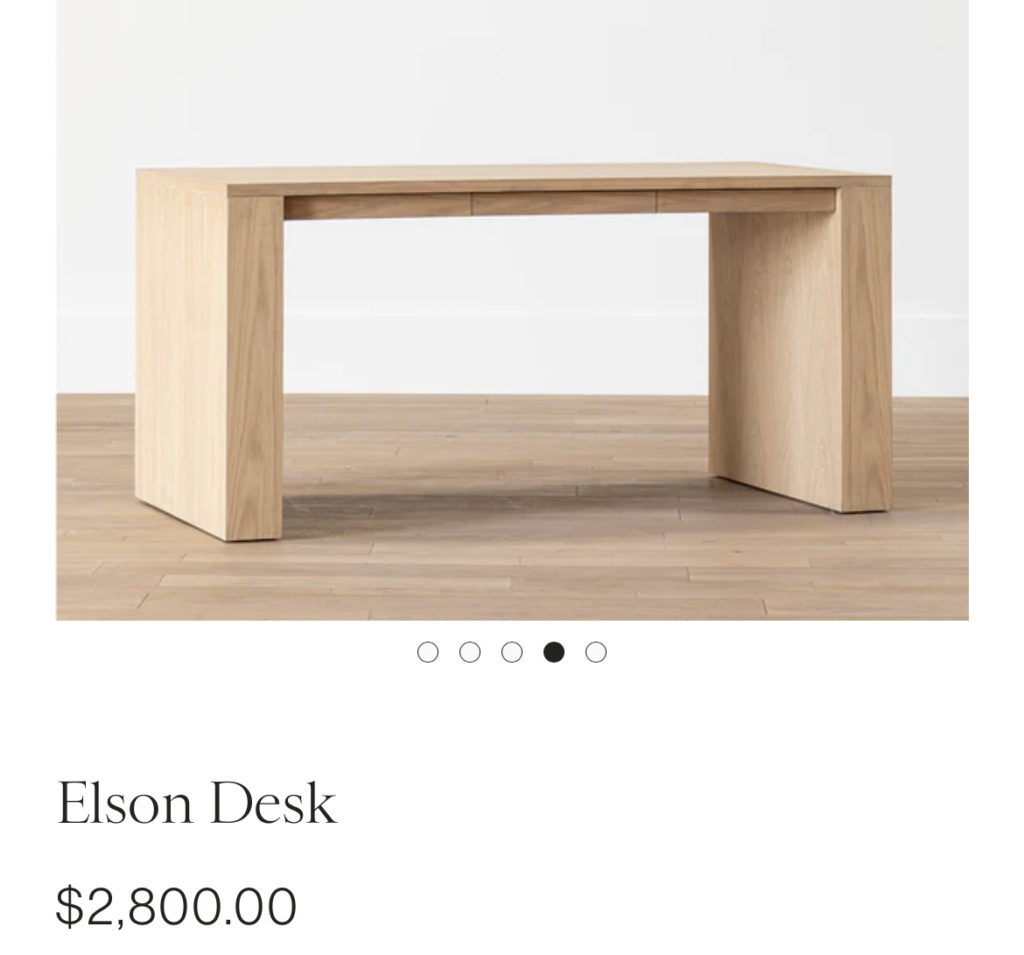
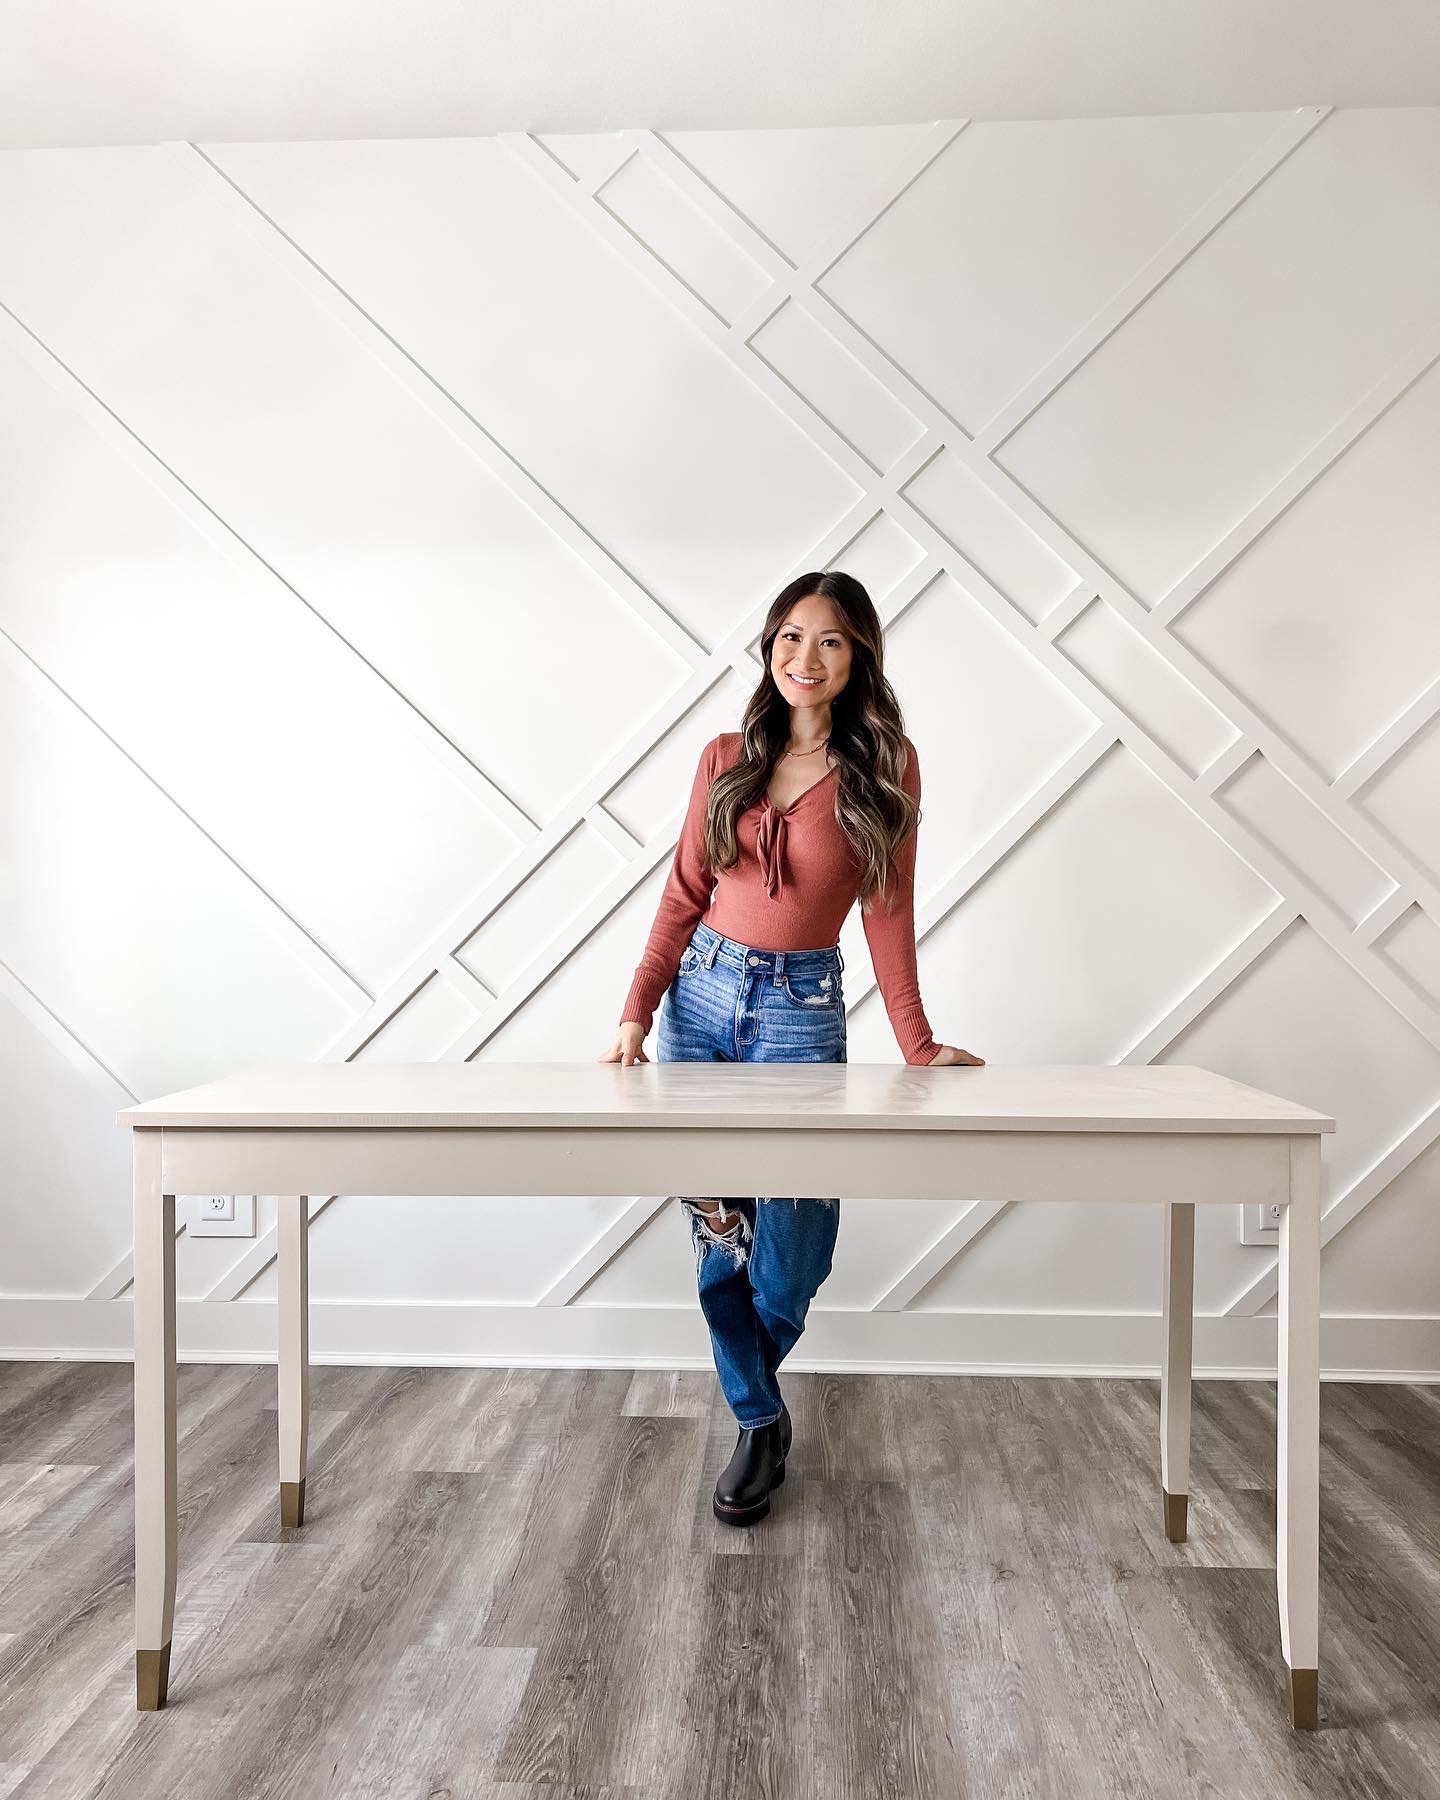
I am so excited for this project. We found this desk but it was so expensive, so I thought to myself, let’s make an office desk dupe! I went to my local lumber yard and bought some ash wood and so let’s get to work.
I have two planks laid down, on top of my bessey clamps. Then I am going to glue down the middle, clamp them together and let it sit overnight. There is a special way to do clamps. The way I am going to do it is by starting with #2 on the diagram below and tighten it but not crazy tight. Then I’ll tighten #4, #1, and then #3. I will just keep going around tightening them all a little until they are all super tight and secure.
Now I will make sure it is level from top to bottom. I’m using a spare piece of plywood and different clamps to tighten that middle seam. I know this is a little over the top but I went ahead and put more clamps on top of the board in between the previous clamps. You don’t have to do this but I had the extra clamps so I thought I might as well.
After the glue is dry I cut the top down to the length that I wanted. I did 65” here. Cutting solid wood like this is no joke and you definitely want a powerful circular saw and a good blade.
For the legs I am making them 28” tall but I will cut them at 29” to give myself some wiggle room. Now it is time to glue the legs together. I’ll set them on these clamps and then glue and clamp them. I will clamp and stabilize the legs the same way I did the top. After the legs were dry I put down some glue and set the tables on the top. Then I clamped the legs down.
Just a small side note about wood glue. Glue by itself is strong enough. You’ve seen people use dowels or biscuits and it’s not that it is any stronger. Dowels and biscuits help line the wood pieces up together a little better. It doesn’t help the strength.
Next, I drilled pocket holes for the side pieces. I’m putting the screws diagonally. Normally, you don’t need to pre drill on these power pro screws but since I’m going in diagonally I’m going to go ahead and pre-drill the holes. A little tip for diagonal drilling. I will go in straight and once it is about ¼” in I will angle the drill bit down. After the pre-drill I will screw my screws in and repeat down the length of the legs.
I am adding a little lip to the bottom of the table to give it a more sophisticated, clean look. Then I repeated, essentially, the same process that I had done for the legs. I cut the board, glued and then screwed in some pocket screws.
Now that it is built I am going to go through and fill any holes, add filler to spaces and then sand it down. I am using a Minwax filler and that is a two part system. I am using it to fill actual holes, not just down the seam of the table top. Any divots or holes, this is my go to.
You want to use a small amount at a time because it does harden quickly. Only give yourself as much product that you can work with in 10-15 minutes. Then you will add the harder and this should be a 16:1 ratio to the other part. So it should be just a tiny dot of hardener. Then you will mix it together and apply it to any holes.
Sometimes when you get wood from the lumberyard it can be really rough. This is why we sand it down so that it is cohesive and smooth. After I sand the whole table I will take this tack cloth to make sure it is clean with no dust. Tack clothes are kind of sticky and so they pick up any fine dust really well.
I’ve said it once before and I will say it again, you will get the best look if you use a pre-stain. I always use a pre-stain because it gives you the best coverage without blotchiness and it doesn’t even take that long. It makes such a difference so certainly worth the little extra time and money.
Now it is time to stain. My favorite thing to do is go to Lowes and pick out a great Minwax stain. If you go down the Minwax isle they have a chart and you can see the literal hundreds of colors that you can choose from. They also have their colors on line. After testing out a few different colors I decided I really wanted to keep the color of this ash wood. So I went with a light color called “Birchbark” and it was the perfect amount of white to bring out the wood tones.
After the stain I will do a top coat. The Minwax top coat is great because not only is it super protective, it also never turns that weird yellow color. I am using the polycyclic ultra flat. Polycyclic is super easy to apply. You just want to apply it in light strokes with a synthetic brush keeping a wet edge. This means you don’t dry one side until you are completely finished. After the first layer is dry, I am going to sand with the 220 grit sander and this just really smooths it out. After I sand, I will wipe it down with my tack cloth and repeat. Three coats is the best way to get that full protection. I did not sand that last top coat.
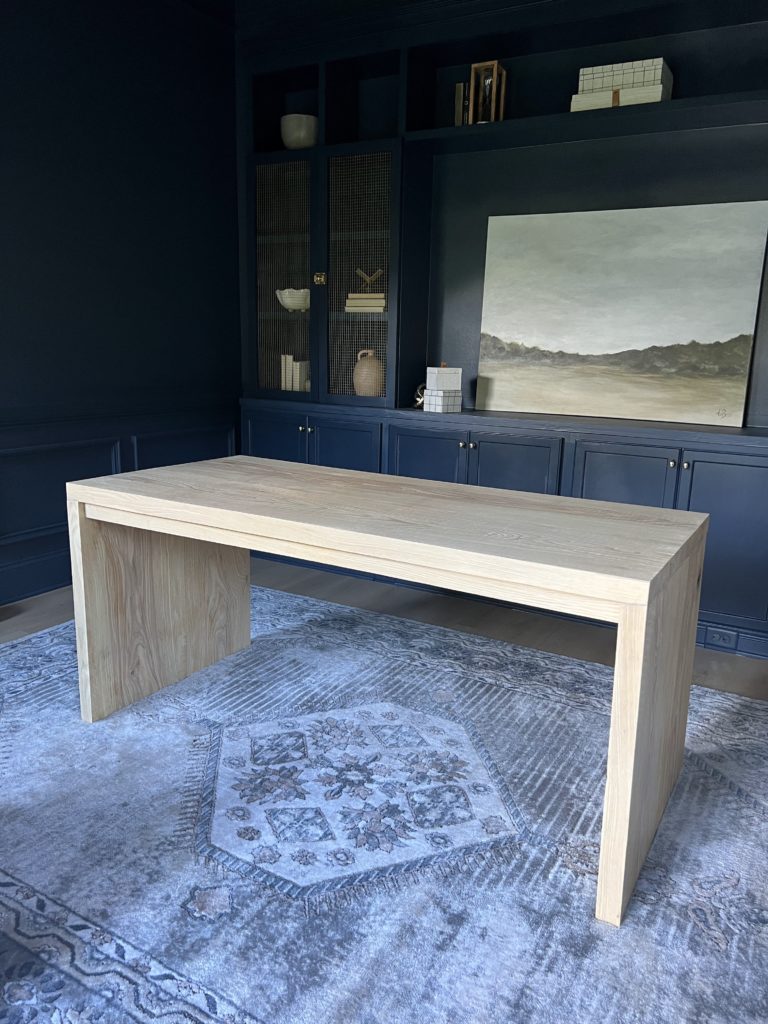
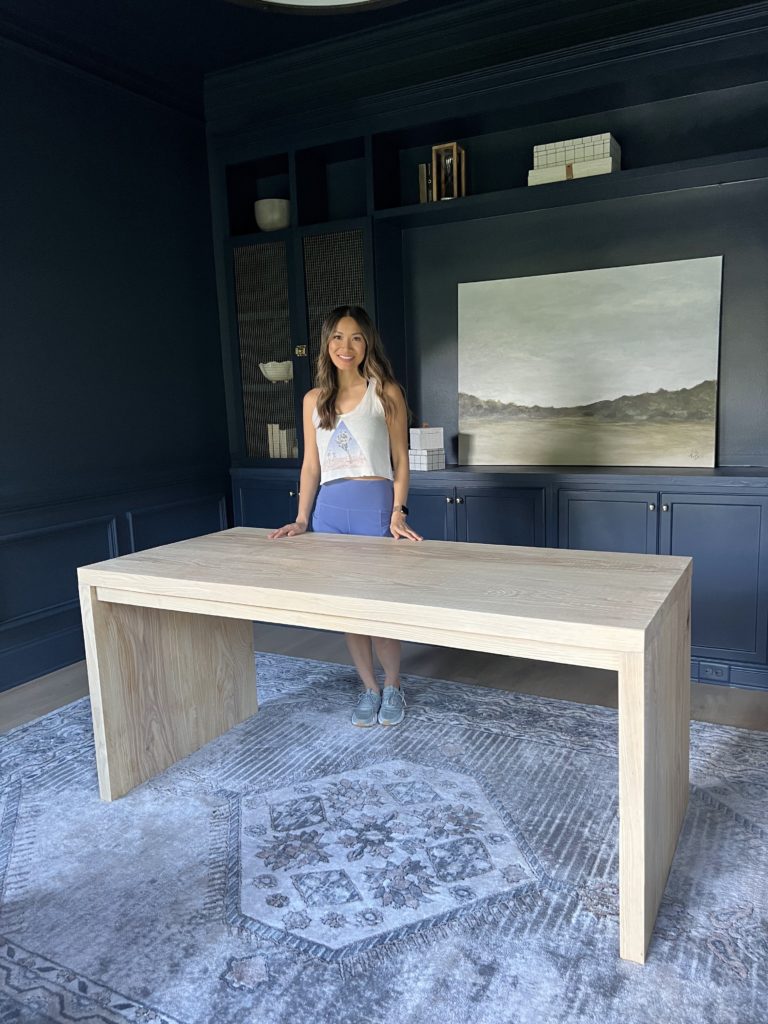
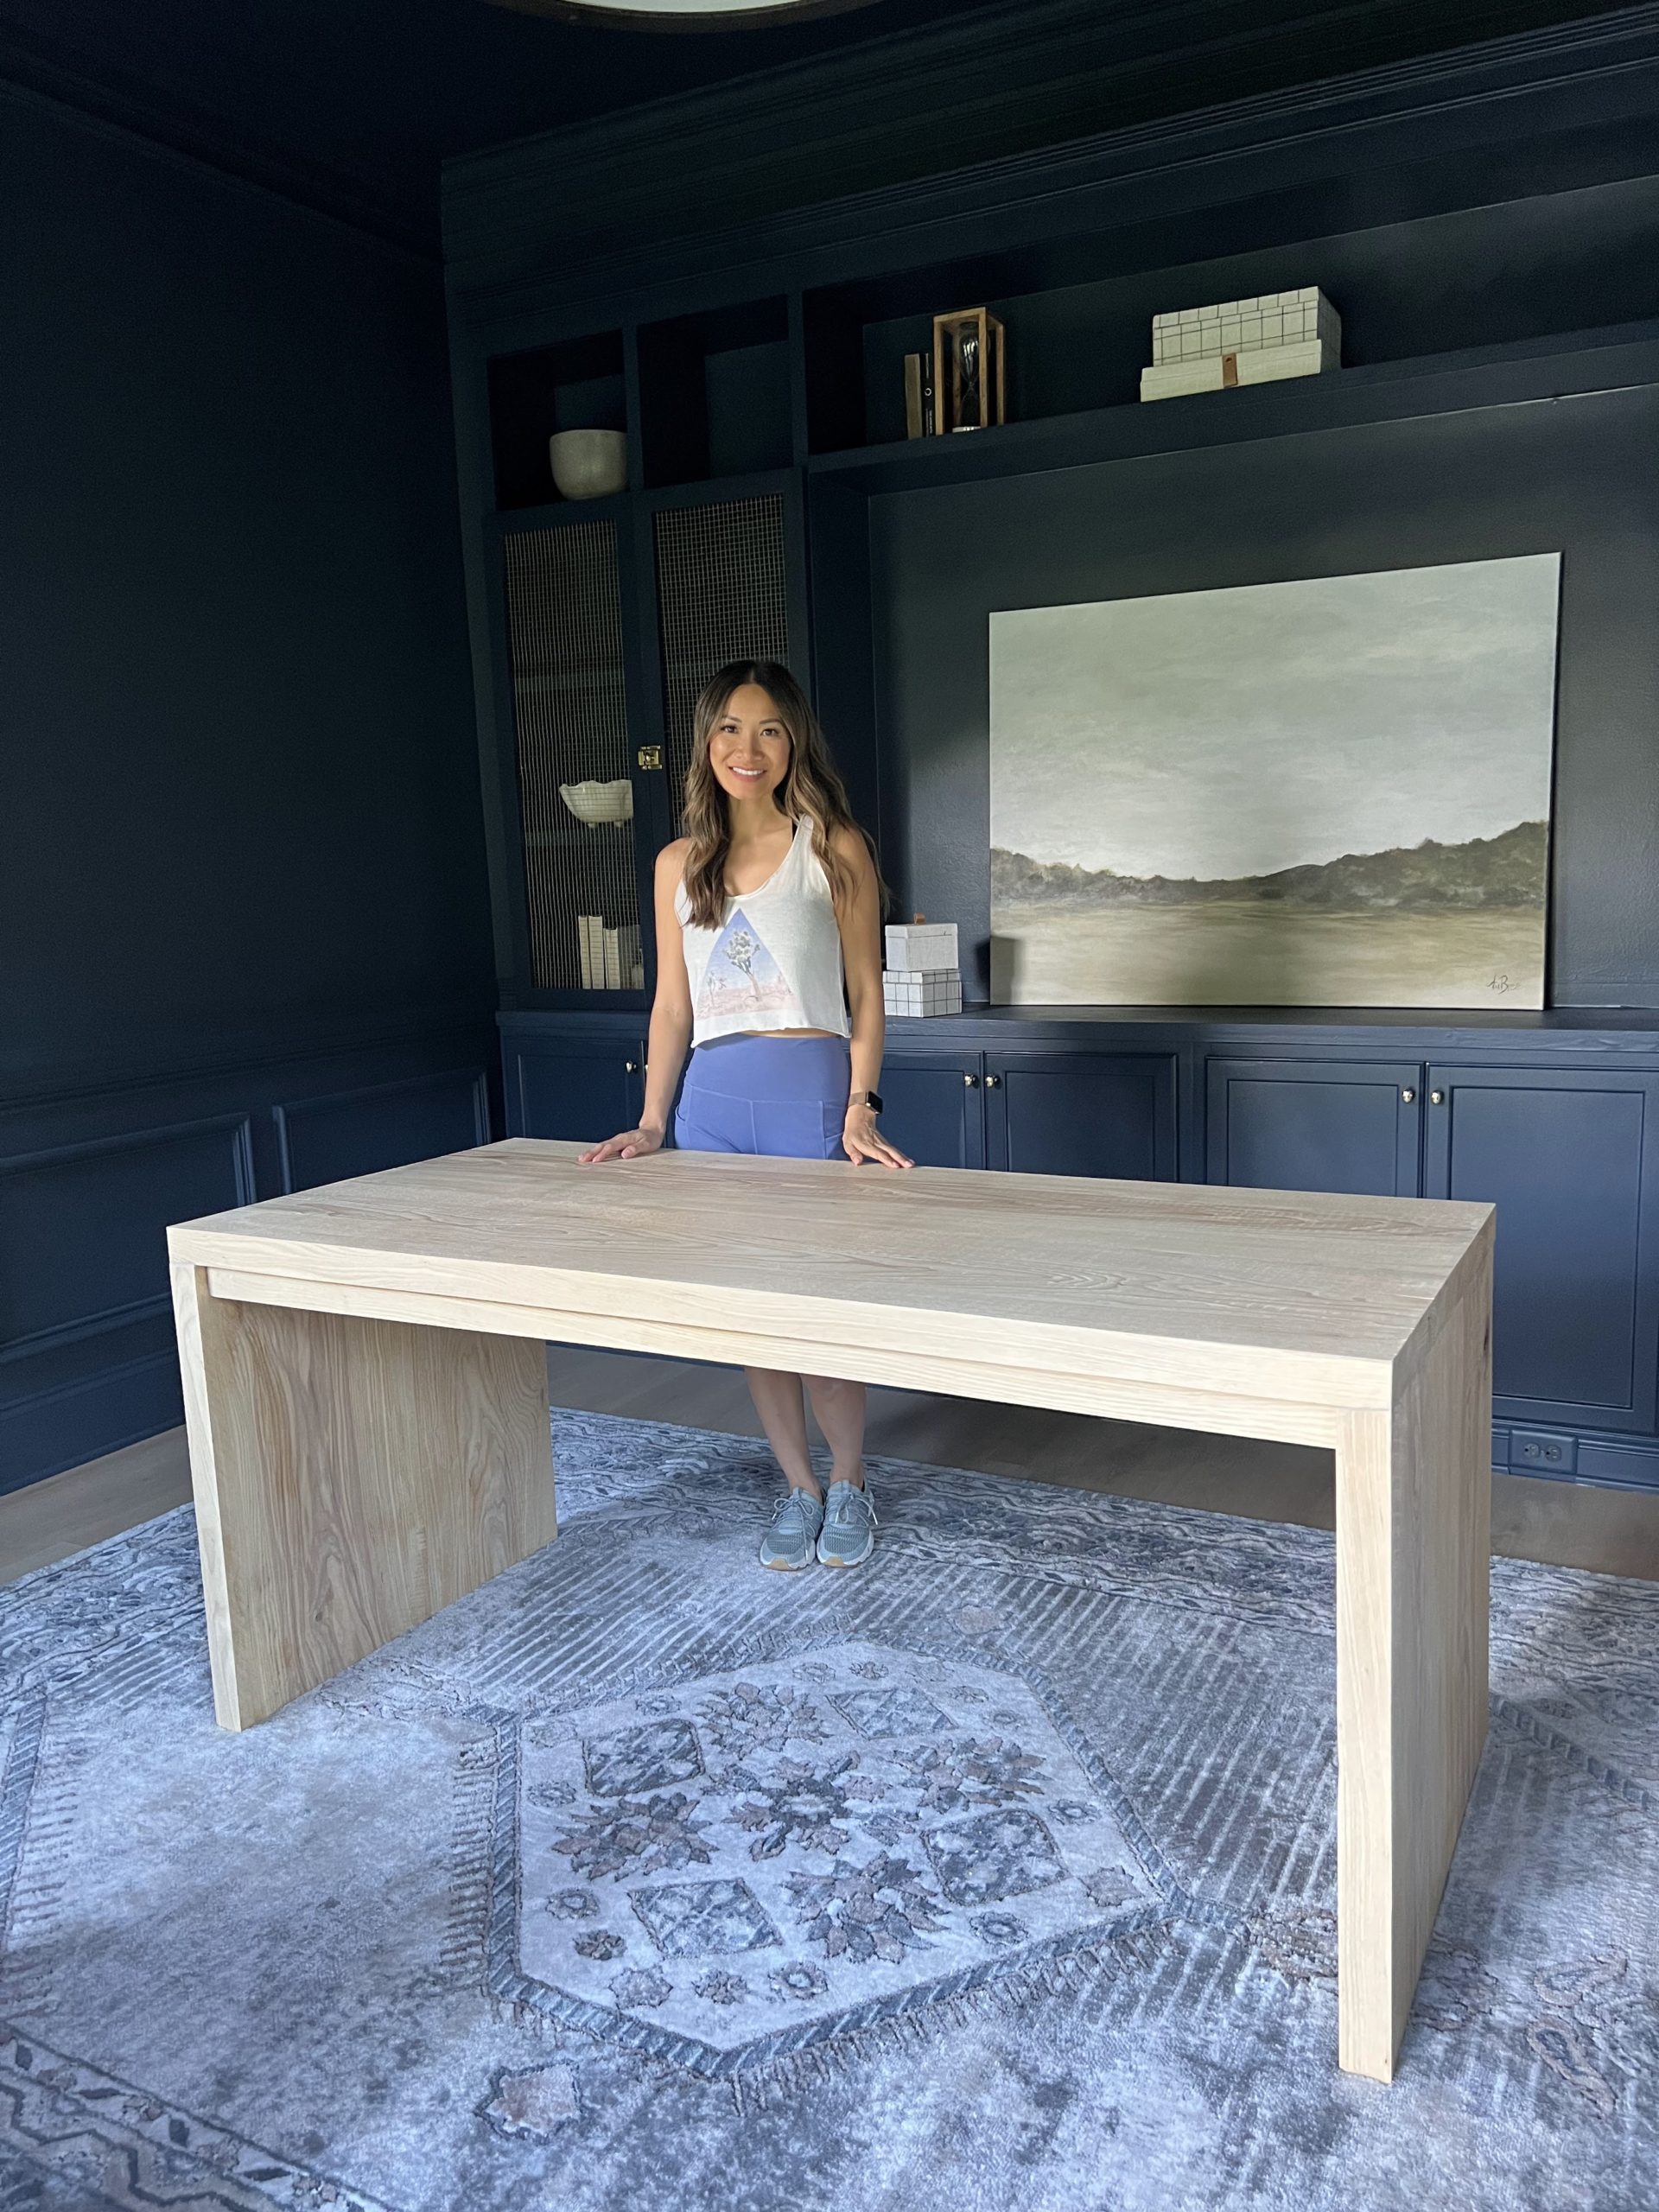
After the top coat is on and dry I am done. I absolutely love the way this desk turned out for TJ’s office. The light ash wood in the dark room is amazing!


Love it! What type of wood did you use? And would you mind sharing the cost of material?
Beautiful desk! What are the dimensions and kind of wood you purchased? And how did you finish and attach the plywood? And lastly, the band you added, what was the size?
This is amazing! How much did it end up costing you?
do you have specific plans for this desk?
Hello,
Do you have pictures showing where the pocket holes went vs the diagonal screws? The verbiage is tough to understand when your talking about putting glued pieces together. Thank you!
Do you have pictures of where you placed the pocket holes versus the diagonal screws? Can you show how you put the pieces together after they are glued together? Thank you in advance.
What are the sizes of this table?
Also the lip mentioned on the bottom of the table, is just another smaller plank attached from bottom?
How much did the word cost!?
I love this!! What are the dimensions of the board you’re using? Also, is your stain the transparent or solid?